Embed Size (px)
DESCRIPTION
Module 3 Virtual Environments
Citation preview
Gayan MunasingheStudent No: 586139 Semester 1/2012 Group 9
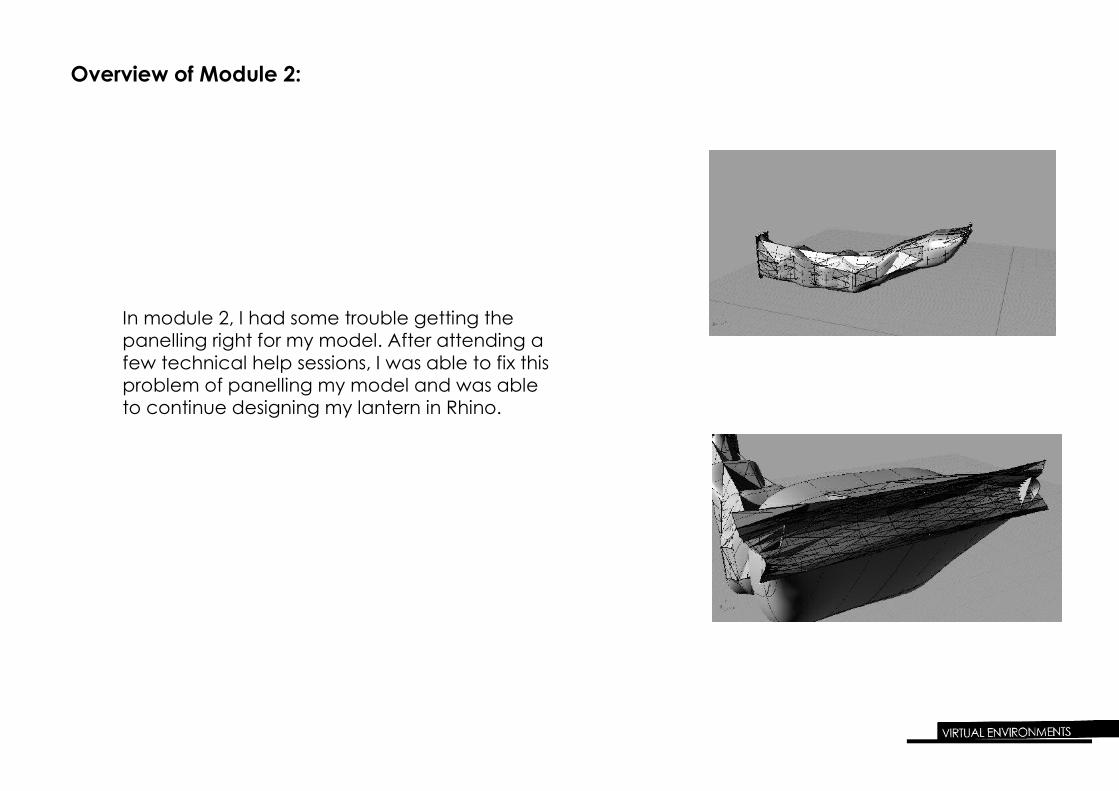
Overview of Module 2:
In module 2, I had some trouble getting the panelling right for my model. After attending a few technical help sessions, I was able to fix this problem of panelling my model and was able to continue designing my lantern in Rhino.
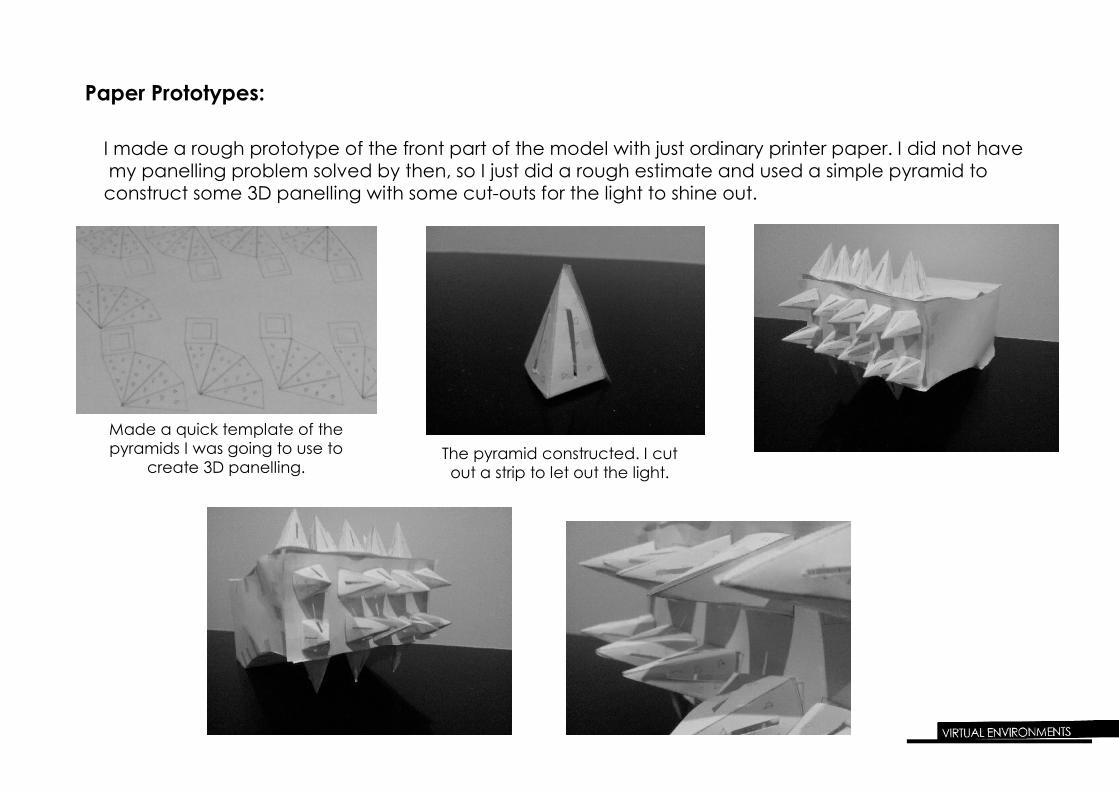
Paper Prototypes:
I made a rough prototype of the front part of the model with just ordinary printer paper. I did not have my panelling problem solved by then, so I just did a rough estimate and used a simple pyramid to construct some 3D panelling with some cut-outs for the light to shine out.
Made a quick template of the pyramids I was going to use to
create 3D panelling.The pyramid constructed. I cut out a strip to let out the light.
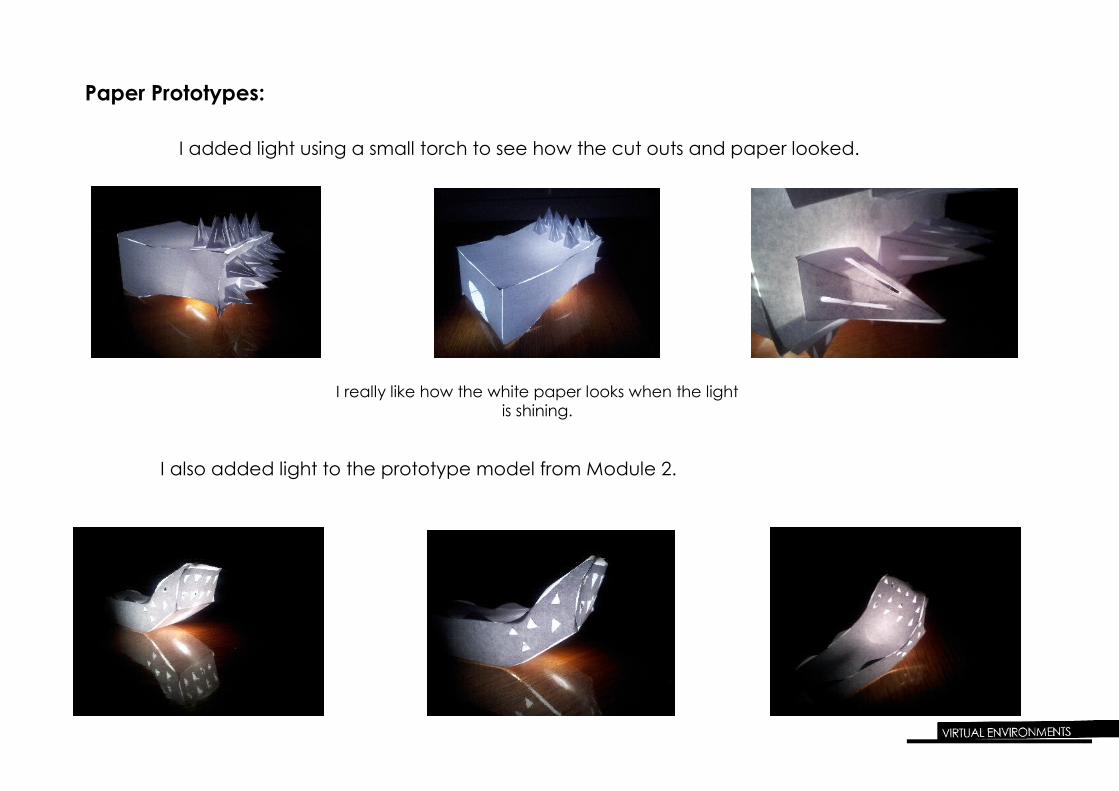
Paper Prototypes:
I added light using a small torch to see how the cut outs and paper looked.
I also added light to the prototype model from Module 2.
I really like how the white paper looks when the light is shining.
Panelling of Model:
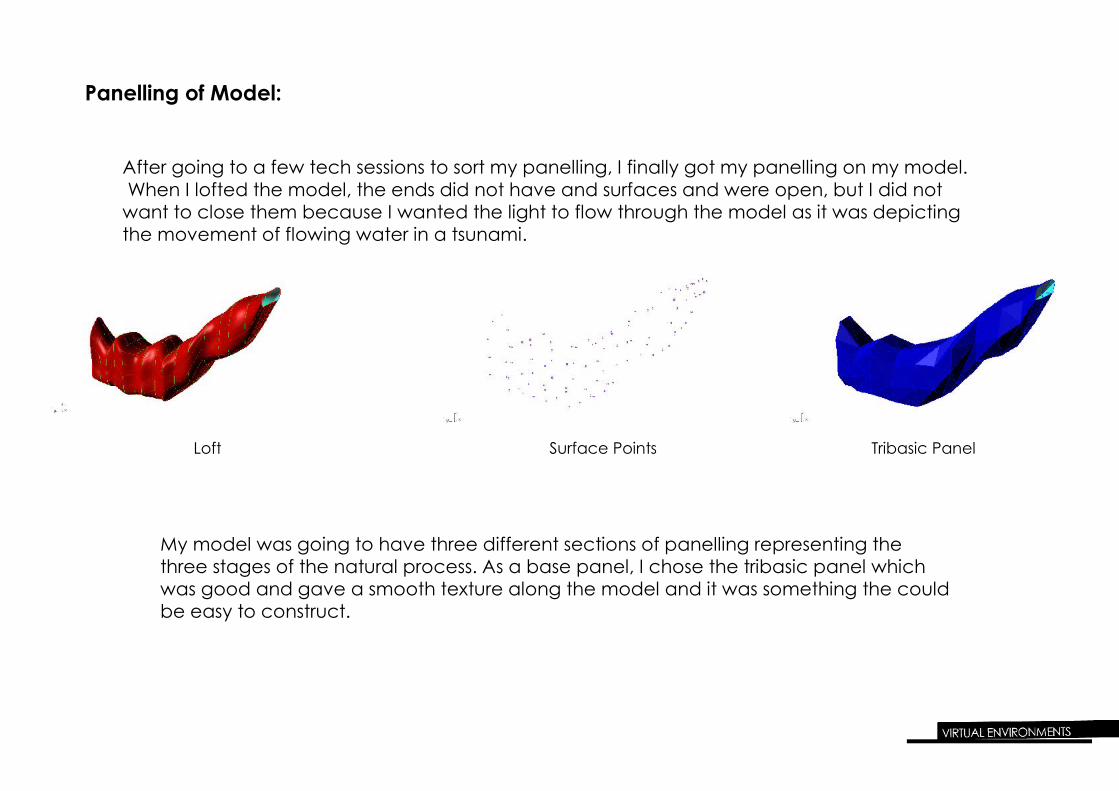
After going to a few tech sessions to sort my panelling, I finally got my panelling on my model. When I lofted the model, the ends did not have and surfaces and were open, but I did not want to close them because I wanted the light to flow through the model as it was depicting the movement of flowing water in a tsunami.
My model was going to have three different sections of panelling representing the three stages of the natural process. As a base panel, I chose the tribasic panel which was good and gave a smooth texture along the model and it was something the could be easy to construct.
Loft Surface Points Tribasic Panel
Precedent:
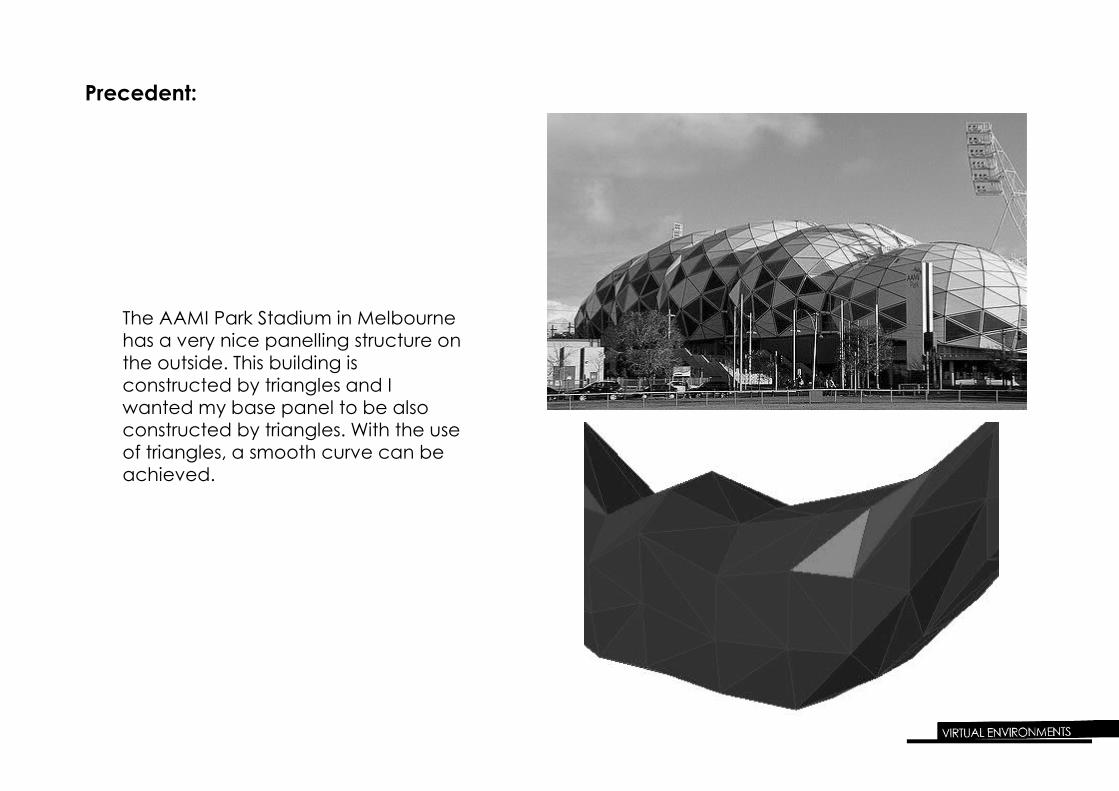
The AAMI Park Stadium in Melbourne has a very nice panelling structure on the outside. This building is constructed by triangles and I wanted my base panel to be also constructed by triangles. With the use of triangles, a smooth curve can be achieved.
Panelling of Model:
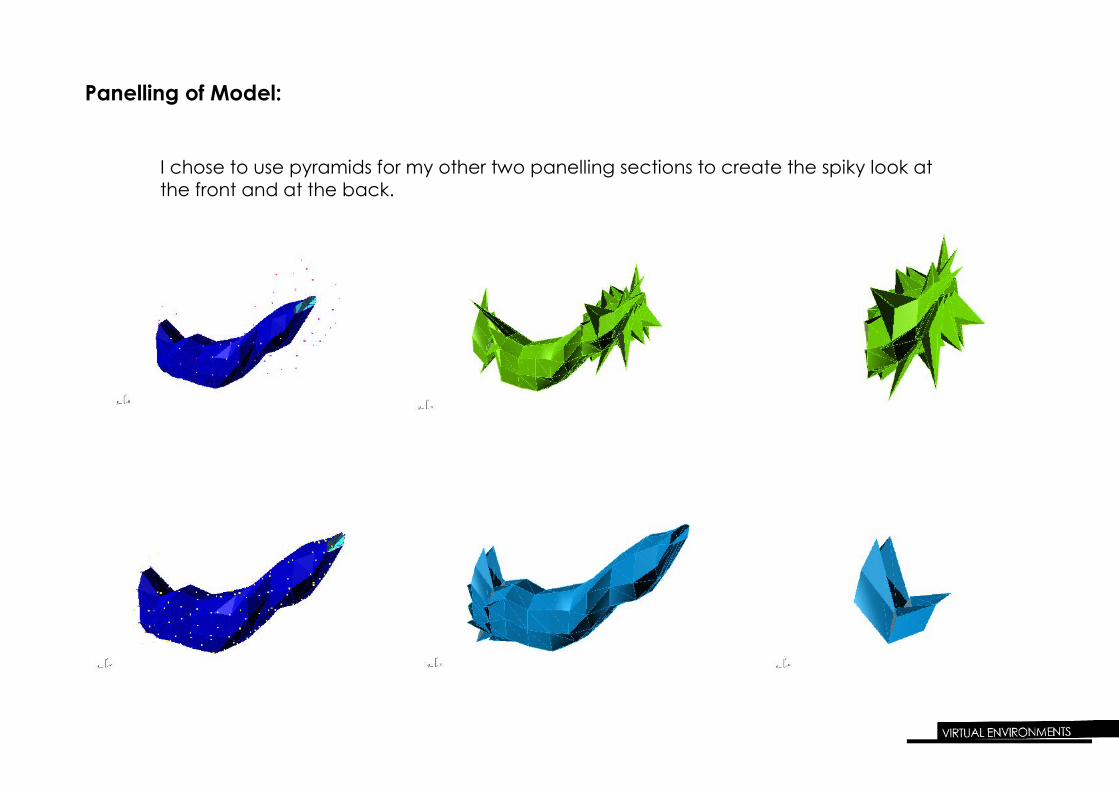
I chose to use pyramids for my other two panelling sections to create the spiky look at the front and at the back.
Final Model:
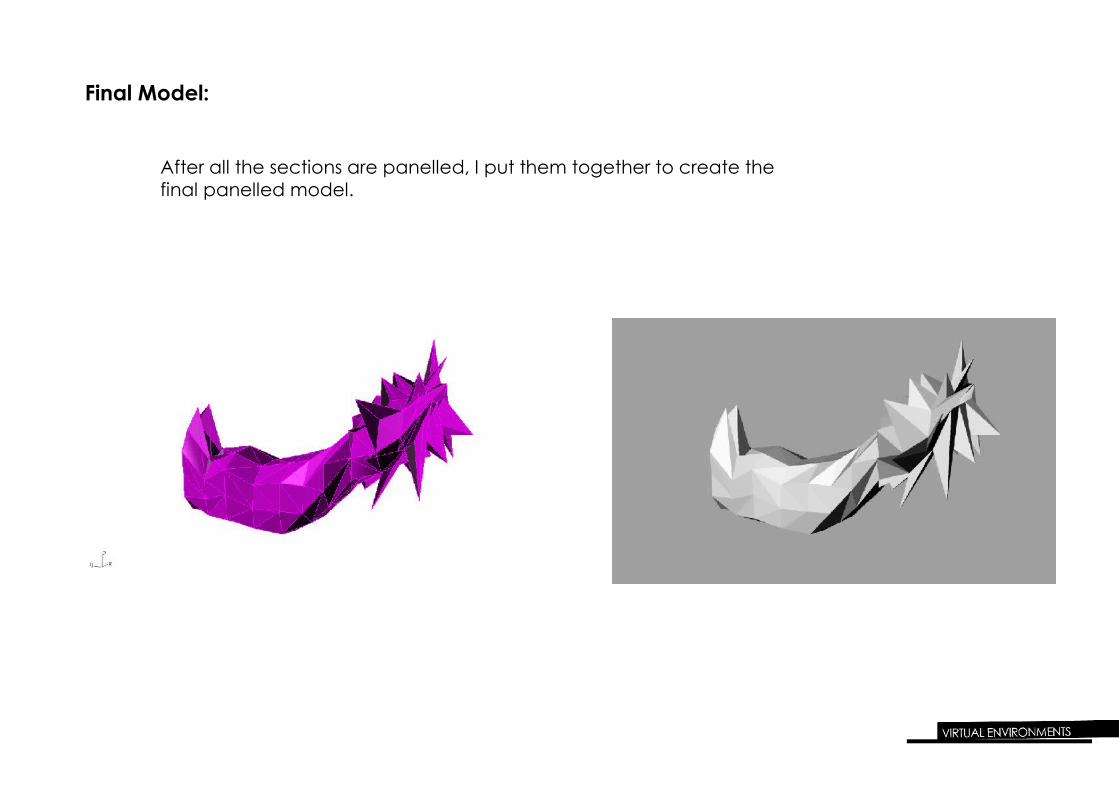
After all the sections are panelled, I put them together to create the final panelled model.
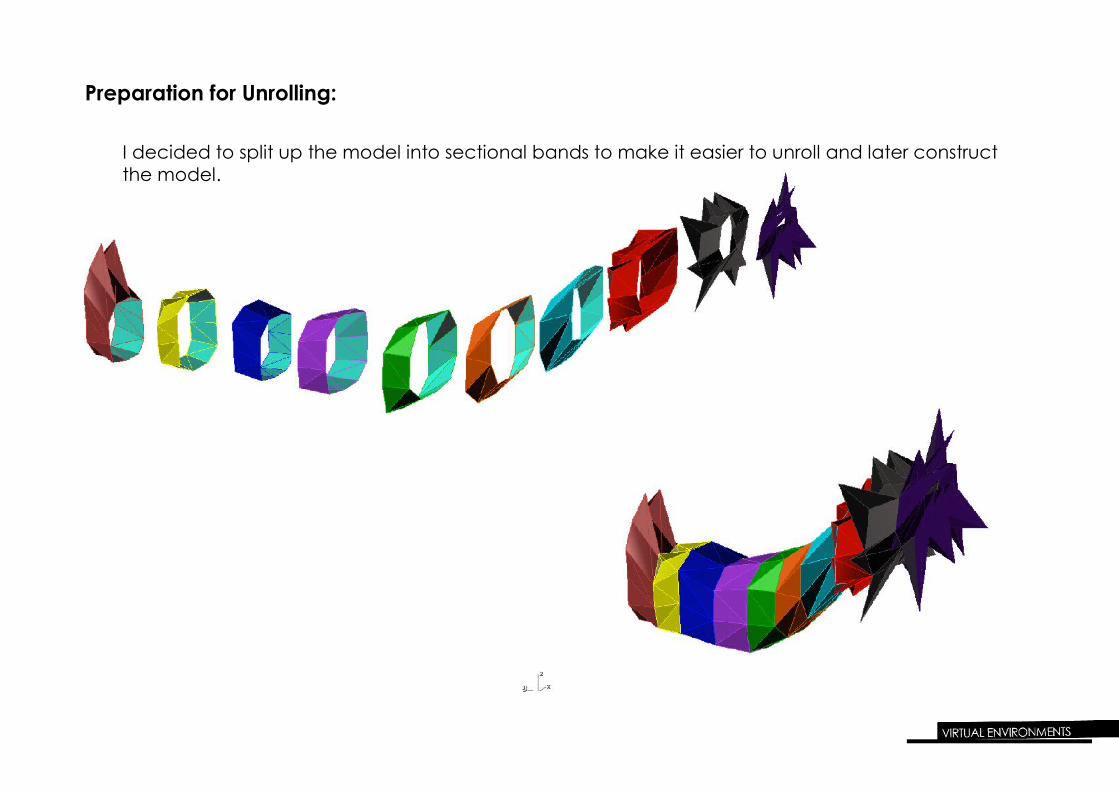
Preparation for Unrolling:
I decided to split up the model into sectional bands to make it easier to unroll and later construct the model.
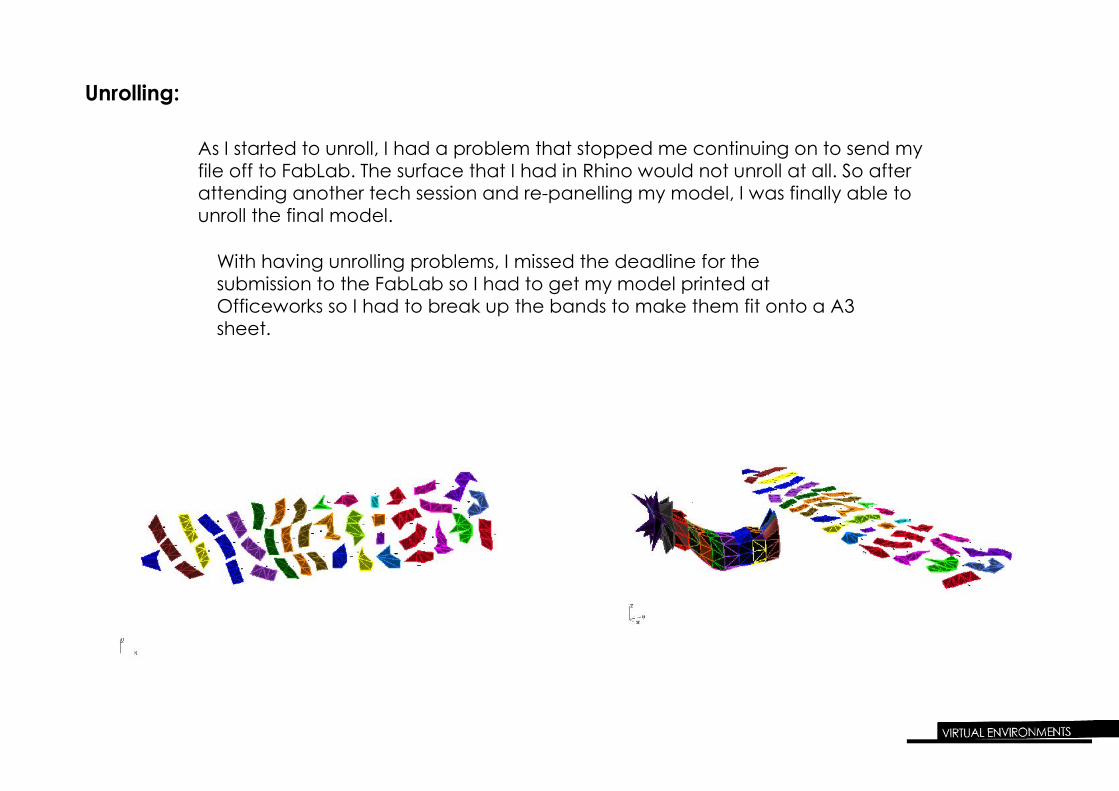
Unrolling:
As I started to unroll, I had a problem that stopped me continuing on to send my file off to FabLab. The surface that I had in Rhino would not unroll at all. So after attending another tech session and re-panelling my model, I was finally able to unroll the final model.
With having unrolling problems, I missed the deadline for the submission to the FabLab so I had to get my model printed at Officeworks so I had to break up the bands to make them fit onto a A3 sheet.
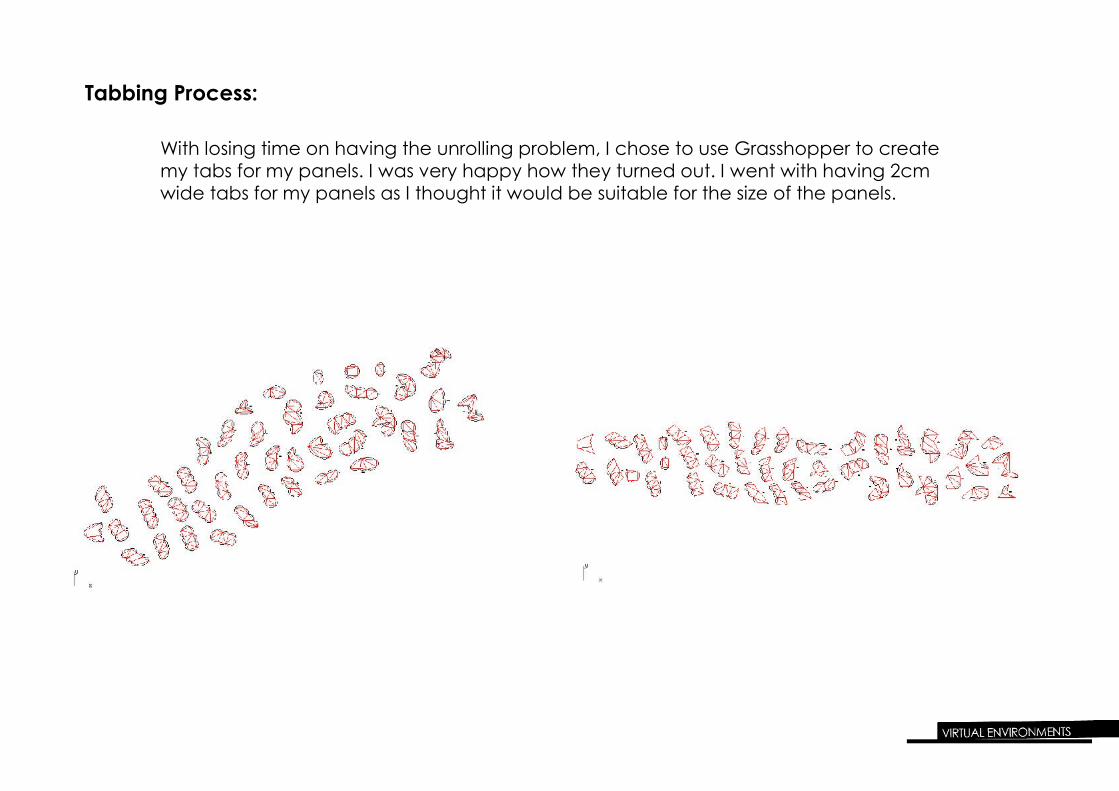
Tabbing Process:
With losing time on having the unrolling problem, I chose to use Grasshopper to create my tabs for my panels. I was very happy how they turned out. I went with having 2cm wide tabs for my panels as I thought it would be suitable for the size of the panels.

Nesting:
As I was using A3 size paper, it was difficult to place many panels on one page and had a few spaces that was wasted. I would have had filled in the space better if I used the A1 size in the FabLab. In the end, I ended up using 25 A3 pages to print my model.
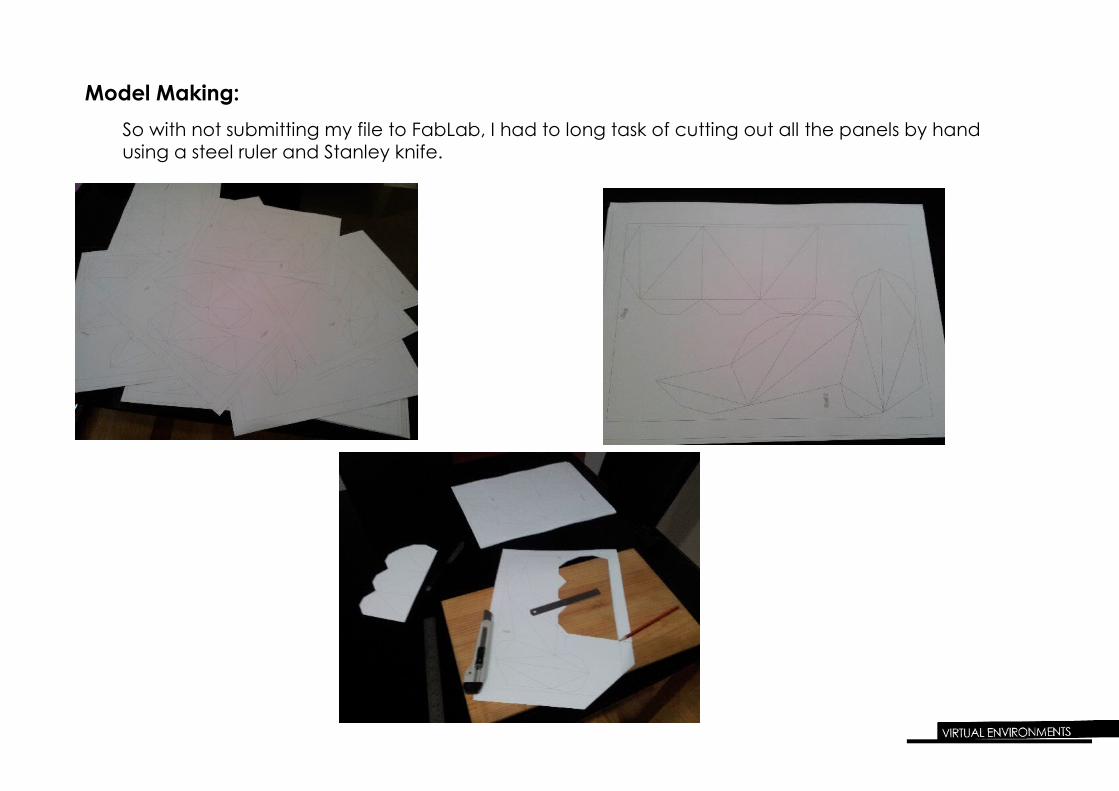
Model Making:So with not submitting my file to FabLab, I had to long task of cutting out all the panels by hand using a steel ruler and Stanley knife.
Model Making:
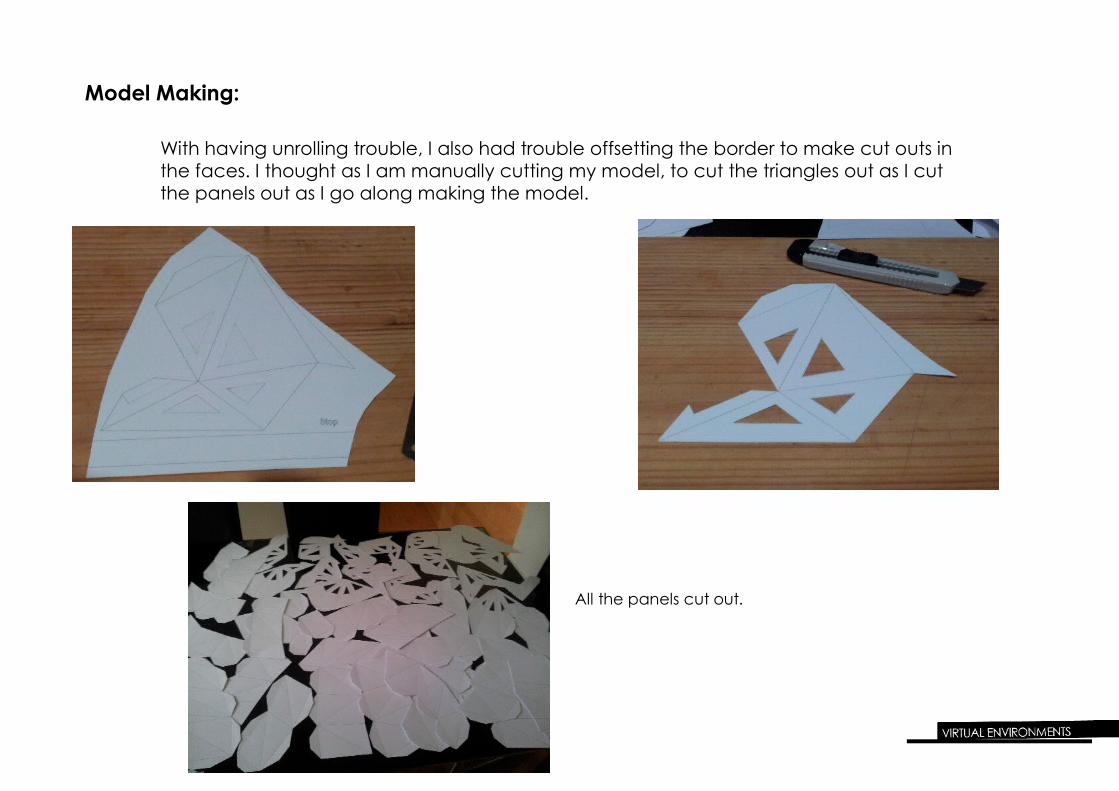
With having unrolling trouble, I also had trouble offsetting the border to make cut outs in the faces. I thought as I am manually cutting my model, to cut the triangles out as I cut the panels out as I go along making the model.
All the panels cut out.
Model Making:
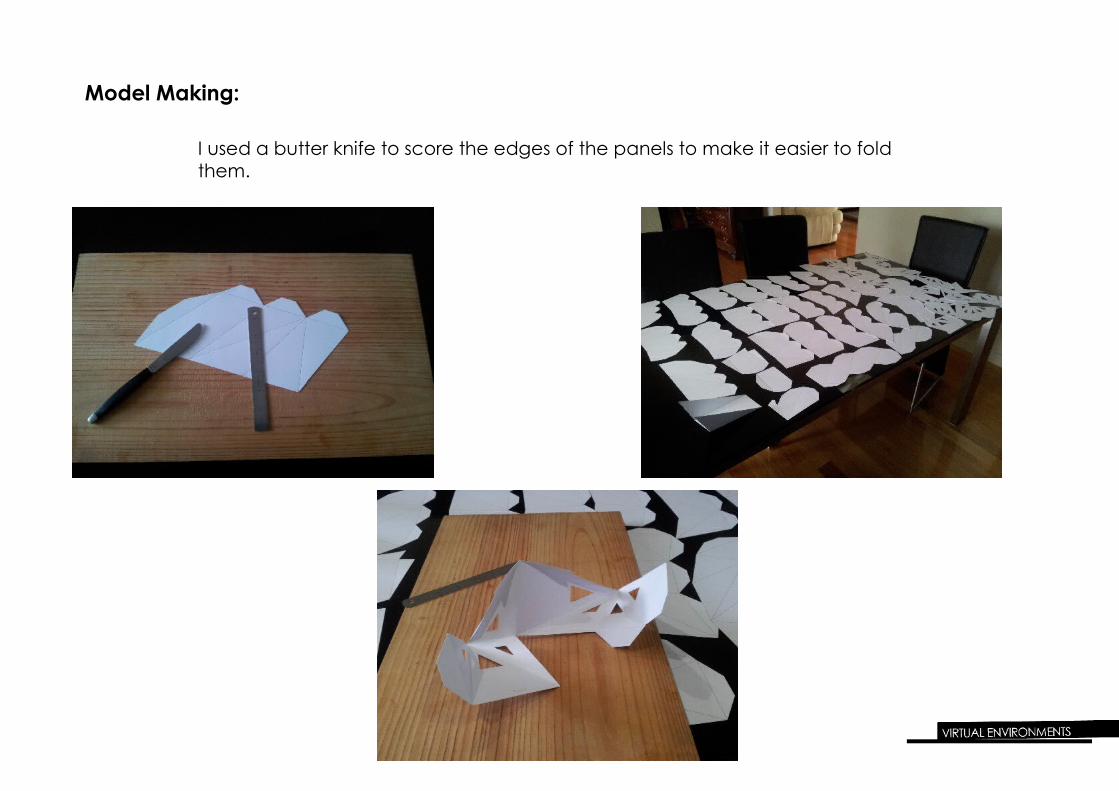
I used a butter knife to score the edges of the panels to make it easier to fold them.
Model Making:
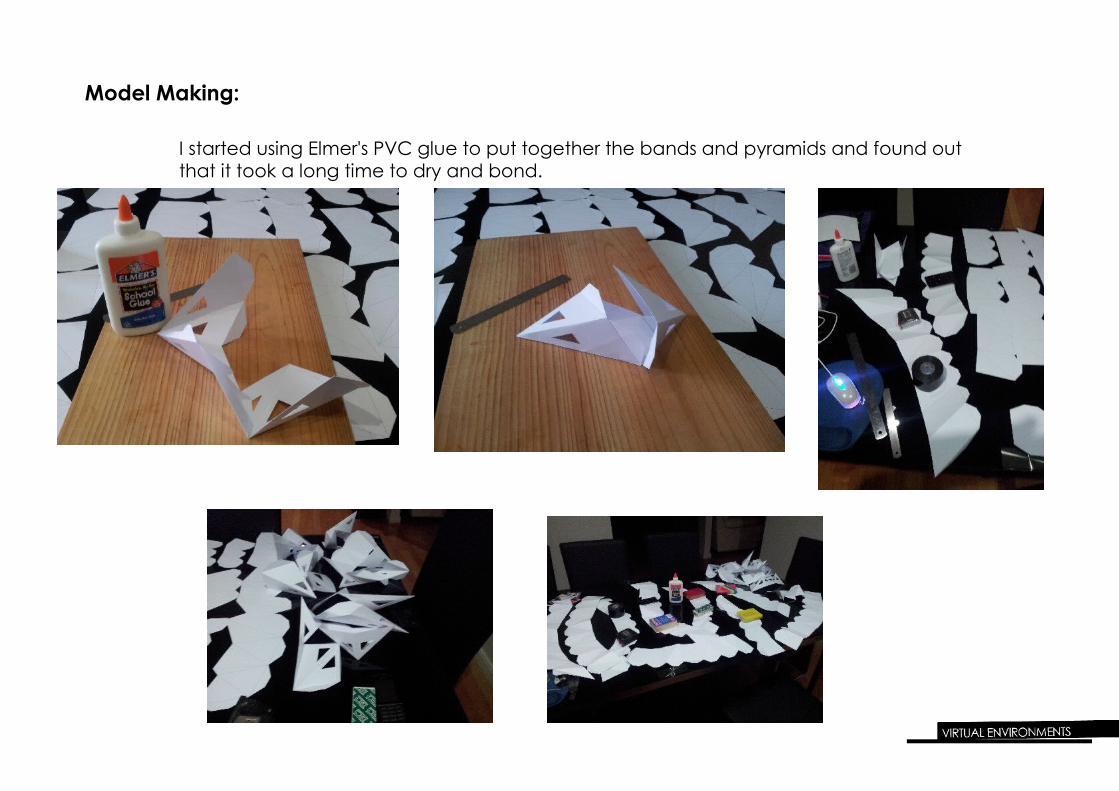
I started using Elmer's PVC glue to put together the bands and pyramids and found out that it took a long time to dry and bond.
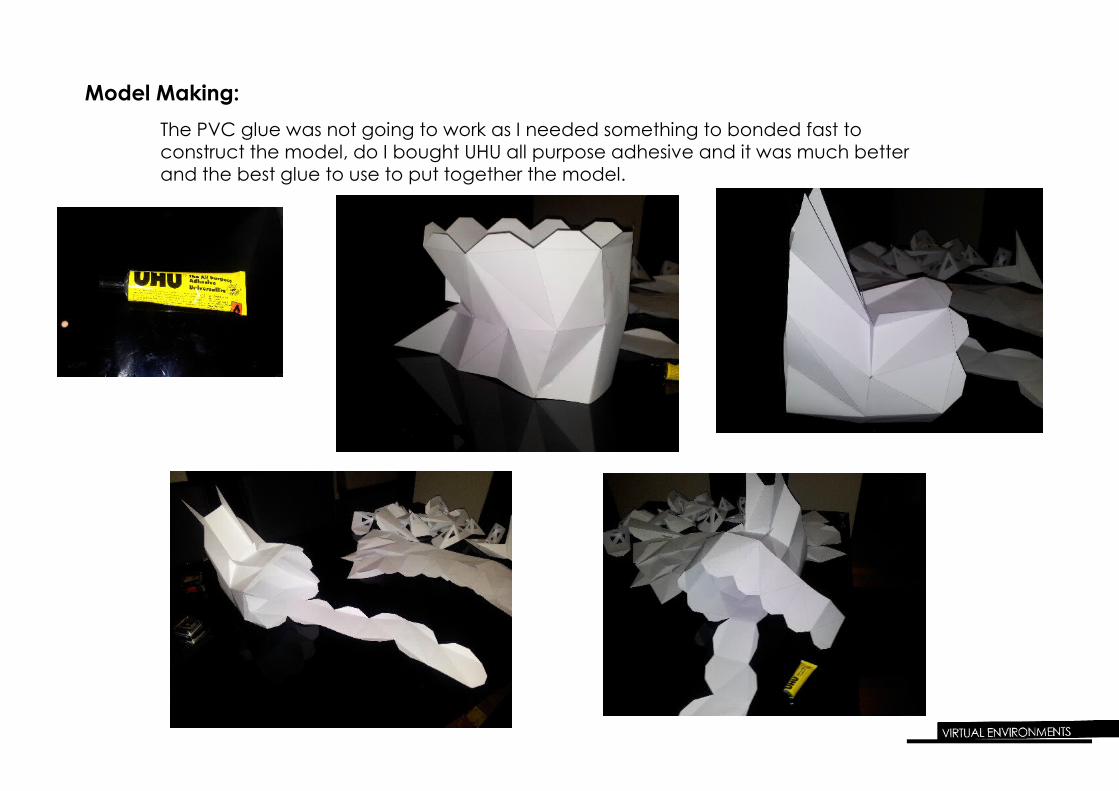
Model Making:The PVC glue was not going to work as I needed something to bonded fast to construct the model, do I bought UHU all purpose adhesive and it was much better and the best glue to use to put together the model.
Model Making:
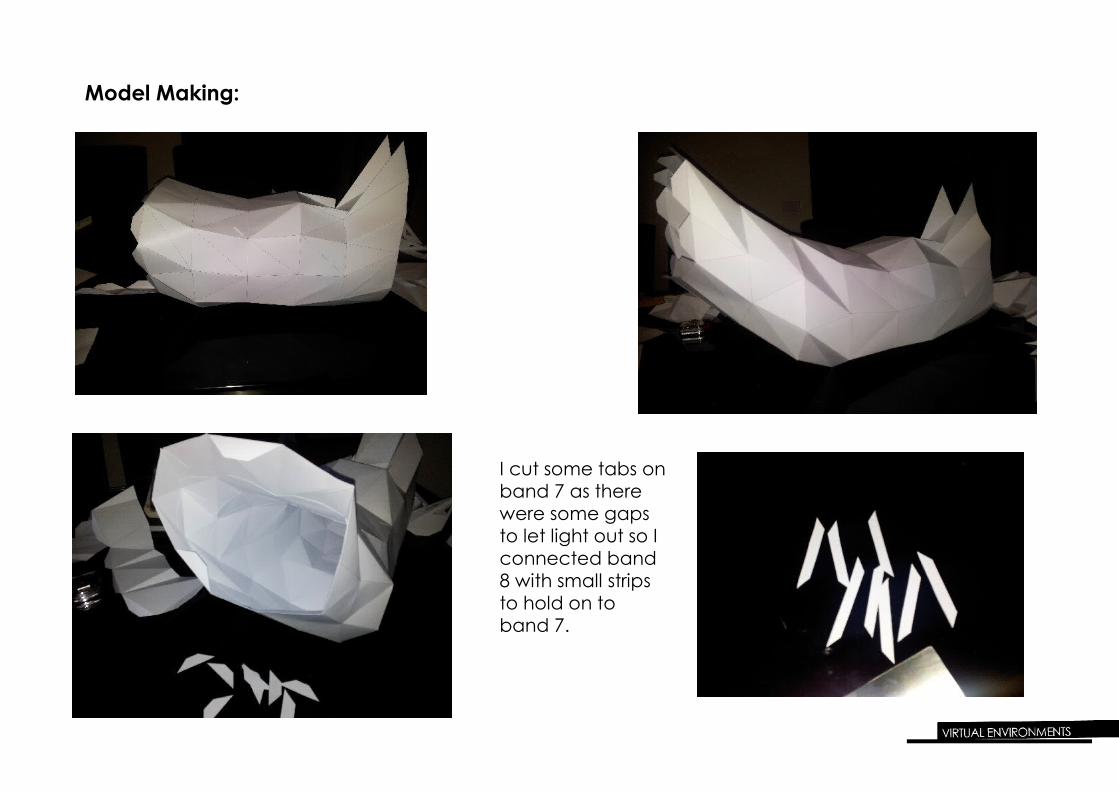
I cut some tabs on band 7 as there were some gaps to let light out so I connected band 8 with small strips to hold on to band 7.
Model Making:
Model Making:
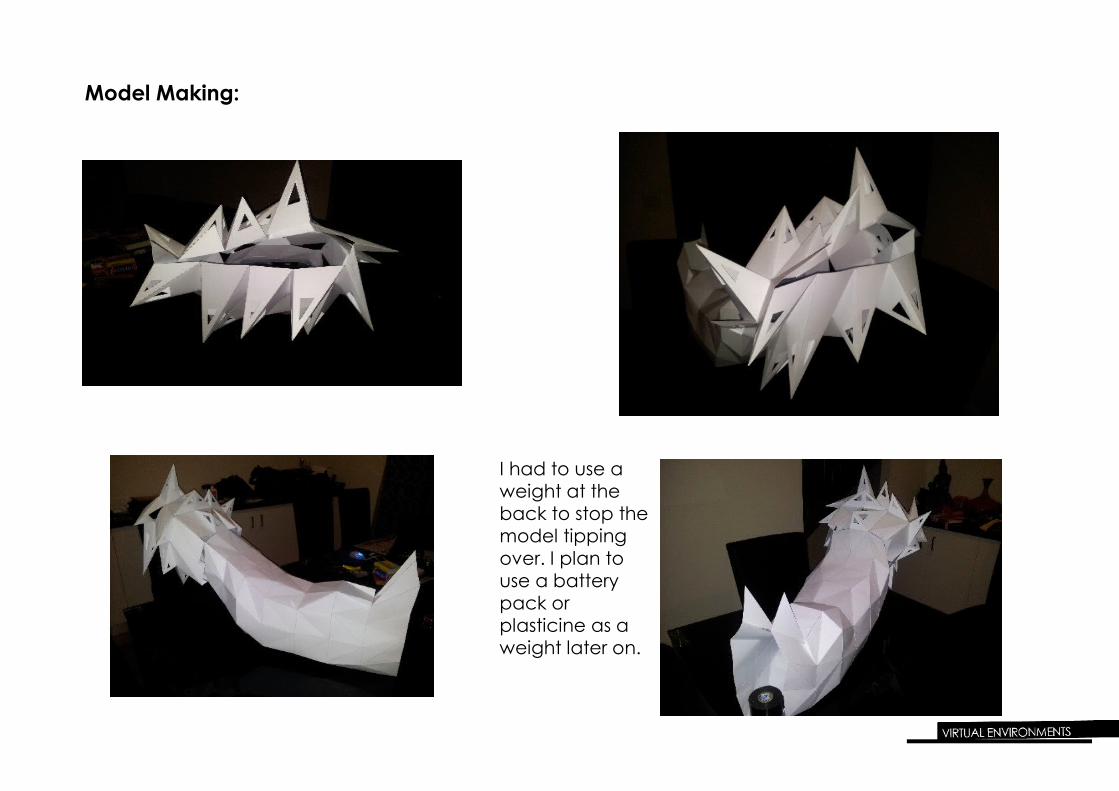
I had to use a weight at the back to stop the model tipping over. I plan to use a battery pack or plasticine as a weight later on.

Final Model:
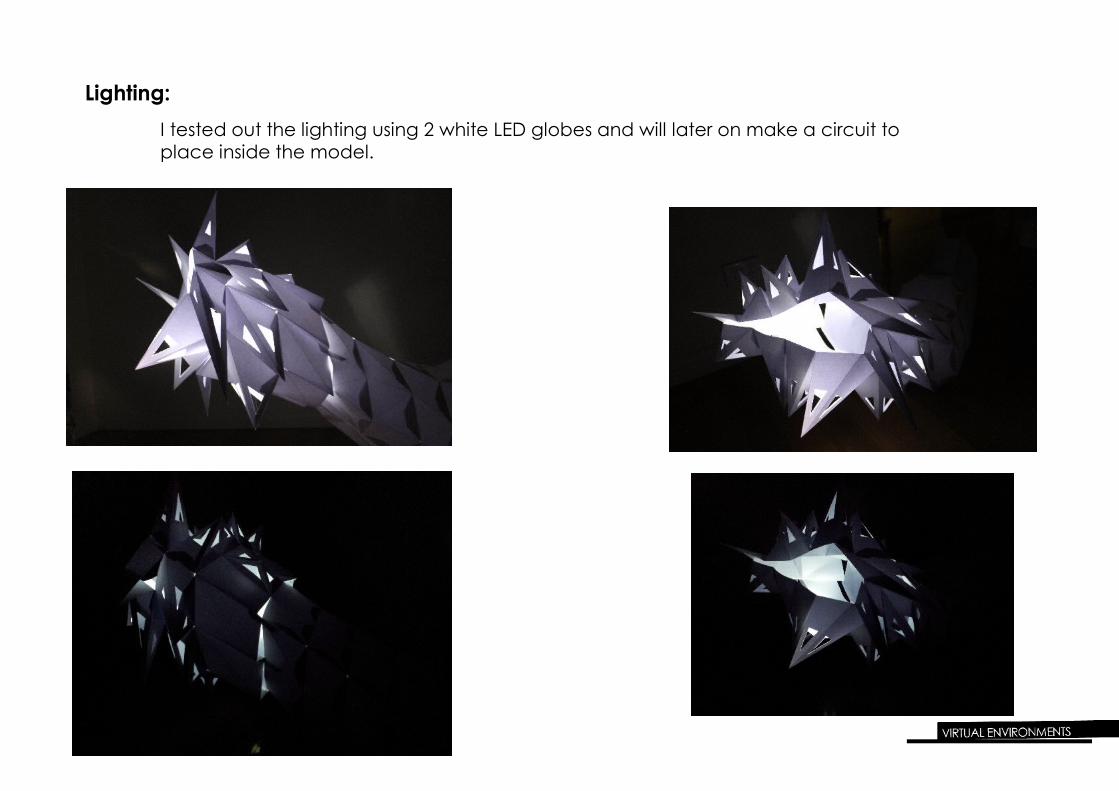
Lighting:I tested out the lighting using 2 white LED globes and will later on make a circuit to place inside the model.
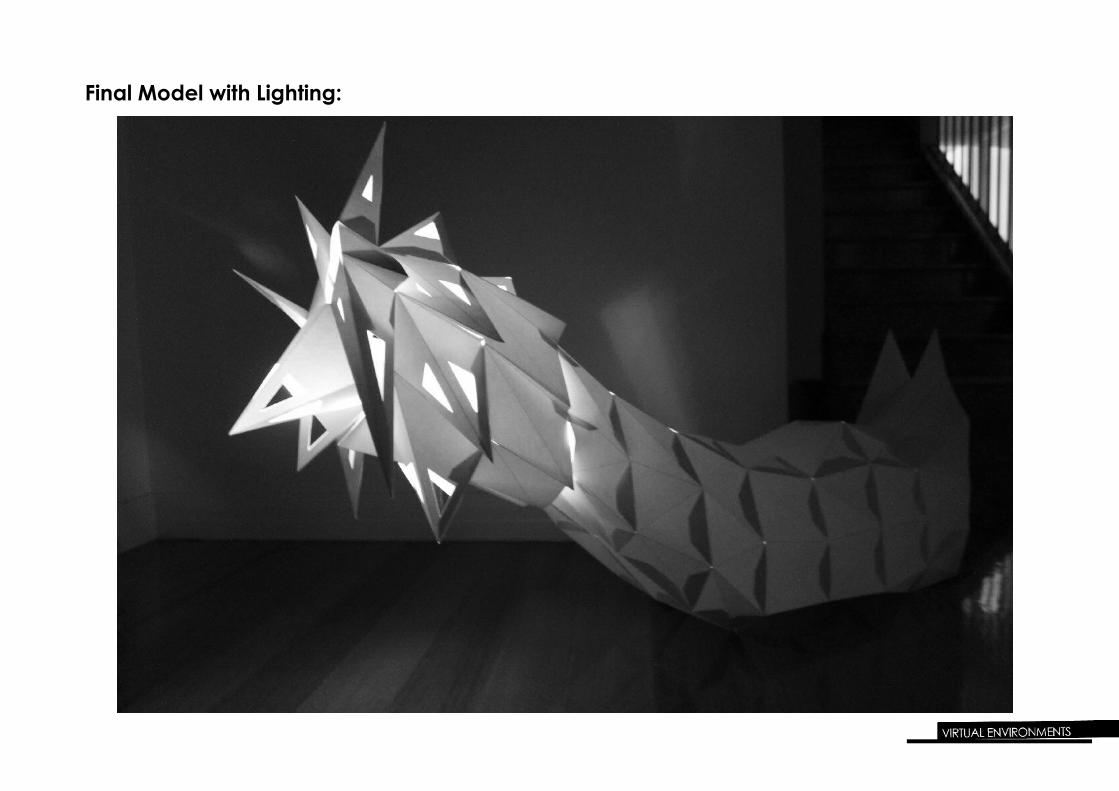
Final Model with Lighting:
Material Use:
I used 200gsm white A3 paper for my model. With only using A3 size paper and a large lantern, there were some blank spaces on the pages after the nesting. If I were to use the A1 size pages, there would be far less wastage of paper. However, there was not as much wastage from the A3 pages with roughly about a page and half of A3 size paper waste.
Precedent:
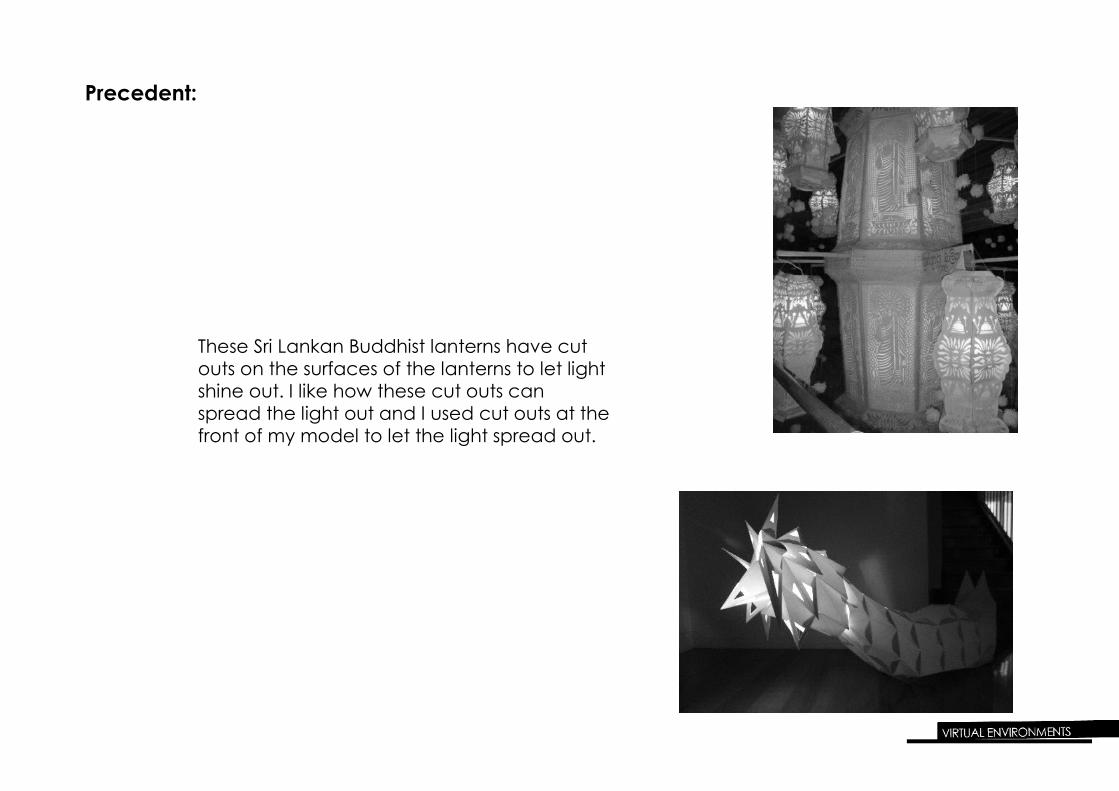
These Sri Lankan Buddhist lanterns have cut outs on the surfaces of the lanterns to let light shine out. I like how these cut outs can spread the light out and I used cut outs at the front of my model to let the light spread out.
Reflection:
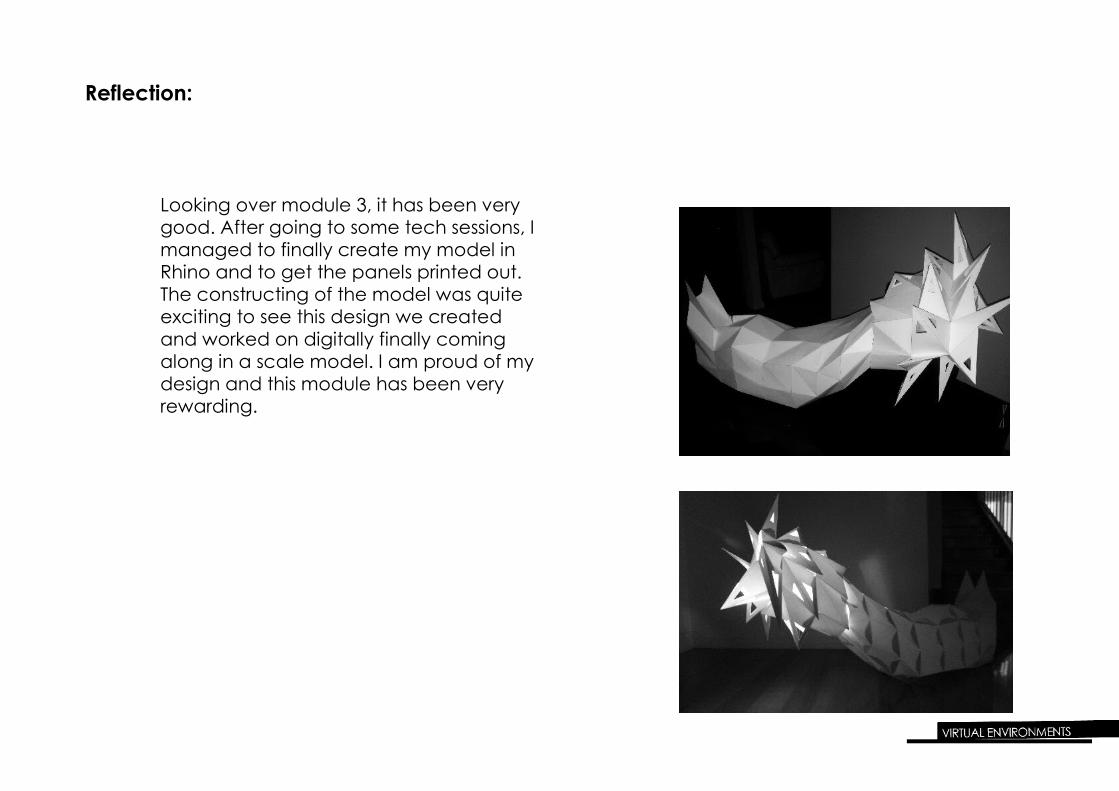
Looking over module 3, it has been very good. After going to some tech sessions, I managed to finally create my model in Rhino and to get the panels printed out. The constructing of the model was quite exciting to see this design we created and worked on digitally finally coming along in a scale model. I am proud of my design and this module has been very rewarding.

![British Standard Fuse Links - Accueil Standard Fuse Links Module 3. Module 3 ... (Feeder Pillar fuses) Module 3 ... ProFuse Fuse School Module 3.ppt [Compatibility Mode]](https://img.dokumen.tips/doc/110x75/5ac933cd7f8b9acb688d340e/british-standard-fuse-links-accueil-standard-fuse-links-module-3-module-3-.jpg)