Embed Size (px)
Citation preview

Debra Brand Sawgrass Springs Middle School
12500 West Sample Road Coral Springs, FL 33065
754 322-4500 debra.brand@ browardschools.com
Mike and the Masters
For information concerning IMPACT II opportunities such as interschool visits, staff developments workshops, and Adapter and Disseminator grants please contact:
Broward Education Foundation 600 SE Third Avenue 1st floor Fort Lauderdale, Florida 33301
754 321-2030
IMPACT II is a program of the Broward Education Foundation
Table of Contents

Goals /Objectives/ Sunshine State Standards 1 Course Outline 2 Sample Worksheets 3 - 6 Lesson Plans 7 - 14 Assessment/ Project evaluation 15 Resource List 16
Materials 17 - 18
Websites 19 Adaptations Action Jackson/ /Use the Dot Paint Like Seurat 20 For Claude Monet Be Far Away 21 Get to Know Michelangelo 22 Color Combinations 23
Goals

Mike and the Masters introduce different artists’ contributions through both art
and literacy. These valuable lessons acquaint the students with the ‘masters’, allow for
research, explain the elements of the arts and teach content vocabulary. Most importantly,
with the arts being removed from many schools, the students experience the process of
creating paintings in various styles. Hands-on activities engage, activate and inspire
students to develop new talents. Creating art in the master’s style allows students to
apply skills and strategies that link new information to what they already know. In this
unit, students analyze perspectives, make interdisciplinary connections, and then transfer
their insights by creating art.
Objective of the Project
The objective of this project is to help students apply skills and strategies to gain
information from print and non-print materials.
Sunshine State Standards
• The student makes connections between the visual arts, other disciplines, and the
real world.
• The student understands and applies media, techniques, and processes.
• The student understands the visual arts in relation to history and culture.
• Students use strategies to clarify meaning (note taking).
• Students demonstrate active class participation.
• Students demonstrate use of effective time management and organizational skills.
1

Course Outline Introduce the masters. Design word wall. Read artists’ story. Students rotate through stations.
Station 1: Jackson Pollock Station 2: Michelangelo Station 3: Seurat Station 4: Monet
Complete guided reading worksheet (GRW). Create a piece in the style of each artist. Present favorite painting to the class. Determine style of painting the work represents. Discuss painting using the vocabulary terms.
2
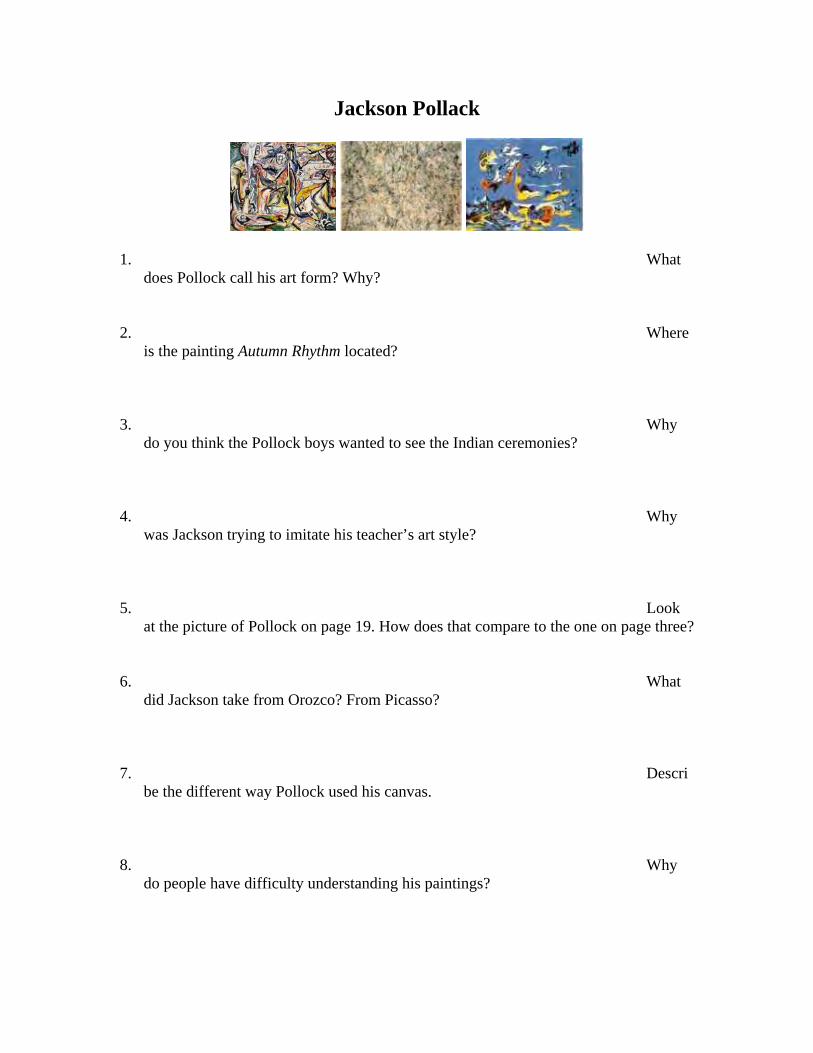
Jackson Pollack
1. What
does Pollock call his art form? Why? 2. Where
is the painting Autumn Rhythm located?
3. Why
do you think the Pollock boys wanted to see the Indian ceremonies?
4. Why
was Jackson trying to imitate his teacher’s art style? 5. Look
at the picture of Pollock on page 19. How does that compare to the one on page three? 6. What
did Jackson take from Orozco? From Picasso? 7. Descri
be the different way Pollock used his canvas. 8. Why
do people have difficulty understanding his paintings?

9- 10. Which picture in the book is your favorite? Explain why?
3
Michelangelo Buonarroti
1. What was the artistic difference between a polished marble statue and one with chisel marks? 2 - 3. Explain the process of making a fresco. Where is Michelangelo’s most famous fresco located? 4. At 24 Michelangelo created Pietá. How large is it? 5. What parallel (comparison) is made between the David and the people of Rome? 6. Look at pages 26-27. Whose hands are touching in the painting? 7. Which style of painting made Michelangelo one of the greatest painters in the world? 8. What was the most important subject that Michelangelo could paint or sculpt? 9- 10. Which picture in the book is your favorite? Explain why?

4
Georges Seurat
1. Which artistic method is credited to Seurat? Explain how this works. 2. On page 7 the yellow dot says, “Orange you glad Seurat is putting us together?” What style of figurative language does this question represent?
a. Irony b. Pun c. Alliteration d. Hyperbole
3. What was the advantage of putting colors next to each other instead of blending them together? 4. Seurat’s father had an unusual talent. What was it? 5-6.What made his paintings sparkle and shimmer with light? A. B. 7. Imitation is the sincerest form of flattery. Would Seurat agree or disagree with this statement. Why or why not? 8. Why would Seurat spend so much time working on the border of a painting?

9- 10. Which picture in the book is your favorite? Explain why?
5 Claude Monet
1. Name and describe Monet’s style of painting. 2. What was unusual about Monet’s studio? 3. Why did Claude have the opportunity to meet so many interesting people? 4. Name the artists he befriended in Paris. 5. What was the advantage to a showing at the Salon? 6. Where did the name Impressionists originate? 7. For what reason did Monet paint the same scene more than once? 8. Compare and contrast the two paintings on page 30. Create a Venn diagram for them. 9- 10. Which picture in the book is your favorite? Explain why?

6
Lesson plans
DAY 1
To introduce Mike and the Masters ask the class if anyone has ever seen
paintings in a museum or another location. Ask them to describe the paintings they’ve
seen.
Display several prints of the masters’ paintings. Use posters of their most famous
works. Solicit responses and reactions.
Introduce vocabulary words: color – line – shape – texture – angled – diagonal –
horizontal – curved – vertical. Define the word for the students and point out examples
of each element from the paintings in the posters. Assign each student a word and
definition. Students design Word Cards.

7
Post the words on a Word Wall and refer to it often throughout the rest of the lesson.
1. Line – identified as a point moving in space which can vary in length, direction
and width.
2. Horizontal – lines running side by side.
3. Vertical – lines running up and down.
4. Texture- creates the feeling of an object.
5. Curved – lines are curvy and express movement.
6. Angled – a combination of diagonal lines.
7. Diagonal- slanting lines.
8. Color – when light is refracted off an object, color is what the eye sees.

9. Shape – can be in the form of squares, circles, triangles rectangles and ovals.
8
DAYS 2 and 3
Arrange the classroom in small groups of two or three students. Place the artist’s
book along with the Guided Reading Worksheet [GRW] at each station. You can use the
sheets I have created or design one of your own for the students. Model the note-taking
strategies. Once the GRW’s for all of the artists have been completed conduct a class
discussion. Starting questions can include: How has his life impacted his work? What
contributions were made to the art world? Most recognized work? As you discuss the
artists’ work and styles with the students, be sure to incorporate the vocabulary on the
Word Wall.

9 DAYS 4 – 7
Create stations in the classroom/art room/ outdoor classroom. You may have all
the students doing the same activity or let them rotate through the stations as they finish
or introduce one station a day.
At each station have available several prints of paintings by the artist along with
the books they read, so that students will have a point of reference. It is a good idea to ask
for help from parents/volunteers. The volunteers should not only help students with the
logistics of painting, but also be prepared to answer questions or offer guidance on the
style of painting represented at the station.
Station 1: Jackson Pollock
Station 2: Michelangelo Buonarroti

Station 3: Georges Seurat
Station 4: Claude Monet
10
Station 1: Jackson Pollock. (American master)
At this station give each student a sheet of paper. Be sure to place newspaper or
butcher paper underneath to help contain the excess paint. Using paintbrushes, students
will sit, stand or kneel directly above their paper and drip tempera paint onto the paper
below. Be sure to allow at least five minutes drying time between colors. Action painting
requires students be permitted to move around their paper as they paint. If you have an
outdoor space, this is the perfect time to reserve the area. Allow for time to dry.

11
Station 2: Michelangelo Buonarroti. (Italian master)
Allow students to sketch their ideas while sitting at a table. When they are ready
to color, tape that piece of paper to the underside of a low table. Students lie underneath
the canvas as they paint using oil pastels. They discover how it feels to draw while lying
on their backs while reaching up to draw on the paper. Remove upon completion and set
up the area for the next group. Have students bring an extra shirt to absorb the pastel dust.

12 Station 3: Georges Seurat. (French master)
Students dip a Q-tip® in water then dip it into the tempera paint. Demonstrate the
technique of pressing down lightly to make a small dot while more pressure will create a
larger one. Require the students to fill up as much as their paper as possible with color.
Hang to dry. You can easily substitute markers for younger students.

13
Station 4: Claude Monet. (French master)
Using watercolor pencils students draw an outdoors scene OR paint an outline of
flowers on the top half of their paper. After filling in the flower(s) with color, have them
create a vase below the flowers. Remind students that the flowers do not have to look
entirely realistic. Like the Impressionists, they should use a pattern of strokes when they
add the water to create an artistic version of the flowers.

14
Evaluation and Student Assessment 1. Completion of guided reading worksheets. 2. Four drawings – one for each ‘Master’. 3. Student chooses their favorite painting and presents to the class. The class determines which style of painting the work represents and should discuss the painting using the vocabulary terms. Assess the students’ ability to talk about the work of their peers. 3. Evaluate the degree to which they can incorporate the vocabulary of the elements of art into their critique of the paintings.

15
Resource List

Michelangelo (Getting to Know the World’s Greatest Artists) by Venezia
Monet (Getting to Know the World’s Greatest Artists) by Venezia
Pollock (Getting to Know the World’s Greatest Artists) by Venezia
Seurat (Getting to Know the World’s Greatest Artists) by Venezia
16 Materials/ Resources

Large cards to display vocabulary words Oxford® Index Cards, Ruled, 5” x 8”, Assorted Colors, Pack Of 100 Item # 839886 (Office Depot) $1.89
Crayola® Fine Line Markers, Assorted Classic Class pack, Box of 200 Item # 157104 Office Depot $86.39
Crayola® Watercolor pencils, Class pack, Box f 240 Item # 24809 SAX $54.99
Crayola® Oil pastels, Class pack, Box of 336 Item # 405788 SAX $39.99
Royal® Brush Combos – Taklon Series 401155 SAX $85.89
17

Q-tips® Reproductions of paintings by Pollack, Michelangelo, Seurat, Monet (Poster Revolution) http://www.posterrevolution.com/
Tempera paint #468719 Deluxe 8-Gallon Sax® Versatemp® Tempera Paint Kit $139.44 (Sax Arts)
Brown Kraft (Sax Arts) Paper $8.19 Item # 086642 White Construction Paper (50 sheets/Pkg) Item # 077842 $1.19 (Sax Arts)
School Smart Drawing Chalk Item # 245792 SAX $2.59 12 colors
Cool Colors! Masking Tape Set Item #IN-57/50160 Oriental Trading $24.00
18

Websites
CLAUDE MONET
Claude Monet art site Claude Monet coloring ”Waterlilies”
Claude Monet Sunflowers Claude Monet coloring page
Monet coloring page 1 Monet coloring page 2 Monet coloring page 3
JACKSON POLLAK http://www.jacksonpollock.org/
Jackson Pollack Number 1
MICHELANGELO
Sistine chapel Ceiling
GEORGES SEURAT Master of Pointillism You try Pointillism
Coloring page (Sunday Afternoon/Sesame Street) Coloring page 2 (Sunday Afternoon)
Coloring page (Bathers) Coloring page 3
19

Adaptations
Action Jackson
Toothbrush Splatter
Draw a simple contour shape on tag board and cut it out in one piece. Identify the positive and negative parts of the stencil. For K-1 do geometric and free form shapes. Upper grade can handle more complex shapes.
Arrange stencils on the drawing paper in a way that looks good to you.
Dip a toothbrush in water and tap the brush firmly a few times to shake off excess water (the less water the better).
Gently dip the brush into the paint. Hold the brush bristles down towards the stencil and, using an index finger, pull back on the bristles allowing the bristles to flip forward thus spattering paint onto the paper around the stencil shape.
As an alternative method screens may be made using window screen material fastened to a wooden frame.
Pick up the stencil and check the spattered shape(s). If necessary replace stencil and spatter again.
Add more shapes or reuse stencils to improve the technique. Overlapping enhances a 3-D effect.
Use the Dot – Paint Like Seurat
Sticker dots
Explain that artist Georges Seurat was the developer of a very scientific way of painting known as pointillism. He used tiny dots of pure color, side by side to build form in his paintings.
Have students create a picture using sticker dots. They may wish to first draw a picture with pencil and then fill it in with sticker dots.
Very young children might wish to fill in a coloring book page with sticker dots.
Have a discussion in closing to talk again about Seurat, pointillism and the work that your students created.
20

Get to Know Michelangelo
Soap Carvings
Michelangelo’s sculptures, such as the David, were chiseled from marble rather than modeled from clay. To teach children about the techniques used to create a chiseled statue, provide your students with bars of soap and wooden toothpicks. Have each student choose an animal to create a sculpture of and have them chisel the soap.
Choose a bar of soap. A larger bar is easier to hold and gives more material to work with. My classes found that Ivory and Zest as the best.
Choose a carving instrument. Soap is fairly soft, so a sharp knife is not absolutely necessary. Plastic knives, spoons, Popsicle/craft sticks or orange sticks (used for a manicure) work quite well. This is especially important to note if younger children are doing this project, to prevent any accidents from using sharp knives. Decide on what subject to carve. A turtle or fish are frequent choices for a first carving, as they are similar to the shape of most bars of soap. You can also choose other subjects such as birds, hearts, boats – anything that tickles your fancy. Draw an outline of your carving on one side of the soap. With the edge of a toothpick, orange stick (used in a manicure) or pencil, students should lightly trace the basic design they will be cutting out. Before cutting, remind students that the soap is very fragile so they must carve slowly and gently. Remove the soap outside the outline using small slivers or chips. Dip the sharp end of the toothpick into water before carefully carving away the area not needed. With each cutting, the toothpick should be dipped into the water. Go slowly. Scrape away one small portion at a time. Cutting off too much caused the soap to break off into chunks. Remember it is only soap. Water reattached our errors.
Add detail to refine the design further. Allow students to use carving tools and finger tips to smooth out the edges that will clearly define the shape of their figure. Using the toothpicks or other carving implement with a fine tip, students can add the simple final touches (like eyes, scales, fur, or fine features) to their sculpture.
Finish the piece. Once the sculpture is complete, students will need to carefully smooth out the features in their design so it appears flawless like a real marble sculpture. Also, the bits of soap that were carved away may be used (if moistened) to build back on to the sculpture.
21 For Claude Monet – Be Far Away

Sponge painting Show students Monet’s paintings and emphasize how they look fuzzy up close but realistic from a distance. Discuss Impressionism and explain that the students are going to paint an Impressionistic garden. Take a long piece of masking tape and cutting it into needed sizes to create a bridge, stairway, trellis, fence, or whatever you decide is going to be part of your garden. Create your idea by sticking the tape on your paper in the shape of an object (bridge, stairway, etc.) Use sponges to create sky, grass, water, trees, flowers etc. by dabbing the colors on to the paper. Be sure to paint over the tape, too. No white paper should show. When dry, carefully pull the tape off of the painting. It should appear that the objects are painted in white and the garden blooms around it. From far away the painting will appear more realistic. Close-up it will appear as splotches of paint.
22 Color combinations

Here are some basic color combinations. · Yellow and Red = Orange · Blue and Yellow = Green · Red and Blue = Purple · Red and Blue and Yellow (equal amounts) = Black · Orange and Red = Orange red · Yellow and Orange = Yellow Orange · Blue and Green = Blue Green · Violet and Blue = Violet Blue · Red and Violet = Red Violet Primary colors red, yellow, and blue cannot be created by mixing two colors. Secondary colors are orange, green, and purple. These secondary colors are made by mixing the primary colors. Tertiary colors are made by mixing a primary color with a secondary color. The secondary color is always adjacent (next to) it. Examples are red-orange, orange-yellow, yellow-green etc. Color mixing If you want to achieve a shade darker add black. Example, Sienna is a shade of brown. If you want to get a different tint add white. Example, dark blue has a tint of white in it, making pastel blue.
23