Embed Size (px)
Citation preview

Create, Save, and Print Presentations
Create a Presentation from a Template
Click the Microsoft Office button and choose New to open a new blank presentation. In the Templates task pane, click Installed Templates. In the Installed Templates section, select a template. Click Create to apply it to the new presentation.
Create a Presentation from a Microsoft Word Outline Navigate to the slide in the presentation where you want to insert the outline. On the Home tab, in the Slides group, from the New Slide drop-down list, select Slides From Outline. Navigate to the appropriate file and click Insert.
1.
2.3.4.
1.
2.
3.
Convert a File to PPTX Format Open a PowerPoint file that is in PPT format. Click the Microsoft Office button and choose Convert. Click OK to convert the file in PPT format to PPTX format.
Save a Presentation in PPT Format Click the Microsoft Office button and choose Save As > PowerPoint 97–2003 Presentation.Navigate to the folder where you want to save the file. In the File Name text box, type a file name and click Save. Click the Microsoft Office button and choose Prepare > Run Compatibility Checker. In the Microsoft Office PowerPoint Compatibility Checker dialog box, click Continue.
Print Slides, Handouts, Notes, or Outlines On the Design tab, in the Page Setup group, click the Page Setup button. Set the page size.
From the Slides Sized For drop-down list, select the size of paper for printing.In the Width and Height text boxes, enter the required width and height values to customize the page size.
Set the page orientation as Portrait or Landscape, and then click OK.Press Ctrl+P to display the Print dialog box. From the Names drop-down list, select the name of the printer to which you want to print. In the Print Range section, select an option.
1.2.3.
1.
2.3.4.
5.
1.
2.•
•
3.
4.5.
6.
microsoft® powerpoint® 2007
quick reference sheetTable of Contents....................................................................
1
Create, Save, and Print Presentations...............
Edit a Presentation................................................
Format a Presentation..........................................
Work with Tables and Lists..................................
Work with Graphic and Multimedia Elements
Work with Slide Shows.........................................
Page 1
Page 2
Page 3
Page 4
Page 4
Page 6
2
In the Copies section, in the Number Of Copies text box, enter the number of copies you want to print. From the Print What drop-down list, select the printout type. From the Color/Grayscale drop-down list, select a print output option and then click OK.
Package a Presentation Click the Microsoft Office button and choose Publish > Package For CD. In the Microsoft Office PowerPoint message box, click OK. Package the presentation.
Copy the presentation to a CD-ROM.In the Package For CD dialog box, type a name for the CD-ROM. Click Copy To CD.Click No to ignore the links to other objects, and if prompted, click No again.
Copy the presentation to a folder on your hard drive. In the Package For CD dialog box, click Copy To Folder.In the Folder Name text box, enter the folder name.Click Browse, navigate to the correct folder, and then click Select to specify the path.Click OK to package the presentation to the folder.In the Microsoft Office PowerPoint dialog box, click Yes.
Click Close to close the Package For CD dialog box.
Save a Presentation as a Custom TemplateClick the Microsoft Office button and choose Save As. In the File Name text box, type a name for the new design template. From the Save As Type drop-down list, select PowerPoint Template (*.potx), and then click Save.
Edit a PresentationCut and Paste Text Using the Paste Special Option
Select the text. Press Ctrl+X to cut the text. Navigate to the location where you want to paste the text. Click in the text placeholder or text box on the slide. Press Ctrl+Alt+V to paste the text
Arrange Slides Using Slide Sorter View On the View tab, in the Presentation Views group, click Slide Sorter. Select the slide. Manage the slide.
To move the slide, click and drag the slide to its new position.To copy the slide, press and hold Ctrl while dragging the slide to its new position.To delete the slide, press Delete.To hide the slide:
On the Ribbon, select the Slide Show tab.In the Set Up group, click Hide Slide to hide the selected slide while running the slide show.
Work with Comments To insert a comment:
On the Review tab, in the Comments group, click New Comment.In the comment text area, enter the text of the comment.
To edit a comment:Right-click the comment and choose Edit Comment.In the comment text area, perform the necessary text editing.
To reposition a comment, click the comment and drag it to a new location.To delete a comment, select the comment and press Delete.
7.
8.9.
1.
2.3.
•a.
b.
•a.b.c.
d.e.
4.
1.2.3.
1.2.3.4.5.
1.2.3.
••
••
a.b.
1.a.
b.2.
a.b.
3.
4.
Add a Footer On the View tab, in the Presentation Views group, click Slide Master. Select the master slide. On the Insert tab, in the Text group, click Header & Footer.Check the Date And Time check box to include the date and time. Display the date and time.
Select the fixed date display.Select the Fixed option.In the Fixed text box, enter the fixed date.
Or, select the Update Automatically option.Check the Slide Number check box to include the slide number. Include footer text.
Check the Footer check box.In the Footer text box, enter the text for the footer.
Check the Don’t Show On Title Slide check box to hide the footer from the title slide. Apply the footer settings.
Click Apply to apply the footer to the current slide.Click Apply To All to apply the footer to all the slides.
Insert a Hyperlink
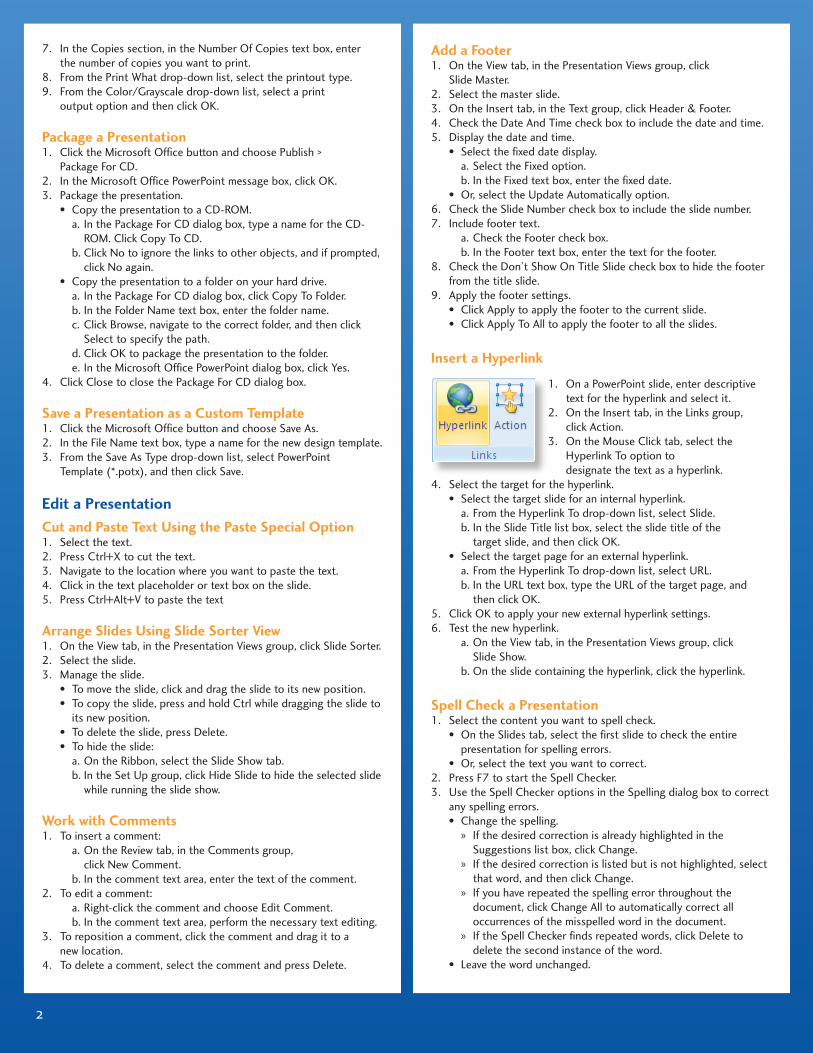
On a PowerPoint slide, enter descriptive text for the hyperlink and select it. On the Insert tab, in the Links group, click Action. On the Mouse Click tab, select the Hyperlink To option to designate the text as a hyperlink.
Select the target for the hyperlink. Select the target slide for an internal hyperlink.
From the Hyperlink To drop-down list, select Slide.In the Slide Title list box, select the slide title of the target slide, and then click OK.
Select the target page for an external hyperlink. From the Hyperlink To drop-down list, select URL.In the URL text box, type the URL of the target page, and then click OK.
Click OK to apply your new external hyperlink settings. Test the new hyperlink.
On the View tab, in the Presentation Views group, click Slide Show.On the slide containing the hyperlink, click the hyperlink.
Spell Check a Presentation Select the content you want to spell check.
On the Slides tab, select the first slide to check the entire presentation for spelling errors.Or, select the text you want to correct.
Press F7 to start the Spell Checker. Use the Spell Checker options in the Spelling dialog box to correct any spelling errors.
Change the spelling. If the desired correction is already highlighted in the Suggestions list box, click Change.If the desired correction is listed but is not highlighted, select that word, and then click Change. If you have repeated the spelling error throughout the document, click Change All to automatically correct all occurrences of the misspelled word in the document. If the Spell Checker finds repeated words, click Delete to delete the second instance of the word.
Leave the word unchanged.
1.
2.3.4.5.
•a.b.
•6.7.
a.b.
8.
9.••
1.
2.
3.
4.•
a.b.
•a.b.
5.6.
a.
b.
1.•
•2.3.
•»
»
»
»
•
3
If you want to leave the word as is and continue spell checking the document, click Ignore Once.If you want to automatically ignore all remaining occurrences of the word, click Ignore All.
If you want to add a word to the default dictionary, click Add. Click Close to stop the spell check procedure at any point.Click the AutoCorrect button to add a misspelled word and its correct spelling to the AutoCorrect list.
In the Microsoft Office PowerPoint message box, click OK.
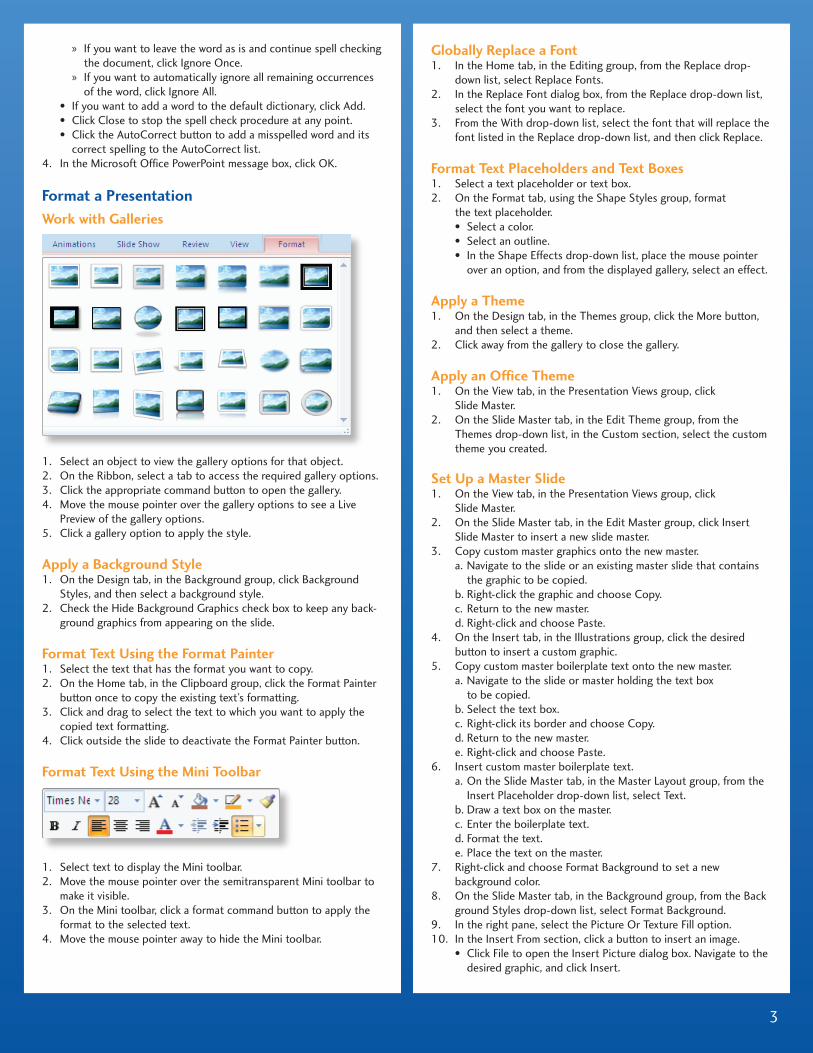
Format a PresentationWork with Galleries
Select an object to view the gallery options for that object. On the Ribbon, select a tab to access the required gallery options. Click the appropriate command button to open the gallery. Move the mouse pointer over the gallery options to see a Live Preview of the gallery options. Click a gallery option to apply the style.
Apply a Background Style On the Design tab, in the Background group, click Background Styles, and then select a background style. Check the Hide Background Graphics check box to keep any back-ground graphics from appearing on the slide.
Format Text Using the Format Painter Select the text that has the format you want to copy. On the Home tab, in the Clipboard group, click the Format Painter button once to copy the existing text’s formatting. Click and drag to select the text to which you want to apply the copied text formatting.Click outside the slide to deactivate the Format Painter button.
Format Text Using the Mini Toolbar
Select text to display the Mini toolbar. Move the mouse pointer over the semitransparent Mini toolbar to make it visible. On the Mini toolbar, click a format command button to apply the format to the selected text. Move the mouse pointer away to hide the Mini toolbar.
»
»
•••
4.
1.2.3.4.
5.
1.
2.
1.2.
3.
4.
1.2.
3.
4.
Globally Replace a Font In the Home tab, in the Editing group, from the Replace drop-down list, select Replace Fonts. In the Replace Font dialog box, from the Replace drop-down list, select the font you want to replace. From the With drop-down list, select the font that will replace the font listed in the Replace drop-down list, and then click Replace.
Format Text Placeholders and Text BoxesSelect a text placeholder or text box. On the Format tab, using the Shape Styles group, format the text placeholder.
Select a color.Select an outline.In the Shape Effects drop-down list, place the mouse pointer over an option, and from the displayed gallery, select an effect.
Apply a Theme On the Design tab, in the Themes group, click the More button, and then select a theme.Click away from the gallery to close the gallery.
Apply an Office Theme On the View tab, in the Presentation Views group, click Slide Master. On the Slide Master tab, in the Edit Theme group, from the Themes drop-down list, in the Custom section, select the custom theme you created.
Set Up a Master SlideOn the View tab, in the Presentation Views group, click Slide Master. On the Slide Master tab, in the Edit Master group, click Insert Slide Master to insert a new slide master. Copy custom master graphics onto the new master.
Navigate to the slide or an existing master slide that contains the graphic to be copied.Right-click the graphic and choose Copy.Return to the new master.Right-click and choose Paste.
On the Insert tab, in the Illustrations group, click the desired button to insert a custom graphic. Copy custom master boilerplate text onto the new master.
Navigate to the slide or master holding the text box to be copied.Select the text box.Right-click its border and choose Copy.Return to the new master.Right-click and choose Paste.
Insert custom master boilerplate text.On the Slide Master tab, in the Master Layout group, from the Insert Placeholder drop-down list, select Text.Draw a text box on the master.Enter the boilerplate text.Format the text.Place the text on the master.
Right-click and choose Format Background to set a new background color. On the Slide Master tab, in the Background group, from the Back ground Styles drop-down list, select Format Background. In the right pane, select the Picture Or Texture Fill option. In the Insert From section, click a button to insert an image.
Click File to open the Insert Picture dialog box. Navigate to the desired graphic, and click Insert.
1.
2.
3.
1.2.
•••
1.
2.
1.
2.
1.
2.
3.a.
b.c.d.
4.
5.a.
b.c.d.e.
6.a.
b.c.d.e.
7.
8.
9.10.
•
4
Click Clipboard to insert a graphic that you have copied to the clipboard.Click ClipArt to open the Select Picture dialog box. Select a clip art graphic and click OK.
Click Apply To All to apply the background to all the slides. In the Format Background dialog box, click Close.
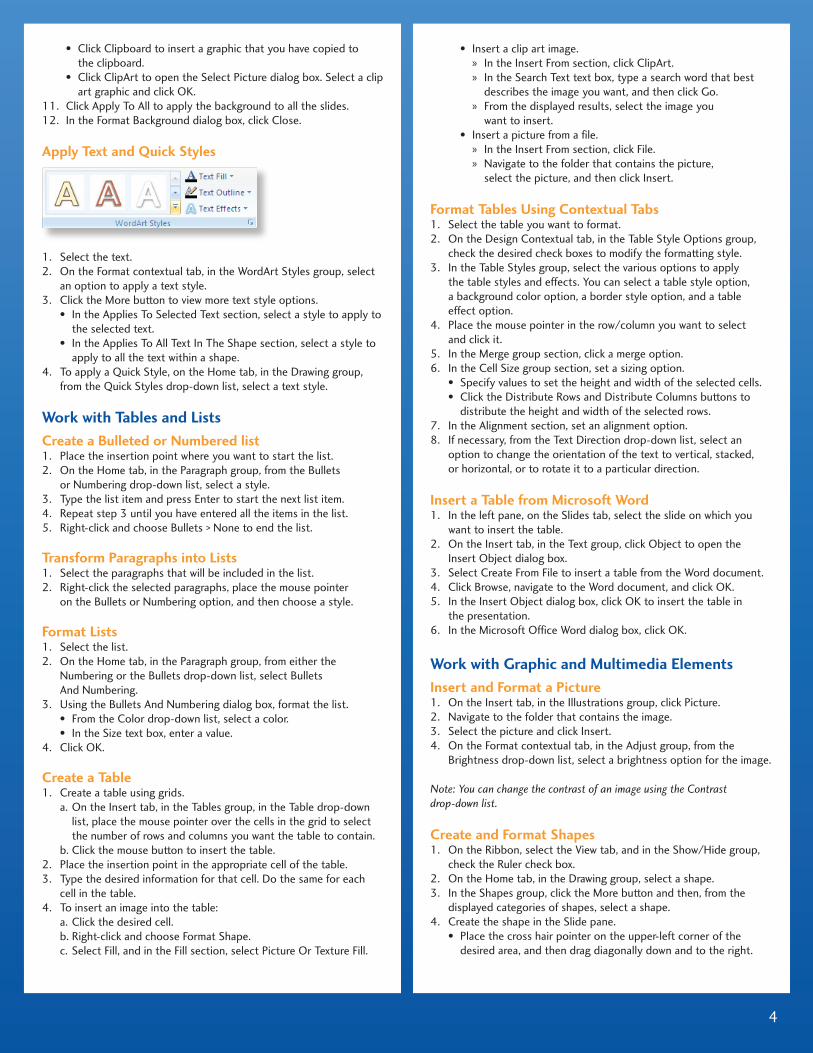
Apply Text and Quick Styles
Select the text. On the Format contextual tab, in the WordArt Styles group, select an option to apply a text style. Click the More button to view more text style options.
In the Applies To Selected Text section, select a style to apply to the selected text.In the Applies To All Text In The Shape section, select a style to apply to all the text within a shape.
To apply a Quick Style, on the Home tab, in the Drawing group, from the Quick Styles drop-down list, select a text style.
Work with Tables and ListsCreate a Bulleted or Numbered list
Place the insertion point where you want to start the list. On the Home tab, in the Paragraph group, from the Bullets or Numbering drop-down list, select a style.Type the list item and press Enter to start the next list item. Repeat step 3 until you have entered all the items in the list. Right-click and choose Bullets > None to end the list.
Transform Paragraphs into Lists Select the paragraphs that will be included in the list. Right-click the selected paragraphs, place the mouse pointer on the Bullets or Numbering option, and then choose a style.
Format Lists Select the list. On the Home tab, in the Paragraph group, from either the Numbering or the Bullets drop-down list, select Bullets And Numbering.Using the Bullets And Numbering dialog box, format the list.
From the Color drop-down list, select a color.In the Size text box, enter a value.
Click OK.
Create a Table Create a table using grids.
On the Insert tab, in the Tables group, in the Table drop-down list, place the mouse pointer over the cells in the grid to select the number of rows and columns you want the table to contain.Click the mouse button to insert the table.
Place the insertion point in the appropriate cell of the table. Type the desired information for that cell. Do the same for each cell in the table.To insert an image into the table:
Click the desired cell.Right-click and choose Format Shape.Select Fill, and in the Fill section, select Picture Or Texture Fill.
•
•
11.12.
1.2.
3.•
•
4.
1.2.
3.4.5.
1.2.
1.2.
3.••
4.
1.a.
b.2.3.
4.a.b.c.
Insert a clip art image. In the Insert From section, click ClipArt.In the Search Text text box, type a search word that best describes the image you want, and then click Go.From the displayed results, select the image you want to insert.
Insert a picture from a file.In the Insert From section, click File.Navigate to the folder that contains the picture, select the picture, and then click Insert.
Format Tables Using Contextual Tabs Select the table you want to format. On the Design Contextual tab, in the Table Style Options group, check the desired check boxes to modify the formatting style. In the Table Styles group, select the various options to apply the table styles and effects. You can select a table style option, a background color option, a border style option, and a table effect option.Place the mouse pointer in the row/column you want to select and click it.In the Merge group section, click a merge option. In the Cell Size group section, set a sizing option.
Specify values to set the height and width of the selected cells.Click the Distribute Rows and Distribute Columns buttons to distribute the height and width of the selected rows.
In the Alignment section, set an alignment option. If necessary, from the Text Direction drop-down list, select an option to change the orientation of the text to vertical, stacked, or horizontal, or to rotate it to a particular direction.
Insert a Table from Microsoft Word In the left pane, on the Slides tab, select the slide on which you want to insert the table. On the Insert tab, in the Text group, click Object to open the Insert Object dialog box. Select Create From File to insert a table from the Word document. Click Browse, navigate to the Word document, and click OK. In the Insert Object dialog box, click OK to insert the table in the presentation. In the Microsoft Office Word dialog box, click OK.
Work with Graphic and Multimedia ElementsInsert and Format a Picture
On the Insert tab, in the Illustrations group, click Picture. Navigate to the folder that contains the image. Select the picture and click Insert.On the Format contextual tab, in the Adjust group, from the Brightness drop-down list, select a brightness option for the image.
Note: You can change the contrast of an image using the Contrast drop-down list.
Create and Format Shapes On the Ribbon, select the View tab, and in the Show/Hide group, check the Ruler check box. On the Home tab, in the Drawing group, select a shape. In the Shapes group, click the More button and then, from the displayed categories of shapes, select a shape. Create the shape in the Slide pane.
Place the cross hair pointer on the upper-left corner of the desired area, and then drag diagonally down and to the right.
•»»
»
•»»
1.2.
3.
4.
5.6.
••
7.8.
1.
2.
3.4.5.
6.
1.2.3.4.
1.
2.3.
4.•
Or, click anywhere on the slide to place the default-sized shape.On the Format contextual tab, in the Shape Styles group, select the desired commands to format the Shape.
Click the More button, and from the Shape Style gallery, choose a Shape Style theme.Select a color to change the fill color of the object.Select the color, line style, and width of the line that marks the boundaries of the object. Select a visual shape effect.
Apply Shape Styles to ShapesSelect the shape to which you want to apply the style. On the Format Contextual tab, in the Shape Styles group, click the More button and select the style that you want to apply to the shape. From the Shape Outline drop-down list, select No Outline to remove the border from the shape.
Insert Clip Art On the Insert tab, in the Illustrations group, click Clip Art.In the Clip Art task pane, search for an image.
In the Search For text box, type a search word that best describes the image.Or, from the Search In drop-down list, select a category to search in.
Click Go. Click Yes to include the additional clip art images from Microsoft Office Online. From the displayed results, select the image you want to insert.
Insert and Format WordArt On the Insert tab, in the Text group, click WordArt and select a style form the WordArt gallery. On the Format contextual tab and in the WordArt Styles group, from the Text Effects drop-down list, select effects for the WordArt. Format the WordArt object using the commands in the WordArt Styles group.
Select a WordArt style that can be applied to selected text or to all text in the selected shape. Select a color for the text.Select the color, width, and line style of the text.Select visual text effects, such as Shadow and Glow, for the text.
Group and Ungroup Objects Select all the objects you want to group. Right-click the selected objects, and from the shortcut menu, choose Group > Group.Resize, modify, or move the grouped objects to the correct location.
Drag the rotation handles to set the appropriate size.Set the desired shape and color using the Shape Styles group on the Format contextual tab.Drag the objects to the desired location.
To ungroup the objects, right-click the selected objects, and from the shortcut menu, choose Group > Ungroup.
Create a Chart Click in the placeholder where you want to insert the chart. On the Insert tab, in the Illustrations group, click Chart. In the left pane, select a chart type. Select a chart, and then click OK. In the Excel worksheet, replace the sample data with the appropriate data labels and data values.
•5.
•
••
•
1.2.
3.
1.2.
•
•
3.4.
5.
1.
2.
3.
•
•••
1.2.
3.
••
•4.
1.2.3.4.5.
Save and close the Excel worksheet. On the Layout contextual tab, in the Labels group, from the Chart Title drop-down list, select a chart title layout. Select the existing text and type the new title. In the Labels group, from the Legend drop-down list, select a leg-end layout for the chart.
Edit Chart Data Click the chart to select it. On the Design Contextual tab, in the Data group, click Edit Data. In the Excel worksheet, make the relevant changes to the data, and then close the worksheet
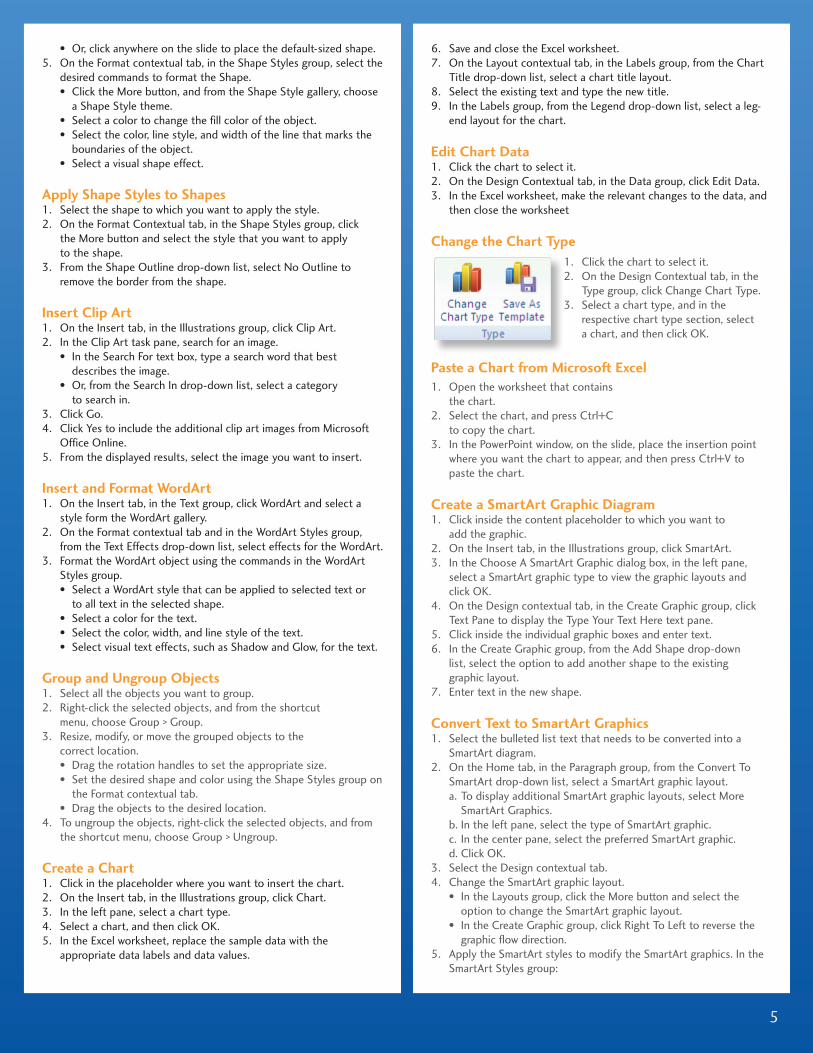
Change the Chart TypeClick the chart to select it. On the Design Contextual tab, in the Type group, click Change Chart Type. Select a chart type, and in the respective chart type section, select a chart, and then click OK.
Paste a Chart from Microsoft Excel Open the worksheet that contains the chart. Select the chart, and press Ctrl+C to copy the chart. In the PowerPoint window, on the slide, place the insertion point where you want the chart to appear, and then press Ctrl+V to paste the chart.
Create a SmartArt Graphic Diagram Click inside the content placeholder to which you want to add the graphic. On the Insert tab, in the Illustrations group, click SmartArt.In the Choose A SmartArt Graphic dialog box, in the left pane, select a SmartArt graphic type to view the graphic layouts and click OK. On the Design contextual tab, in the Create Graphic group, click Text Pane to display the Type Your Text Here text pane. Click inside the individual graphic boxes and enter text.In the Create Graphic group, from the Add Shape drop-down list, select the option to add another shape to the existing graphic layout.Enter text in the new shape.
Convert Text to SmartArt Graphics Select the bulleted list text that needs to be converted into a SmartArt diagram. On the Home tab, in the Paragraph group, from the Convert To SmartArt drop-down list, select a SmartArt graphic layout.
To display additional SmartArt graphic layouts, select More SmartArt Graphics.In the left pane, select the type of SmartArt graphic.In the center pane, select the preferred SmartArt graphic.Click OK.
Select the Design contextual tab.Change the SmartArt graphic layout.
In the Layouts group, click the More button and select the option to change the SmartArt graphic layout.In the Create Graphic group, click Right To Left to reverse the graphic flow direction.
Apply the SmartArt styles to modify the SmartArt graphics. In the SmartArt Styles group:
6.7.
8.9.
1.2.3.
1.2.
3.
1.
2.
3.
1.
2.3.
4.
5.6.
7.
1.
2.
a.
b.c.d.
3.4.
•
•
5.
5

From the Change Colors drop-down list, select a color to apply to the graphic layout.Select a graphic style to apply to the graphic layout, and click the More button to see additional graphic styles.
To apply shape and style effects to a shape:Select a shape, and then select the Format contextual tab.Select an option to apply a shape style and effects.
To add a bulleted list within a shape.Select the shape.On the Design contextual tab, in the Create Graphic group, click Add Bullet.
Insert a Sound or Movie from a File
Display the appropriate Insert dialog box. On the Insert tab, in the Media Clips group:
From the Movie drop-down list, select Movie From File to display the Insert Movie dialog box.
From the Sound drop-down list, select Sound From File to display the Insert
Sound dialog box. Navigate to the file you want to insert and double-click it.Designate when the file should be played. In the Microsoft Office PowerPoint dialog box:
Click Automatically to have the file play when the slide is first displayed.Click When Clicked to have the file play when the user chooses.
Resize the file using the Size And Position dialog box.
Edit a Movie File Object On the Options contextual tab, in the Movie Options group, click the Dialog Box Launcher button. Set the property values for the object’s play and display options.
Set the play options to play the movie as a loop until it is stopped, to rewind the movie when playing is done, and to set the volume. Set the display options to hide the movie file while it is not playing and to zoom it to full screen.
Click OK.
Work with Slide Shows
Add Transition and Animation Effects On the Animations tab, in the Transition To This Slide group:
Click the More button, and select a transition to apply it to the selected slides.Click Apply To All to apply the transition effect to all the slides in the presentation.Select the speed at which the transition should occur.Select a sound to add a transition sound.
In the Preview group, click Preview. Select the objects on the slide to which you want to add animation effects.On the Animations tab, in the Animations group, from the Animate drop-down list, select an animation effect.
•
•
6.a.b.
7.a.b.
1.
•
•
2.3.
•
•4.
1.
2.•
•
3.
1.•
•
••
2.3.
4.
Hide or Display a Slide Select a slide to hide or display. On the Slide Show tab, in the Set Up group, click Hide Slide.
Create and Run a Custom Slide Show On the Slide Show tab, in the Start Slide Show group, from the Custom Slide Show drop-down list, select Custom Shows. Click New. In the Slide Show Name text box, type a name for the custom show. Select the slides you want to be displayed in the custom show.
In the Slides In Presentation list box, select a slide.Click Add.Select and add other slides until the playlist for the custom show is complete.
Note: For an automatically advanced, narrated slide show, save the slide timings. For manually advanced, narrated slides, do not save the timings.
Click OK to save the custom show, and then click Close.To run the custom show, in the Custom Shows text area, select the name of the custom show, and then click Show.
Record Narration
Verify that your microphone is correctly plugged into your computer. On the Slide Show tab, in the Set Up group, click Record Narration. In the Record Narration dialog box, set the microphone level.
Click Set Microphone Level to display the Microphone Check dialog box.Speak into the microphone with your normal speaking voice to engage the volume meter’s autocalibrator.When the volume meter stops moving back and forth across the horizontal slide bar, stop speaking, and then click OK.
Set the quality level of the narration recording. In the Record Narration dialog box, click Change Quality.From the Name drop-down list, select a recording quality of your choice.From the Attributes drop-down list, select an attribute.Click OK.
Click OK to start the slide show in Recording mode. When the first slide is displayed, speak the narration for it into the microphone. Press the Spacebar to save the narration for the first slide and advance to the second slide. Continue recording slide narration for the other slides in the show.Set the slide advance for the narrated slide show. Play back your narrated slide show to verify that your narration was recorded.
1.2.
1.
2.3.4.
a.b.c.
5.6.
1.
2.
3.a.
b.
c.
4.a.b.
c.d.
5.6.
7.
8.9.10.
Copyright © 2007 Element K Corporation. All rights reserved. Reproduction in whole or in part in any form or medium without the express written permission of Element K is prohibited. Element K is an independent provider of integrated training solutions for individuals, businesses, educational institutions and government agencies. No use of another parties’ name, product name or screen shots should be construed to imply sponsorship or endorsement of our products or services by, nor any affiliation of such entity with, Element K. Element K and the Element K logo are trademarks of Element K Corporation. All other product and service names used may be common law or registered trademarks of their respective proprietors.
030841KC rev 1.0
6www.elementk.com • 1-800-456-4677