Embed Size (px)
DESCRIPTION
Measurement and Lab Equipment. Target. I can identify and correctly use common lab equipment used in the chemistry laboratory. Test Tube. A small glass container used to view chemical reactions or to heat small amounts of a substance. Pipet. - PowerPoint PPT Presentation
Citation preview
I can identify and correctly use common lab equipment used in the chemistry laboratory.
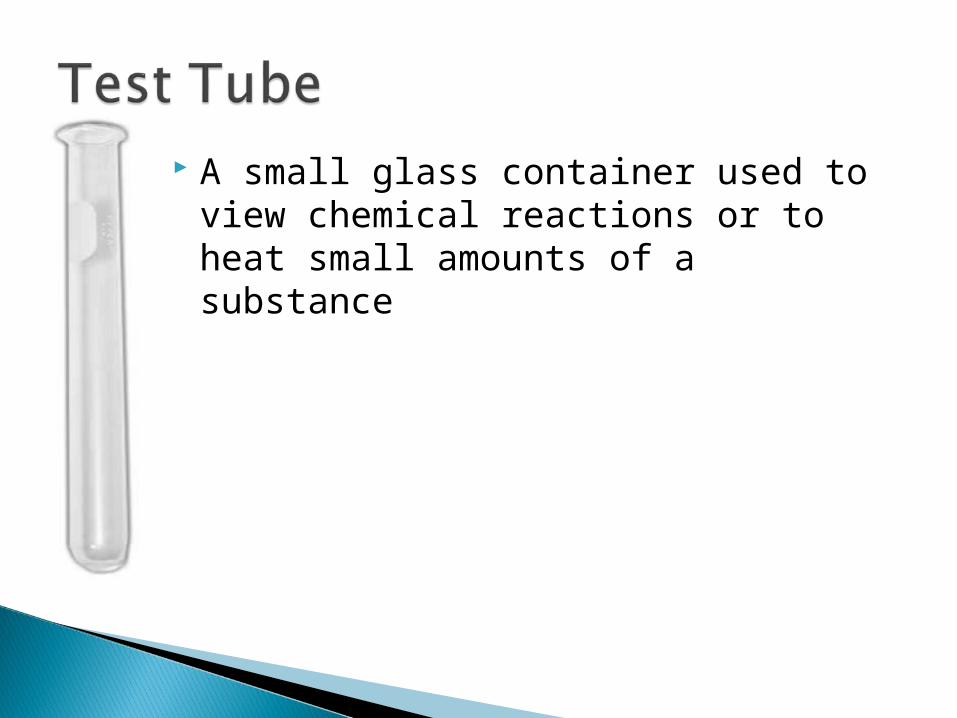
A small glass container used to view chemical reactions or to heat small amounts of a substance

Like a dropper, it is used to transfer and dispense small amounts of a liquid.
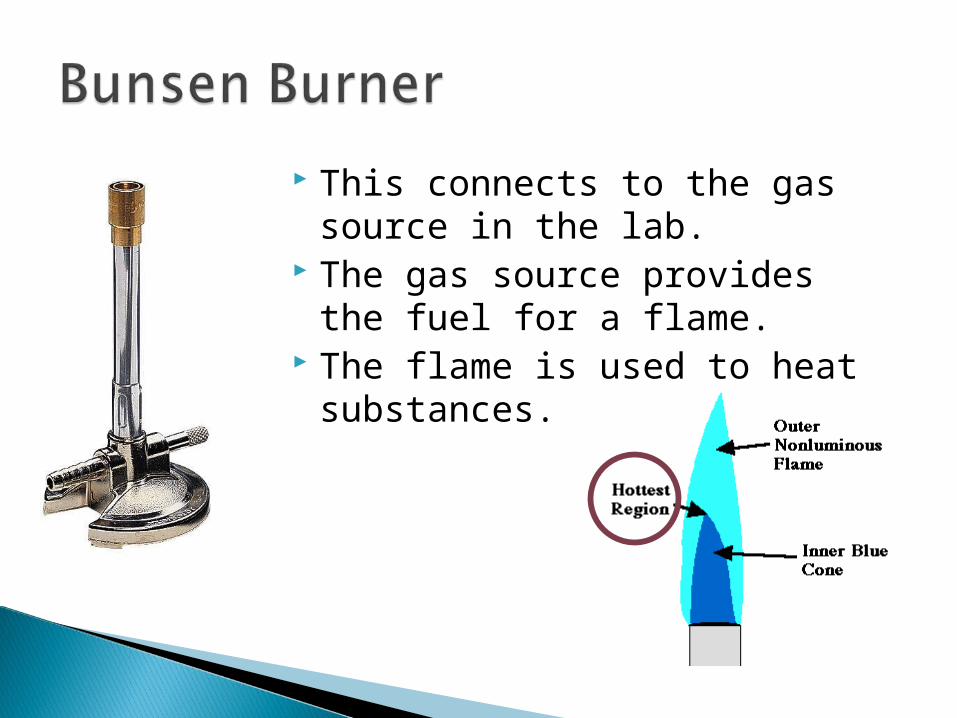
This connects to the gas source in the lab.
The gas source provides the fuel for a flame.
The flame is used to heat substances.
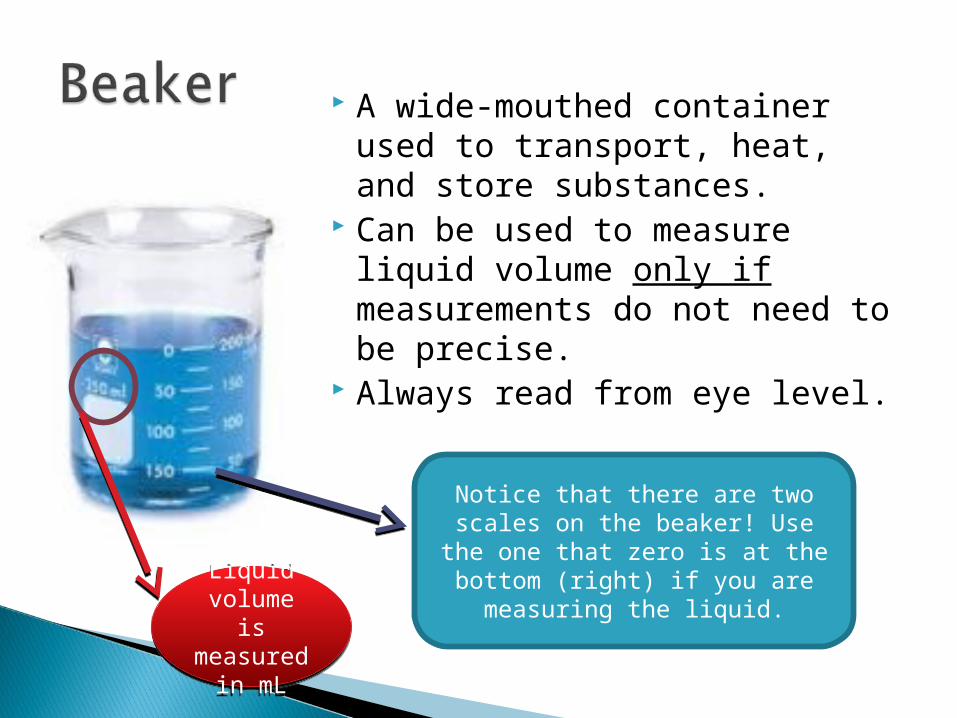
A wide-mouthed container used to transport, heat, and store substances.
Can be used to measure liquid volume only if measurements do not need to be precise.
Always read from eye level.
Notice that there are two scales on the beaker! Use the one that zero is at the bottom (right) if you are measuring the liquid.Liquid
volume is measured
in mL
Liquid volume is measured
in mL
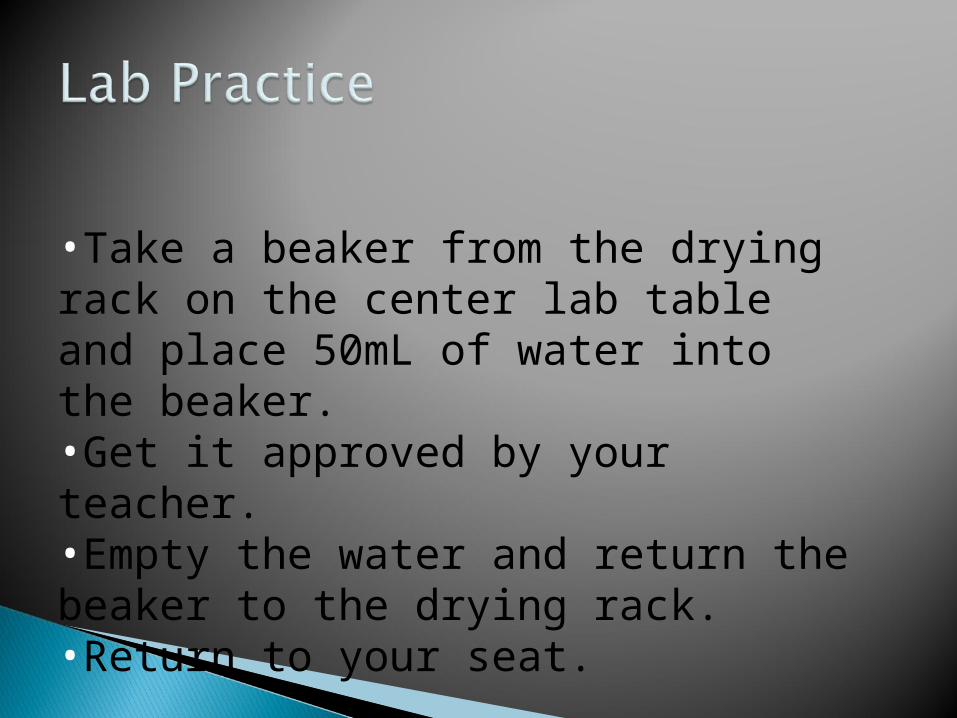
•Take a beaker from the drying rack on the center lab table and place 50mL of water into the beaker. •Get it approved by your teacher. •Empty the water and return the beaker to the drying rack. •Return to your seat.
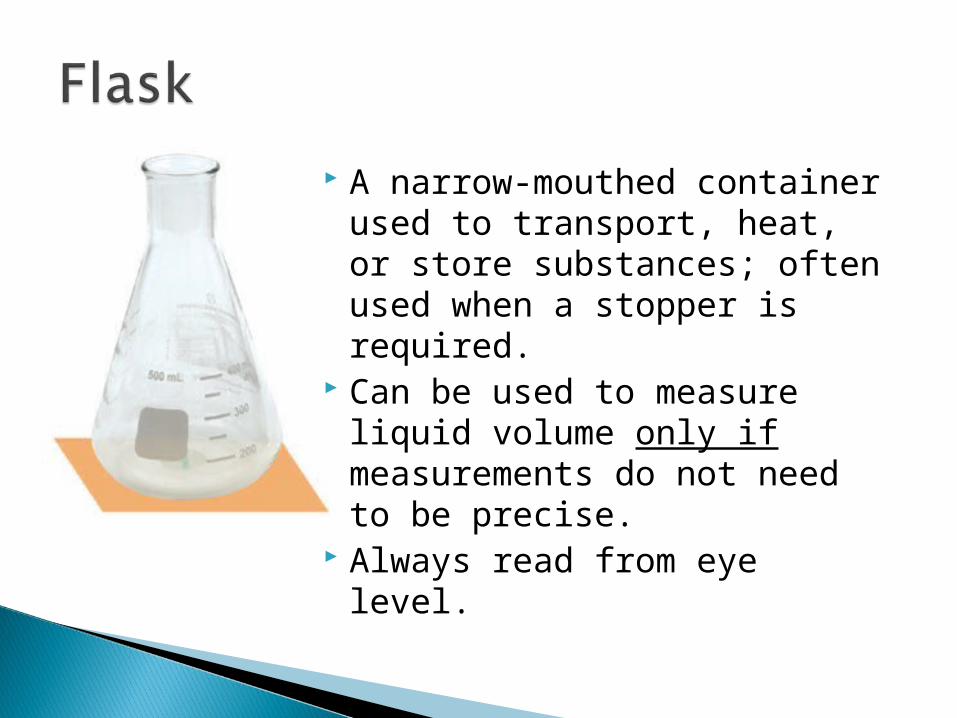
A narrow-mouthed container used to transport, heat, or store substances; often used when a stopper is required.
Can be used to measure liquid volume only if measurements do not need to be precise.
Always read from eye level.
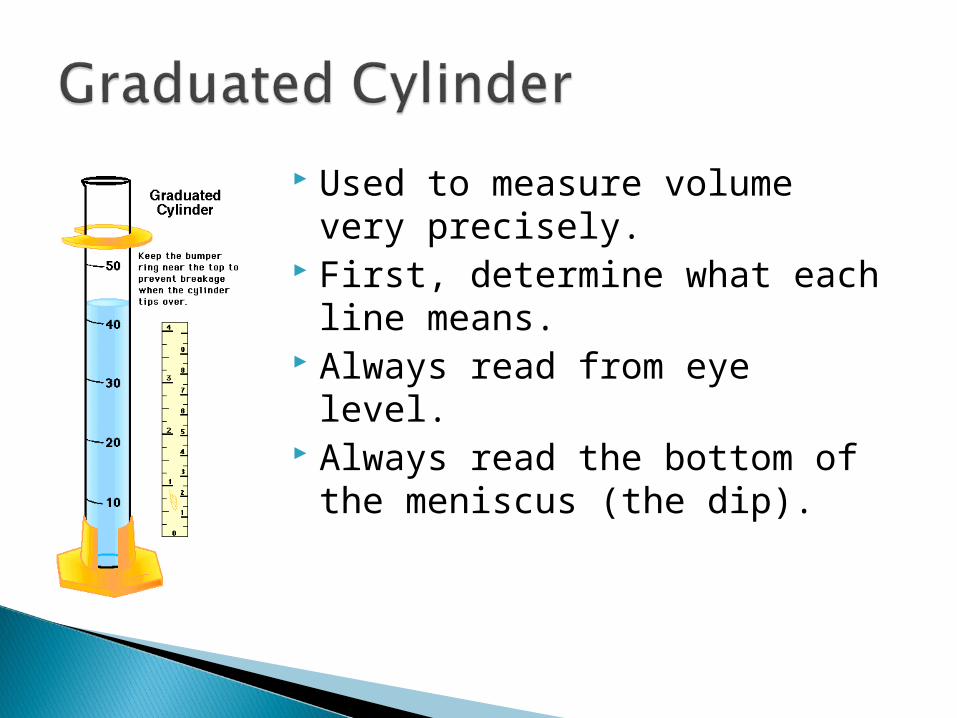
Used to measure volume very precisely.
First, determine what each line means.
Always read from eye level. Always read the bottom of the
meniscus (the dip).
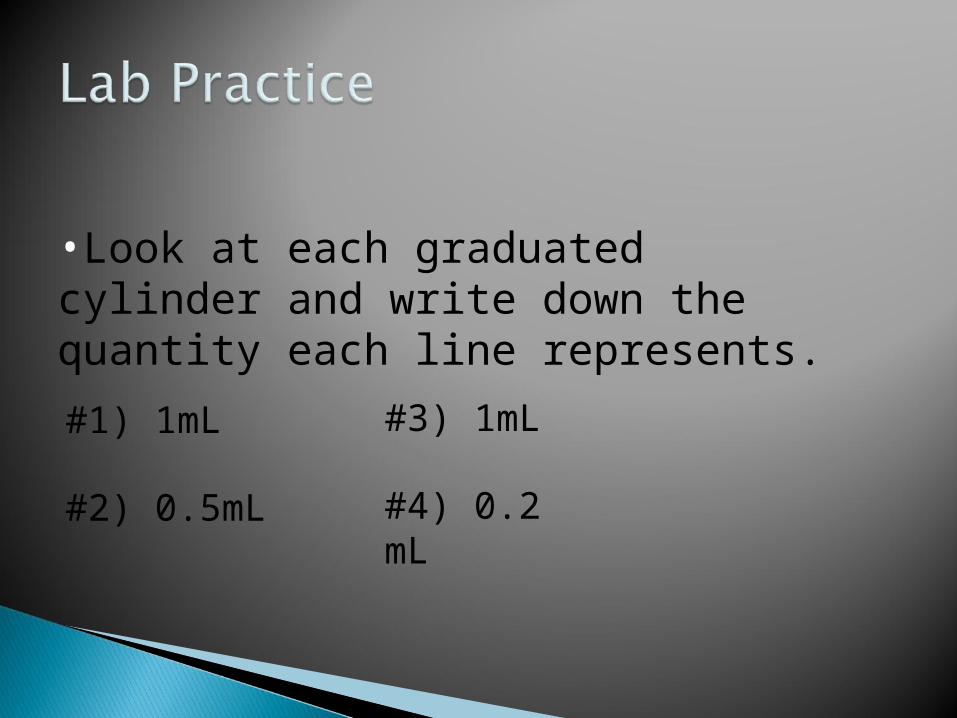
•Look at each graduated cylinder and write down the quantity each line represents.
#1) 1mL
#2) 0.5mL
#3) 1mL
#4) 0.2 mL
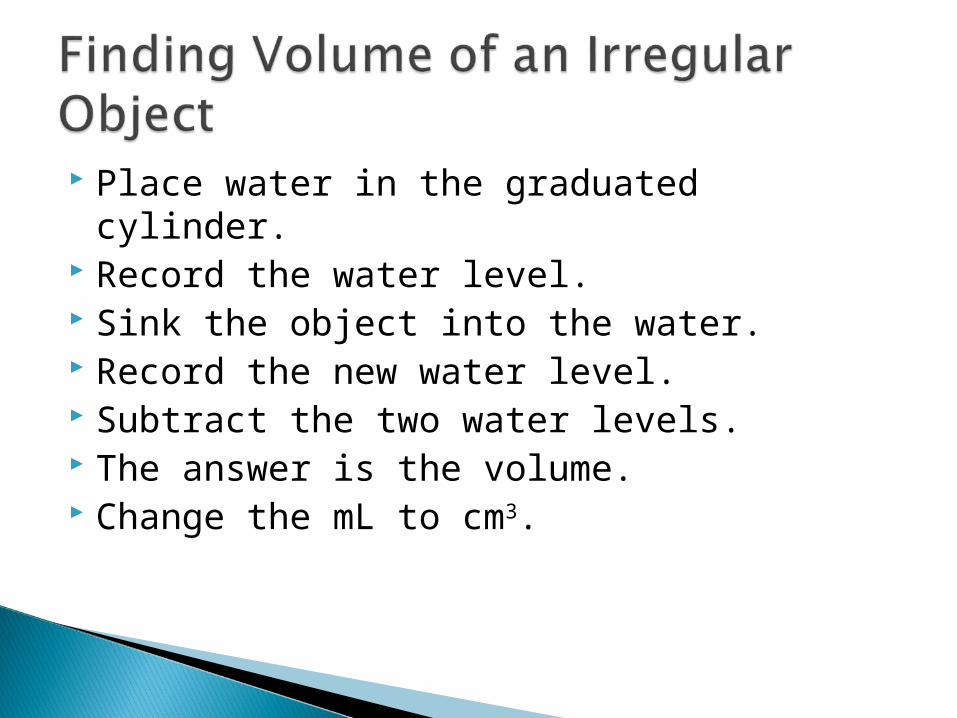
Place water in the graduated cylinder. Record the water level. Sink the object into the water. Record the new water level. Subtract the two water levels. The answer is the volume. Change the mL to cm3.
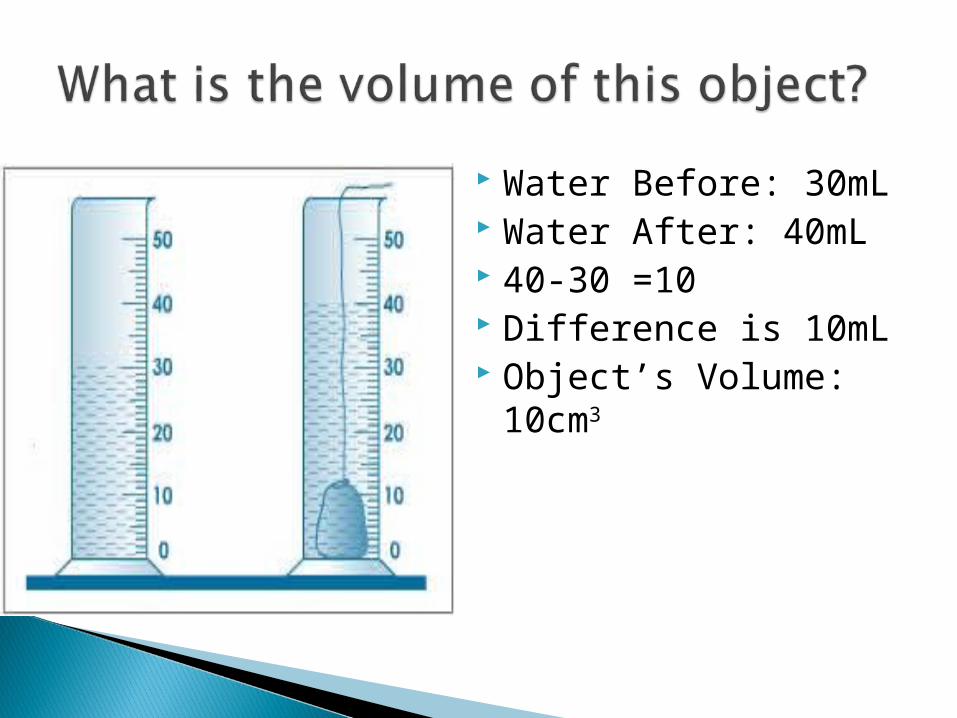
Water Before: 30mL Water After: 40mL 40-30 =10 Difference is 10mL Object’s Volume:
10cm3
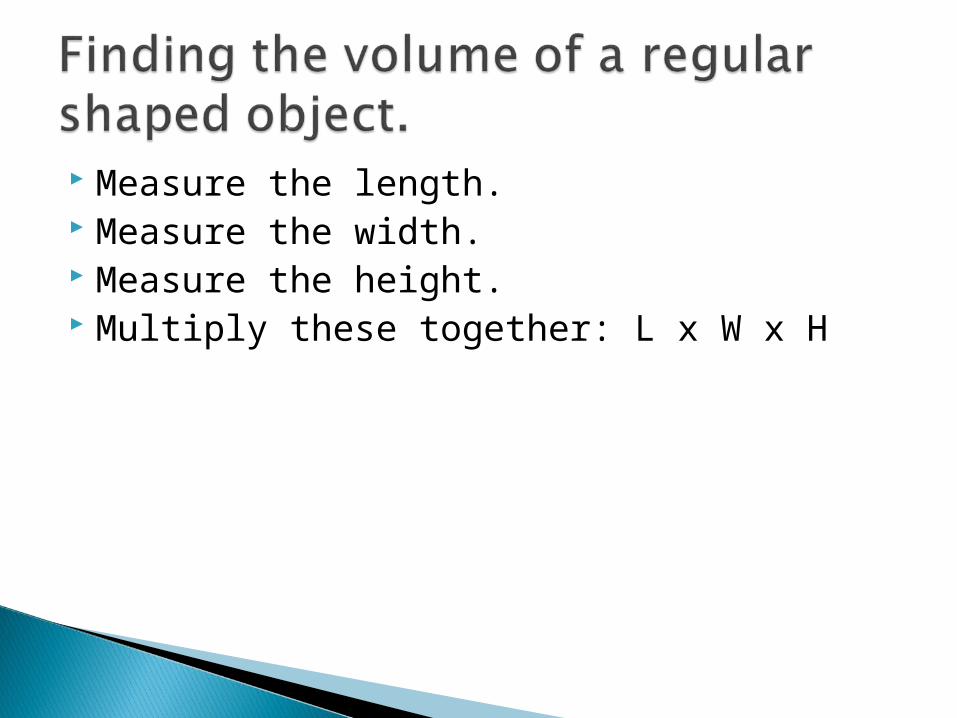
Measure the length. Measure the width. Measure the height. Multiply these together: L x W x H
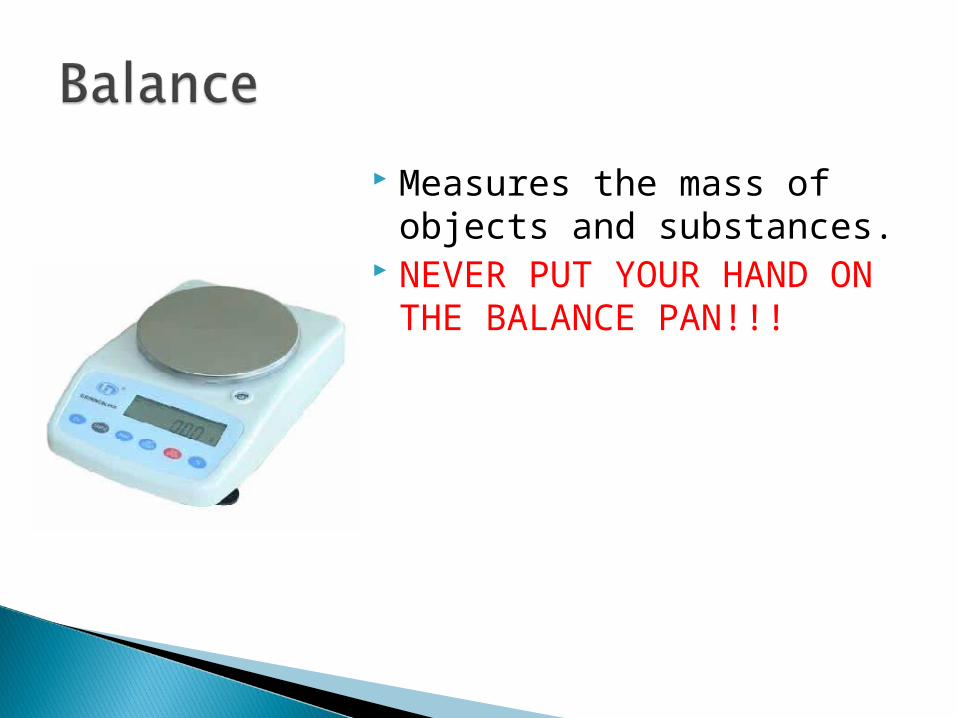
Measures the mass of objects and substances.
NEVER PUT YOUR HAND ON THE BALANCE PAN!!!
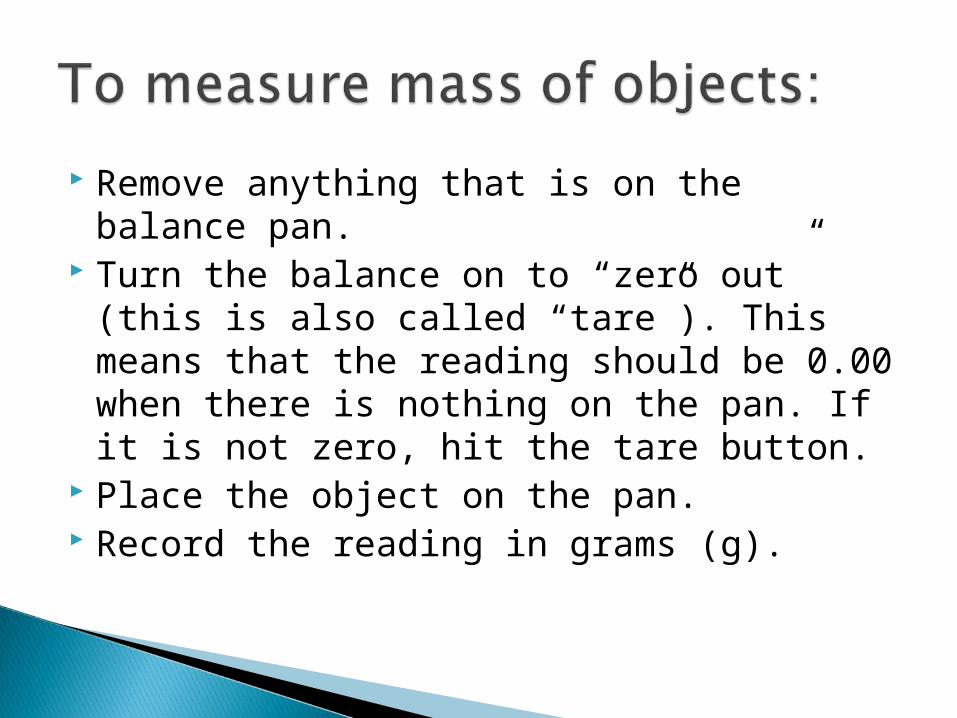
Remove anything that is on the balance pan.
Turn the balance on to “zero out” (this is also called “tare”). This means that the reading should be 0.00 when there is nothing on the pan. If it is not zero, hit the tare button.
Place the object on the pan. Record the reading in grams (g).
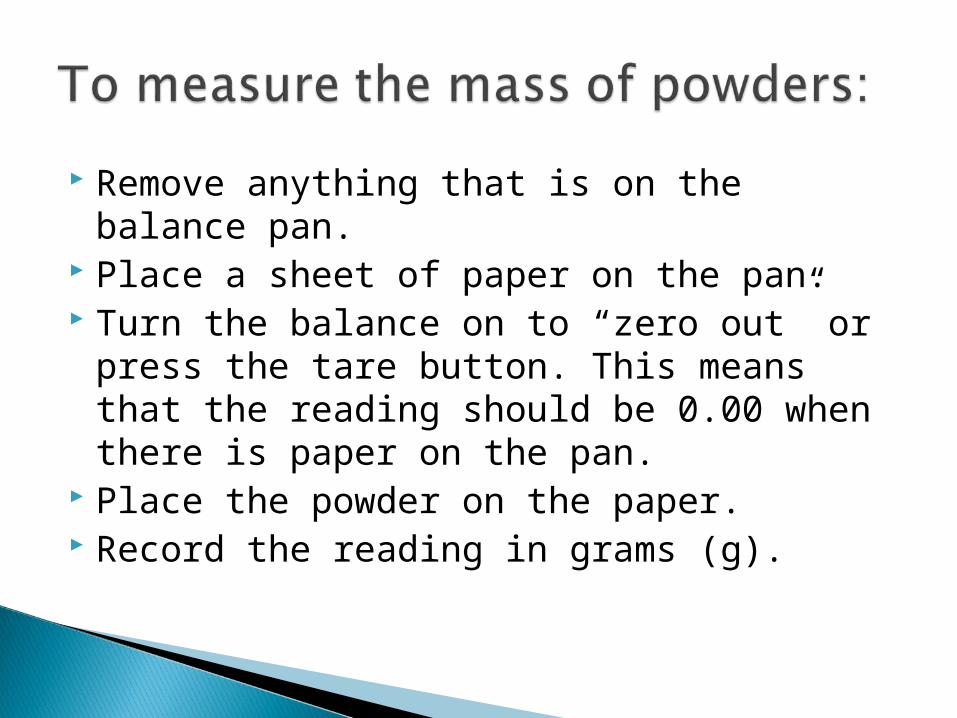
Remove anything that is on the balance pan.
Place a sheet of paper on the pan. Turn the balance on to “zero out” or press
the tare button. This means that the reading should be 0.00 when there is paper on the pan.
Place the powder on the paper. Record the reading in grams (g).
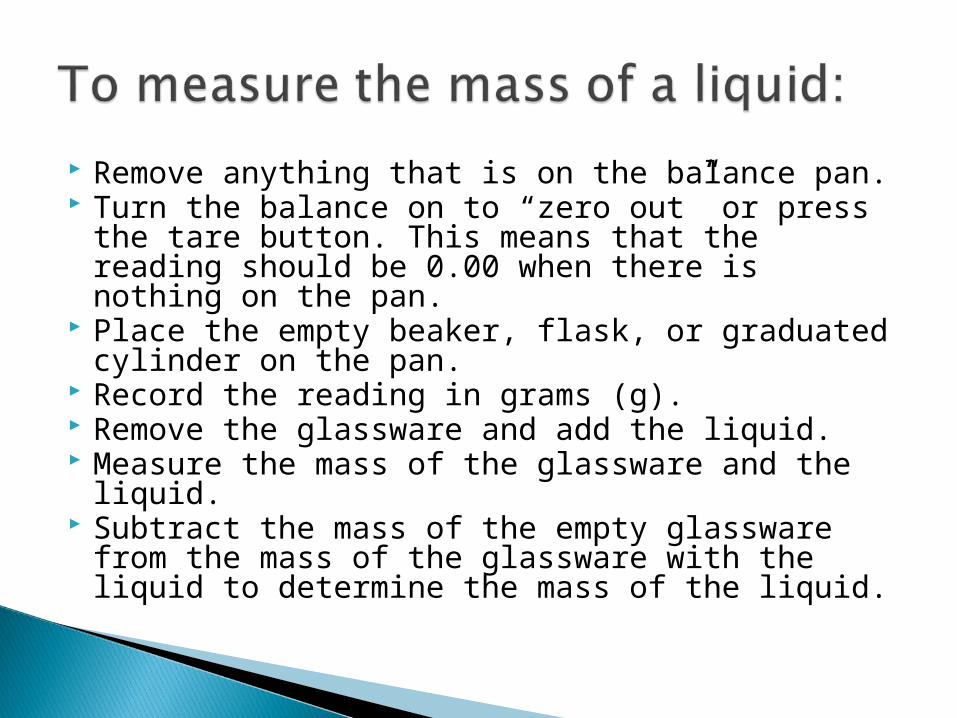
Remove anything that is on the balance pan. Turn the balance on to “zero out” or press the
tare button. This means that the reading should be 0.00 when there is nothing on the pan.
Place the empty beaker, flask, or graduated cylinder on the pan.
Record the reading in grams (g). Remove the glassware and add the liquid. Measure the mass of the glassware and the
liquid. Subtract the mass of the empty glassware from
the mass of the glassware with the liquid to determine the mass of the liquid.
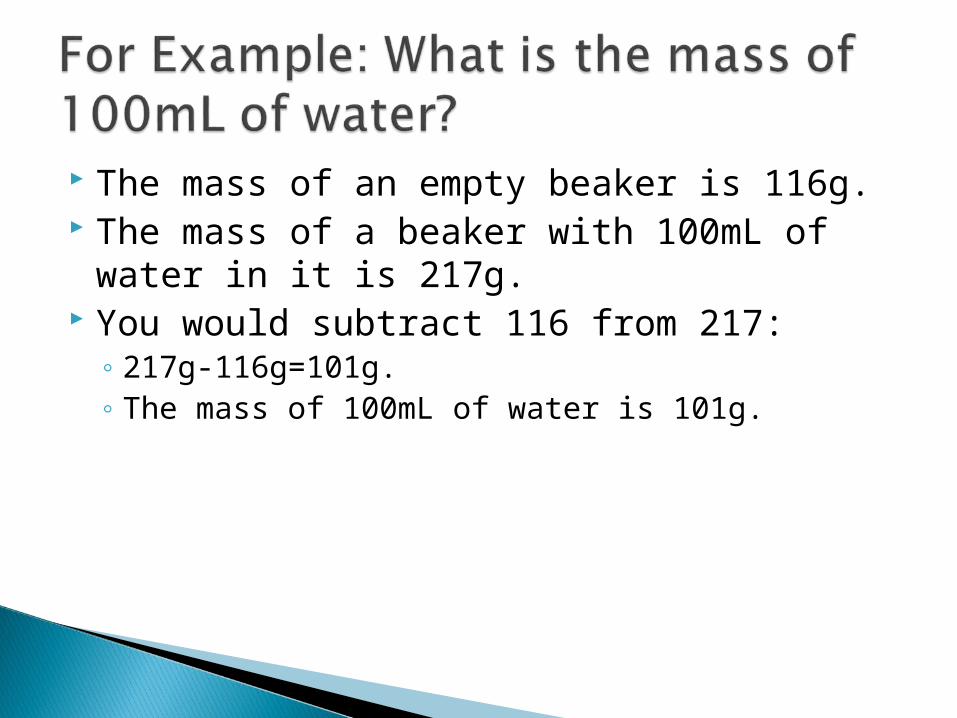
The mass of an empty beaker is 116g. The mass of a beaker with 100mL of water
in it is 217g. You would subtract 116 from 217:
◦ 217g-116g=101g.◦ The mass of 100mL of water is 101g.