Embed Size (px)
Citation preview

Lecture 2
Managing Windows OSIntroduction to .NET Framework
C# & Microsoft Visual Studio .NET 2008
Overview
• Windows OS
• Dealing with Startup Applications
• Task Manager
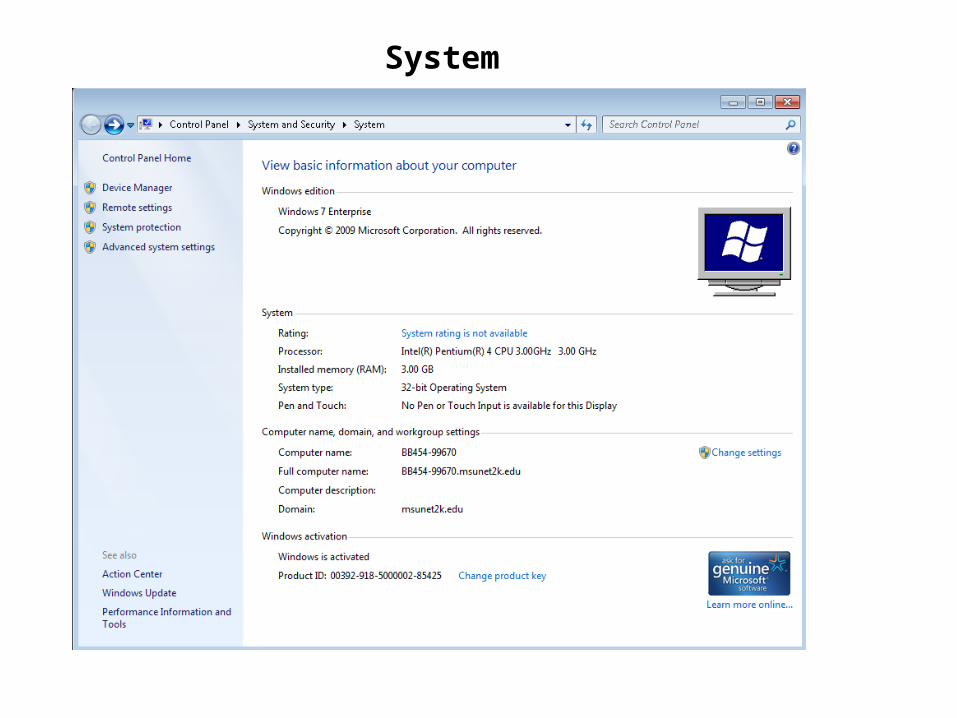
• System Properties
• Windows 7 Tools
• .NET Framework
• C# Programming

Startup Applications
http://windows.fyicenter.com/view.php?ID=348&R=388
A startup application is a software application that has been configured to be launched during the system startup time automatically. When you install new software applications, many of them will be configured as startup applications. Malware (Virus, Worms, Adware, Spyware) is often designed to infect your system by configuring it as a startup application.
msconfig.exe

Registry - Startup applications can be configured in the system registry in locations like:
HKLM\Software\Microsoft\Windows\CurrentVersion\Run
Common startup - Startup applications can be configured in the common login profile area:
C:\Documents and Settings\All Users\Start Menu\Programs\Startup
Startup - Startup applications can be configured in your own login profile area:
C:\Documents and Settings\your_login\Start Menu\Programs\Startup
How a Program Becomes a Startup Application

Adding Programs to the Startup Application List
Application installation process - When you install applications to your Windows system, the installation process may add programs to the startup application list.
Examples: Google Desktop Search, Yahoo Messenger, Real Player, etc.
Virus/Adware/Spyware infection - Many virus, adware, and spyware will add programs to the startup application list.
Manual process - You can add programs to the startup application list manually.

Windows Task Manager
• Press CTRL+ALT+DELETE, and then click Task Manager.• Press CTRL+SHIFT+ESC.• Right-click an empty area of the taskbar, and then click Task Manager.

Applications

Processes
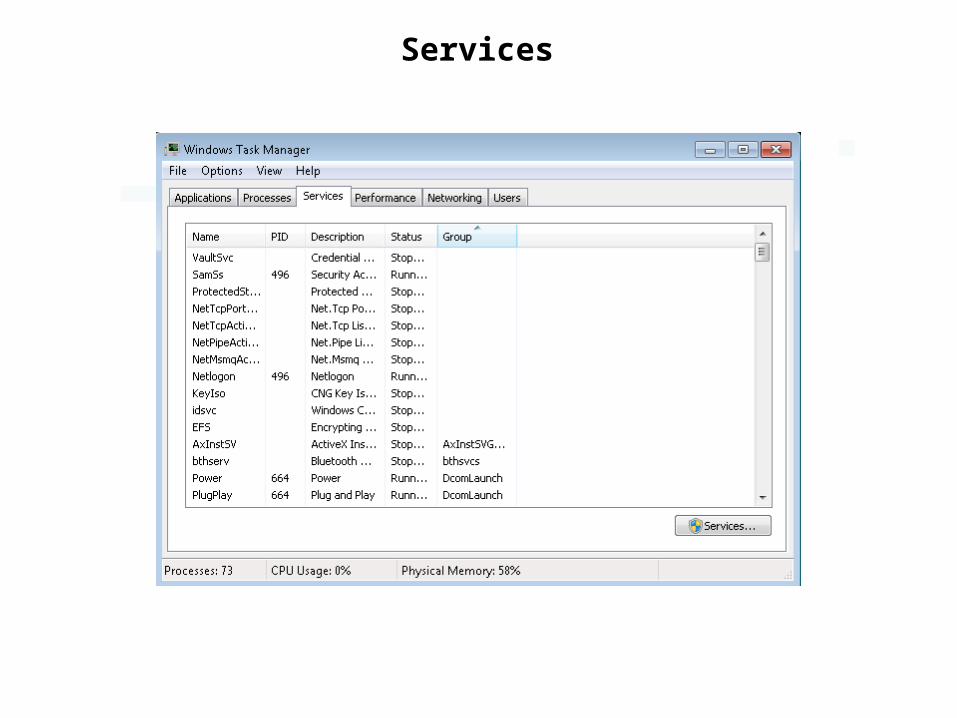
Services

Performance
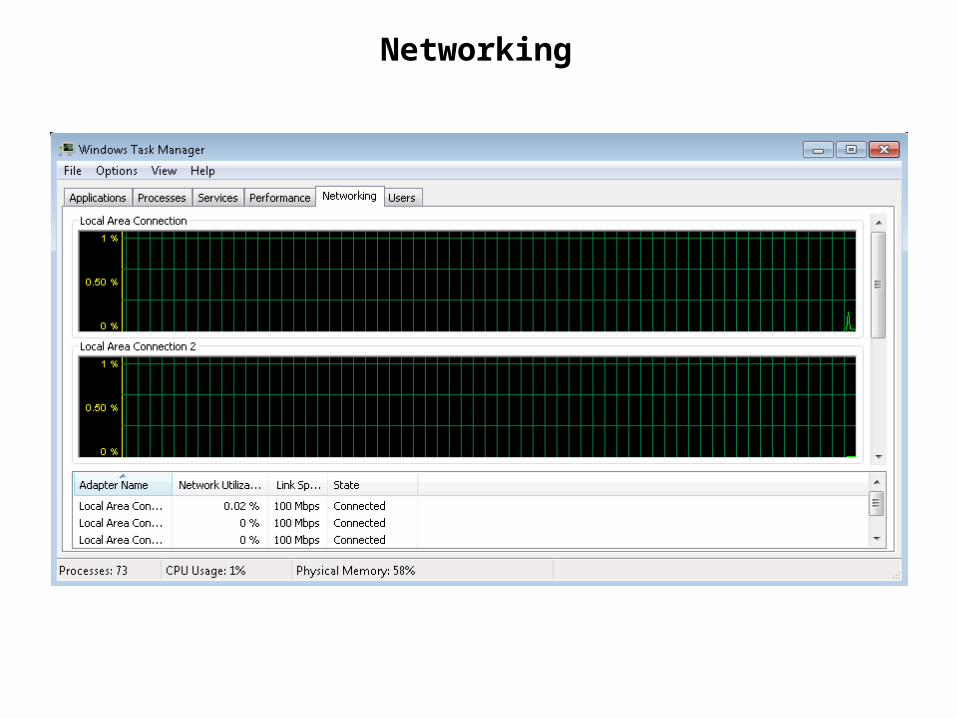
Networking

Users
System
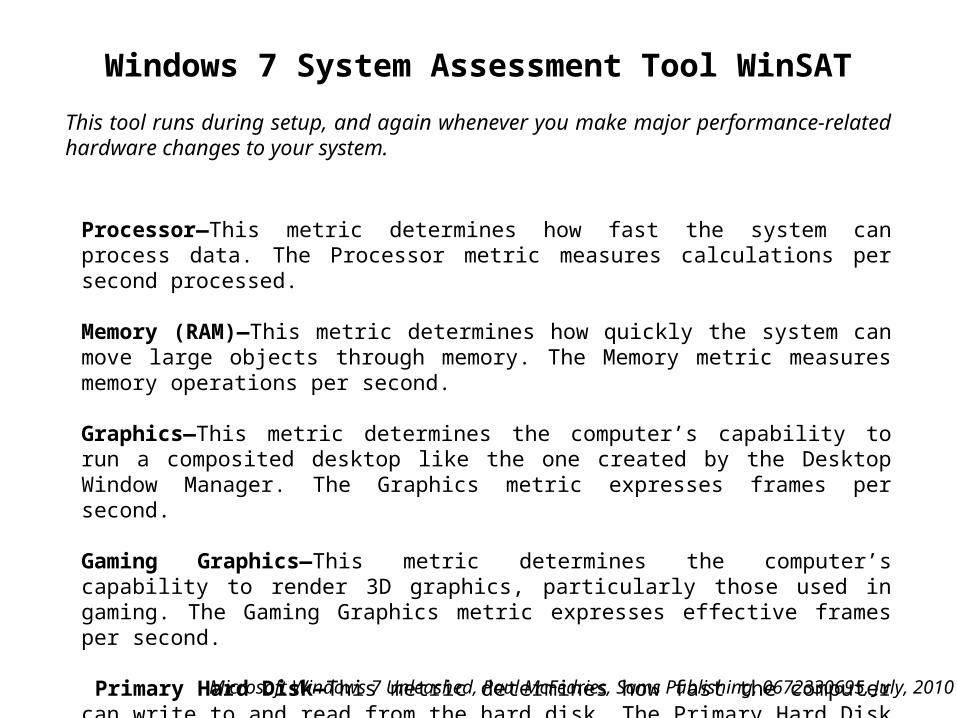
Processor—This metric determines how fast the system can process data. The Processor metric measures calculations per second processed.
Memory (RAM)—This metric determines how quickly the system can move large objects through memory. The Memory metric measures memory operations per second.
Graphics—This metric determines the computer’s capability to run a composited desktop like the one created by the Desktop Window Manager. The Graphics metric expresses frames per second.
Gaming Graphics—This metric determines the computer’s capability to render 3D graphics, particularly those used in gaming. The Gaming Graphics metric expresses effective frames per second.
Primary Hard Disk—This metric determines how fast the computer can write to and read from the hard disk. The Primary Hard Disk storage metric measures megabytes per second.
Windows 7 System Assessment Tool WinSAT
Microsoft Windows 7 Unleashed, Paul McFedries, Sams Publishing, 0672330695, July, 2010
This tool runs during setup, and again whenever you make major performance-related hardware changes to your system.
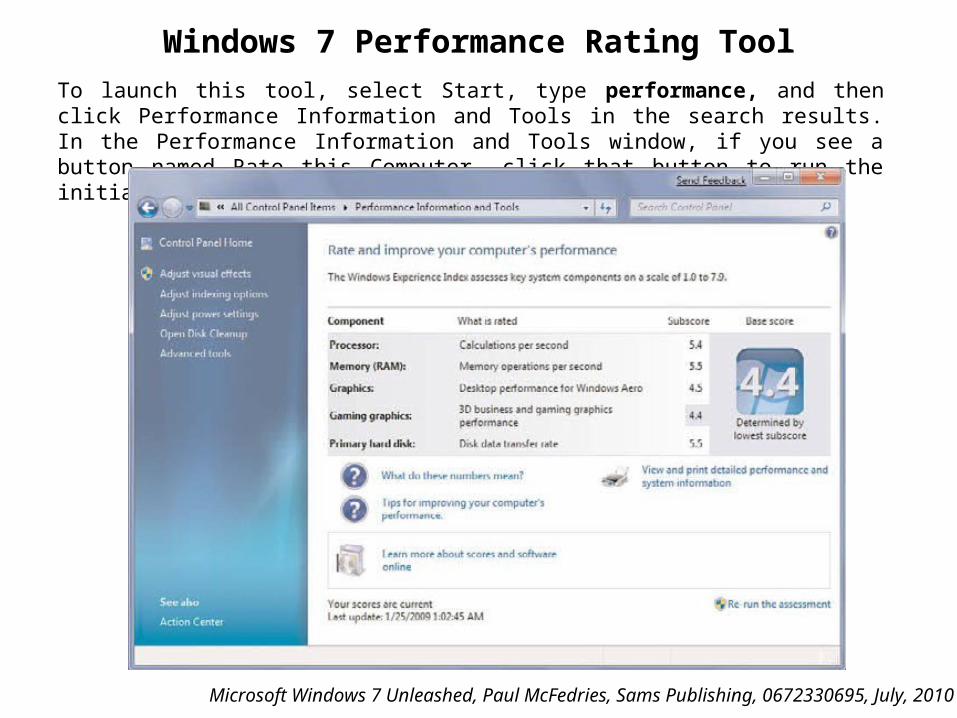
To launch this tool, select Start, type performance, and then click Performance Information and Tools in the search results. In the Performance Information and Tools window, if you see a button named Rate this Computer, click that button to run the initial assessment.
Windows 7 Performance Rating Tool
Microsoft Windows 7 Unleashed, Paul McFedries, Sams Publishing, 0672330695, July, 2010
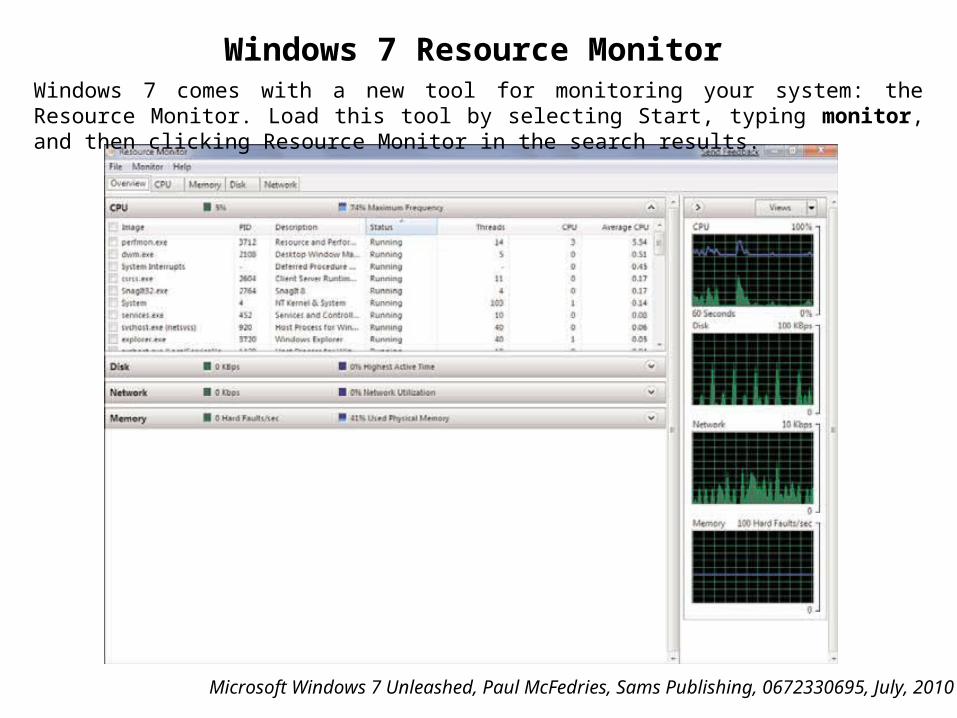
Windows 7 Resource MonitorWindows 7 comes with a new tool for monitoring your system: the Resource Monitor. Load this tool by selecting Start, typing monitor, and then clicking Resource Monitor in the search results.
Microsoft Windows 7 Unleashed, Paul McFedries, Sams Publishing, 0672330695, July, 2010
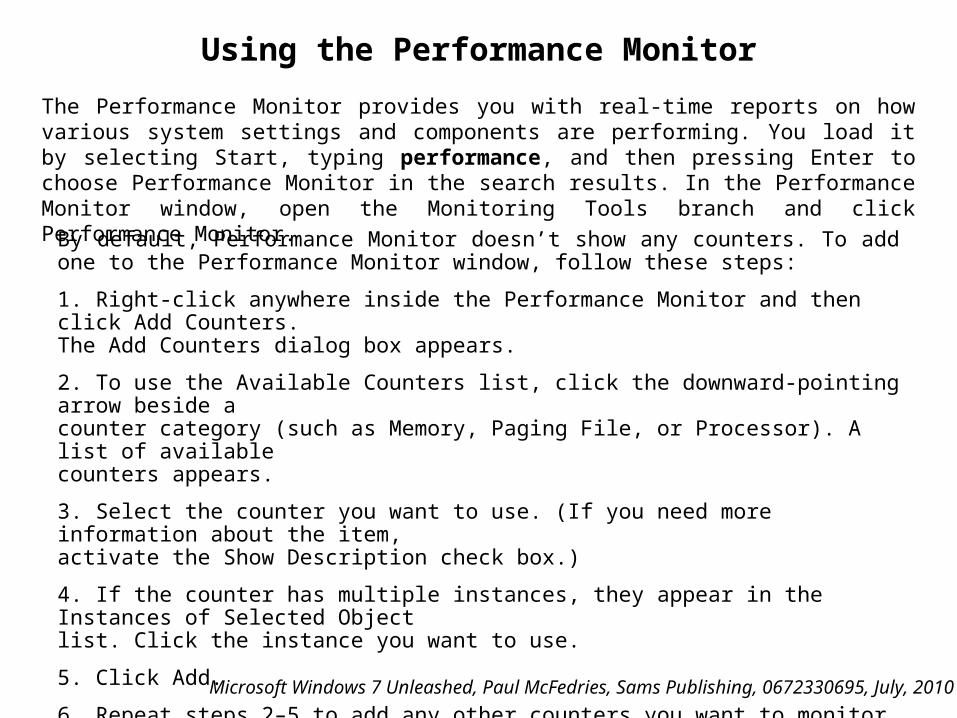
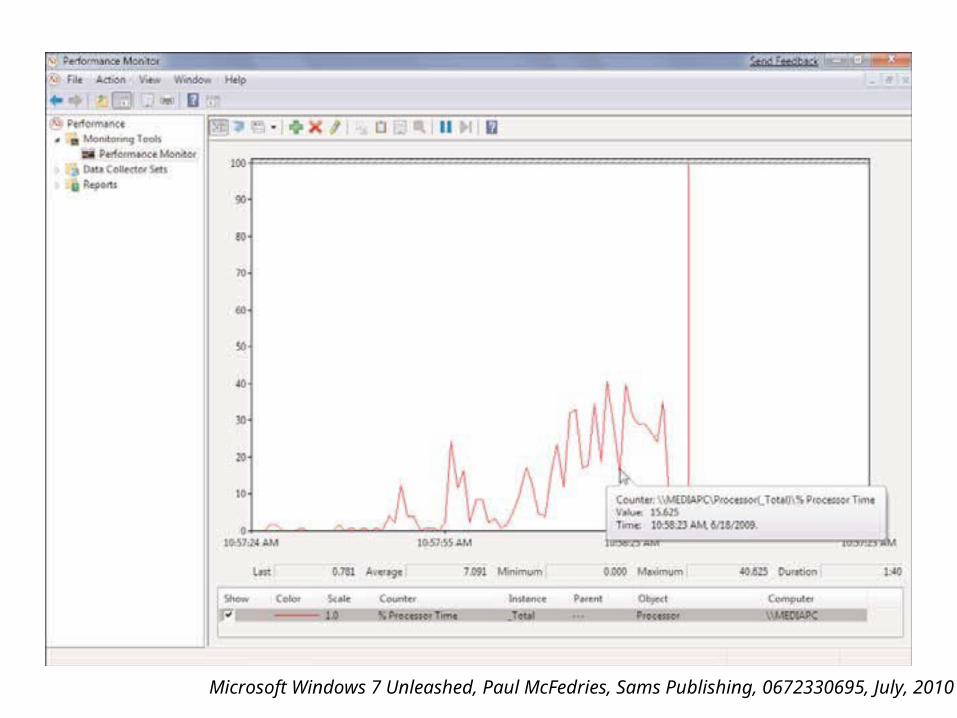
Using the Performance Monitor
The Performance Monitor provides you with real-time reports on how various system settings and components are performing. You load it by selecting Start, typing performance, and then pressing Enter to choose Performance Monitor in the search results. In the Performance Monitor window, open the Monitoring Tools branch and click Performance Monitor.
By default, Performance Monitor doesn’t show any counters. To add one to the Performance Monitor window, follow these steps:
1. Right-click anywhere inside the Performance Monitor and then click Add Counters.The Add Counters dialog box appears.
2. To use the Available Counters list, click the downward-pointing arrow beside acounter category (such as Memory, Paging File, or Processor). A list of availablecounters appears.
3. Select the counter you want to use. (If you need more information about the item,activate the Show Description check box.)
4. If the counter has multiple instances, they appear in the Instances of Selected Objectlist. Click the instance you want to use.
5. Click Add.
6. Repeat steps 2–5 to add any other counters you want to monitor.
Microsoft Windows 7 Unleashed, Paul McFedries, Sams Publishing, 0672330695, July, 2010
Microsoft Windows 7 Unleashed, Paul McFedries, Sams Publishing, 0672330695, July, 2010


Creating Your First C# Application
If you had trouble with the "first application" tutorial listed in the Getting Started panel of the main window please try again using the detailed guide below to build the Knock-Knock project: Step 1: Launch Visual C# from Start, Programs. Step 2: Under the File menu, choose New Project, which opens the New Projects window as shown.

Step 3: Click on the Windows Application icon, shown shaded in previous slide. And name your new project by selecting and replacing the text in the Name textbox. We have named our example project KnockKnock. Step 4: Creating the new project may take a few moments, so please be patient. No pending process progress bar will appear. Eventually the Start page panel will be covered by a panel named Form1.cs [Design]*.

Depending upon the state of this program you may or may not see the Properties panel below the Solution Explorer panel on the right side of the program window. If the Properties panel is not visible then open it from the View menu.
The properties of the program we are creating are listed in this panel. We can change the text that appears at the top of the dialog box of the program window by editing the Text property listed in this panel. To demonstrate, find the Text property and change the text value from Form1 to Knock Knock. Note that the new text now appears on the top of the dialog box shown in the Form1.cs [design] panel.
You may want to review some of the other properties listed in the Properties panel, such as BackColor, Icon, Font, and Size. At this time, do not change any other properties.

Step 5: Returning again to the View menu, make sure that the Toolbox is selected. When active, the Toolbox panel will appear on the left-hand side of the main window. We want to add a Label and a Button to our form so we will first select Label in the Toolbox and drag (while holding down the left mouse button) a Label onto our form.
With the Label on the form selected, change the Text property of this label to "Knock Knock".

Step 6: Now select the Button item in the Toolbox list and drag a button onto the form to the right of the Knock Knock label. Change the Text property of the Button to "Who's There?". You may need to resize the button by selecting it and dragging its edge (left or right side) to make all of the text on the button visible.
At this point you may want to test your program by compiling and running it. If not, please move along to Step 7. To test the program, press the F5 function key or click on the small triangle in the task bar at the top of the main window. This will start the debugger and (if there are no errors) execute an instance of your program. No actions will result from clicking the Who'sThere? button since we have not yet programmed any actions to occur. To end this program you can click on the Close (X) button located in the standard position on the right-hand side of the top of the Knock Knock dialog box.

While we're at it, let's take a look at the code generated so far. To view the code, double click the top of the dialog box shown in the Form1.cs [designer] panel. This will display a new panel showing the source code similar to that shown below:
using System;using System.Collections.Generic;using System.ComponentModel;using System.Data;using System.Drawing;using System.Text;using System.Windows.Forms;namespace KnockKnock{ public partial class Form1 : Form { public Form1() { InitializeComponent(); }
private void Form1_Load(object sender, EventArgs e) {
} }}
This source code includes a number of standard libraries that have been added automatically to your program including the System library, Drawing and Text management libraries and a Windows.Forms library.

Step 7: Double click the Who'sThere? button to create and display the source code associated with this item. Click on the Form1.cs tab to view this newly generated code that has been added to your program. This code should appear similar to,
private void button1_Click(object sender, EventArgs e) {
}
private void button1_Click(object sender, EventArgs e) { label1.Text = "Orange"; }
We need to modify this method to perform the desired operation. Find the method entitled button1_Click and add the line of source code label1.Text = "Orange" to this method. The modified method should appear as,
Step 8: Compile and run an instance of your program by pressing the F5 function key or by clicking the Start Debugger triangle on the main window taskbar.

Summary
• Windows OS
•Microsoft Windows 7
• Dealing with Startup Applications
• Task Manager
•Applications
•Processes
•Services
• System Properties
• Windows 7 Tools
•Systems Assessment Tool
•Windows Performance Tool
• .NET Framework & C# Programming
•Performance
•Networking
•Users