Embed Size (px)
Citation preview
Laboratory 7Laboratory 7Introduction to Introduction to
LabVIEWLabVIEW
General Engineering General Engineering DepartmentDepartment
Polytechnic University Polytechnic University
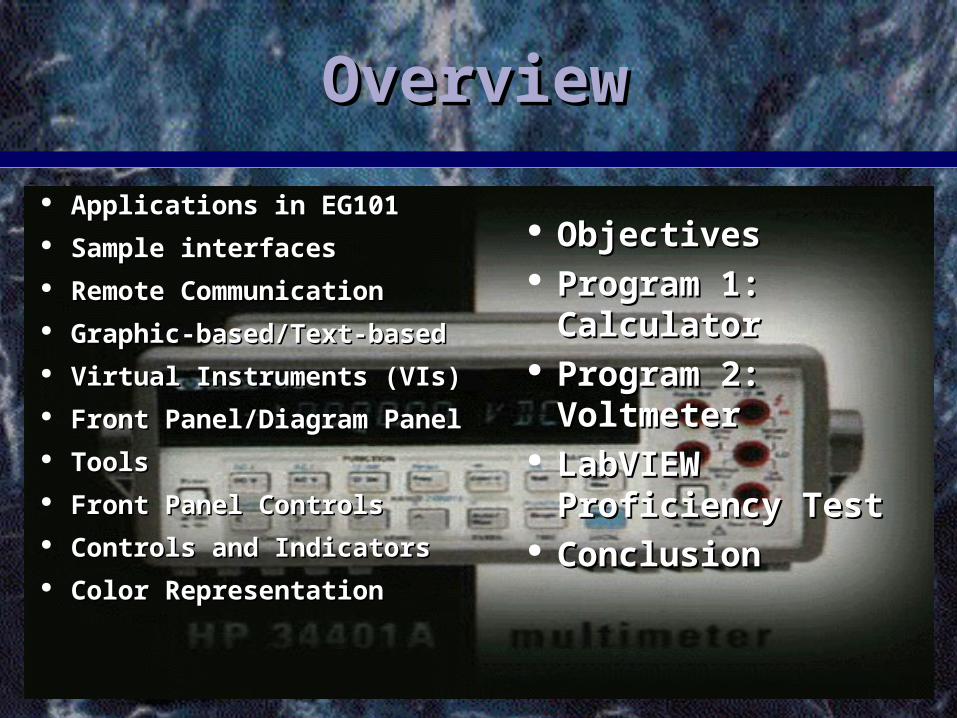
OverviewOverview
Applications in EG101Applications in EG101 Sample interfacesSample interfaces Remote CommunicationRemote Communication Graphic-based/Text-basedGraphic-based/Text-based Virtual Instruments (VIs)Virtual Instruments (VIs) Front Panel/Diagram PanelFront Panel/Diagram Panel ToolsTools Front Panel ControlsFront Panel Controls Controls and IndicatorsControls and Indicators Color RepresentationColor Representation
ObjectivesObjectives Program 1: Program 1:
CalculatorCalculator Program 2: Program 2:
VoltmeterVoltmeter LabVIEW LabVIEW
Proficiency TestProficiency Test ConclusionConclusion

Without LabVIEWWithout LabVIEW
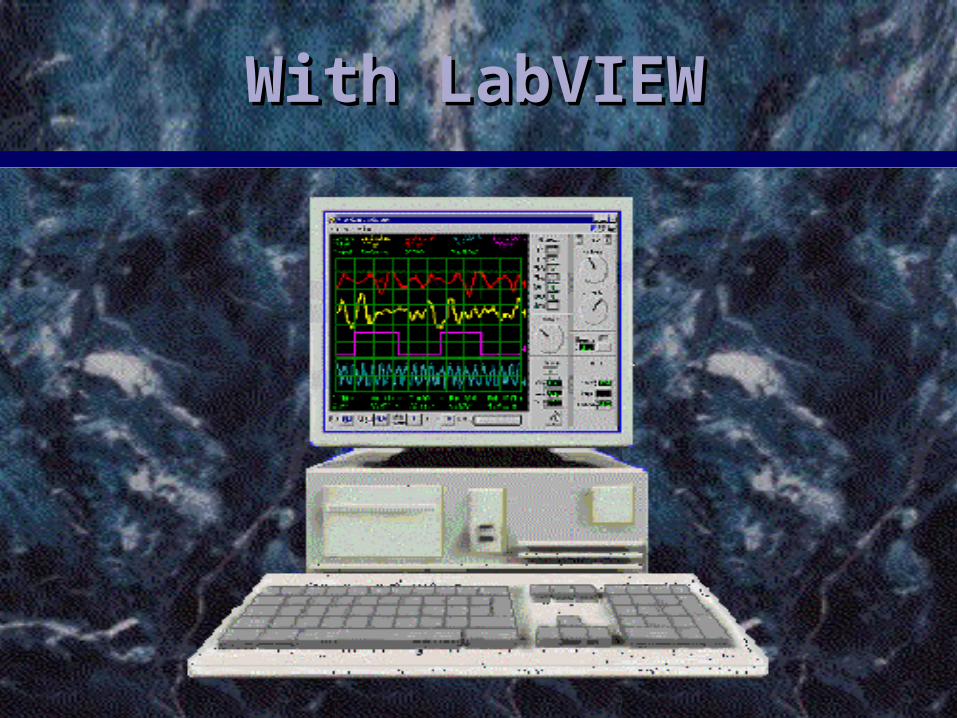
With LabVIEWWith LabVIEW
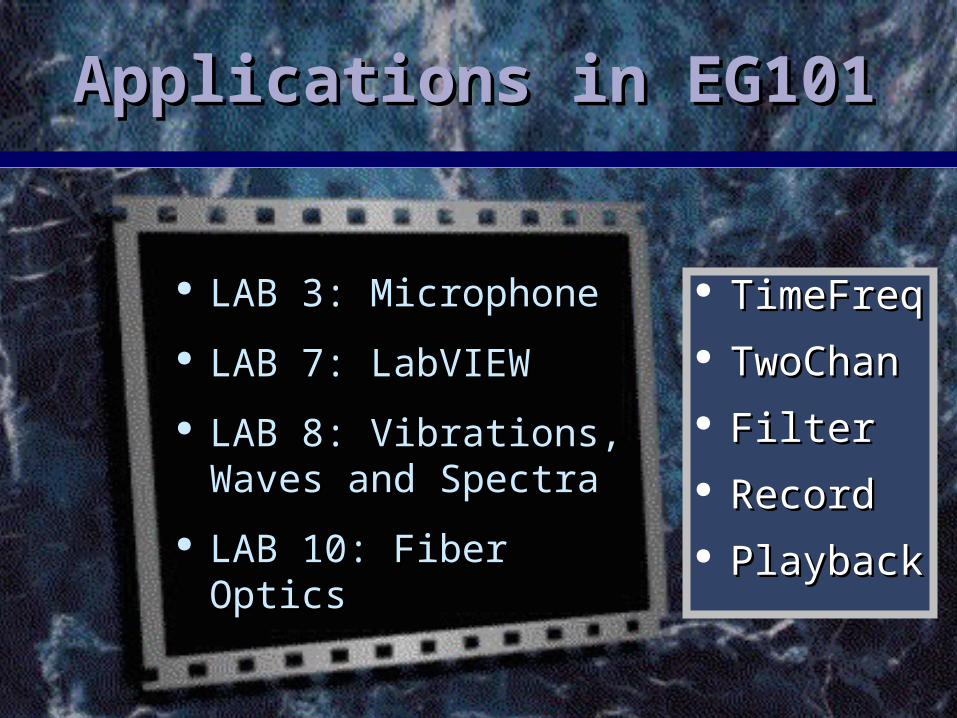
Applications in EG101Applications in EG101
LAB 3: MicrophoneLAB 3: Microphone
LAB 7: LabVIEWLAB 7: LabVIEW
LAB 8: Vibrations, LAB 8: Vibrations, Waves and SpectraWaves and Spectra
LAB 10: Fiber OpticsLAB 10: Fiber Optics
TimeFreqTimeFreq TwoChanTwoChan FilterFilter RecordRecord PlaybackPlayback
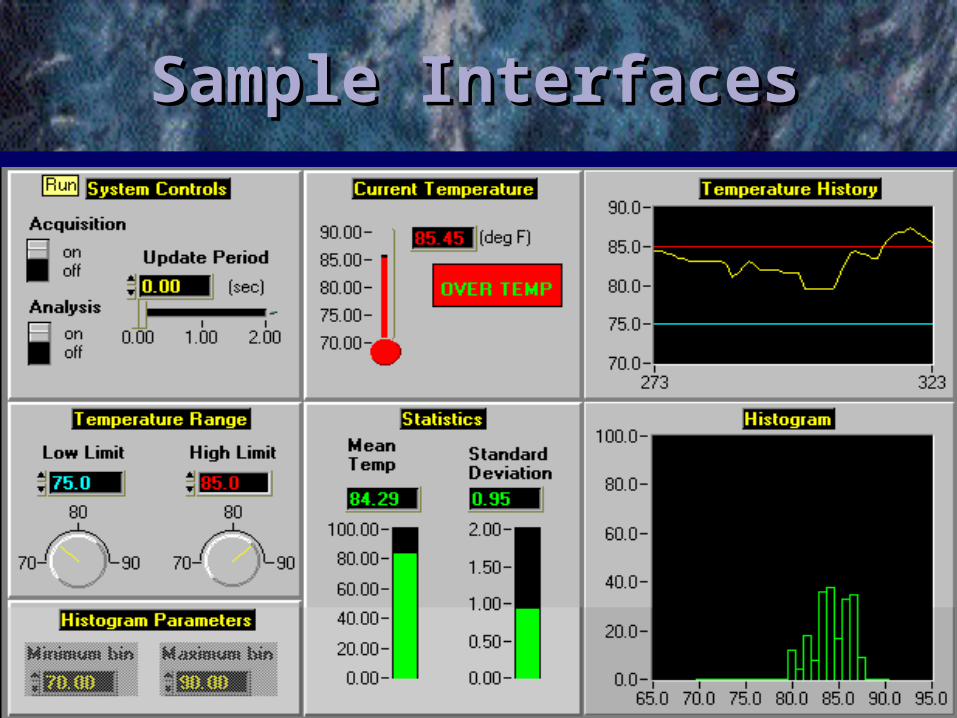
Sample InterfacesSample Interfaces
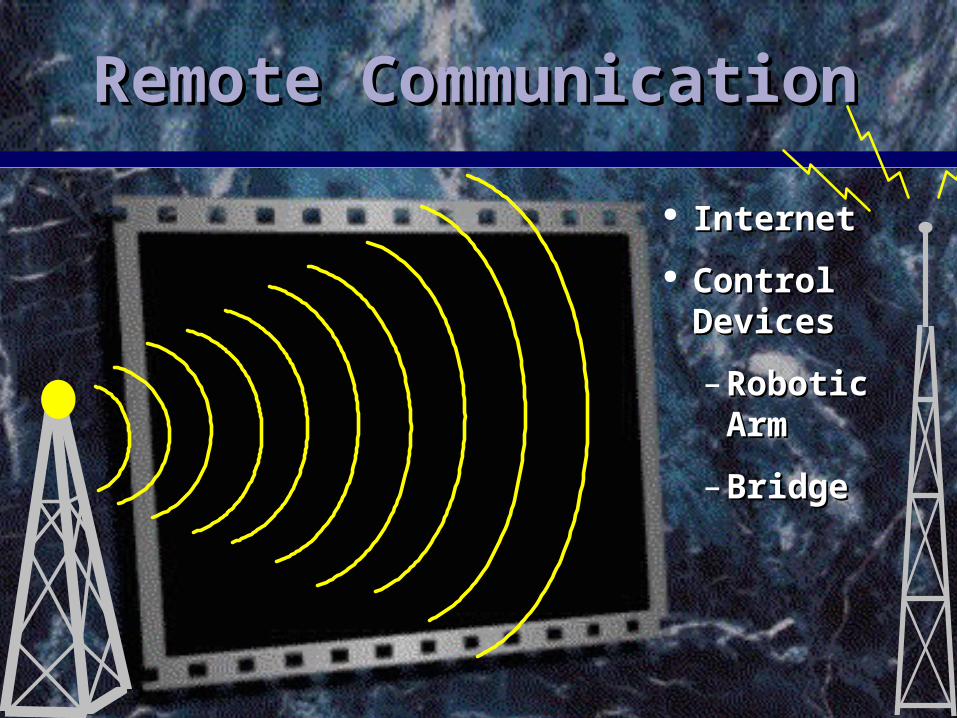
Remote CommunicationRemote Communication
InternetInternet
Control Control DevicesDevices
– Robotic Robotic ArmArm
– BridgeBridge
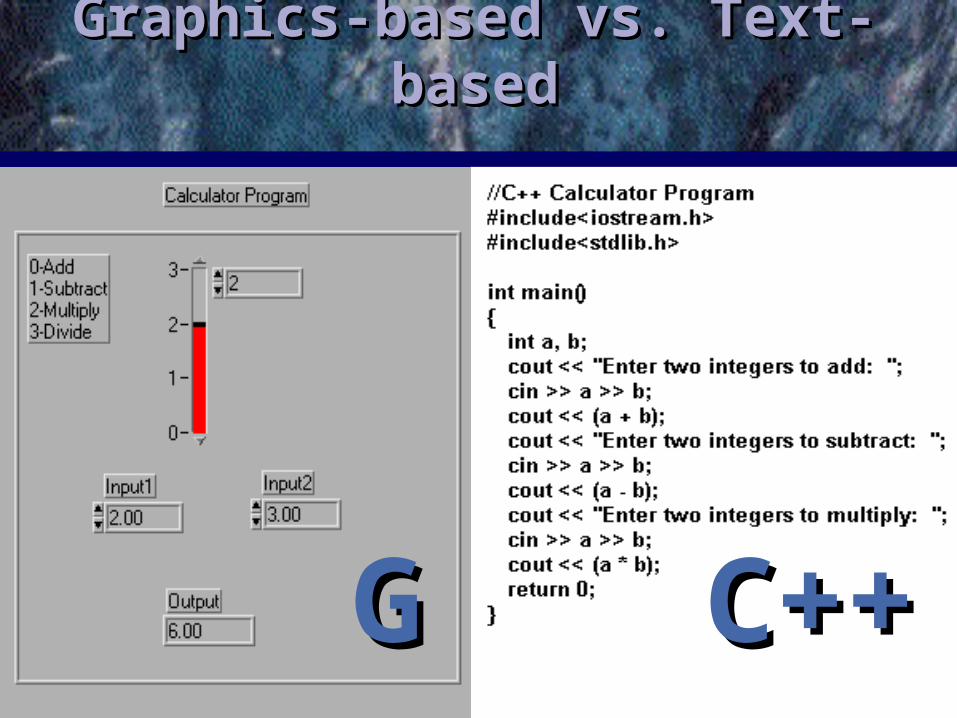
Graphics-based vs. Text-Graphics-based vs. Text-basedbased
GGC+C+++
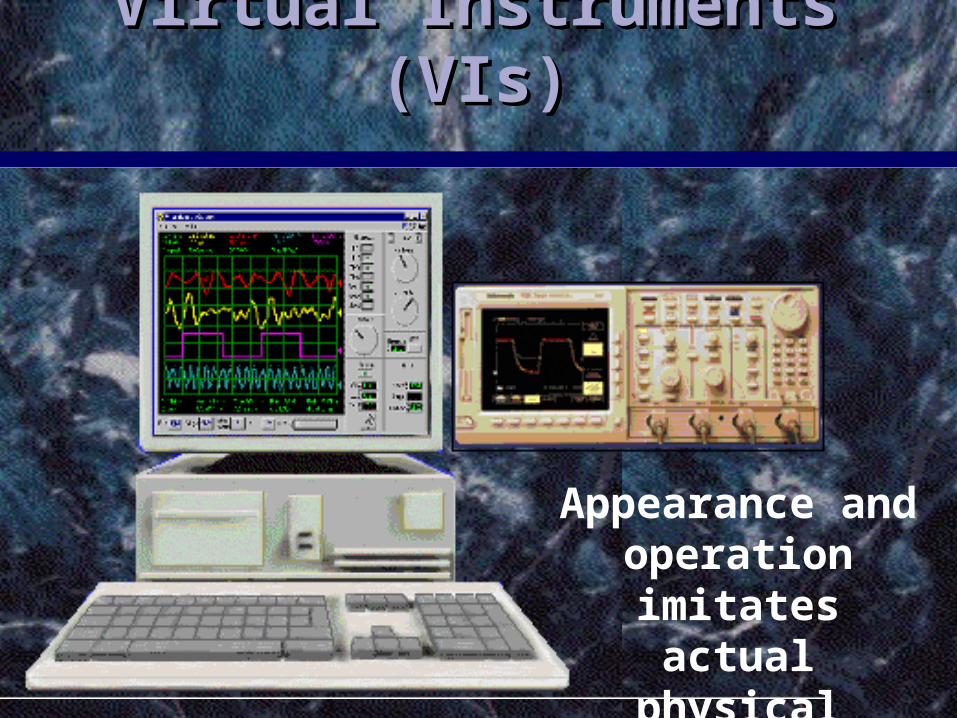
Virtual Instruments Virtual Instruments (VIs)(VIs)
Appearance and operation imitates
actual physical instruments
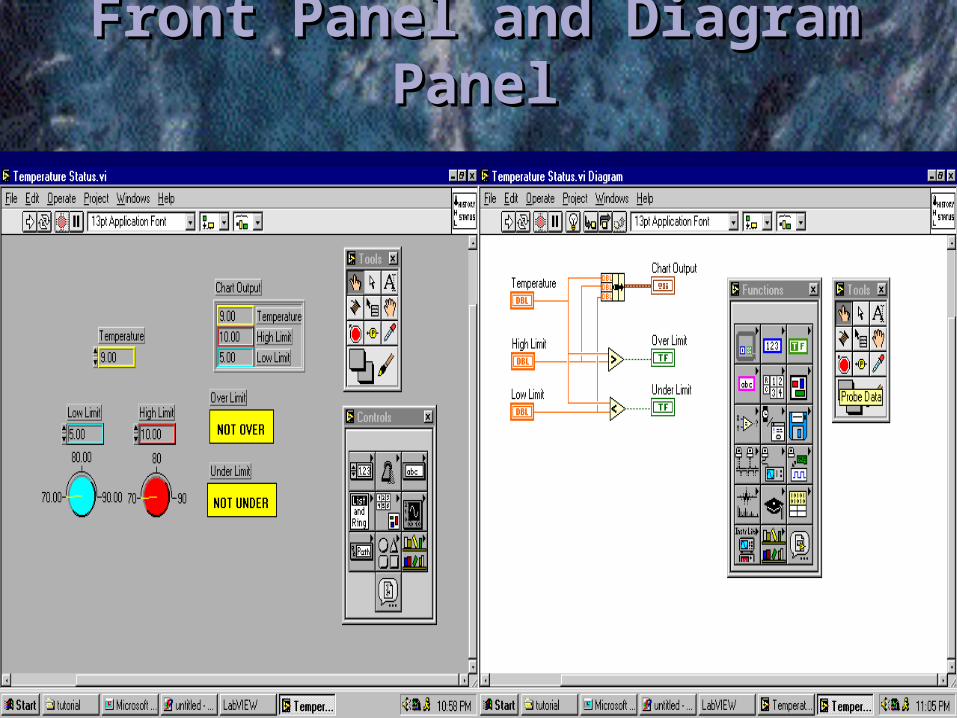
Front Panel and Diagram Front Panel and Diagram PanelPanel
•
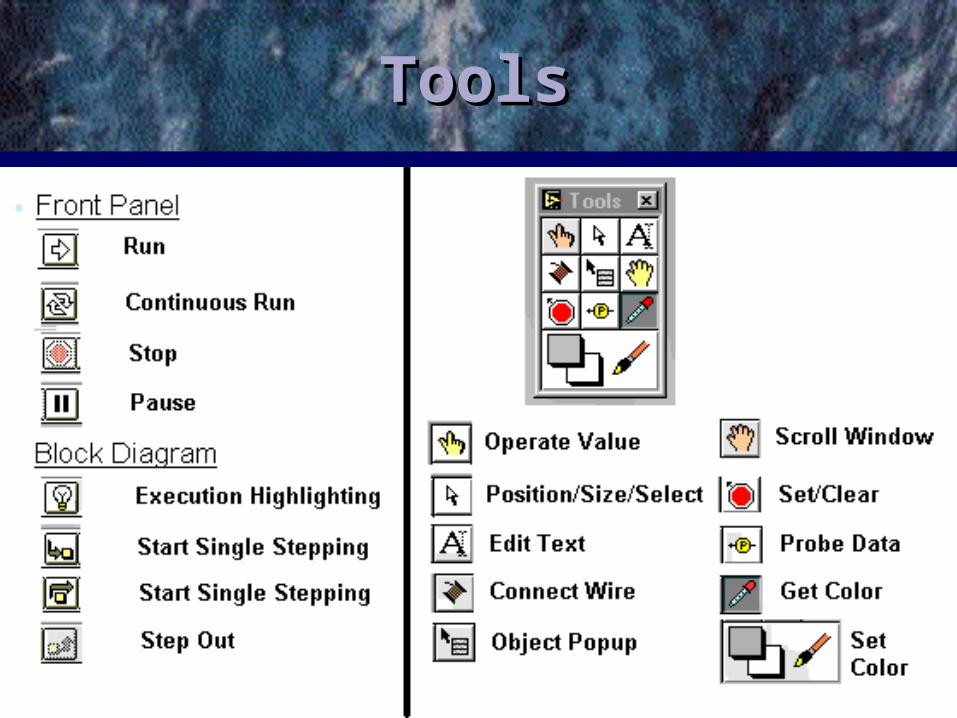
ToolsTools
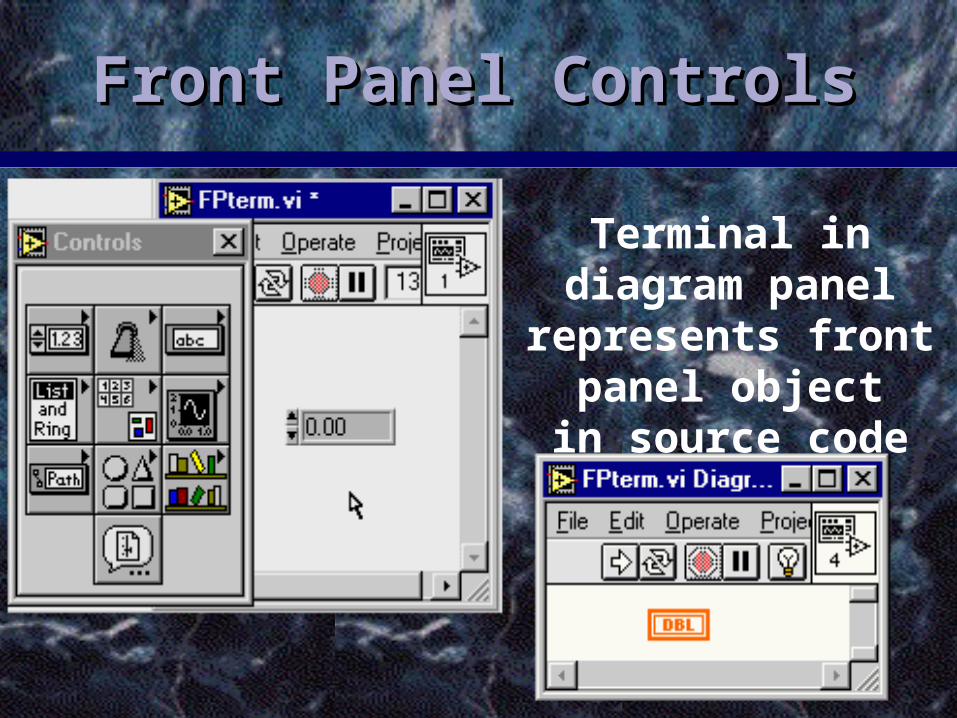
Front Panel ControlsFront Panel Controls
Terminal in diagram panel represents front panel object
in source code
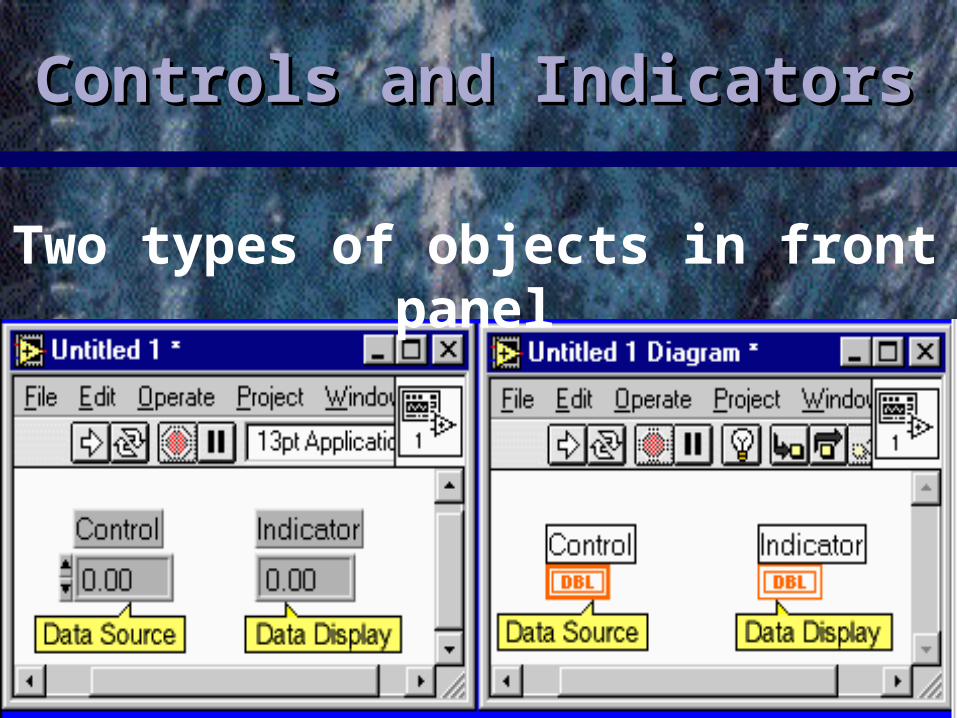
Controls and IndicatorsControls and Indicators
Two types of objects in front panel
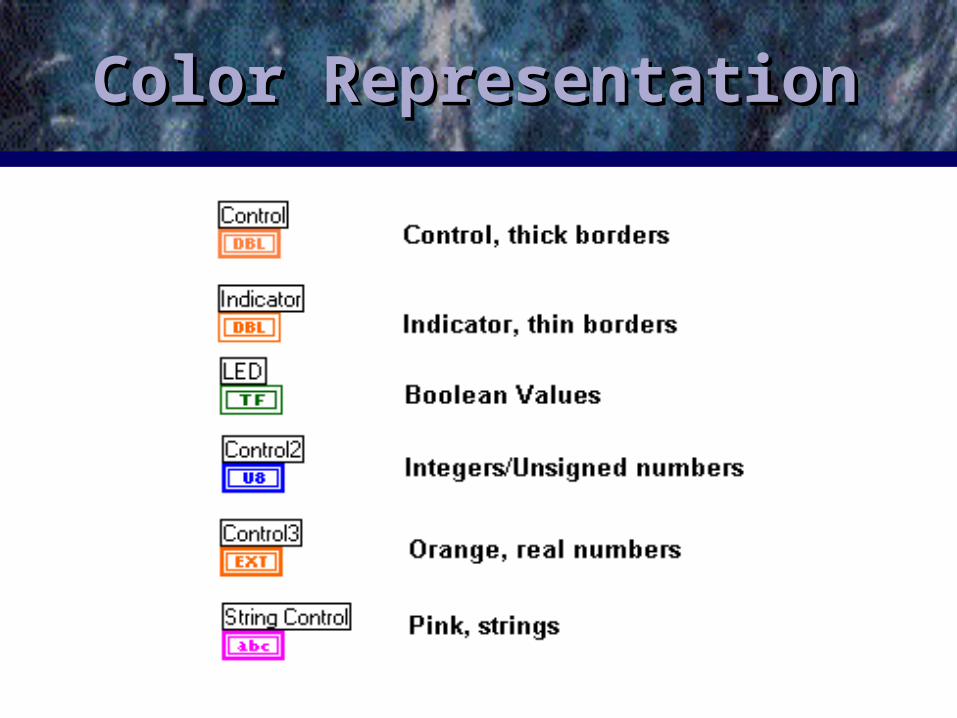
Color RepresentationColor Representation
ObjectivesObjectives
Learn basic, Learn basic, introductory introductory commandscommands
Input data Input data (voltage)(voltage)
Create two Create two programsprograms
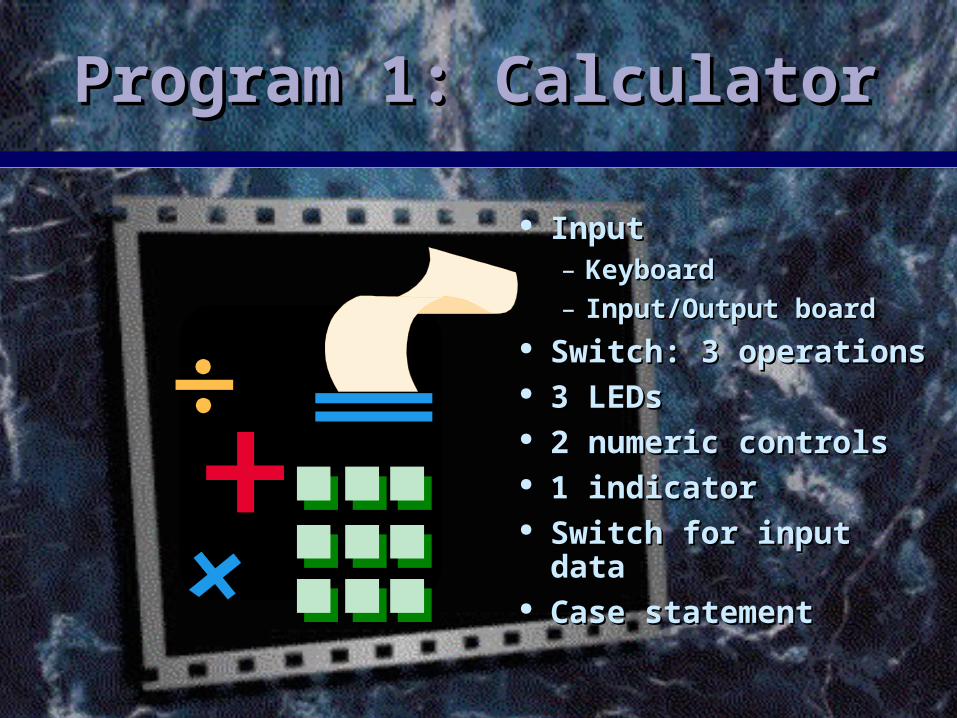
Program 1: CalculatorProgram 1: Calculator
InputInput– KeyboardKeyboard
– Input/Output boardInput/Output board Switch: 3 operationsSwitch: 3 operations 3 LEDs3 LEDs 2 numeric controls2 numeric controls 1 indicator1 indicator Switch for input dataSwitch for input data Case statementCase statement
Program 2: VoltmeterProgram 2: Voltmeter
Input from I/O block Input from I/O block (±5 volts)(±5 volts)
7 LEDs: 7-segment 7 LEDs: 7-segment display rounded to display rounded to nearest integernearest integer
1 negative sign LED1 negative sign LED Case statement: Case statement:
control different control different combinationscombinations

LabVIEW Proficiency LabVIEW Proficiency TestTest
25-segment LED display 25-segment LED display with corresponding caseswith corresponding cases
2 switches2 switches– binary-to-decimalbinary-to-decimal
– decimal-to-binary decimal-to-binary (inoperative)(inoperative)
ControlControl Warning functionWarning function
First 5 non-repeating letters and #s of name (last, first) and IDFirst 5 non-repeating letters and #s of name (last, first) and ID
ConclusionsConclusions
AdvantagesAdvantages– Saves money/spaceSaves money/space– Unlimited customized Unlimited customized
applicationsapplications More helpMore help
– LabVIEW manualsLabVIEW manuals– HelpHelp
Team reportTeam report
Include:Include: Front/DiagramFront/Diagram
panels of bothpanels of both
programsprograms Brief written Brief written
explanations ofexplanations of
implementationimplementation