Embed Size (px)
Citation preview

Horizon ArchService Manual
5842 W 34th St, Houston, TX 770921.800.999.9878 • 1.713.683.9878www.colemanhanna.com
Find us on Facebook:/ColemanHannaCarwash
World Class Manufacturing in Car Wash Equipment
Horizon Arch Installation/Operation Manual
Coleman Hanna Carwash Systems Horizon Arch Page 2 of 13 Rev. 1.0 7/22/2013
HORIZON ARCH
TABLE OF CONTENTS
Introduction..............................................................................................................................3
Contact Us...............................................................................Error! Bookmark not defined.
Operational Requirements.......................................................................................................7
Safety ......................................................................................Error! Bookmark not defined.
Included Parts .........................................................................Error! Bookmark not defined.
Optional Additions ...................................................................Error! Bookmark not defined.
Installation ...............................................................................Error! Bookmark not defined.

World Class Manufacturing in Car Wash Equipment
Horizon Arch Installation/Operation Manual
Coleman Hanna Carwash Systems Horizon Arch Page 3 of 13 Rev. 1.0 7/22/2013
INTRODUCTION
The Horizon arch comes in several different packages that can deliver different chemical solutions or foaming solutions. The Horizon arch comes with back light Lexan panels. The panels are back light with a 12v dc LED light that is inside the arch. These LED’s are 12v dc and there is a ballast that provides the 12v DC power to the arch. Also included in the Horizon arch is a flexible LED rope that also has a ballast and it provides 24v dc power to the flexible LED rope lighting.
The Horizon arch can be ordered with several water or solution dispensing options.
1. Wall of Foam- The Hanna wall of foam can be mounted to the back of the Horizon arch and
it will require a chemical pumping station to deliver the solution to the wall of foam trough.
2. Versa Arch- The Horizon arch can be ordered with a versa arch and the Versa arch can
deliver water or a chemical solution through the tips at various flow rates depending on the
tips selected.
3. Rinse Manifold- A Hanna single or double row rinse arch can be mounted to the back of the
versa arch and the rinse manifold will deliver 3 or 6 gpm depending on single or double row.
4. Water Fall Trough- A simple Stainless Steel trough can be mounted on the back to evenly
spread out rinse water like a water fall to rinse the vehicle. The Water fall trough will deliver 3
-12 gallons per minute depending on the pump and flow rate.
5. LED light kit to illuminate the foam- The LED light kit can be ordered in Blue, Red or Yellow
to shine down through the foam. This light kit is mounted on the back of the wall of foam and
will shine down thru the foam. There is a ballast that is provided with this LED light kit that
provides 24v DC power to the LED light bar.

World Class Manufacturing in Car Wash Equipment
Horizon Arch Installation/Operation Manual
Coleman Hanna Carwash Systems Horizon Arch Page 4 of 13 Rev. 1.0 7/22/2013
SAFETY
Keep the following safety rules in mind when installing or maintaining the Horizon Arch:
1. Do not enter the car wash tunnel while equipment is operating. 2. Exercise caution when walking through the car wash tunnel as the floors may be
slippery. 3. Clean any and all spills as soon as they occur. 4. Never run inside the car wash tunnel. 5. All equipment must be Locked-Out during a maintenance cycle(s). 6. One person must be stationed at the nearest stop button whenever testing is being
done. 7. Conduct all maintenance when the car wash is not in use. 8. Follow all local and OSHA workplace safety guidelines. 9. Disable the conveyor run signal prior to doing any maintenance. This can be done
by opening the fuse block on the output terminal strip of your tunnel controller. NOTE: Your controller may vary.
10. Wear appropriate clothing while maintain or adjust the equipment. 11. Secure or remove any loose clothing. 12. Always follow local and national trade codes when installing any equipment. 13. Always disconnect power from any electrical device or component prior to
servicing. 14. Unplug the unit or use proper Lock-Out procedures so that no one can
inadvertently turn the power on while you are working on that equipment.

World Class Manufacturing in Car Wash Equipment
Horizon Arch Installation/Operation Manual
Coleman Hanna Carwash Systems Horizon Arch Page 5 of 13 Rev. 1.0 7/22/2013
15. Always power down the control box before unplugging or plugging in quick disconnects.
16. Use caution when maintaining any piece of equipment. 17. Wear protective clothing and eyewear when using power tools. 18. Direct discharges of high-pressure water and chemicals away from you and other
persons, or direct them into approved containers. 19. Keep equipment clean for proper operation. 20. Keep hands and all other body parts away from equipment while in operation. 21. If you need to disassemble a part for service or repair, re-assemble equipment
according to instructions. 22. Be sure all components are firmly screwed or latched into position. 23. Observe safety and handling instructions of the chemical manufacturers. 24. Wear protective clothing and eyewear when dispensing or working with chemicals
or other potentially hazardous materials.
RECOMMENDED INSTALLATION SUPPLIES
Anti-Seize
• ½” x 5” Swedge Anchor Bolts (16 Required) to mount Horizon arch
• 1/4” Ploy-Flo Tubing for Foamer Air Supply (Length as required)
• 3/8” Poly-Flo Tubing for Chemical Solution Delivery (Length as required)
INSTALLATION TOOLS
• 3-foot x 4-foot Square • Wire Cutters/Stripper/Crimper
• 4 foot Level • Small flat blade screwdriver
• 7/16” Open End Box Wrench • Volt-meter or Multi-meter
World Class Manufacturing in Car Wash Equipment
Horizon Arch Installation/Operation Manual
Coleman Hanna Carwash Systems Horizon Arch Page 6 of 13 Rev. 1.0 7/22/2013
• Polyflo Tubing Cutter
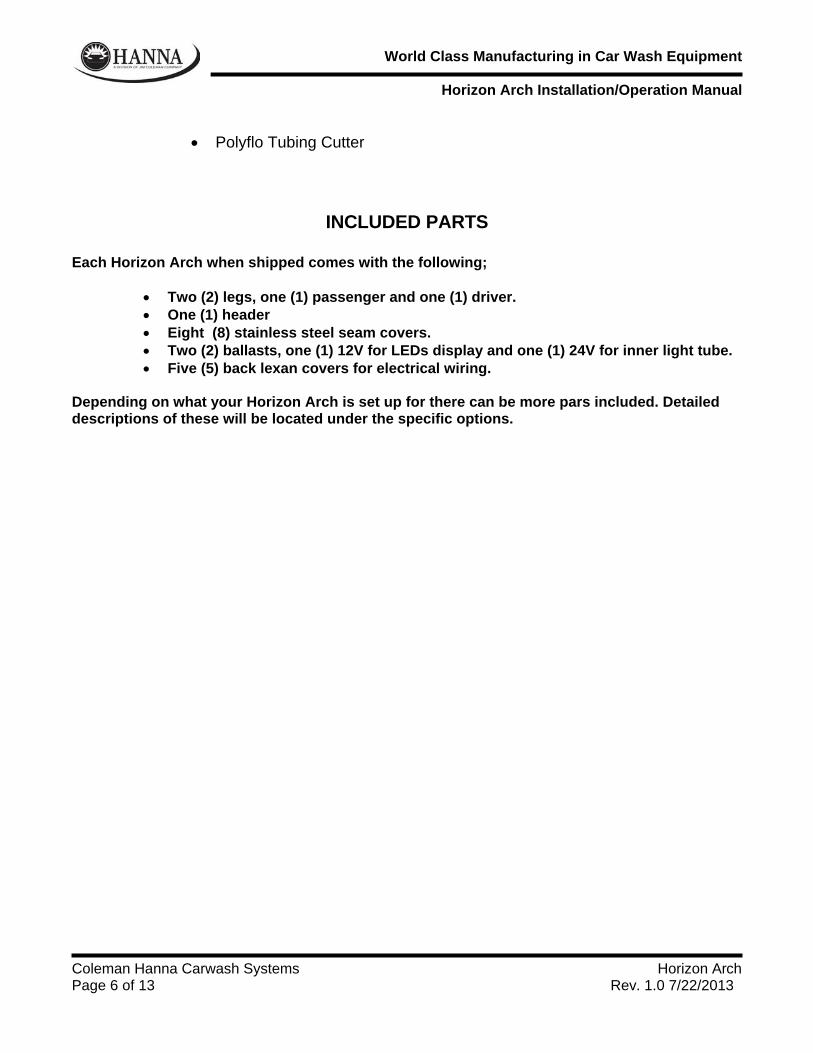
INCLUDED PARTS
Each Horizon Arch when shipped comes with the following;
• Two (2) legs, one (1) passenger and one (1) driver. • One (1) header • Eight (8) stainless steel seam covers. • Two (2) ballasts, one (1) 12V for LEDs display and one (1) 24V for inner light tube. • Five (5) back lexan covers for electrical wiring.
Depending on what your Horizon Arch is set up for there can be more pars included. Detailed descriptions of these will be located under the specific options.

World Class Manufacturing in Car Wash Equipment
Horizon Arch Installation/Operation Manual
Coleman Hanna Carwash Systems Horizon Arch Page 7 of 13 Rev. 1.0 7/22/2013
INSTALLATION
Your Horizon Arch comes largely pre-assembled but there are steps that need to be taken to insure that the Arch is properly placed and installed
1. Connect the Heading of your Horizon Arch to the Driver and Passenger Legs with the bolts
provided. Make sure all wiring is easily reachable from the back in this step. 2. Center your Horizon Arch along the centerline of vehicle travel for your Hanna Tunnel,
wherever you would like the Arch to be placed. 3. Drill your anchor bolt holes and anchor the Arch to the concrete to insure that it is stable
throughout the rest of the installation. Use a level to make sure the arch is level. 4. Wiring the Arch is very simple. It will always be same color to same color. Connect the
wiring for the Driver and Passenger leg to the Heading of your Arch as shown below.
Red Wire to Red Wire
Blue Wire to Blue Wire
Blue Wire to Blue Wire
Red Wire to Red Wire
5. Make sure both your 12V and 24V Ballasts are in a safe and dry location. In the equipment room is preferred for easy access to your ballasts.
6. The 12V Ballast will be connected to the LED lights the surround the arch. Again, connect
same color to same color. In this, case red-to-red, and blue-to-blue. 7. The 24V Ballast will be connected to the inner lighting tube in the same manner that the
12V was connected. 8. Mount the ballast inside the equipment room and provide 120v ac power to each ballast
from the tunnel controller. Then run the low voltage cable minimum size is 14 ga depending on how long from the ballast from the Horizon arch. You have a choice on how

World Class Manufacturing in Car Wash Equipment
Horizon Arch Installation/Operation Manual
Coleman Hanna Carwash Systems Horizon Arch Page 8 of 13 Rev. 1.0 7/22/2013
you want to turn on the Horizon arch. Your Tunnel controller can be programmed to turn on the lights inside the arch when that wash package is purchased or your tunnel controller can turn on the Flexible rope Led’s only when the product is being delivered. Your tunnel controller can make the LED’s flash it all depends on what you choose to allow your tunnel controller to do.
9. Now you will need to run your water or chemical solution lines to the arch. The number of
lines or size of the lines depends on the water or chemical you are dispensing.
a. Wall of Foam arch- Hanna recommends running 3 separate ¼ air lines to the foam generators and 3 separate 3/8” liquid lines to the generators. See the detailed description later in the manual.
b. Single or Double row rinse curtain arch- Run a ¾” hose from the solenoid mounted inside the equipment room to the rinse curtain manifold.
c. Water Fall Trough- Run a ¾” hose from the solenoid mounted inside the equipment room to the Water Fall manifold.
d. Versa Arch- Run a ¾” hose from the solenoid or chemical pumping station mounted inside the equipment room to the Versa Arch.
WALL OF FOAM OPERATIONAL REQUIREMENTS
CHEMICAL SOLUTION 12 GPM ARO Solution Pump PNEUMATIC 1 SCFM Per Car @ 100 PSI ELECTRICAL 135 Watts @ 24VAC - Two (2) Solenoids TUNNEL SPACE 2’-0” of Free Space
Description of Chemical Pump station for Wall of Foam The Hanna Wall of Foam requires a chemical solution pump with solenoid valves to feed the
foam generators. An air regulator and air solenoid are also required. Hanna recommends a H423963 Solution Pump Station with a 12 GPM ARO pump.
The Wall of Foam has a foam manifold with three separate foam generators. You will need to supply a chemical solution and airline to each foam generator. Hanna separated the manifold into three separate compartments to provide better control over the foam and to allow the manifold to disperse the foam over the entire vehicle.
Hanna recommends a separate air regulator and a separate solution regulator for each foam generator for best control of the Wall of Foam. Each air regulator and each solution regulator should have a pressure gauge to properly set the air and solution pressure. Always set the air pressure about 5-10 PSI below the solution pressure. If the air pressure is set too high, it will cause the foam

World Class Manufacturing in Car Wash Equipment
Horizon Arch Installation/Operation Manual
Coleman Hanna Carwash Systems Horizon Arch Page 9 of 13 Rev. 1.0 7/22/2013
to be dry and will over ride the liquid pressure. Adjust the solution pressure to 40 PSI and set the air
pressure to 30 PSI.
INSTALLING THE ARO SOLUTION PUMPING STAND
1. Find a wall that has space to mount the ARO pumping wall mount frame with clearance below for chemical storage.
2. Mount the wall mount pump stand using the proper fasteners depending on the type of wall construction.
3. Run a ½” water line to the Hydrominder. 4. Run a ½” air line to the pumping stand and connect to the air regulator. 5. You will need a manifold with 3 air regulators to control the air to the foaming trough. 6. You will need a manifold with 3 regulators to control the solution to the foaming trough.

World Class Manufacturing in Car Wash Equipment
Horizon Arch Installation/Operation Manual
Coleman Hanna Carwash Systems Horizon Arch Page 10 of 13 Rev. 1.0 7/22/2013
Picture of Hanna Manifold with 3 separate air regulators and 3 separate liquid regulators.

World Class Manufacturing in Car Wash Equipment
Horizon Arch Installation/Operation Manual
Coleman Hanna Carwash Systems Horizon Arch Page 11 of 13 Rev. 1.0 7/22/2013
1 STAINLESS STEEL TROUGH 2 DUAL MOUNTING BRACKET 3 WALL OF FOAM MANIFOLD 4 ELBOW BRASS 1/2" STREET 90 5 NIPPLE BRASS HEX 1/2" MPT 6 TEE BRASS RUN 1/2" PIPE 7 REDUCER BRASS 1/4" X 1/2" 8 CONN BRASS 1/4" TUBE X 1/4" MPT 9 CONN BRASS 1/4" TUBE X 1/4" X 3/6"
10 FOAM GERERATOR, PVC 11 SCREW BUTTON HEAD SS 1/4"-20 X 3/4" 12 NUT NYLOCK SS 1/4"-20 13 WASHER FLAT SS 1/4" 14 WASHER LOCK SS 1/4" 15 U-BOLT SS 1/4"-20" X 1-1/2" X 2--1/4" 16 WALL OF FOAM GRAPHICS

World Class Manufacturing in Car Wash Equipment
Horizon Arch Installation/Operation Manual
Coleman Hanna Carwash Systems Horizon Arch Page 12 of 13 Rev. 1.0 7/22/2013

World Class Manufacturing in Car Wash Equipment
Horizon Arch Installation/Operation Manual
Coleman Hanna Carwash Systems Horizon Arch Page 13 of 13 Rev. 1.0 7/22/2013
COLEMAN HANNA CAR WASH SYSTEMS 5842 W. 34TH ST.
HOUSTON, TEXAS, 77092 1-800-999-9878
www.colemanhanna.com www.hannacarwash.com