Embed Size (px)
Citation preview
HappyTalk Professional
Recorder
Ownerʼs Manual
Version 4.2
Copyright (c) 2010 Applied Voices LLC
1
Welcome to HT Professional Recorder
Congratulations on your purchase of
HT Professional Recorder 4.2
Please click here to review HT Professional Recorder
in the App Store.
2
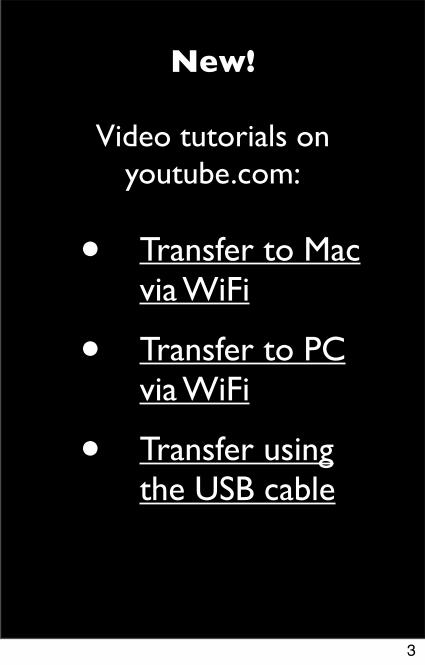
New!
Video tutorials on youtube.com:
• Transfer to Mac via WiFi
• Transfer to PC via WiFi
• Transfer using the USB cable
3
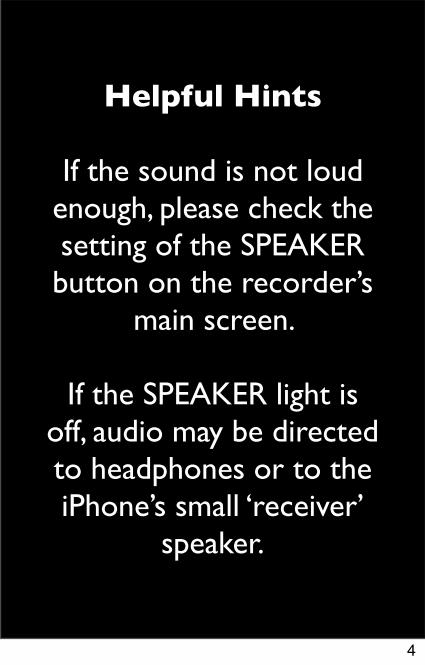
Helpful Hints
If the sound is not loud enough, please check the setting of the SPEAKER button on the recorder’s
main screen.
If the SPEAKER light is off, audio may be directed to headphones or to the iPhone’s small ‘receiver’
speaker.
4
Making Recordings
5
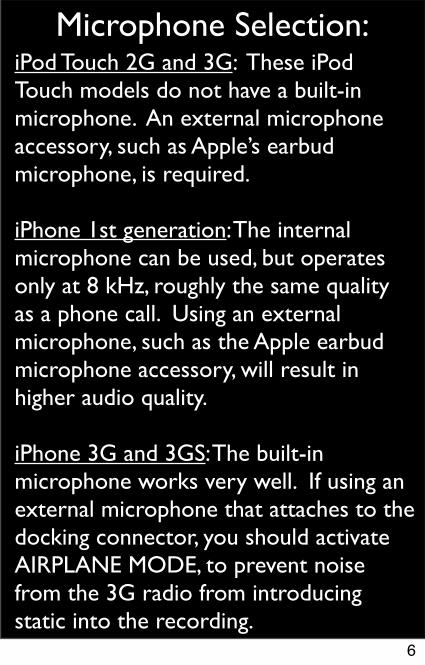
iPod Touch 2G and 3G: These iPod Touch models do not have a built-in microphone. An external microphone accessory, such as Apple’s earbud microphone, is required.
iPhone 1st generation: The internal microphone can be used, but operates only at 8 kHz, roughly the same quality as a phone call. Using an external microphone, such as the Apple earbud microphone accessory, will result in higher audio quality.
iPhone 3G and 3GS: The built-in microphone works very well. If using an external microphone that attaches to the docking connector, you should activate AIRPLANE MODE, to prevent noise from the 3G radio from introducing static into the recording.
Microphone Selection:
6
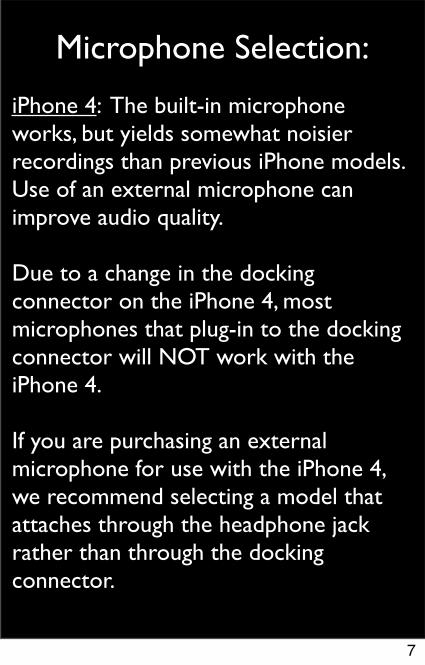
iPhone 4: The built-in microphone works, but yields somewhat noisier recordings than previous iPhone models. Use of an external microphone can improve audio quality.
Due to a change in the docking connector on the iPhone 4, most microphones that plug-in to the docking connector will NOT work with the iPhone 4.
If you are purchasing an external microphone for use with the iPhone 4, we recommend selecting a model that attaches through the headphone jack rather than through the docking connector.
Microphone Selection:
7
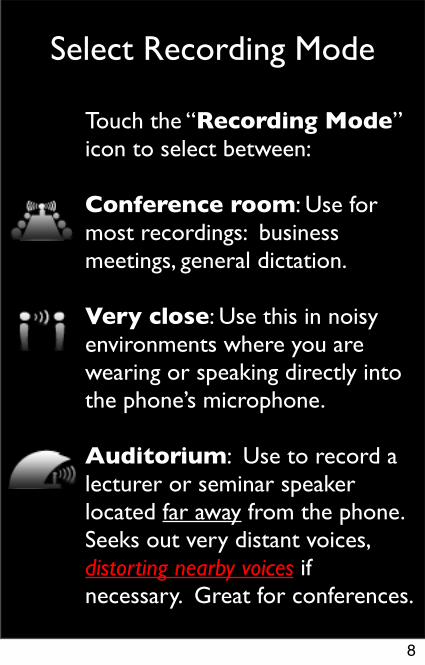
Touch the “Recording Mode” icon to select between:
Conference room: Use for most recordings: business meetings, general dictation. Very close: Use this in noisy environments where you are wearing or speaking directly into the phone’s microphone.
Auditorium: Use to record a lecturer or seminar speaker located far away from the phone. Seeks out very distant voices, distorting nearby voices if necessary. Great for conferences.
Select Recording Mode
8

Touch one of the red buttons to initiate recording:
Creates a new recording and starts recording Starts recording at the current position.
If positioned at the end of a recording, that recording will be extended.
If positioned in the middle of a recording, overwrites part of the existing recording.
This is great for correcting dictation.
Start Recording
New
Rec
9
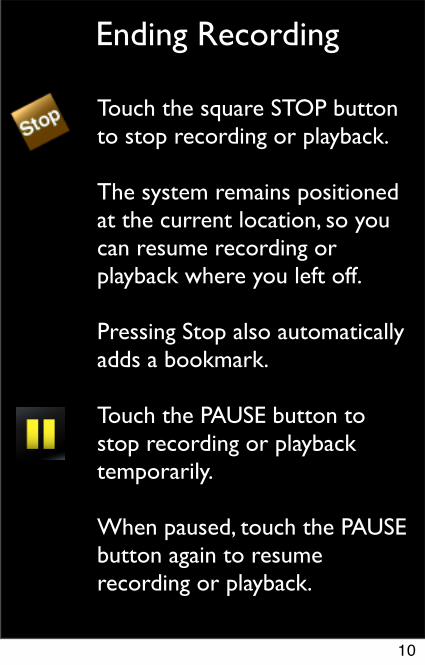
Touch the square STOP button to stop recording or playback.
The system remains positioned at the current location, so you can resume recording or playback where you left off.
Pressing Stop also automatically adds a bookmark.
Touch the PAUSE button to stop recording or playback temporarily.
When paused, touch the PAUSE button again to resume recording or playback.
Ending Recording
10
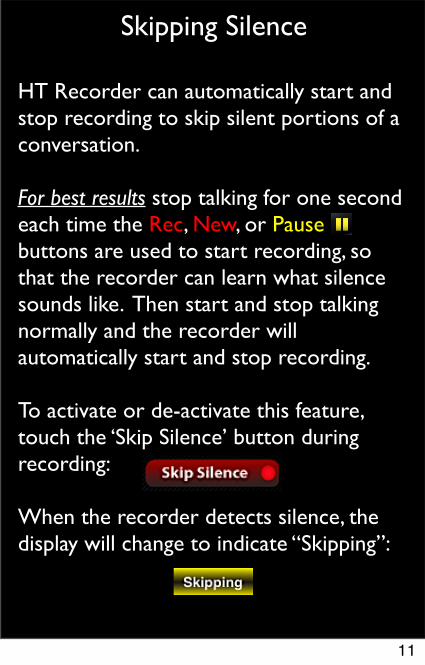
HT Recorder can automatically start and stop recording to skip silent portions of a conversation.
For best results stop talking for one second each time the Rec, New, or Pause buttons are used to start recording, so that the recorder can learn what silence sounds like. Then start and stop talking normally and the recorder will automatically start and stop recording.
To activate or de-activate this feature, touch the ‘Skip Silence’ button during recording:
When the recorder detects silence, the display will change to indicate “Skipping”:
Skipping Silence
11

Renaming a Recording
You can rename the currently selected recording by touching the Rename button on the Recorder/Player screen.
When recording, touching the curved arrow will stop recording, back up 5 seconds, and start playback.
12
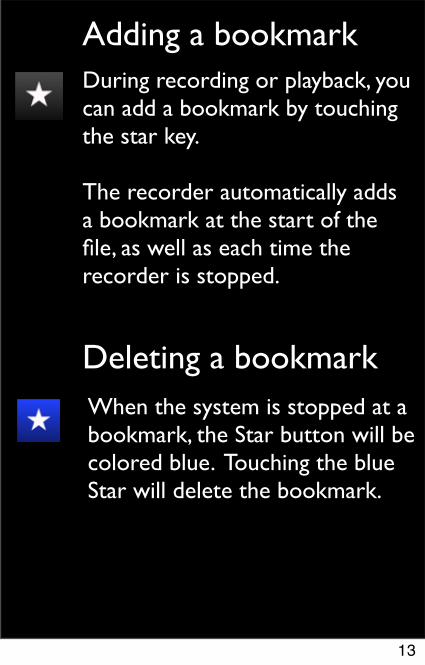
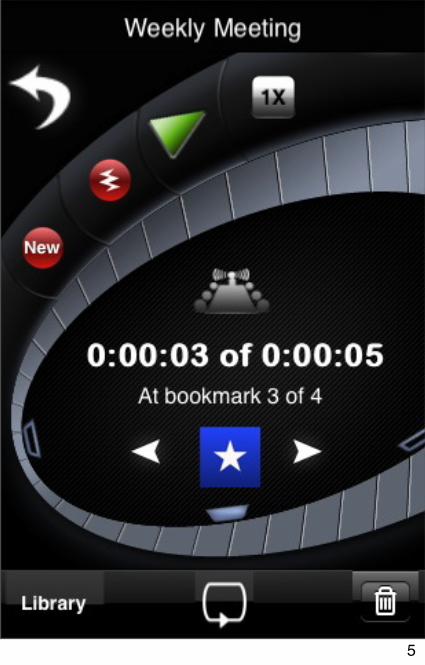
During recording or playback, you can add a bookmark by touching the star key.
The recorder automatically adds a bookmark at the start of the file, as well as each time the recorder is stopped.
Deleting a bookmark
Adding a bookmark
When the system is stopped at a bookmark, the Star button will be colored blue. Touching the blue Star will delete the bookmark.
13
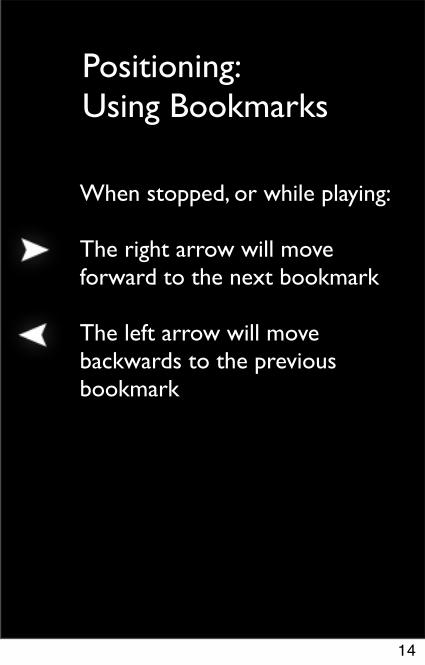
When stopped, or while playing:
The right arrow will move forward to the next bookmark
The left arrow will move backwards to the previous bookmark
Positioning: Using Bookmarks
14

When stopped or playing, touching the curved arrows will back up or jump forward 5 seconds.
Touching the time counter while stopped or playing will back up 15 seconds
Touching these markers will move to the start or end of the recording
Touching and dragging the sliding position indicator, or touching along its path of travel, will change the position to track your touch.
Positioning: Using Time
15

Listening to Recordings
16

Playing Recordings
Touch the green triangle to start playback.
Use the playback speed adjustment buttons to set playback to be faster or slower than normal.
Touch the repeat button to select whether to automatically restart playback at the beginning of a recording.
Touch the Speaker switch to choose between the iPhone’s conference-phone speaker and the receiver/headphone.
17

Editing Recordings
18

Editing Recordings
HT Recorder 4.0 and higher provides the ability to edit recordings.
To select a portion of a recording for editing, position the player to the start of the segment that you would like to edit.
Now touch the Edit button and choose the ‘SET SELECTION ENDPOINT’ menu item.
19
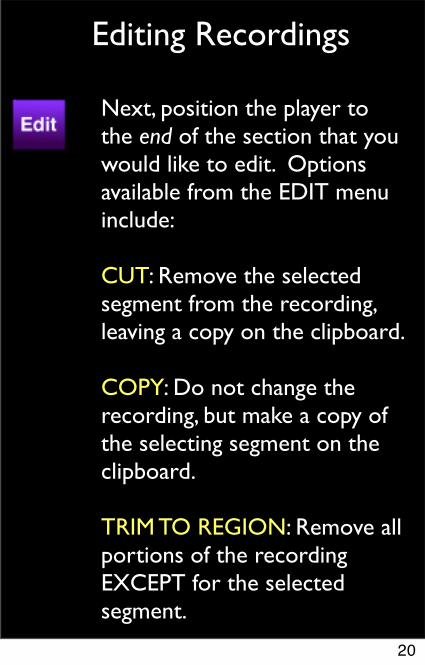
Next, position the player to the end of the section that you would like to edit. Options available from the EDIT menu include:
CUT: Remove the selected segment from the recording, leaving a copy on the clipboard.
COPY: Do not change the recording, but make a copy of the selecting segment on the clipboard.
TRIM TO REGION: Remove all portions of the recording EXCEPT for the selected segment.
Editing Recordings
20
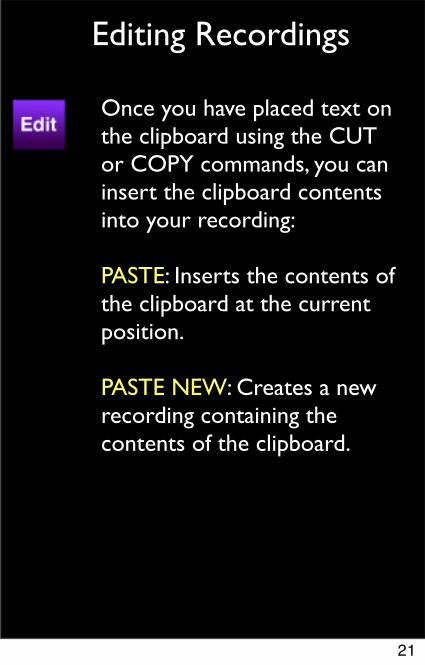
Once you have placed text on the clipboard using the CUT or COPY commands, you can insert the clipboard contents into your recording:
PASTE: Inserts the contents of the clipboard at the current position.
PASTE NEW: Creates a new recording containing the contents of the clipboard.
Editing Recordings
21
The Recording
Library
22
The Recording Library
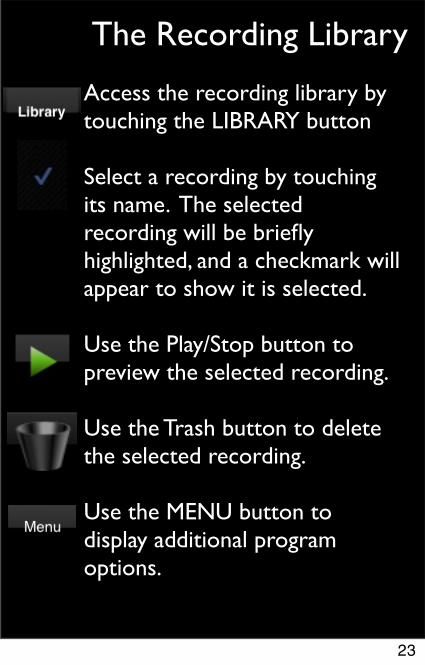
Access the recording library by touching the LIBRARY button
Select a recording by touching its name. The selected recording will be briefly highlighted, and a checkmark will appear to show it is selected.
Use the Play/Stop button to preview the selected recording.
Use the Trash button to delete the selected recording.
Use the MENU button to display additional program options.
23
FoldersWhen HT Recorder is first installed, all new recordings are placed in the {Default Folder}.
Additional folders can be created, and then selected, to group recordings together.
The Library view shows only recordings contained in the currently selected folder. To view all recordings in all folders, select the special folder named {Show All Recordings}.
To select, create, delete, or rename a folder, press the Folders button on the library screen.
24
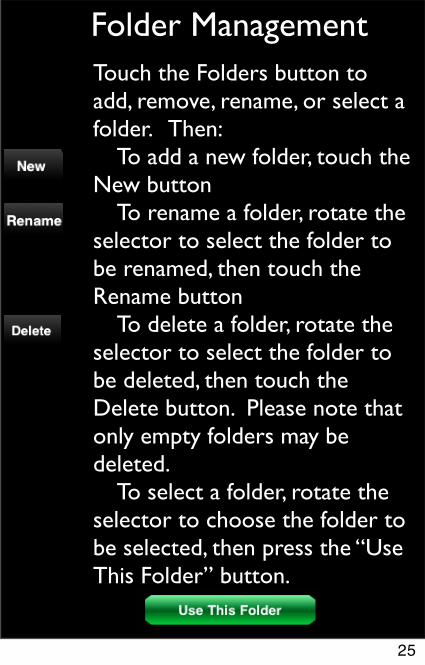
Folder ManagementTouch the Folders button to add, remove, rename, or select a folder. Then: To add a new folder, touch the New button To rename a folder, rotate the selector to select the folder to be renamed, then touch the Rename button To delete a folder, rotate the selector to select the folder to be deleted, then touch the Delete button. Please note that only empty folders may be deleted. To select a folder, rotate the selector to choose the folder to be selected, then press the “Use This Folder” button.
25

Other Library Operations
To move a recording to a different folder, first select the recording on the library screen, then touch the Move button, and select the folder in which the recording is to be placed. The recording will be moved to the new folder.
Touch the sort button to change the order in which recordings appear in the library. Recordings can be ordered by creation date or by name.
Please note that the dates shown in the library listing for each recording are the date of the last modification, not the creation date.
26
The Library Menu
The “Startup Record” option starts a new recording automatically when the program is launched.
“Enable FTP” causes the FTP option to be included in the sharing menu. Most users should use the “Web Server” option to upload recordings, instead of FTP.
“Delete All Recordings” deletes all recordings in the current folder. If “Show All Recordings” is selected as the current folder, all files IN ALL DIRECTORIES will be deleted.
27
Uploading Files
Uploading is only available in the Professional version
28
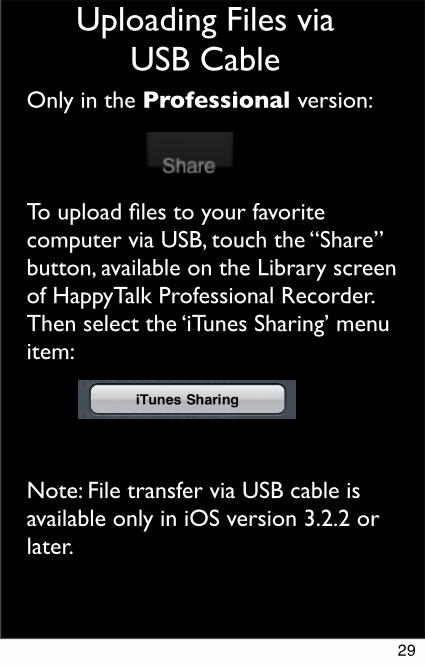
Uploading Files via USB Cable
Only in the Professional version:
To upload files to your favorite computer via USB, touch the “Share” button, available on the Library screen of HappyTalk Professional Recorder. Then select the ‘iTunes Sharing’ menu item:
Note: File transfer via USB cable is available only in iOS version 3.2.2 or later.
29
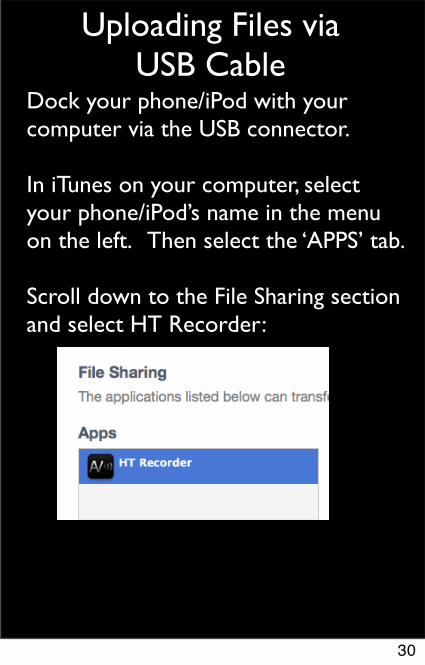
Uploading Files via USB Cable
Dock your phone/iPod with your computer via the USB connector.
In iTunes on your computer, select your phone/iPod’s name in the menu on the left. Then select the ‘APPS’ tab.
Scroll down to the File Sharing section and select HT Recorder:
30
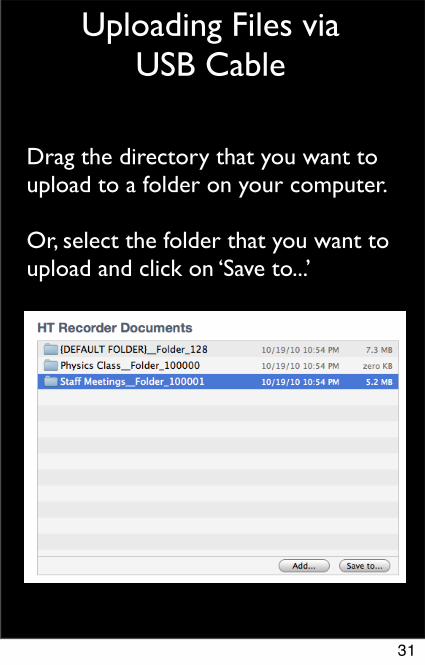
Uploading Files via USB Cable
Drag the directory that you want to upload to a folder on your computer.
Or, select the folder that you want to upload and click on ‘Save to...’
31
Uploading Files via USB Cable
Once the recordings have been copied to a folder on your computer, play them using your favorite audio player, such as Quicktime or iTunes.
Hint: To save all of your recordings to your computer, you can select all folders at once, and then drag them all at once to your desktop.
32
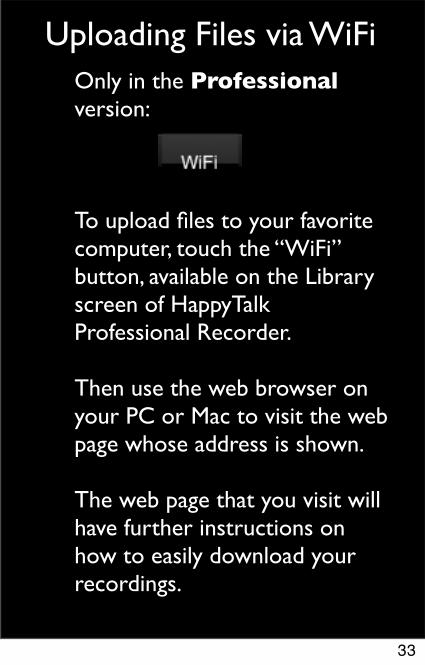
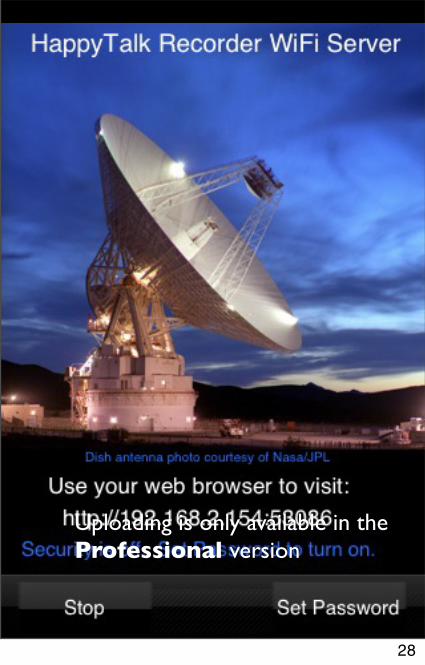
Uploading Files via WiFiOnly in the Professional version:
To upload files to your favorite computer, touch the “WiFi” button, available on the Library screen of HappyTalk Professional Recorder.
Then use the web browser on your PC or Mac to visit the web page whose address is shown.
The web page that you visit will have further instructions on how to easily download your recordings.
33
Sending files via E-mail
Only in the Professional version:
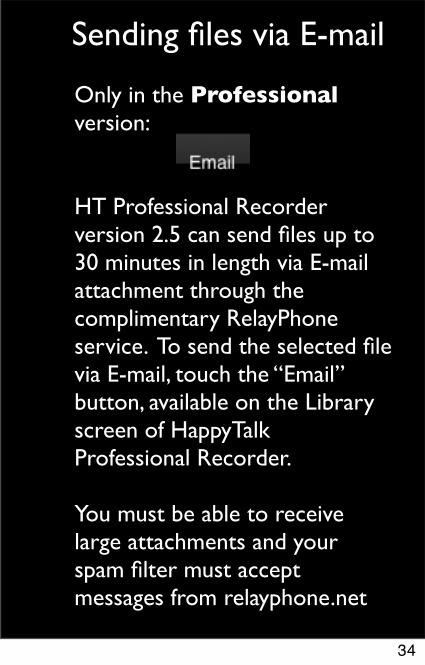
HT Professional Recorder version 2.5 can send files up to 30 minutes in length via E-mail attachment through the complimentary RelayPhone service. To send the selected file via E-mail, touch the “Email” button, available on the Library screen of HappyTalk Professional Recorder.
You must be able to receive large attachments and your spam filter must accept messages from relayphone.net
34

Sending files via E-mail
Only in the Professional version:
WiFi is better!
For best sound quality and improved security, use the WiFi transfer method on a secure wireless network that you trust, instead of E-mail.
E-mail is not a secure form of communication. Emailed recordings are compressed (somewhat reducing sound quality) and sent without encryption via the Relayphone E-mail service.
35
Sending files via E-mailOnly in the Professional version:
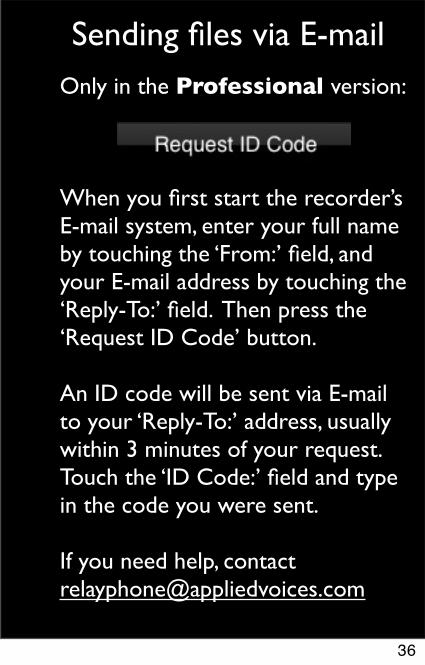
When you first start the recorder’s E-mail system, enter your full name by touching the ‘From:’ field, and your E-mail address by touching the ‘Reply-To:’ field. Then press the ‘Request ID Code’ button.
An ID code will be sent via E-mail to your ‘Reply-To:’ address, usually within 3 minutes of your request. Touch the ‘ID Code:’ field and type in the code you were sent.
If you need help, contact [email protected]
36
Sending files via E-mail
Only in the Professional version:
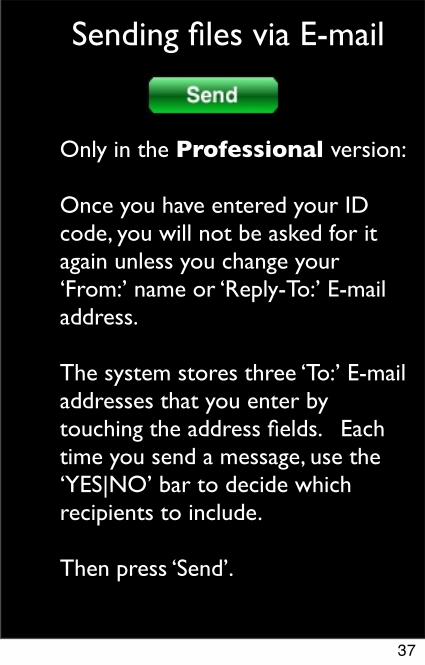
Once you have entered your ID code, you will not be asked for it again unless you change your ‘From:’ name or ‘Reply-To:’ E-mail address.
The system stores three ‘To:’ E-mail addresses that you enter by touching the address fields. Each time you send a message, use the ‘YES|NO’ bar to decide which recipients to include.
Then press ‘Send’.
37

Sending files via E-mailOnly in the Professional version:
Pressing the ‘Send’ button sends the recording to the Relayphone service for delivery via E-mail. This does not guarantee delivery.
A recipients mailbox might be full, or they might not be permitted to receive large attachments.
You should always confirm that your message has been received and can be played in full by the recipient before deleting the recording from your iPod/iPhone.
38

Using FTPHappyTalk Professional Recorder also supports use of FTP to transfer files. Use of FTP is recommended only for advanced users who already have an FTP server.
To perform a file transfer, first select a recording to upload, using the Library screen. Then press the FTP button.
Note: The FTP button is initially hidden, to encourage use of the ‘Web Server’ mode of file transfer by most users. To make the FTP button visible, use the Menu’s “Enable FTP” option. This enabling step only needs to be performed once.
39
Using FTP - Hint #1
Try not to use any special characters (@, :, space) in usernames, passwords, or directory names. If your FTP provider requires a ‘@’ in your username, try using %40 instead. For instance, if your username is fred@barney, try using fred%40barney as your username.
40
Using FTP - Hint #2
If you are having trouble setting up FTP, try using Safari on the iPhone to access your FTP server. Safari is sometimes able to give more informative error message. The web page to visit in Safari is:
ftp://username:password@hostname/
If the FTP connections works, you should see the contents of your FTP directory in the Safari browser, or a blank screen with no error message if your directory is empty.
41
Information for users of previous versions of HappyTalk recorder
HappyTalk Professional Recorder version 2.5 incorporates all of the functionality of the previous versions of Happytalk. The audio capture algorithms are unchanged, so you will get the same high quality voice capture that you have come to expect.
Relative to version 1, the user interface has changed, and some additional features have been added.
42
How do I find my favorite feature? #1
In previous versions, the recorder always started in ‘CONFERENCE ROOM’ recording mode. In version 2.0, the recorder starts in whatever recording mode you were using last time you ran the program. i.e. it remembers the recording mode.
If you are experiencing problems with reduced audio sensitivity, most likely you had previously set the system to ‘VERY CLOSE’ mode, and need to change the setting back to ‘CONFERENCE ROOM’ or ‘AUDITORIUM’ mode.
43

How do I find my favorite feature? #2
A new web-based file uploading feature has been added. This is much easier to use than FTP for most users.
FTP is still available, but is hidden, to encourage beginning users to utilize the web-based file uploading.
To use FTP, simply ENABLE it via the LIBRARY menu, and the FTP button will appear. This enabling only needs to be done once.
44
How do I find my favorite feature? #3
The system now provides the ability to overwrite a portion of a recording. This is very handy for correcting dictation or masking out undesirable sounds.
The ability to resume recording at the end of a file is still present - simply position the recording to the end of the file and the resume button will appear.
45

How do I find my favorite feature? #4
What happened to the back 5, back 15, and END buttons?
The back 5 button is still available, as shown on the left.
The back 15 function can be achieved by touching the counter.
Move to the end of the file by touching the end marker on the new curvy positioning slider.
46
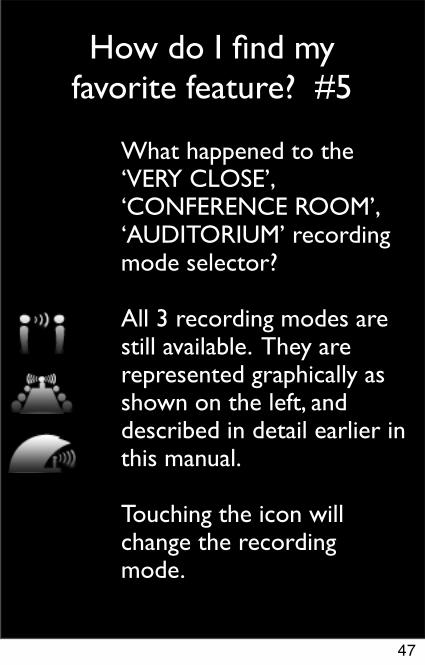
How do I find my favorite feature? #5
What happened to the ‘VERY CLOSE’, ‘CONFERENCE ROOM’, ‘AUDITORIUM’ recording mode selector?
All 3 recording modes are still available. They are represented graphically as shown on the left, and described in detail earlier in this manual.
Touching the icon will change the recording mode.
47

How do I find my favorite feature? #6
What happened to the SLOWER, NORMAL, and FASTER buttons?
Press ‘1X’ and these buttons will appear.
‘+’ is like the faster was in version 1.1
‘-’ is like the ‘slower’ button was in version 1.1
Pressing ‘1X’ a second time returns playback speed to Normal.
48

Other Changes
By popular request:
The iPhone’s SLEEP timer is now disabled during file uploads.
Improved handling of iPod Touch when microphone is not plugged in (polite warning message rather than pausing to wait for the microphone).
FTP file naming enhancements for compatibility with PC’s.
Ability to delete, as well as add, bookmarks.
49
Contact Applied Voices LLC
If you have any questions about HappyTalk Professional Recorder, please contact us at:
To request new program features for future updates, please contact us at:
50