Embed Size (px)
Citation preview

Grade 8 Tech. Module
Unit 2 – Basic Skills

Pictorial Drawings Pictorial drawings are three dimensional drawings that look similar to a picture.
There are two basic types. They are:
- Oblique
- Isometric

Oblique Drawings
An oblique drawing is one where the front view of the object is in the same plane as the drawing surface and the sides and top are at an angle of either 30, or 45 degrees

Isometric An isometric drawing is one where the front and side are at 30 degrees to the vertical.
The isometric drawing is most commonly used when constructing a working set of drawings.

Isometric The faces of an object in an isometric drawing are labeled by their location.

Isometric drawing of a house

Ne Needs are

Ne Needs are

Alphabet of Lines
• The alphabet of lines consists of a variety of solid and dashed line styles. Each represents a different thing in the language of the drawing.

Construction Lines:
Construction lines are used to block out the parts of a drawing.
Construction lines are drawn over or are erased. For that reason they are usually drawn very lightly.
Alphabet of Lines - Summary

Visible Object Lines:
Object lines are solid curved or straight lines that are used to outline all visible parts of the object. They are generally the darkest lines on the drawing.

Hidden Lines:
Hidden lines are made up of a series of evenly spaced dashes. They are used to show details about the drawing that are hidden from view.
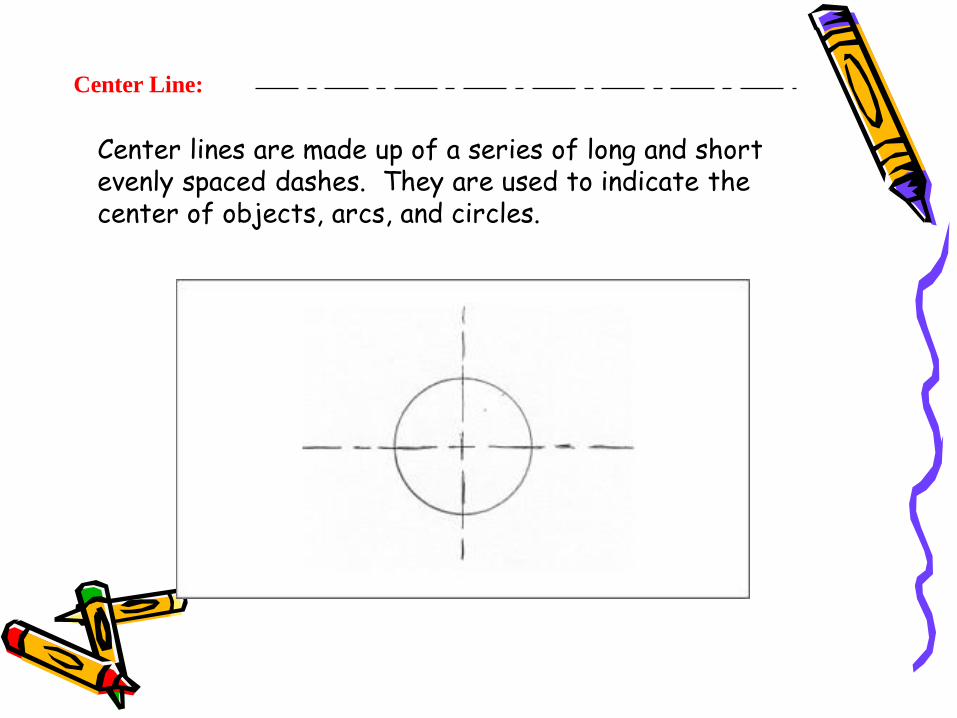
Center Line:
Center lines are made up of a series of long and short evenly spaced dashes. They are used to indicate the center of objects, arcs, and circles.

Break Line:
Break lines are us to show the beginning and ending of an object that has a pattern that repeats.
Architects often use break lines when showing a set of stairs on a floor plan for a house or building.
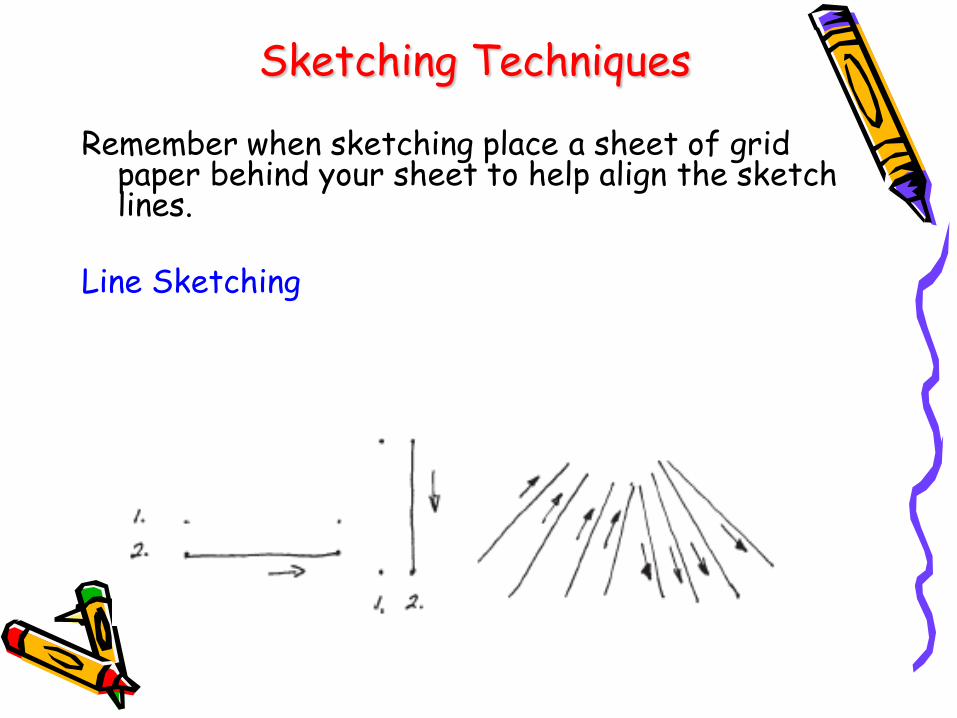
Sketching Techniques Remember when sketching place a sheet of grid
paper behind your sheet to help align the sketch lines.
Line Sketching

Drawing 30 deg. Lines - no Ruler • There are two methods
• Method 1
• Method 2

Two Methods of Drawing 45º Lines Method 1 Method 2
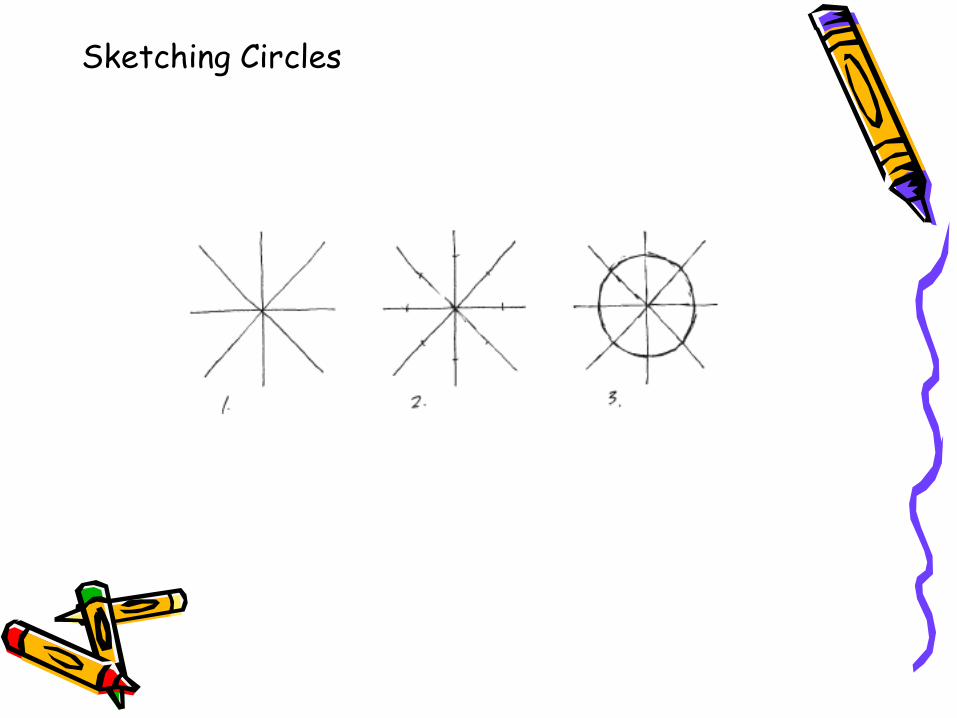
Sketching Circles

Perspective Drawing
• Perspective drawing is a good style to use when drawing in 3D. There are different styles including single point and two point perspective. The basic example below shows how to construct a simple single point perspective drawing of a cube. Using the same skills more complex drawings/designs can be drawn, after a little practice.

Single-point perspective
• 1. Draw one side of the cube and select a vanishing point (marked with an 'X').
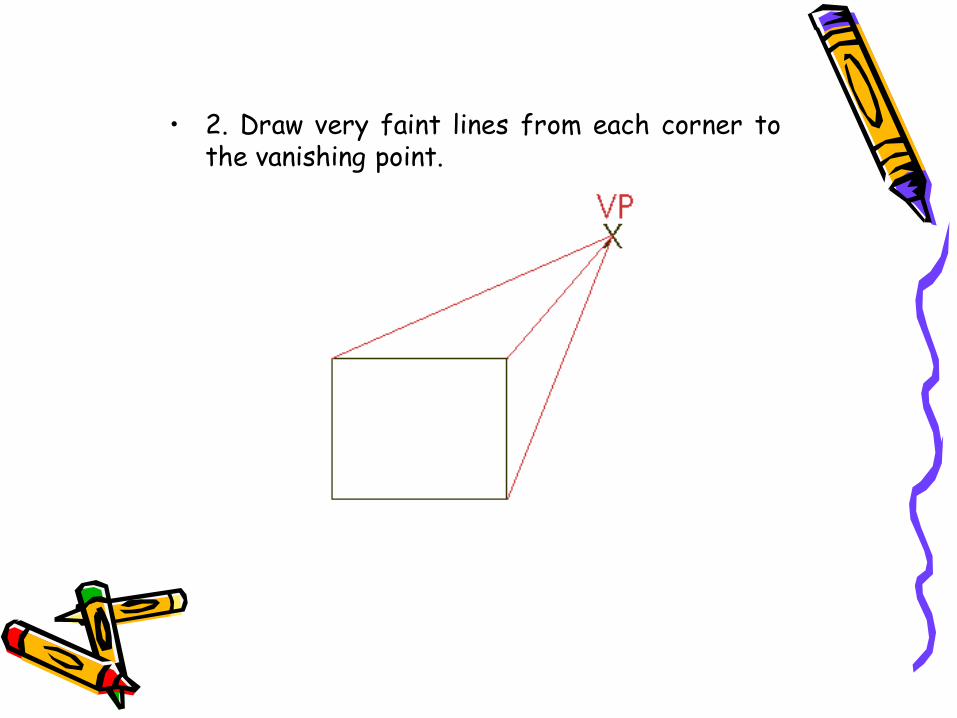
• 2. Draw very faint lines from each corner to the vanishing point.

• 3. Draw horizontal and vertical lines for the 'back of the cube.

• 4. Go over the faint perspective of the cube so that the lines that make up the cube are dark and sharp.

• Try completing the drawings of L-shapes and T-shapes in single point perspective:

• Try completing the drawings of H-shapes and J-shapes in single point perspective:

SINGLE POINT PERSPECTIVE DRAWING - Assignment
• Draw your name in a decorative / imaginative style. Place a single vanishing point above, in the centre. Try to apply appropriate colour and shade. See the example below

Lets try something a little more complicated…
Designing furniture
Example 1
1. Draw the side view of a chair and mark with an X the single vanishing point. Note the position of the vanishing point. You may need to experiment a little with the position of the vanishing until you find what you consider to be the right place.

• 2. Draw faint lines from each corner/edge of the chair projecting them back to the vanishing point. Add the width to the chair and shade/colour.

Example 2
1. Draw a side or front view of the table.
2. Mark a vanishing point on the paper and start projecting faint lines from each of the corners/edges of the front/side view of the table.

3. The most difficult part is ensuring that the back legs line up with the front legs. One way of ensuring that this happens is to project faint lines as shown on the drawing opposite.
4. When you have completed the drawing add some shade. On this example a grey felt pen has be used for most of the background colour, a black pen for the darker edges and for the grain of the wood

• Once you have mastered drawing individual pieces of furniture in single point perspective you will be ready to design a simple room which includes basic furniture. The same techniques are used whether drawing the skeleton of a room or the pieces of furniture going inside it. Use a single vanishing point and project guidelines back to it.
• 1. Draw a rectangle and project the corners back to a vanishing point. Remember, all lines should be faint at this stage.

• 2.Draw a rectangle which represents the back of the room. This must line up with the guidelines projected back to the vanishing point from the front rectangle.
• 3. Complete the basic room by rubbing out line ‘A’ and darkening the outline of the entire room.

Assignment
1. Complete a room based on the simple design shown above.
• Add furniture.
• Add more detail to the furniture.
• Add a window to one of the side walls.
2. “ Cereal” Assignment