Embed Size (px)
Citation preview
Export Audio – From Quicktime Pro to iTunes
1. Open an audio or video file in Quicktime. Go to "File > Export . . ."
2. In the "Export" dropdown select "Sound to AIFF", and click on "Options"
3. In the "Options" dialog, select "IMA 4:1, Stereo, 48.000 kHz" and "Quality:Best" Click on OK

Then Click on "Save" in the Export dialog
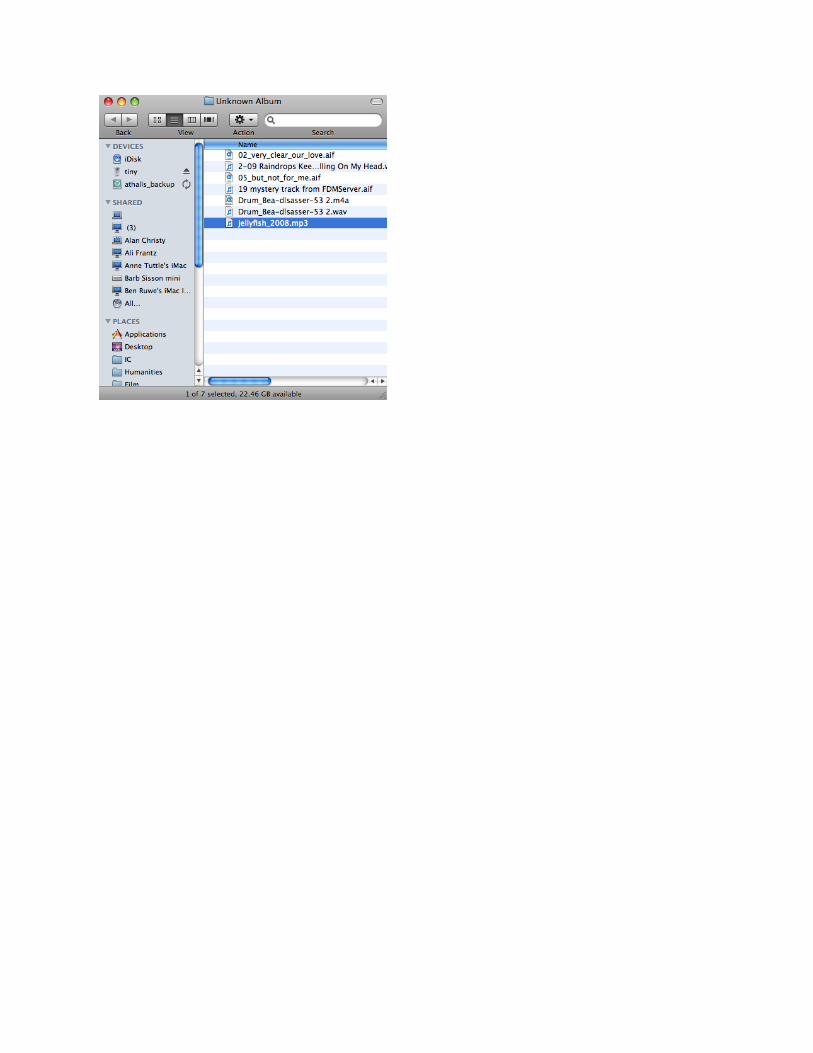
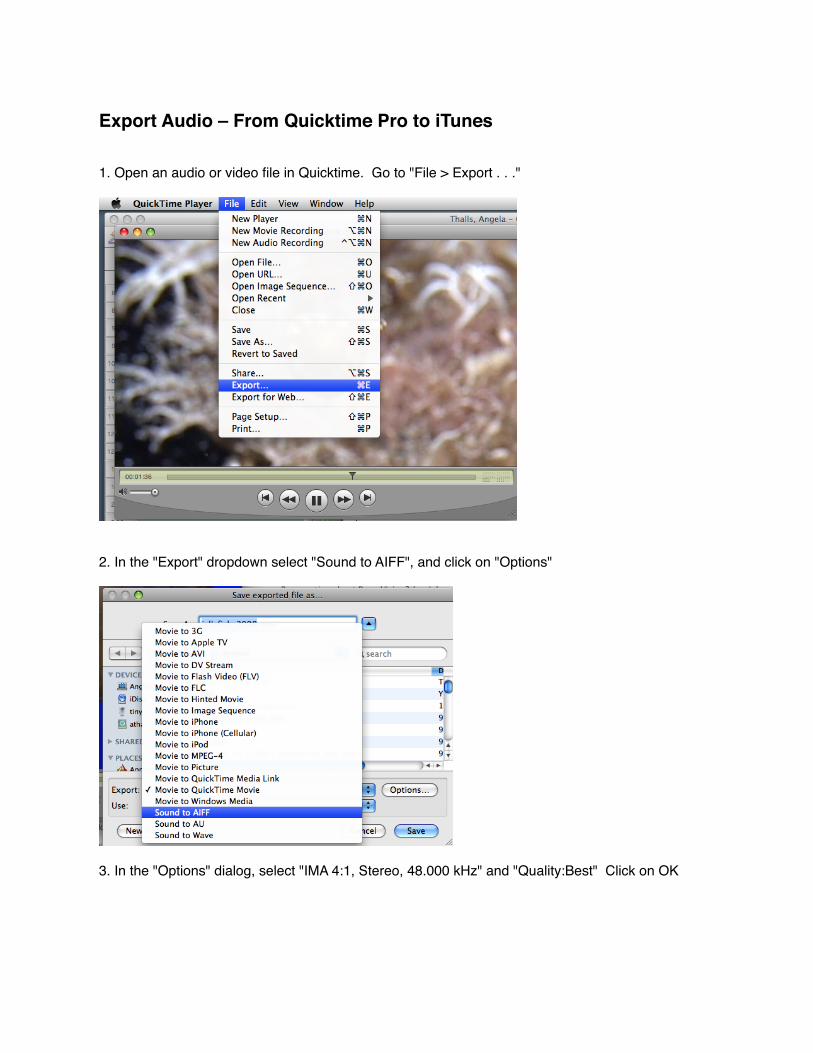
4. Now open iTunes and go to "File > Import. . ." and select the .AIF you just exported and click "Open"
5. Locate the newly imported file in the iTunes Library playlist, select it and go to "Advanced > Convert Selection to MP3"
6. You will see two identically named tracks.
7. Right click (control+click) on the new copy and select "Show in Finder"
8. This is the file you will embed in a web page, and use for podcasting.