Embed Size (px)
Citation preview
1
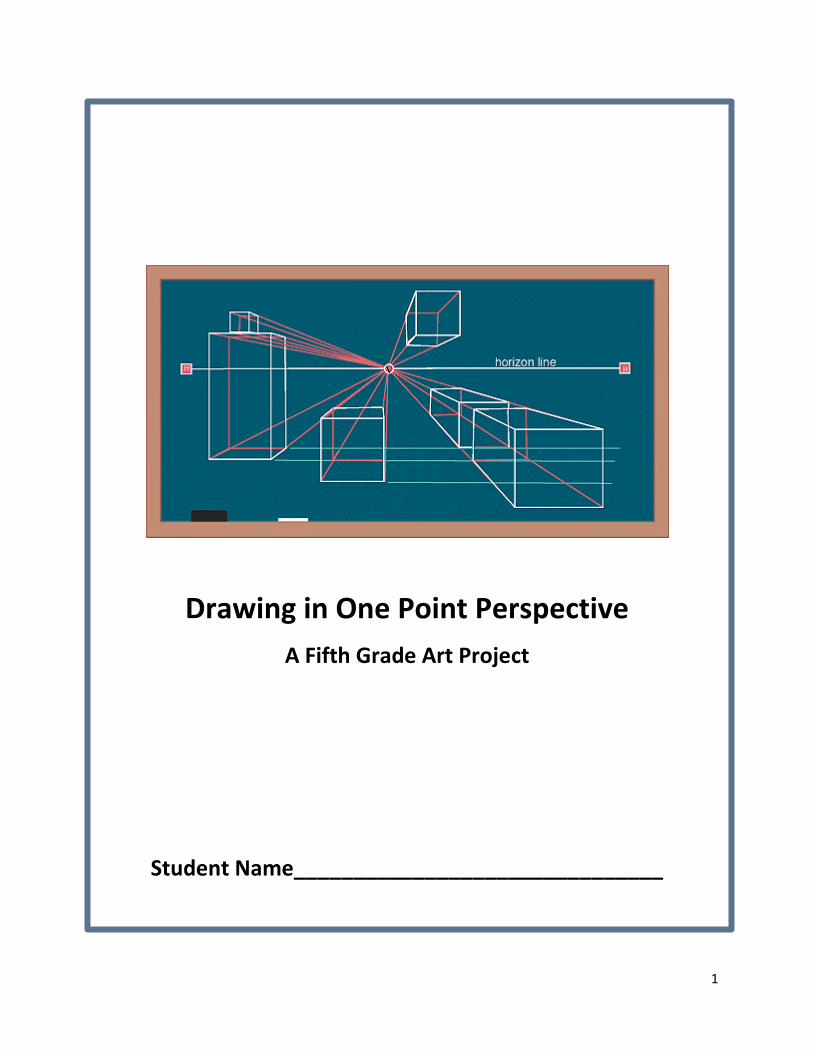
Drawing in One Point Perspective
A Fifth Grade Art Project
Student Name_______________________________
2
How do you like to draw 3-D? On this page, draw a landscape picture that includes a road and at least one building. Show how you like to make it look realistic and 3 dimensional.

3
Are You Ready?
Use the following worksheet to help review the things you need to know to do this project. After you are finished, check your answers with those in the back of this packet. Ask your teacher if you have questions about the correct answers.
4
Name _______________________________________________
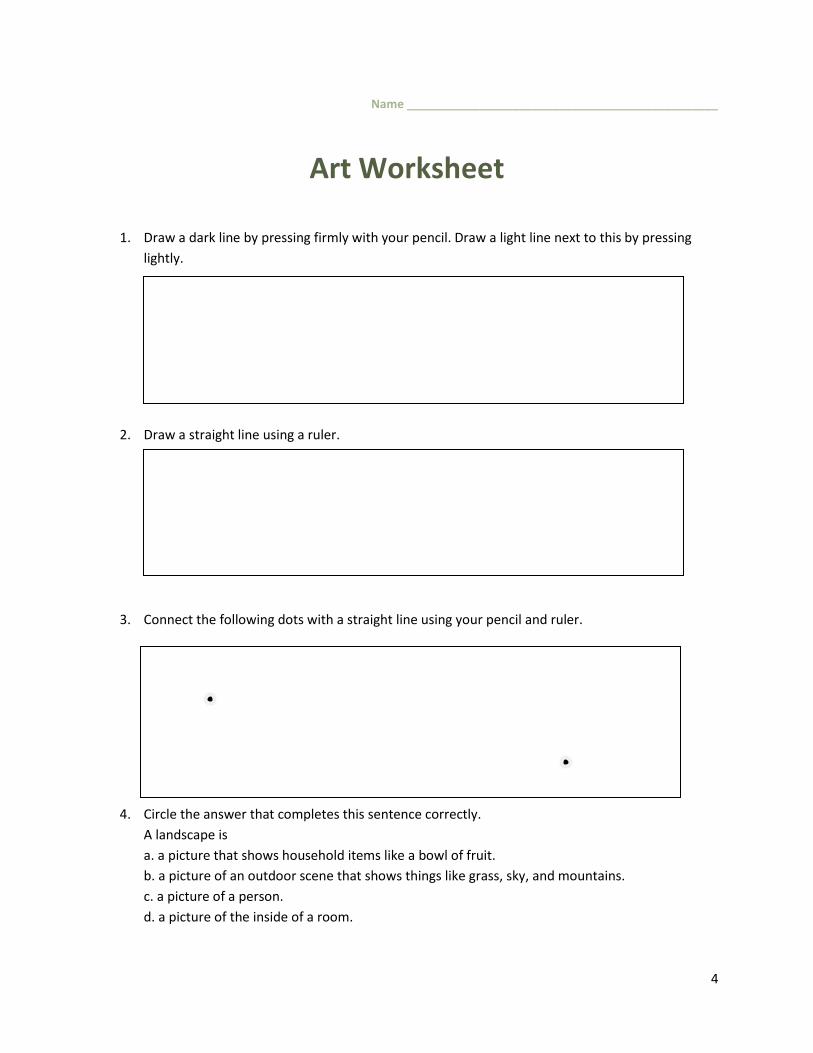
Art Worksheet
1. Draw a dark line by pressing firmly with your pencil. Draw a light line next to this by pressing
lightly.
2. Draw a straight line using a ruler.
3. Connect the following dots with a straight line using your pencil and ruler.
4. Circle the answer that completes this sentence correctly.
A landscape is
a. a picture that shows household items like a bowl of fruit.
b. a picture of an outdoor scene that shows things like grass, sky, and mountains.
c. a picture of a person.
d. a picture of the inside of a room.

5
5. Circle the shape that has right angles.
a. b. c. d.
6. In the space provided, draw a box with all four corners as right angles.
7. Circle the vertical line.
a. b. c. d.
8. Circle the horizontal line.
a. b. c. d.
9. Circle the set of lines that are parallel.
a. b. c. d.
6
Let’s Begin.
Get your drawing paper, pencil, eraser, and ruler ready. You will be making a landscape drawing with a road and buildings that looks 3-D. You will be using a technique called one point perspective. Follow these directions step by step. You may look at other students’ papers and ask each other questions if you want to. Be as neat as possible and use your ruler to make the straight lines.
7
Vocabulary
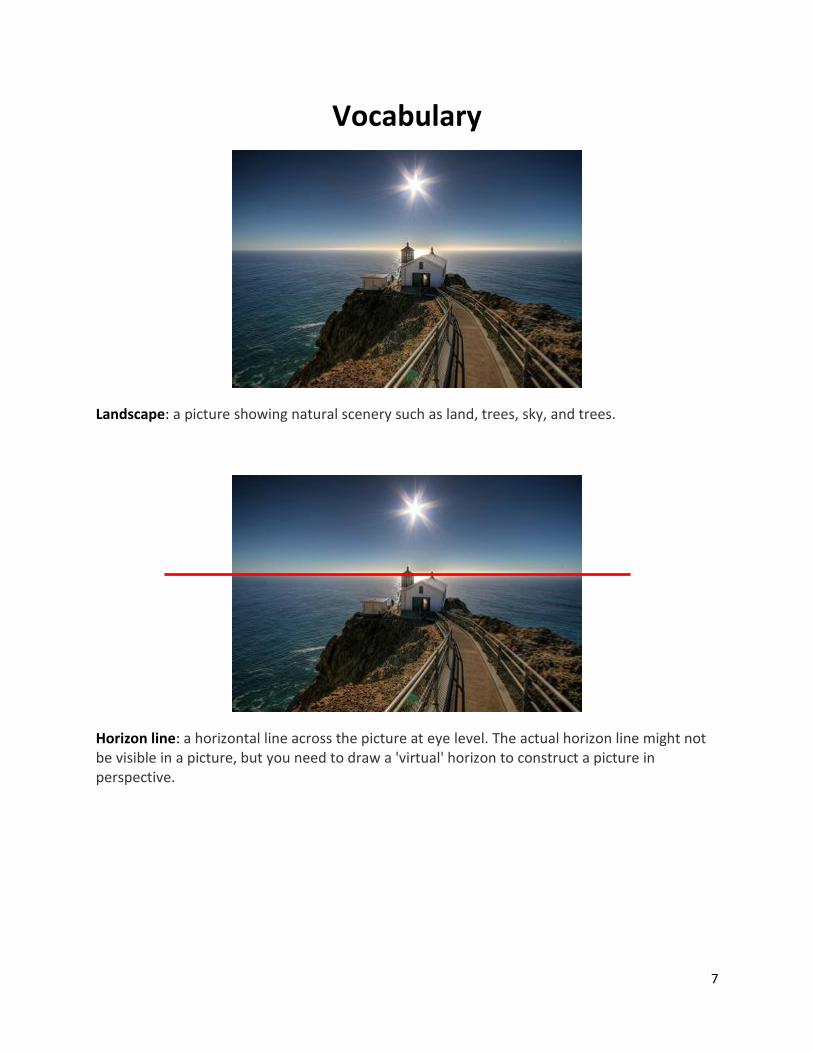
Landscape: a picture showing natural scenery such as land, trees, sky, and trees.
Horizon line: a horizontal line across the picture at eye level. The actual horizon line might not be visible in a picture, but you need to draw a 'virtual' horizon to construct a picture in perspective.
8
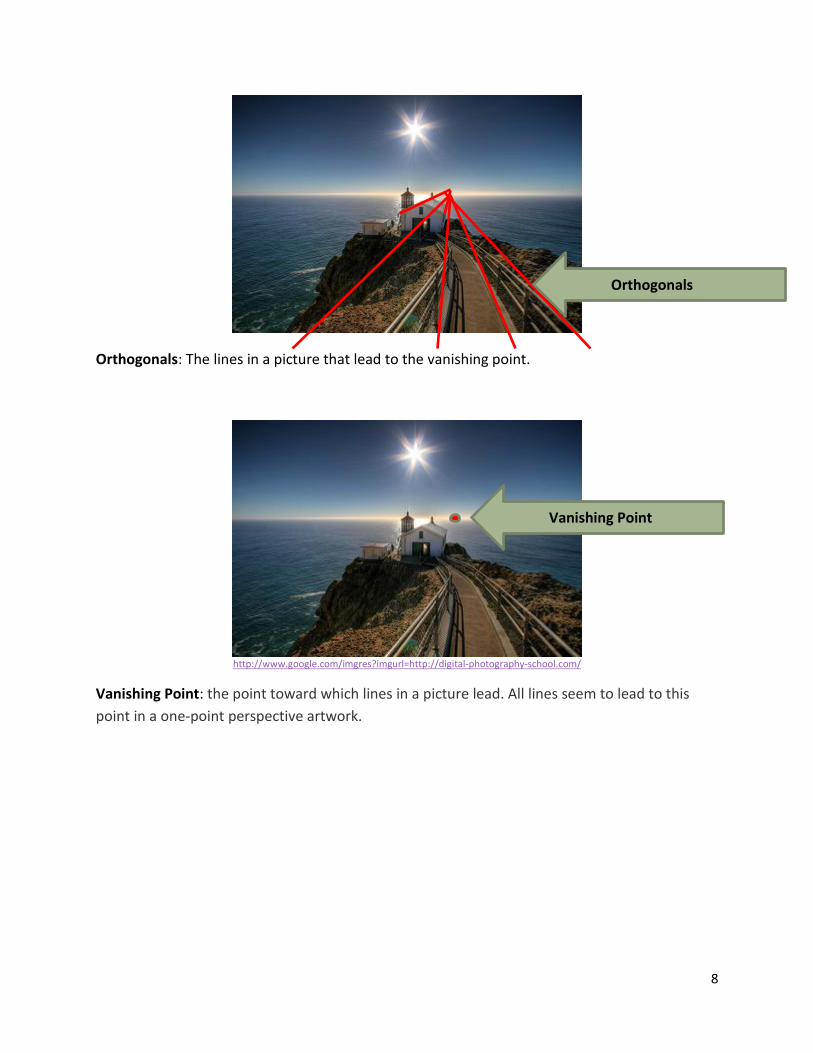
Orthogonals: The lines in a picture that lead to the vanishing point.
http://www.google.com/imgres?imgurl=http://digital-photography-school.com/
Vanishing Point: the point toward which lines in a picture lead. All lines seem to lead to this
point in a one-point perspective artwork.
Vanishing point
Orthogonals
Vanishing Point
9
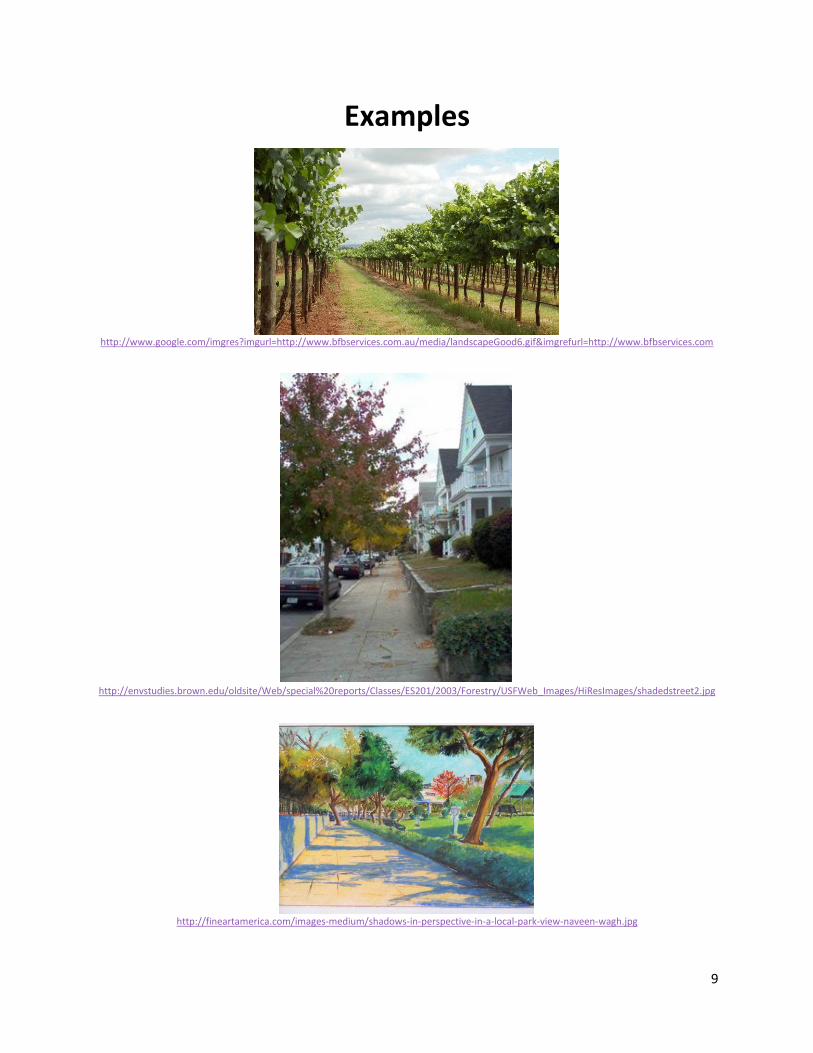
Examples
http://www.google.com/imgres?imgurl=http://www.bfbservices.com.au/media/landscapeGood6.gif&imgrefurl=http://www.bfbservices.com
http://envstudies.brown.edu/oldsite/Web/special%20reports/Classes/ES201/2003/Forestry/USFWeb_Images/HiResImages/shadedstreet2.jpg
http://fineartamerica.com/images-medium/shadows-in-perspective-in-a-local-park-view-naveen-wagh.jpg

10
http://en.wikipedia.org/wiki/File:Perugino_Keys.jpg
http://s233.photobucket.com/albums/ee131/knottyboy559/?action=view¤t=last_supper_davinci.jpg&newest=1
The Last Supper, by Leonardo da Vinci
You can see that every single element of the painting directs one's attention straight to the midpoint of the composition, Christ's head. It is arguably the greatest example of one point perspective ever created.
11
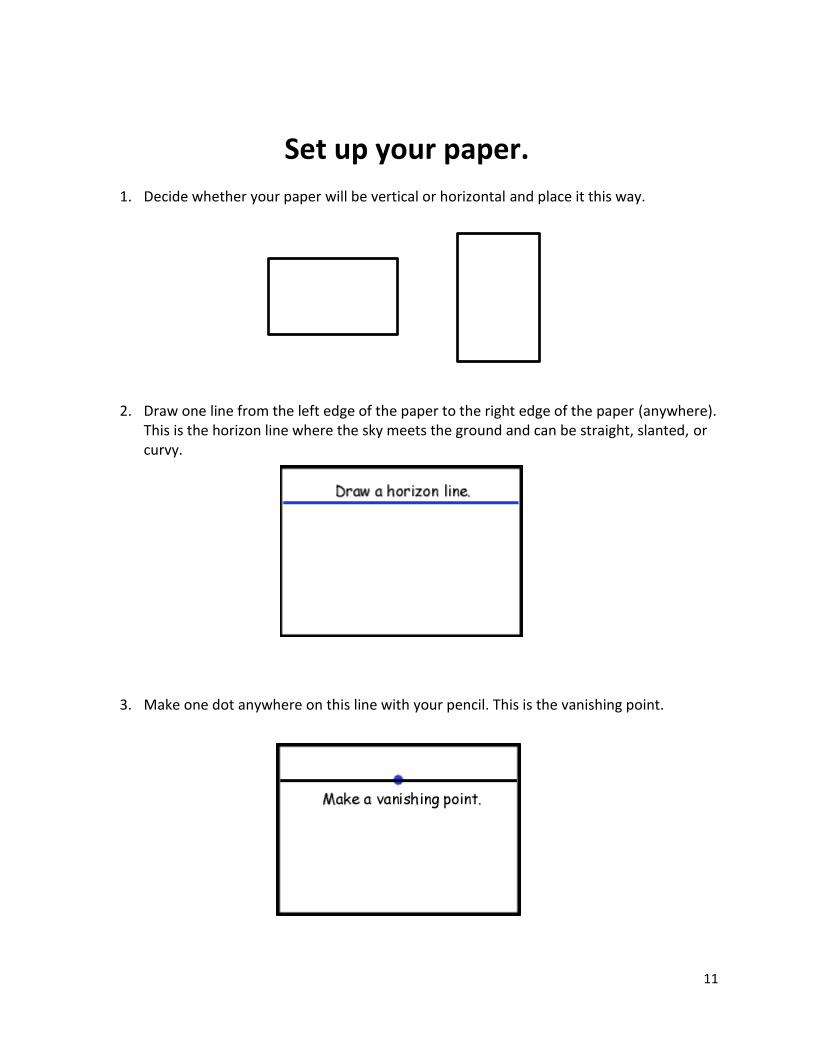
Set up your paper.
1. Decide whether your paper will be vertical or horizontal and place it this way.
2. Draw one line from the left edge of the paper to the right edge of the paper (anywhere). This is the horizon line where the sky meets the ground and can be straight, slanted, or curvy.
3. Make one dot anywhere on this line with your pencil. This is the vanishing point.
12
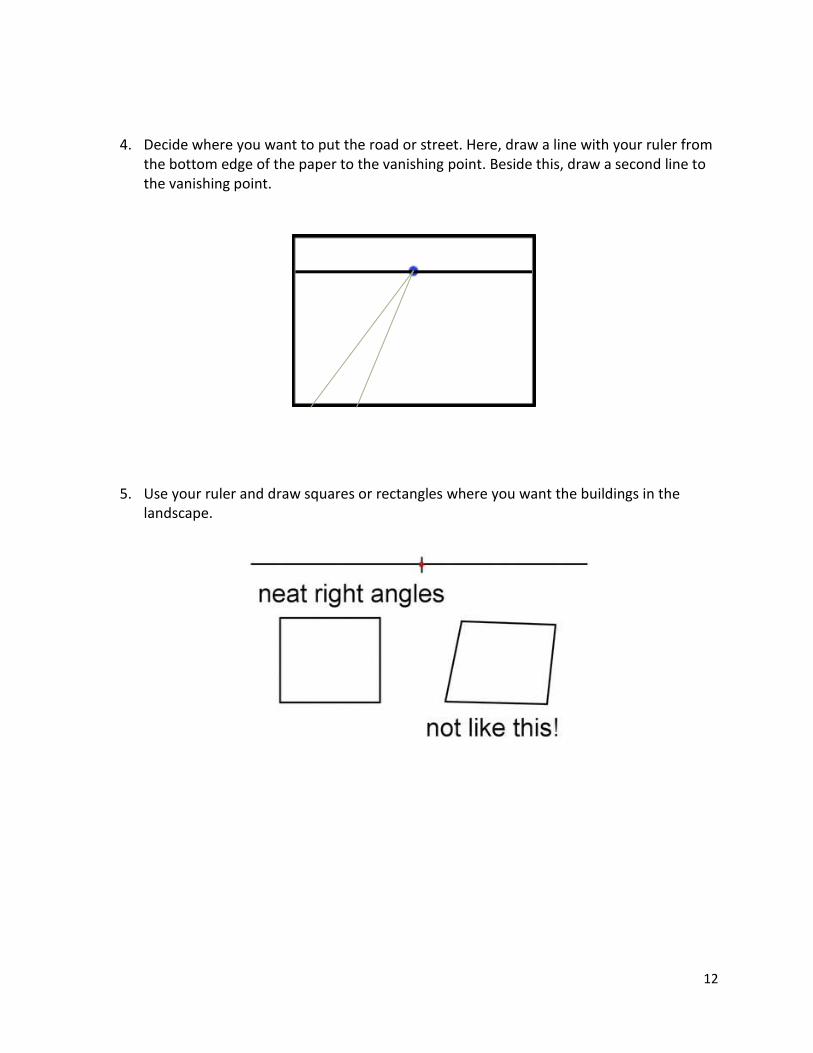
4. Decide where you want to put the road or street. Here, draw a line with your ruler from the bottom edge of the paper to the vanishing point. Beside this, draw a second line to the vanishing point.
5. Use your ruler and draw squares or rectangles where you want the buildings in the landscape.
13
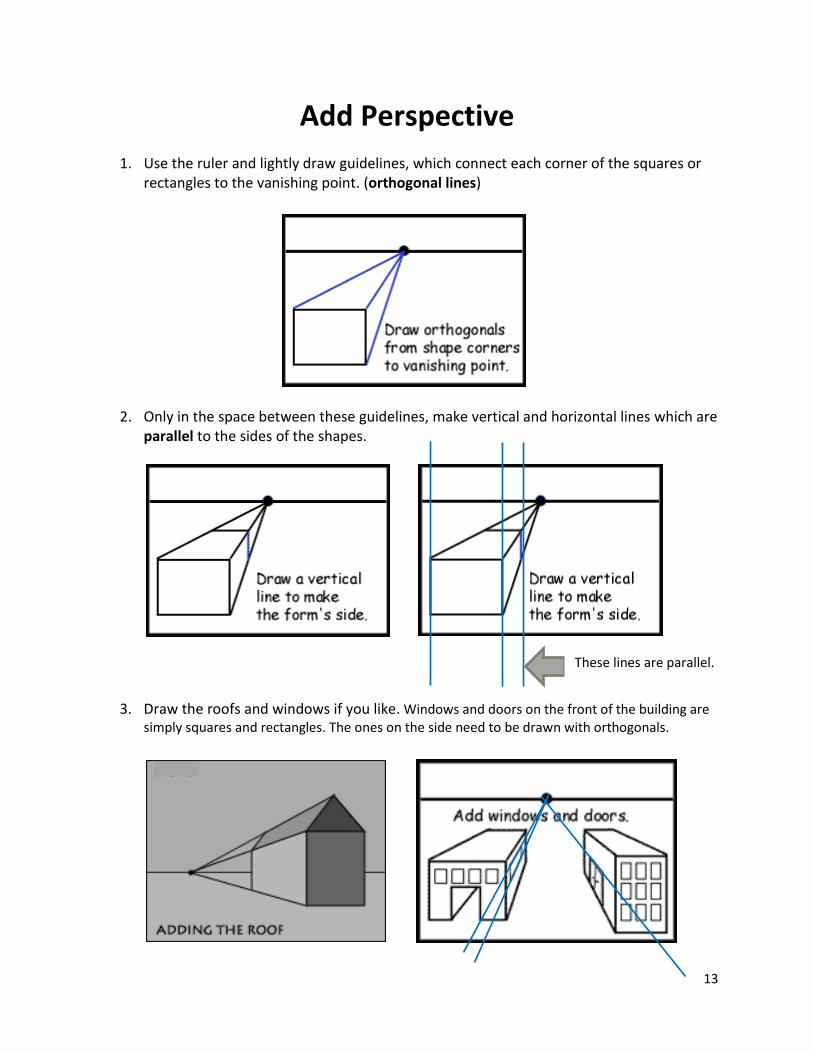
Add Perspective
1. Use the ruler and lightly draw guidelines, which connect each corner of the squares or rectangles to the vanishing point. (orthogonal lines)
2. Only in the space between these guidelines, make vertical and horizontal lines which are parallel to the sides of the shapes.
3. Draw the roofs and windows if you like. Windows and doors on the front of the building are simply squares and rectangles. The ones on the side need to be drawn with orthogonals.
These lines are parallel.

14
Final Touches
1. Erase all unneeded lines.
2. Use your pencil to draw grass, mountains, clouds, and any other landscape features you would like and color if you like. Here are some more examples. Kids just like you made them!
15
How did you do?
Make sure your drawing contains the following items. You can check them off.
O (outstanding): 12-13 S (satisfactory): 9-11 U (unsatisfactory): 8 or less
o The picture is a landscape. o The picture has a horizon line. o The picture has a vanishing point o The picture has a road drawn in one point perspective. o The squares and rectangles are drawn with right angles. o The sides and tops of the buildings are drawn using parallel lines. o You used guidelines. o The drawing is neat. o Extra details of a landscape are included like grass, trees, sky, gravel, dirt, etc. o The picture appears 3-D.
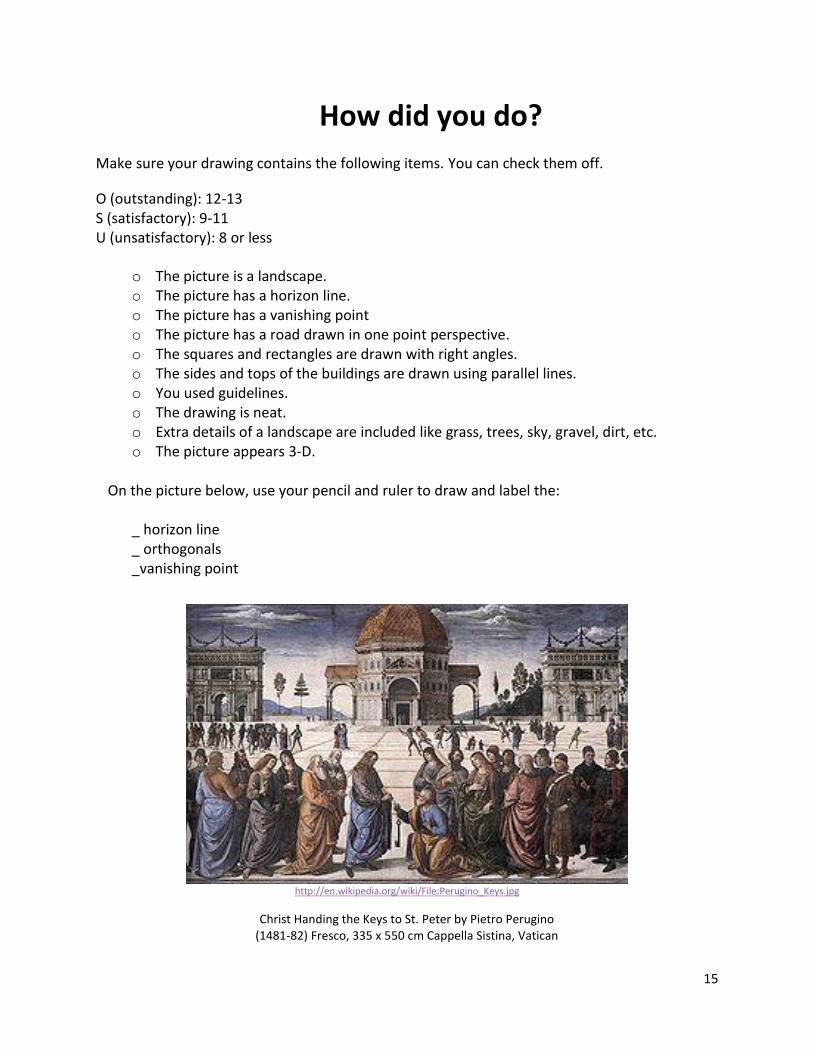
On the picture below, use your pencil and ruler to draw and label the:
_ horizon line _ orthogonals _vanishing point
http://en.wikipedia.org/wiki/File:Perugino_Keys.jpg
Christ Handing the Keys to St. Peter by Pietro Perugino (1481-82) Fresco, 335 x 550 cm Cappella Sistina, Vatican
16
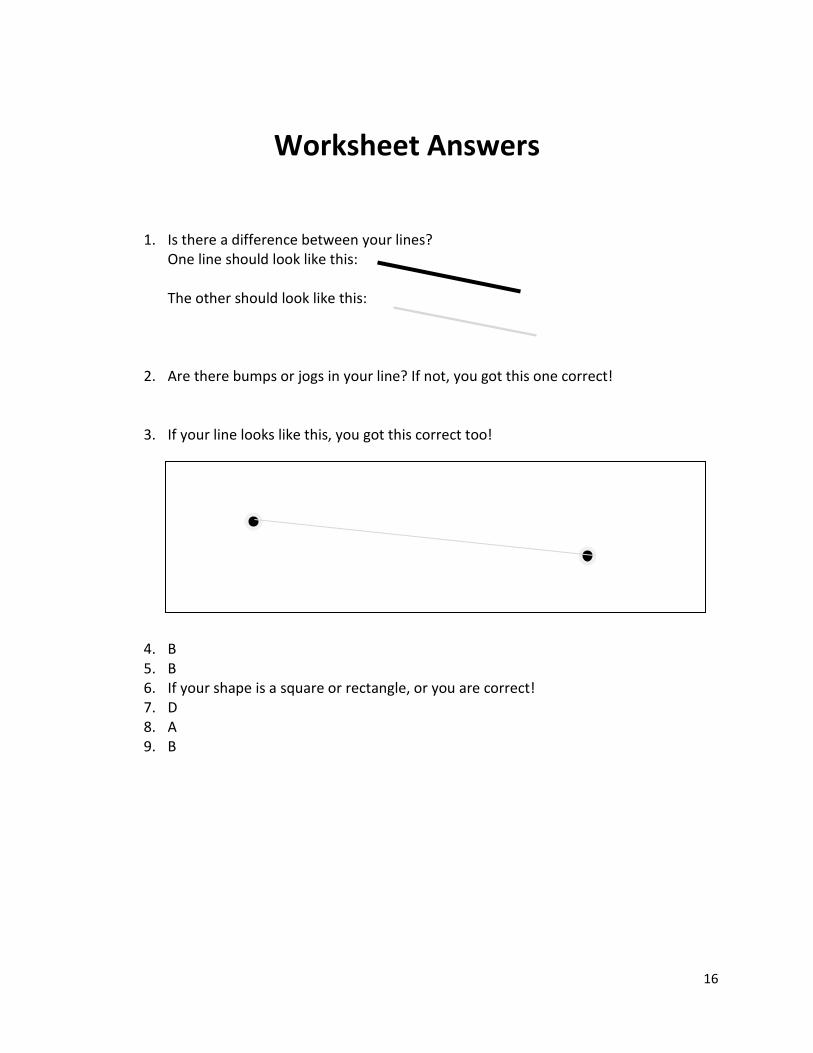
Worksheet Answers
1. Is there a difference between your lines?
One line should look like this: The other should look like this:
2. Are there bumps or jogs in your line? If not, you got this one correct!
3. If your line looks like this, you got this correct too!
4. B 5. B 6. If your shape is a square or rectangle, or you are correct! 7. D 8. A 9. B