Embed Size (px)
Citation preview

DIY Screen Printing TutorialUse common craft items to make your own
“screen printed” shirts, bags, and more!
Materials needed:
o a t-shirt/tote-bag/etc.o yucky/cheap paint brusheso an embroidery hoopo screen printing ink for fabric (such as Speedball brand)o a glue that isn't water-soluble (such as Mod Podge)o curtain sheer material/tulle/old nylonso and a computer with a printer (or a good hand for drawing
things).
Using these materials you will be able to create a screen, print the imageonto a shirt/bag/etc., and reuse the screen again and again!
Page 1

Find an image you like and that has good contrast. This cowneeded to be "cut out," and using only Microsoft Paint worksfine.
Page 2

Save the image as a Monochrome Bitmap file (.BMP) and it willturn it black and white. If this loses all the detail, mess around onMS Paint or try a different picture.
Page 3

Print it out so the image is the size you want it on the t-shirt (andalso so it's not bigger than the embroidery hoop that cost 67¢).
After pulling the sheer curtain material/tulle/old nylons tightacross the embroidery hoop (and screwing it shut real good),trace the image onto the material with a pencil with thematerial close to the paper, not upside down so it's far away.
Page 4
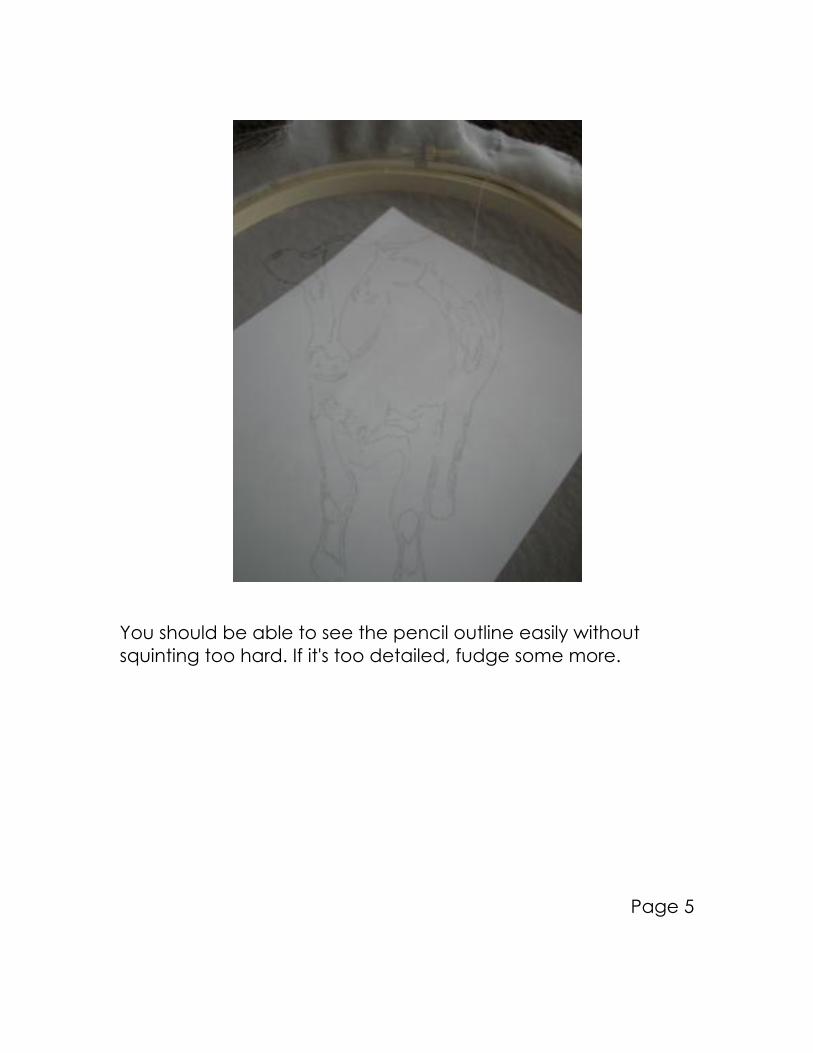
You should be able to see the pencil outline easily withoutsquinting too hard. If it's too detailed, fudge some more.
Page 5

Turn the thing over and with the glue, paint all the "negativespace," (all the places you don't want ink to go, the whitespace). Make sure the material isn't touching whatever surfaceyou're working on otherwise you'll end up gluing the wholething down.
Page 6

Fill in a large area around the image with more glue so that theink will not spill over the edges when applied.
Wait for it to dry! Mod Podge will turn clear instead of white andwill no longer feel tacky when it is totally dry.
Page 7

Turn it so that it lies flat on the fabric and begin to carefullyapply the ink through the screen using a stippling motion withthe paint brush. Make sure not to move the screen whileapplying the ink!
Carefully peel the screen away from the fabric andimmediately print another t-shirt or wash the ink out of thescreen for later use.
Page 8

Once the ink has dried on the t-shirt, follow the setting heatinstructions (Speedball requires ironing the fabric on medium for3 – 5 minutes on each side).
Enjoy the shirt!
Page 9


![3D SCREEN PRINTING MASS PRODUCTION OF ... - · PDF file3D SCREEN PRINTING MASS PRODUCTION OF ... [HB] 3D Metal Printing - Binder Jetting approach ... 2D screen printing is an established](https://img.dokumen.tips/doc/110x75/5aa545cf7f8b9ab4788cecdc/3d-screen-printing-mass-production-of-screen-printing-mass-production.jpg)