Embed Size (px)
Citation preview


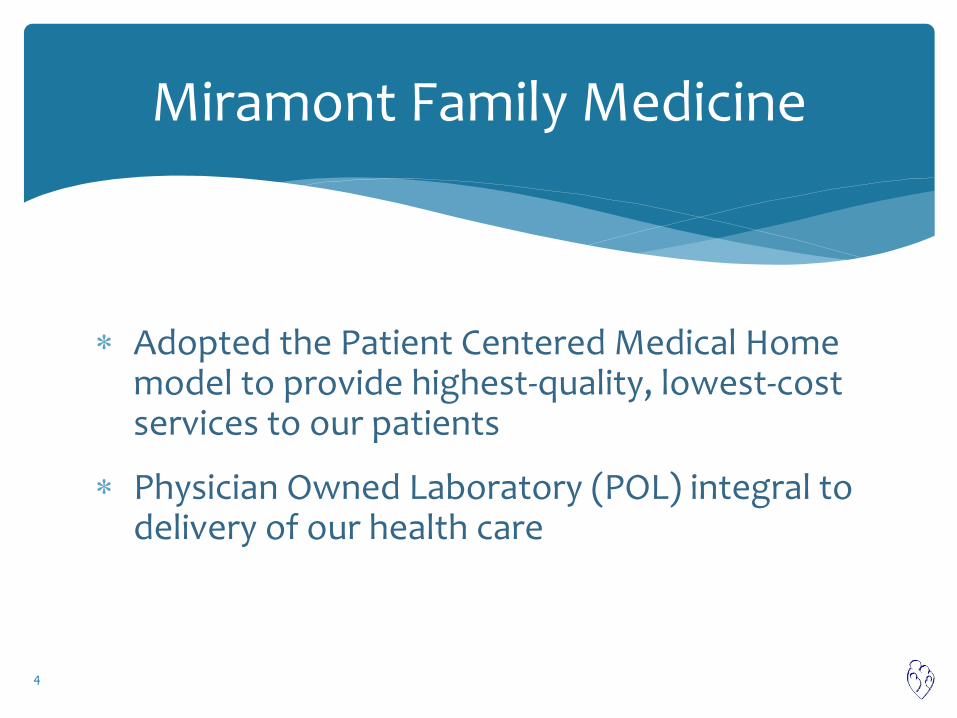
Adopted the Patient Centered Medical Home model to provide highest-quality, lowest-cost services to our patients
Physician Owned Laboratory (POL) integral to delivery of our health care
4
Miramont Family Medicine
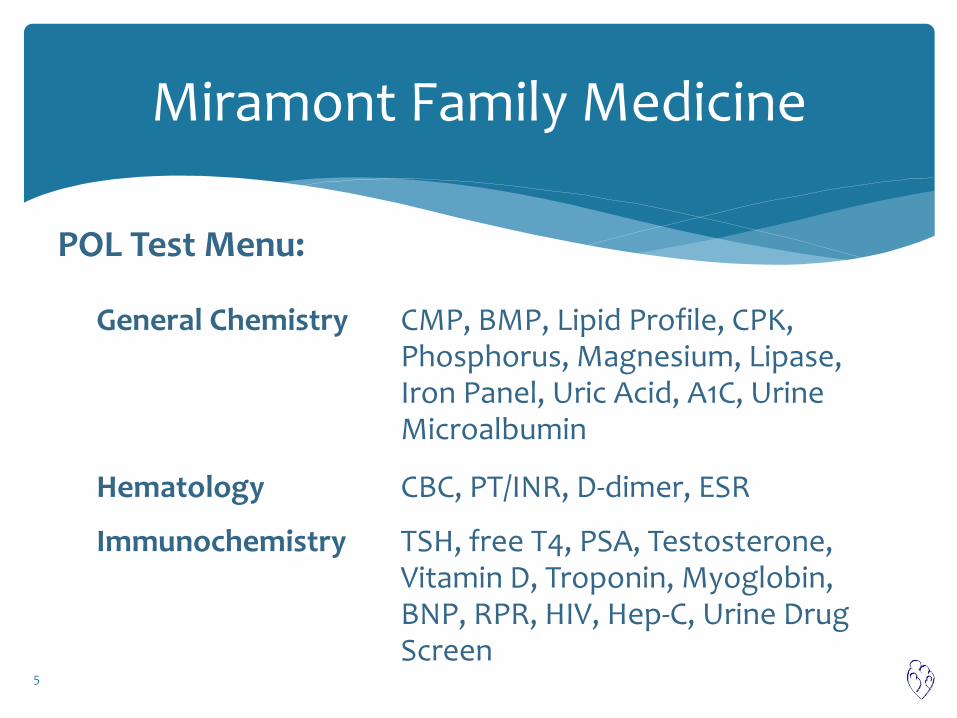
General Chemistry CMP, BMP, Lipid Profile, CPK, Phosphorus, Magnesium, Lipase, Iron Panel, Uric Acid, A1C, Urine Microalbumin
Hematology CBC, PT/INR, D-dimer, ESR
Immunochemistry TSH, free T4, PSA, Testosterone, Vitamin D, Troponin, Myoglobin, BNP, RPR, HIV, Hep-C, Urine Drug Screen
5
Miramont Family Medicine
POL Test Menu:
6
Miramont Family Medicine

Increased Efficiencies
Immediate Answers and Treatment Decisions
Convenience
Marketplace Differentiation
Competitive Advantage
Improved Quality of Care
Improved Practice Sustainability 7
Why a Physician Owned Lab?

POL testing streamlines result reporting processes
Diagnostic information available when the patient and physician are together
Teachable moment
8
Increased Efficiencies
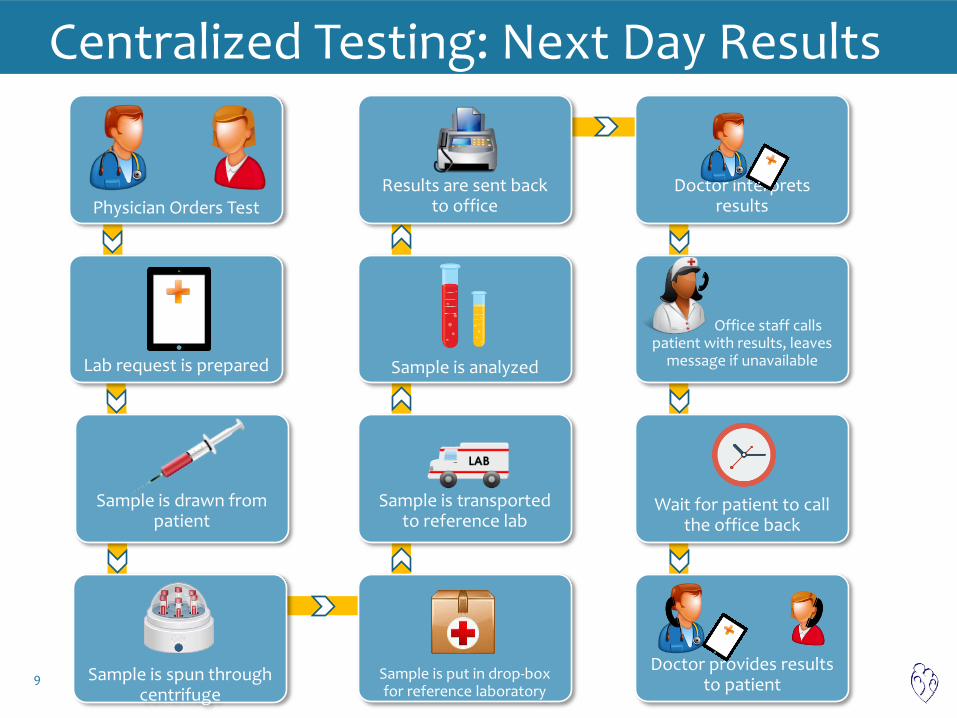
Physician Orders Test
Lab request is prepared
Sample is drawn from patient
Sample is spun through centrifuge
Sample is put in drop-box for reference laboratory
Sample is transported to reference lab
Sample is analyzed
Results are sent back to office
Doctor interprets results
Office staff calls patient with results, leaves
message if unavailable
Wait for patient to call the office back
Doctor provides results to patient 9
Centralized Testing: Next Day Results

Physician Orders Test
Sample is drawn from patient
Sample is spun through centrifuge
Physician receives and interprets results
Discuss results with patient on-site
Sample is analyzed
10
POL Testing: 15-40 Minute Turn-Around Time

Centralized Testing: Next Day Results
POL Testing: Results in 15-40
Minutes
11
POL Testing has Half the Steps of Send-Outs

Efficient result reporting saves ~10 minutes of staff time per patient
Non-revenue generating time
12
Time Savings

Standing Orders:
Routine Physical Exams draw labs for a patient’s physical no more than 1 week prior to their appointment
If any of these labs have been run within 3 months, draw the blood but do not run unless ordered by provider
13
Optimizing Patient Workflow for POL Testing

14
Optimizing Patient Workflow for POL Testing
If not performed within the past 3 months, run or send out the following tests (according to the patient’s insurance): CBC CMP Lipid panel TSH UA with micro if indicated Hemoccult (over 40 years of age) A1C (if diabetic and has not been run in the past 91 days, or
glucose is above 110 on today’s testing) Urine microalbumin (if diabetic and not done in the past year) PSA (if male over 45 and not done within one year) Free T4 (if hypothyroid diagnosis in chart or TSH is abnormal on
today’s testing)
Standing Orders (cont’d)
Minimize return visits for medical decision-making
Provide attending physician the just-in-time data needed to make important clinical decisions during the same office visit
15
Just-In-Time Lab Results

16
Impact of Just-In-Time Results
Real-life Examples:
Diagnosing Vitamin D Deficiencies
Managing Thyroid Disorders
Monitoring Prostate Cancer
Conduct a ‘SWOT’ Analysis
Strengths
Weaknesses
Opportunities
Threats
17
Is a POL Right for You?

Strengths & Weaknesses:
Does my office have the resolve to start and maintain a lab?
Do we have the room for a lab?
Do we order enough tests to warrant the investment?
Can we get the financing for new equipment if cash is not on hand?
18
SWOT Analysis
Opportunities & Threats:
Do we have favorable contracts that will pay for a POL?
Who is the competition?
What are the opportunity costs?
Who’s watching?
19
SWOT Analysis
“The equipment is complicated and requires a laboratory medical technologist on staff to get good results.”
20
Myth # 1
Newer computer technologies have largely automated modern laboratory equipment to the point that much less technical skill is required to run equipment.
21
Fact
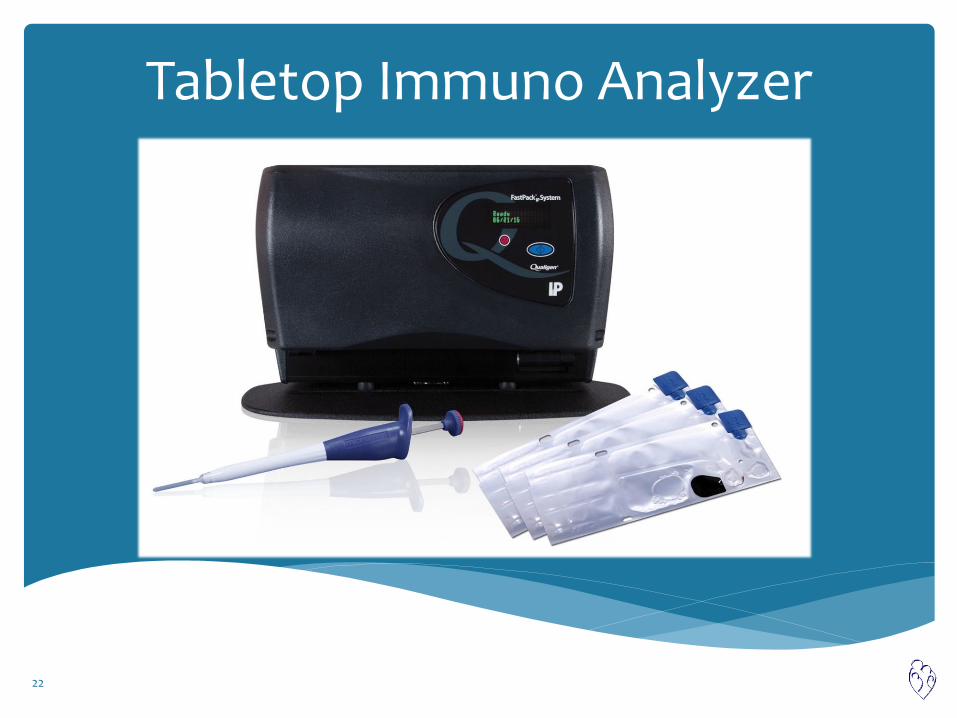
Tabletop Immuno Analyzer
22
“The equipment is too expensive I won’t be able to afford it.”
23
Myth # 2
Tabletop equipment prices are generally cost effective for Physician Owned Labs.
Good evaluation tools such as Cost Benefit Analyses can limit risk by estimating profitability beforehand.
24
Fact
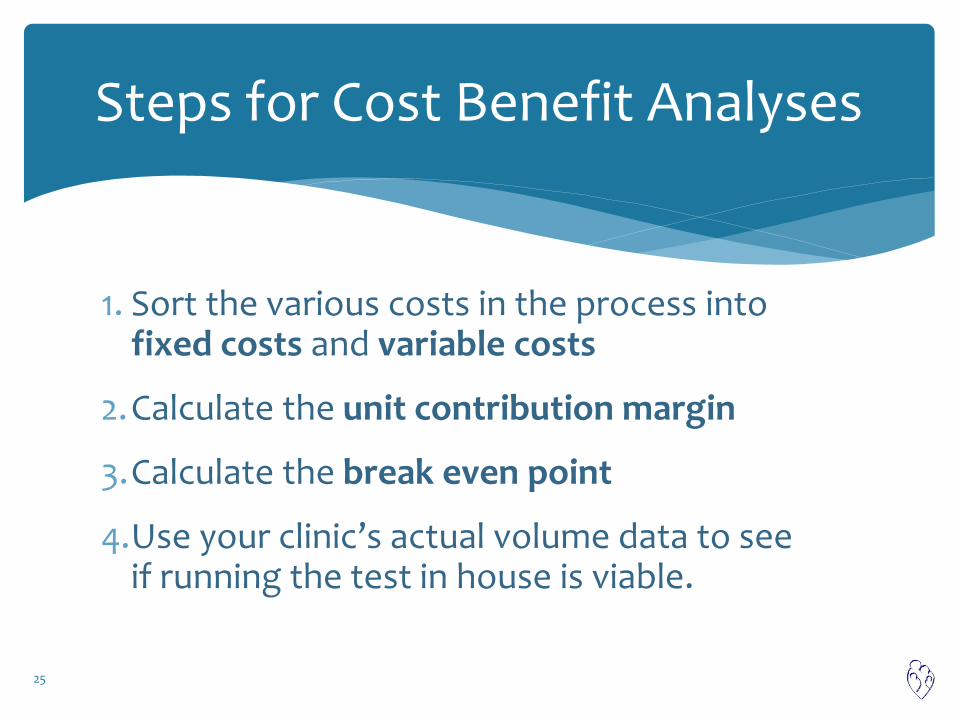
1. Sort the various costs in the process into fixed costs and variable costs
2.Calculate the unit contribution margin
3.Calculate the break even point
4.Use your clinic’s actual volume data to see if running the test in house is viable.
25
Steps for Cost Benefit Analyses

26
Federal Trade Commission
The dollar amounts represented on slides in this presentation are fictitious and are provided for sample calculation purposes and illustration only.
In no way do they represent actual pricing by the author or an attempt to illegally convey pricing information to marketplace competitors.
27
FTC Disclaimer

Fixed Costs: Costs that don’t change with volume
Equipment Lease $15,000
Annual credentialing 2,000
Total Fixed Costs $17,000
28
Steps for Cost Benefit Analyses
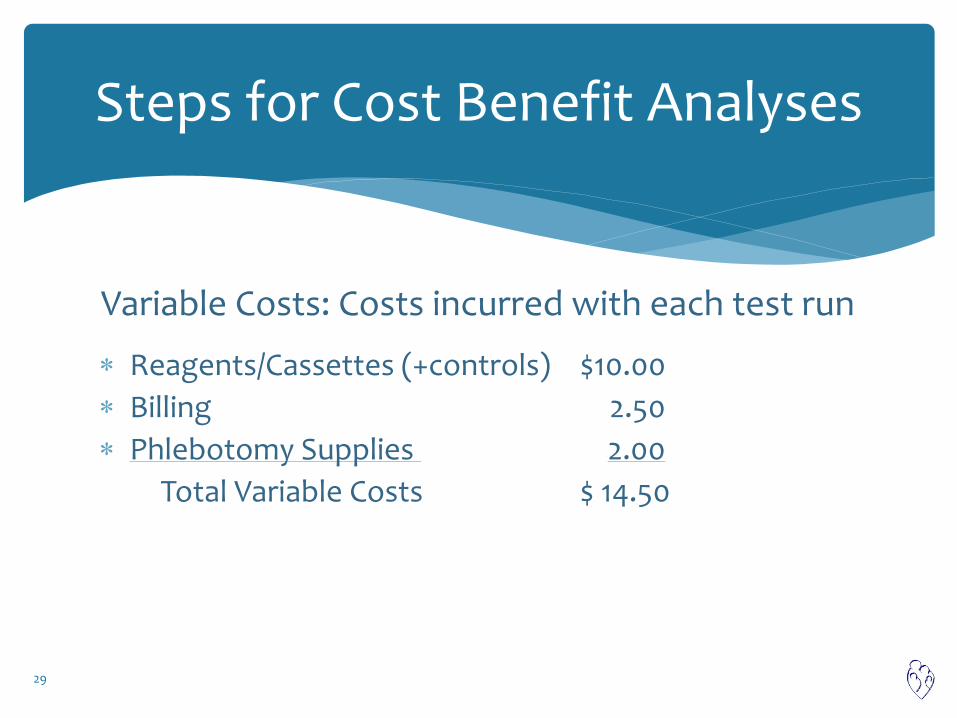
Variable Costs: Costs incurred with each test run
Reagents/Cassettes (+controls) $10.00
Billing 2.50
Phlebotomy Supplies 2.00
Total Variable Costs $ 14.50
29
Steps for Cost Benefit Analyses
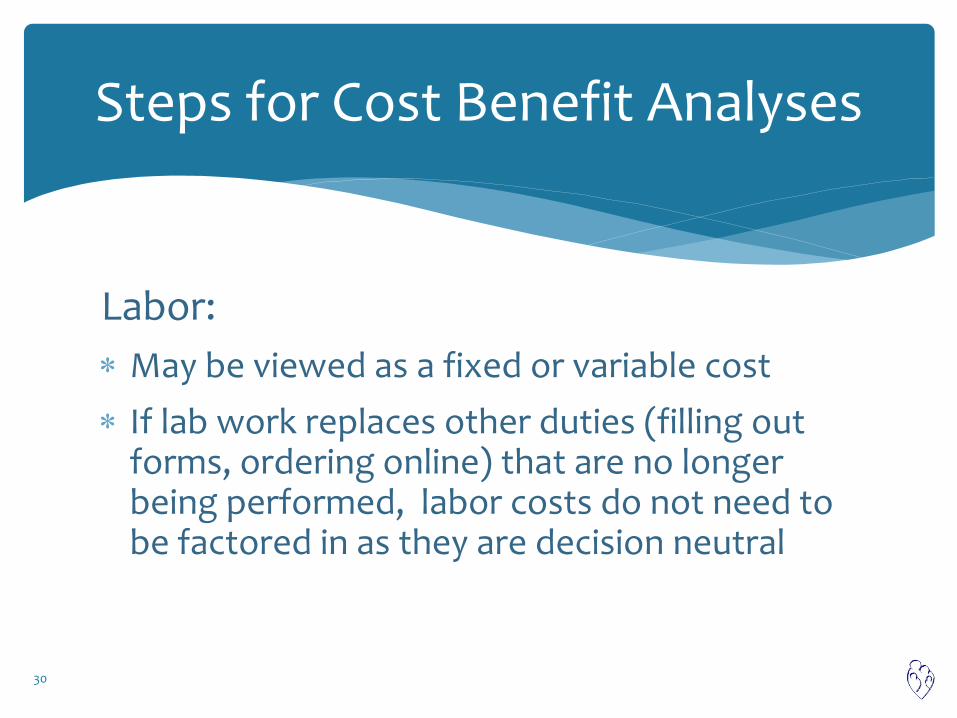
Labor:
May be viewed as a fixed or variable cost
If lab work replaces other duties (filling out forms, ordering online) that are no longer being performed, labor costs do not need to be factored in as they are decision neutral
30
Steps for Cost Benefit Analyses
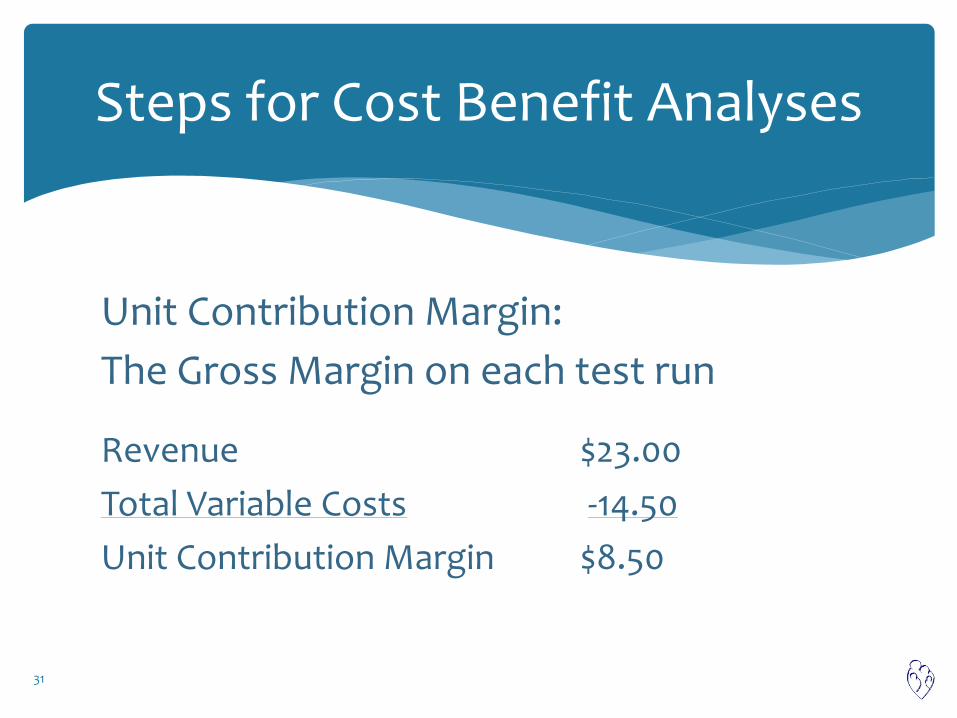
Unit Contribution Margin:
The Gross Margin on each test run
Revenue $23.00
Total Variable Costs -14.50
Unit Contribution Margin $8.50
31
Steps for Cost Benefit Analyses
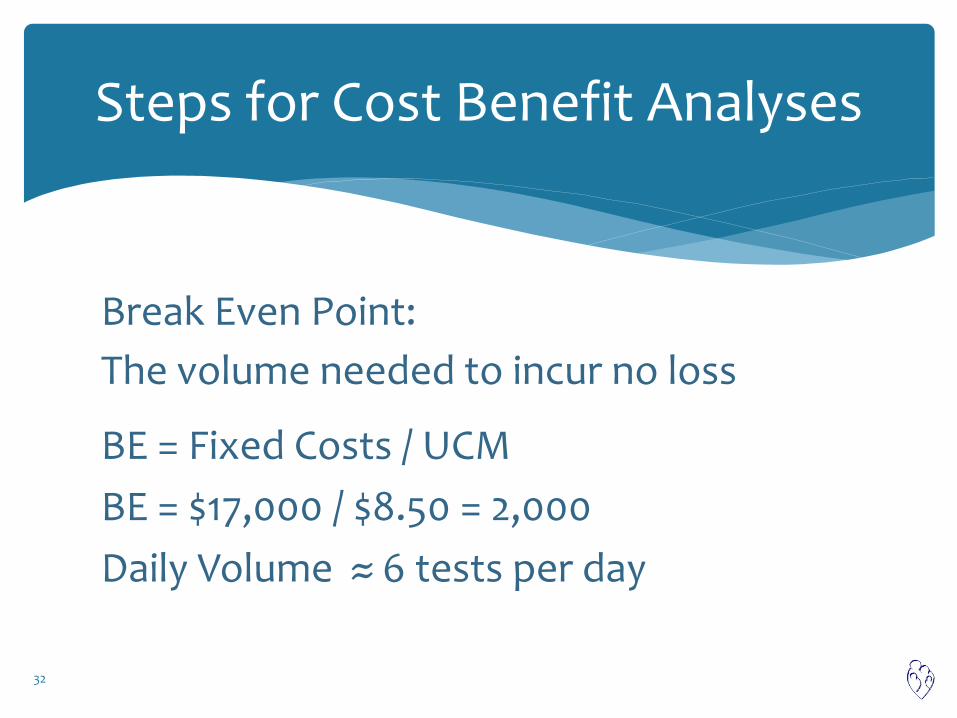
Break Even Point:
The volume needed to incur no loss
BE = Fixed Costs / UCM
BE = $17,000 / $8.50 = 2,000
Daily Volume ≈ 6 tests per day
32
Steps for Cost Benefit Analyses
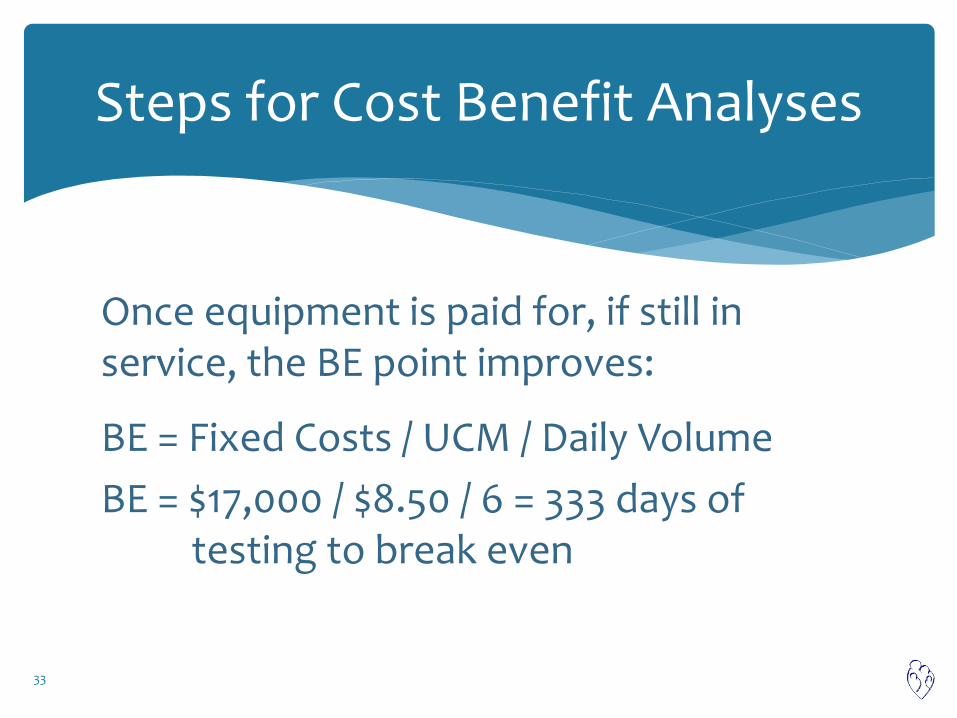
Once equipment is paid for, if still in service, the BE point improves:
BE = Fixed Costs / UCM / Daily Volume
BE = $17,000 / $8.50 / 6 = 333 days of testing to break even
33
Steps for Cost Benefit Analyses

I recommend…
#1. Go to COLA website (www.cola.org), sign up and attend annual conference with your medical assistant or lab manager.
You enroll in lab director courses for credit; they enroll in lab manager courses.
34
Step-by-Step Guide to Lab Set Up

COLA is a certifying body that credentials Physician Owned Labs (POL’s) including moderate and high complexity labs.
35
But what is COLA?

I recommend…
#2. Price out the equipment you want, meet with vendors. Make a low offer, and let them call you back (“he/she who calls first, loses”).
Use a 3-5 year “lease to own” program with $1 buyout.
36
Step-by-Step Guide to Lab Set Up
I recommend…
#3. Enroll in AAFP’s proficiency testing program (http://www.aafp.org/practice-management/labs/about.html).
Run proficiency testing three times per year (COLA will teach you more about this).
37
Step-by-Step Guide to Lab Set Up
I recommend…
#4. Write your Lab Policy Manual, and have monthly lab meetings with your lab manager (COLA will teach you more about this).
38
Step-by-Step Guide to Lab Set Up
I recommend…
#5. Prepare for and pass your biennial lab inspection with the COLA inspector.
39
Step-by-Step Guide to Lab Set Up
I recommend…
#6. Market in-house lab to your own patients.
#7. Track production metrics, including payments, testing volume, labor time.
40
Step-by-Step Guide to Lab Set Up

Miramont’s POL has helped to improve patient outcomes while reducing practice costs. Key elements of our success are:
Optimizing patient workflow to enable reporting of test results while the physician and patient are together
Cost savings achieved through process efficiencies
41
In Summary

Conduct SWOT and Cost/Benefit analyses to see if your office can support the lab.
Spend 4 days in Las Vegas at the COLA Resources symposium this April.
Plan on significant non-recurring start up time and costs, followed by reasonable maintenance commitments.
42
Next Steps


![Hemoglobina a1c [autoguardado]](https://img.dokumen.tips/doc/110x75/55a05da21a28ab522e8b4596/hemoglobina-a1c-autoguardado.jpg)