Embed Size (px)
Citation preview

Configuring Networking with System Center 2012 R2 Virtual Machine Manager
Windows Server
2012 R2
Hands-on lab
In this lab, you will learn how to configure network
virtualization for a multi-tenant environment with System
Center 2012 R2 Virtual Machine Manager. Configuring
network virtualization is a process which requires extensive
planning and preparation. The result of this planning is a series
of network objects which represent network items such as
switches, physical segments, virtual (tenant) network
segments, and the objects which define the relationship
between them. This lab assumes you have completed the
planning exercise and are implementing a set of objects for
Contoso, Inc, to provide network isolation for two tenants
across multiple Hyper-V servers.
Produced by HynesITe, Inc
Version 1.0
9/28/2013

This document supports a preliminary release of a software product that may be changed substantially prior to final commercial
release. This document is provided for informational purposes only and Microsoft makes no warranties, either express or implied, in
this document. Information in this document, including URL and other Internet Web site references, is subject to change without
notice. The entire risk of the use or the results from the use of this document remains with the user. Unless otherwise noted, the
companies, organizations, products, domain names, e-mail addresses, logos, people, places, and events depicted in examples herein
are fictitious. No association with any real company, organization, product, domain name, e-mail address, logo, person, place, or
event is intended or should be inferred. Complying with all applicable copyright laws is the responsibility of the user. Without
limiting the rights under copyright, no part of this document may be reproduced, stored in or introduced into a retrieval system, or
transmitted in any form or by any means (electronic, mechanical, photocopying, recording, or otherwise), or for any purpose, without
the express written permission of Microsoft Corporation.
Microsoft may have patents, patent applications, trademarks, copyrights, or other intellectual property rights covering subject matter
in this document. Except as expressly provided in any written license agreement from Microsoft, the furnishing of this document
does not give you any license to these patents, trademarks, copyrights, or other intellectual property.
Copyright 2013 © Microsoft Corporation. All rights reserved.
Microsoft, Hyper-V, Windows, Windows PowerShell, and Windows Server are trademarks of the Microsoft group of companies.
All other trademarks are property of their respective owners.
Configuring Networking with System Center 2012 R2 Virtual Machine Manager
Lab created by HynesITe, Inc. For questions or comments, send an email message to [email protected] Page | 3
Introduction
Estimated time to complete this lab
30 minutes
Objectives
After completing this lab, you will be able to:
Define networking objects for tenant networks.
Define networking objects for provider networks
Implement logical switches
Prerequisites
Before working on this lab, you must have:
An understanding of networking concepts such as subnets, TCP/IP, and switches.
An understanding of network isolation concepts.
Overview of the lab
In this lab, you will learn how to configure network virtualization for a multi-tenant environment with
System Center 2012 R2 Virtual Machine Manager. Configuring network virtualization is a process which
requires extensive planning and preparation. The result of this planning is a series of network objects
which represent network items such as switches, physical segments, virtual (tenant) network segments,
and the objects which define the relationship between them. This lab assumes you have completed the
planning exercise and are implementing a set of objects for Contoso, Inc, to provide network isolation for
two tenants across multiple Hyper-V servers.
Virtual machine technology
This lab is completed using virtual machines that run on Windows Server 2012 Hyper-V technology. To
log on to the virtual machines, press CTRL+ALT+END and enter your logon credentials.
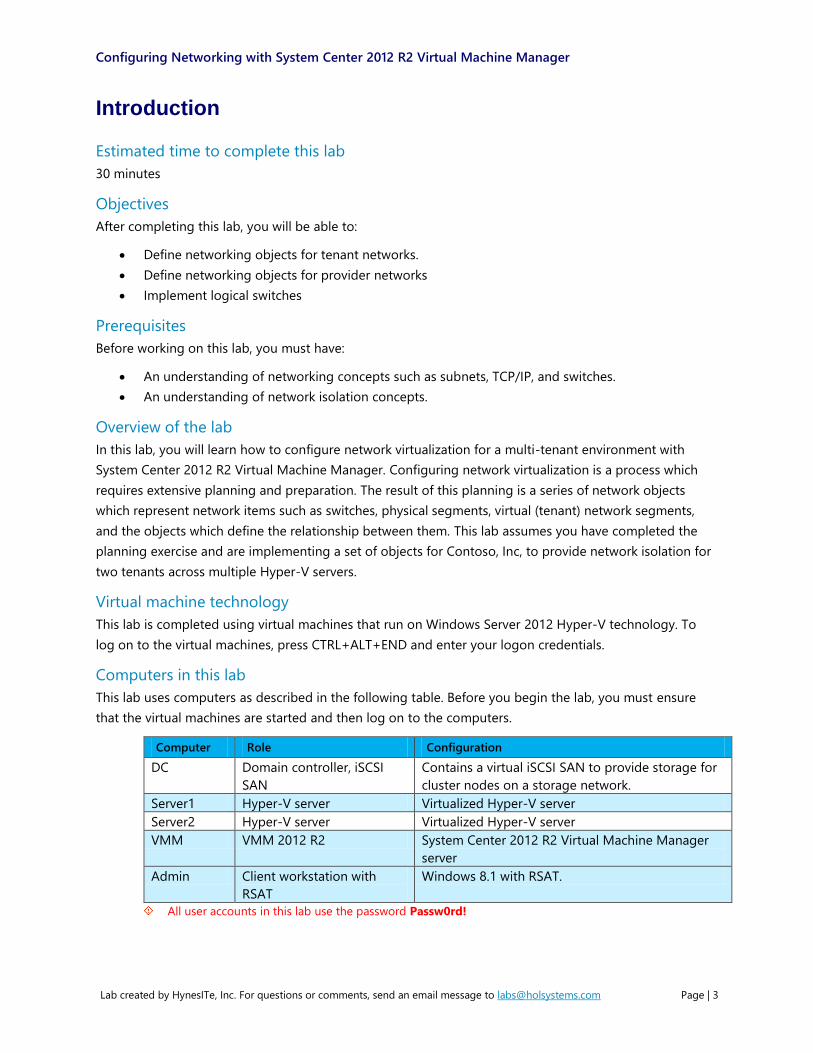
Computers in this lab
This lab uses computers as described in the following table. Before you begin the lab, you must ensure
that the virtual machines are started and then log on to the computers.
Computer Role Configuration
DC Domain controller, iSCSI
SAN
Contains a virtual iSCSI SAN to provide storage for
cluster nodes on a storage network.
Server1 Hyper-V server Virtualized Hyper-V server
Server2 Hyper-V server Virtualized Hyper-V server
VMM VMM 2012 R2 System Center 2012 R2 Virtual Machine Manager
server
Admin Client workstation with
RSAT
Windows 8.1 with RSAT.
All user accounts in this lab use the password Passw0rd!

Configuring Networking with System Center 2012 R2 Virtual Machine Manager
Lab created by HynesITe, Inc. For questions or comments, send an email message to [email protected] Page | 4
Note regarding pre-release software
Portions of this lab may include software that is not yet released, and as such may still contain active or
known issues. While every effort has been made to ensure this lab functions as written, unknown or
unanticipated results may be encountered as a result of using pre-release software.
Note regarding user account control
Some steps in this lab may be subject to user account control. User account control is a technology which
provides additional security to computers by requesting that users confirm actions that require
administrative rights. Tasks that generate a user account control confirmation are denoted using a shield
icon. If you encounter a shield icon, confirm your action by selecting the appropriate button in the dialog
box that is presented.
Note on activation
The virtual machines for these labs may have been built by using software that has not been activated.
This is by design in the lab to prevent the redistribution of activated software. The unactivated state of
software has been taken into account in the design of the lab. Consequently, the lab is in no way affected
by this state. For operating systems other than Windows 8.1, click Cancel or Close if prompted by an
activation dialog box. If you are prompted by an Activate screen for Windows 8.1, press the Windows key
to display the Start screen.
Configuring Networking with System Center 2012 R2 Virtual Machine Manager
Lab created by HynesITe, Inc. For questions or comments, send an email message to [email protected] Page | 5
Exercise 1: Creating Logical Tenant and Provider Network
Objects
In this exercise, you will create the network objects used by Contoso, Inc to host cloud services for
customers. In this scenario, Contoso, Inc. has a single, flat network which contains all its Hyper-V host
servers as a single logical group. You will create the Contoso network objects for the Contoso data center,
as well as create VM networks for each of Contoso’s tenants.
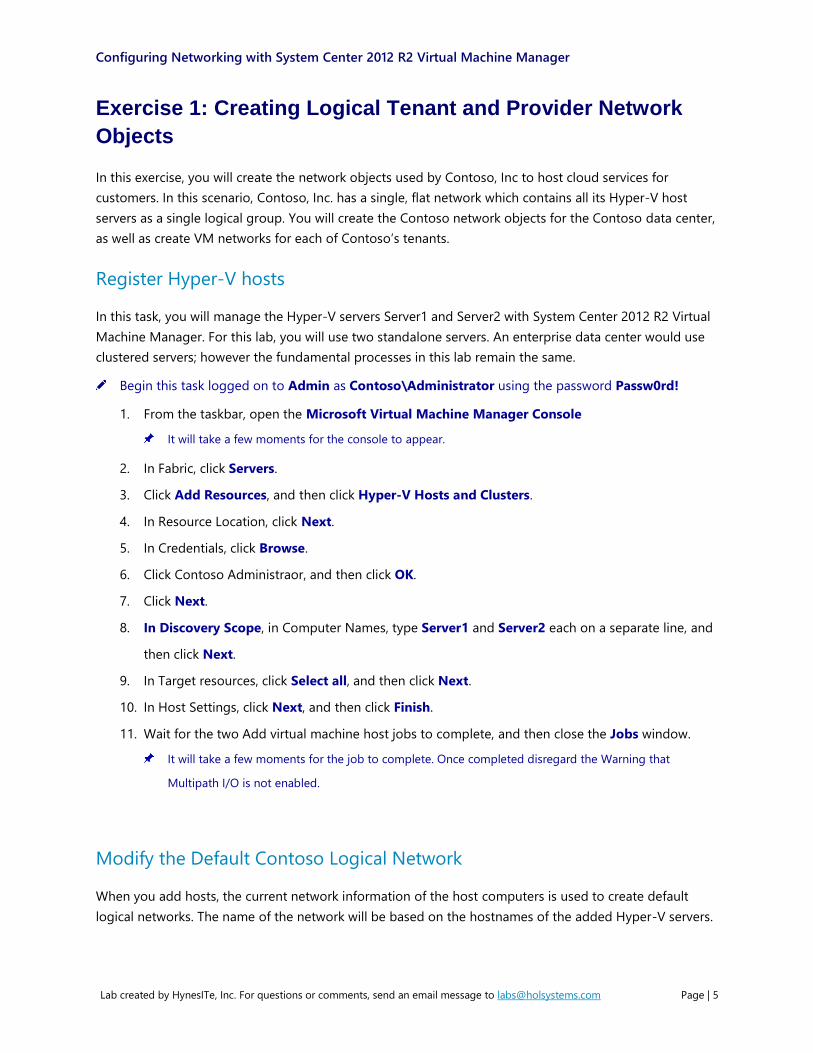
Register Hyper-V hosts
In this task, you will manage the Hyper-V servers Server1 and Server2 with System Center 2012 R2 Virtual
Machine Manager. For this lab, you will use two standalone servers. An enterprise data center would use
clustered servers; however the fundamental processes in this lab remain the same.
Begin this task logged on to Admin as Contoso\Administrator using the password Passw0rd!
1. From the taskbar, open the Microsoft Virtual Machine Manager Console
It will take a few moments for the console to appear.
2. In Fabric, click Servers.
3. Click Add Resources, and then click Hyper-V Hosts and Clusters.
4. In Resource Location, click Next.
5. In Credentials, click Browse.
6. Click Contoso Administraor, and then click OK.
7. Click Next.
8. In Discovery Scope, in Computer Names, type Server1 and Server2 each on a separate line, and
then click Next.
9. In Target resources, click Select all, and then click Next.
10. In Host Settings, click Next, and then click Finish.
11. Wait for the two Add virtual machine host jobs to complete, and then close the Jobs window.
It will take a few moments for the job to complete. Once completed disregard the Warning that
Multipath I/O is not enabled.
Modify the Default Contoso Logical Network
When you add hosts, the current network information of the host computers is used to create default
logical networks. The name of the network will be based on the hostnames of the added Hyper-V servers.

Configuring Networking with System Center 2012 R2 Virtual Machine Manager
Lab created by HynesITe, Inc. For questions or comments, send an email message to [email protected] Page | 6
In this example, the default name of Contoso was used to create an empty logical network, which we will
now modify. You can control this behavior using the general settings in Virtual Machine Manager.
Begin this task logged on to Admin as Contoso\Administrator using the password Passw0rd!
1. In Fabric, expand Networking, and then click Logical Networks.
2. Click Contoso, and then click Properties.
3. In Name, type Contoso Network, and then check Allow new VM networks created on this
logical network to use network virtualization.
4. Click Network Site, and then click Add.
Sites denote either physical or logical locations that are managed as a unit and contain one or more IP
subnets.
5. In Network Site name, change Contoso Network_0 to Contoso Datacenter.
6. Check All Hosts.
7. Next to Associated VLANs and IP subnets, click Insert 0row.
8. In VLAN, type 0.
VLAN 0 indicates no VLAN tagging.
9. In IP subnet, type 192.168.10.0/24.
10. Click OK.
Create an IP pool for the Contoso logical network
In this task, you will create a new IP pool for the Contoso logical network.
Begin this task logged on to Admin as Contoso\Administrator using the password Passw0rd!
1. In Fabric, navigate to Networking/Logical Networks, and then click Contoso Network.
2. On the ribbon, click Create, and then click IP Pool.
3. In Name, type Contoso Network Provider IP Pool, and then click Next.
4. In Network Site, accept the default network site, and then click Next.
5. In IP address range, edit Starting IP address to 192.168.10.200, and then click Next.
6. Click Next on each of the remaining pages, and then click Finish.
You would normally configure IP pool properties such as DNS server and gateway. Since you will not be
using them in this lab, you will skip these steps for simplicity.
7. Close the Jobs window.

Configuring Networking with System Center 2012 R2 Virtual Machine Manager
Lab created by HynesITe, Inc. For questions or comments, send an email message to [email protected] Page | 7
Create tenant networks for Woodgrove Bank and Tailspin Toys
In this task, you will create two new VM networks, one for each of the two customers of Contoso, Inc.
These tenant networks, known as VM networks, are the basis for network virtualization in a multi-tenant
environment. Note that both Tailspin Toys and Woodgrove Bank use the address space of 10.0.0.0/8 for
their VMs.
A logical network represents a physical location or group of physical entities and also contains VM
networks.
A VM network represents an isolated virtual network, which can span multiple physical networks.
Begin this task logged on to Admin as Contoso\Administrator using the password Passw0rd!
1. In the Virtual Machine Manager console, click Contoso Network.
2. On the ribbon, click Create VM Network.
3. In Name, type Tailspin Toys, and then click Next.
4. In Isolation, click Next.
The default form of isolation is using network virtualization.
5. In VM Subnets, click Add.
6. In VM subnet, in Name, type TSP Subnet.
7. In Subnet, type 10.0.0.0/8, and then click Next.
The subnet is used to route traffic internally in the VM network.
8. On Connectivity, click Next, and then click Finish.
9. Close the Jobs window.
10. In the Virtual Machine Manager Console, click Contoso Network.
11. On the ribbon, click Create VM Network.
12. In Name, type Woodgrove Bank, and then click Next.
13. On the Isolation page, click Next.
14. In VM Subnets, click Add.
15. In VM Subnet, in Name, type WGB Subnet.
16. In Subnet, type 10.0.0.0/8, and then click Next.
This tenant uses the same subnet as the previous tenant. Network virtualization makes this possible.
17. On Connectivity, click Next, and then click Finish.
18. Close the Jobs window.
Configuring Networking with System Center 2012 R2 Virtual Machine Manager
Lab created by HynesITe, Inc. For questions or comments, send an email message to [email protected] Page | 8
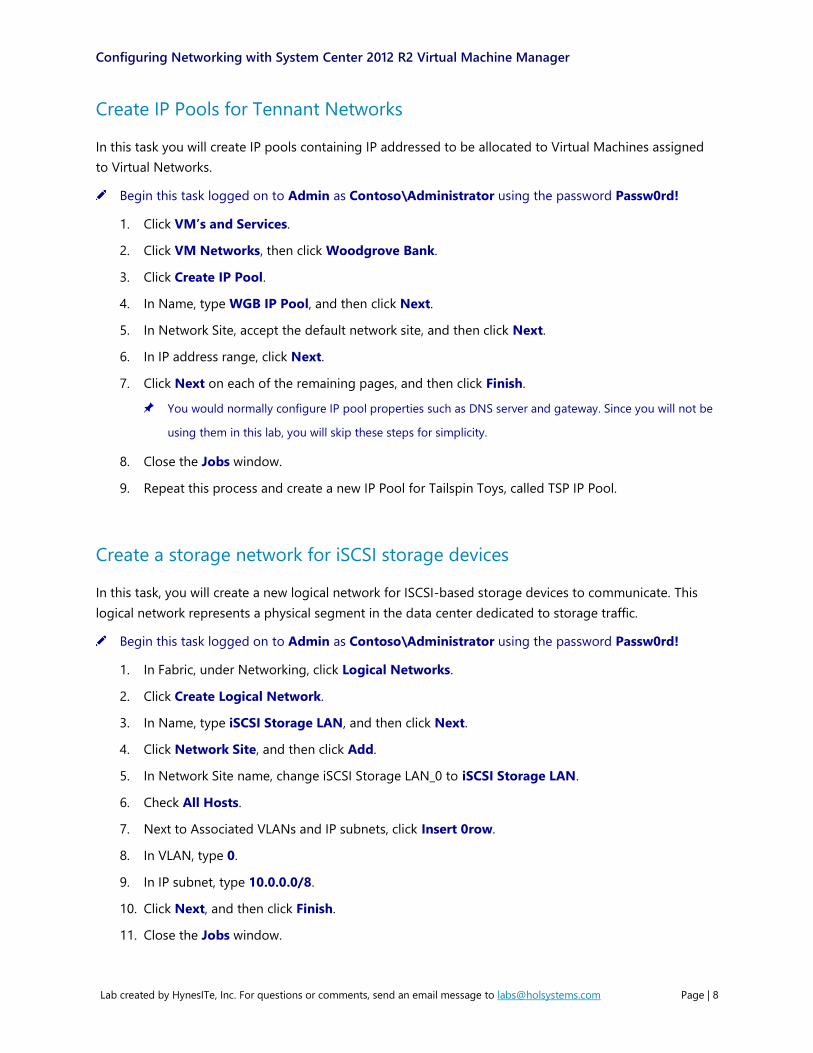
Create IP Pools for Tennant Networks
In this task you will create IP pools containing IP addressed to be allocated to Virtual Machines assigned
to Virtual Networks.
Begin this task logged on to Admin as Contoso\Administrator using the password Passw0rd!
1. Click VM’s and Services.
2. Click VM Networks, then click Woodgrove Bank.
3. Click Create IP Pool.
4. In Name, type WGB IP Pool, and then click Next.
5. In Network Site, accept the default network site, and then click Next.
6. In IP address range, click Next.
7. Click Next on each of the remaining pages, and then click Finish.
You would normally configure IP pool properties such as DNS server and gateway. Since you will not be
using them in this lab, you will skip these steps for simplicity.
8. Close the Jobs window.
9. Repeat this process and create a new IP Pool for Tailspin Toys, called TSP IP Pool.
Create a storage network for iSCSI storage devices
In this task, you will create a new logical network for ISCSI-based storage devices to communicate. This
logical network represents a physical segment in the data center dedicated to storage traffic.
Begin this task logged on to Admin as Contoso\Administrator using the password Passw0rd!
1. In Fabric, under Networking, click Logical Networks.
2. Click Create Logical Network.
3. In Name, type iSCSI Storage LAN, and then click Next.
4. Click Network Site, and then click Add.
5. In Network Site name, change iSCSI Storage LAN_0 to iSCSI Storage LAN.
6. Check All Hosts.
7. Next to Associated VLANs and IP subnets, click Insert 0row.
8. In VLAN, type 0.
9. In IP subnet, type 10.0.0.0/8.
10. Click Next, and then click Finish.
11. Close the Jobs window.

Configuring Networking with System Center 2012 R2 Virtual Machine Manager
Lab created by HynesITe, Inc. For questions or comments, send an email message to [email protected] Page | 9
Create custom port classifications
Port classifications provide global names for identifying different types of virtual network adapter port
profiles. A port classification can be used across multiple logical switches while the settings for the port
classification remain specific to each logical switch. For example, you might create one port classification
named FAST to identify ports that are configured to have more bandwidth, and another port classification
named SLOW to identify ports that are configured to have less bandwidth. In this task, you will create a
port classification for ports that have Internet connectivity and one for ports that are on 10 GB fabric.
Begin this task logged on to Admin as Contoso\Administrator using the password Passw0rd!
1. In Fabric, under Networking, click Port Classifications.
2. In the ribbon click Create, and then click Port Classification.
3. In Name, type 10GB Fabric, and then click OK.
This port classification will be used to identify physical network adapters in Hyper-V host servers that
have a 10 GB network infrastructure attached to them.
4. In the ribbon click Create, and then click Port Classification.
5. In Name, type Internet Connected, and then click OK.
Create port profiles
Port profiles serve two distinct functions. They govern what network adapter capabilities are exposed to a
VM, and they control which physical network adapters can be used to provide connectivity to the network
when virtual switches are created.
Virtual network adapter port profiles are named collections of Hyper-V network adapter settings which
can be assigned to a specific virtual machine, or switch port. These are the same settings typically found
under the Advanced settings of a Hyper-V network adapter on a virtual machine. Settings such as SR-IOV,
DHCPGuard, and other similar settings are found here. Once defined, many port profiles can be assigned
to a host. When future VMs are created, the port profiles available determine what capabilities (such as
SR-IOV) the VM may leverage.
Uplink port profiles are used to connect virtual switches to physical networks.
In this task, you will create a Hyper-V virtual network adapter port profile which guarantees 100 MB of
bandwidth. You will also create an uplink port profile.
Begin this task logged on to Admin as Contoso\Administrator using the password Passw0rd!
1. In Fabric, under Networking, click Port Profiles.
2. In the ribbon click Create, and then click Hyper-V Port Profile.
3. In Name, type 100MB Reserved, and then click Next.
4. Check Enable virtual machine queue, check Enable IPSec task offloading, and then click Next.

Configuring Networking with System Center 2012 R2 Virtual Machine Manager
Lab created by HynesITe, Inc. For questions or comments, send an email message to [email protected] Page | 10
5. On the Security Settings page, click Next.
6. On the Bandwidth Settings page, in Minimum bandwidth (Mbps), type 100, and then click Next.
7. Click Finish.
8. Close the Jobs window.
9. In the ribbon click Create, and then click Hyper-V Port Profile.
10. In Type of Hyper-V Port Profile click Uplink port profile.
11. In Name, type Server Defaults Uplink.
12. In Type of Hyper-V Port Profile click Uplink port profile , and then click Next.
13. In Network sites, check both Contoso Datacenter and iSCSI Storage LAN, and then click Next.
14. Click Finish.
15. Close the Jobs window.
Create logical switches for Contoso and for iSCSI network access
In this task, you will use the objects created in the previous tasks to create a new logical switch for
Contoso network and tenant access, as well as second for iSCSI access.
Logical switches are a new type of switch which is different than the default Hyper-V switch created and
managed through the Hyper-V console. Logical switches are implemented through switch extensions
which are deployed when the logical switch is deployed to the Hyper-V host. Only Virtual Machine
Manager has the ability to define and deploy logical switches, as this is not native Hyper-V functionality.
Logical switches serve as a collection of functionality and policies which are centrally configured and
enforced.
Begin this task logged on to Admin as Contoso\Administrator using the password Passw0rd!
1. In Fabric, under Networking, click Logical Switches.
2. In the ribbon click Create Logical Switch.
3. Click Next.
4. In Name, type Contoso Datacenter Core (Teamed), and then click Next.
Notice the warning regarding SR-IOV.
5. On the Extensions page, click Next.
You can only have one uplink port for each selected extension.
6. On Uplink, in Uplink mode, select Team, and then click Add.
Since you only created one uplink port profile, only one is available.
7. Click OK, and then click Next.
8. In Virtual Port, click Add.

Configuring Networking with System Center 2012 R2 Virtual Machine Manager
Lab created by HynesITe, Inc. For questions or comments, send an email message to [email protected] Page | 11
9. In Port Classification, click Browse.
10. Click 10Gb Fabric, click OK
11. On the Add Virtual Port page check Include a virtual network adapter port profile in this
virtual port.
12. In the Native virtual network adapter port profile select High Bandwidth Adapter, and then click
OK.
13. Repeat step 8-12 to add the following port classifications and virtual network adapter port
profiles.
Port Classification Virtual Network Adapter Port Profile
Guest Dynamic IP Guest Dynamic IP
Host Management Host Management
Low Bandwidth Low Bandwidth Adapter
Medium Bandwidth Medium Bandwidth Adapter
14. Click Medium bandwidth, click Set Default, and then click Next.
15. Click Finish.
16. Close the Jobs window.
17. Repeat steps 1 through 15 to create a second logical switch. Make the following modifications
only.
Item Value
Switch Name: Contoso Datacenter Core (Non-teamed)
Uplink Mode: No Uplink Team
18. In Fabric, under Networking click Logical Switches.
19. On the ribbon, click Create Logical Switch.
20. In Name, type ISCSI LAN Switch.
21. Click Next.
22. On the Extensions page, click Next.
23. On Uplink, in Uplink mode, select Team, and then click Add.
24. Click OK, and then click Next.
25. In Virtual Port, click Add.
26. In Port Classification, click Browse.

Configuring Networking with System Center 2012 R2 Virtual Machine Manager
Lab created by HynesITe, Inc. For questions or comments, send an email message to [email protected] Page | 12
27. Click iSCSI workload, click OK and then check Include a virtual network adapter port profile in
this virtual port.
28. Select iSCSI, and then click OK.
29. Click Next, and then click Finish.
30. Close the Jobs window.

Configuring Networking with System Center 2012 R2 Virtual Machine Manager
Lab created by HynesITe, Inc. For questions or comments, send an email message to [email protected] Page | 13
Exercise 2: Configuring your Hosting Fabric
In this exercise, you will “connect the dots” and use the objects created in Exercise 1 to configure Hyper-V
hosts and virtual machines to communicate on both customer (tenant) and provider (physical) networks.
Configure Hyper-V host networking
In this task, you will configure the physical network adapters on Server1 and Server2 to ensure they are
associated with the correct logical networks and IP subnets. While Virtual Machine Manager will generally
detect networking correctly, it is not uncommon to have to make minor configuration changes to ensure
host servers correctly reflect the underlying physical topology. This lab environment requires a few of
these minor modifications.
Begin this task logged on to Admin as Contoso\Administrator using the password Passw0rd!
1. In the Virtual Machine Manager Console, in Fabric, expand Servers, and then click All Hosts.
2. Click Server1, and then click Properties.
3. In Server1 Properties, click Hardware.
4. Under Network adapters, under the network adapter labeled Storage, click Logical network
connectivity.
5. Check iSCSI Storage LAN.
6. Under Network adapters, under the network adapter labeled CorpNet, click Logical network
connectivity.
7. Uncheck all items.
8. Under Network adapters, under the network adapter labeled CorpNet2, click Logical network
connectivity.
9. Uncheck all items.
10. Click OK.
11. Repeat these steps on Server2 to configure networking.
Deploy logical switches to Server1 and Server2
In this task, you will deploy the Contoso Datacenter Core (non-teamed) logical switch on Server1 and
Server2. It is important to note that if Server1 and Server2 were a Hyper-V cluster, you would only need to
create the logical switch once on the cluster object. Once created, it would be automatically created on all
cluster nodes.
Begin this task logged on to Admin as Contoso\Administrator using the password Passw0rd!
1. In All Hosts, click Server1, and then click Properties.

Configuring Networking with System Center 2012 R2 Virtual Machine Manager
Lab created by HynesITe, Inc. For questions or comments, send an email message to [email protected] Page | 14
2. Click Virtual Switches, click New Virtual Switch, and then click New Logical Switch.
You also have the option of creating a traditional Hyper-V switch by selecting New Standard Switch.
3. In Logical Switch, select Contoso Datacenter Core (Teamed).
You have the ability to add two or more adapters to the team. This is because the uplink port was
defined as a teamed port when the switch was created. Hyper-V will take care of creating the Windows
team using the adapters you specify.
4. In Logical Switch, select Contoso Datacenter Core (Non-Teamed).
You will be using a non-teamed switch in this lab environment.
5. In Adapter, select EtherNet.
6. Click New Virtual Network Adapter.
A logical switch alone does not suffice to connect hosts or virtual machines to the physical network.
Virtual network adapters must be added and associated with logical networks.
7. In Name, type Management.
8. In Classification, type Host Management.
9. Click Contoso Datacenter, and then click New Virtual Network Adapter.
10. In Name, type VM Access.
11. Check This virtual network adapter inherits settings from the physical management adapter.
12. In Classification, select 10Gb Fabric.
13. Click OK.
14. In the VMM warning dialog box, click OK.
15. Repeat these steps to deploy the logical switch on Server2.

Configuring Networking with System Center 2012 R2 Virtual Machine Manager
Lab created by HynesITe, Inc. For questions or comments, send an email message to [email protected] Page | 15
Exercise 2: Creating Tenant Virtual Machines that use
Network Virtualization
In this exercise, you will create a cloud infrastructure that implements network virtualization. You will
create two clouds, once for each tenant. You will then create multiple VMs in each cloud.
Create clouds for each tenant
In this task, you will create a cloud for Tailspin Toys and a cloud for Woodgrove Bank.
Begin this task logged on to Admin as Contoso\Administrator using the password Passw0rd!
1. In the Virtual Machine Manager Console, click VMs and Services.
2. Click Clouds, and then click Create Cloud.
3. In Name, type Woodgrove Bank, and then click Next.
4. In Host Groups, check All Hosts, and then click Next.
5. In Logical Networks, check Contoso Network, and then click Next.
This cloud is not controlling which virtual networks a tenant uses; that is controlled using the tenant
account and access permissions, which will be set next.
This allows the cloud to contain any networks to which the user has access, in the Contoso logical
network.
6. Click Next until you reach the Port Classifications page.
7. Check 10GB Fabric, and then click Next.
8. Check Local Storage, and then click Next.
Storage options are discussed in a separate lab, and can be configured to use local storage, SMB
storage, or any SMI-S-based storage provider using iSCSI or Fibre Channel.
9. Click Next on each of the remaining pages, and then click Finish.
10. Close the Jobs window.
11. Repeat this process to create a cloud for Tailspin Toys, and then name the cloud Tailspin Toys.
Create tenant accounts
In this task, you will create two tenant accounts, once for Woodgrove Bank and one for Tailspin Toys.
Begin this task logged on to Admin as Contoso\Administrator using the password Passw0rd!
1. In VMs and Services, click Tenants.
2. Right-click Tenants, and then click Create User Role.
3. In Name, type Woodgrove Bank Admin1, and then click Next.

Configuring Networking with System Center 2012 R2 Virtual Machine Manager
Lab created by HynesITe, Inc. For questions or comments, send an email message to [email protected] Page | 16
4. In Profile, click Tenant Administrator, and then click Next.
5. On Members, click Next.
You can assign user accounts to this role now, or at a later time. We will not be assigning user accounts
at this time.
6. In Scope, check Woodgrove Bank, and then click Next.
7. In Quotas, click Next.
8. In Networking, click Add, select Woodgrove Bank, and then click OK.
9. Click Next.
10. In Permissions, click Select all, and then click Next.
11. One each of the remaining pages, click Next, and then click Finish.
12. Optionally, repeat these steps to create a tenant account for Tailspin Toys.
Deploy a cloud VM which uses network virtualization
In this final task, you will deploy a new cloud VM for the Woodgrove Bank tenant, and then configure that
VM to communicate using network virtualization. The key step in this process is to associate the new VM
with the Woodgrove Bank VM network.
Begin this task logged on to Admin as Contoso\Administrator using the password Passw0rd!
1. In VMs and Services, click Create Virtual Machine.
2. In Select Source, click Create the new virtual machine with a blank virtual hard disk, and then
click Next.
Since this VM is running in a virtualized Hyper-V server, it cannot be booted, and thus an empty VHD is
fine.
3. In Virtual machine name, type WGB-VM1, and then click Next.
4. In Configure Hardware, click Memory, and then in Virtual machine memory, type 32.
5. Under Network Adapters, click Network Adapter 1.
6. In the configuration pane, click Connected to a VM network, and then click Browse.
7. Click Woodgrove Bank, and then click OK.
8. In VM Subnet, select WGB Subnet.
9. Under Port profile, in Classification, select 10Gb Fabric, and then click Next.
10. On the Select Destination page, click Next.
11. On the Select Cloud page, click Woodgrove Bank, and then click Next.
12. Click Next on each of the remaining pages, and then click Create.
Configuring Networking with System Center 2012 R2 Virtual Machine Manager
Lab created by HynesITe, Inc. For questions or comments, send an email message to [email protected] Page | 17
You will see a Create virtual machine in cloud job with a status of Failed. This is expected in this
environment and is due to the fact that we are using virtualized Hyper-V servers.
13. Close the Jobs window.
Review the virtual machine configuration
In this task, you will review the newly created virtual machine to understand the networking configuration.
Begin this task logged on to Admin as Contoso\Administrator using the password Passw0rd!
1. In the Virtual Machine Manager Console, under Clouds, click Woodgrove Bank.
2. Click WGB-VM1, and then click Properties.
3. Click Hardware Configuration, and then click Network Adapter 1.
Note that the VM is connected to the Woodgrove Bank VM network, which is a virtual network in the
larger Contoso Datacenter logical network.
4. Close all open windows.


![[PPT]EXL310: Microsoft Exchange Online in Microsoft …video.ch9.ms/teched/na/2011/ppt/EXL310.pptx · Web viewMicrosoft Exchange Online in Microsoft Office 365: ... Mail, calendar,](https://img.dokumen.tips/doc/110x75/5ac036ef7f8b9a433f8b774f/pptexl310-microsoft-exchange-online-in-microsoft-videoch9mstechedna2011ppt.jpg)