Computer Forensics using Open Source Toolswbf0007/summer_2015/OpenSourceForensics.pdf · Slide 4 of...
45
Computer Forensics using Open Source Tools COMP 5350/6350 Digital Forensics Professor: Dr. Anthony Skjellum TA: Ananya Ravipati Presenter: Rodrigo Sardinas
Computer Forensics using Open Source Toolswbf0007/summer_2015/OpenSourceForensics.pdf · Slide 4 of 45 Use Case Explanation • Suspect machine to examine – VirtualBox to Demo •
COMP 5350/6350 Digital ForensicsProfessor: Dr. Anthony Skjellum
TA: Ananya RavipatiPresenter: Rodrigo Sardinas
Slide 2 of 45
Overview• Use case explanation• Useful Linux Commands• Kali• DCFLDD• Autopsy• Use Case Demo• Foremost• Scalpel• Digital Forensics Framework (DFF)• Try it Yourself
Slide 3 of 45
Overview• Use case explanation
Slide 4 of 45
Use Case Explanation• Suspect machine to examine
– VirtualBox to Demo• Puppy Linux and Kali 1.1.0
• LiveUSB image of Kali– Live (Forensics Mode)
• Make and hash bit-by-bit copy of machine– Using DCFLDD
• Copy and examine dd image using various open source tools in Kali– Autopsy, Foremost, Digital Forensics Framework, etc…
Slide 5 of 45
Overview• Use case explanation• Useful Linux Commands
Slide 6 of 45
Useful Linux Commands• fdisk –l
– Working with and managing linux partitions– -l option is used to view all existing partitions
Overview• Use case explanation• Useful Linux Commands• Kali
Slide 8 of 45
Kali
• Website• The older, cooler name was BackTrack• Debian based• Mostly known for penetration testing • Loaded with tools for penetration testing, digital
Why do these things matter? Hint: One of the steps of the basic digital forensic process – it showed up on the first exam: Acquisition or Collection. In order to prevent spoliation of evidence, it is important that the hard drive of the machine isn’t unintentionally altered when examining/copying the disk.
Overview• Use case explanation• Useful Linux Commands• Kali• DCFLDD• Autopsy• Use Case Demo
Presenter
Presentation Notes
So far, we’ve given a simple use case scenario where we desire to examine a suspect’s machine. We’ve gone over a few Linux commands that might be useful in helping us to do this on a linux machine. We’ve covered an open source OS (Kali) that comes loaded with security related software, and we’ve briefly covered two tools that come installed with Kali that can aid us in our endeavor.
Slide 15 of 45
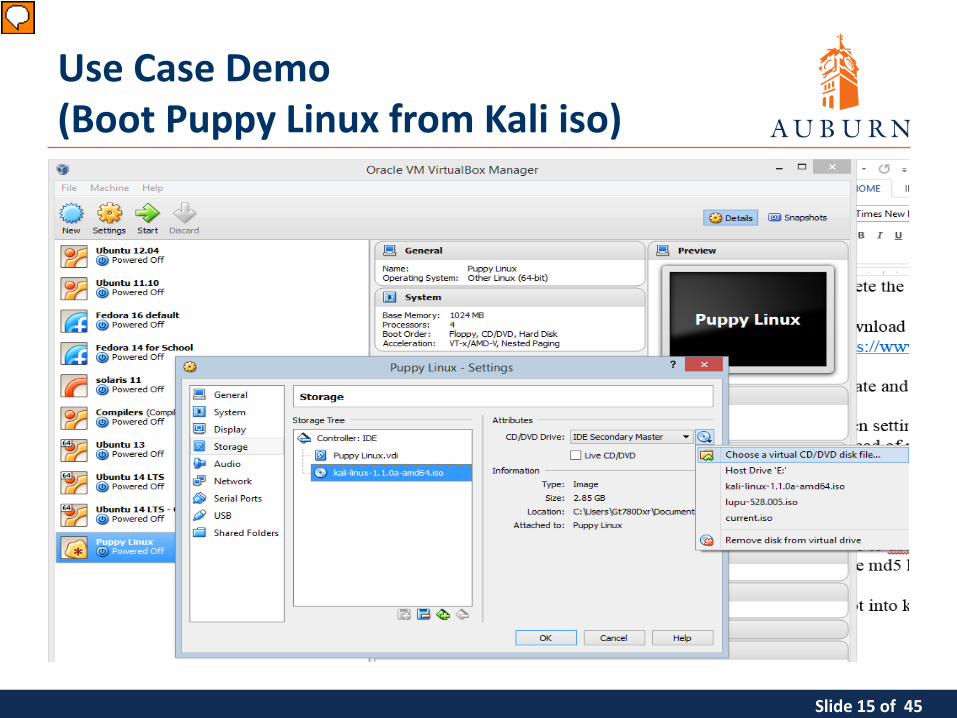
Use Case Demo(Boot Puppy Linux from Kali iso)
Presenter
Presentation Notes
Chose Puppy Linux because of its extremely small size. Thought it would be beneficial for the demo as a user could make an OS image < 1 GB that would conveniently fit on just about any USB drive. Select desire operating system Open settings for said OS Go to storage Add “CD” drive Select kali .iso as image in the drive
Slide 16 of 45
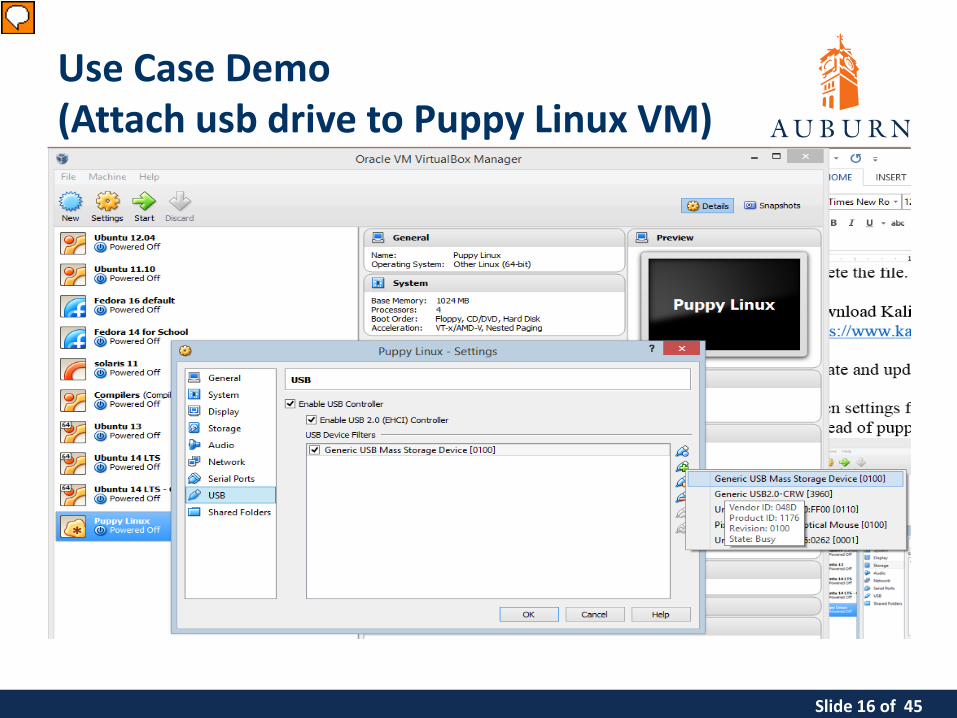
Use Case Demo(Attach usb drive to Puppy Linux VM)
Presenter
Presentation Notes
Will need to write the dd file to some place other than the host OS. Ideally, attach usb thumb drive or hard drive to vm image. Select desired OS Open settings for said OS Select USB Click + icon to add usb device Select usb device from list USB should show up in /media folder once booted If not, it will show up in the /dev list (use mount to see all attached devices) Create directory in /media folder Mount usb to created directory
Slide 17 of 45
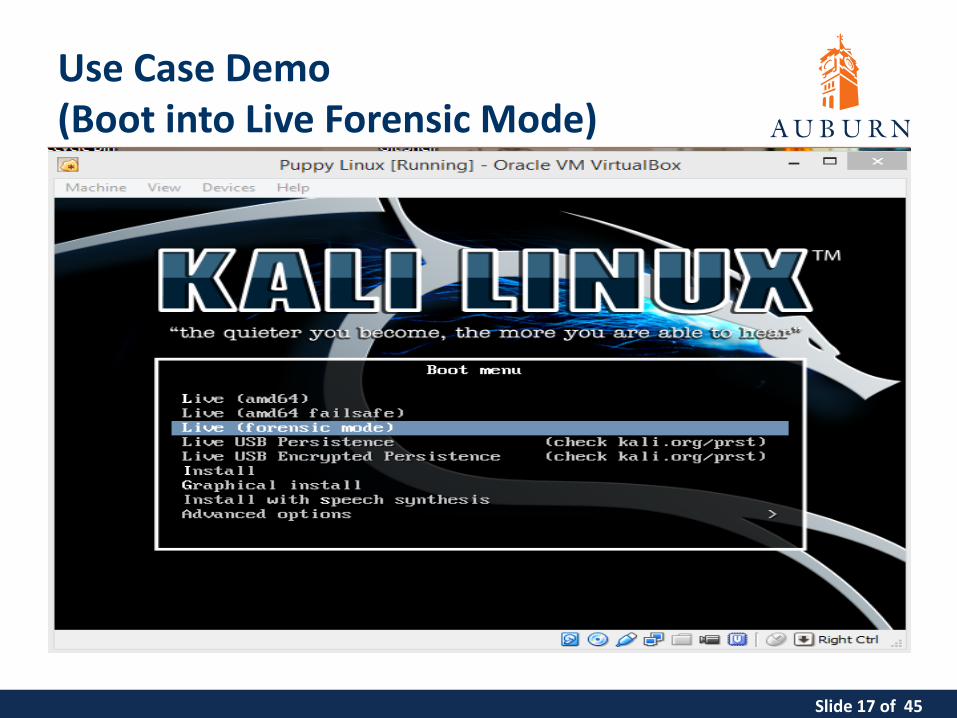
Use Case Demo(Boot into Live Forensic Mode)
Slide 18 of 45
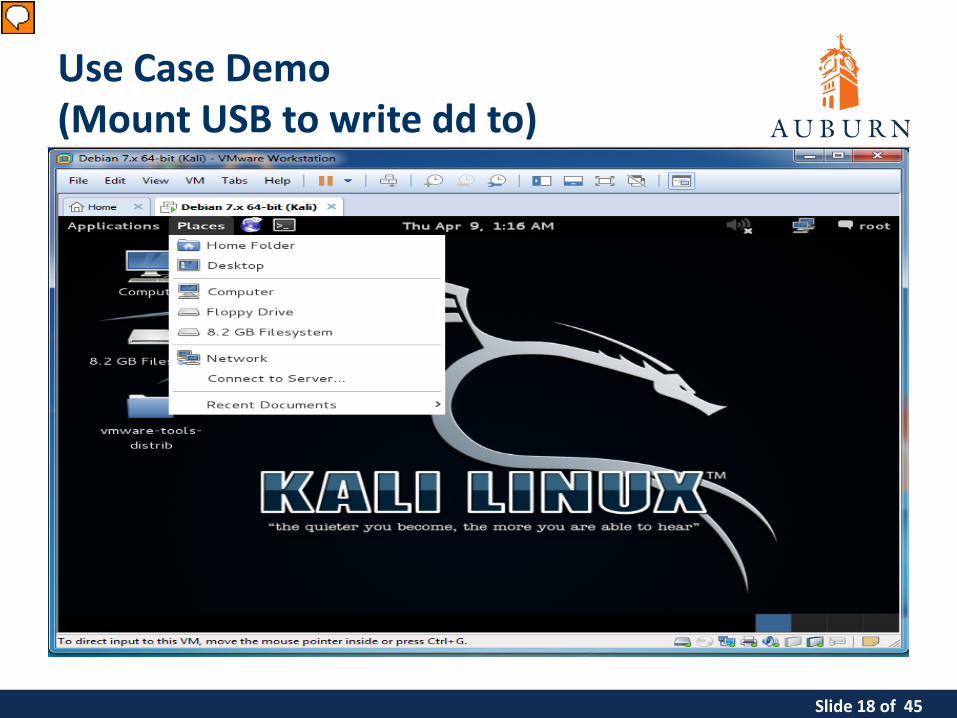
Use Case Demo(Mount USB to write dd to)
Presenter
Presentation Notes
If you do not wish to mount the device from the terminal, you can also mount it by selecting the device in the “Places” by simply clicking on it. This will mount the device in the media folder for you.
Slide 19 of 45
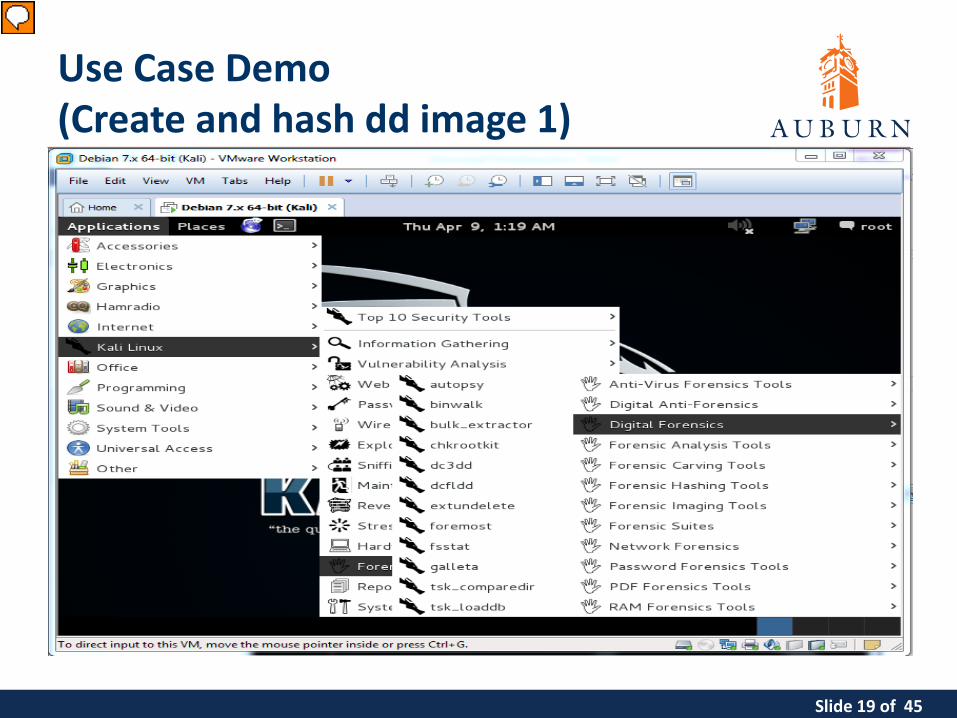
Use Case Demo(Create and hash dd image 1)
Presenter
Presentation Notes
DCFLDD is actually a console program with no GUI. Launching it from the gui simply opens a terminal and enters the command “dcfldd --help”
Slide 20 of 45
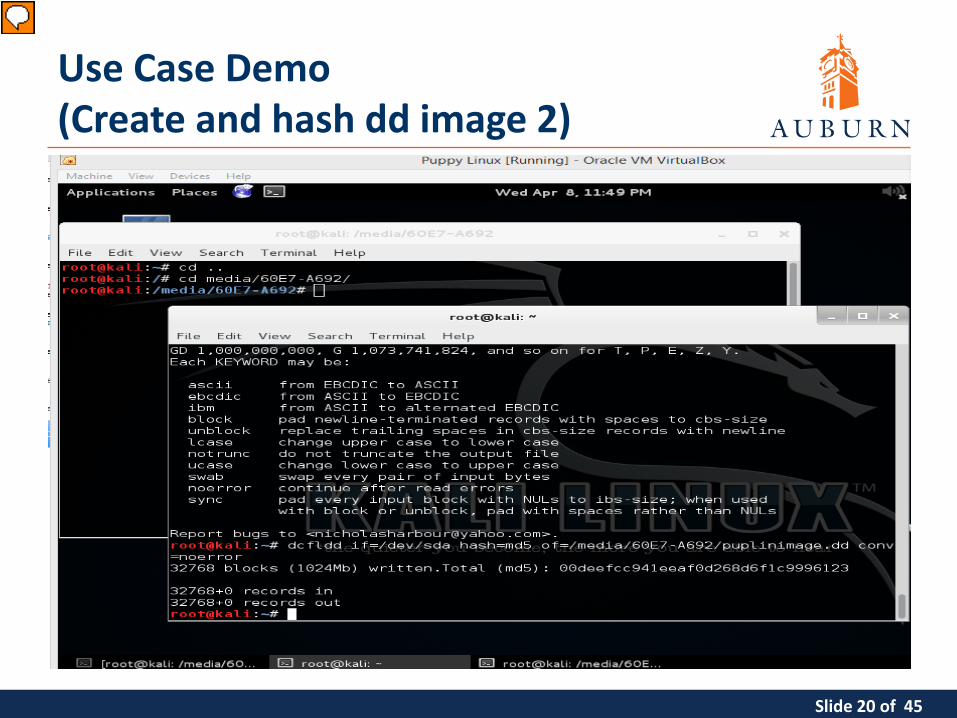
Use Case Demo(Create and hash dd image 2)
Presenter
Presentation Notes
Note the path to the USB in the background terminal. This is the directory we need to save the dd image to that we are creating. Note the md5 value being displayed once the dd operation has completed. For this demo we chose to use a very small os (Puppy Linux). If you decide to try this with a larger os disk image, you could simply copy one of the smaller partitions over instead of the entire disk if you don’t have a usb device large enough to store it.
Slide 21 of 45
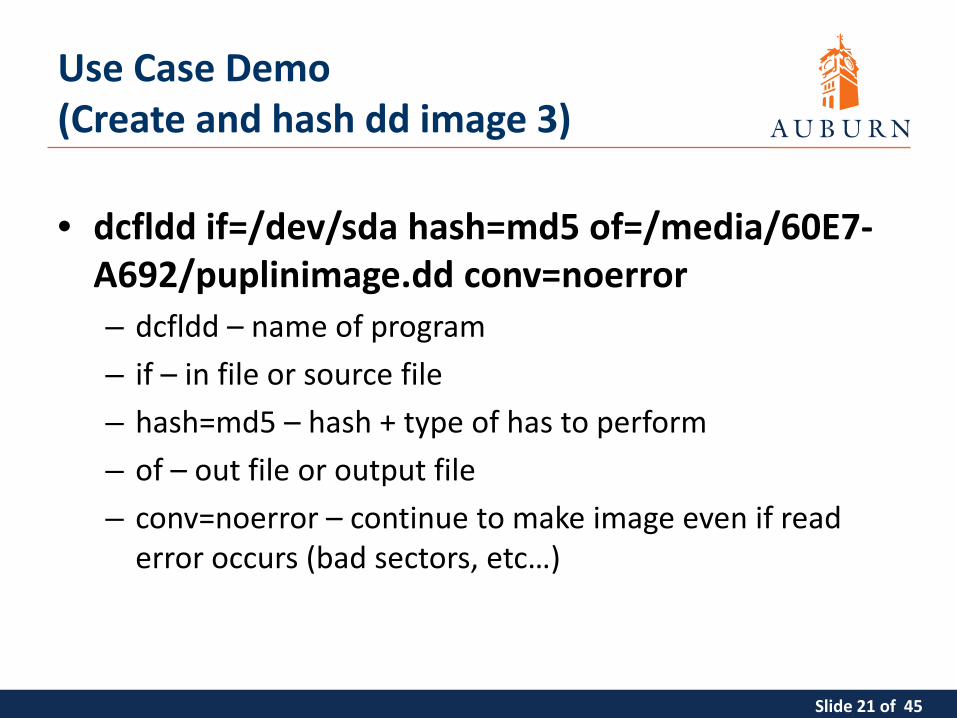
Use Case Demo(Create and hash dd image 3)
• dcfldd if=/dev/sda hash=md5 of=/media/60E7-A692/puplinimage.dd conv=noerror– dcfldd – name of program– if – in file or source file– hash=md5 – hash + type of has to perform– of – out file or output file – conv=noerror – continue to make image even if read
error occurs (bad sectors, etc…)
Slide 22 of 45
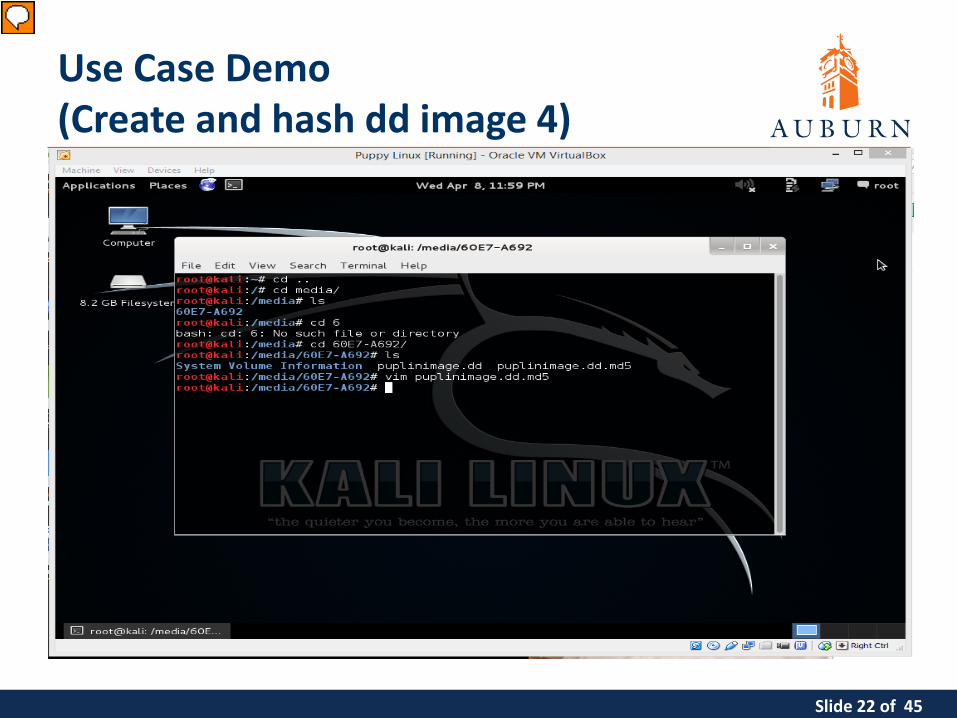
Use Case Demo(Create and hash dd image 4)
Presenter
Presentation Notes
You want to save the value of the md5 hash to the usb as well for later use to verify the integrity of the image (integrity of image).
Slide 23 of 45
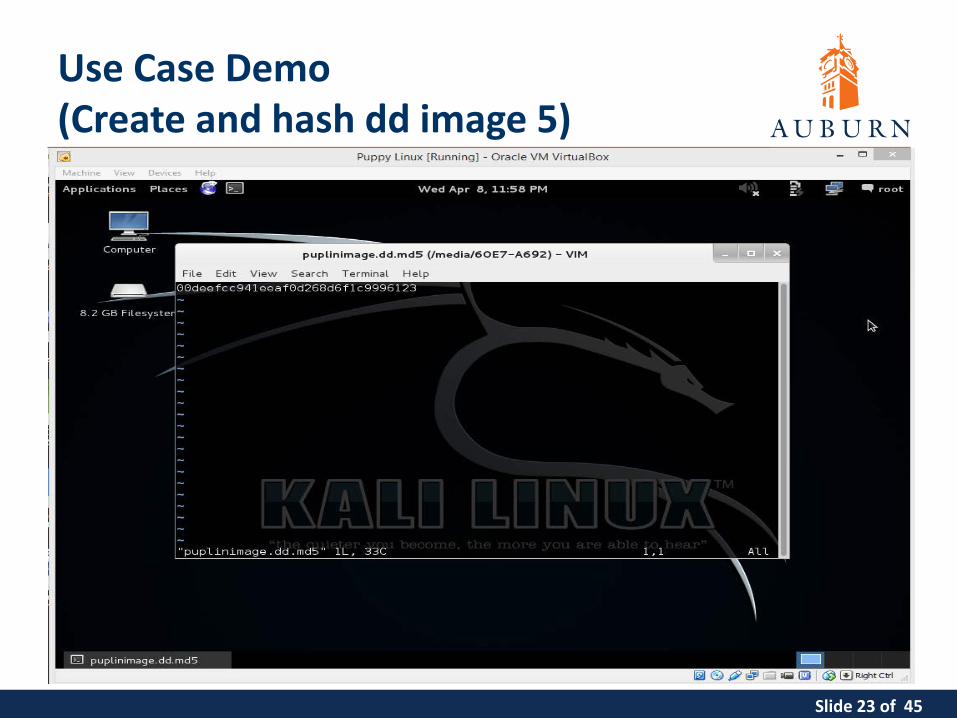
Use Case Demo(Create and hash dd image 5)
Slide 24 of 45
Use Case Demo(Create case using Autopsy 1)
Slide 25 of 45
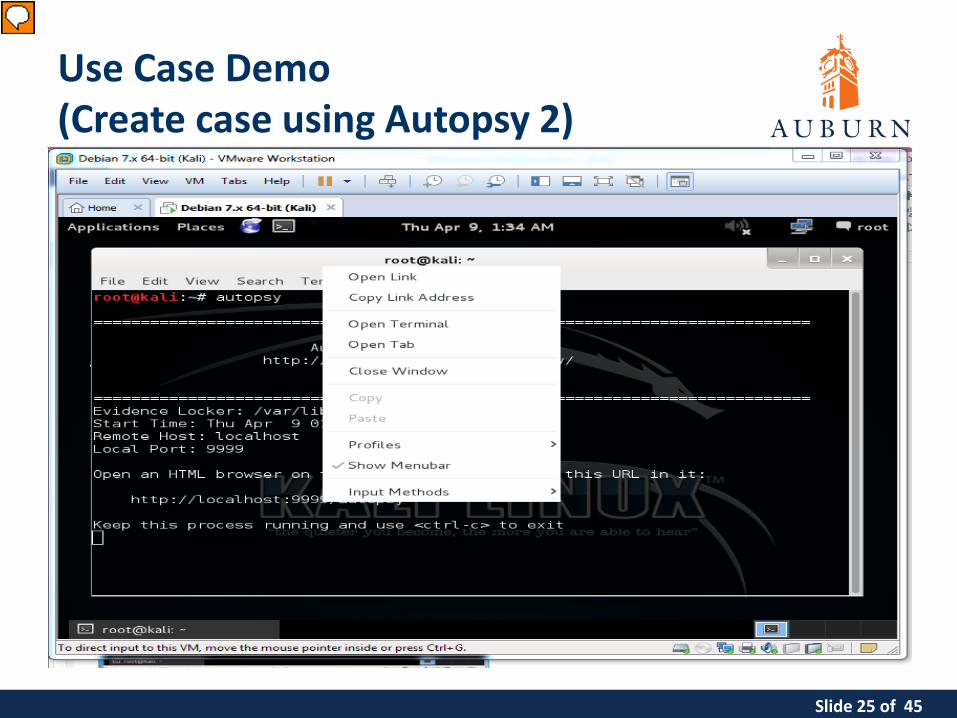
Use Case Demo(Create case using Autopsy 2)
Presenter
Presentation Notes
Right click link and select Open Link to open Autopsy Gui in default browser (iceweasel).
Slide 26 of 45
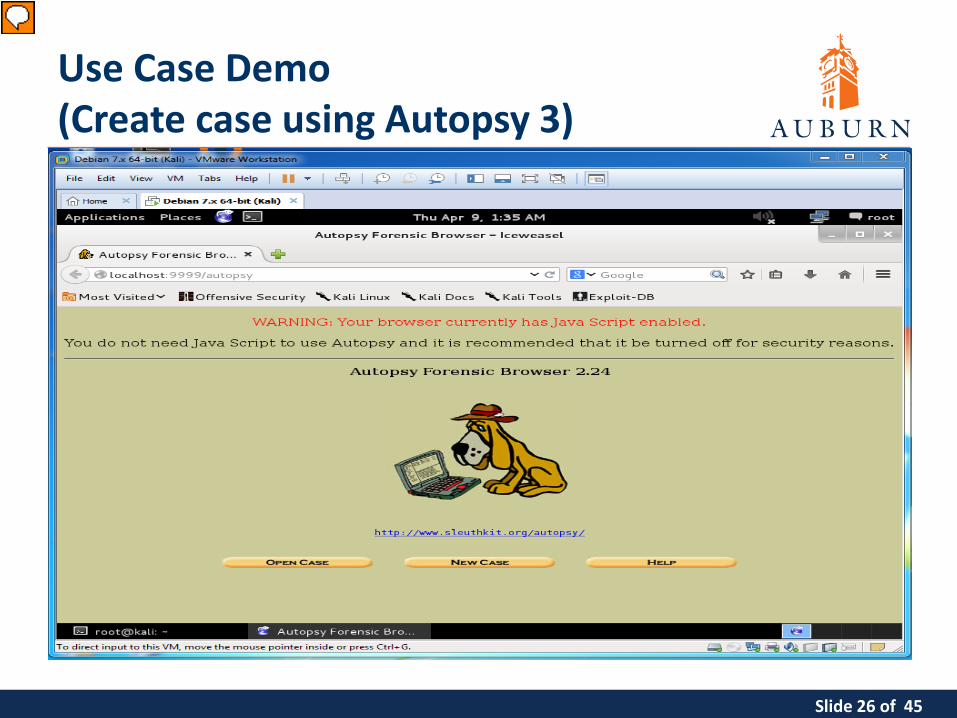
Use Case Demo(Create case using Autopsy 3)
Presenter
Presentation Notes
If you have other cases, you can visit them by selecting Open Case. For our purposes, we will be creating a new case by selecting the New Case option.
Slide 27 of 45
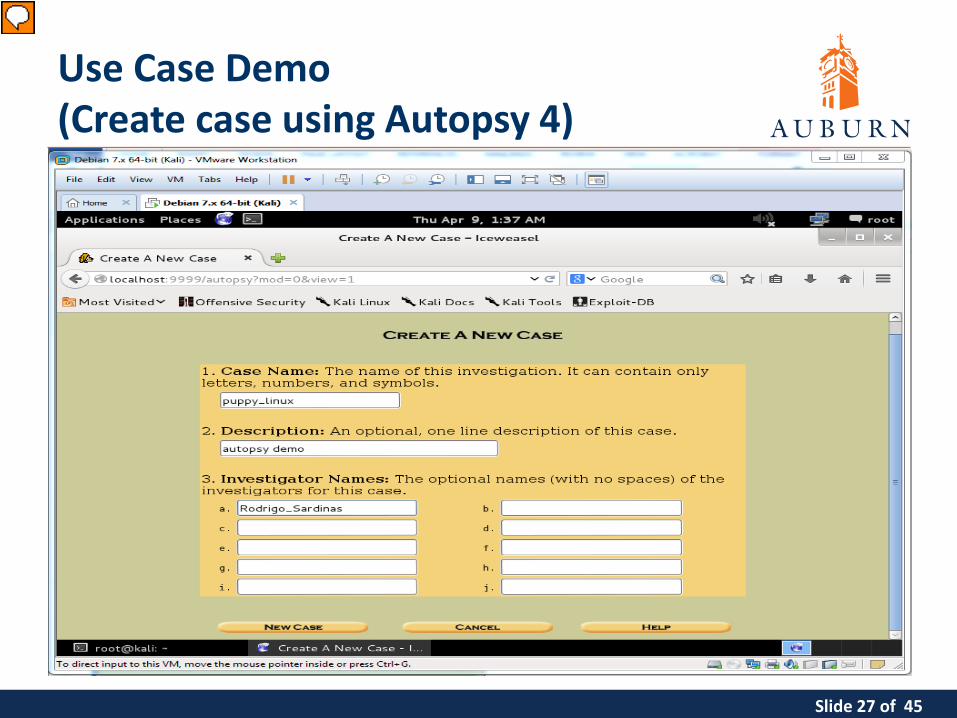
Use Case Demo(Create case using Autopsy 4)
Presenter
Presentation Notes
Case Name – same as case name in encase Self explanatory Investigator Names – names of investigators examining evidence/working on case
Slide 28 of 45
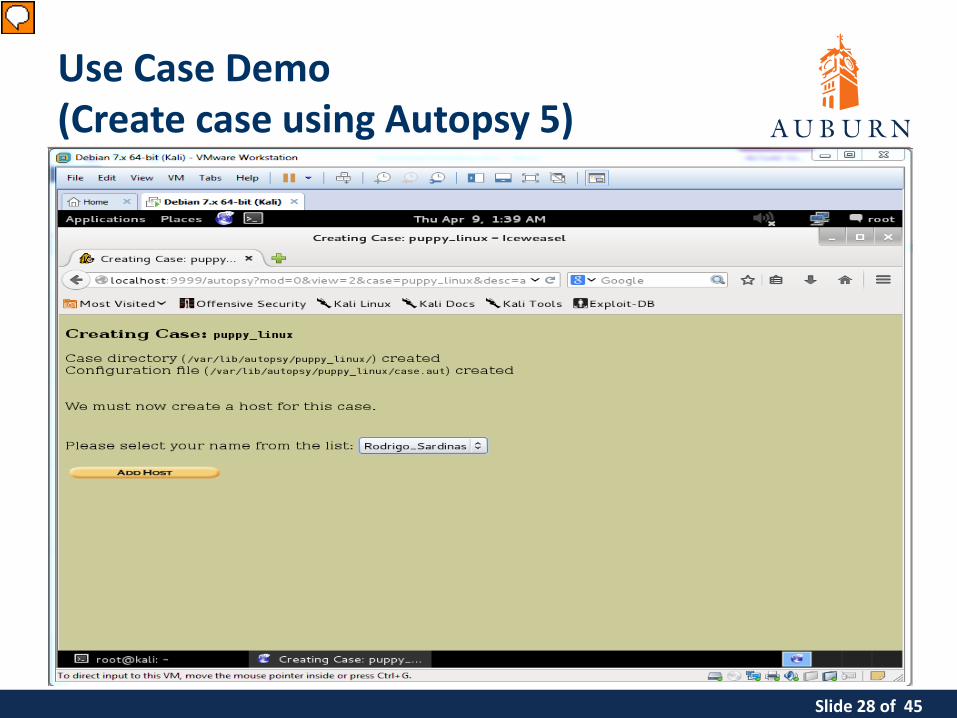
Use Case Demo(Create case using Autopsy 5)
Presenter
Presentation Notes
Add Host (machine). Must select an investigator who will be “checking out” the case to examine it.
Slide 29 of 45
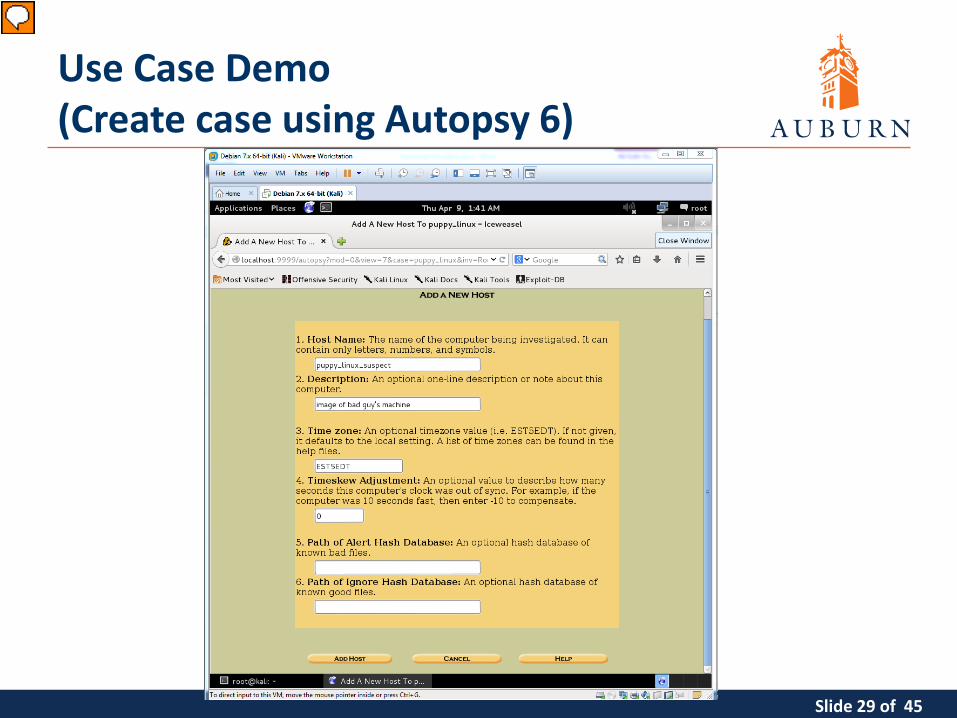
Use Case Demo(Create case using Autopsy 6)
Presenter
Presentation Notes
Name for offending machine Self explanatory Optional Time zone (In this example we chose Eastern Daylight Savings time – UTC -4). Self explanatory If you have a database of hashes that you previously generated for files that are known to be bad files (rootkits, unauthorized photographs, etc…), you can enter the path to the database here. When using File Type Category Analysis, these files are automatically saved in a separate special file. Same as above but for good files and files are simply ignored when in File Type Category Analysis. See: http://www.sleuthkit.org/autopsy/help/hash_db.html
Slide 30 of 45
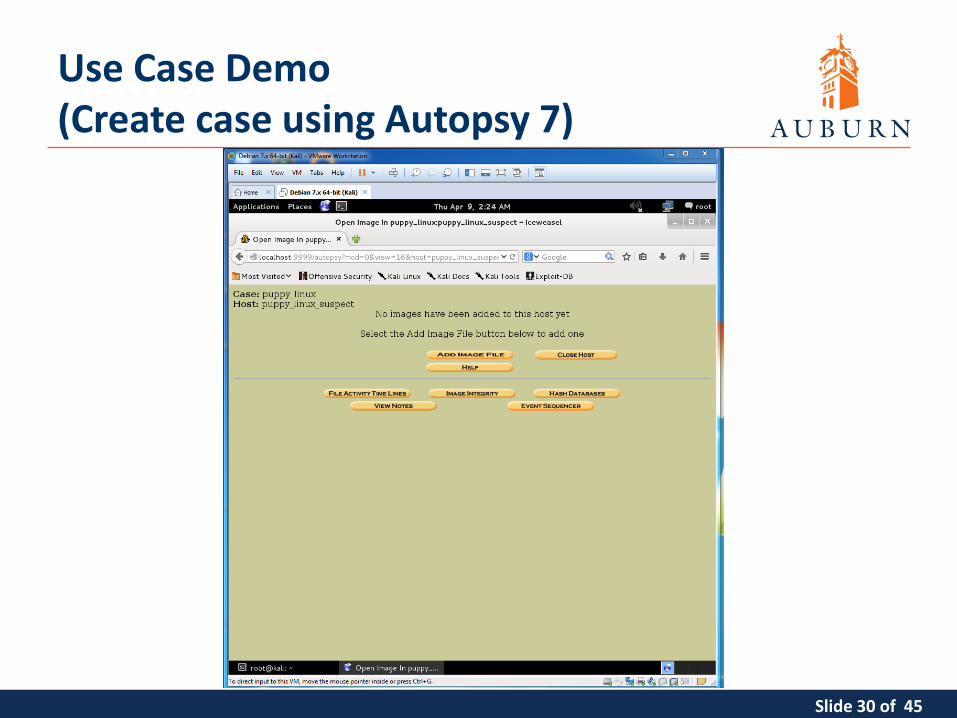
Use Case Demo(Create case using Autopsy 7)
Slide 31 of 45
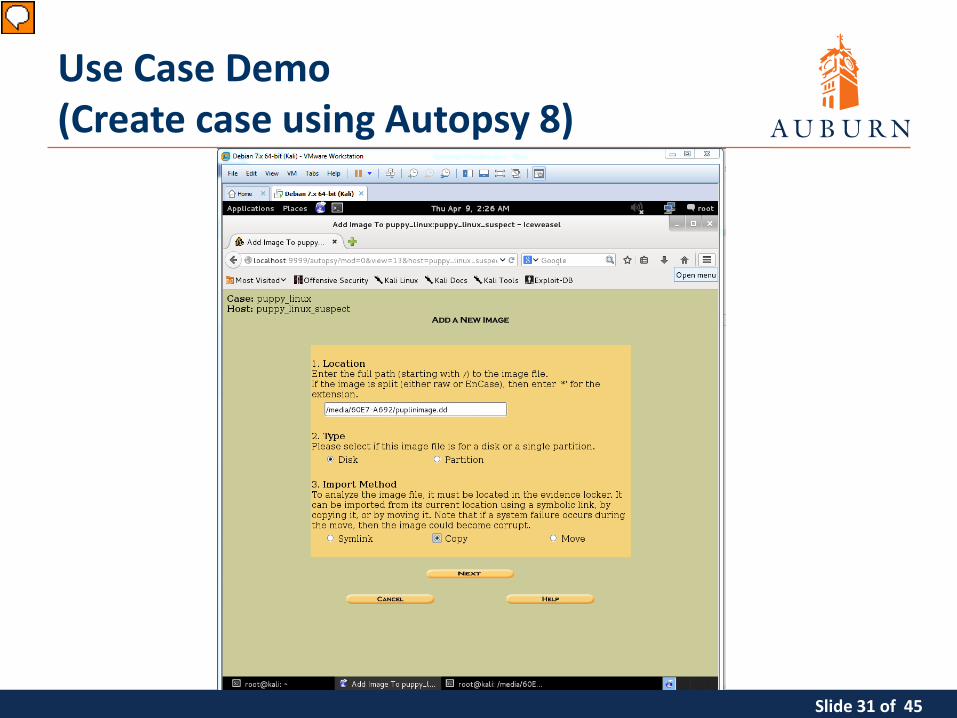
Use Case Demo(Create case using Autopsy 8)
Presenter
Presentation Notes
Location of image. We saved it in the usb. Check media directory to get path to image. Mount if needed. In this example we made an image of an entire disk (/dev/sda). If instead you chose to image a partition in a previous step (larger os, usb device not large enough) you would select the partition option. We want to copy the image into our evidence locker in order to leave the original evidence untampered with. This way we can do whatever we want to the image we’re analyzing, and later, armed with the knowledge of what is in the drive, can still prove that it is there and verify that we did not alter the actual drive in any way.
Slide 32 of 45
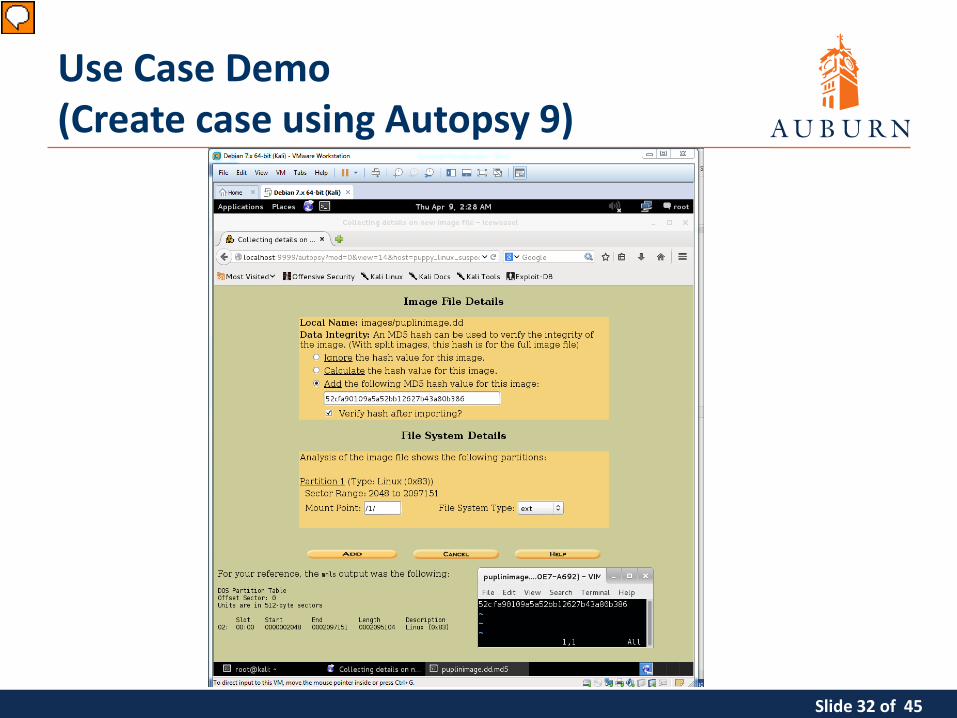
Use Case Demo(Create case using Autopsy 9)
Presenter
Presentation Notes
Recall we saved the calculated md5 value when we created the image. Copy and paste the value into the textbox and select the verify hash option to verify the integrity of the image.
Slide 33 of 45
Use Case Demo(Create case using Autopsy 10)
Presenter
Presentation Notes
Success!
Slide 34 of 45
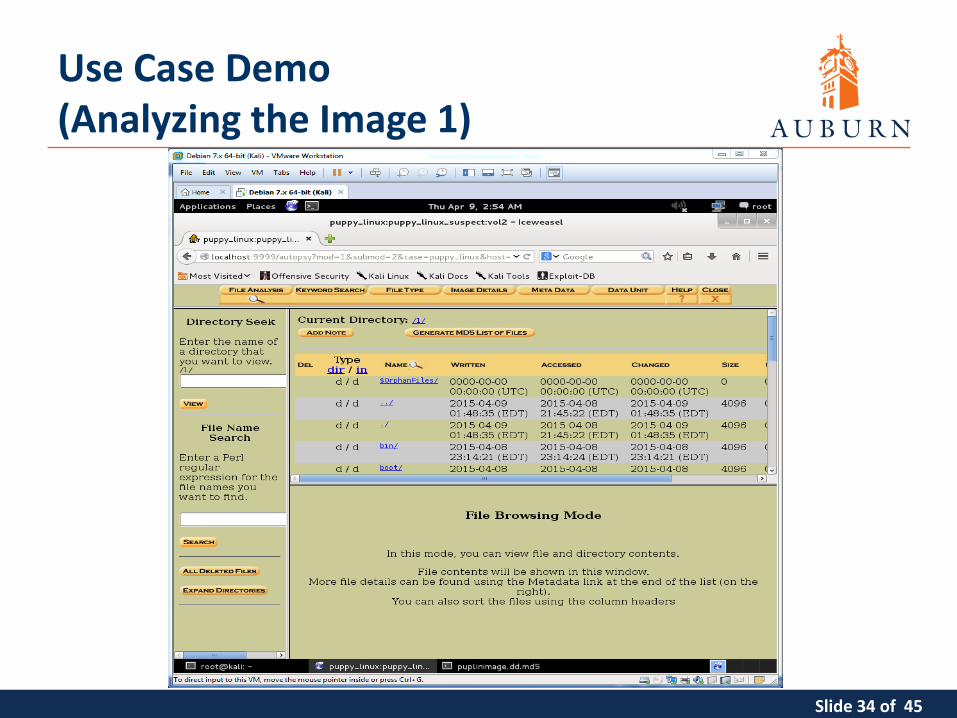
Use Case Demo(Analyzing the Image 1)
Slide 35 of 45
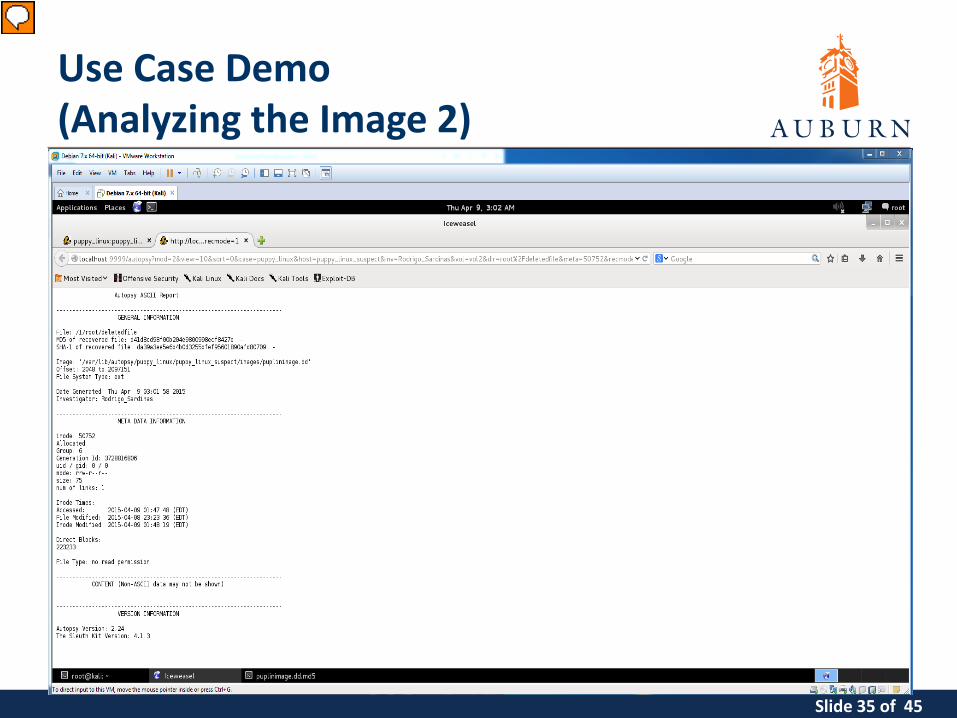
Use Case Demo(Analyzing the Image 2)
Presenter
Presentation Notes
Can view a report of any file giving you general information about the file (or disk image).
Slide 36 of 45
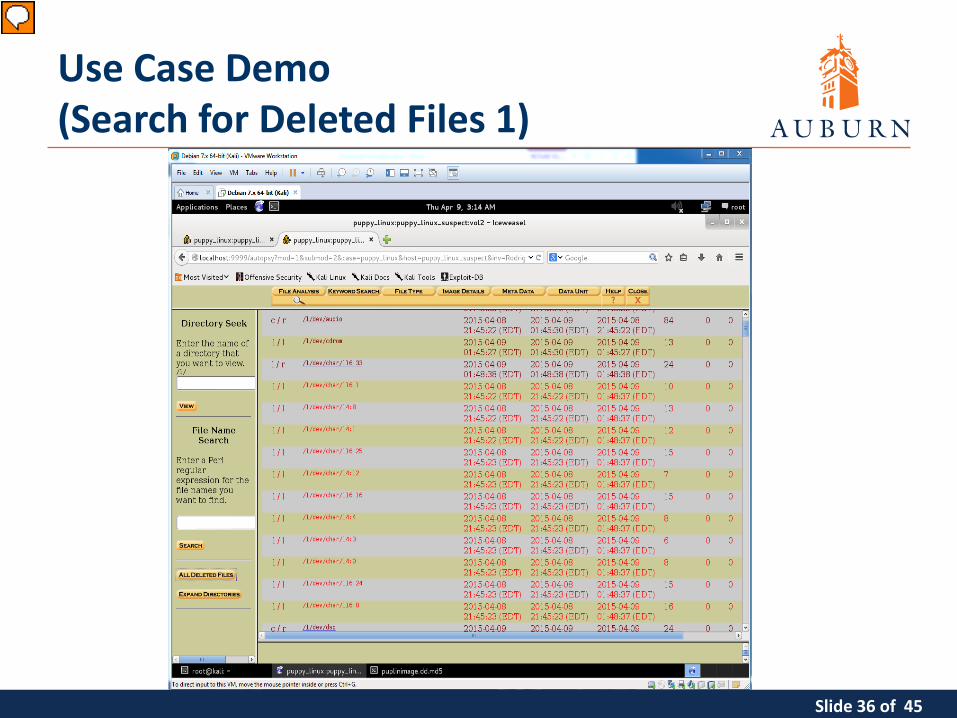
Use Case Demo(Search for Deleted Files 1)
Presenter
Presentation Notes
Search for All Deleted Files. Huge list. Notice that some files have links and some do not. The files without links are unrecoverable by this tool. Perhaps because they have been overwritten? Files with links can be viewed and “exported” to recover them.
Slide 37 of 45
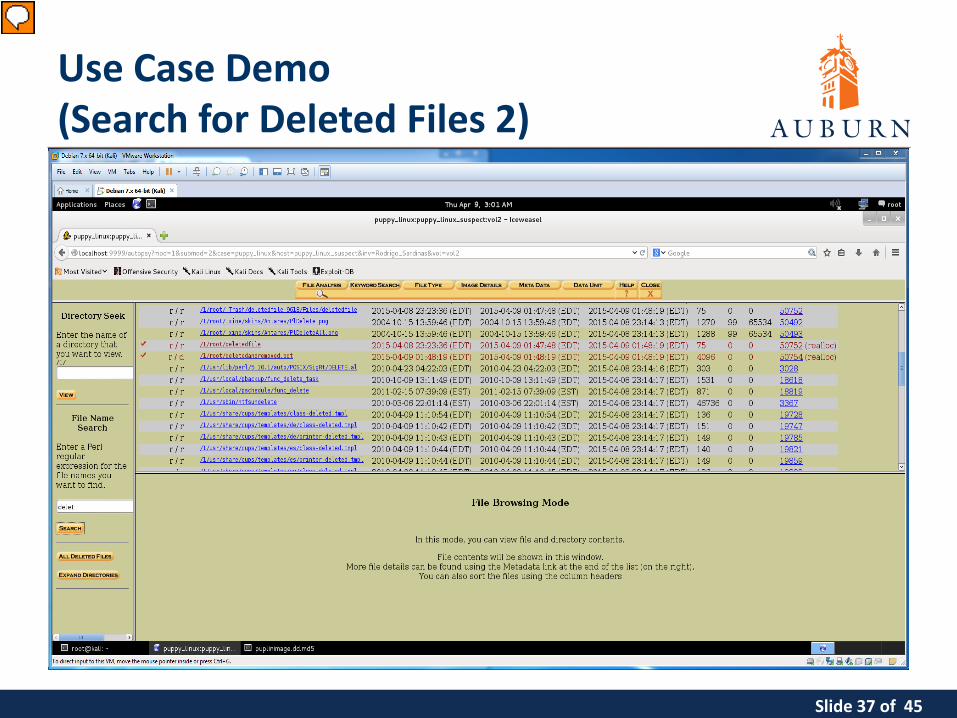
Use Case Demo(Search for Deleted Files 2)
Presenter
Presentation Notes
Search for file name using regular expression. Notice that deleted files are red.
Slide 38 of 45
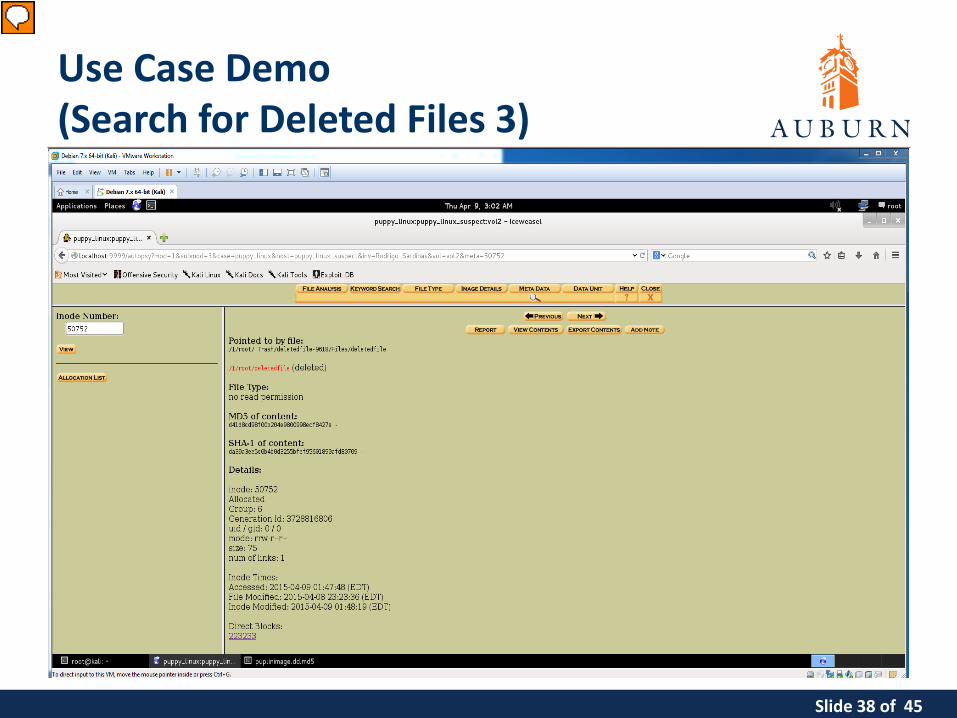
Use Case Demo(Search for Deleted Files 3)
Presenter
Presentation Notes
Selecting the inode number of the file (Linix gives all files an inode number. This is how they are identified by the system.) allows you to see some details about the file including the block containing the file’s contents.
Slide 39 of 45
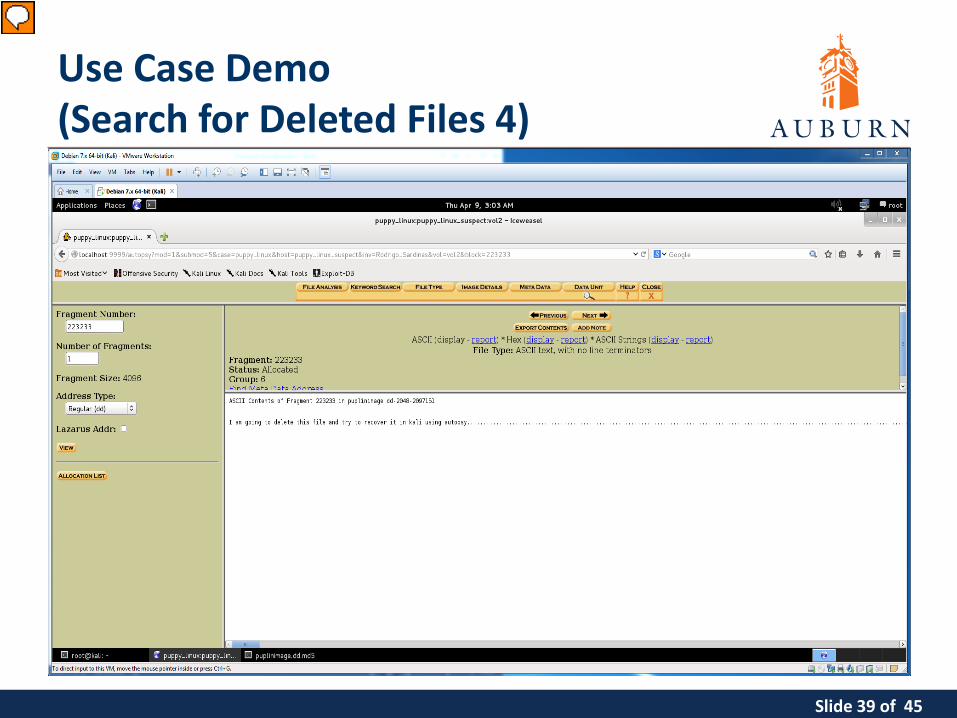
Use Case Demo(Search for Deleted Files 4)
Presenter
Presentation Notes
Selecting the block or fragment number of the file will allow you to view the file’s actual content.
Slide 40 of 45
Overview• Use case explanation• Useful Linux Commands• Kali• DCFLDD• Autopsy• Use Case Demo• Foremost• Scalpel
Presenter
Presentation Notes
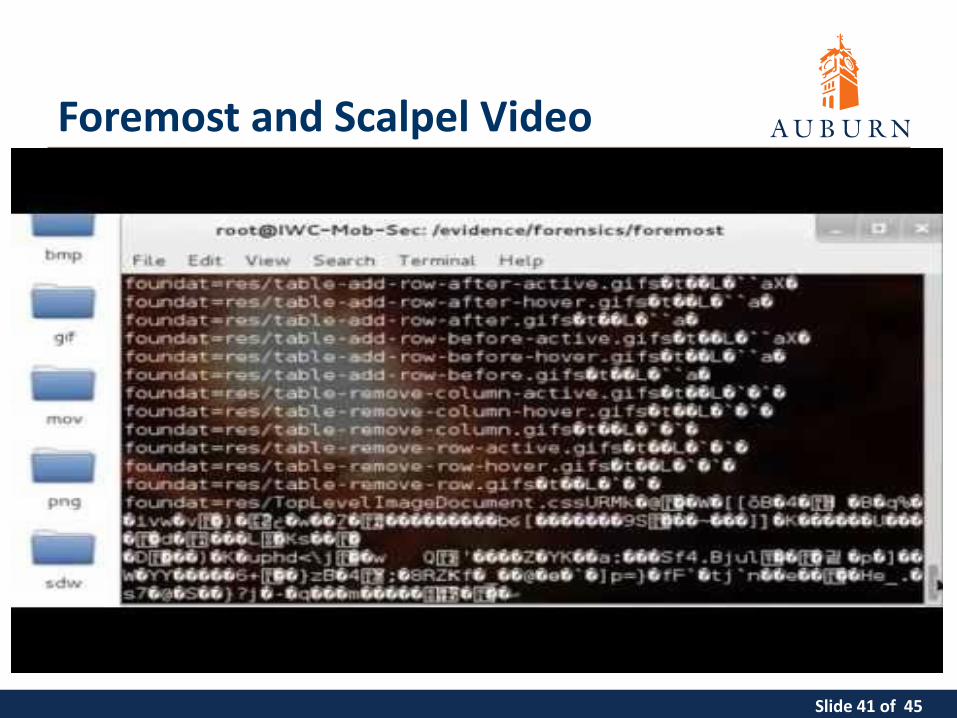
So far we’ve gone over a very simple use case where we are interested in collecting evidence from a suspect’s machine and analyzing it. We’ve gone over several Linux terminal commands that can be used in a linux environment to help us along the way. We’ve discussed an open source OS (kali) and various open source forensic tools preinstalled with Kali (dcfldd and autopsy). We’ve demonstrated the use case by simulating it using VirtualBox to house images of machines, with Puppy Linux being the suspect machine os, and using Kali in a VM to create a case and examine the hard drive in question. During the demonstration we covered some techniques for viewing and searching the disk, we’ve covered some data carving techniques (file recovery), and talked about other useful things that we can do with the autopsy tool. We’ll probably be just about out of time by now, so we’ll get a glimpse at some other notable data carving tools (Foremost and Scalpel) by watching a short video on youtube (If time permits. If not we just won’t watch the whole video). These tools can also be found in Kali under the Forensic Carving Tools category.
Slide 41 of 45
Foremost and Scalpel Video
Slide 42 of 45
Overview• Use case explanation• Useful Linux Commands• Kali• DCFLDD• Autopsy• Use Case Demo• Foremost• Scalpel• Digital Forensics Framework (DFF)
Presenter
Presentation Notes
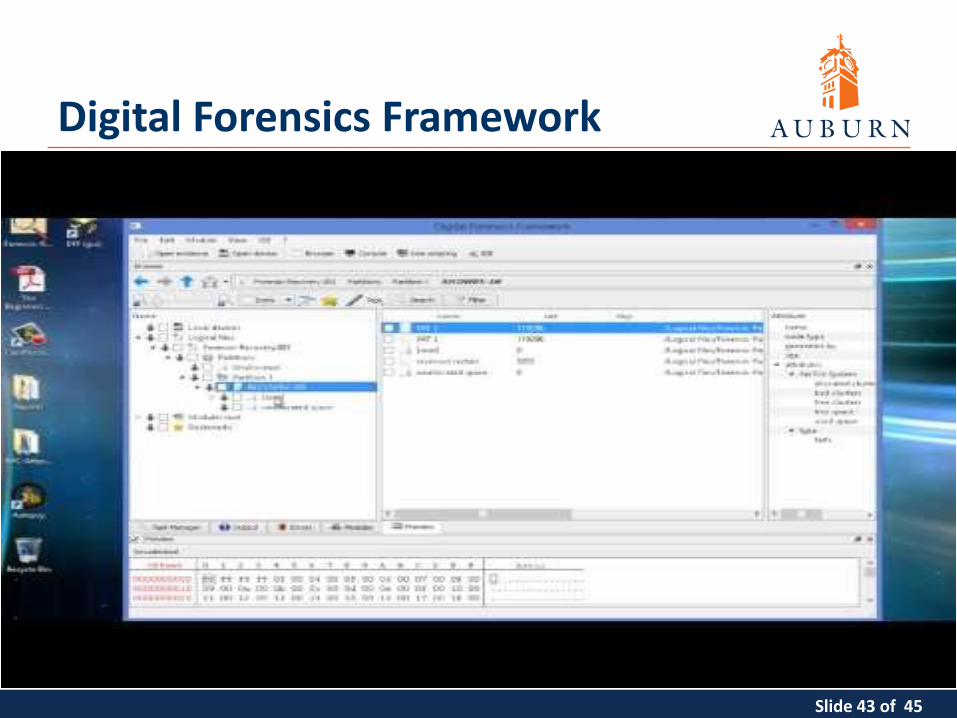
If we haven’t run out of time we’ll look at another video of an open source forensic suite similar to encase and autopsy called DFF. It’s more powerful than autopsy (autopsy is kind of bare but neat to know). It’s not quite as nice as encase (although more features are constantly being added to it. For an open source tool it is actually quite nice.).
Slide 43 of 45
Digital Forensics Framework
Slide 44 of 45
Overview• Use case explanation• Useful Linux Commands• Kali• DCFLDD• Autopsy• Use Case Demo• Foremost• Scalpel• Digital Forensics Framework (DFF)
Presenter
Presentation Notes
Whaa we made it here!
Slide 45 of 45
Do it Yourself• Downloads
– Kali– Puppy Linux
• Videos– Create VB Image from Puppy Linux
• Video does not show boot flag being set in GParted. Once you have created your partition, right click the partition, select the flags option, and check the boot option.
– Autopsy– RecoverJPG, Foremost, Scalpel– Digital Forensic Framework (DFF)
• Articles– DCFLDD in Kali– Autopsy in Kali– Useful forensics tools
Presenter
Presentation Notes
Downloads – download the os’s used in this demo Video – mostly how-to’s or brief introductions to various tools Articles – dcfldd and autopsy should help walk through the process of the demo, while the last article references and describes tons of useful forensics tools that you might want to investigate.