Embed Size (px)
Citation preview

Completing Health Risk
Assessments in Revel Web Portal for sales agents
FOR INTERNAL USE ONLY 1
Health Risk Assessment (HRA)
FOR INTERNAL USE ONLY 2
What is an HRA?- Health Risk Assessments are surveys of a members health conditions, and used to help identify
members that may need additional assistance managing their care• CMS requires that we complete an HRA for new DSNP members within 90 days of their
enrollment, and again on a yearly basis• HRA completion rates do affect our plan Stars Scores• Although not required by CMS, we began doing formal HRA’s for our new Medicare Advantage
(MA) members in November 2016
REVEL
We have partnered with Revel to assist us in managing our HRA process Revel allows members assisted by agents to complete HRA’s by:
- Web option located on the secure member portal of WellCare.com All members that complete an HRA receive an individual care plan that includes actions and goal they
can use to manage their ongoing conditions. A copy is also sent to their PCP. • DSNP members also receive a coupon book as a gift
Revel Web Portal Index
FOR INTERNAL USE ONLY 3
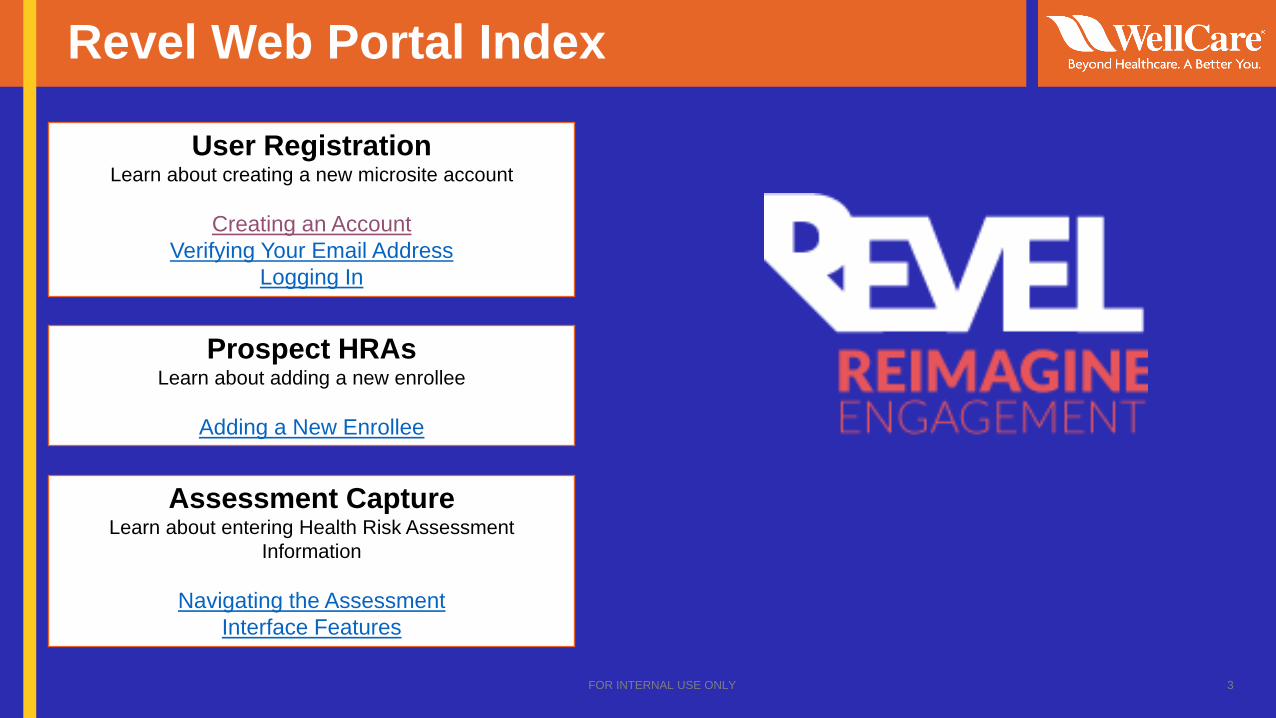
User RegistrationLearn about creating a new microsite account
Creating an AccountVerifying Your Email Address
Logging In
Prospect HRAsLearn about adding a new enrollee
Adding a New Enrollee
Assessment CaptureLearn about entering Health Risk Assessment
Information
Navigating the Assessment Interface Features

User Registration- Creating An Account
4
Using a Google Chrome or Safari browser, go to https://wellcaresurvey.revel-health.com.
Click Sign-Up.
User Registration- Creating An Account
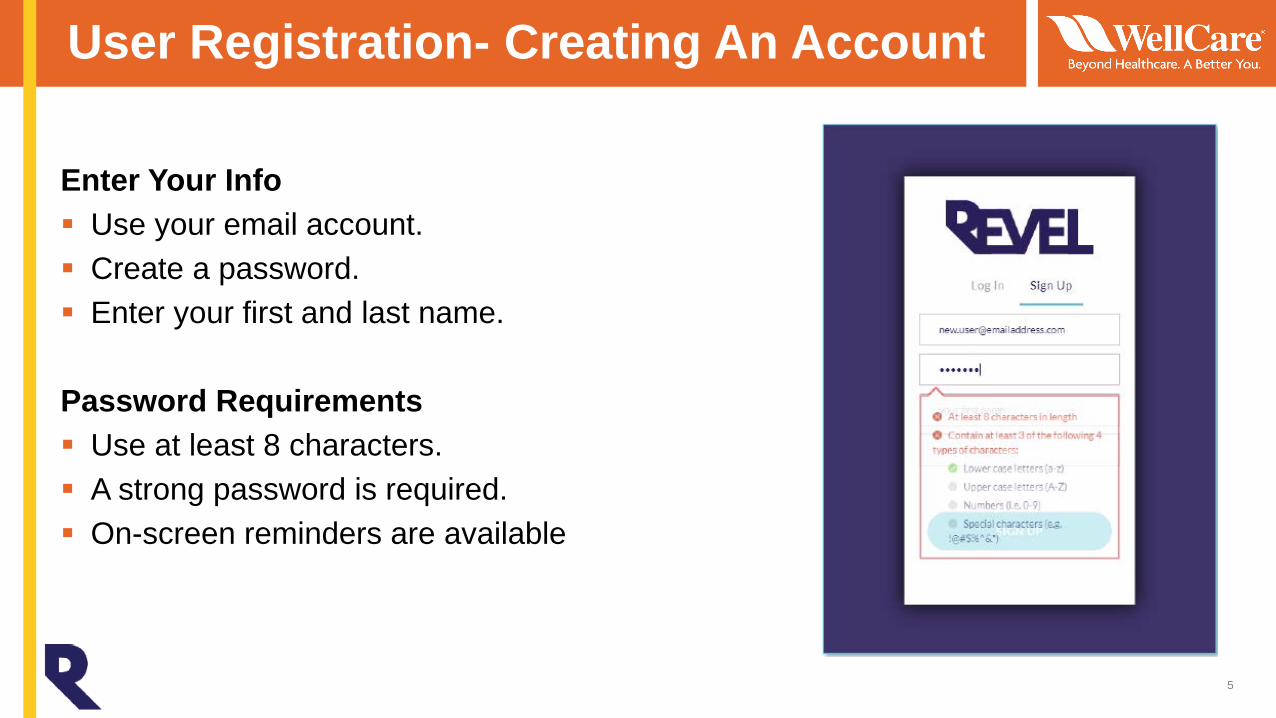
Enter Your Info Use your email account. Create a password. Enter your first and last name.
Password Requirements Use at least 8 characters. A strong password is required. On-screen reminders are available
5

User Registration- Verifying Your Email Address
You Will See a Confirmation Screen• If your account does not already exist, and
you meet the password requirements, you will see a confirmation screen.
Watch Your Email• You will receive an email from revel-
health.com.• Click the Verify Your Account button to
confirm.
6
User Registration- Logging In
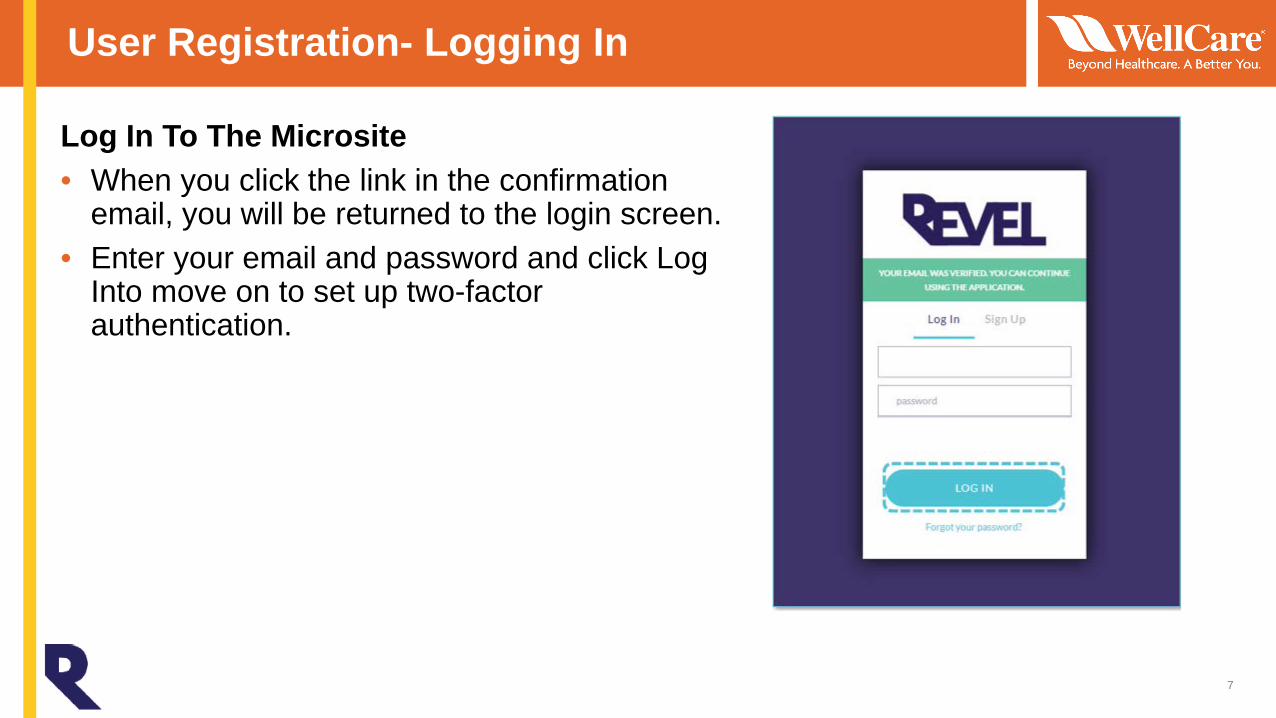
Log In To The Microsite• When you click the link in the confirmation
email, you will be returned to the login screen.• Enter your email and password and click Log
Into move on to set up two-factor authentication.
7
User Registration- Logging In
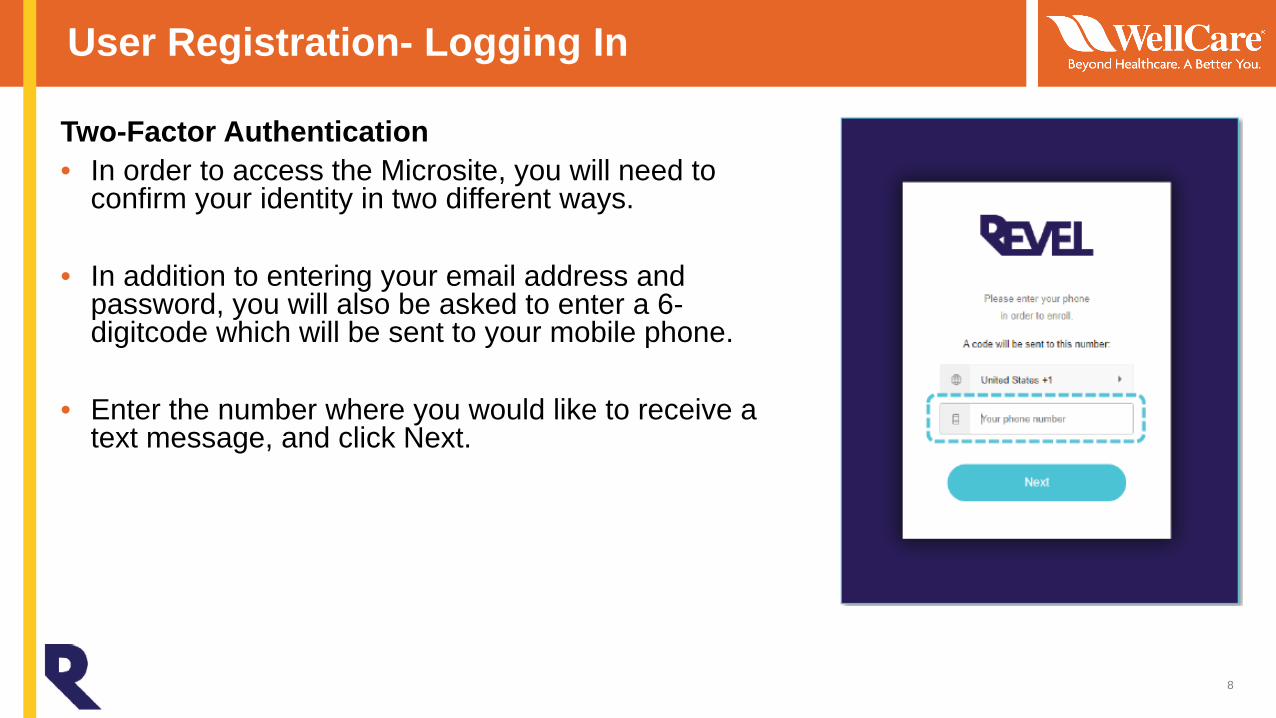
Two-Factor Authentication• In order to access the Microsite, you will need to
confirm your identity in two different ways.
• In addition to entering your email address and password, you will also be asked to enter a 6-digitcode which will be sent to your mobile phone.
• Enter the number where you would like to receive a text message, and click Next.
8

User Registration- Logging In
Entering Your SMS Code• On the next screen, you will be asked to enter the
code that was texted to your mobile phone.
• Optionally, you can select the checkbox for “Remember this browser,” which will allow you to bypass the request for an SMS code on that machine for up to 30 days.
• Once you have entered the code, click Next.
9

User Registration- Logging In
Write Down Your Recovery Code
• The first time you enter a code, you will be given a special recovery code that can be used if you ever lose your mobile phone.
• Write down the code somewhere you can find it in the future.
• Check the box that says “I have safely recorded this code” and click Next.
10
User Registration- Logging In
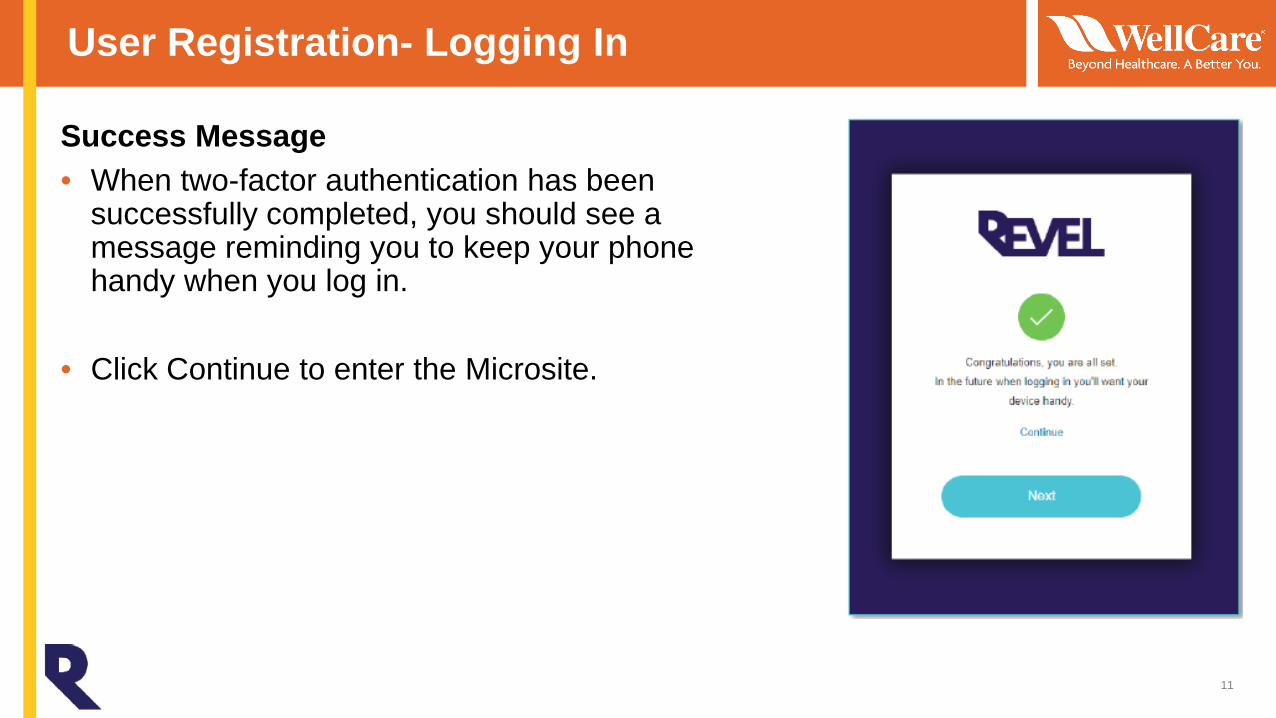
Success Message• When two-factor authentication has been
successfully completed, you should see a message reminding you to keep your phone handy when you log in.
• Click Continue to enter the Microsite.
11

User Registration- Admin Confirmation
Admin Confirmation Required• Creating your account will get you access to the microsite,
but you will not be able to use any functionality until an Administrator verifies your account.
• You will see a “Not Authorized” message when you attempt to log in until an Admin has updated you account with a security role.
• Once your account has been enabled, you may need to close your browser before logging in.
12

Prospect HRAs- Adding a Prospect
13
From the Home screen, Sales Agents can add a new enrollee at the time of sale to launch a Prospect HRA.
Note: Member Search capability is not enabled in the WellCare microsite.
Tablet users should use the microsite in landscape (horizontal)mode for the best experience.
Prospect HRAs- Adding a New Enrollee
14
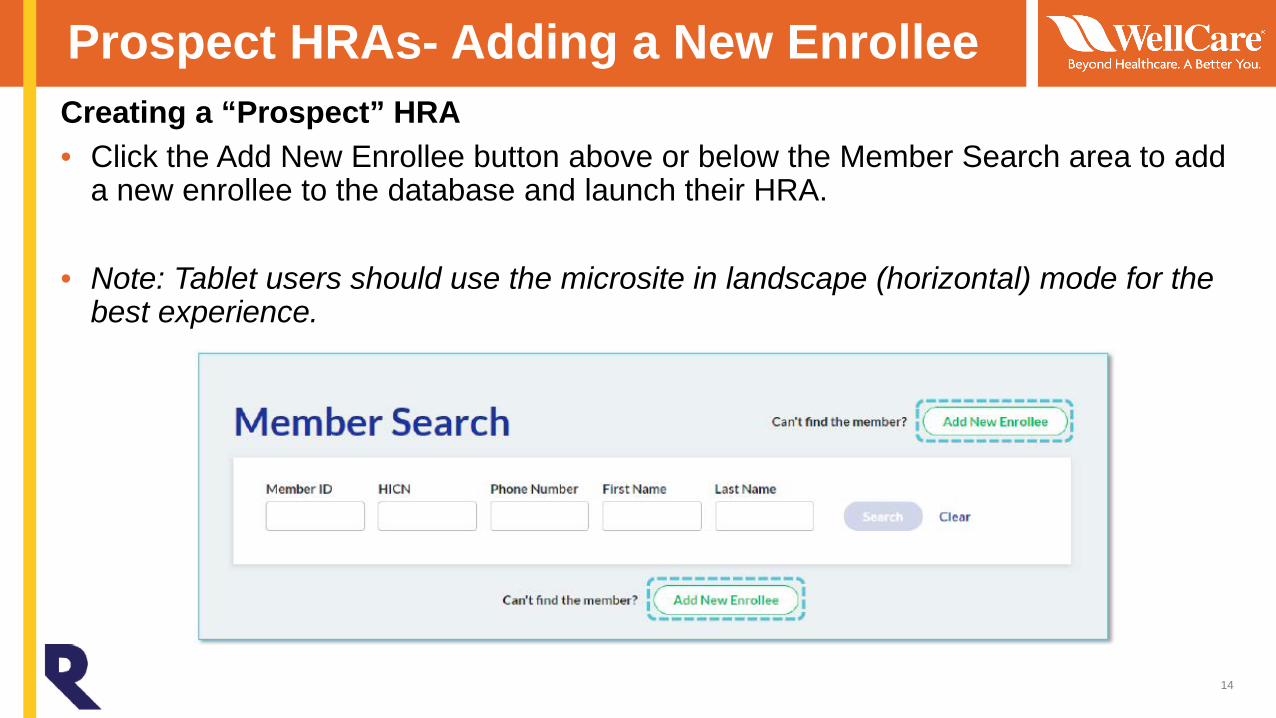
Creating a “Prospect” HRA • Click the Add New Enrollee button above or below the Member Search area to add
a new enrollee to the database and launch their HRA.
• Note: Tablet users should use the microsite in landscape (horizontal) mode for the best experience.

Prospect HRAs- Adding a New Enrollee
15
Enter the Prospect’s Information• All fields are required:
Plan TypeFirst NameLast NameStateHICN/MBIDate of BirthPhone Number
• Once all fields are complete, the Save & Load Assessment button will become enabled.
• Click the button to launch the Prospect HRA.

Prospect HRAs- Adding a New Prospect
16
Prospect Field Validation• The First Name and Last Name fields
require at least 2 characters.
• The HICN/MBI field requires a valid HICN or MBI format.
• Date of Birth requires a valid date.
• Phone number requires a valid phone with area code.
Assessment Capture- Navigating the Assessment
17
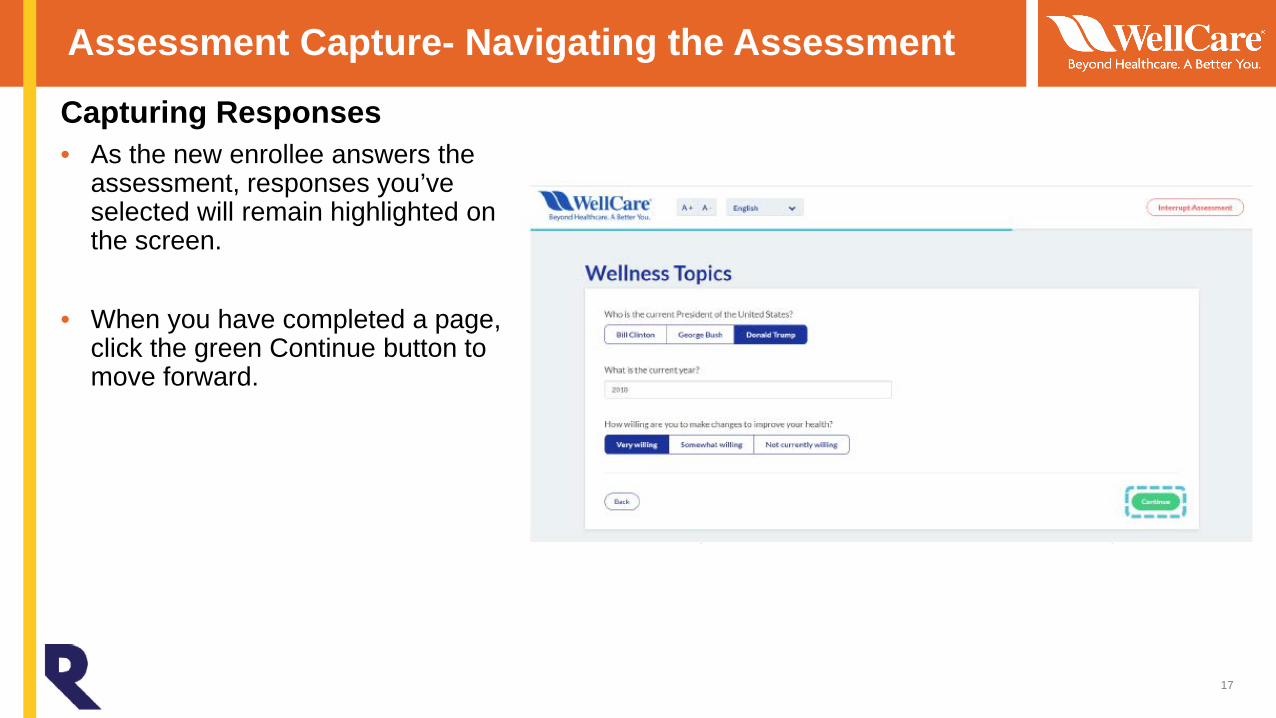
Capturing Responses• As the new enrollee answers the
assessment, responses you’ve selected will remain highlighted on the screen.
• When you have completed a page, click the green Continue button to move forward.

Assessment Capture- Navigating the Assessment
18
Conditional Questions• Some questions only appear on the screen when necessary. In the example below,
the box to enter a new preferred phone number appears only after the previous question is answered “No”

Assessment Capture- Navigating the Assessment
19
Changing Responses & the Back Button• You may change an answer at any time until the assessment is completed.
• If you need to return to an earlier page, use the Back button to page back through the assessment to find the answer you need to update.
• After using the Back button to change an answer, hit Continue to be brought directly to the page where you left off the assessment.

Assessment Capture- Navigating the Assessment
20
Completing the Assessment• When you complete the last page of the assessment, you will be taken to the Survey
Complete screen. At this point, no further changes can be made to the assessment responses.
• From this page, you can select Search for a New Member to return to the Home Page.

Assessment Capture- Interface Features
21
Language Selection• On any page of an active assessment, you can toggle between any available
languages using the language selector in the top header of the page.• You can change languages at any point in the assessment. Changes will not have
any affect on responses captured.

Assessment Capture- Interface Features
22
Progress Indicator• As you move through the assessment, a blue line in the top header of the page will
update you on your progress to completion.
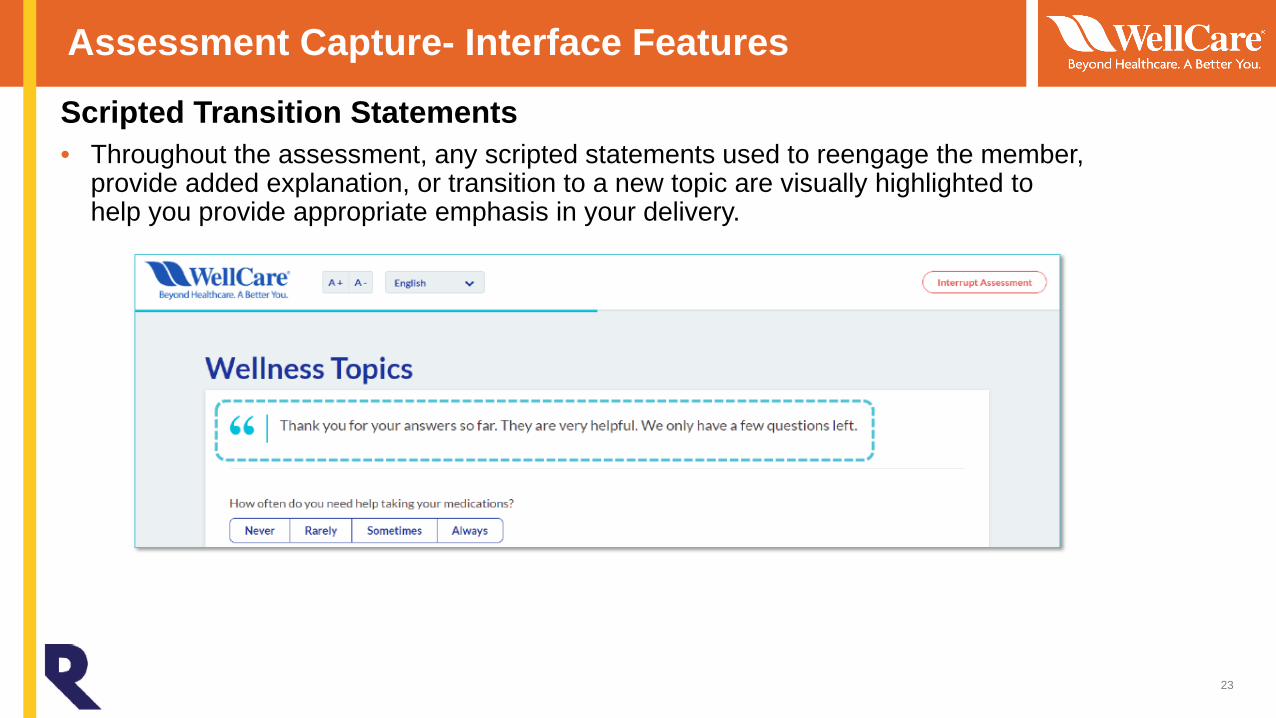
Assessment Capture- Interface Features
23
Scripted Transition Statements • Throughout the assessment, any scripted statements used to reengage the member,
provide added explanation, or transition to a new topic are visually highlighted to help you provide appropriate emphasis in your delivery.