Embed Size (px)
Citation preview
© 2013 Cayla Bellamy
www.caylabellamy.com
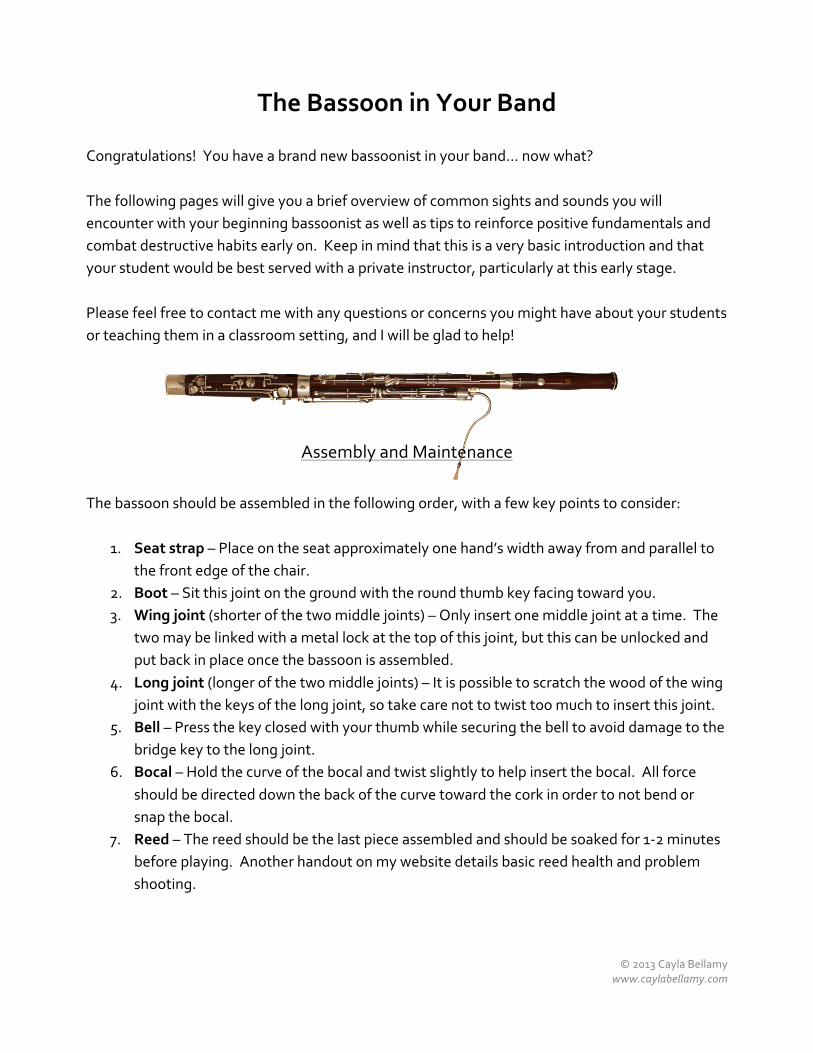
The Bassoon in Your Band Congratulations! You have a brand new bassoonist in your band… now what? The following pages will give you a brief overview of common sights and sounds you will encounter with your beginning bassoonist as well as tips to reinforce positive fundamentals and combat destructive habits early on. Keep in mind that this is a very basic introduction and that your student would be best served with a private instructor, particularly at this early stage. Please feel free to contact me with any questions or concerns you might have about your students or teaching them in a classroom setting, and I will be glad to help!
Assembly and Maintenance
The bassoon should be assembled in the following order, with a few key points to consider:
1. Seat strap – Place on the seat approximately one hand’s width away from and parallel to the front edge of the chair.
2. Boot – Sit this joint on the ground with the round thumb key facing toward you. 3. Wing joint (shorter of the two middle joints) – Only insert one middle joint at a time. The
two may be linked with a metal lock at the top of this joint, but this can be unlocked and put back in place once the bassoon is assembled.
4. Long joint (longer of the two middle joints) – It is possible to scratch the wood of the wing joint with the keys of the long joint, so take care not to twist too much to insert this joint.
5. Bell – Press the key closed with your thumb while securing the bell to avoid damage to the bridge key to the long joint.
6. Bocal – Hold the curve of the bocal and twist slightly to help insert the bocal. All force should be directed down the back of the curve toward the cork in order to not bend or snap the bocal.
7. Reed – The reed should be the last piece assembled and should be soaked for 1-‐2 minutes before playing. Another handout on my website details basic reed health and problem shooting.

© 2013 Cayla Bellamy
www.caylabellamy.com
Basic maintenance of the bassoon involves swabbing the wing and boot joints after each practice session and rehearsal. Many instruments come equipped with a specialized swab for each – the larger swab is for the boot joint and will get stuck in and damage the wing joint. If your student’s instrument has no swab, you will need to order a bassoon swab (silk or cloth) online or from your local music vendor. Clarinet and oboe swabs are too small to clean the instrument, and saxophone swabs are too large to fit. As the seasons change, wooden bassoon joints will swell and shrink, causing imperfect fits between the joints. If the joint connections are lined with waxed thread, some (typically 4-‐6”) may be removed during warmer months and replaced with dental floss in colder months. If the connections are lined with cork, cork grease may be used as with a clarinet or oboe.
Posture and Hand Position When looking out at your new bassoonist, the instrument should cross his or her body approximately at a 45-‐degree angle from the right hip to the left shoulder, much like a seat belt. In a “resting position,” the reed should touch the student’s bottom lip by simply allowing the bassoon to fall towards the student, not requiring any body adjustment. To help the student find a center of balance, check to see if s/he can support the instrument only with the seat strap and the left hand thumb on the whisper key and index finger on the first tone hole. In the majority of cases, problems with achieving this can be solved by experimenting with minor adjustments in seat strap placement. Common posture concerns:
• Slouching or bending forward – Raise the height of the bassoon by pulling on the left side of the seat strap.
• Neck strained upward – Lower the height of the bassoon. • Head tilted – Straighten the reed on the bocal so the blades are parallel to the ground. • Body leaning – Adjust the seat strap to be parallel to the chair and running directly under
the student’s thighs, centering the weight of the bassoon over the student’s lap. In general, basics of hand position for the bassoon are similar to those of any other woodwind instrument. Encourage the student to have a relaxed curve in his/her fingers and watch for
© 2013 Cayla Bellamy
www.caylabellamy.com
uncomfortable-‐looking twists or bends in the student’s wrists. Some students will not be able to maintain a curved finger position due to the size of the instrument. For students with larger hands, many bassoons come equipped with an optional right hand crutch to help the student hold his/her palm away from the instrument.
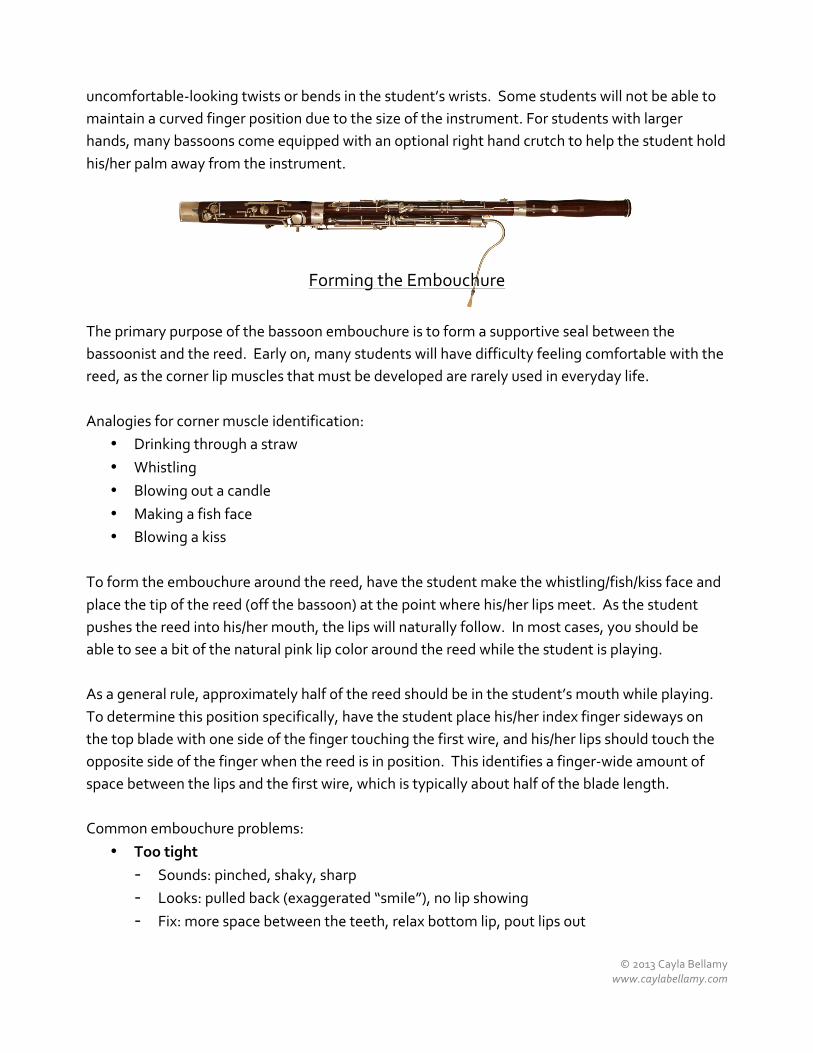
Forming the Embouchure
The primary purpose of the bassoon embouchure is to form a supportive seal between the bassoonist and the reed. Early on, many students will have difficulty feeling comfortable with the reed, as the corner lip muscles that must be developed are rarely used in everyday life. Analogies for corner muscle identification:
• Drinking through a straw • Whistling • Blowing out a candle • Making a fish face • Blowing a kiss
To form the embouchure around the reed, have the student make the whistling/fish/kiss face and place the tip of the reed (off the bassoon) at the point where his/her lips meet. As the student pushes the reed into his/her mouth, the lips will naturally follow. In most cases, you should be able to see a bit of the natural pink lip color around the reed while the student is playing. As a general rule, approximately half of the reed should be in the student’s mouth while playing. To determine this position specifically, have the student place his/her index finger sideways on the top blade with one side of the finger touching the first wire, and his/her lips should touch the opposite side of the finger when the reed is in position. This identifies a finger-‐wide amount of space between the lips and the first wire, which is typically about half of the blade length. Common embouchure problems:
• Too tight - Sounds: pinched, shaky, sharp - Looks: pulled back (exaggerated “smile”), no lip showing - Fix: more space between the teeth, relax bottom lip, pout lips out
© 2013 Cayla Bellamy
www.caylabellamy.com
• Too loose - Sounds: buzzy, flabby, flat - Looks: puffed out (lips and/or cheeks), a lot of lip showing - Fix: focus corners in, say the letter M
• Too close to the wires (too much reed in the mouth) - Sounds: tubby, sharp - Looks: no blade visible
• Too close to the tip (not enough reed in the mouth) - Sounds: unfocused, weak - Looks: most of the blade visible
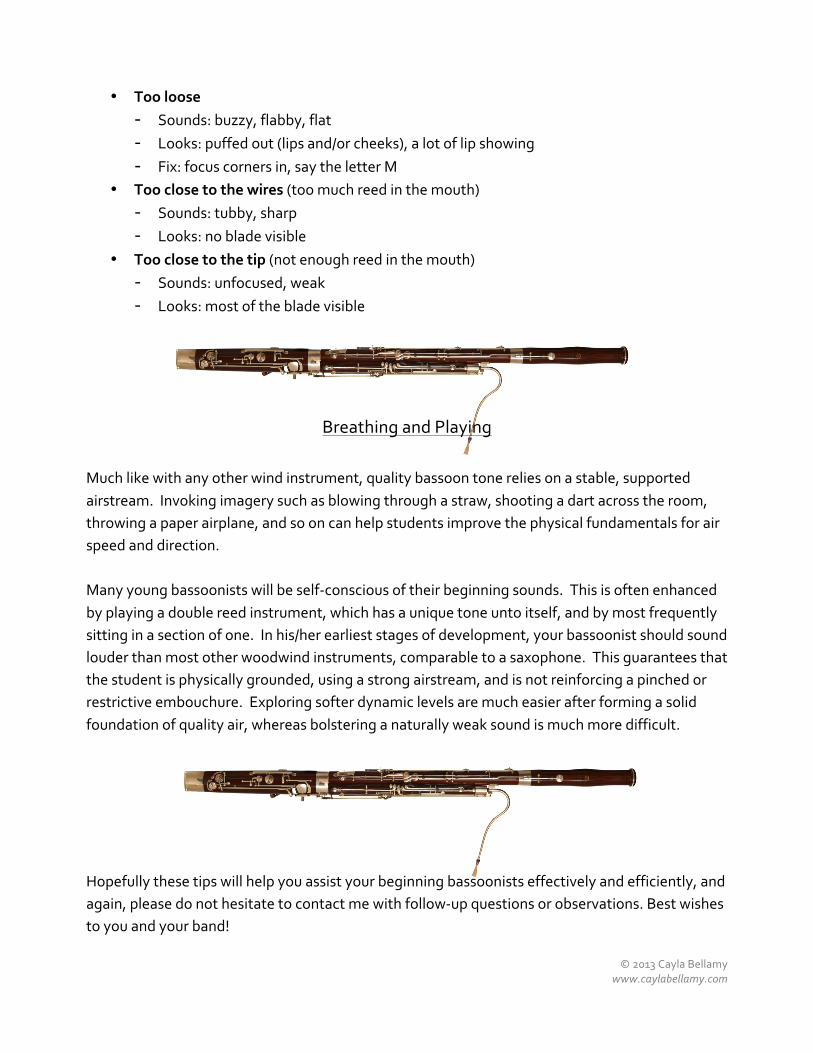
Breathing and Playing Much like with any other wind instrument, quality bassoon tone relies on a stable, supported airstream. Invoking imagery such as blowing through a straw, shooting a dart across the room, throwing a paper airplane, and so on can help students improve the physical fundamentals for air speed and direction. Many young bassoonists will be self-‐conscious of their beginning sounds. This is often enhanced by playing a double reed instrument, which has a unique tone unto itself, and by most frequently sitting in a section of one. In his/her earliest stages of development, your bassoonist should sound louder than most other woodwind instruments, comparable to a saxophone. This guarantees that the student is physically grounded, using a strong airstream, and is not reinforcing a pinched or restrictive embouchure. Exploring softer dynamic levels are much easier after forming a solid foundation of quality air, whereas bolstering a naturally weak sound is much more difficult. Hopefully these tips will help you assist your beginning bassoonists effectively and efficiently, and again, please do not hesitate to contact me with follow-‐up questions or observations. Best wishes to you and your band!