Embed Size (px)
Citation preview

YumaPro Installation Guide
YANG-Based Unified Modular Automation Tools
YumaPro SDK Basic Package Installation
Version 21.10T-4
YumaPro SDK Basic Installation Guide
Table of Contents1 Preface.............................................................................................................................................3
1.1 Legal Statements........................................................................................................................31.2 Additional Resources..................................................................................................................3
1.2.1 WEB Sites.....................................................................................................................................31.2.2 Mailing Lists..................................................................................................................................4
1.3 Conventions Used in this Document.............................................................................................42 Introduction......................................................................................................................................53 Installing YumaPro SDK Basic...........................................................................................................6
3.1 Pre-requisites.............................................................................................................................63.1.1 External Package Needed by the Server and Client.............................................................................63.1.2 External Package Needed by the Server............................................................................................73.1.3 External Packages Needed by the Client............................................................................................8
3.2 YumaPro SDK Basic Packages..................................................................................................103.2.1 Installing YumaPro SDK Basic Binary Packages..............................................................................103.2.2 --................................................................................................................................................123.2.3 Uninstalling YumaPro SDK Basic...................................................................................................12
3.3 Configure SSH.........................................................................................................................133.3.1 Installing SSH keys.......................................................................................................................14
3.4 SELinux Security Configuration................................................................................................153.5 Restart the SSH Server..............................................................................................................153.6 Start netconfd-pro.....................................................................................................................16
3.6.1 Server Startup Issues.....................................................................................................................163.7 yangcli-pro Connect..................................................................................................................173.8 Configure TLS.........................................................................................................................19
3.8.1 Server Setup.................................................................................................................................193.8.2 Client Setup.................................................................................................................................223.8.3 Test the TLS Connection...............................................................................................................24
3.9 Starting netconfd-pro with ypwatcher Program...........................................................................25A Appendix: Installed Files.................................................................................................................26
A.1 --.............................................................................................................................................26A.2 YANG Modules.......................................................................................................................26A.3 Shared Libraries.......................................................................................................................26A.4 Binary Programs......................................................................................................................27A.5 User Manual Pages...................................................................................................................27A.6 --.............................................................................................................................................27A.7 Sample Configuration Files.......................................................................................................27A.8 Developer Files........................................................................................................................28A.9 License and Packaging Information...........................................................................................29
B Appendix: Next Steps......................................................................................................................30B.1 Solutions.................................................................................................................................30B.2 More Documentation................................................................................................................30B.3 Unix ‘man’ pages.....................................................................................................................31B.4 Program --help option...............................................................................................................31
Version 21.10T-4 Page 2
YumaPro SDK Basic Installation Guide
1 Preface
1.1 Legal StatementsCopyright 2009 – 2012, Andy Bierman, All Rights Reserved.
Copyright 2012 - 2022, YumaWorks, Inc., All Rights Reserved.
1.2 Additional ResourcesOther documentation includes:
YumaPro Quickstart Guide
YumaPro User Manual
YumaPro netconfd-pro Manual
YumaPro yangcli-pro Manual
YumaPro yangdiff-pro Manual
YumaPro yangdump-pro Manual
YumaPro Developer Manual
YumaPro API Quickstart Guide
YumaPro yp-show API Guide
To obtain community support use:
https://www.yumaworks.com/support/yumapro-user-forum
YumaWorks’ Knowledge Base has answers to many typical questions:
https://yumaworks.freshdesk.com/support/home
For a list of features available with YumaPro SDK Basic, and to compare the features available with other versions of YumaPro SDK, visit:
https://www.yumaworks.com/support/download-yumapro-sdk-basic
1.2.1 WEB Sites
• YumaWorks
◦ https://www.yumaworks.com
◦ Offers support, training, and consulting for YumaPro.
• Netconf Central
◦ http://www.netconfcentral.org/
◦ Free information on NETCONF and YANG, tutorials, on-line YANG module validation and documentation database
Version 21.10T-4 Page 3
YumaPro SDK Basic Installation Guide
• Yang Central
◦ http://www.yang-central.org
◦ Free information and tutorials on YANG, free YANG tools for download
• NETCONF Working Group Wiki Page
◦ http://trac.tools.ietf.org/wg/netconf/trac/wiki
◦ Free information on NETCONF standardization activities and NETCONF implementations
• NETCONF WG Status Page
◦ http://tools.ietf.org/wg/netconf/
◦ IETF Internet draft status for NETCONF documents
• libsmi Home Page
◦ http://www.ibr.cs.tu-bs.de/projects/libsmi/
◦ Free tools such as smidump, to convert SMIv2 to YANG
1.2.2 Mailing Lists
• NETCONF Working Group
◦ https://mailarchive.ietf.org/arch/browse/netconf/
◦ Technical issues related to the NETCONF protocol are discussed on the NETCONF WG mailing list. Refer to the instructions on https://www.ietf.org/mailman/listinfo/netconf for joining the mailing list.
• NETMOD Working Group
◦ https://datatracker.ietf.org/wg/netmod/documents/
◦ Technical issues related to the YANG language and YANG data types are discussed on the NETMOD WG mailing list. Refer to the instructions on the WEB page for joining the mailing list.
1.3 Conventions Used in this Document
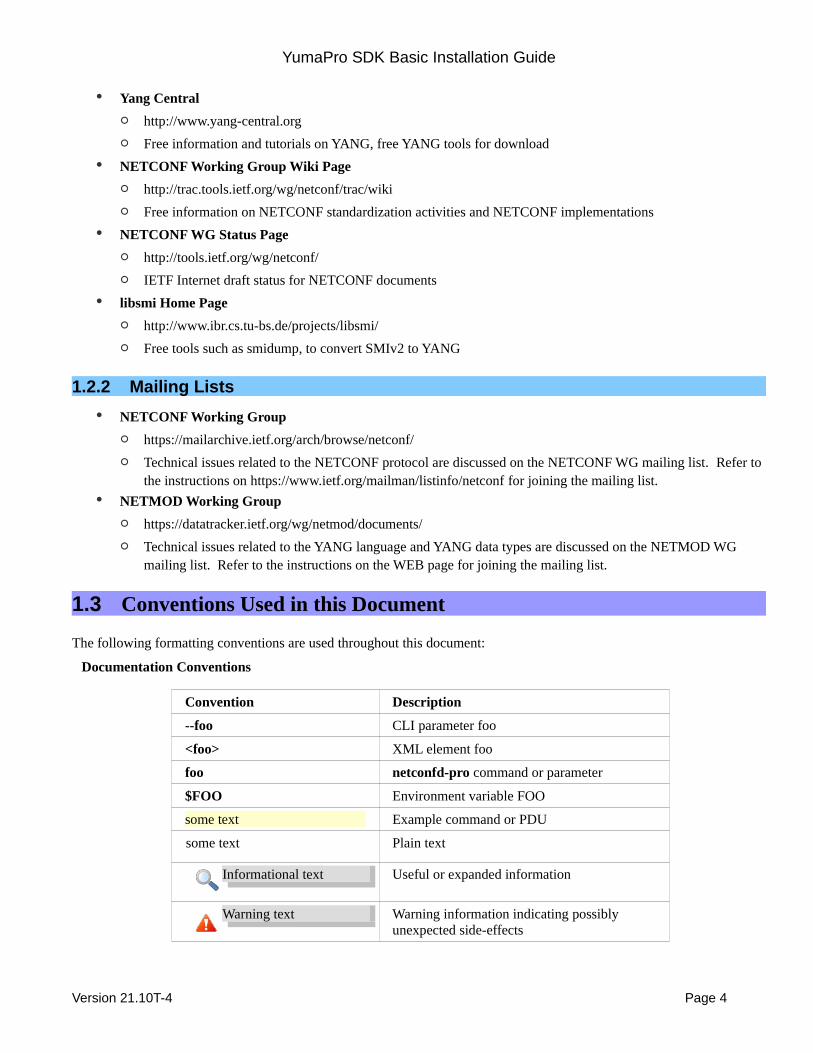
The following formatting conventions are used throughout this document:
Documentation Conventions
Convention Description
--foo CLI parameter foo
<foo> XML element foo
foo netconfd-pro command or parameter
$FOO Environment variable FOO
some text Example command or PDU
some text Plain text
Informational text Useful or expanded information
Warning text Warning information indicating possibly unexpected side-effects
Version 21.10T-4 Page 4
YumaPro SDK Basic Installation Guide
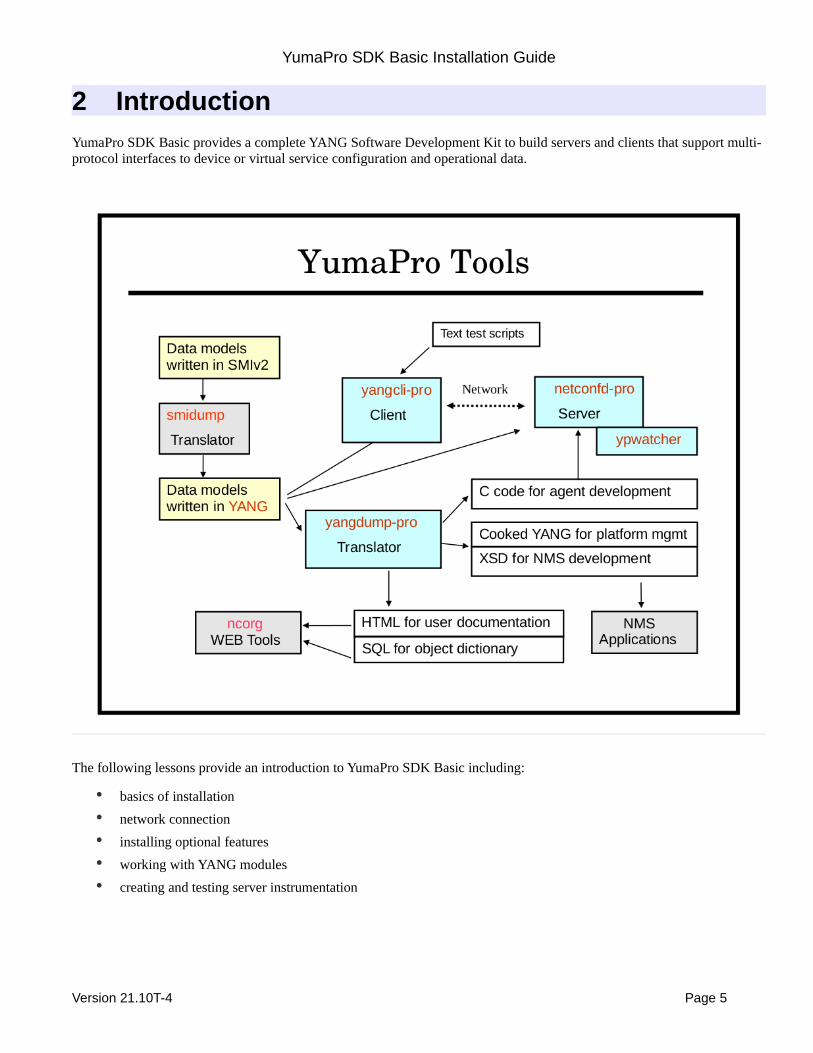
2 IntroductionYumaPro SDK Basic provides a complete YANG Software Development Kit to build servers and clients that support multi-protocol interfaces to device or virtual service configuration and operational data.
The following lessons provide an introduction to YumaPro SDK Basic including:
• basics of installation
• network connection
• installing optional features
• working with YANG modules
• creating and testing server instrumentation
Version 21.10T-4 Page 5
YumaPro SDK Basic Installation Guide
3 Installing YumaPro SDK BasicTo start using YumaPro SDK Basic it first needs to be installed along with some support libraries on a Linux system. The following platforms are supported and maintained for the YumaPro SDK Basic binary packages:
• Ubuntu 16.04 LTS, 18.04 LTS* and 20.04 LTS* (64-bit AMD, * indicates AARCH64 64-bit ARM support)
• Debian 9, 10* and 11* (64-bit AMD, * indicates AARCH64 64-bit ARM support)
• Fedora 33*, 34* and 35* (64-bit x86_64, * indicates AARCH64 64-bit ARM support)
• CentOS 7 and 8 (64-bit x86_64)
• Red Hat Enterprise Linux 7 and 8 (64-bit x86_64)
• Raspian for Raspberry Pi 3 (ARMv7)
3.1 Pre-requisites
YumaPro SDK Basic installs on most modern Linux systems with very few requirements. You will need:
• $HOME needs to be set on your system or you need to run netconfd-pro with the option --home=/home/<YOUR-USER-NAME>. To set your $HOME environment variable see:
https://help.ubuntu.com/community/EnvironmentVariables
• a current version of one of the supported Linux systems
• access to the External Open Source packages listed below
• root access to your Linux system to install packages
You should have received a username and password for access to YumaWorks’ download site that provides access to the YumaWorks’ products you have licensed. If you have not received access please contact [email protected].
3.1.1 External Package Needed by the Server and Client
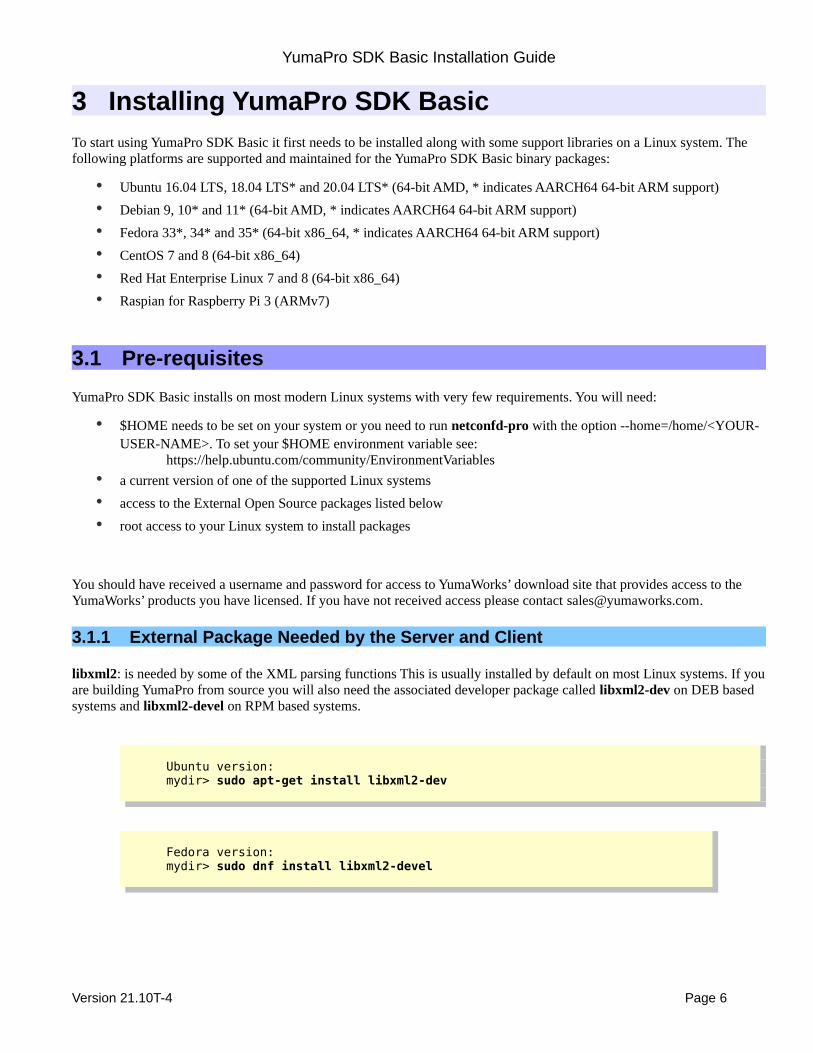
libxml2: is needed by some of the XML parsing functions This is usually installed by default on most Linux systems. If youare building YumaPro from source you will also need the associated developer package called libxml2-dev on DEB based systems and libxml2-devel on RPM based systems.
Ubuntu version:mydir> sudo apt-get install libxml2-dev
Fedora version:mydir> sudo dnf install libxml2-devel
Version 21.10T-4 Page 6
YumaPro SDK Basic Installation Guide
3.1.2 External Package Needed by the Server
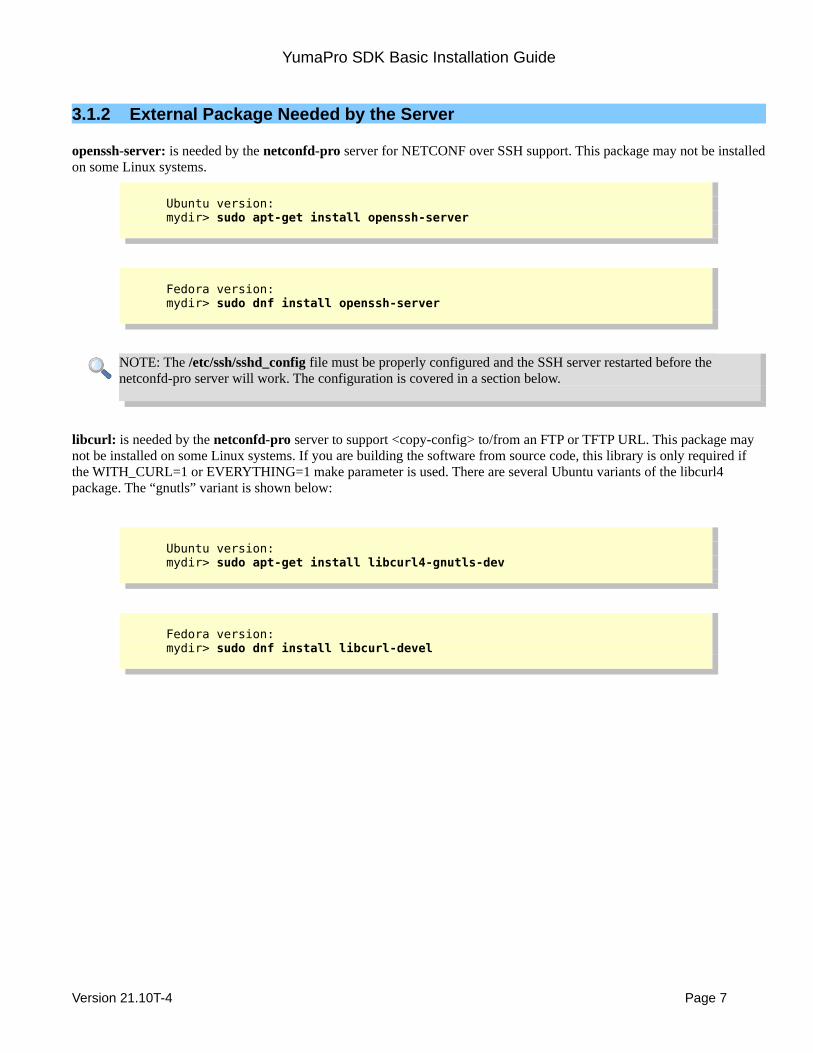
openssh-server: is needed by the netconfd-pro server for NETCONF over SSH support. This package may not be installedon some Linux systems.
Ubuntu version:mydir> sudo apt-get install openssh-server
Fedora version:mydir> sudo dnf install openssh-server
NOTE: The /etc/ssh/sshd_config file must be properly configured and the SSH server restarted before the netconfd-pro server will work. The configuration is covered in a section below.
libcurl: is needed by the netconfd-pro server to support <copy-config> to/from an FTP or TFTP URL. This package may not be installed on some Linux systems. If you are building the software from source code, this library is only required if the WITH_CURL=1 or EVERYTHING=1 make parameter is used. There are several Ubuntu variants of the libcurl4 package. The “gnutls” variant is shown below:
Ubuntu version:mydir> sudo apt-get install libcurl4-gnutls-dev
Fedora version:mydir> sudo dnf install libcurl-devel
Version 21.10T-4 Page 7
YumaPro SDK Basic Installation Guide
3.1.3 External Packages Needed by the Client
The following packages are needed for the yangcli-pro client to function. If you are building YumaPro from source you will also need the associated developer packages.
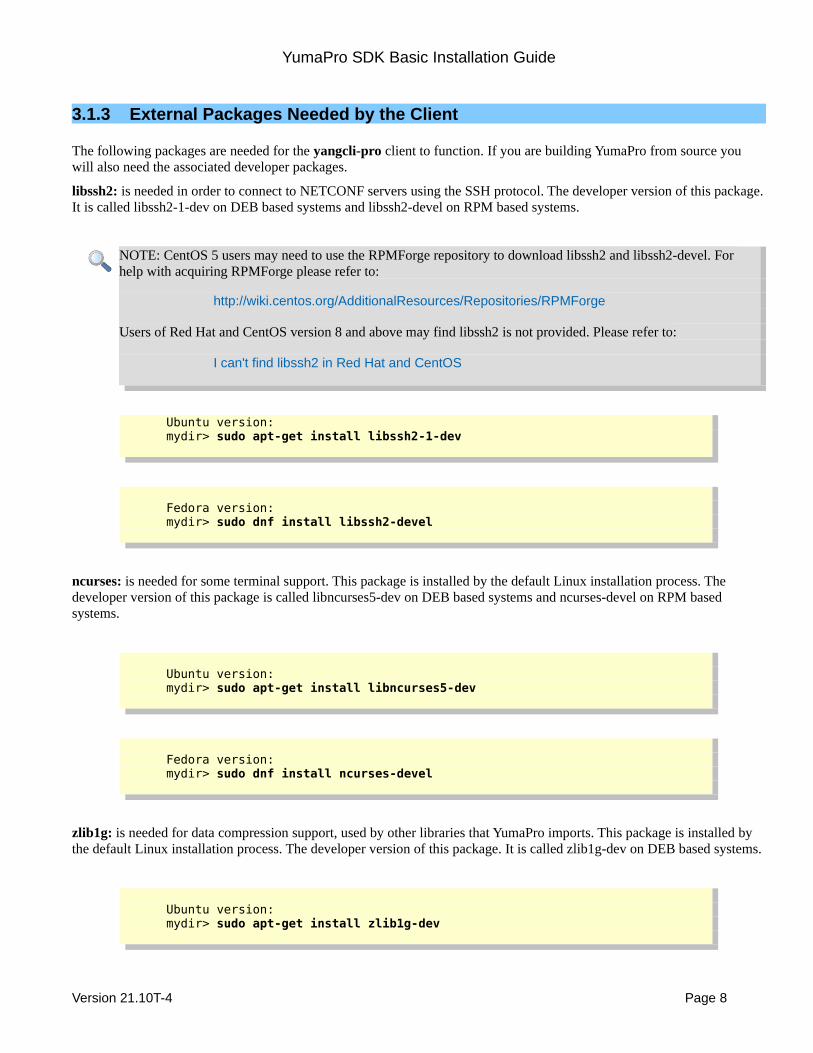
libssh2: is needed in order to connect to NETCONF servers using the SSH protocol. The developer version of this package.It is called libssh2-1-dev on DEB based systems and libssh2-devel on RPM based systems.
NOTE: CentOS 5 users may need to use the RPMForge repository to download libssh2 and libssh2-devel. For help with acquiring RPMForge please refer to:
http://wiki.centos.org/AdditionalResources/Repositories/RPMForge
Users of Red Hat and CentOS version 8 and above may find libssh2 is not provided. Please refer to:
I can't find libssh2 in Red Hat and CentOS
Ubuntu version:mydir> sudo apt-get install libssh2-1-dev
Fedora version:mydir> sudo dnf install libssh2-devel
ncurses: is needed for some terminal support. This package is installed by the default Linux installation process. The developer version of this package is called libncurses5-dev on DEB based systems and ncurses-devel on RPM based systems.
Ubuntu version:mydir> sudo apt-get install libncurses5-dev
Fedora version:mydir> sudo dnf install ncurses-devel
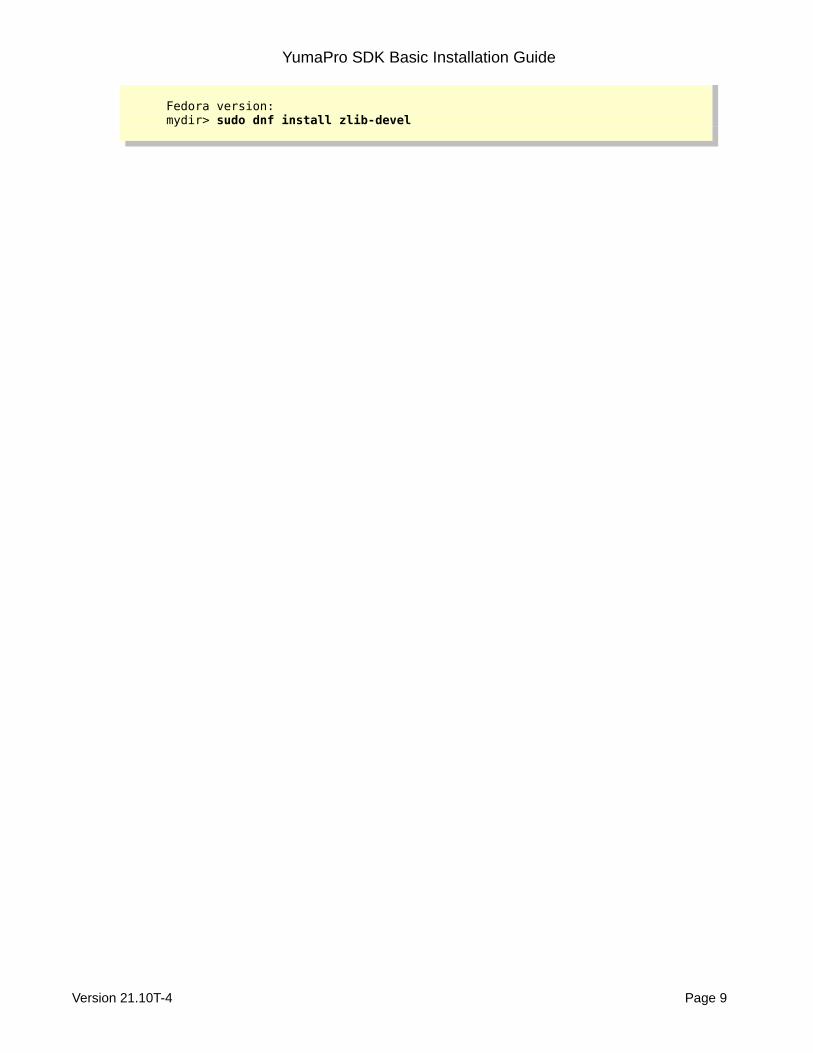
zlib1g: is needed for data compression support, used by other libraries that YumaPro imports. This package is installed by the default Linux installation process. The developer version of this package. It is called zlib1g-dev on DEB based systems.
Ubuntu version:mydir> sudo apt-get install zlib1g-dev
Version 21.10T-4 Page 8
YumaPro SDK Basic Installation Guide
Fedora version:mydir> sudo dnf install zlib-devel
Version 21.10T-4 Page 9
YumaPro SDK Basic Installation Guide
3.2 YumaPro SDK Basic Packages
YumaPro SDK Basic can be found at https://www.yumaworks.com/support/download-yumapro-sdk-basic/yumapro-sdk-basic-downloads/. There are multiple versions. Choose the version that meets your requirement.
• yumapro-sdk-basic-<version#><OS><CPU>
The <version#> is the version and release number of the YumaPro SDK Basic package. The <OS> is the operating system you are using and <CPU> is the CPU architecture of your system.
Initially you should just use the latest version of the SDK. For more information on choosing a package see: Which YumaPro Release Train Should I Use?
Select the version you want to download. If you have not already registered with the site you will be presented with a simple form to register and you will be sent your account password.
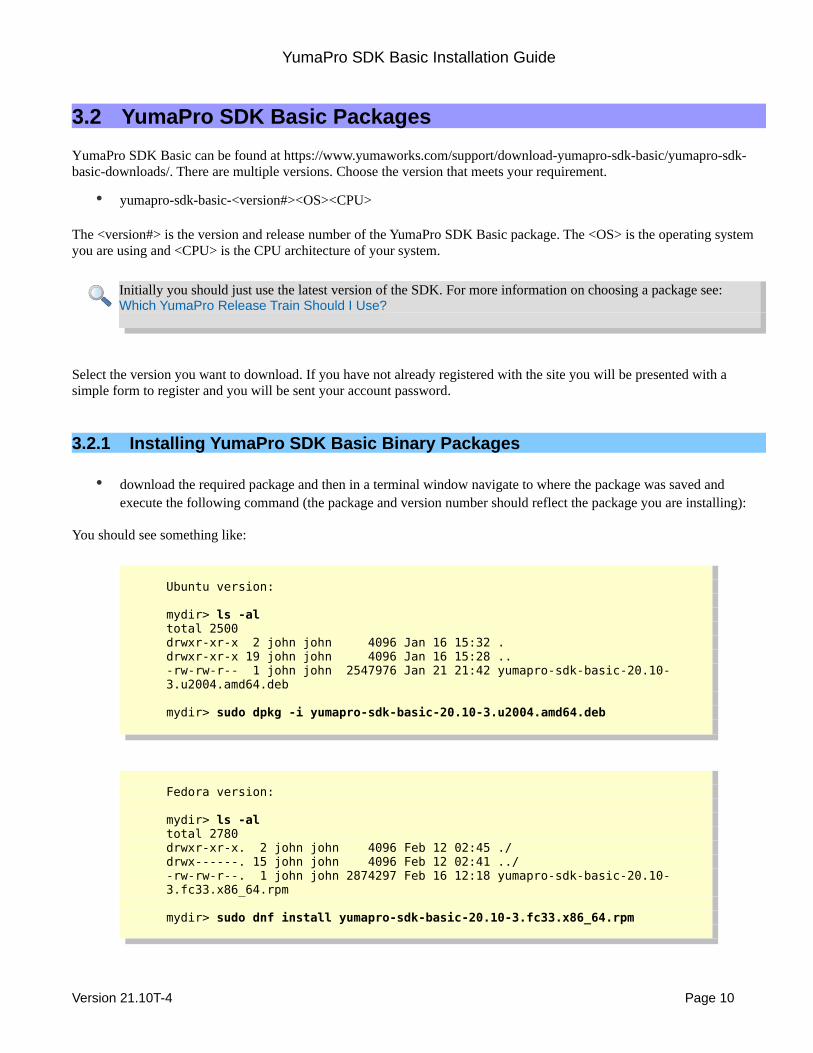
3.2.1 Installing YumaPro SDK Basic Binary Packages
• download the required package and then in a terminal window navigate to where the package was saved and execute the following command (the package and version number should reflect the package you are installing):
You should see something like:
Ubuntu version:
mydir> ls -altotal 2500drwxr-xr-x 2 john john 4096 Jan 16 15:32 .drwxr-xr-x 19 john john 4096 Jan 16 15:28 ..-rw-rw-r-- 1 john john 2547976 Jan 21 21:42 yumapro-sdk-basic-20.10-3.u2004.amd64.deb
mydir> sudo dpkg -i yumapro-sdk-basic-20.10-3.u2004.amd64.deb
Fedora version:
mydir> ls -altotal 2780drwxr-xr-x. 2 john john 4096 Feb 12 02:45 ./drwx------. 15 john john 4096 Feb 12 02:41 ../-rw-rw-r--. 1 john john 2874297 Feb 16 12:18 yumapro-sdk-basic-20.10-3.fc33.x86_64.rpm
mydir> sudo dnf install yumapro-sdk-basic-20.10-3.fc33.x86_64.rpm
Version 21.10T-4 Page 10

YumaPro SDK Basic Installation Guide
To quickly test the install run the server to just display its version:
mydir> netconfd-pro --version
Starting netconfd-pro...Copyright (c) 2008-2012, Andy Bierman, All Rights Reserved.Copyright (c) 2012-2020, YumaWorks, Inc., All Rights Reserved.
netconfd-pro version 20.10-3
To see which files are installed in more detail look at Appendix A “Installed Files” at the end of this document.
Documentation can be found here: https://www.yumaworks.com/support/download-documentation/
Version 21.10T-4 Page 11
YumaPro SDK Basic Installation Guide
3.2.2 --
Left blank intentionally.
3.2.3 Uninstalling YumaPro SDK Basic
If you need to uninstall YumaPro SDK Basic see the article: How do I remove YumaPro SDK from my system?
Version 21.10T-4 Page 12
YumaPro SDK Basic Installation Guide
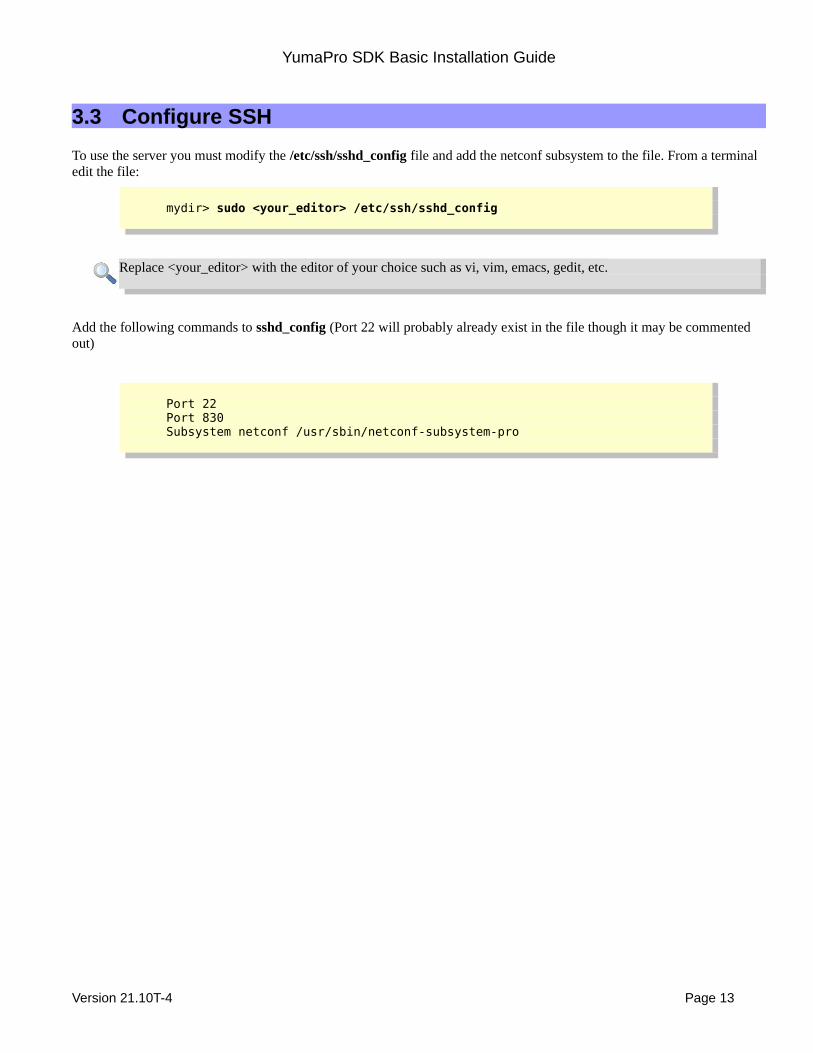
3.3 Configure SSH
To use the server you must modify the /etc/ssh/sshd_config file and add the netconf subsystem to the file. From a terminal edit the file:
mydir> sudo <your_editor> /etc/ssh/sshd_config
Replace <your_editor> with the editor of your choice such as vi, vim, emacs, gedit, etc.
Add the following commands to sshd_config (Port 22 will probably already exist in the file though it may be commented out)
Port 22Port 830Subsystem netconf /usr/sbin/netconf-subsystem-pro
Version 21.10T-4 Page 13
YumaPro SDK Basic Installation Guide
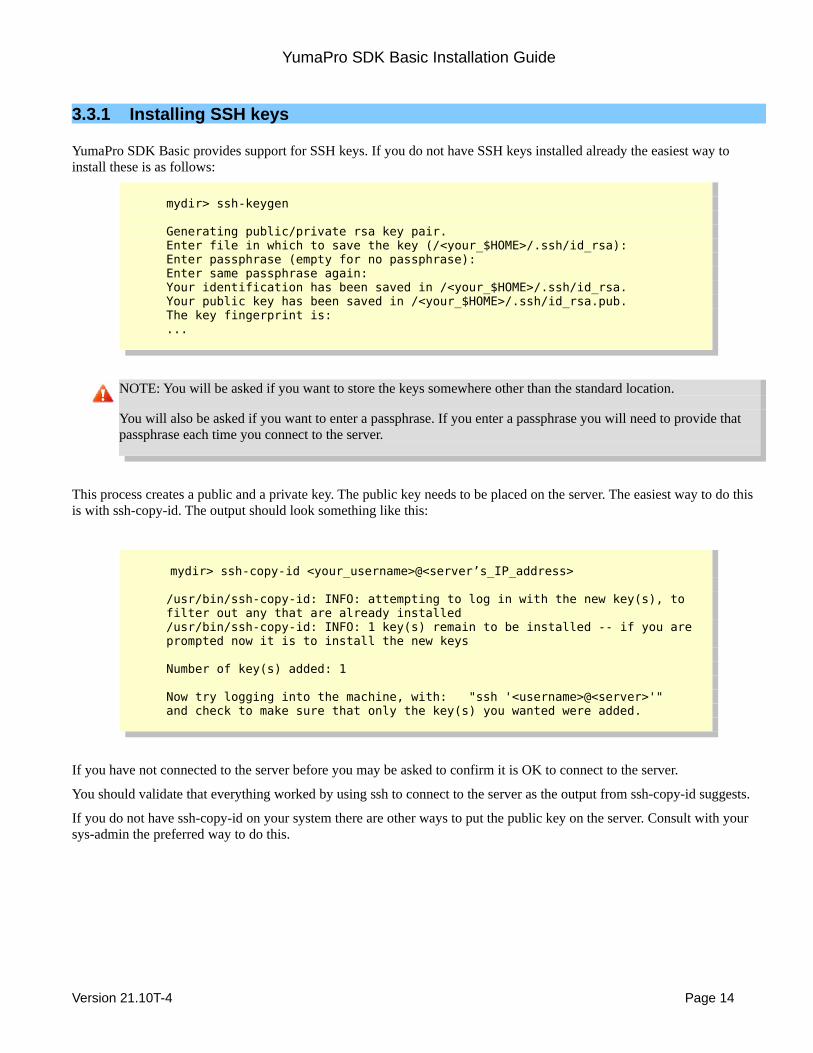
3.3.1 Installing SSH keys
YumaPro SDK Basic provides support for SSH keys. If you do not have SSH keys installed already the easiest way to install these is as follows:
mydir> ssh-keygen
Generating public/private rsa key pair.Enter file in which to save the key (/<your_$HOME>/.ssh/id_rsa): Enter passphrase (empty for no passphrase): Enter same passphrase again: Your identification has been saved in /<your_$HOME>/.ssh/id_rsa.Your public key has been saved in /<your_$HOME>/.ssh/id_rsa.pub.The key fingerprint is:...
NOTE: You will be asked if you want to store the keys somewhere other than the standard location.
You will also be asked if you want to enter a passphrase. If you enter a passphrase you will need to provide that passphrase each time you connect to the server.
This process creates a public and a private key. The public key needs to be placed on the server. The easiest way to do this is with ssh-copy-id. The output should look something like this:
mydir> ssh-copy-id <your_username>@<server’s_IP_address>
/usr/bin/ssh-copy-id: INFO: attempting to log in with the new key(s), to filter out any that are already installed/usr/bin/ssh-copy-id: INFO: 1 key(s) remain to be installed -- if you are prompted now it is to install the new keys
Number of key(s) added: 1
Now try logging into the machine, with: "ssh '<username>@<server>'"and check to make sure that only the key(s) you wanted were added.
If you have not connected to the server before you may be asked to confirm it is OK to connect to the server.
You should validate that everything worked by using ssh to connect to the server as the output from ssh-copy-id suggests.
If you do not have ssh-copy-id on your system there are other ways to put the public key on the server. Consult with your sys-admin the preferred way to do this.
Version 21.10T-4 Page 14
YumaPro SDK Basic Installation Guide
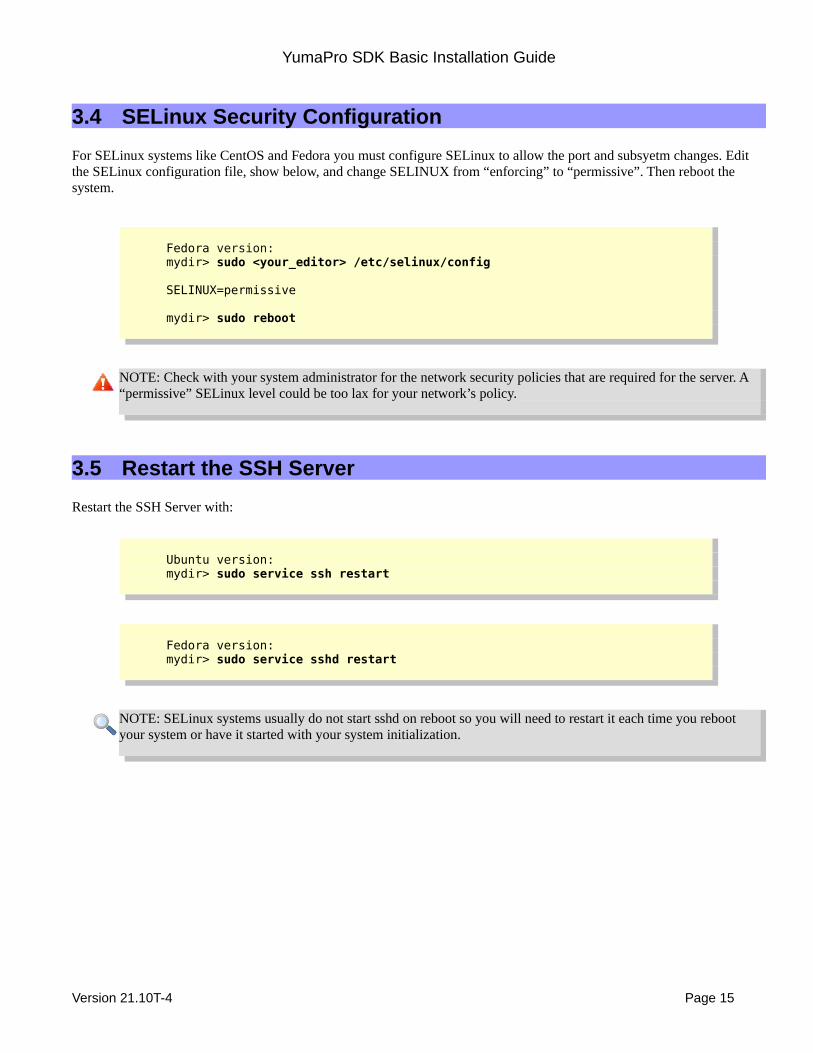
3.4 SELinux Security Configuration
For SELinux systems like CentOS and Fedora you must configure SELinux to allow the port and subsyetm changes. Edit the SELinux configuration file, show below, and change SELINUX from “enforcing” to “permissive”. Then reboot the system.
Fedora version:mydir> sudo <your_editor> /etc/selinux/config
SELINUX=permissive
mydir> sudo reboot
NOTE: Check with your system administrator for the network security policies that are required for the server. A “permissive” SELinux level could be too lax for your network’s policy.
3.5 Restart the SSH Server
Restart the SSH Server with:
Ubuntu version:mydir> sudo service ssh restart
Fedora version:mydir> sudo service sshd restart
NOTE: SELinux systems usually do not start sshd on reboot so you will need to restart it each time you reboot your system or have it started with your system initialization.
Version 21.10T-4 Page 15
YumaPro SDK Basic Installation Guide
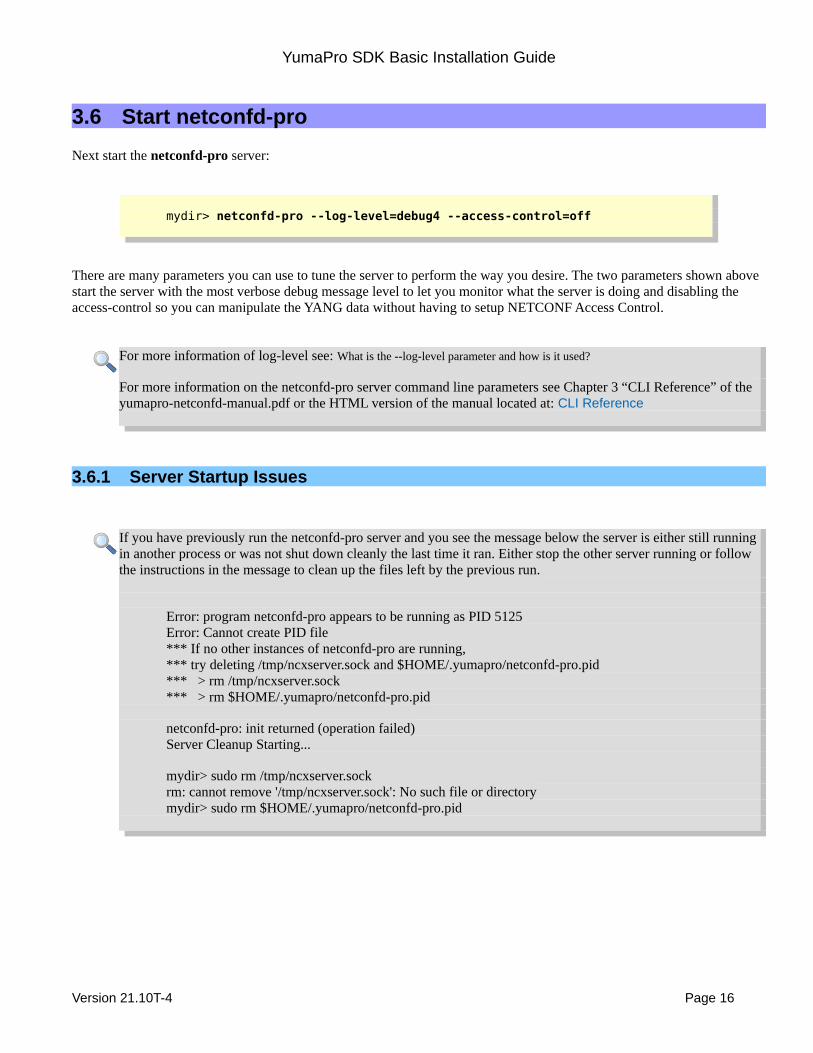
3.6 Start netconfd-pro
Next start the netconfd-pro server:
mydir> netconfd-pro --log-level=debug4 --access-control=off
There are many parameters you can use to tune the server to perform the way you desire. The two parameters shown above start the server with the most verbose debug message level to let you monitor what the server is doing and disabling the access-control so you can manipulate the YANG data without having to setup NETCONF Access Control.
For more information of log-level see: What is the --log-level parameter and how is it used?
For more information on the netconfd-pro server command line parameters see Chapter 3 “CLI Reference” of the yumapro-netconfd-manual.pdf or the HTML version of the manual located at: CLI Reference
3.6.1 Server Startup Issues
If you have previously run the netconfd-pro server and you see the message below the server is either still running in another process or was not shut down cleanly the last time it ran. Either stop the other server running or follow the instructions in the message to clean up the files left by the previous run.
Error: program netconfd-pro appears to be running as PID 5125Error: Cannot create PID file*** If no other instances of netconfd-pro are running,*** try deleting /tmp/ncxserver.sock and $HOME/.yumapro/netconfd-pro.pid*** > rm /tmp/ncxserver.sock*** > rm $HOME/.yumapro/netconfd-pro.pid
netconfd-pro: init returned (operation failed)Server Cleanup Starting...
mydir> sudo rm /tmp/ncxserver.sockrm: cannot remove '/tmp/ncxserver.sock': No such file or directorymydir> sudo rm $HOME/.yumapro/netconfd-pro.pid
Version 21.10T-4 Page 16
YumaPro SDK Basic Installation Guide
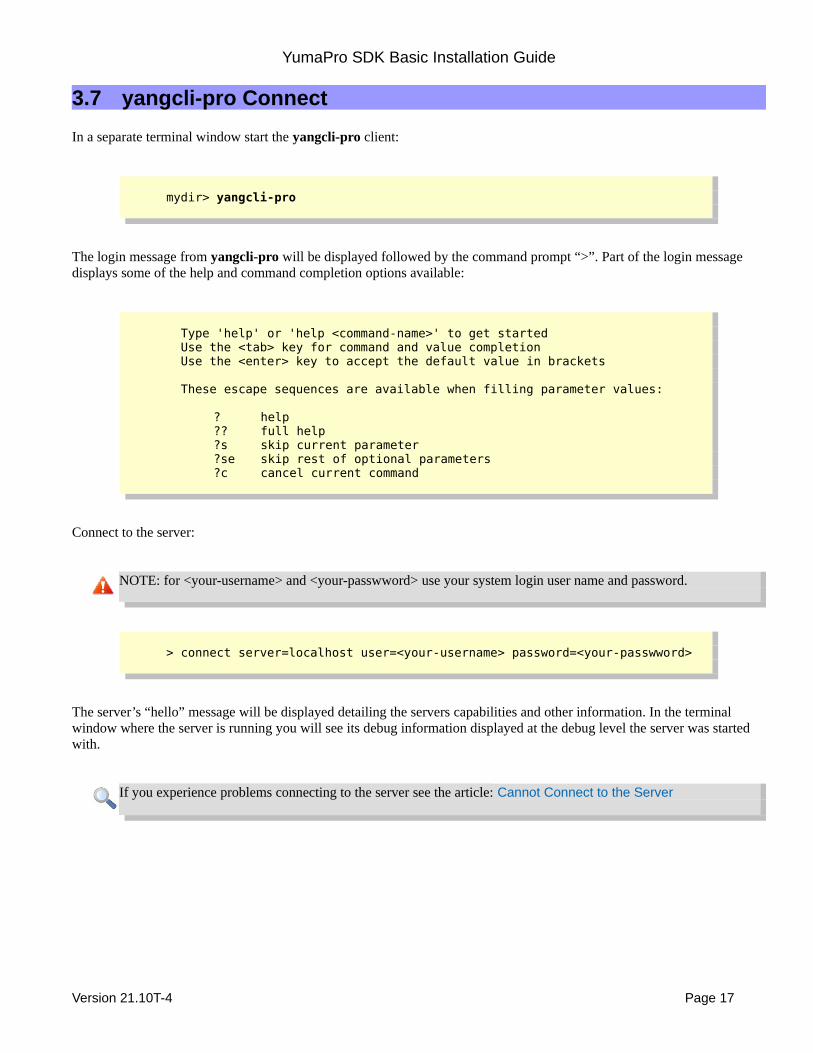
3.7 yangcli-pro Connect
In a separate terminal window start the yangcli-pro client:
mydir> yangcli-pro
The login message from yangcli-pro will be displayed followed by the command prompt “>”. Part of the login message displays some of the help and command completion options available:
Type 'help' or 'help <command-name>' to get started Use the <tab> key for command and value completion Use the <enter> key to accept the default value in brackets
These escape sequences are available when filling parameter values:
? help?? full help?s skip current parameter?se skip rest of optional parameters?c cancel current command
Connect to the server:
NOTE: for <your-username> and <your-passwword> use your system login user name and password.
> connect server=localhost user=<your-username> password=<your-passwword>
The server’s “hello” message will be displayed detailing the servers capabilities and other information. In the terminal window where the server is running you will see its debug information displayed at the debug level the server was started with.
If you experience problems connecting to the server see the article: Cannot Connect to the Server
Version 21.10T-4 Page 17
YumaPro SDK Basic Installation Guide
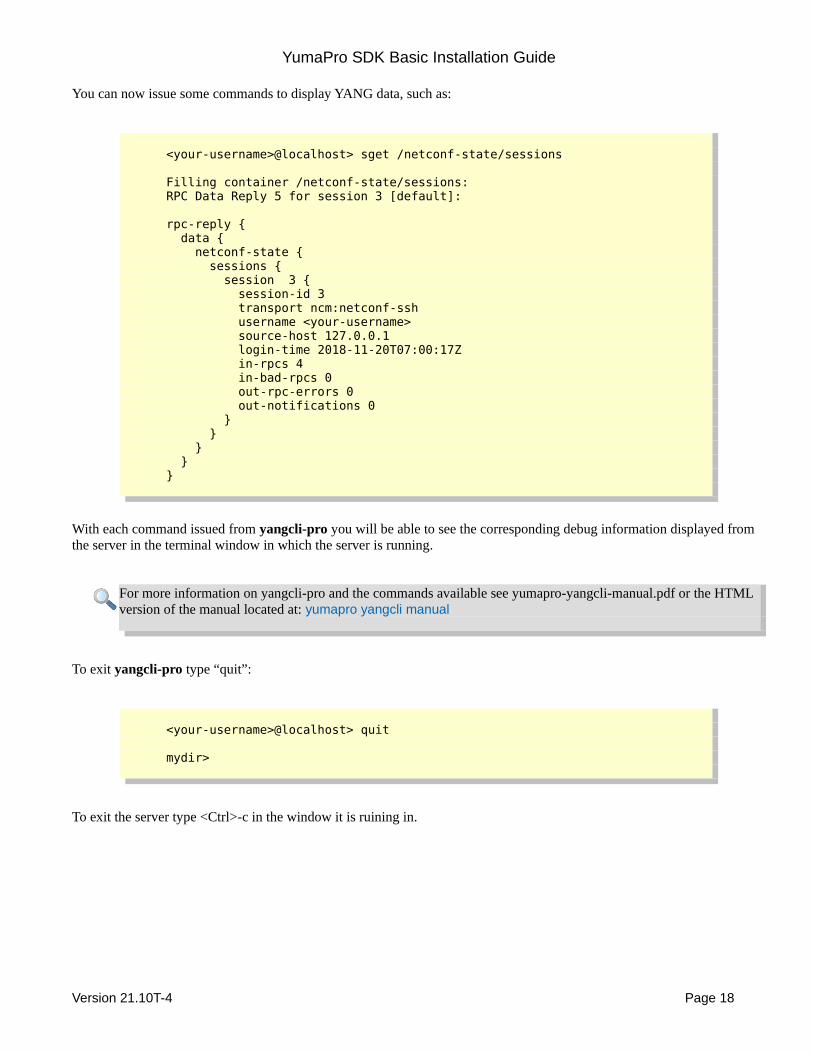
You can now issue some commands to display YANG data, such as:
<your-username>@localhost> sget /netconf-state/sessions
Filling container /netconf-state/sessions:RPC Data Reply 5 for session 3 [default]:
rpc-reply { data { netconf-state { sessions { session 3 { session-id 3 transport ncm:netconf-ssh username <your-username> source-host 127.0.0.1 login-time 2018-11-20T07:00:17Z in-rpcs 4 in-bad-rpcs 0 out-rpc-errors 0 out-notifications 0 } } } }}
With each command issued from yangcli-pro you will be able to see the corresponding debug information displayed from the server in the terminal window in which the server is running.
For more information on yangcli-pro and the commands available see yumapro-yangcli-manual.pdf or the HTML version of the manual located at: yumapro yangcli manual
To exit yangcli-pro type “quit”:
<your-username>@localhost> quit
mydir>
To exit the server type <Ctrl>-c in the window it is ruining in.
Version 21.10T-4 Page 18
YumaPro SDK Basic Installation Guide
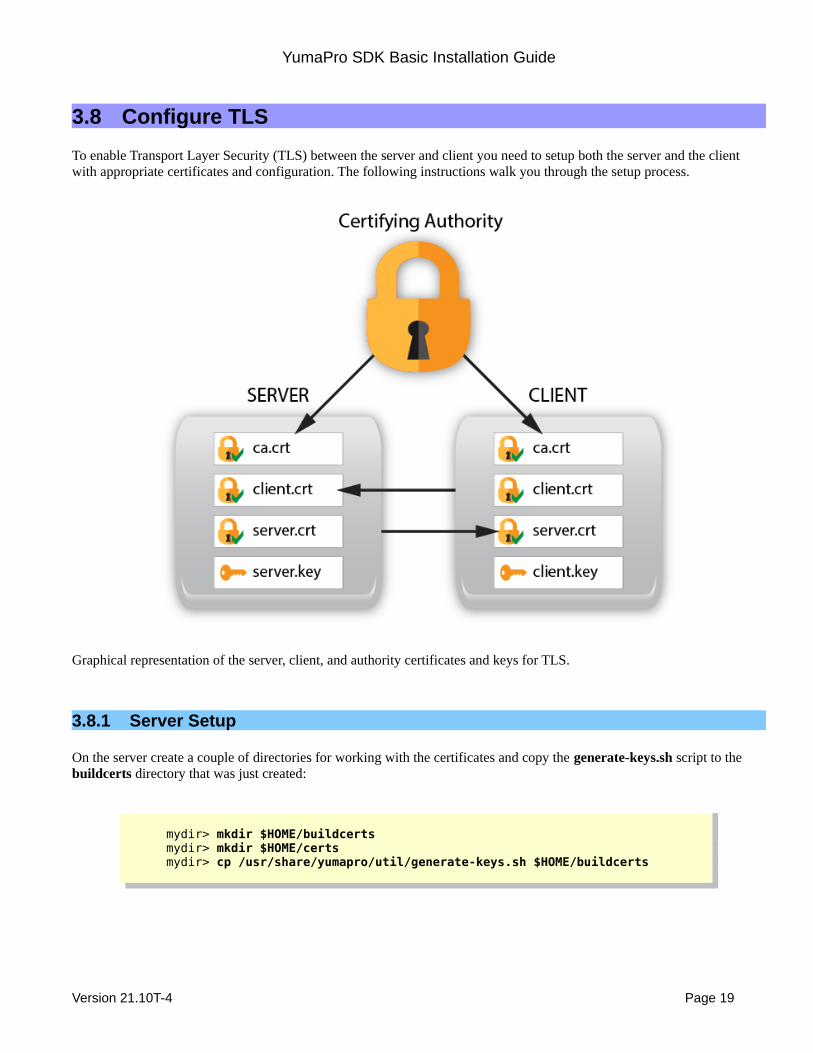
3.8 Configure TLS
To enable Transport Layer Security (TLS) between the server and client you need to setup both the server and the client with appropriate certificates and configuration. The following instructions walk you through the setup process.
Graphical representation of the server, client, and authority certificates and keys for TLS.
3.8.1 Server Setup
On the server create a couple of directories for working with the certificates and copy the generate-keys.sh script to the buildcerts directory that was just created:
mydir> mkdir $HOME/buildcertsmydir> mkdir $HOME/certsmydir> cp /usr/share/yumapro/util/generate-keys.sh $HOME/buildcerts
Version 21.10T-4 Page 19
YumaPro SDK Basic Installation Guide
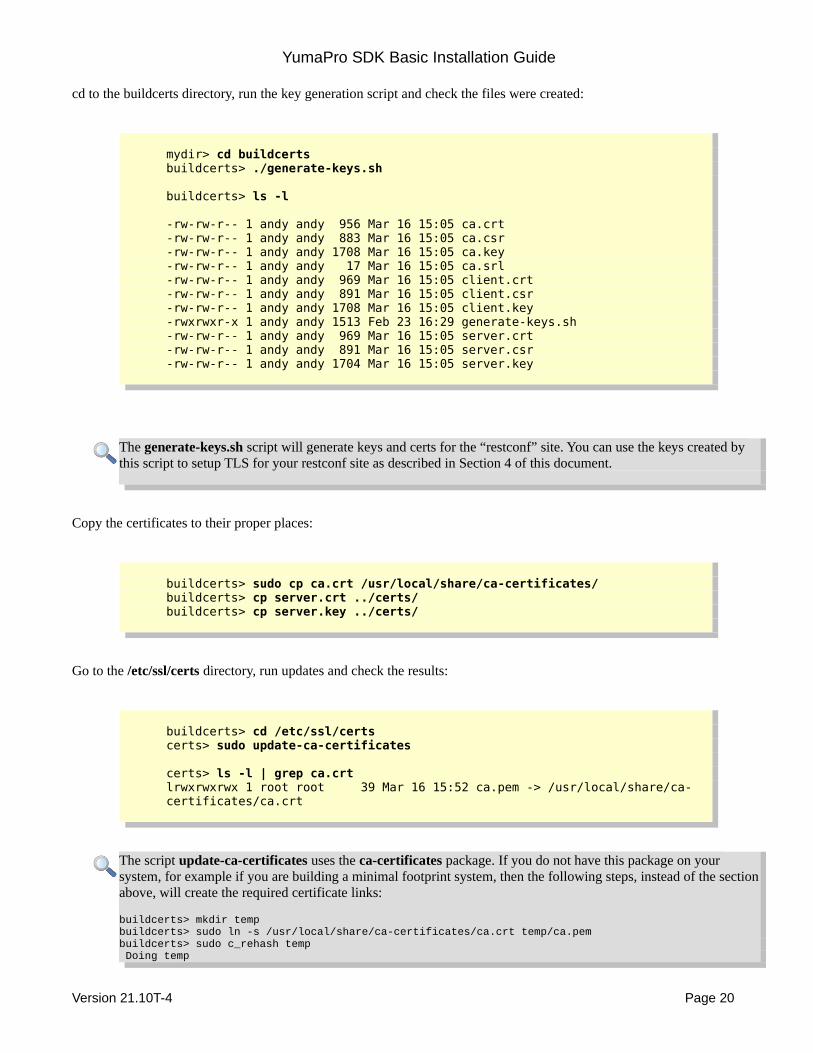
cd to the buildcerts directory, run the key generation script and check the files were created:
mydir> cd buildcertsbuildcerts> ./generate-keys.sh
buildcerts> ls -l
-rw-rw-r-- 1 andy andy 956 Mar 16 15:05 ca.crt-rw-rw-r-- 1 andy andy 883 Mar 16 15:05 ca.csr-rw-rw-r-- 1 andy andy 1708 Mar 16 15:05 ca.key-rw-rw-r-- 1 andy andy 17 Mar 16 15:05 ca.srl-rw-rw-r-- 1 andy andy 969 Mar 16 15:05 client.crt-rw-rw-r-- 1 andy andy 891 Mar 16 15:05 client.csr-rw-rw-r-- 1 andy andy 1708 Mar 16 15:05 client.key-rwxrwxr-x 1 andy andy 1513 Feb 23 16:29 generate-keys.sh-rw-rw-r-- 1 andy andy 969 Mar 16 15:05 server.crt-rw-rw-r-- 1 andy andy 891 Mar 16 15:05 server.csr-rw-rw-r-- 1 andy andy 1704 Mar 16 15:05 server.key
The generate-keys.sh script will generate keys and certs for the “restconf” site. You can use the keys created by this script to setup TLS for your restconf site as described in Section 4 of this document.
Copy the certificates to their proper places:
buildcerts> sudo cp ca.crt /usr/local/share/ca-certificates/buildcerts> cp server.crt ../certs/buildcerts> cp server.key ../certs/
Go to the /etc/ssl/certs directory, run updates and check the results:
buildcerts> cd /etc/ssl/certscerts> sudo update-ca-certificates
certs> ls -l | grep ca.crtlrwxrwxrwx 1 root root 39 Mar 16 15:52 ca.pem -> /usr/local/share/ca-certificates/ca.crt
The script update-ca-certificates uses the ca-certificates package. If you do not have this package on your system, for example if you are building a minimal footprint system, then the following steps, instead of the sectionabove, will create the required certificate links:
buildcerts> mkdir tempbuildcerts> sudo ln -s /usr/local/share/ca-certificates/ca.crt temp/ca.pembuildcerts> sudo c_rehash temp Doing temp
Version 21.10T-4 Page 20
YumaPro SDK Basic Installation Guide
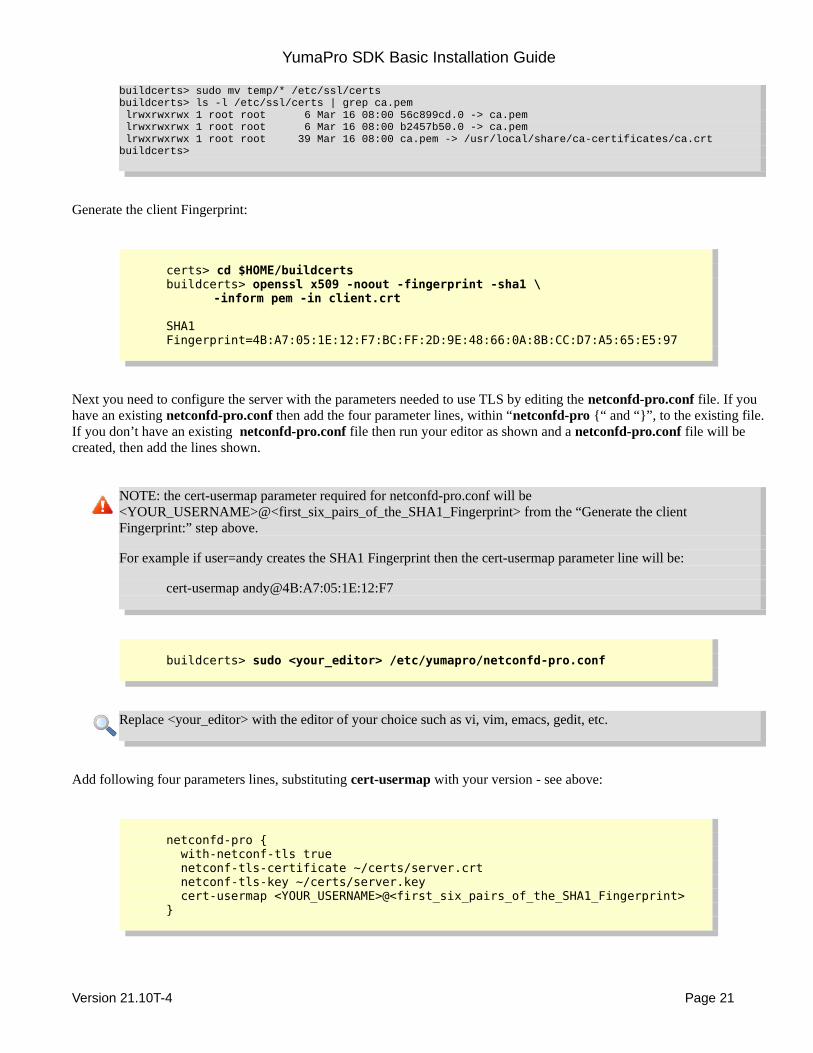
buildcerts> sudo mv temp/* /etc/ssl/certsbuildcerts> ls -l /etc/ssl/certs | grep ca.pem lrwxrwxrwx 1 root root 6 Mar 16 08:00 56c899cd.0 -> ca.pem lrwxrwxrwx 1 root root 6 Mar 16 08:00 b2457b50.0 -> ca.pem lrwxrwxrwx 1 root root 39 Mar 16 08:00 ca.pem -> /usr/local/share/ca-certificates/ca.crtbuildcerts>
Generate the client Fingerprint:
certs> cd $HOME/buildcertsbuildcerts> openssl x509 -noout -fingerprint -sha1 \
-inform pem -in client.crt
SHA1 Fingerprint=4B:A7:05:1E:12:F7:BC:FF:2D:9E:48:66:0A:8B:CC:D7:A5:65:E5:97
Next you need to configure the server with the parameters needed to use TLS by editing the netconfd-pro.conf file. If you have an existing netconfd-pro.conf then add the four parameter lines, within “netconfd-pro {“ and “}”, to the existing file.If you don’t have an existing netconfd-pro.conf file then run your editor as shown and a netconfd-pro.conf file will be created, then add the lines shown.
NOTE: the cert-usermap parameter required for netconfd-pro.conf will be <YOUR_USERNAME>@<first_six_pairs_of_the_SHA1_Fingerprint> from the “Generate the client Fingerprint:” step above.
For example if user=andy creates the SHA1 Fingerprint then the cert-usermap parameter line will be:
cert-usermap andy@4B:A7:05:1E:12:F7
buildcerts> sudo <your_editor> /etc/yumapro/netconfd-pro.conf
Replace <your_editor> with the editor of your choice such as vi, vim, emacs, gedit, etc.
Add following four parameters lines, substituting cert-usermap with your version - see above:
netconfd-pro { with-netconf-tls true netconf-tls-certificate ~/certs/server.crt netconf-tls-key ~/certs/server.key cert-usermap <YOUR_USERNAME>@<first_six_pairs_of_the_SHA1_Fingerprint>}
Version 21.10T-4 Page 21
YumaPro SDK Basic Installation Guide
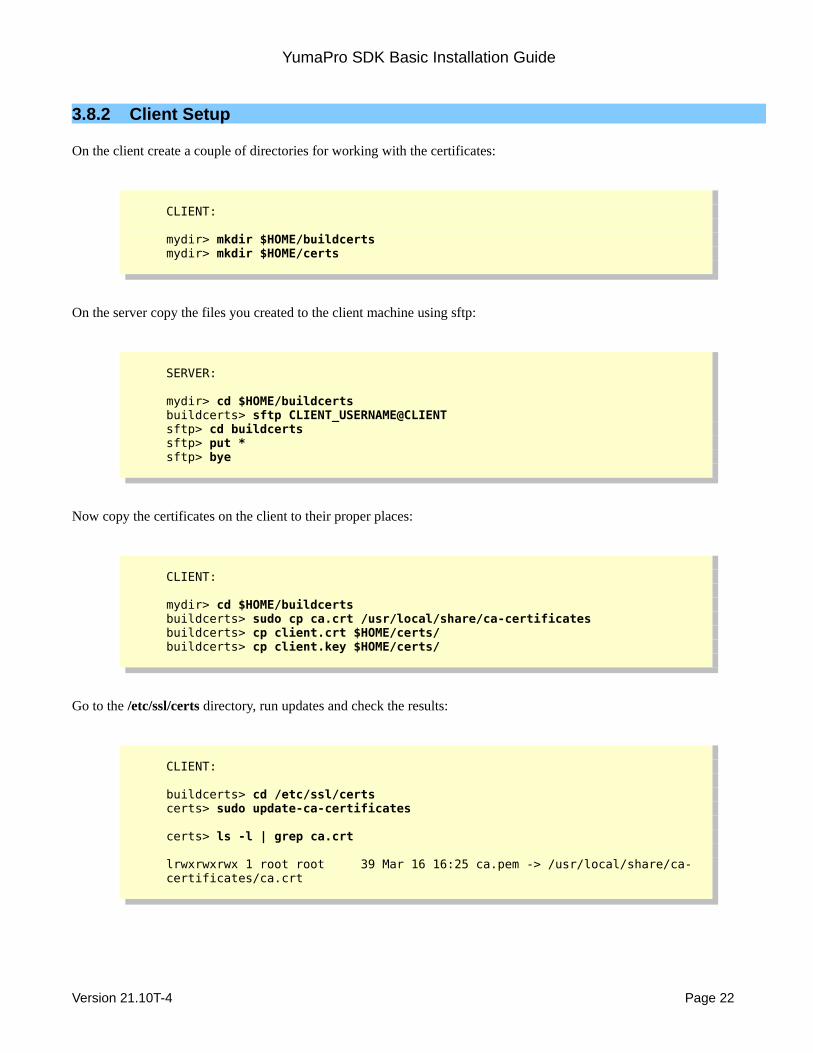
3.8.2 Client Setup
On the client create a couple of directories for working with the certificates:
CLIENT:
mydir> mkdir $HOME/buildcertsmydir> mkdir $HOME/certs
On the server copy the files you created to the client machine using sftp:
SERVER:
mydir> cd $HOME/buildcertsbuildcerts> sftp CLIENT_USERNAME@CLIENTsftp> cd buildcertssftp> put *sftp> bye
Now copy the certificates on the client to their proper places:
CLIENT:
mydir> cd $HOME/buildcertsbuildcerts> sudo cp ca.crt /usr/local/share/ca-certificatesbuildcerts> cp client.crt $HOME/certs/buildcerts> cp client.key $HOME/certs/
Go to the /etc/ssl/certs directory, run updates and check the results:
CLIENT:
buildcerts> cd /etc/ssl/certscerts> sudo update-ca-certificates
certs> ls -l | grep ca.crt
lrwxrwxrwx 1 root root 39 Mar 16 16:25 ca.pem -> /usr/local/share/ca-certificates/ca.crt
Version 21.10T-4 Page 22
YumaPro SDK Basic Installation Guide
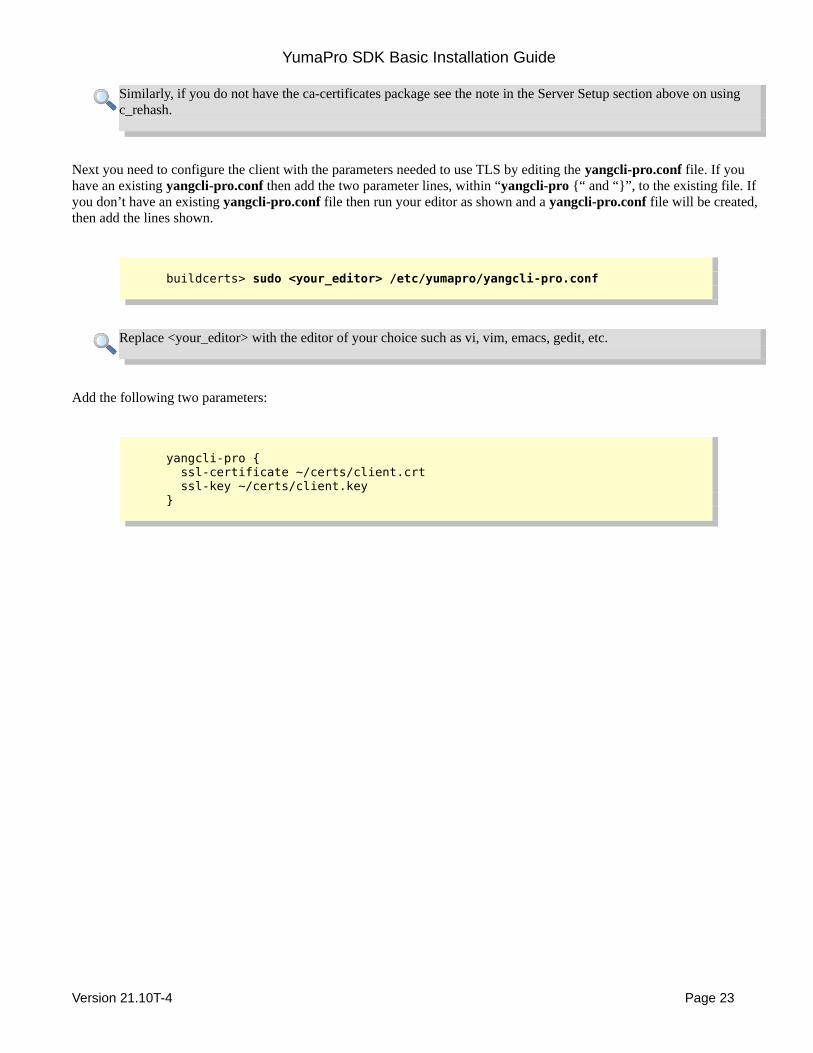
Similarly, if you do not have the ca-certificates package see the note in the Server Setup section above on using c_rehash.
Next you need to configure the client with the parameters needed to use TLS by editing the yangcli-pro.conf file. If you have an existing yangcli-pro.conf then add the two parameter lines, within “yangcli-pro {“ and “}”, to the existing file. If you don’t have an existing yangcli-pro.conf file then run your editor as shown and a yangcli-pro.conf file will be created, then add the lines shown.
buildcerts> sudo <your_editor> /etc/yumapro/yangcli-pro.conf
Replace <your_editor> with the editor of your choice such as vi, vim, emacs, gedit, etc.
Add the following two parameters:
yangcli-pro { ssl-certificate ~/certs/client.crt ssl-key ~/certs/client.key}
Version 21.10T-4 Page 23
YumaPro SDK Basic Installation Guide
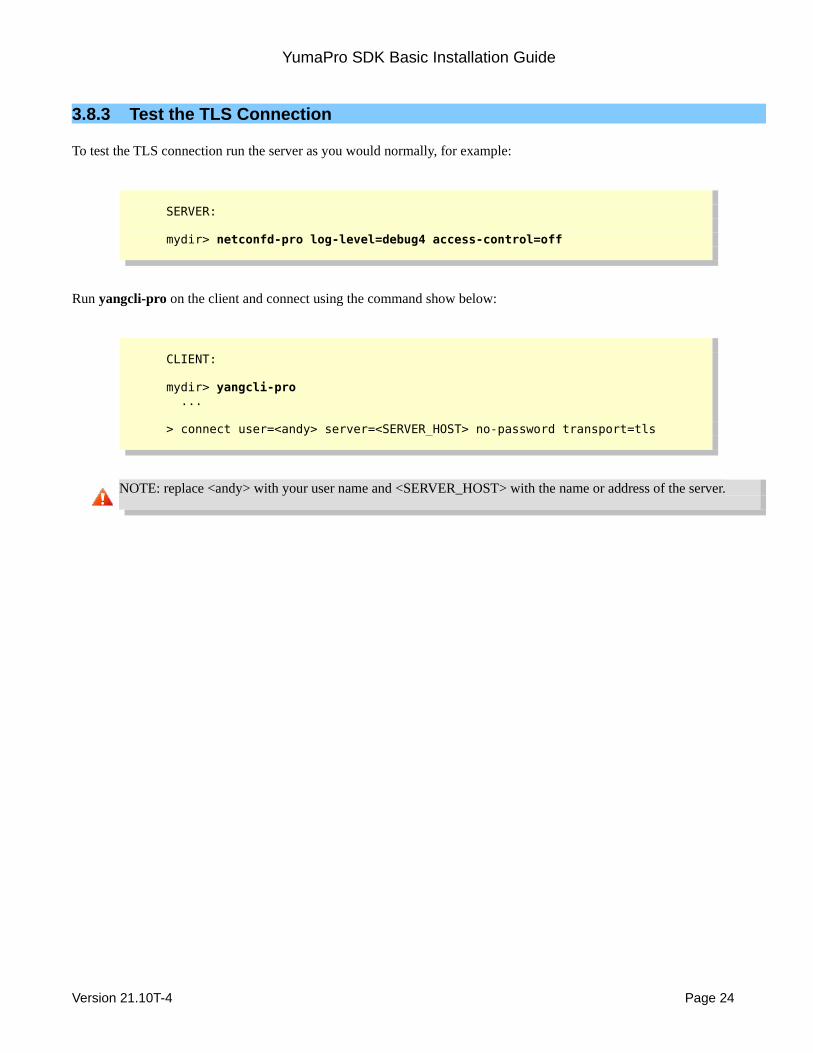
3.8.3 Test the TLS Connection
To test the TLS connection run the server as you would normally, for example:
SERVER:
mydir> netconfd-pro log-level=debug4 access-control=off
Run yangcli-pro on the client and connect using the command show below:
CLIENT:
mydir> yangcli-pro ...
> connect user=<andy> server=<SERVER_HOST> no-password transport=tls
NOTE: replace <andy> with your user name and <SERVER_HOST> with the name or address of the server.
Version 21.10T-4 Page 24

YumaPro SDK Basic Installation Guide
3.9 Starting netconfd-pro with ypwatcher Program
The ypwatcher is a program that provides monitoring mechanism to netconfd-pro server and its state. Ypwatcher program periodically checks the server's state and determine if the server is still running. If the server is no longer running itcleans up the state, restarts the server, and generates a syslog message.
The ypwatcher program will be launched by the server by default unless --no-watcher parameter will be specified or the program is already running.
The ypwatcher program is running continuously and attempting to restart the server any time it exits unexpectedly.
The ypwatcher program will be invoked automatically whether the server starts interactively or in the background mode:
• To start the server interactively, with ypwatcher program:
mydir> netconfd-pro
• To start the server interactively, with no ypwatcher program:
mydir> netconfd-pro --no-watcher
The --watcher-interval parameter specifies the sleep interval between ypwatcher program attempts to check availability ofthe server.
• To start the server interactively, with ypwatcher program and set the watcher interval:
mydir> netconfd-pro --watcher-interval=10
Version 21.10T-4 Page 25
YumaPro SDK Basic Installation Guide
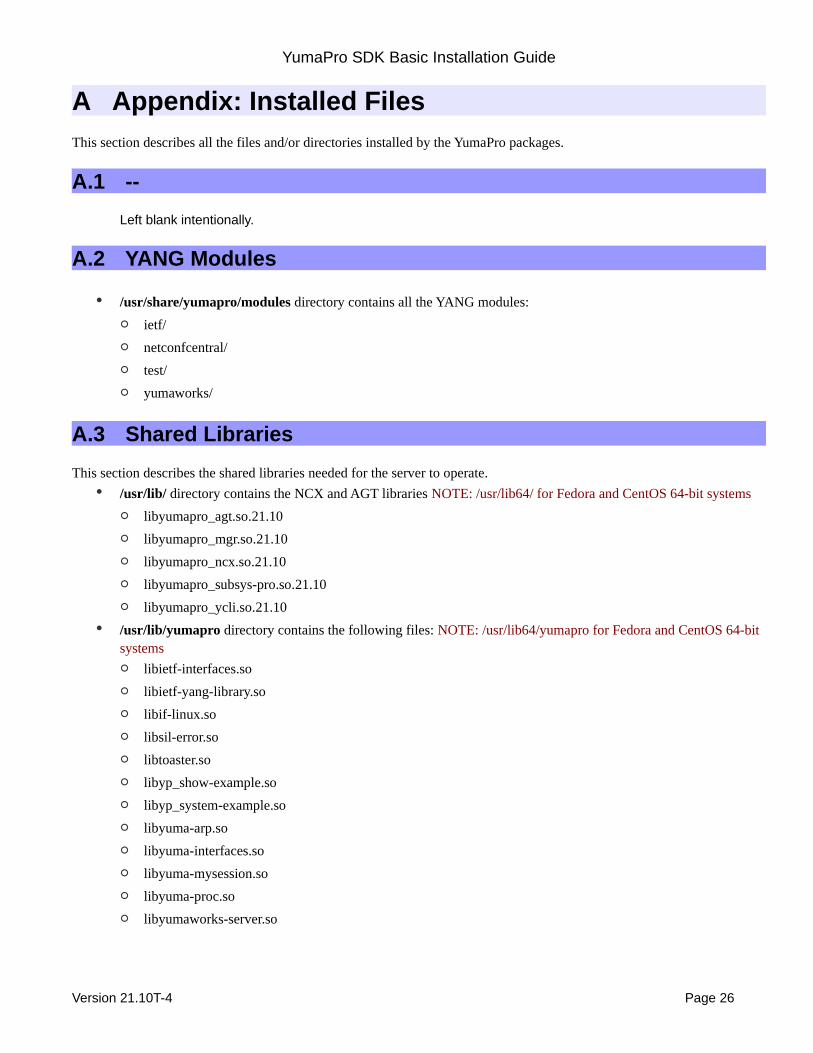
A Appendix: Installed FilesThis section describes all the files and/or directories installed by the YumaPro packages.
A.1 --
Left blank intentionally.
A.2 YANG Modules
• /usr/share/yumapro/modules directory contains all the YANG modules:
◦ ietf/
◦ netconfcentral/
◦ test/
◦ yumaworks/
A.3 Shared Libraries
This section describes the shared libraries needed for the server to operate.
• /usr/lib/ directory contains the NCX and AGT libraries NOTE: /usr/lib64/ for Fedora and CentOS 64-bit systems
◦ libyumapro_agt.so.21.10
◦ libyumapro_mgr.so.21.10
◦ libyumapro_ncx.so.21.10
◦ libyumapro_subsys-pro.so.21.10
◦ libyumapro_ycli.so.21.10
• /usr/lib/yumapro directory contains the following files: NOTE: /usr/lib64/yumapro for Fedora and CentOS 64-bit systems
◦ libietf-interfaces.so
◦ libietf-yang-library.so
◦ libif-linux.so
◦ libsil-error.so
◦ libtoaster.so
◦ libyp_show-example.so
◦ libyp_system-example.so
◦ libyuma-arp.so
◦ libyuma-interfaces.so
◦ libyuma-mysession.so
◦ libyuma-proc.so
◦ libyumaworks-server.so
Version 21.10T-4 Page 26
YumaPro SDK Basic Installation Guide
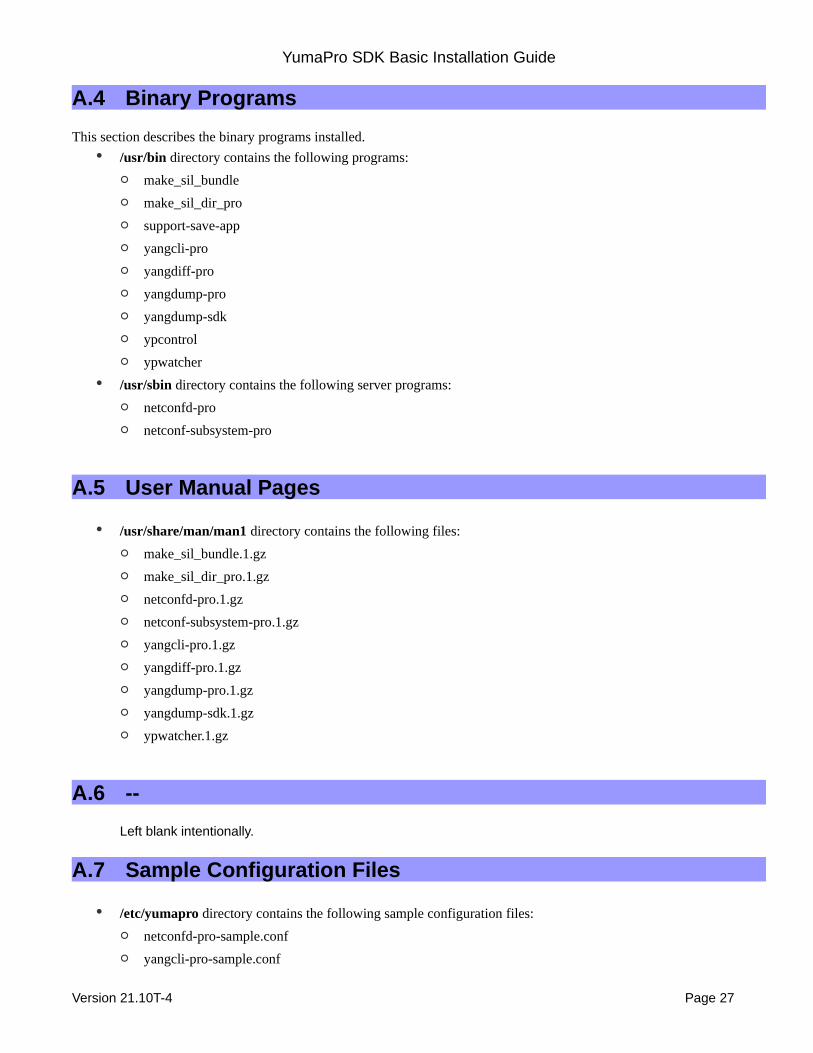
A.4 Binary Programs
This section describes the binary programs installed.
• /usr/bin directory contains the following programs:
◦ make_sil_bundle
◦ make_sil_dir_pro
◦ support-save-app
◦ yangcli-pro
◦ yangdiff-pro
◦ yangdump-pro
◦ yangdump-sdk
◦ ypcontrol
◦ ypwatcher
• /usr/sbin directory contains the following server programs:
◦ netconfd-pro
◦ netconf-subsystem-pro
A.5 User Manual Pages
• /usr/share/man/man1 directory contains the following files:
◦ make_sil_bundle.1.gz
◦ make_sil_dir_pro.1.gz
◦ netconfd-pro.1.gz
◦ netconf-subsystem-pro.1.gz
◦ yangcli-pro.1.gz
◦ yangdiff-pro.1.gz
◦ yangdump-pro.1.gz
◦ yangdump-sdk.1.gz
◦ ypwatcher.1.gz
A.6 --
Left blank intentionally.
A.7 Sample Configuration Files
• /etc/yumapro directory contains the following sample configuration files:
◦ netconfd-pro-sample.conf
◦ yangcli-pro-sample.conf
Version 21.10T-4 Page 27
YumaPro SDK Basic Installation Guide
◦ yangdiff-pro-sample.conf
◦ yangdump-pro-sample.conf
A.8 Developer Files
• /usr/include/yumapro contains H files needed to compile SIL code so it can be loaded into the server at runtime.
◦ agt/*.h
◦ ncx/*.h
◦ platform/procdefs.h
• /usr/share/yumapro/src/libtoaster directory is an example of a SIL implementation, with the following contents:
◦ Makefile
◦ src directory
▪ Makefile
▪ toaster.c
▪ toaster.c.start
▪ toaster.h
▪ toaster.h.start
◦ bin directory
◦ lib directory
• /usr/share/yumapro/src/libsystem directory is an example of a user external system API (yp-system) library with the following contents:
◦ Makefile
◦ src directory
▪ Makefile
▪ example-system.c
▪ example-system.h
◦ bin directory
◦ lib directory
• /usr/share/yumapro/src/sil-error directory in an example of a SIL library that can be used to force errors during editing transactions to help test corner-case error handling. It has the following contents:
◦ Makefile
◦ src directory
▪ Makefile
▪ sil-error.c
▪ sil-error.h
◦ bin directory
◦ lib directory
• /usr/share/yumapro/src/libif-mib directory is an example of the IF-MIB converted to YANG library that includes SIL code with the following contents:
Version 21.10T-4 Page 28
YumaPro SDK Basic Installation Guide
◦ Makefile
◦ src directory
▪ Makefile
▪ IF-MIB.c
▪ IF-MIB.h
◦ bin directory
◦ lib directory
A.9 License and Packaging Information
• /usr/share/doc/yumapro directory containing the following files:
◦ AUTHORS
◦ README
◦ yumapro-legal-notices.pdf
◦ <package-license-file>.pdf
• /usr/share/doc/<package-name> directory containing the following files. NOTE: This directory is only created by Ubuntu:
◦ changelog.Debian.gz
◦ copyright
Version 21.10T-4 Page 29
YumaPro SDK Basic Installation Guide
B Appendix: Next StepsAfter Installation you can start learning more about YumaPro SDK with a set of lessons can be found on the YumaWorks’ Knowledge Base “Solutions – Server Developer – Getting Started” at: https://yumaworks.freshdesk.com/solution/folders/1000229490
B.1 Solutions
YumaWorks hosts a Knowledge Base with solutions to many Frequently Asked Questions (FAQs) located at: https://yumaworks.freshdesk.com/solution/categories
The Knowledge Base has the following sections:
• General
• netconfd-pro
• yangcli-pro
• YANG
• Server Developer
B.2 More Documentation
• YumaPro Quickstart Guide:
◦ /usr/share/doc/yumapro/pdf/yumapro-quickstart-quide.pdf
• YumaPro Common User Manual:
◦ /usr/share/doc/yumapro/pdf/yumapro-user-cmn-manual.pdf
• YumaPro Program Specific User Manuals:
◦ /usr/share/doc/yumapro/pdf/yumapro-netconfd-manual.pdf
◦ /usr/share/doc/yumapro/pdf/yumapro-yangcli-manual.pdf
◦ /usr/share/doc/yumapro/pdf/yumapro-yangdiff-manual.pdf
◦ /usr/share/doc/yumapro/pdf/yumapro-yangdump-manual.pdf
◦ /usr/share/doc/yumapro/pdf/yumapro-ypclient-manual.pdf
• YumaPro Developer Manuals:
◦ /usr/share/doc/yumapro/pdf/yumapro-dev-manual.pdf
◦ /usr/share/doc/yumapro/pdf/yumapro-ypsystem-api-guide.pdf
◦ /usr/share/doc/yumapro/pdf/yumapro-api-quickstart-guide.pdf
◦ /usr/share/doc/yumapro/pdf/yumapro-yocto-quickstart-guide.pdf
◦ /usr/share/doc/yumapro/pdf/yumapro-ypshow-api-guide.pdf
◦ /usr/share/doc/yumapro/pdf/yumapro-ypsnmp-manual.pdf
Version 21.10T-4 Page 30
YumaPro SDK Basic Installation Guide
B.3 Unix ‘man’ pages
The unix 'man' program can be used to get documentation about each program. For example:
• man yangcli-pro
• man yangdump-pro
• man yangdump-sdk
• man yangdiff-pro
• man netconfd-pro
• man netconf-subsystem-pro
• man make_sil_dir_pro
• man make_sil_bundle
• man ypwatcher
B.4 Program --help option
Each program also has extensive help information available with the --help CLI parameter. For example:
• yangcli-pro --help
• yangdump-pro --help
• yangdiff-pro --help
• netconfd-pro --help
Version 21.10T-4 Page 31


