Embed Size (px)
Citation preview
1
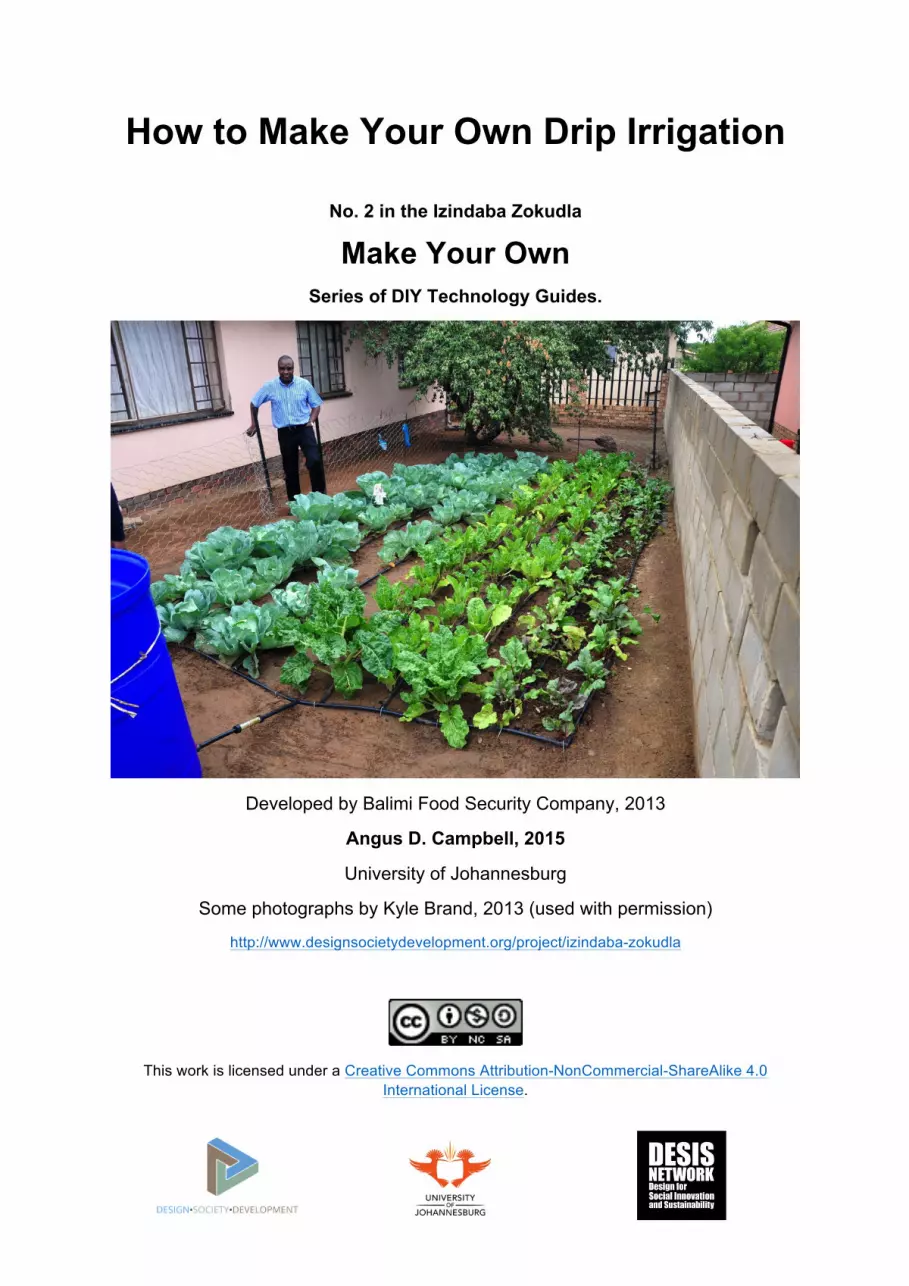
How to Make Your Own Drip Irrigation
No. 2 in the Izindaba Zokudla
Make Your Own Series of DIY Technology Guides.
Developed by Balimi Food Security Company, 2013
Angus D. Campbell, 2015
University of Johannesburg
Some photographs by Kyle Brand, 2013 (used with permission)
http://www.designsocietydevelopment.org/project/izindaba-zokudla
This work is licensed under a Creative Commons Attribution-NonCommercial-ShareAlike 4.0
International License.

2
To make this drip irrigation system you will need only a handful of components and materials. Everything you need can be obtained from a hardware store. The store assistant or owner will also be able to help you in building one of these and in selecting the right components. Make sure everything fits before you walk out of the shop.
You do not need to use exactly the same materials and components as shown here. Anything that gets the job done will work. For this drip irrigation system, you will need the following:
Image Description Cost
1x 25-meter POLY IRRIGATION PIPE LDPE
R133 (Builders Warehouse - BW)
1x WATER CONTAINER of at least 100-litre capacity
Price varies based on size

3
1x EMJAY POLY THREADED SOCKET 20mm.
R22 (BW)
1x EMJAY BARREL NIPPLE 20mm
R9 (BW)
2x 20mm RUBBER WASHER.
R7 (BW)
1x 20mm ECONO THREADED PVC BALL VALVE
R19 (BW)
1x EMJAY INSERT NYLON MALE ADAPTER 20mm
R6 (BW)

4
1x EMJAY INLINE FILTER 20mm
R174 (BW)
3x EMJAY NYLON INSERT TEE (you may need more depending on the size of land you want to irrigate)
R10 each x 3 = R30 (BW)
2x EMJAY NYLON INSERT ELBOW 20mm
2 x R7 = R14 (BW)
1x Ball of POLY AGRI TWINE
1kg roll cost R150 (BW)
4x EMJAY MALE PLUG THREADED 15mm (you may need more depending on the size of land you want to irrigate)
4 x R5 = R20 (BW)
TOTAL COST (without pipe or tools):
R584

5
EVERYTHING YOU NEED:
TOOLS
You do not need a lot of tools to build your own drip irrigation system, but a few will help. You need a spanner for the nuts, a pair of pliers, a hacksaw or sharp knife for the pipe; a pair of pliers and thick wire to hold the pipe down. A drill and 20mm drill bit will be useful to drill the hole through the water container, but you could also just use a sharp nail. Thin wire to thread poly twine through the holes is the last thing you need.

6
BUILDING YOUR DRIP IRRIGATION SYSTEM IN 17 STEPS
1. Place the water container which should be a minimum of 100 liters on bricks so that it sits higher than where it is required to water. It is a good idea to place it near a roof, which you could add a gutter to so that you can collect water in the container to irrigate your crops.
2. Drill a 20mm hole in the side and as low as possible into the container.

7
3. File the edges smooth with a file or threaded rod.
4. Insert the EMJAY BARREL NIPPLE 20mm into the hole together with one of the20mm RUBBER WASHERs (this has not be shown in the photo, but will help ensure there are no leaks). Also consider adding a bead of silicon at the point the washer and nipple meet.

8
5. Place the 20mm THREADED SOCKET inside the container with one of the 20mm RUBBER WASHERs (this has not be shown in the photo, but will help ensure there are no leaks). Also consider adding a bead of silicon at the point the washer and socket meet.
6. Tighten the socket on the inside until they are both a tight fit on the wall of the container. You may need someone to help you with the tightening inside the container while you hold a spanner on the outside.

9
7. Screw the 20mm BALL VALVE onto the NIPPLE. Make sure to place the tap on top so it is easy to access and then screw on the NYLON MALE ADAPTER to the ball valve to add the irrigation pipe to.
8. Cut a short piece of the POLY IRRIGATION PIPE with a knife and attach the EMJAY INLINE FILTER 20mm. The filter is installed to prevent any objects in the water blocking the drip holes. Remember to clean it regularly especially if you collect water from your roof!

10
9. Now add another short section of pipe and add the EMJAY NYLON INSERT TEE

11
10. Depending on the size of land you want to irrigate, add more EMJAY NYLON INSERT TEE and one the outer edges add the EMJAY NYLON INSERT ELBOWs.
11. Then lay rows of pipe where you want to irrigate.

12
12. Bend small “U” shaped pieces of wire to hold the pipes in place and add down the lengths of pipe.

13
13. Use the EMJAY MALE PLUG THREADED 15mm to plug the ends of the pipes or fold over the ends back on themselves and wire in place.
14. Drill holes or use a nail to push holes into the POLY IRRIGATION PIPE. Space the holes far enough apart for the vegetables you would like to irrigate.

14
15. Now take a thin piece of wire and fold it over to form a needle. Then thread a about a 10cm piece of POLY AGRI TWINE through your needle.
16. Now push the needle through the holes in the POLY IRRIGATION PIPE and pull the POLY AGRI TWINE through the holes. Remove the needle leaving the twine in the hole. The twine helps wick the water out of the holes and also prevents them from blocking with soil.

15

16
17. Now enjoy the fruits of you labour!
☺