Embed Size (px)
Citation preview
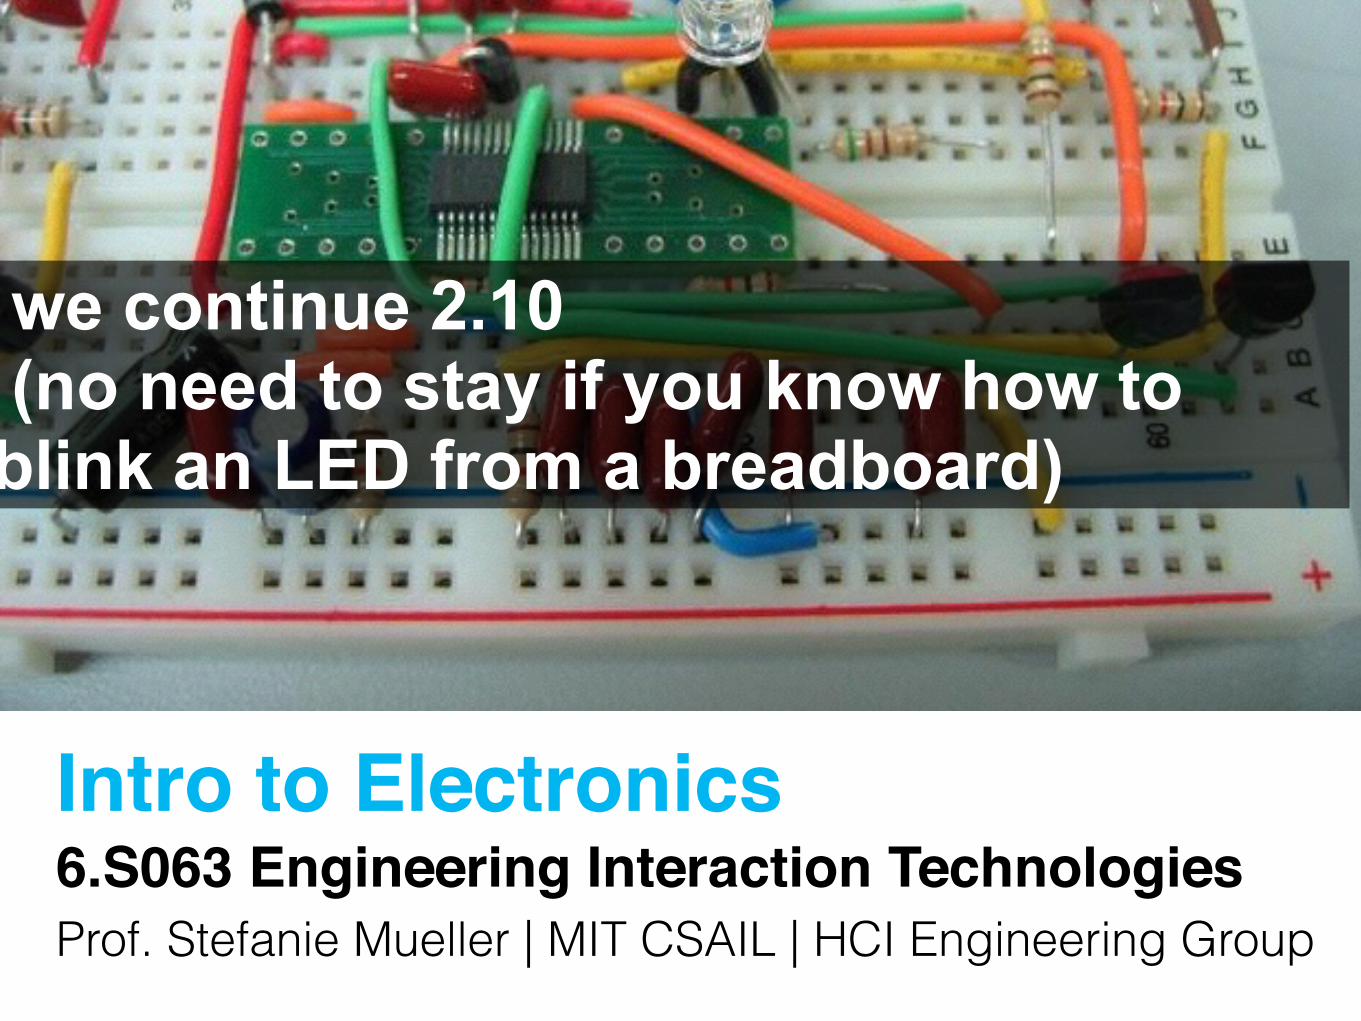
Intro to Electronics6.S063 Engineering Interaction TechnologiesProf. Stefanie Mueller | MIT CSAIL | HCI Engineering Group
we continue 2.10 (no need to stay if you know how to blink an LED from a breadboard)
the micro-controller

many different ones. what are some differences between them?
Arduino
<30s brainstorming>
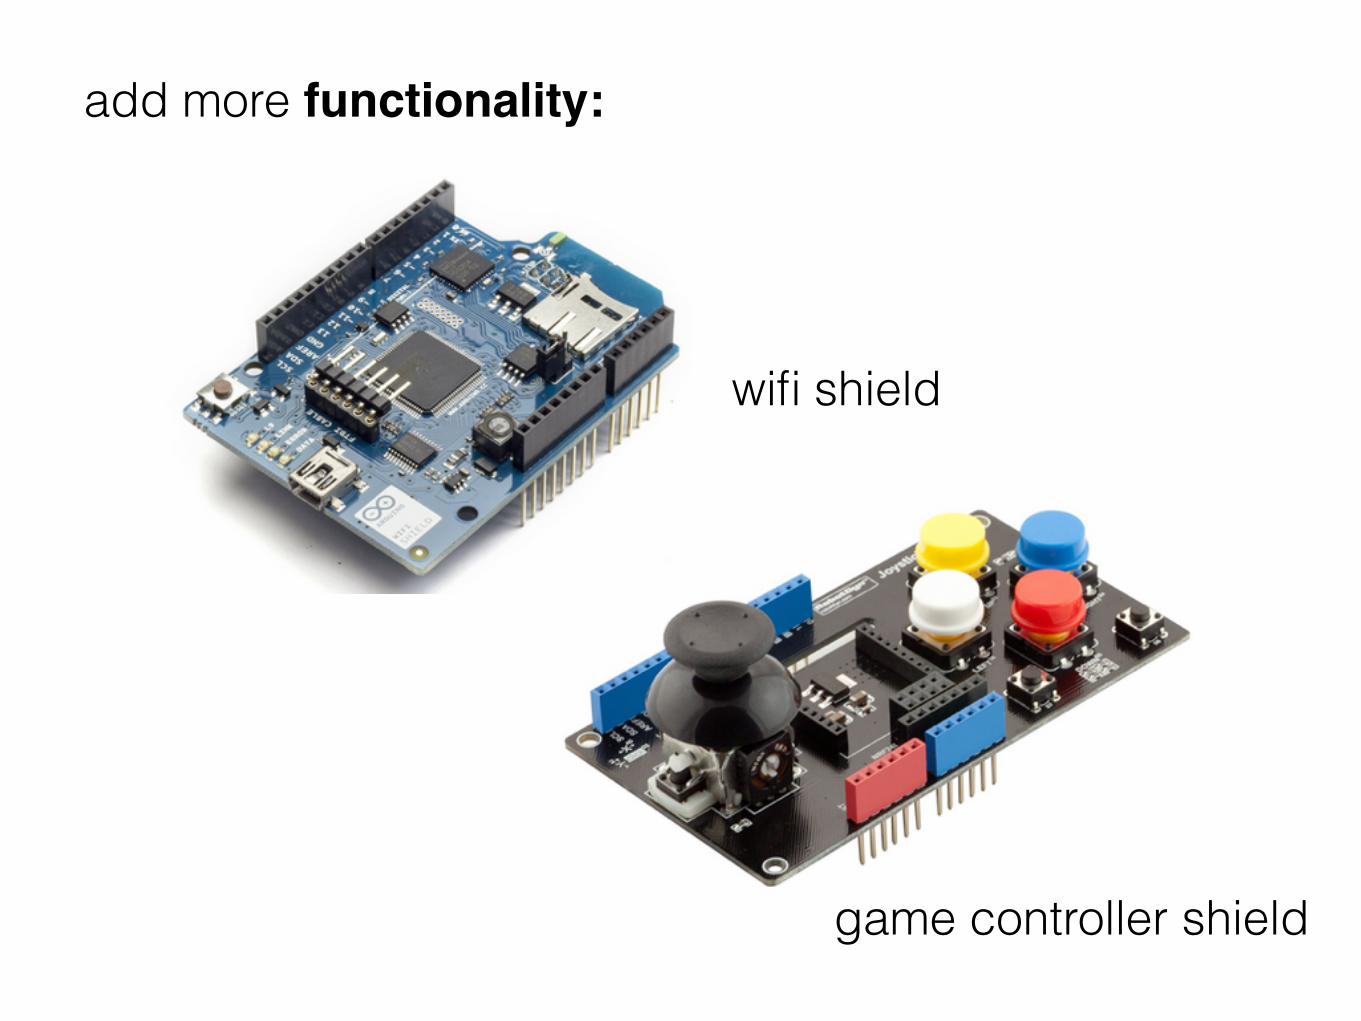
wifi shield
game controller shield
add more functionality:
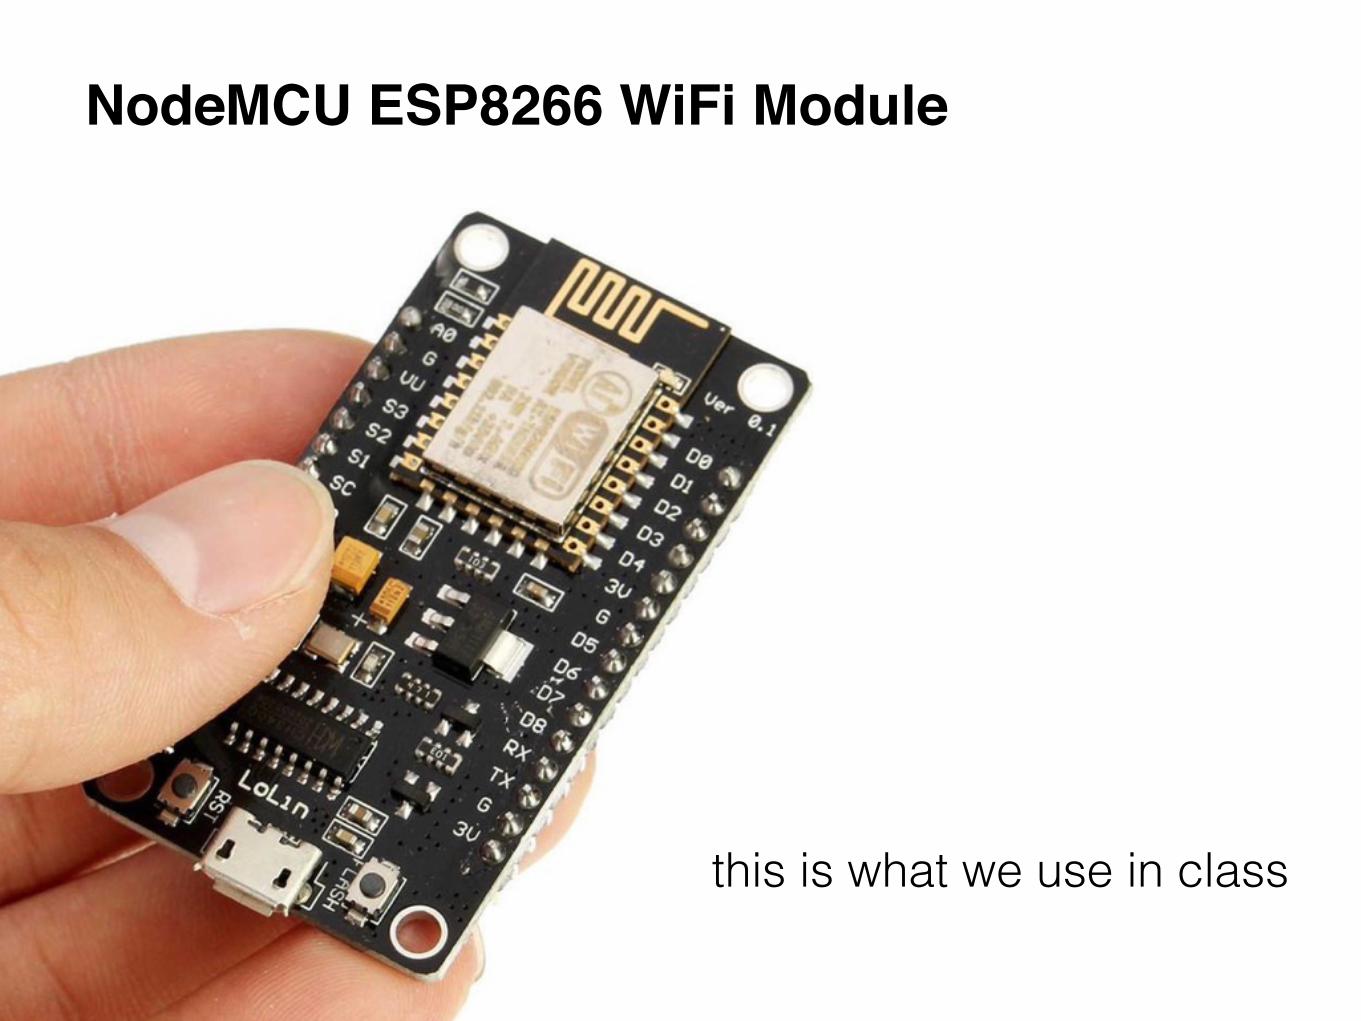
NodeMCU ESP8266 WiFi Module
this is what we use in class

the breadboard
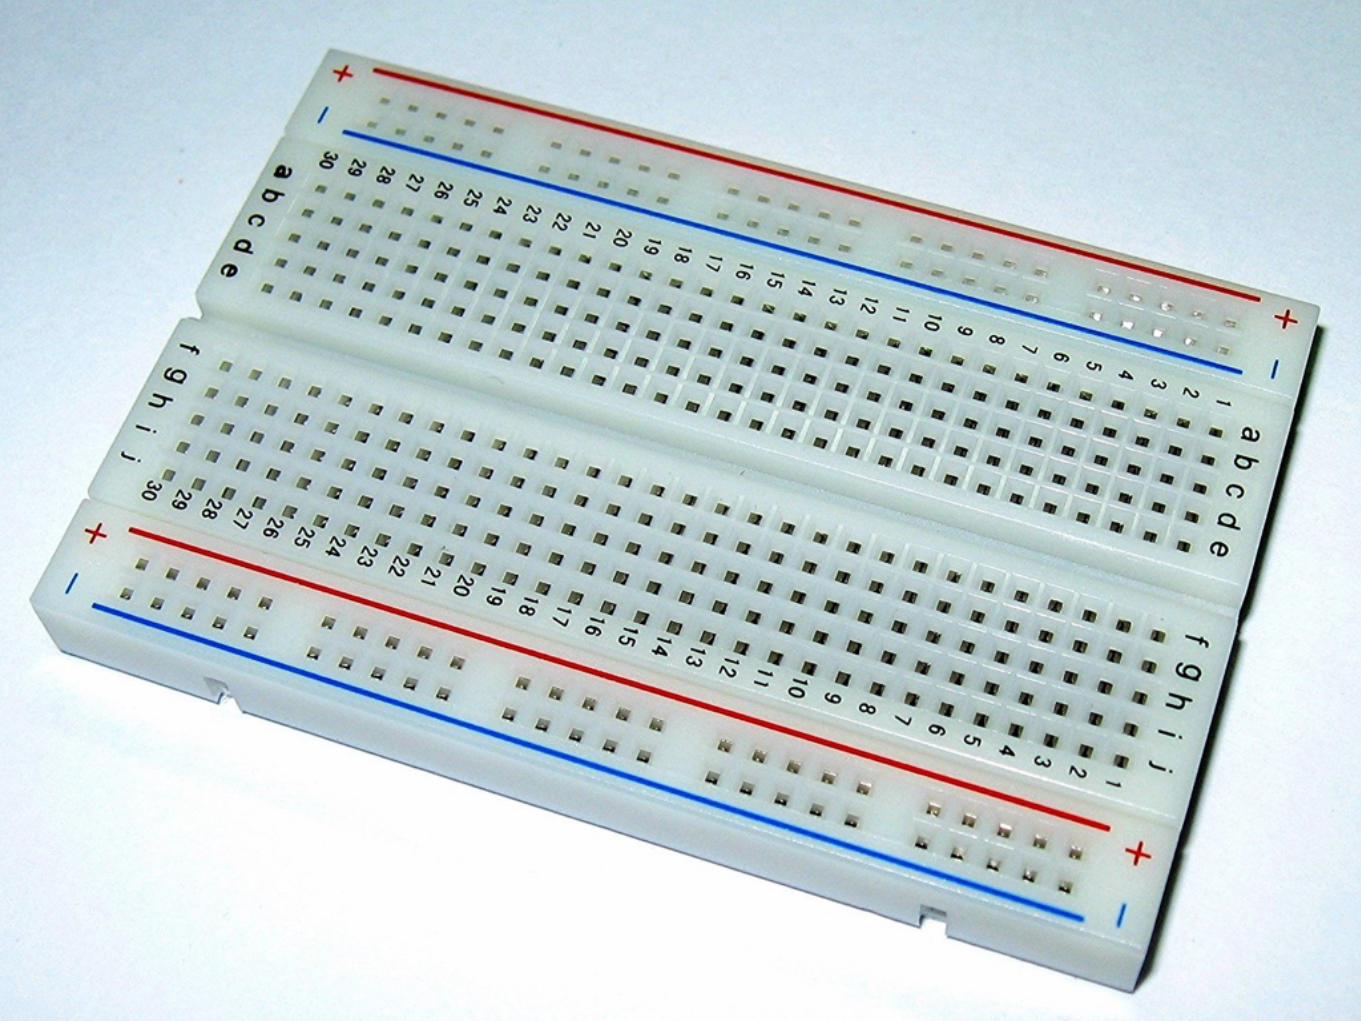
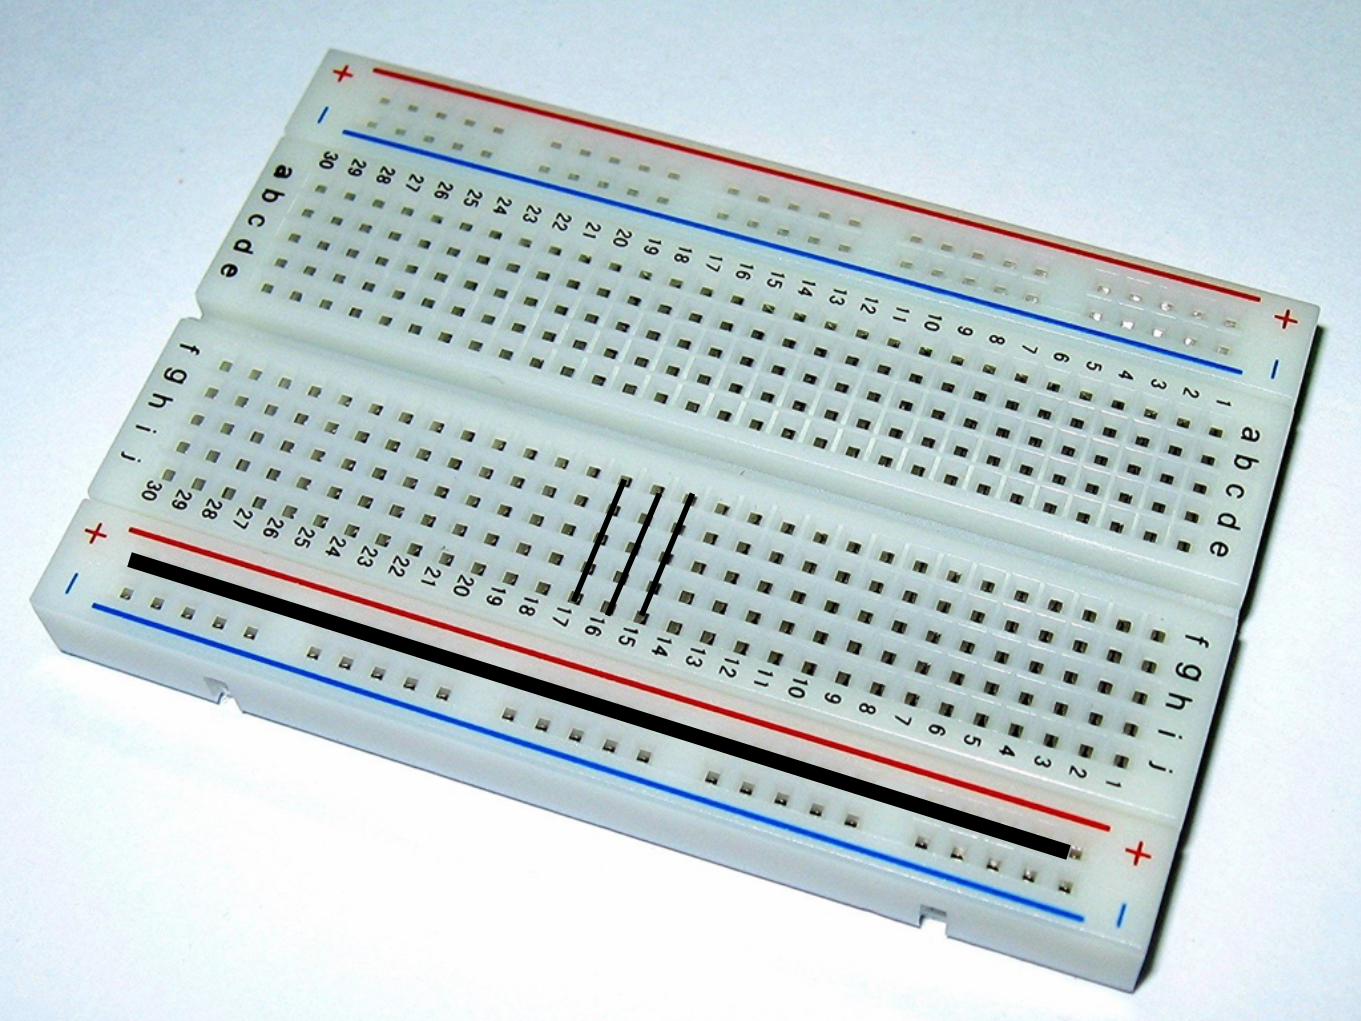
how about this?
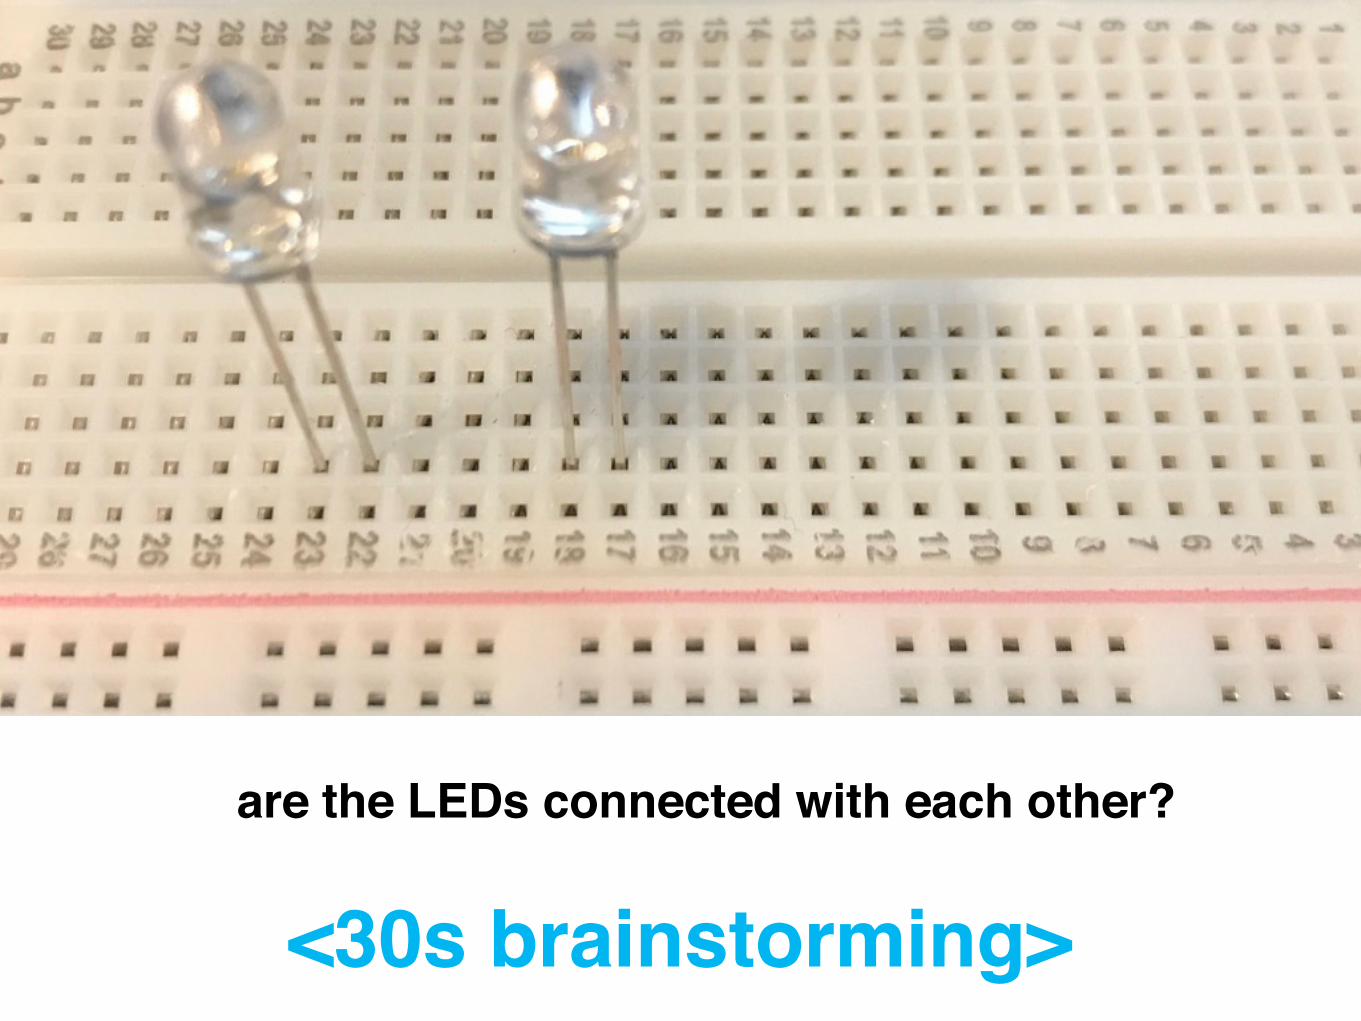
are the LEDs connected with each other?
<30s brainstorming>
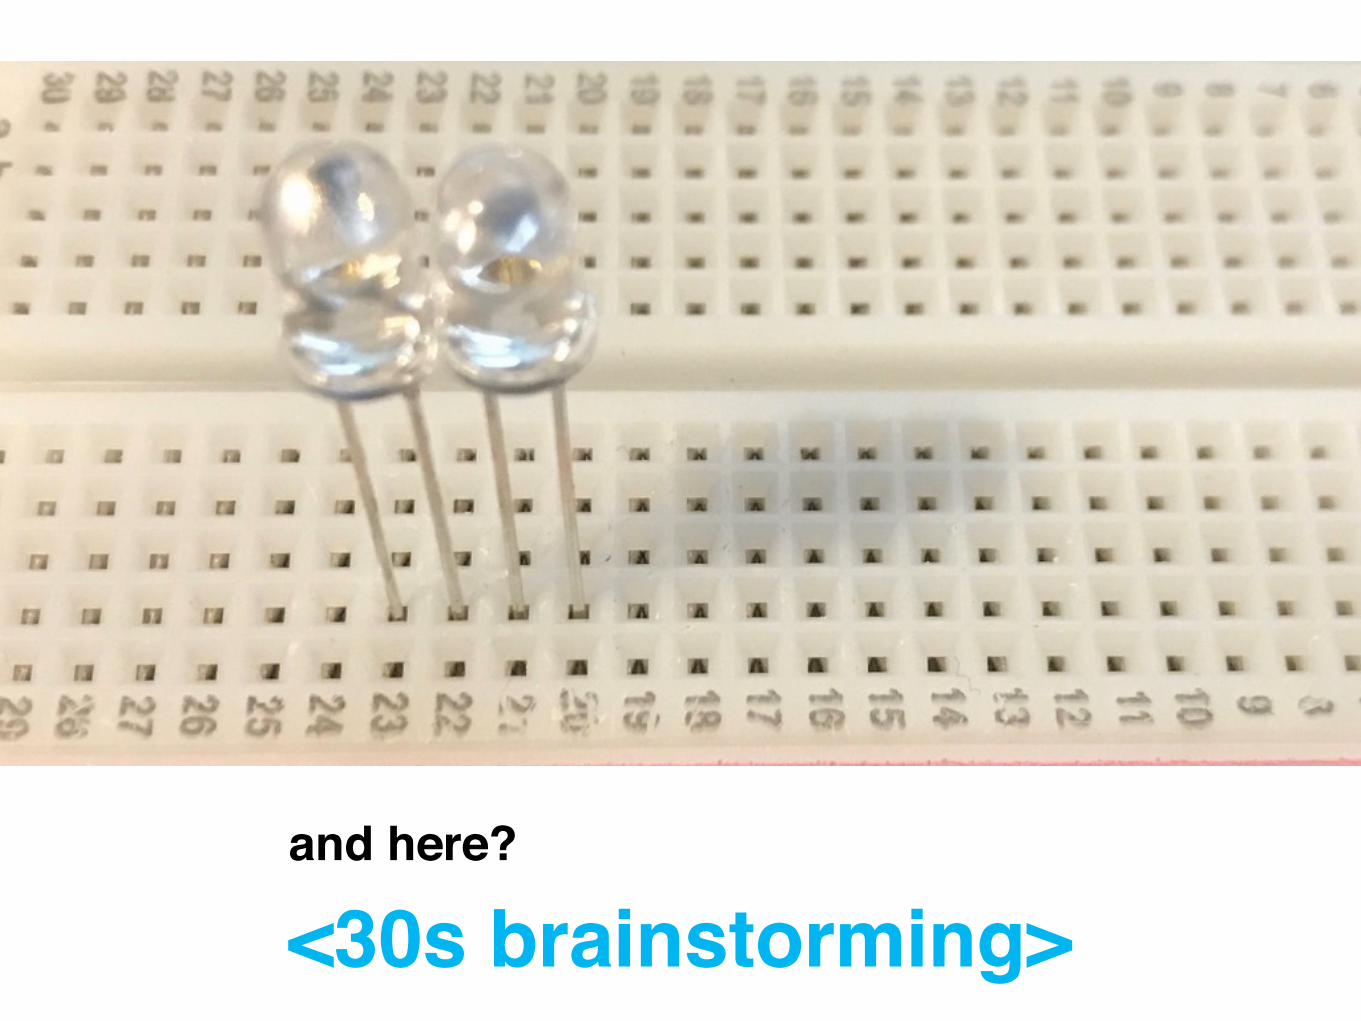
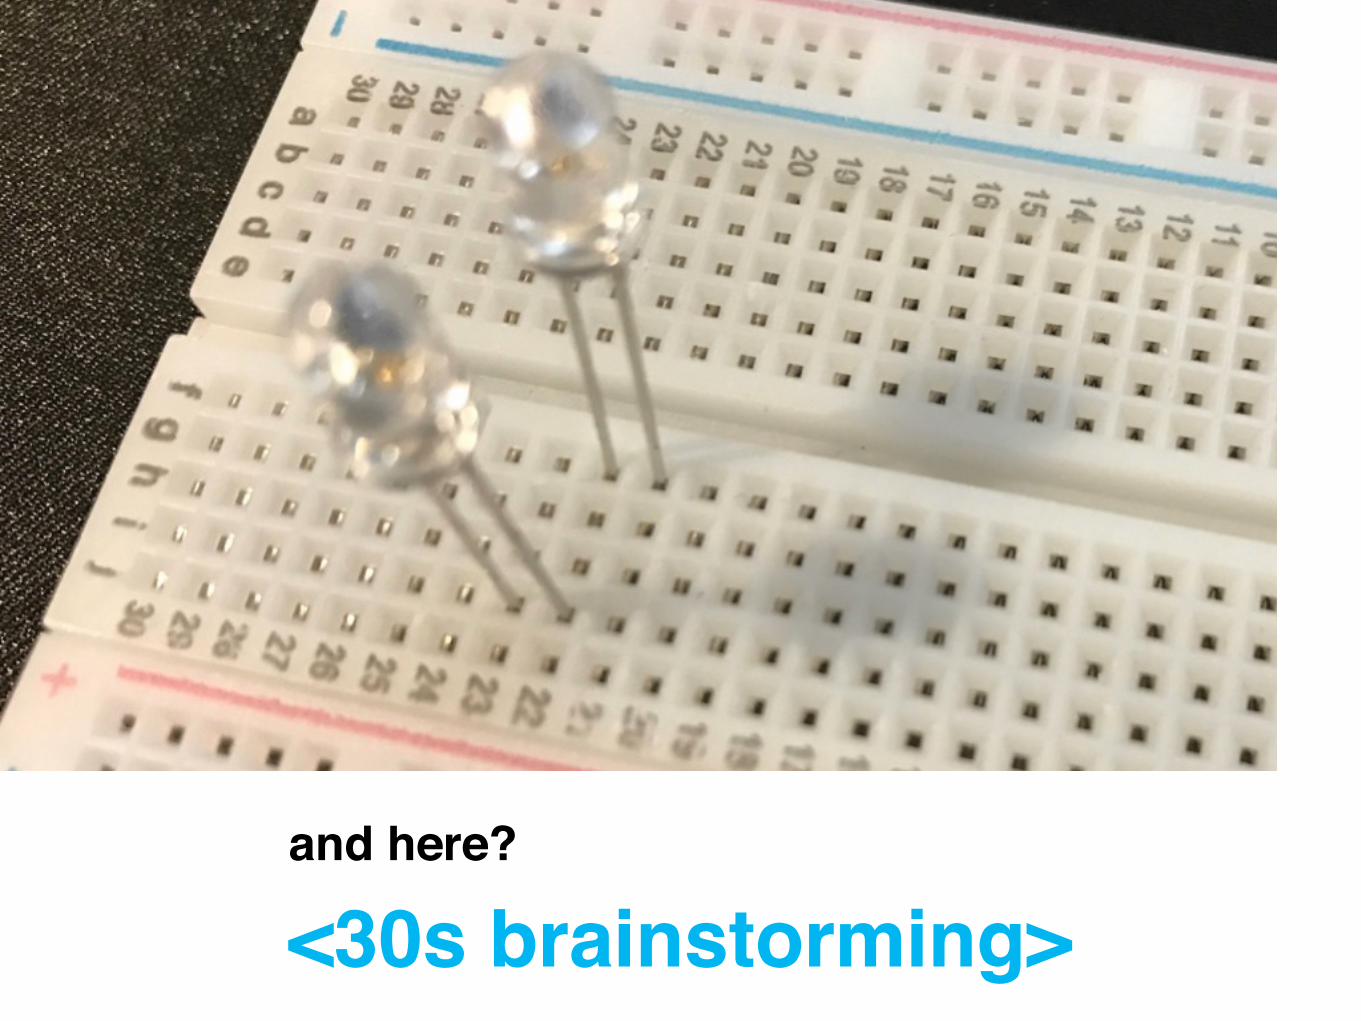
and here?
<30s brainstorming>
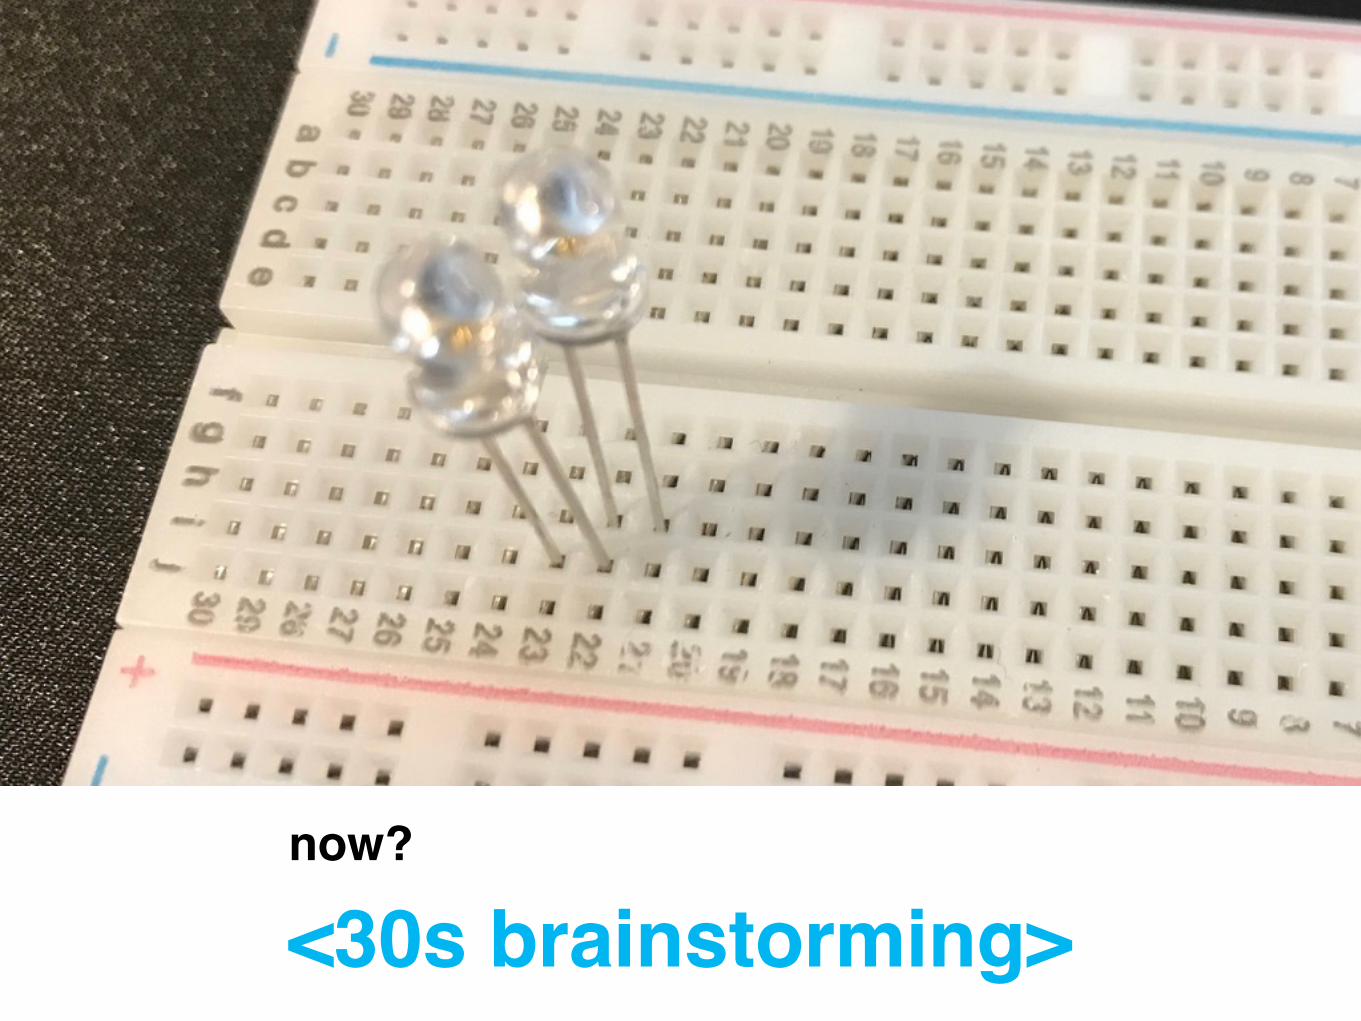
now?
<30s brainstorming>
and here?
<30s brainstorming>
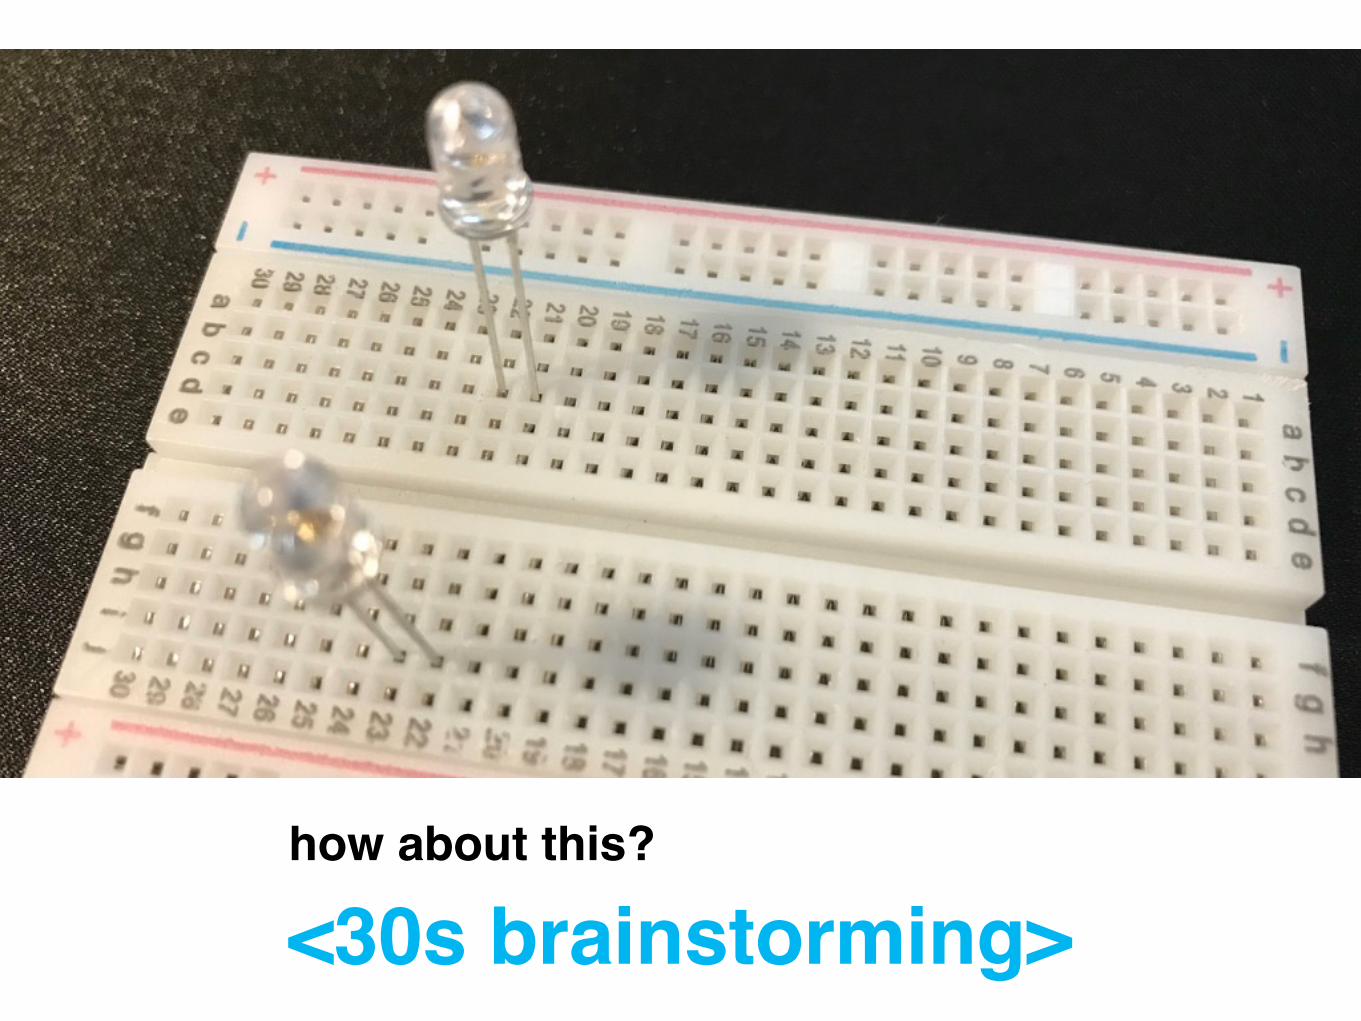
how about this?
<30s brainstorming>
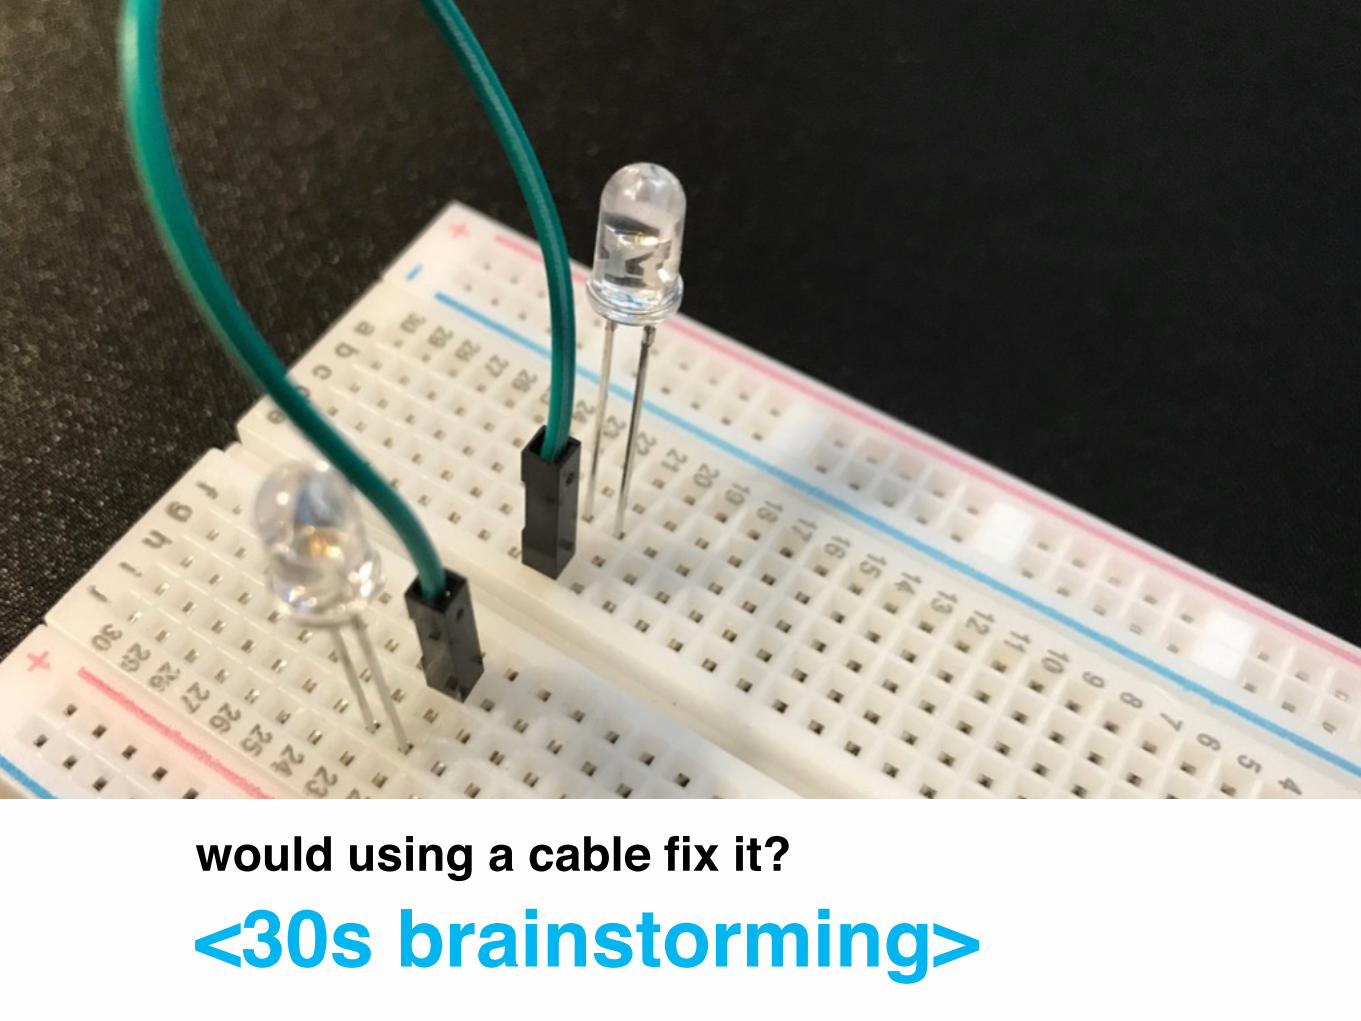
would using a cable fix it?
<30s brainstorming>

cables
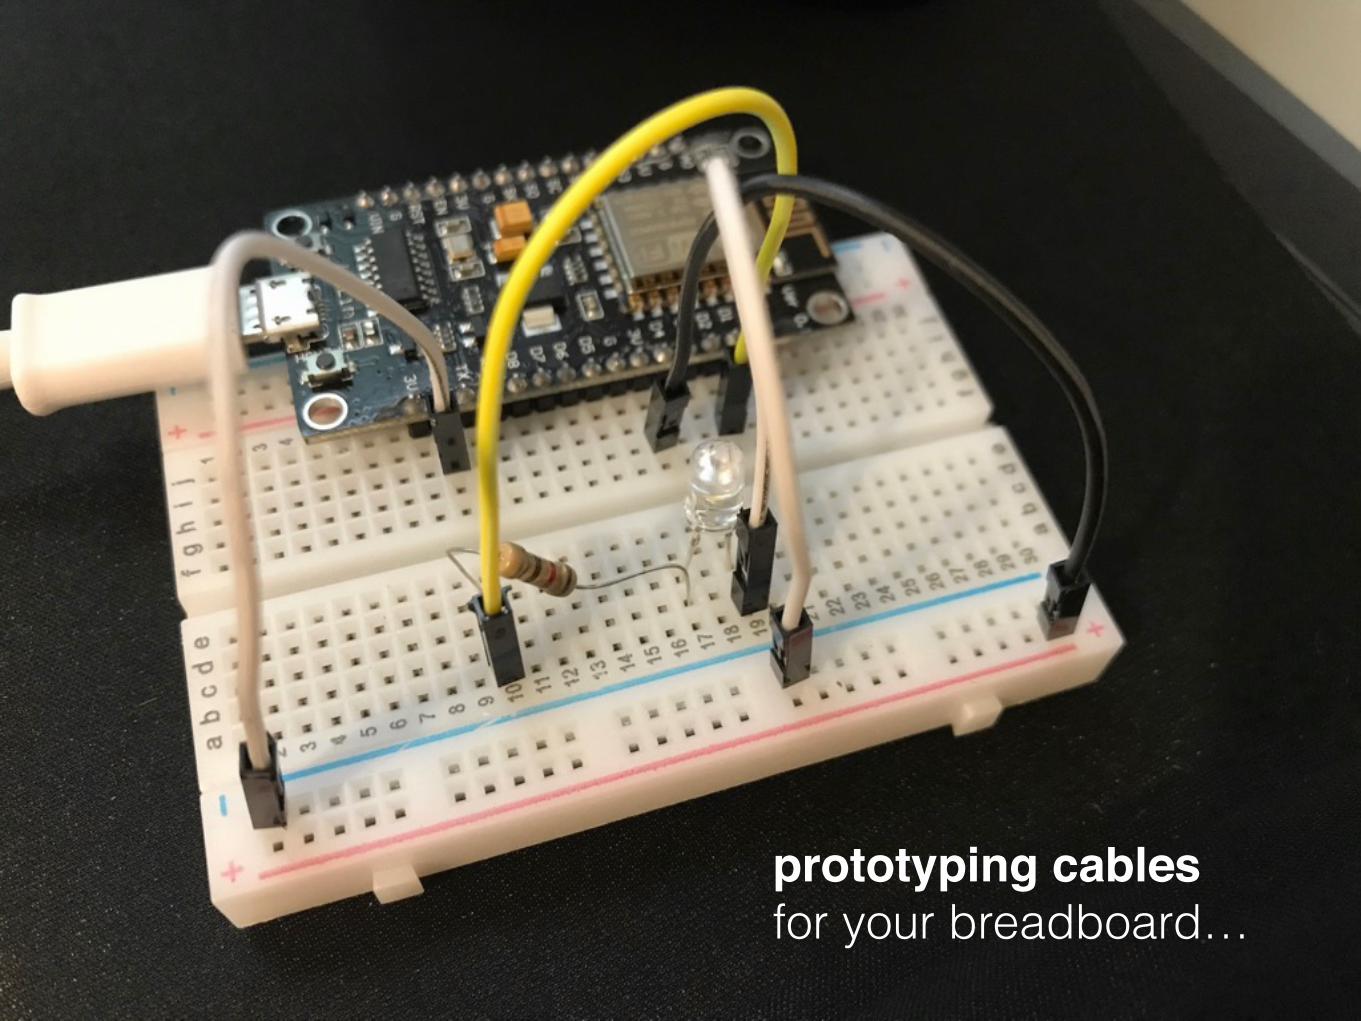
prototyping cables for your breadboard…
it’s just a normal cable, nothing special about it… you can make your own!
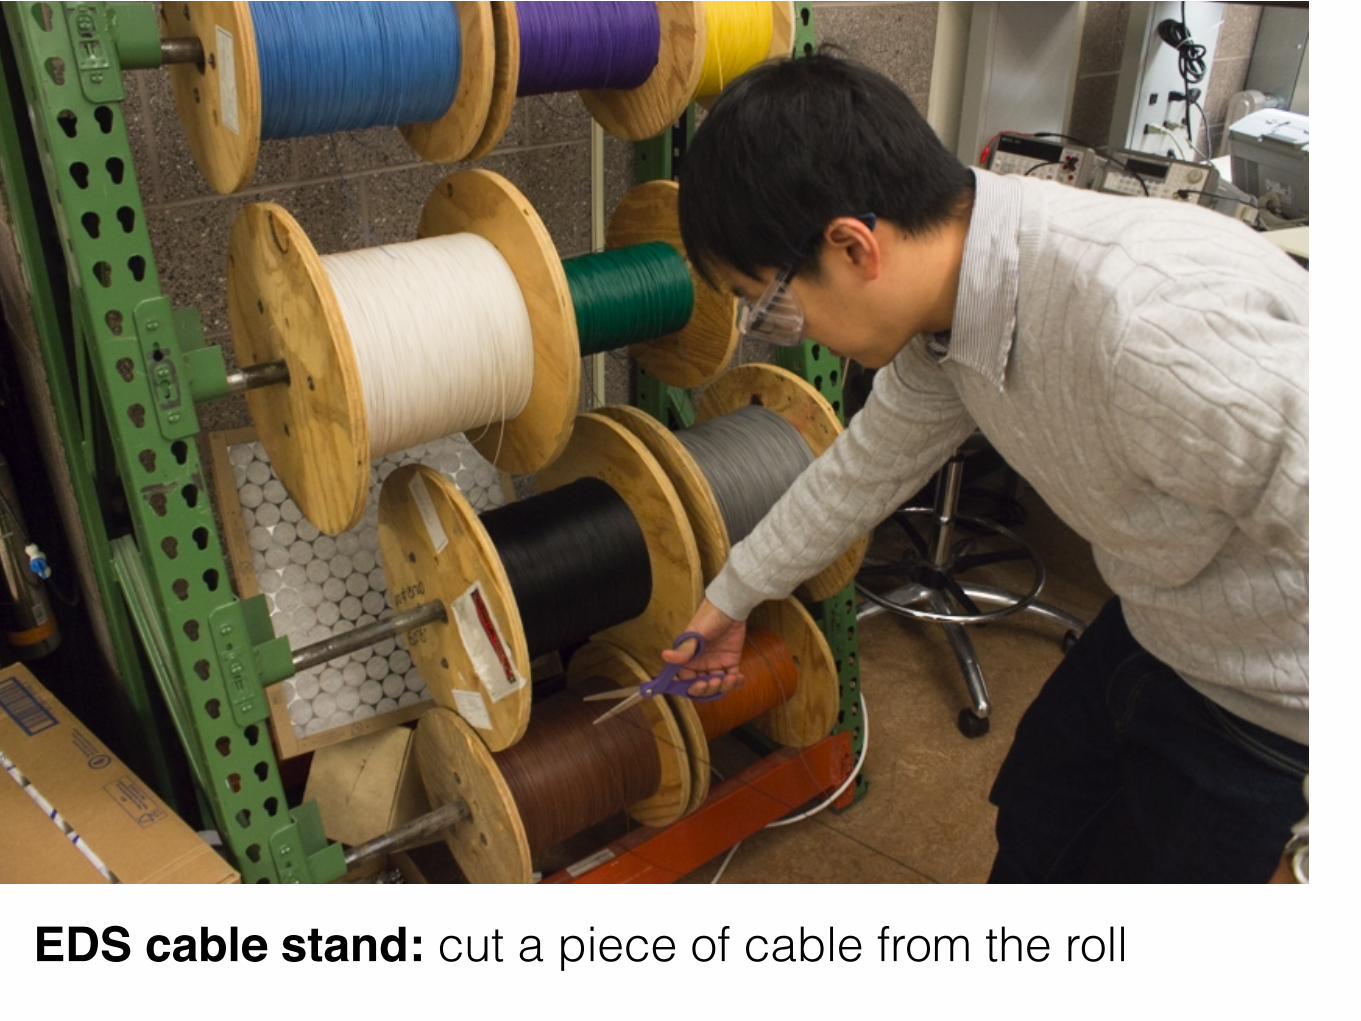
EDS cable stand: cut a piece of cable from the roll
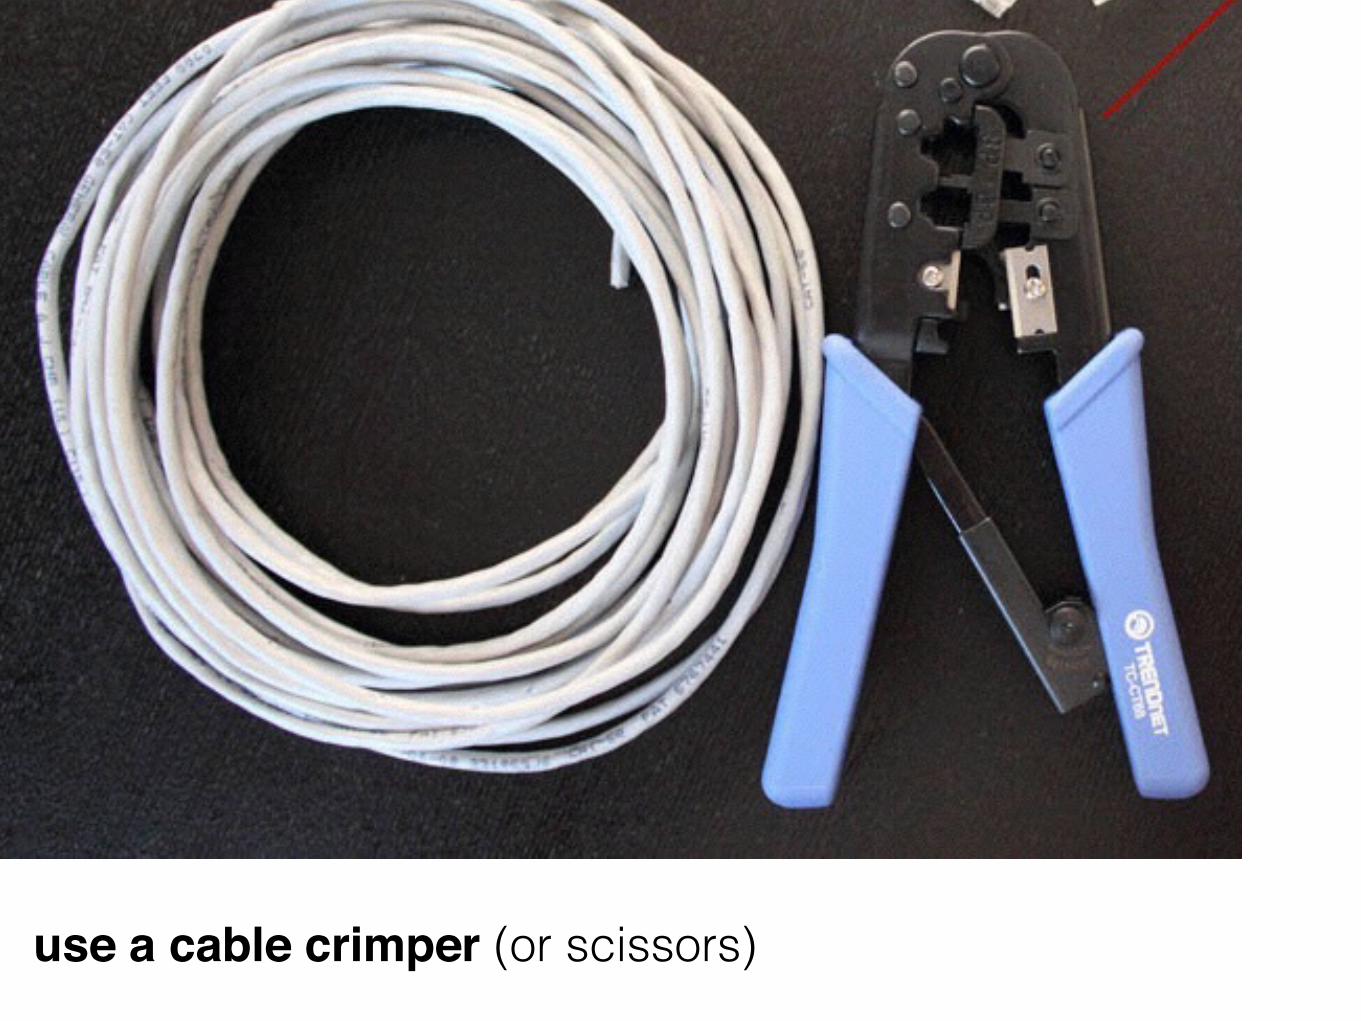
use a cable crimper (or scissors)

insert cable into crimper, then rip off front
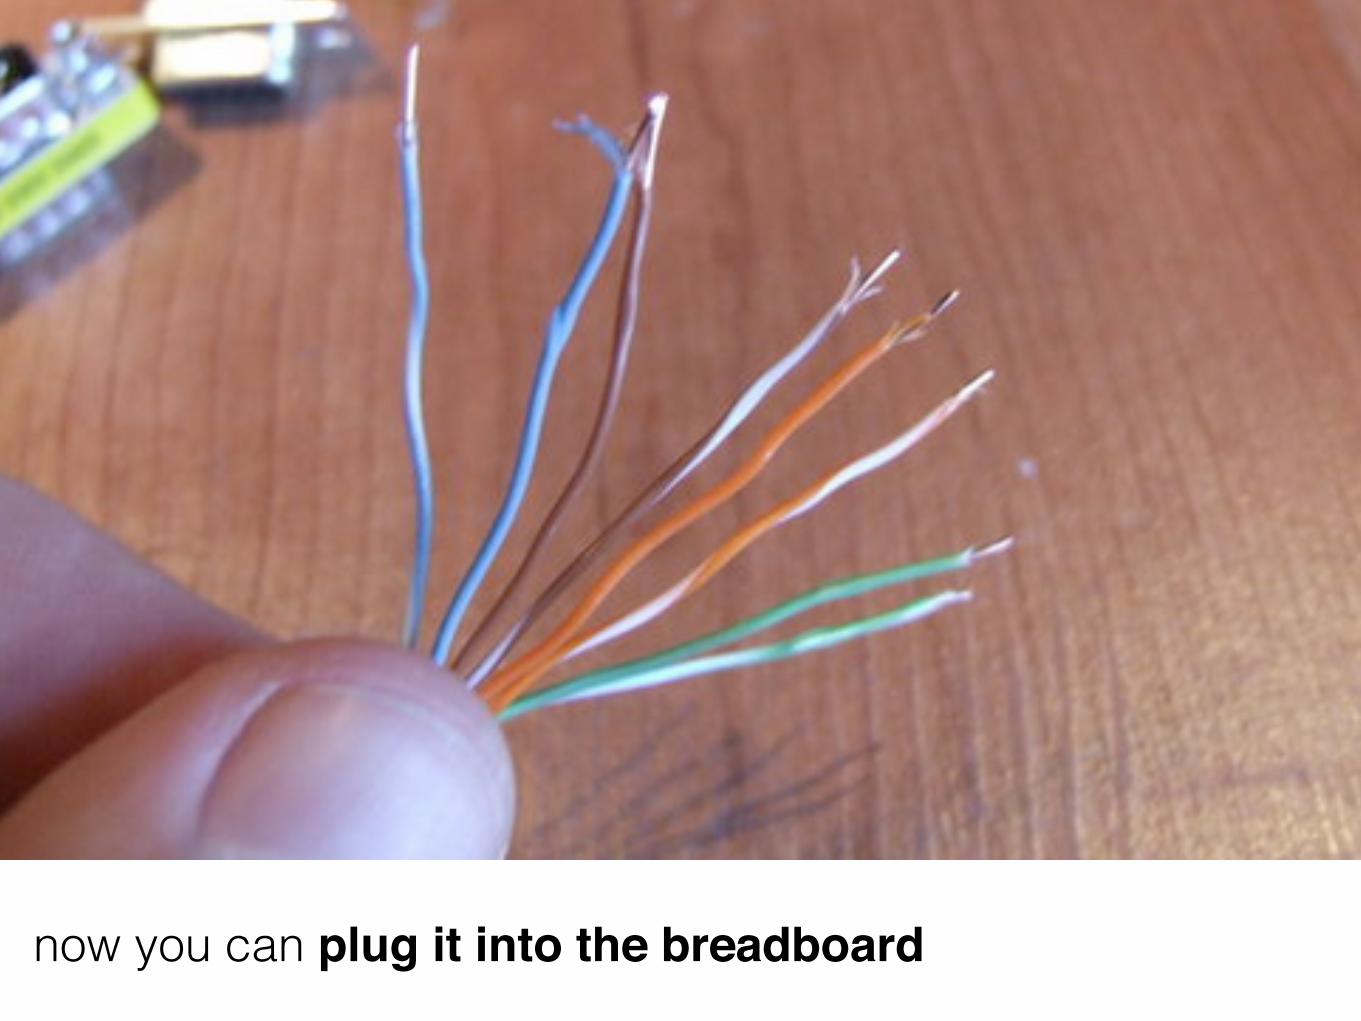
now you can plug it into the breadboard

let’s do this!• cut a piece of cable from a cable role • peel of the plastic from each side • use in your breadboard
<2 min>
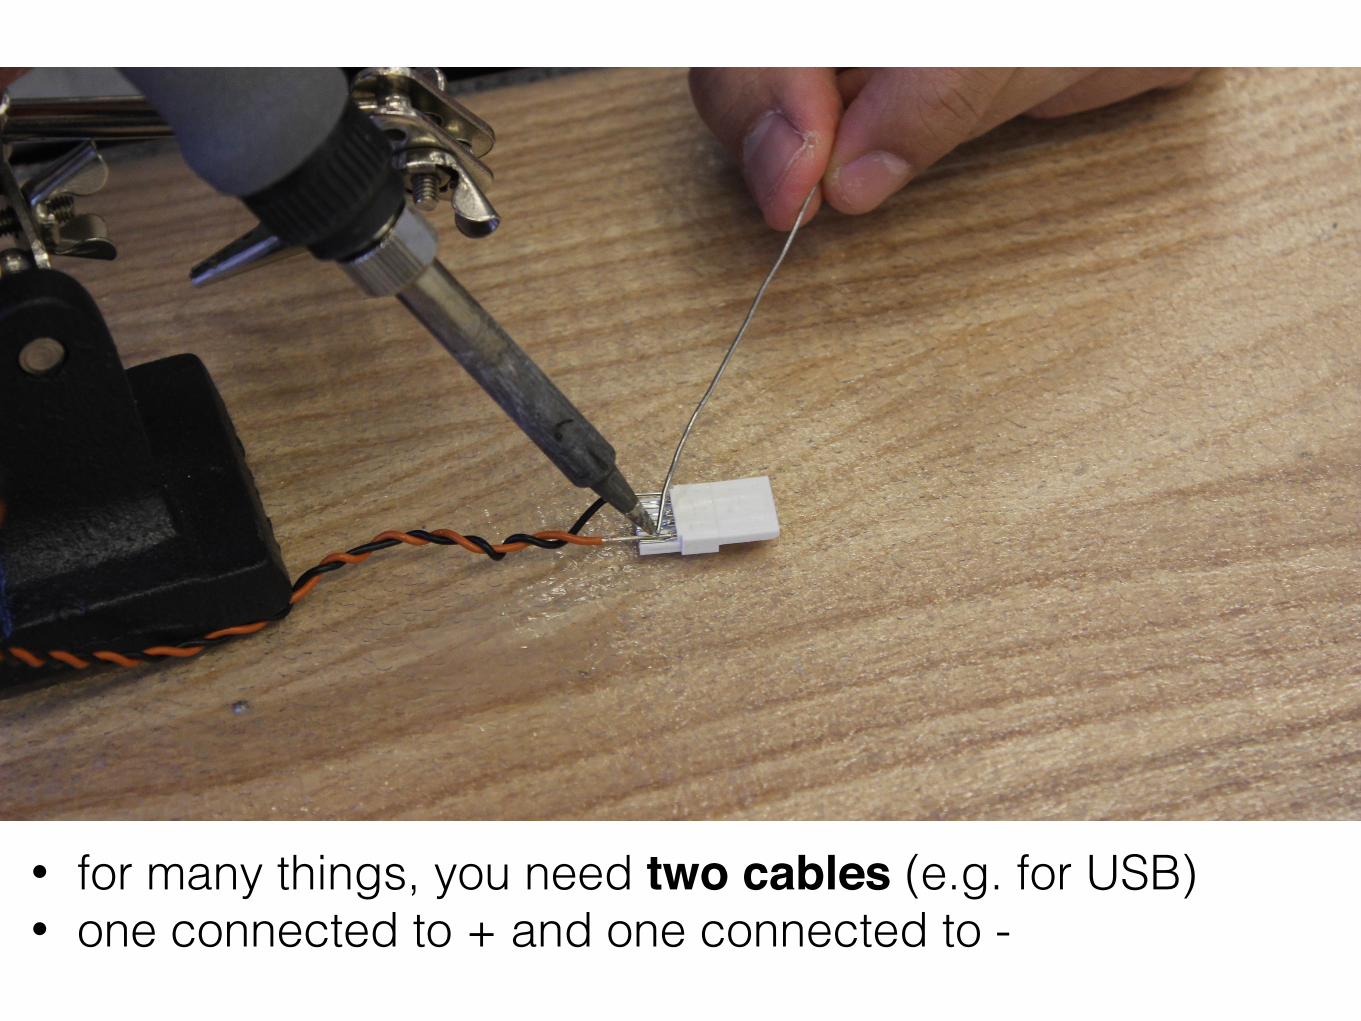
• for many things, you need two cables (e.g. for USB) • one connected to + and one connected to -
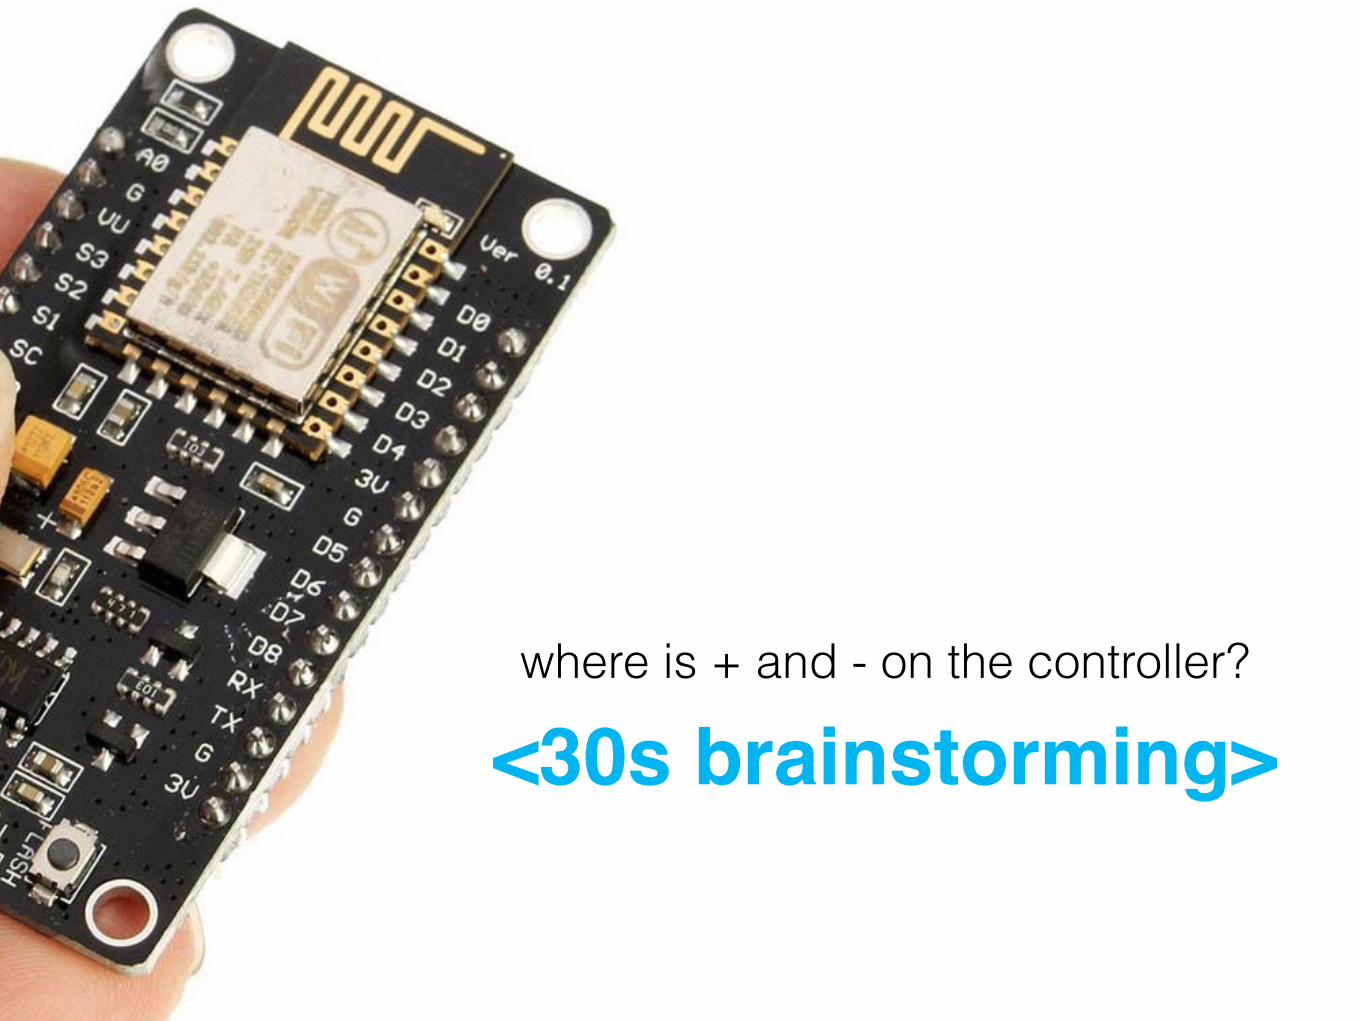
where is + and - on the controller?
<30s brainstorming>
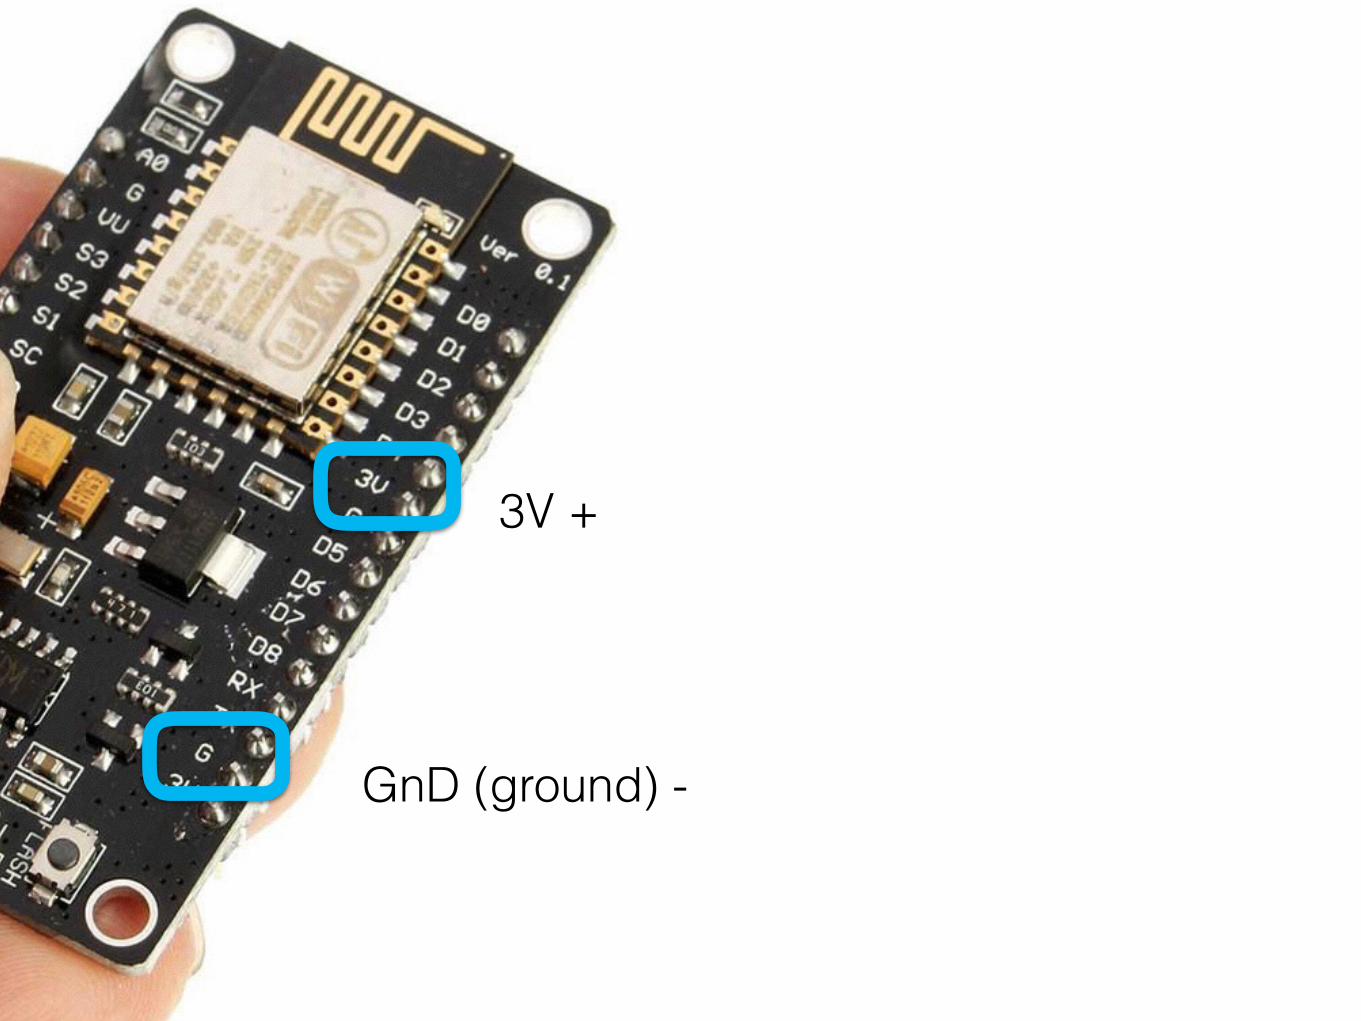
3V +
GnD (ground) -

twisting both cables allows to hold them in place together
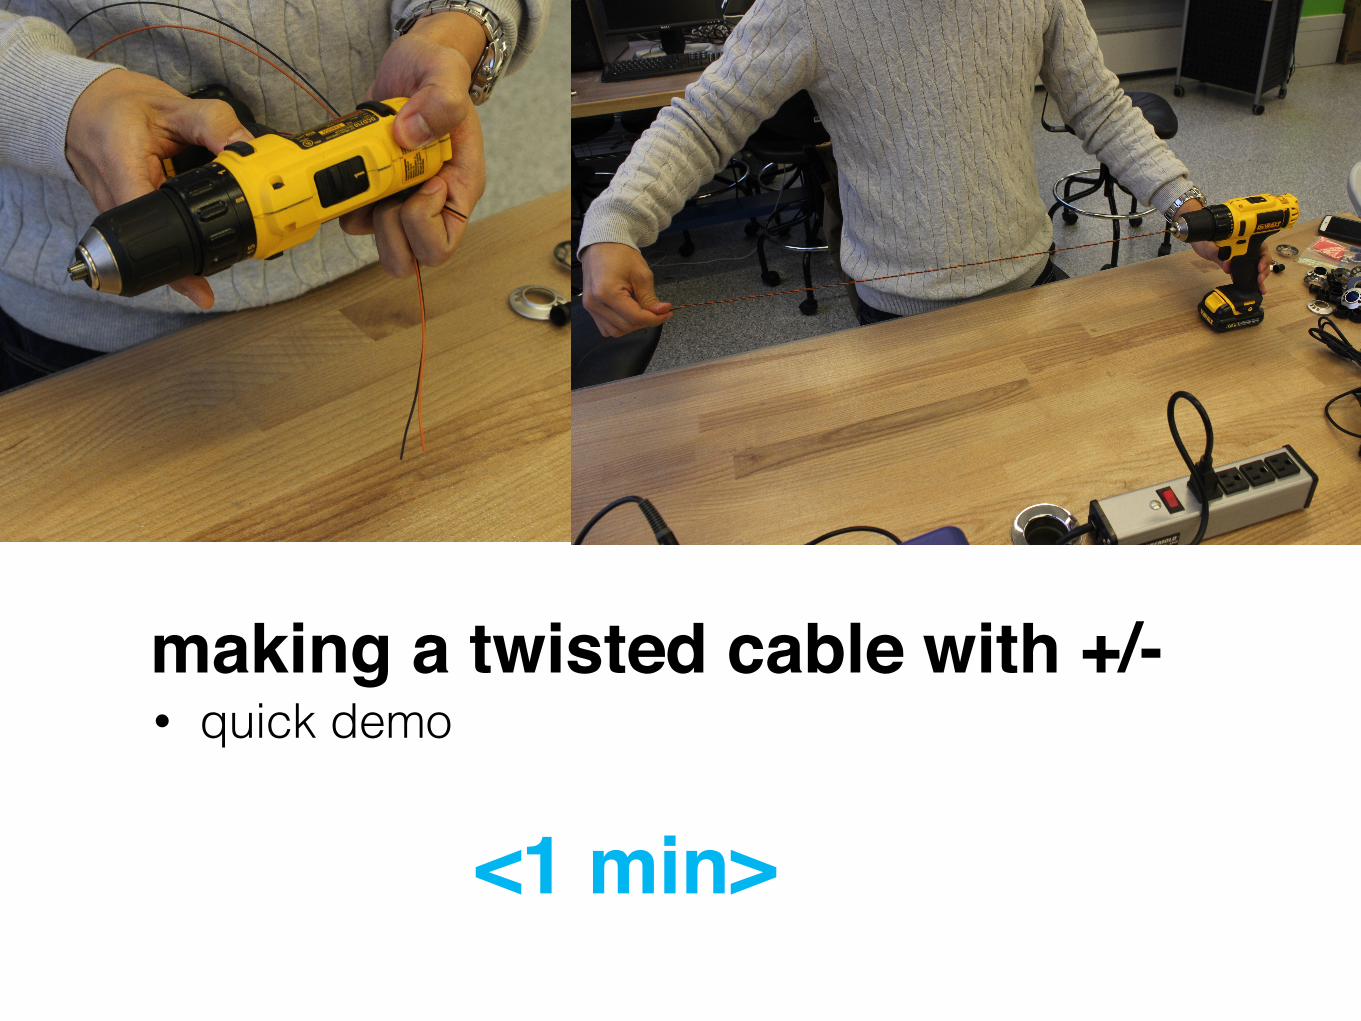
making a twisted cable with +/-• quick demo
<1 min>
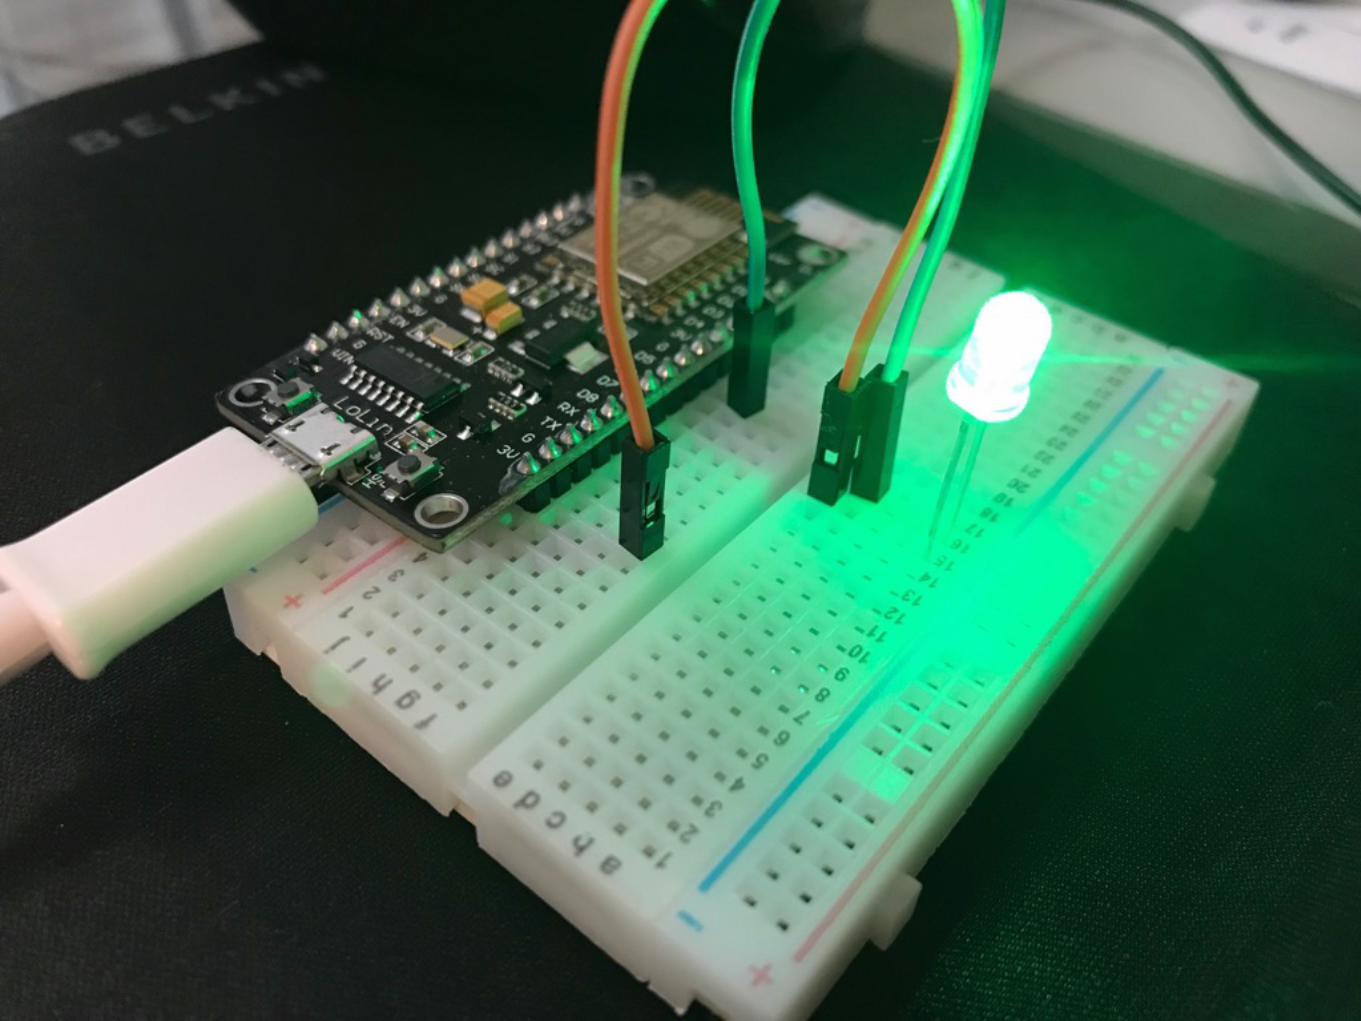
connecting an LED
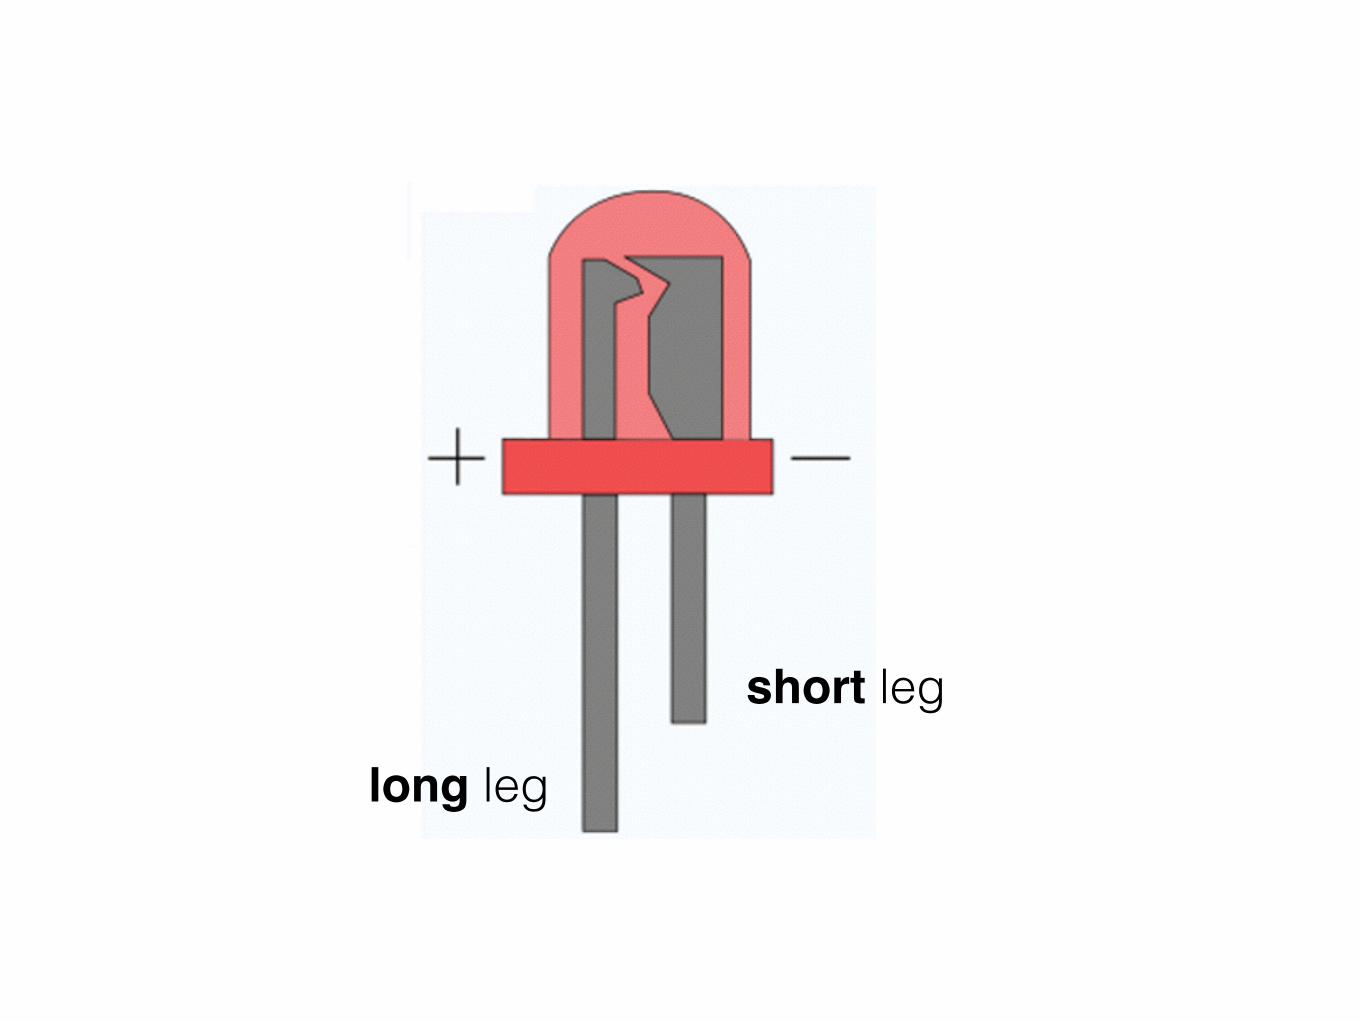
long leg
short leg
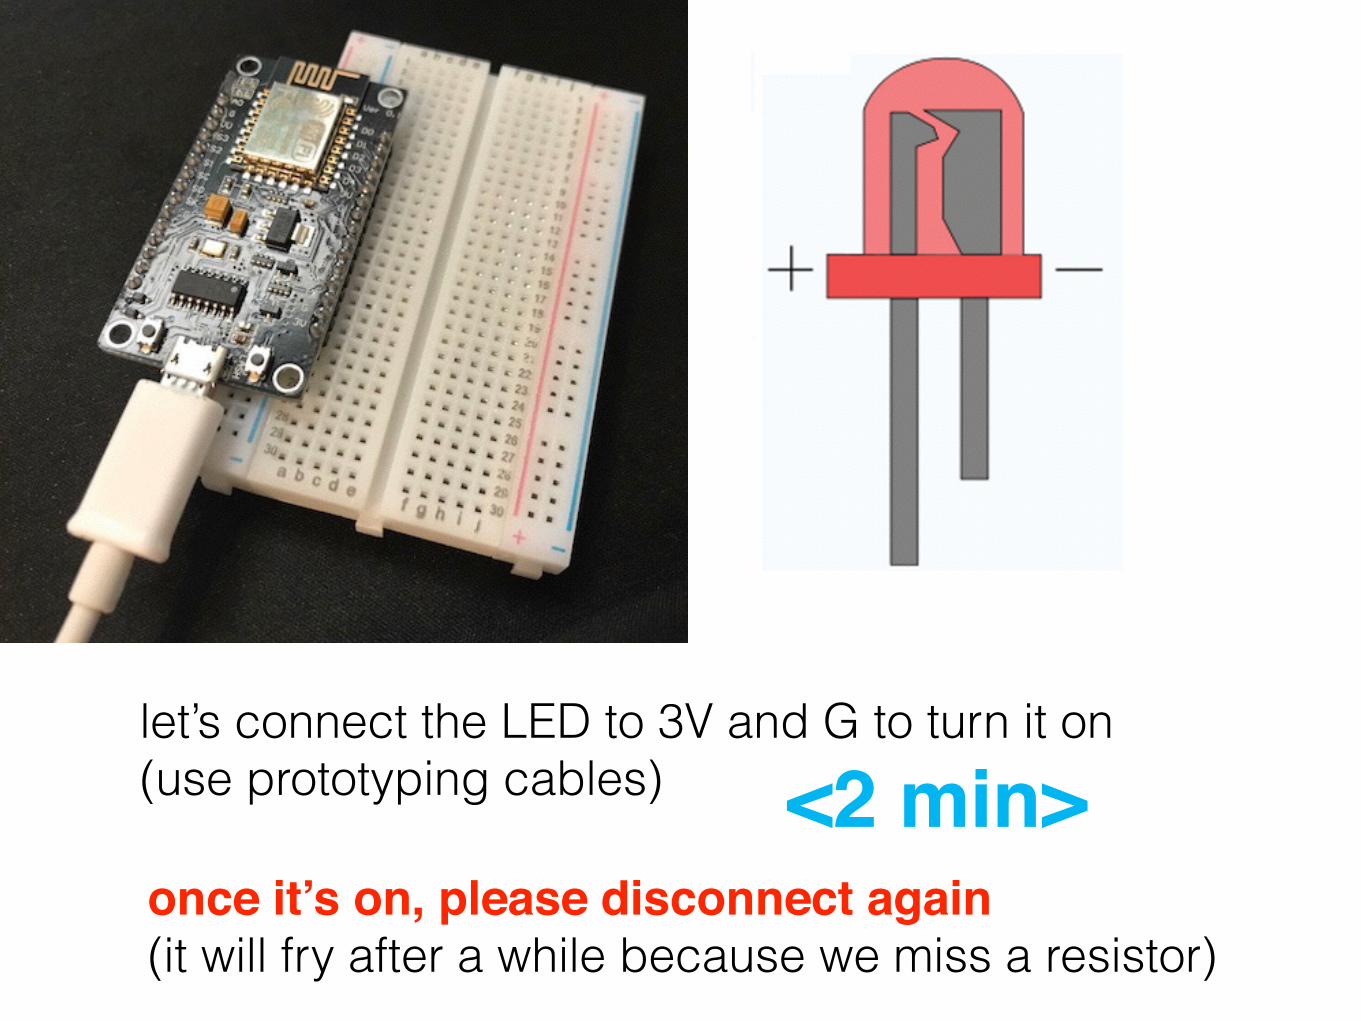
let’s connect the LED to 3V and G to turn it on (use prototyping cables) <2 min>once it’s on, please disconnect again (it will fry after a while because we miss a resistor)
basic circuit math
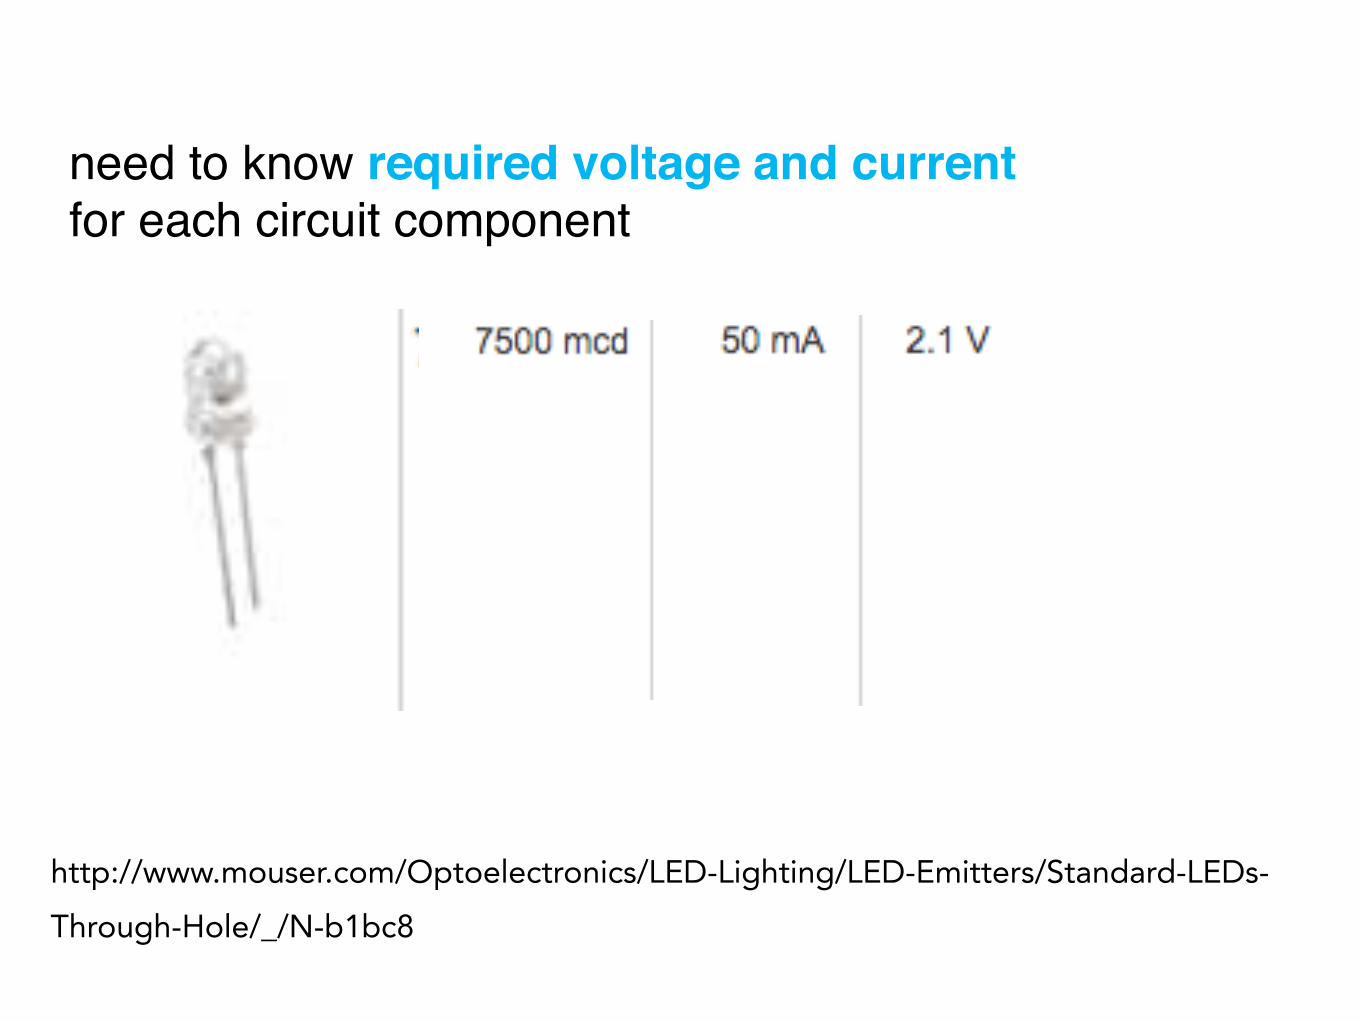
need to know required voltage and current for each circuit component
http://www.mouser.com/Optoelectronics/LED-Lighting/LED-Emitters/Standard-LEDs-Through-Hole/_/N-b1bc8
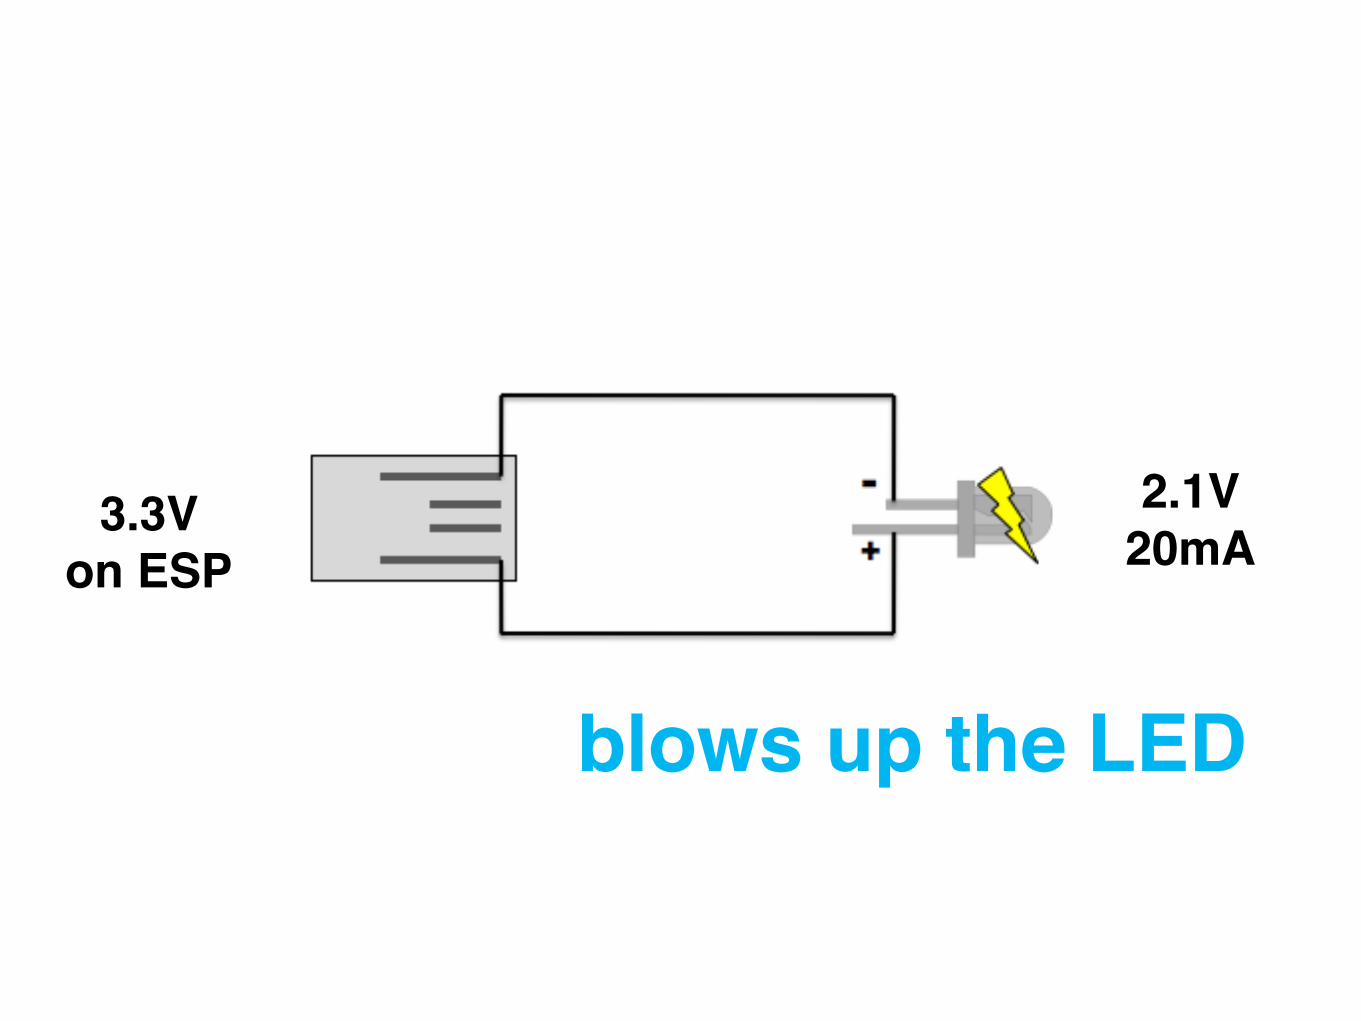
3.3Von ESP
blows up the LED
2.1V20mA
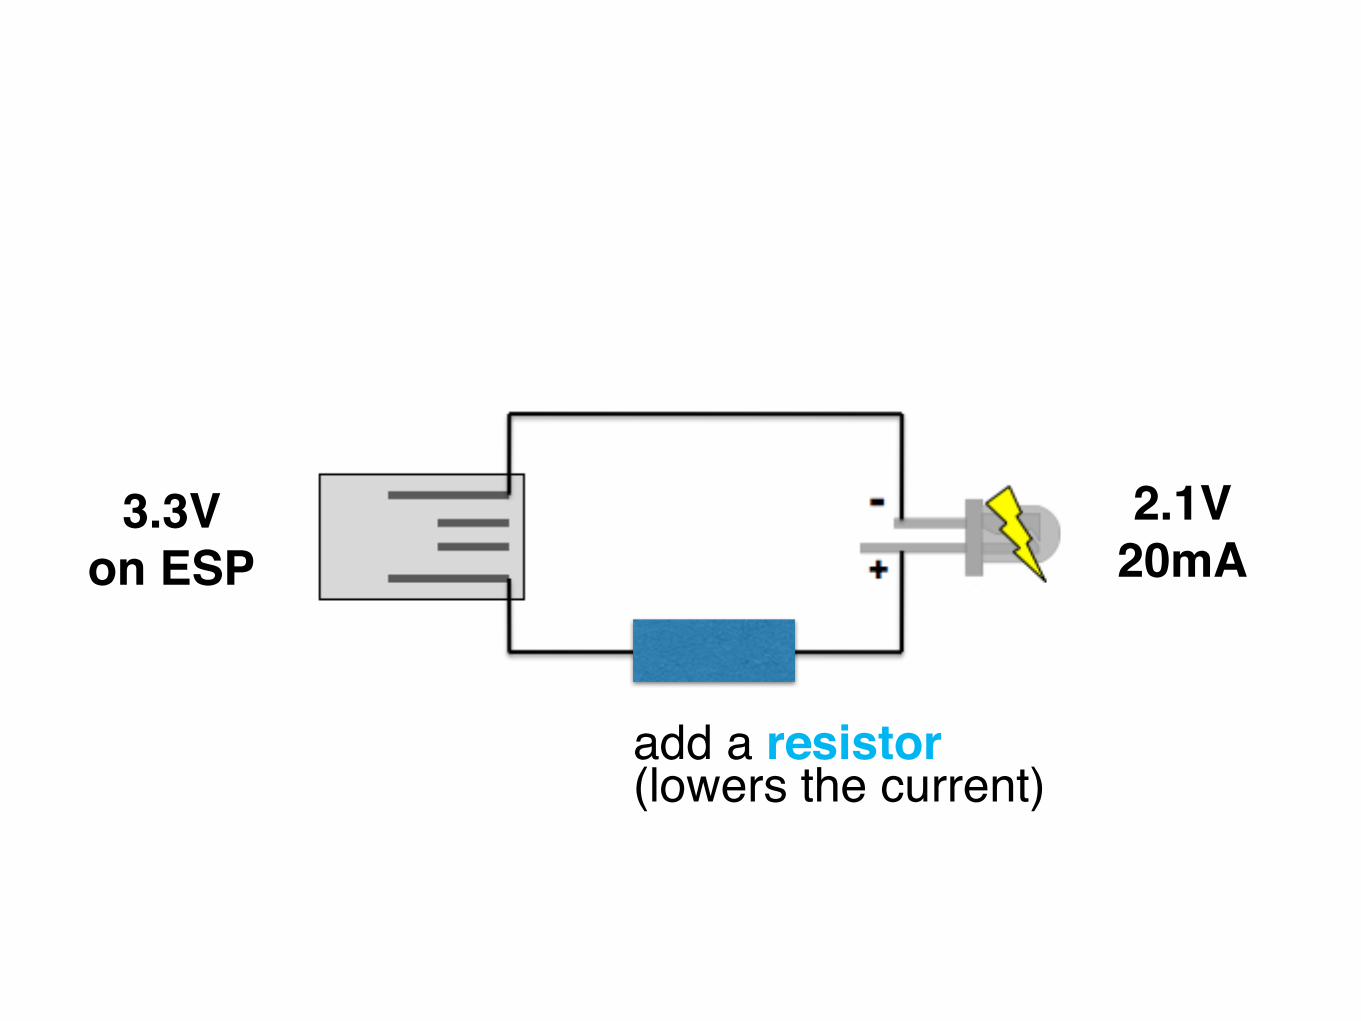
add a resistor (lowers the current)
3.3Von ESP
2.1V20mA
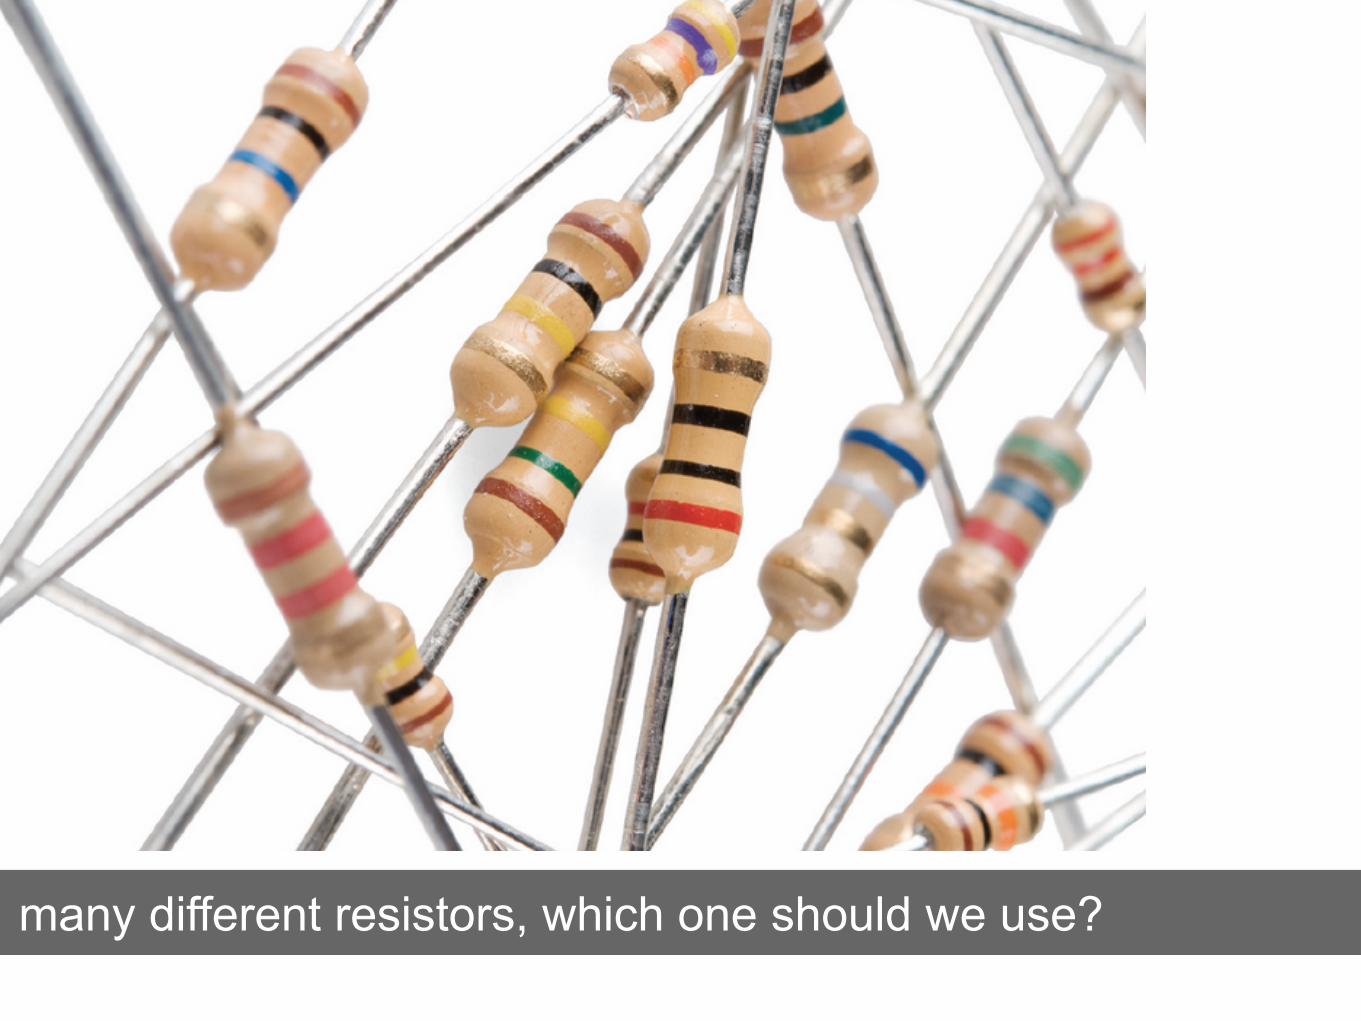
many different resistors, which one should we use?
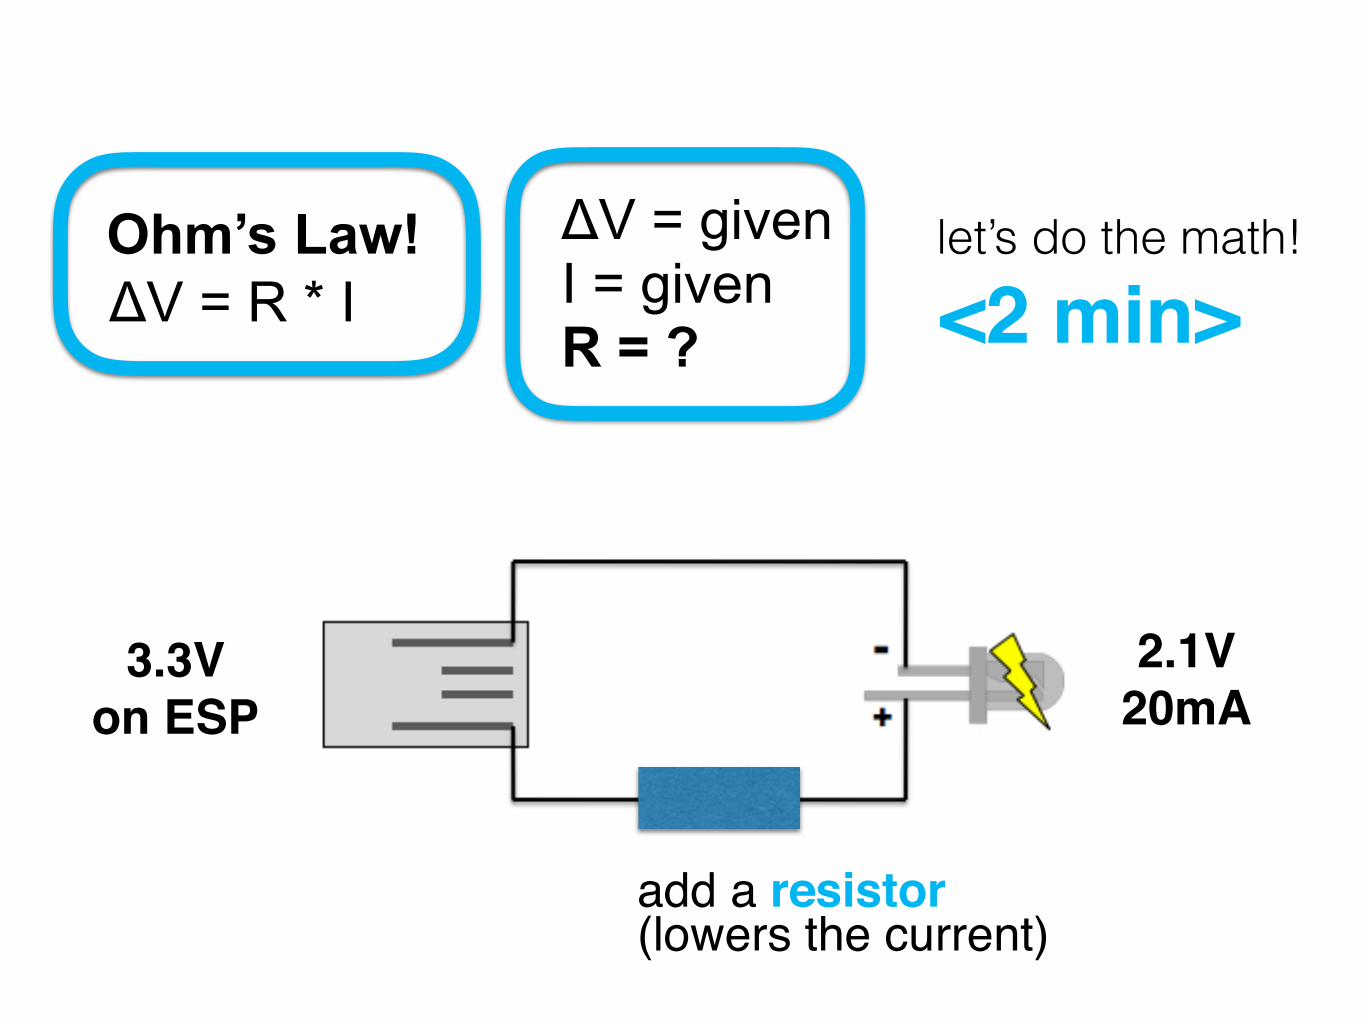
Ohm’s Law!ΔV = R * I
ΔV = given I = given R = ?
let’s do the math!
<2 min>
add a resistor (lowers the current)
3.3Von ESP
2.1V20mA
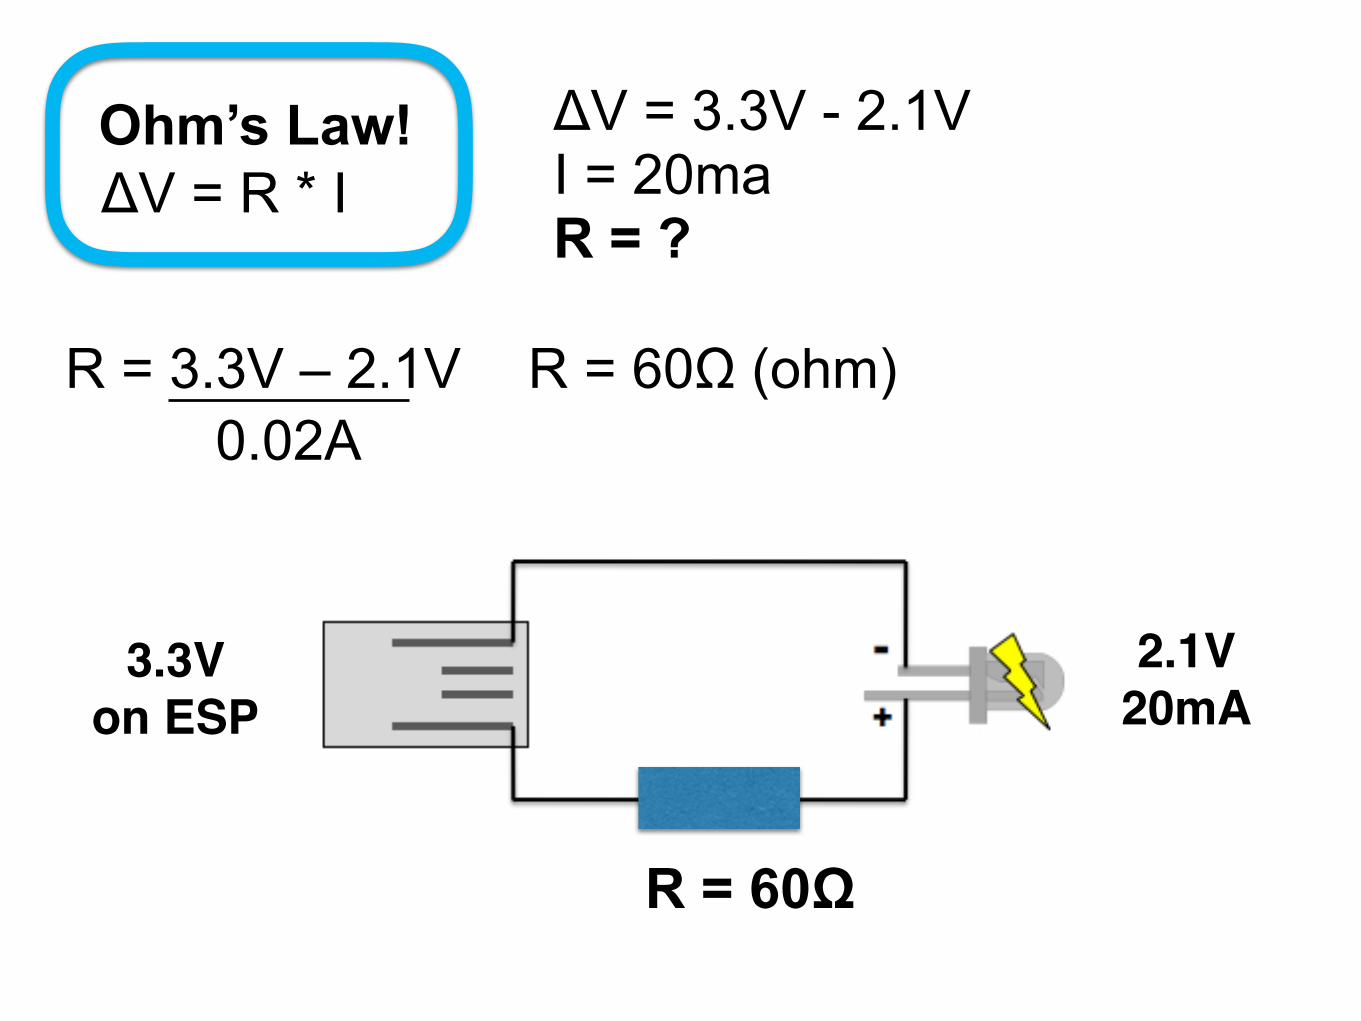
Ohm’s Law!ΔV = R * I
ΔV = 3.3V - 2.1V I = 20ma R = ?
R = 3.3V – 2.1V 0.02A
R = 60Ω (ohm)
3.3Von ESP
2.1V20mA
R = 60Ω
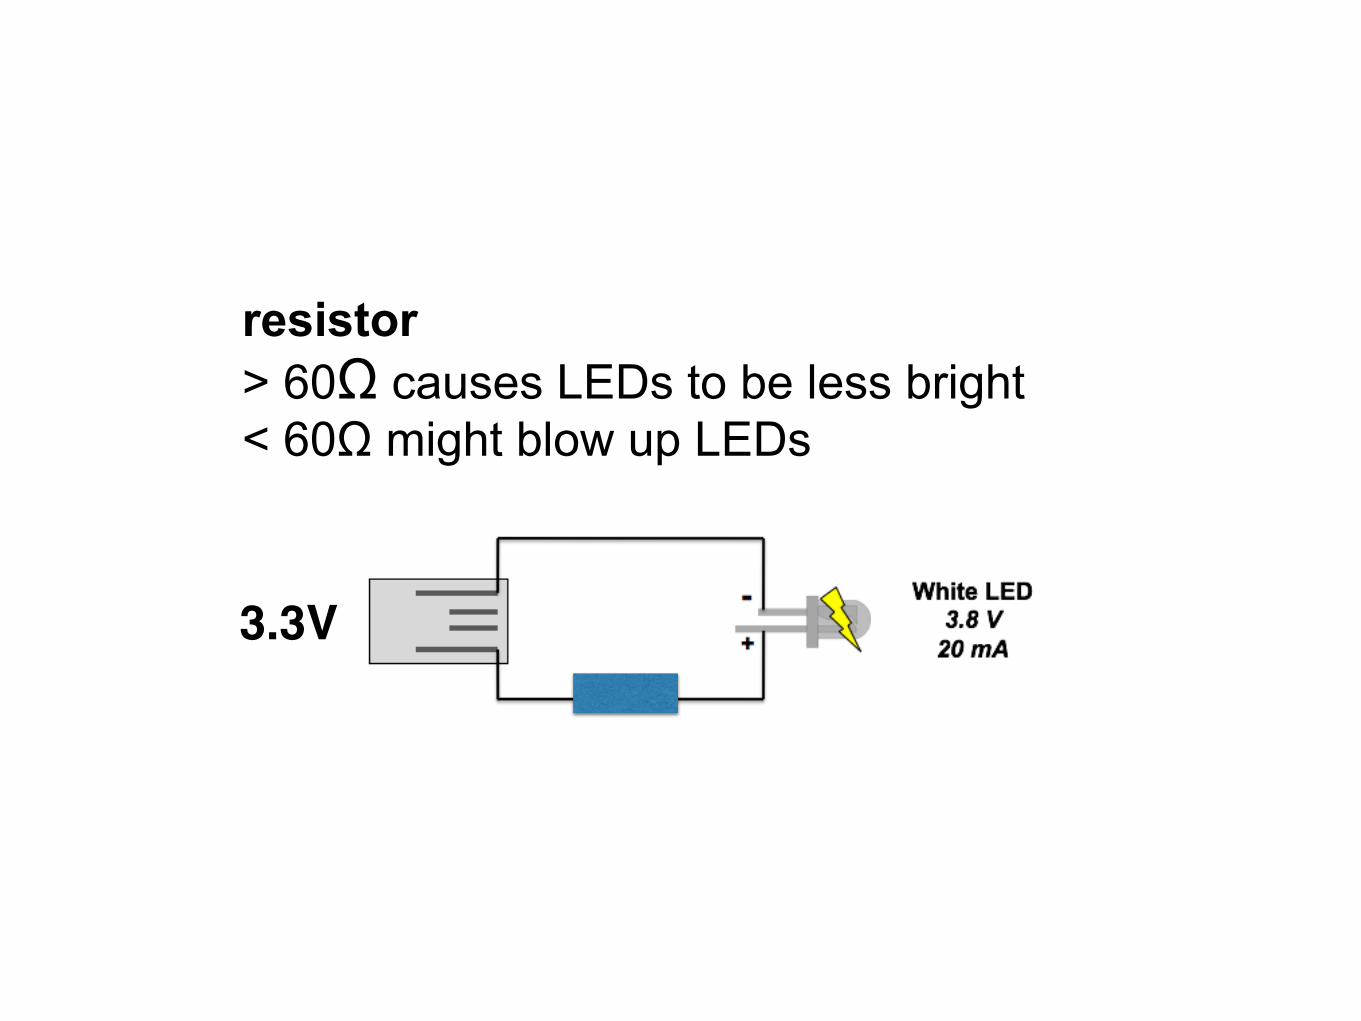
3.3V
resistor > 60Ω causes LEDs to be less bright < 60Ω might blow up LEDs
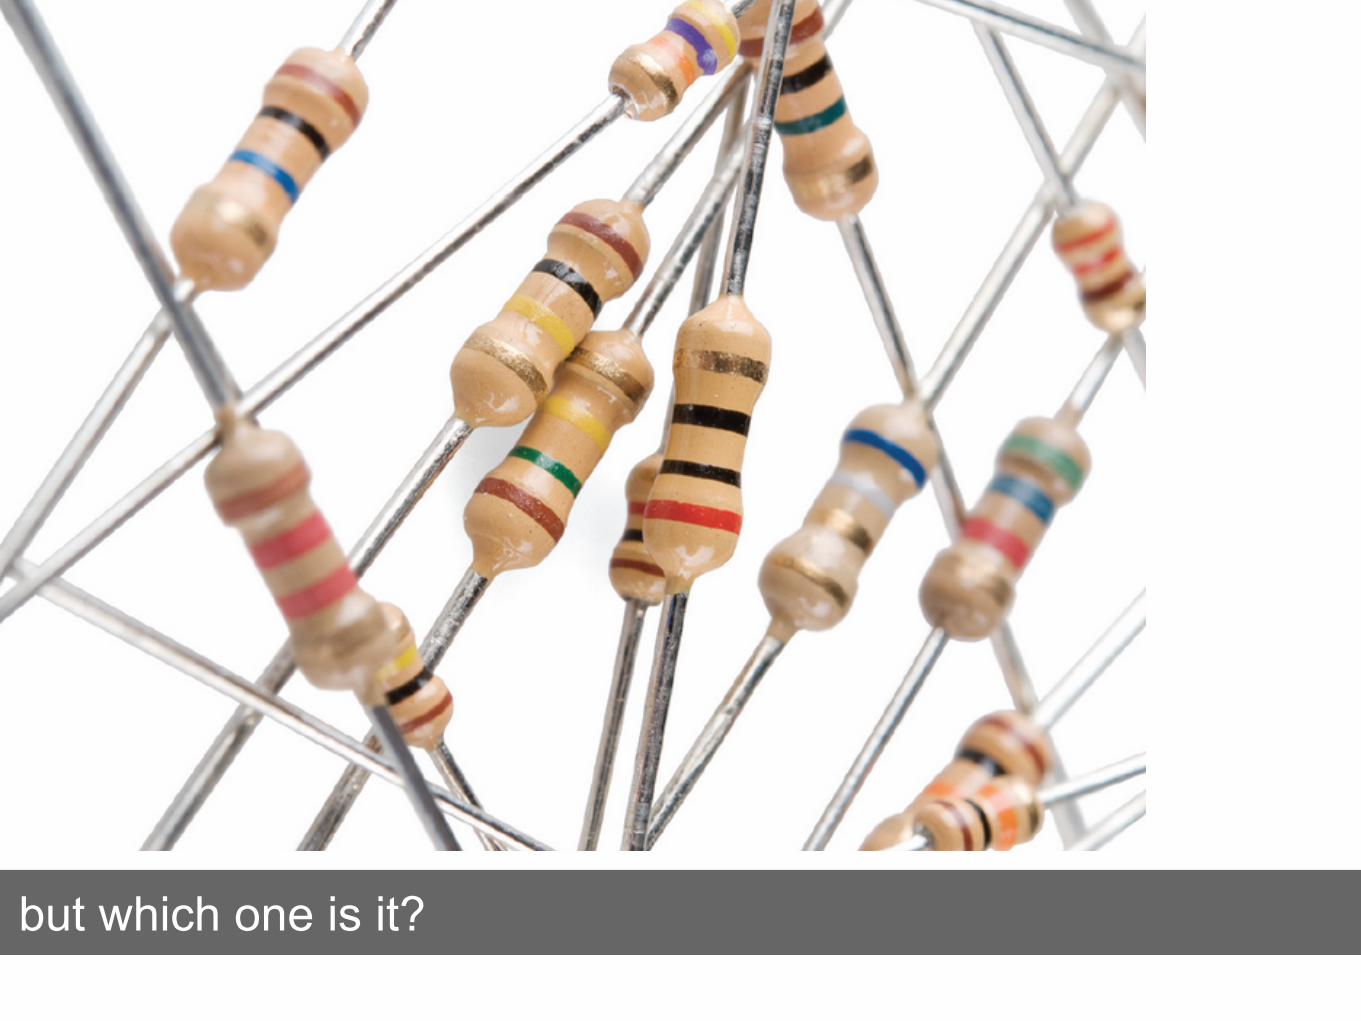
but which one is it?
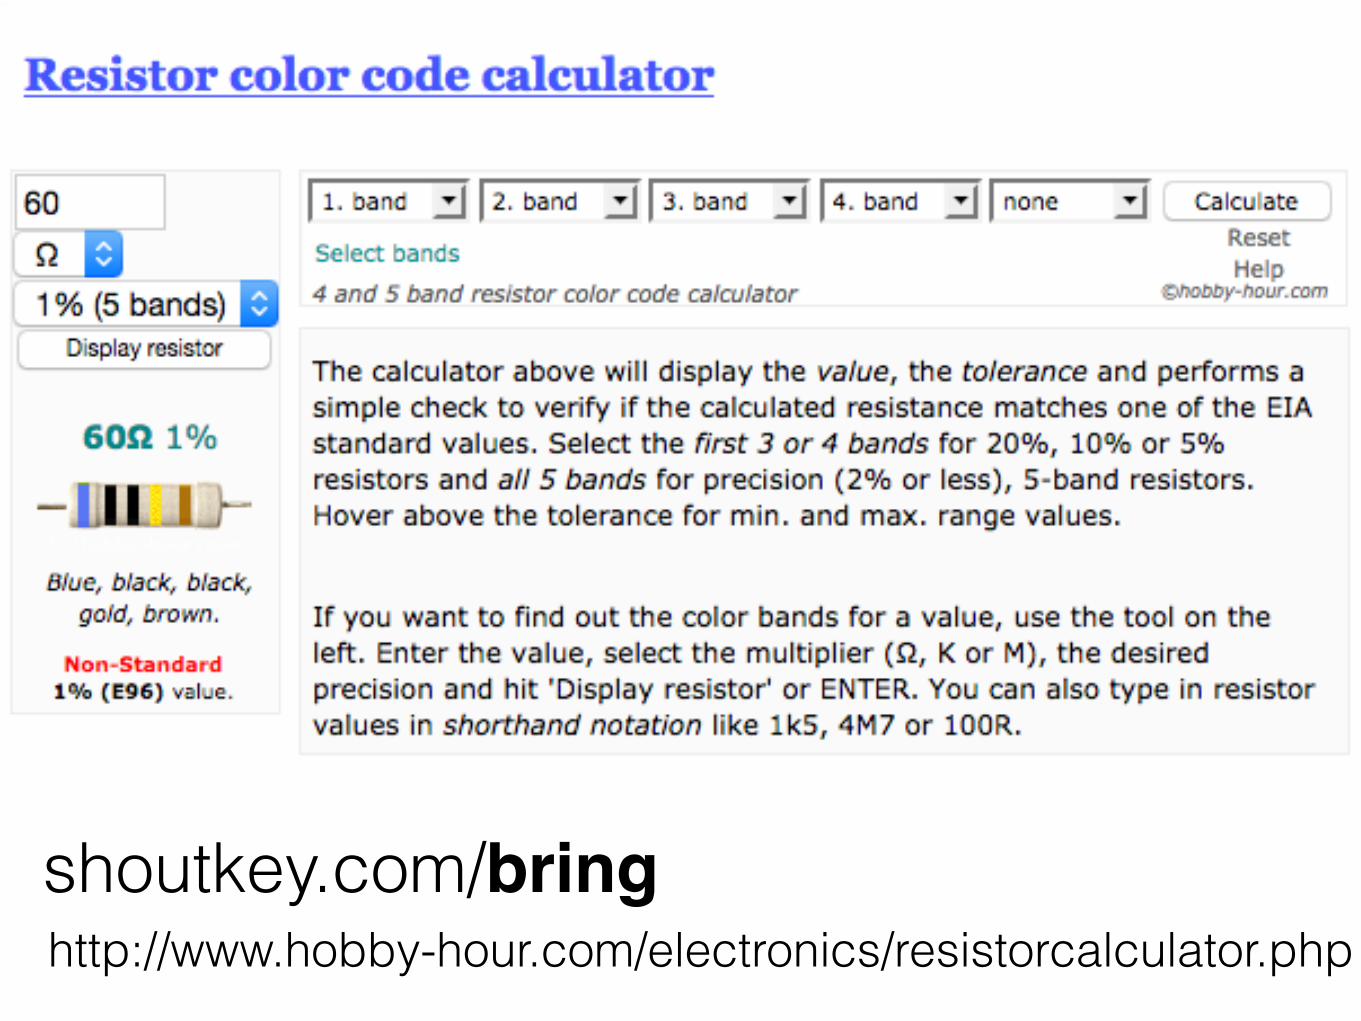
http://www.hobby-hour.com/electronics/resistorcalculator.phpshoutkey.com/bring
3.3V
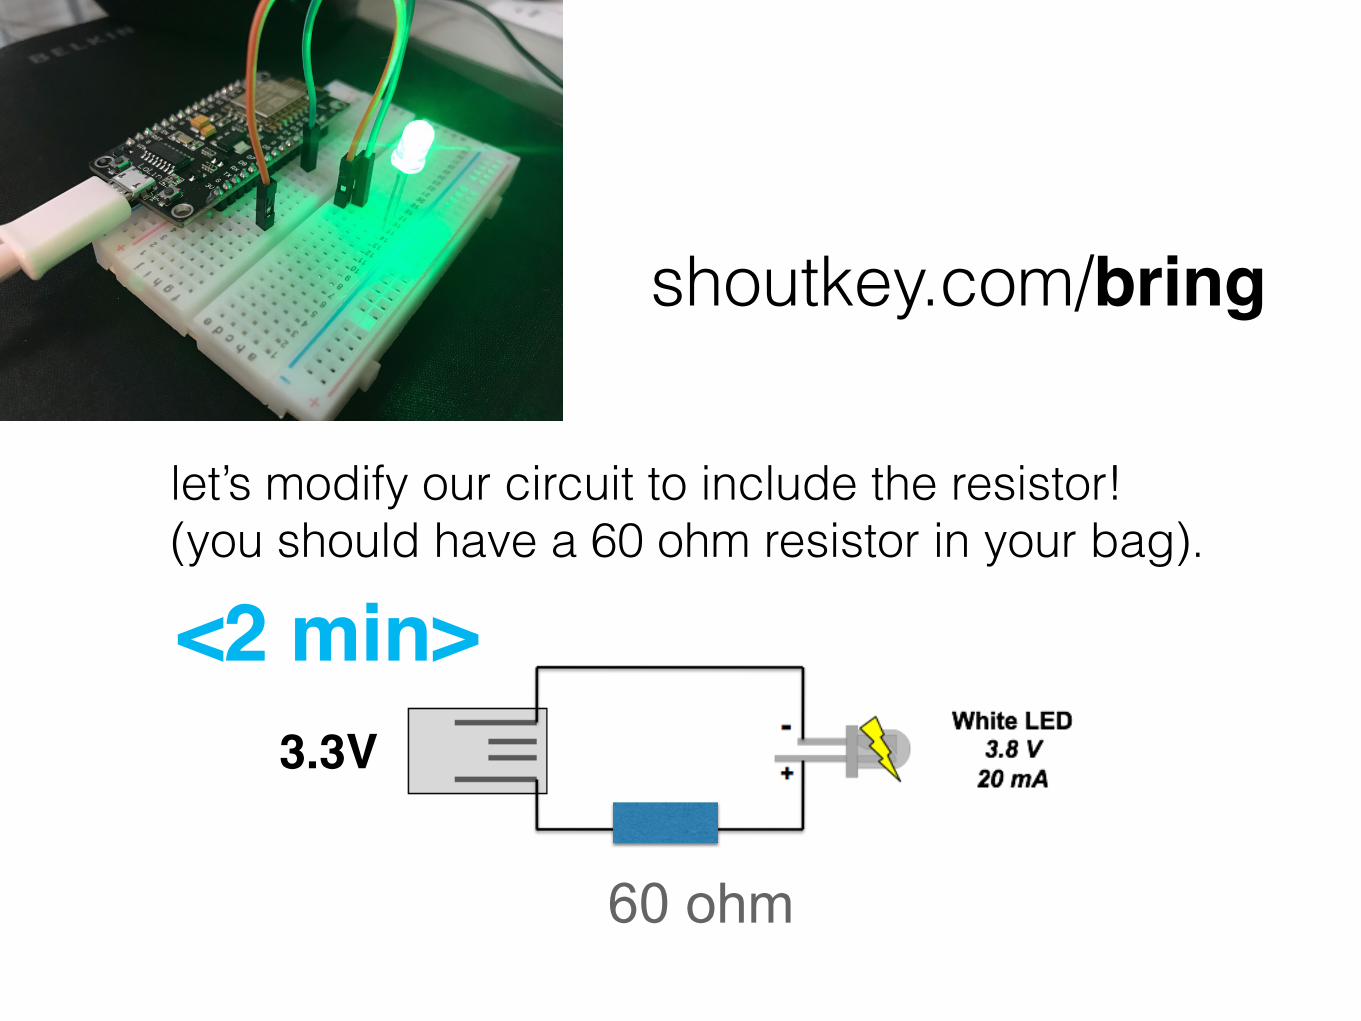
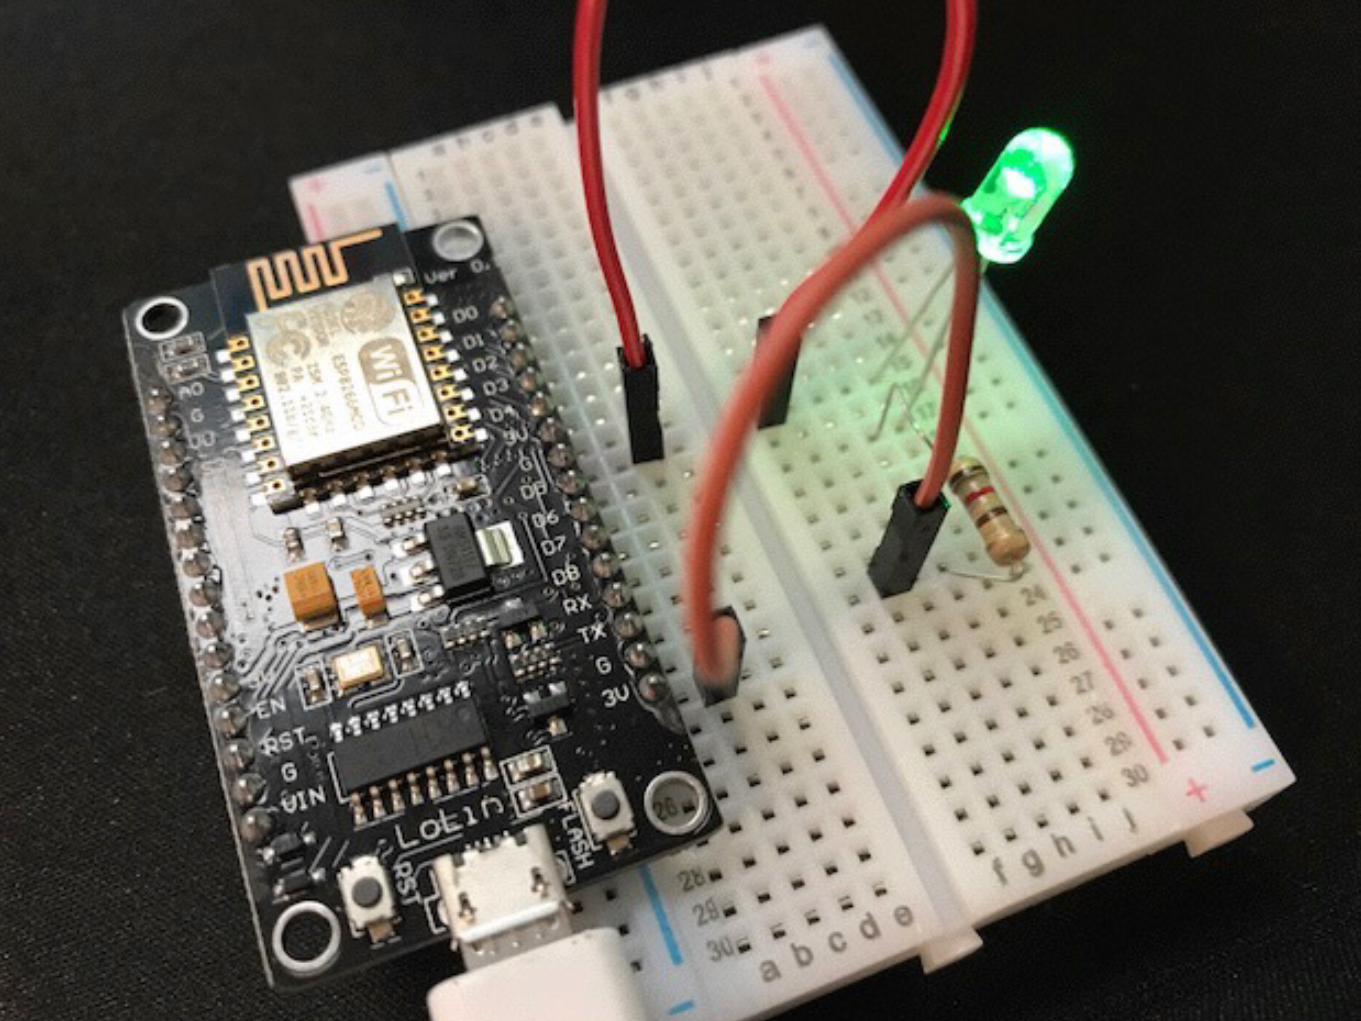
let’s modify our circuit to include the resistor! (you should have a 60 ohm resistor in your bag).
<2 min>
60 ohm
shoutkey.com/bring
serial and parallel circuits
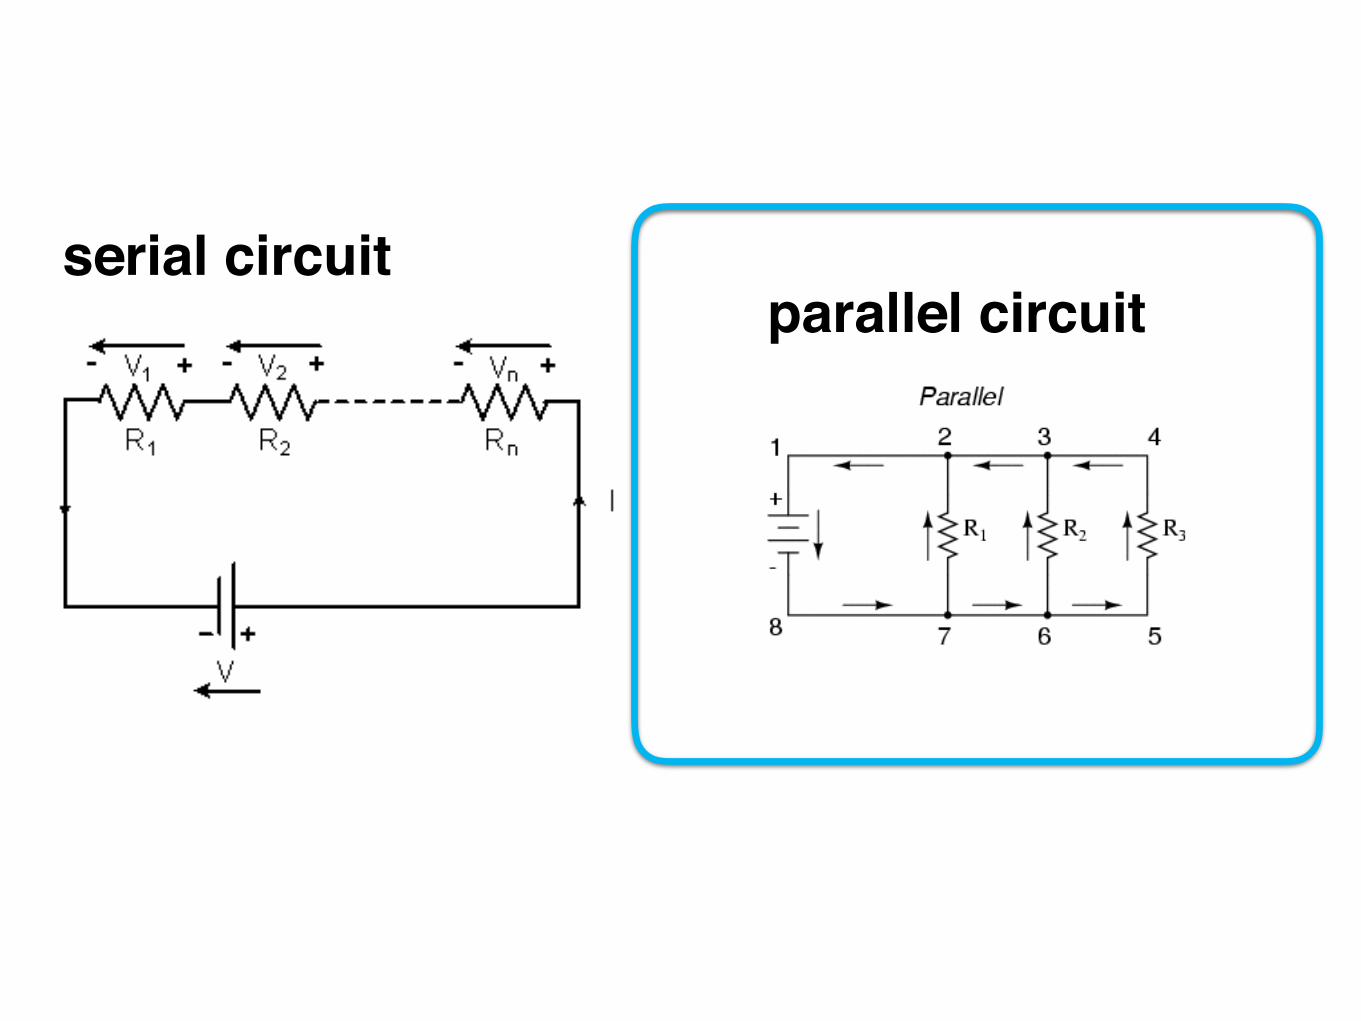
serial circuit parallel circuit
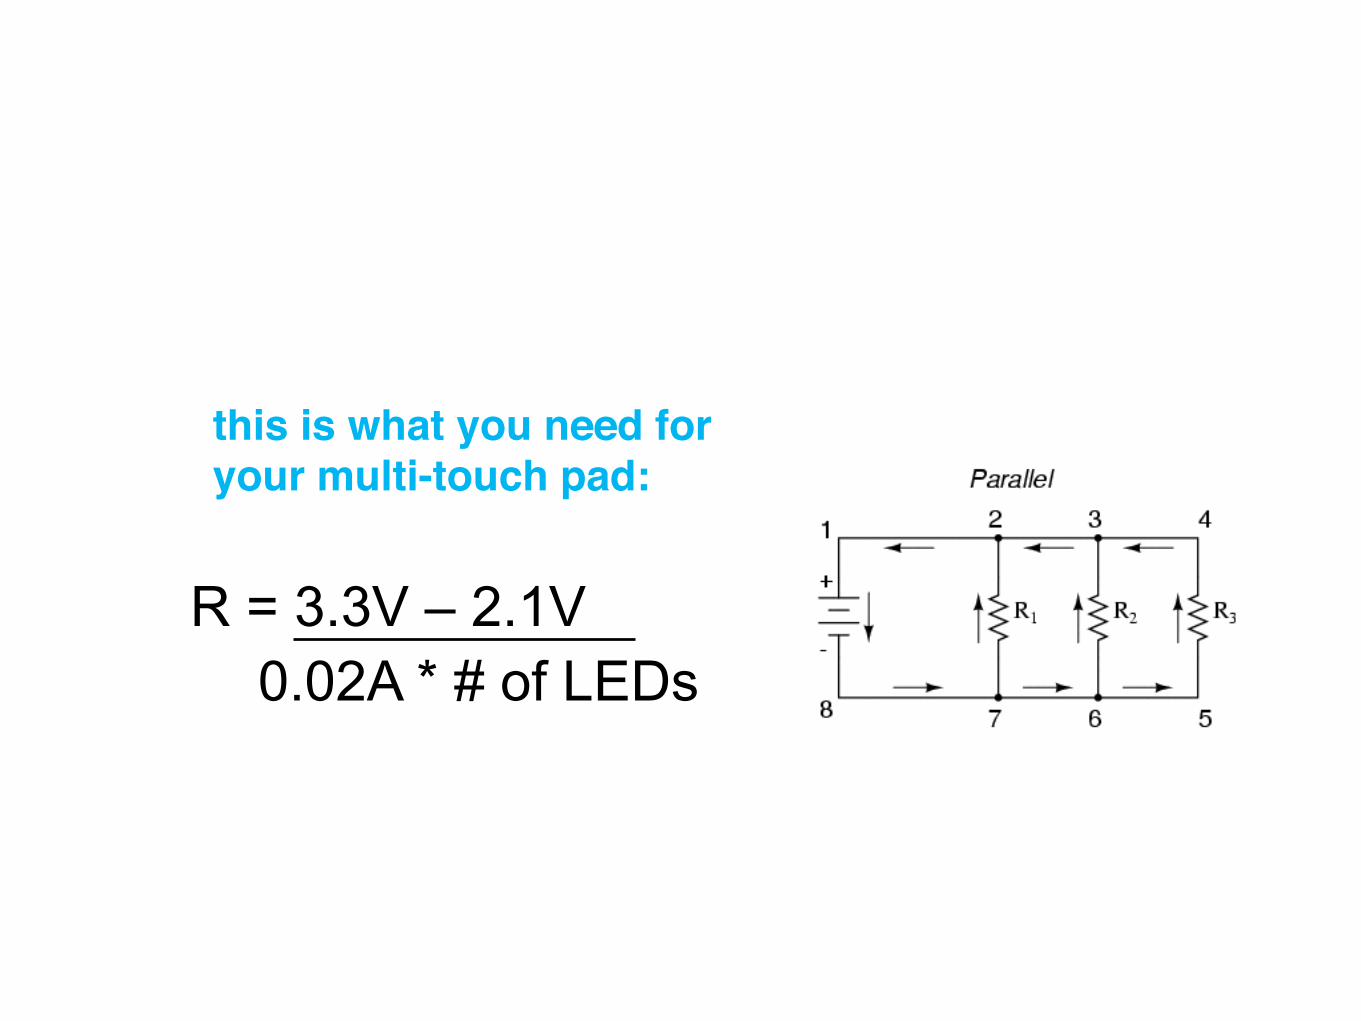
this is what you need for your multi-touch pad:
R = 3.3V – 2.1V 0.02A * # of LEDs

soldering & summary
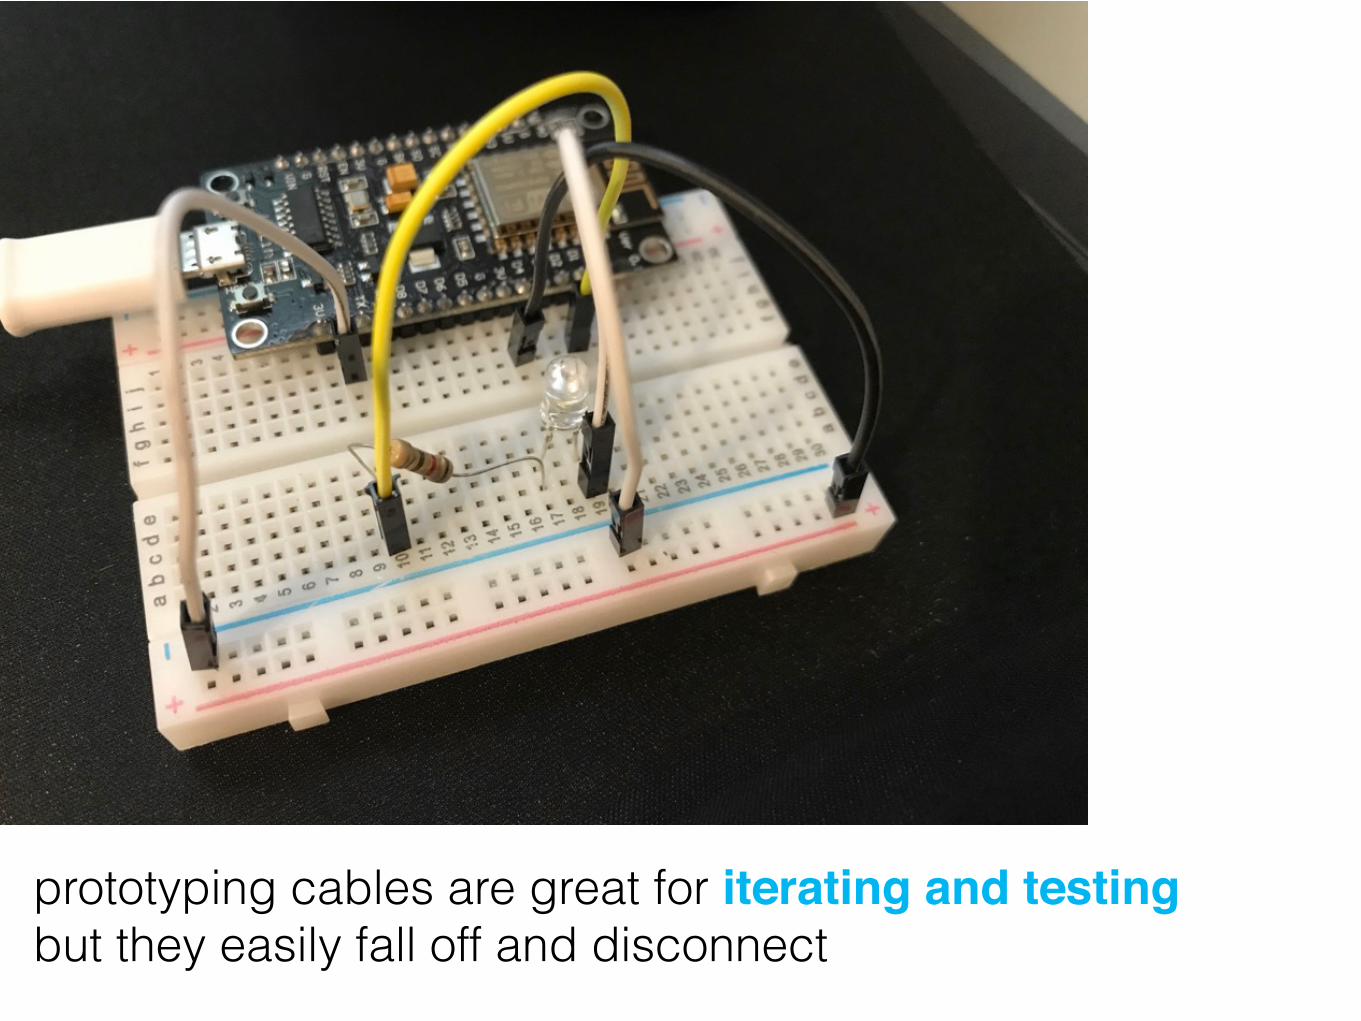
prototyping cables are great for iterating and testingbut they easily fall off and disconnect

solder for permanent connection

soldering ironsolder

stay if you want to solder! otherwise see you on friday!
a few things to do some time…
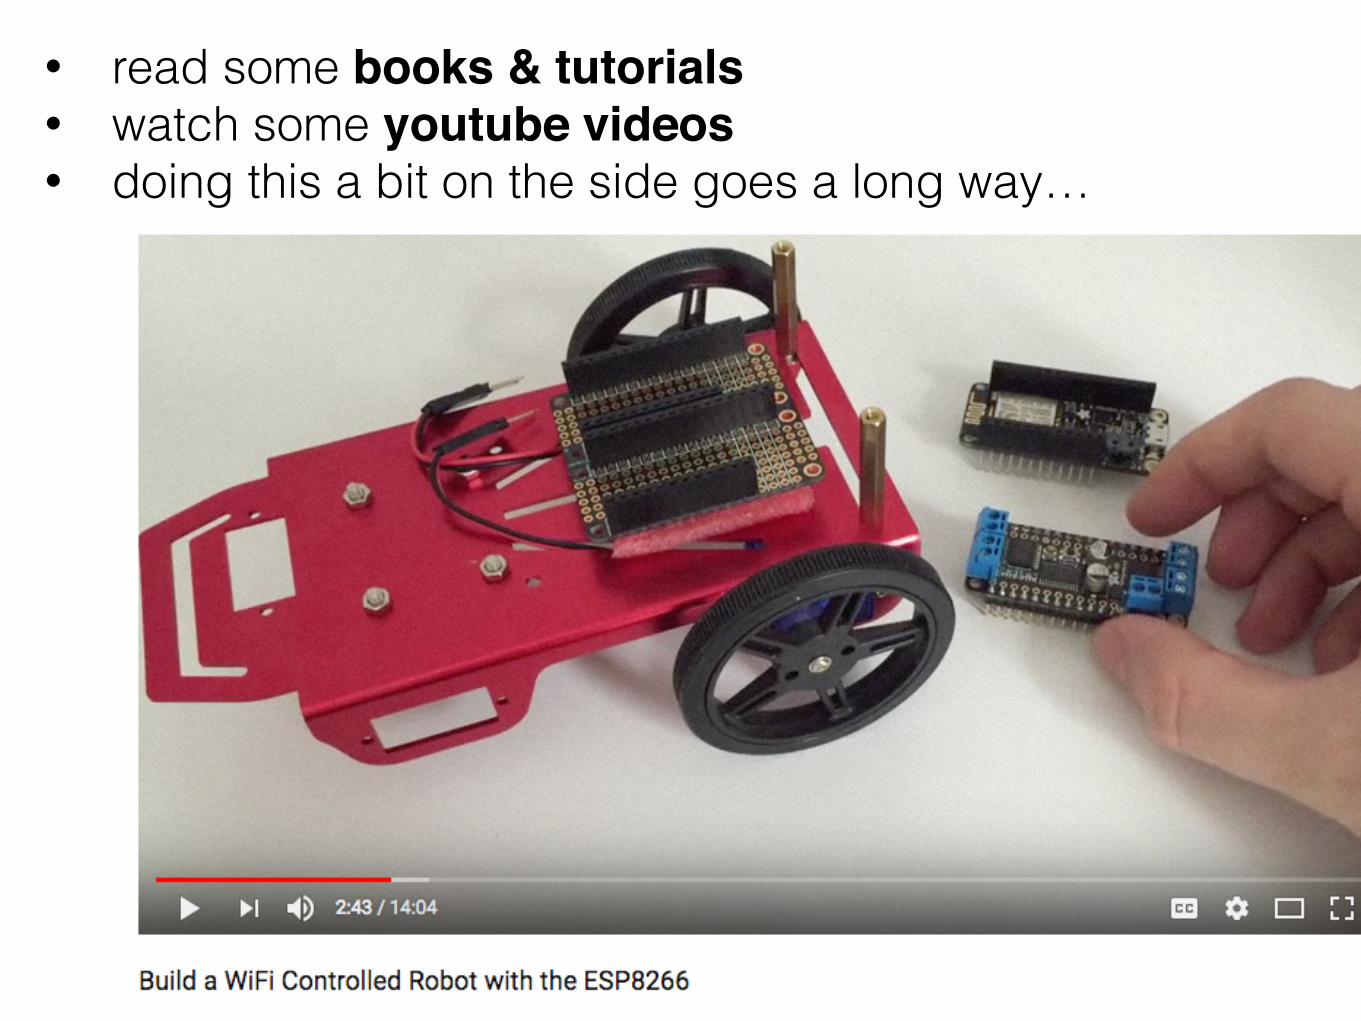
• read some books & tutorials• watch some youtube videos• doing this a bit on the side goes a long way…
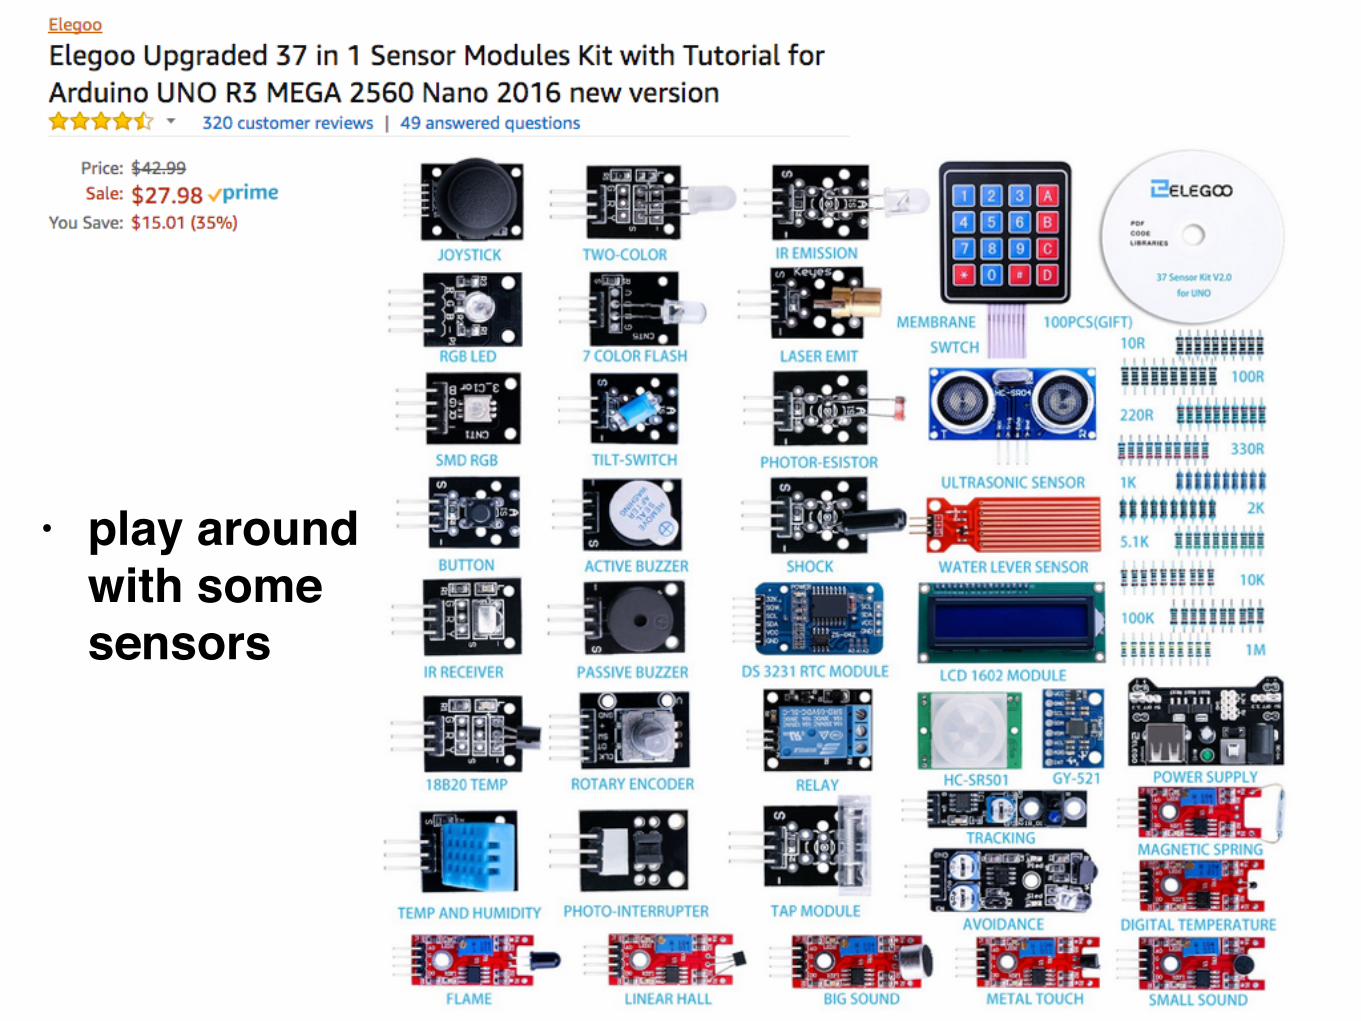
• play around with some sensors
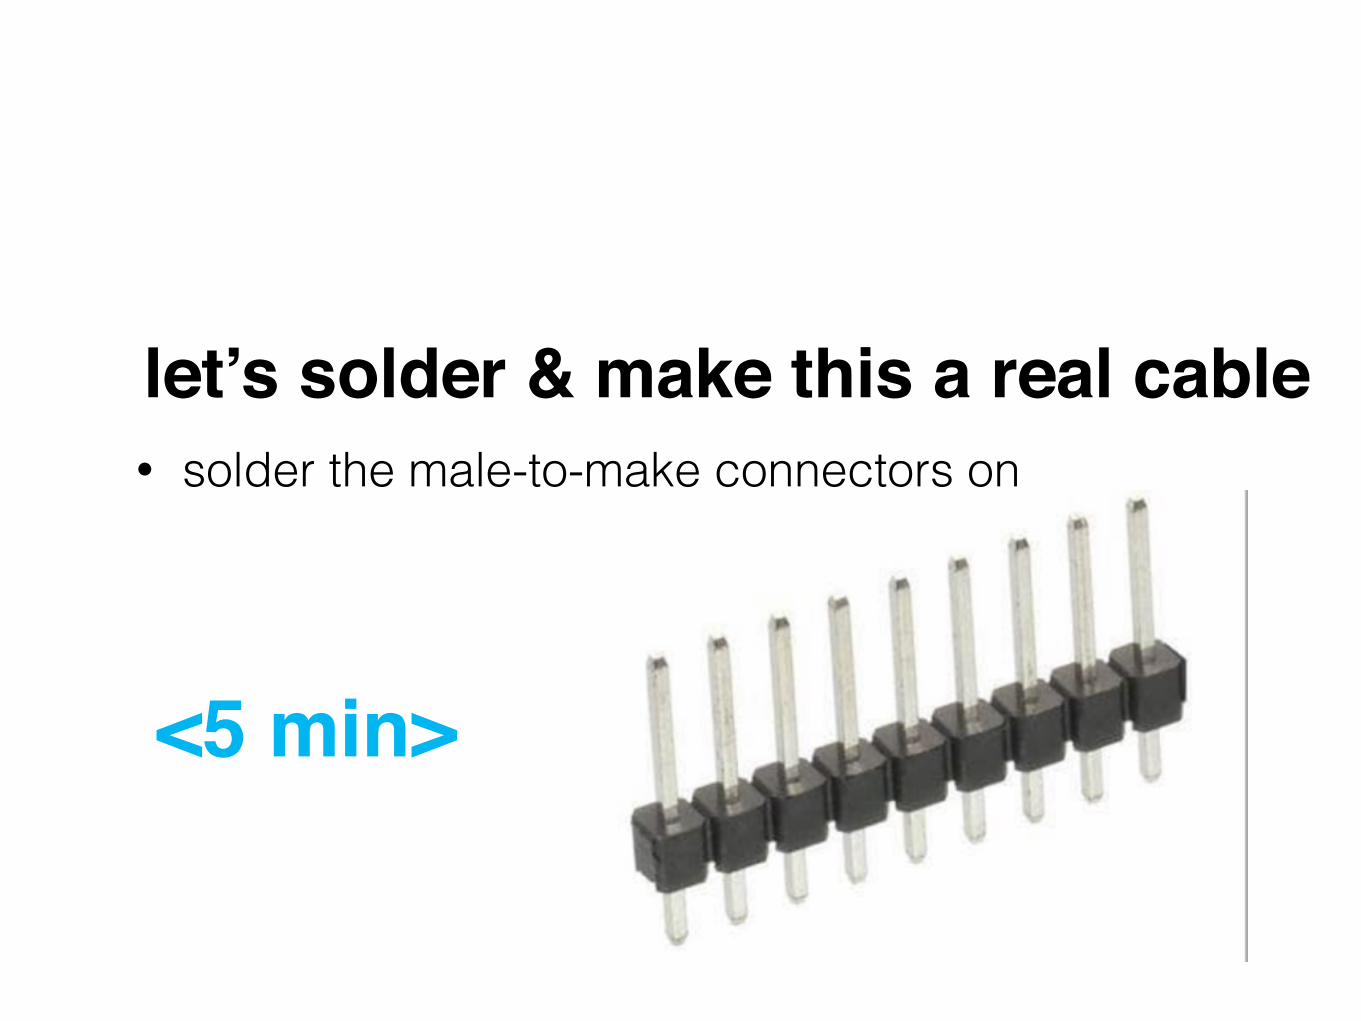
let’s solder & make this a real cable• solder the male-to-make connectors on
<5 min>
let’s solder two LEDs together• take two LEDs • warm up the soldering iron • use solder and connect them • warm solder on LED to disconnect again
<5 min>

end.


