Embed Size (px)
Citation preview

Creating disc labels with LightScribe
Creating Disc Labels with LightScribe 1
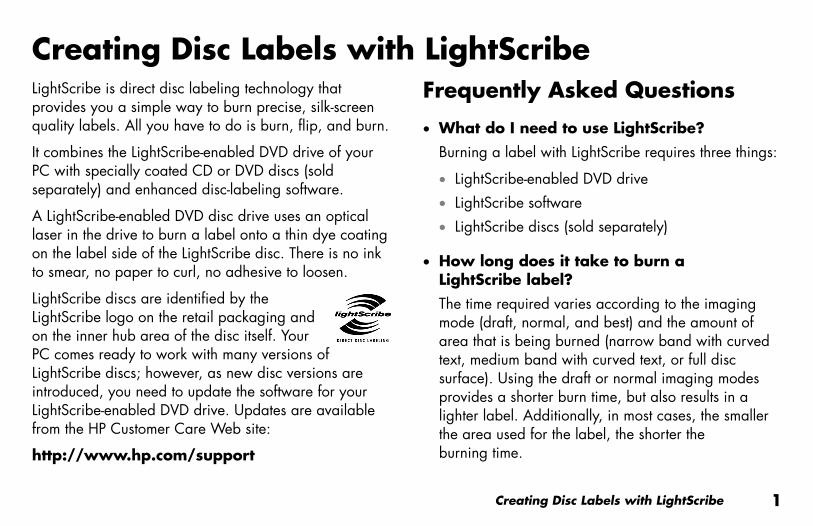
LightScribe is direct disc labeling technology that provides you a simple way to burn precise, silk-screen quality labels. All you have to do is burn, flip, and burn.
It combines the LightScribe-enabled DVD drive of your PC with specially coated CD or DVD discs (sold separately) and enhanced disc-labeling software.
A LightScribe-enabled DVD disc drive uses an optical laser in the drive to burn a label onto a thin dye coating on the label side of the LightScribe disc. There is no ink to smear, no paper to curl, no adhesive to loosen.
LightScribe discs are identified by the LightScribe logo on the retail packaging and on the inner hub area of the disc itself. Your PC comes ready to work with many versions of LightScribe discs; however, as new disc versions are introduced, you need to update the software for your LightScribe-enabled DVD drive. Updates are available from the HP Customer Care Web site:
http://www.hp.com/support
Frequently Asked Questions
• What do I need to use LightScribe?
Burning a label with LightScribe requires three things:
• LightScribe-enabled DVD drive
• LightScribe software
• LightScribe discs (sold separately)
• How long does it take to burn a LightScribe label?
The time required varies according to the imaging mode (draft, normal, and best) and the amount of area that is being burned (narrow band with curved text, medium band with curved text, or full disc surface). Using the draft or normal imaging modes provides a shorter burn time, but also results in a lighter label. Additionally, in most cases, the smaller the area used for the label, the shorter the burning time.
Creating Disc Labels with LightScribe

2 Creating Disc Labels with LightScribe
The LightScribe software you use to burn the label provides you with an estimated burn time when the burning begins, and a progress bar to show the remaining time during the burning process.
• Where are LightScribe discs sold?
LightScribe discs are available at major computer and consumer electronics retail outlets, and through online shopping (US only) at:
http://www.hpshopping.com
• Can LightScribe burn a color label?
Currently, LightScribe technology creates a grayscale image, similar to a black-and-white photograph. LightScribe’s development strategy includes future announcements about additional capabilities.
• Can I use my PC for other things while I am burning a LightScribe label?
Yes. LightScribe does not require your attention during the label burning process. You can continue using your PC for other tasks while the label is being burned.
• Will the LightScribe image fade or darken over time or with exposure to light?
LightScribe discs are optimized to ensure that the labeled surface lasts. Some minor fading may occur over time. To ensure the longest life for both the label and data, keep optical discs out of direct light.
• Is the LightScribe surface/coating safe to handle?
Yes, the LightScribe discs are safe to handle, like other optical discs.
• Can I re-do a LightScribe label?
The LightScribe label is permanent and not erasable.
Creating Disc Labels with LightScribe 3
• What happens if I forget to flip the disc over before burning the label?
The LightScribe software notifies you that the disc is not recognized and prompts you to flip the disk over. The disc must be placed label side down in the DVD disc tray.
• Is the LightScribe disc hot or dangerous to handle immediately after the label is burned?
No, the LightScribe disc is safe to touch as soon as the label burning process is complete.
Tips & Tricks Before you begin, take a moment to review these helpful suggestions:
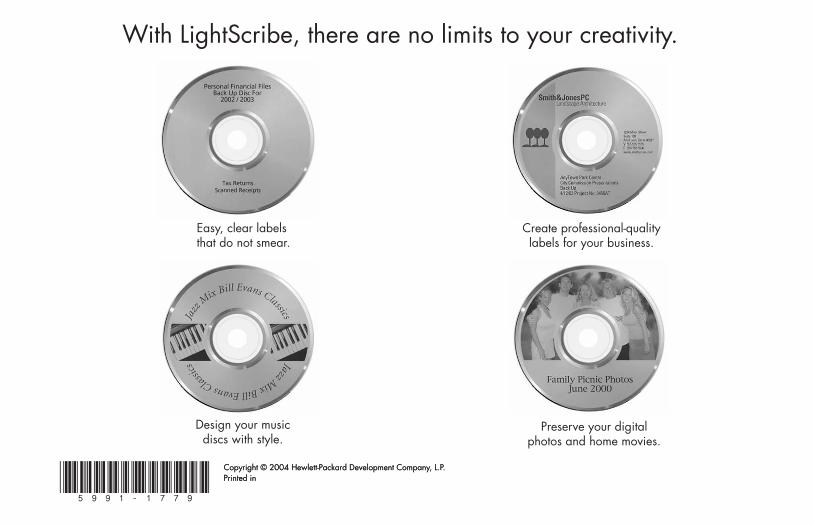
With LightScribe, there are no limits to your creativity! Whatever your requirements for CD/DVD labeling, LightScribe technology offers you the opportunity to let your creativity flow. Create professional silkscreen-quality labels with endless possibilities for personal expression. Burn personalized labels for your music, your family photos, or home video archives.
Choose a design that fits your needs. The LightScribe software that came with your PC has a number of pre-designed templates for any occasion.
Use your own text, photos, or designs. Open your favorite graphic design application, create your artwork, and save it in bitmap, TIFF, or JPEG format. From your LightScribe software, select the file as a background and complete your label by adding any desired text.
4 Creating Disc Labels with LightScribe
Make each CD or DVD a work in progress. You can add new text and pictures (for example, more song names or file names) to a previously burned label. Simply load the label design you originally used to burn the label, clear the existing text and graphics to avoid duplicate information being burned, then add the new label information and burn again.
Preview your label. Use the Print Preview function (or print out on paper) to see your label before burning to make sure it is exactly the way you want it.
Cut down on your label burning time. Switch from Best to Normal mode: you’ll burn fewer tracks per inch for a lighter, but faster, label. Or use the Title or Content templates instead of Full Disc. Because LightScribe burns (starting in the center of the disc) outward in concentric rings, Title and Content templates save time by confining your label to a narrower band. For the same reason, using circular text instead of straight text can also speed up burn times.
Go for contrast. A high-contrast photo or graphic stands out better than a picture in mostly soft middle tones. Use your software’s preview feature to see how the graphics you use look on disc.
Keep using your PC. While the label is being created, you can continue to use your PC for other activities. The LightScribe software indicates the time remaining to burn the design.
Avoid sudden shock or vibration. While the disc is labeling, avoid any sudden shock or vibration to the PC.

Creating Disc Labels with LightScribe 5
Creating a LightScribe label Burning a label with LightScribe is a separate process from burning data, music, or picture files onto a disc. Depending on the LightScribe software you use, you can create a label before or after you burn files onto the disc.
Note: To burn the label, you must flip the disc over and place it label side down in the DVD disc tray.
Labels can be a simple title with a contents list, or you can get more creative by adding backgrounds and images.
You can design and create the label with InterVideo Disc Label or Sonic Express Labeler.
Note: Sonic Express Labeler can also be opened from iTunes after you burn a data CD or audio CD.
To create a label with InterVideo Disc Label: 1 Click Start, All Programs, InterVideo
DiscLabel, and then click InterVideo DiscLabel again.
2 Select a template style from the Template menu and click Apply.
3 Double-click the title text box, if present, or click Add Text.
4 Type the text into the Rich Text Edit window and then click OK.
5 With the text box selected (click the box once), use the Text toolbar to modify the font, color, and other text properties.
6 Double-click the list text box, if present, or click Add List to add a list of contents to the label.
7 Click Add to add a row to the list.
6 Creating Disc Labels with LightScribe
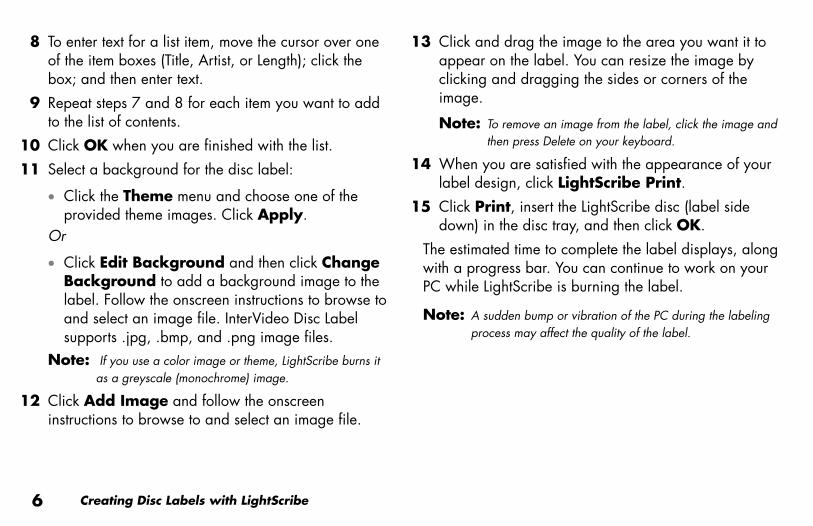
8 To enter text for a list item, move the cursor over one of the item boxes (Title, Artist, or Length); click the box; and then enter text.
9 Repeat steps 7 and 8 for each item you want to add to the list of contents.
10 Click OK when you are finished with the list.
11 Select a background for the disc label:
• Click the Theme menu and choose one of the provided theme images. Click Apply.
Or
• Click Edit Background and then click Change Background to add a background image to the label. Follow the onscreen instructions to browse to and select an image file. InterVideo Disc Label supports .jpg, .bmp, and .png image files.
Note: If you use a color image or theme, LightScribe burns it as a greyscale (monochrome) image.
12 Click Add Image and follow the onscreen instructions to browse to and select an image file.
13 Click and drag the image to the area you want it to appear on the label. You can resize the image by clicking and dragging the sides or corners of the image.
Note: To remove an image from the label, click the image and then press Delete on your keyboard.
14 When you are satisfied with the appearance of your label design, click LightScribe Print.
15 Click Print, insert the LightScribe disc (label side down) in the disc tray, and then click OK.
The estimated time to complete the label displays, along with a progress bar. You can continue to work on your PC while LightScribe is burning the label.
Note: A sudden bump or vibration of the PC during the labeling process may affect the quality of the label.
Creating Disc Labels with LightScribe 7
To create a label with Sonic Express Labeler: 1 Click Start, All Programs, Sonic RecordNow!,
and then click Express Labeler.
Note: You can open the Express Labeler from within RecordNow! by clicking Label Disc.
2 In the Step 1: Select Project area, make sure that Disc Label is selected.
3 Click Text and then enter text for the Title and Subtitle.
4 For each line of content description, click New and enter text for the information you want to include, and then click OK.
5 Select a label template by clicking Layout and choosing a layout.
6 Select a background, if desired, by clicking Background. Select one of the provided backgrounds or click More to find one of your own images to use as a background.
Note: If you use a color image, LightScribe burns it as a greyscale (monochrome) image.
7 When you are satisfied with the appearance of your label design, insert the LightScribe disc (label side down) into the disc drive tray and then click Print.
8 From the Disc Label menu, select LightScribe 12cm Disc.
9 Select a Contrast Level and then click OK to begin burning the label.
The estimated time to complete the label displays, along with a progress bar to show you the time remaining. You can continue to work on your PC while LightScribe is burning the label.
Note: A sudden bump or vibration of the PC during the labeling process may affect the quality of the label.
8 Creating Disc Labels with LightScribe
To create a label after burning a disc with iTunes: iTunes works with Sonic Express Labeler to allow you to burn labels on a data CD or audio CD. The playlist you create in iTunes to burn a disc is automatically imported into Express Labeler so that this information is available for you to use on your LightScribe label.
Note: To use Express Labeler from iTunes, the data or music tracks in the playlist you are using must fit on a single CD.
1 Click Start, All Programs, iTunes, and then click iTunes again.
2 Burn a data or audio CD with iTunes. When the burning process is complete, click Yes on the Create LightScribe Label window.
3 In the Step 1: Select Project area, make sure that Disc Label is selected.
4 Select a label template by clicking Layout and choosing a layout.
Note: The various layouts show different amounts of playlist information. Some show only the playlist title and others show the playlist title and track names. You can edit the
playlist information by clicking Text to open the Edit Text window.
5 Select a background, if desired, by clicking Background. Select one of the provided backgrounds or click More to find one of your own images to use as a background.
Note: If you use a color image, LightScribe burns it as a greyscale (monochrome) image.
6 When you are satisfied with the appearance of your label design, insert the LightScribe disc (label side down) into the disc drive tray and then click Print.
7 From the Disc Label menu, select LightScribe 12cm Disc.
8 Select a Contrast Level and then click OK to begin burning the label.
The estimated time to complete the label displays, along with a progress bar to show you the time remaining. You can continue to work on your PC while LightScribe is burning the label.
Note: A sudden bump or vibration of the PC during the labeling process may affect the quality of the label.
Copyright © 2004 Hewlett-Packard Development Company, L.P.Printed inCopyright © 2004 Hewlett-Packard Development Company, L.P.Printed in
With LightScribe, there are no limits to your creativity.
Easy, clear labels that do not smear.
Create professional-qualitylabels for your business.
Preserve your digitalphotos and home movies.
Design your musicdiscs with style.


![Wpmen]^ - Flying Disc Museum](https://img.dokumen.tips/doc/110x75/633c817562e54755e7023f2c/wpmen-flying-disc-museum.jpg)