Embed Size (px)
Citation preview

Checkpoint c - Progress challenges 1-7BY COLLEEN SEDGWICK STUDENT NO E0498336


Knowing what photomedia is and how it is used in various industries, you will now explore its possible usage in your own workplace and professional life by presenting at least three (3) possible uses (in 200 words) supported by references to online articles and websites. Include this in your portfolio for final submission.Complete the above challenge and then click LINK 5 to upload.
30529a Progress Challenge 01
Exploring Photomedia
AdvertisingPhotographers and Photomedia artists are often em-
ployed or comissioned by various corporations, often
to sell a product or service – so the purpose is com-
mercial. One example is on page 9 in my e-book1 – an
ad for Diet Coke2. Another is Erik Johanssen – whose
works were comissioned by Ikea and the Swedish Can-
cer Council3.
1 Open Colleges (2013): ‘1.1: Exploring Photo-media’ in CUV50311 Diploma of Graphic Design – Stock Code 30529a (Work with Photomedia in Creative Prac-tice), page 92 Ibid - Source: http://trendsbreaker.com/fash-ion-photography-diet-coke/3 Johansson, E (2015): Commissioned Works in http://www.erikjohanssonphoto.com/commissioned/
Journalism - Newspapers and MagazinesMany photographers use their work to express their
concern on various social issues. An example is this
collection of black and white compositions taken by
Indigenous people that were displayed in the National
Gallery of Australia4. These photographs may also get
syndicated in newspapers and magazines, particularly
photographs of a political or cultural nature.
4 National Gallery of Australia (2015): Aboriginal and Torres Strait Islander Art – Photomedia in http://nga.gov.au/COLLECTIONS/ATSI/GALLERY.cfm?DISPLAY-GAL=18B
Fine ArtsMany of the HSC (Year 12) graduates who excel in Art,
often have their works on display at the Art Gallery
of NSW, and may pursue a career in photography and
other related fiedls. Having your work on display in a
museum is one way to get a foot in the door5. For in-
stance, another artist takes panoramic photographs
of the Australian outback and the pictures can still
have a rather profound psychological effect on the
viewer as it had with the photographer himself6.
5 Art Gallery of NSW (2011): Inside Art Express, http://www.artgallery.nsw.gov.au/insideartexpress/2011/alex_hemmings/?model=expressive-forms-all6 Art Gallery of NSW (2013): Inside Art Express, http://www.artgallery.nsw.gov.au/insideartexpress/2013/alistair_hill-lees/?model=expressive-forms-all

30529a Progress Challenge 02
Photomedia Immersion
Having been introduced to photomedia approaches and some photomedia examples by different artists in various industries, begin the process of creating your own photomedia
work for this course through immersion.
Based on the subject, genre or approach you want to experiment on, present two (2) case studies of still image-based photomedia projects by individual artists and add them to your
portfolio with documentation and proper referencing (approximately 500 words).
These projects must be based on the delivery of still images and be created using tools and technologies that are accessible to you.
Your documentation for each of the two (2) projects should include analysis of their brief. These details include:
• the objective
• the target audience
• the timeline or schedule
• the development and milestone stages
• the delivery and output requirements
• summary of the creative approach the artist used
• summary and description of the technical approach, tools and technologies the artist employed.
Complete the above challenge and then click LINK 8 to upload.

Case Study 1 – Erik Johansson
I just love his work and approach1. He was orginaally born in Sweden but has worked in Germany and now the Czeck Republic2.His clients (target audience) are many and varied. They include Adobe, National Geographic, Volvo, Google, Microsoft, Barncancer Fonden, Horn-bach, and Aishti. So, they include major organisations. However, these works are also available as individual prints which you can purchase3.The timeline or schedule can vary according to whether he makes images for specific clients (where there are tighter deadlines to adhere to) or for noone in particular (these can take up to a year to create).The development and milestone stages are as follows: a sketch, photo shoots at the locations, model making (and painting), loading the imag-es onto the computer, then compositing (on Photoshop). This is for his composition for 'Landfall'4 (where there is a house on the edge of a cliff, but instead of the rock face, there is actually grass growing like on normal ground)5.Technologies he uses include a Hasselbad H5D camera system, a Mac Book Pro 15-inch and self-made PC, an Eizo colour monitor and Adobe Photoshop CC 2015 and Lightroom. He uses his own images.
1 Johansson, E (2015): Erik Johansson Photography, http://www.erikjohanssonphoto.com/2 Ibid, http://www.erikjohanssonphoto.com/about/3 InPrint (2015): Art Prints by Erik Johansson, http://www.inprnt.com/gallery/erikjohansson/4 Op cit, Landfall, http://www.erikjohanssonphoto.com/land-fall/5 Op cit, ‘Behind the Scenes for Landfall’ in http://www.erikjo-hanssonphoto.com/behind-the-scenes and https://youtu.be/8fP3A-Jl6eLk
Illustration 1: 2014 (c) Erik Johanssen: Landfall

Case Study 2 – Arno Raffael Minkkinen
I found out about this photographer on Bored Panda1, via Facebook: For the past 40 years, he had taken photographs of himself naked in various land-scapes and in black and white. However, you won't see many full-frontal pic-tures, most of these consist of body parts which have become part of the landscapes he photographs. The target audiences usually include art galleries and their patriots, and peo-ple who buy copies of his prints. His work is also available through Amazon2.The development and milestone stages are as follows: go out to the location, take clothes off, set viewfinder and timer, get into position, take photo, get out of position and location, go into dark room and develop photos ready for display. The timeline or schedule can vary according to how long it takes to do the work, especially when it comes to going out to some of the remote lo-cations he travels to.He says he doesn't use Photoshop or any other photo-editing software (in fact, he was creating the compositions long before Photoshop was available) – just what appears to be on the viewfinder of the camera. The technologies used include the timer on the camera (and a case of being able to get into his position in enough time to create the shot), and a long cable release bulb (which he throws out of the way in time to get the shot). He then uses the traditional dark room techniques to process and develop the prints.
1 Dovas (2015): Photographer Uses His Own Nude Body to Create Surreal Worlds, in Bored Panda, http://www.boredpanda.com/self-por-trait-photography-landscape-surreal-arno-rafael-minkkinen2 Amazon (2015): Books by Arno Rafael Minkkinen in http://www.amazon.com/Arno-Rafael-Minkkinen/e/B000APQZOU/ref=as_li_ss_tl?_encoding=UTF8&camp=1789&creative=390957&link-Code=ur2&tag=vilofjoy-20&linkId=7GC77UK4BOH3QKEI
Illustration 2: 2007 • Le Bouquet d'Arbres • Malmo Castle Prison, Malmo, Sweden

30529a – Progress Challenge 03
Production Blog
Take the first step towards creating your own photomedia project through exploring and developing ideas. To aid you in this process, create your own production blog through the numerous channels available in the web and the ones suggested in this course. Use this site to organise, document, reflect and share elements of your development processes. Use this site to also get useful feedback, reviews and discussions as your project pro-gresses and finalises.Share your page with the professional online communities, artists’circles, your friends and work colleagues.Take a screenshot of the blog you created and share this together with your blog link in your portfolio. Provide a brief description on the audience and people you want to share this with.Complete the above challenge and then click LINK 16 to upload.Click LINK 17 to discuss your work with other students on the forum.
This is the link to my 'production' blog: http://sedgieart.blogspot.com.au/. I had this blog up since early this year, when I started Study Period 1 of the Diploma Course. I am now up to Study Period 2, Module 2 – Work with Photo-media. However, I haven't put up any works with this topic just yet. However, this screenshot should give you an idea as to how it should look. About this post:This post is done for the purposes of this excercise - It’s like I am blogging about my own blog, and this post is about this post. Hahaha!!! How funny is this!!!However, I had uploaded and submitted my this progress challenge as a PDF (portable document file) to the class forum for everyone else’s perusal. And that was my answer at the time.

30529a – Progress Challenge 04 Design Elements
To showcase your ability to use your camera both technically and creatively, represent five (5) of the design principles covered by photographing objects in your immediate envi-ronment using your digital camera. These objects can be anything you see (plants, rocks, household items, structures, etc). For example, you can choose to represent the design principle of repetition by photographing a basket of oranges, emphasising the repeating patterns and shapes of the fruit. Use this exercise as a way for you to explore and ex-periment features and photographic techniques using your camera. Place each of these five (5) images in your portfolio, properly labelled based on the design principle they rep-resent and provide a brief overview of each image (50 words per image). Complete the above challenge and then click LINK 19 to upload.
Five design principles or elements (well, seven, to be exact) of my images (Top to bottom).
1. Colour: Yellow orchid, Royal North Shore Hospital (St Leonards, NSW), 2011,
Nokia mobile phone (bottom left)
2. Rule of thirds: Pidgeonhouse Mountain, 2012 (Taken with Olympus FE 320) - fore-
ground, midground and background are in ‘thirds (3rd row, 2nd from Left)
3. Light and texture: Close-up of furry toy, Lane Cove (NSW), 2014, Olympus VG 165
4. Space and Depth: View from my balcony, Lane Cove (NSW), 2009, Olympus FE 280
5. Repetition: Terracotta Warriors, X’ian (China), 2009, Olympus FE-320
6. Contrast: Fiery sunrise, Lane Cove (NSW), 2010, Olympus FE 320
7. Lines and shapes: Diamond pattern, 2011, Melbourne (Vic), Olympus FE 320

30529a – Progress Challenge 05 Image Editing
Take three (3) photographs with different themes and subjects and use image edit-ing tools as a way for you to enhance both the intended purpose of the image and the design elements within them (for example, rule-of-thirds and colour). Consider this activity as a way for you to experiment and explore effects and features of your image editing software.For each of these photographs, lay out both the original images and the edited ones side-by-side in your portfolio to provide a beforeand-after view of your attempts. Properly label them and provide a brief overview of the image editing processes you used for each image and how they were able to capture your desired effect and goals for each photograph.Complete the above challenge and then click LINK 21 to upload.
For image #1, I did a basic cropping and straightening – the difference is only slight
with the straightening, however, I applied the rule-of-thirds principle to this image so
it is not quite as dominated by the background, and let the mid-ground (which forms
part of the skyline or horizon) to stand out a bit more.
For the next image, I did a perspective crop. This was followed by the clone-stamp tool
to fill in the gaps near the edges, and then a warp (under the free transormation) was
used to create a wave-like effect (though hopefully not bad enough to make the viewer
sea-sick).
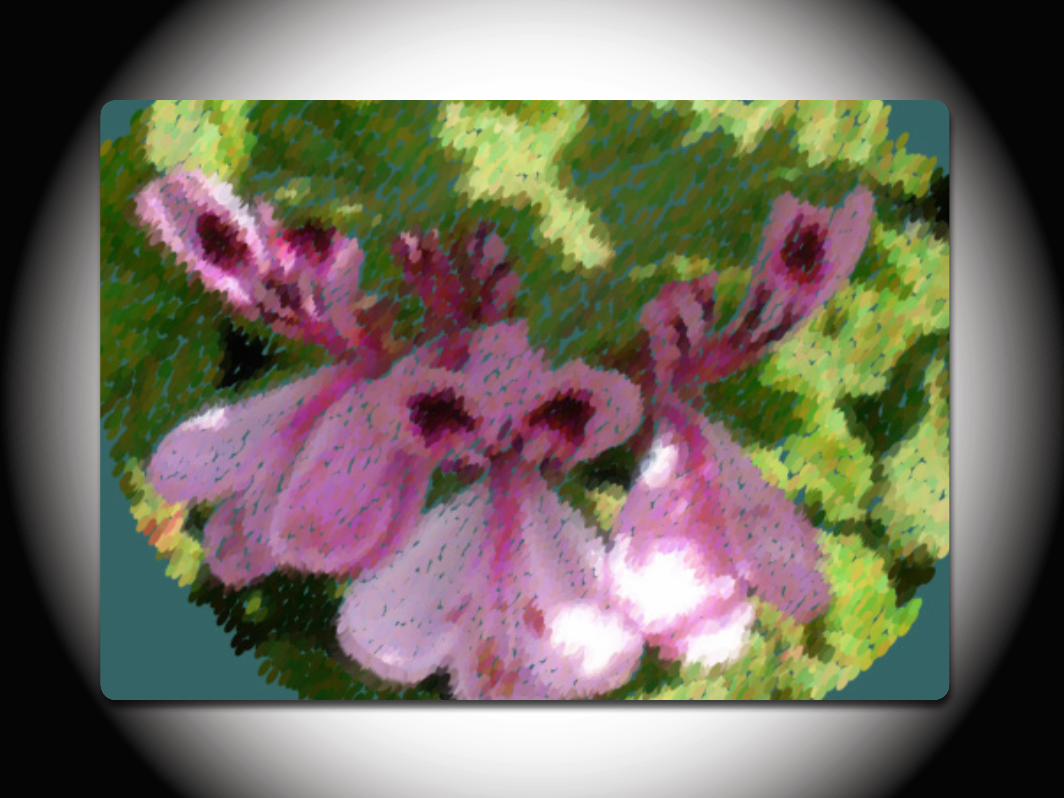
For the final image, I used three different techniques to transform my flower. I created
a Black and White adjustment layer for the black and white background. This was then
followed by a mask/shape layer, various blend modes (including a rainbow gradient,
drop shadow, satin, bevel and emboss), and then a posterise filter for the final result.

30529a – Progress Challenge 06 Image Compositing
Using at least five (5) different images you personally photographed, create a totally
new image with a specific theme or subject in mind using your image editing software.
Use this activity as a way for you to not only experiment and explore your image editing
software, but also to explore different photographic techniques and design principles
Lay out your final image together with five (5) photographs that served as elements for
this exercise on your portfolio. Provide a brief description of your creative objectives
for this exercise, as well as the tools you used (100 words).
Complete the above challenge and then click LINK 23 to upload.
Click LINK 24 to discuss your work with other students on the forum.
The composition consists of 5 images – the blood red sky, one of my eyes, the Sydney
Opera House, and two sea creatures (a ray and a cuttlefish). The initial snap shots were
taken on an Olympus digital camera while the eye was taken on an iPod touch.
With Photoshop, I cropped the sky so just the clouds were there. I used the marquee
tool to cut out the eye and the pen tool for the other images. The stylise filter was used
for the Opera House and the cuttlefish inverted. I warped the sea creatures – making the
ray jump out like a dolphin and the cuttlefish look like it's 'photobombing' the picture. I
then experimented with some filters to achieve a surreal effect (Fresco for the oil paint-
ed look and half-tone so it looks like it's in the papers).
I named the final composition 'Reclaiming the Harbour' with the sea creatures reclaim-
ing Sydney Harbour as their own. Meanwhile, my 'eye in the sky' is watching it all unfold,
like God would.

30529a – Progress Challenge 07Refining Ideas
Your production blog offers a great medium for you to refine your ideas to develop
them into solid concepts for your project. It also allows you to share them with col-
leagues and other photo-media artists for feedback and suggestions.
Share this iterative process in your portfolio by laying out three (3) screen grabs of
blog entries you posted and shared that feature this refinement and experimenta-
tion process. If there are useful and constructive responses and comments to these
posts by colleagues, quote them in the portfolio as well. Offer a brief description of
the three (3) blog entries you chose (100 words).
Complete the above challenge and then click LINK 33 to upload.
Just a few notes on these screenshots – they are my blog entries for two images I
did for this progress challenge. Yes, more experimentation with layers, blend modes,
drop shadows, filters and my new favourite tool with Photoshop – the 'Puppet Warp'
(which I used to tweak the sea in Sydney Harbour and the toilet water). These tech-
niques can be seen on the next page
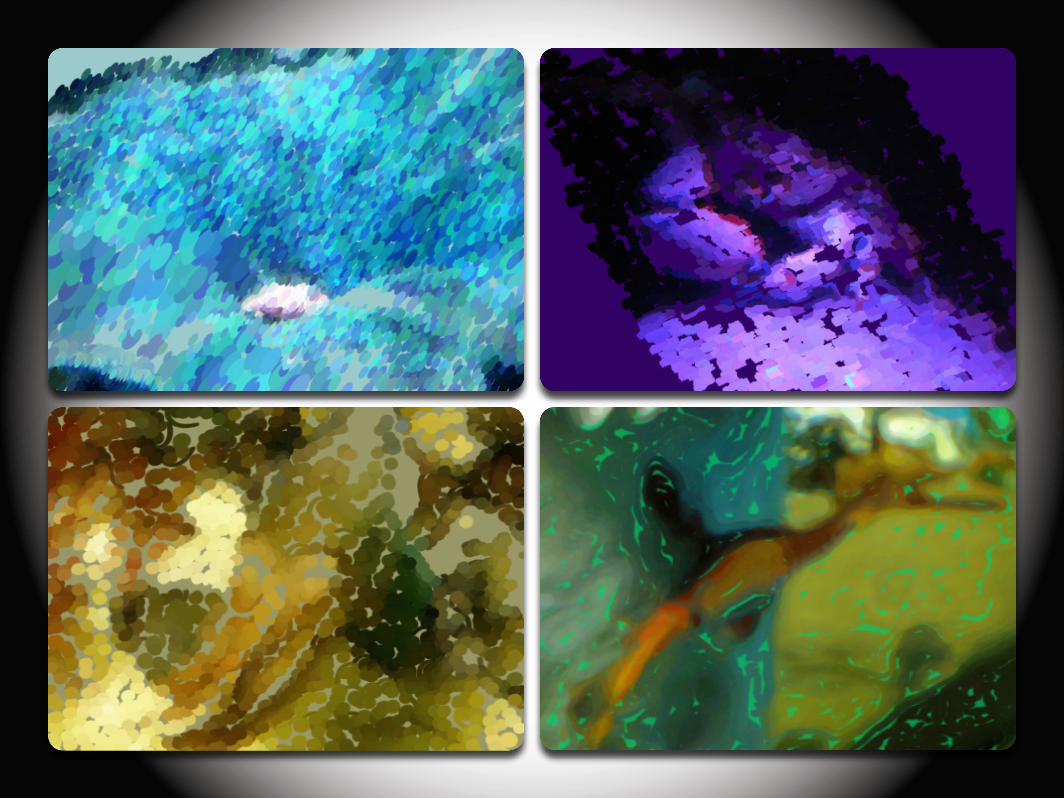
The next few pages feature the art history brushes
As the below screen shots are quite small, it is best to can read more about it in my
blog. (http://sedgieart.blogspot.com.au