Embed Size (px)
Citation preview
Digital PhotographyDigital Photography
I Took The Picture – Now I Took The Picture – Now What?What?

The Digital ProcessThe Digital Process
► CaptureCapture Shoot the pictures with a digital cameraShoot the pictures with a digital camera Scan pictures on a flatbed scannerScan pictures on a flatbed scanner Have film, slides, or negatives transferred to a CDHave film, slides, or negatives transferred to a CD Copy a picture from the Internet or other fileCopy a picture from the Internet or other file
► TransferTransfer Upload the pictures to a computer via the camera or a card Upload the pictures to a computer via the camera or a card
readerreader► EditEdit
Crop, correct or enhanceCrop, correct or enhance Insert the photos into a documentInsert the photos into a document
► ShareShare Print or share the photos electronicallyPrint or share the photos electronically Backup the photos to a CD, flash drive, or external hard Backup the photos to a CD, flash drive, or external hard
drivedrive

Capturing the PictureCapturing the Picture
Picture Taking TipsPicture Taking Tips

Press, hold, then shootPress, hold, then shoot
►The correct shooting method for most The correct shooting method for most digital cameras:digital cameras: Hold the shutter button halfway down to Hold the shutter button halfway down to
lock the auto focus and exposure. You lock the auto focus and exposure. You will probably see a green light or hear a will probably see a green light or hear a beep indicating the cameras is ready to beep indicating the cameras is ready to take the picture. take the picture.
Press the shutter button the rest of the Press the shutter button the rest of the way down to take the picture.way down to take the picture.

Viewfinder or LCD DisplayViewfinder or LCD Display
► LCD can be difficult to see in bright lightLCD can be difficult to see in bright light► LCD displays take more battery powerLCD displays take more battery power► You can experience camera shake – because You can experience camera shake – because
you are holding the camera away from your you are holding the camera away from your torsotorso
►Many cameras allow you to turn LCD on or off Many cameras allow you to turn LCD on or off – or to dim the backlight– or to dim the backlight
► To clean your LCD display, instead of using a To clean your LCD display, instead of using a lens cloth, try using a couple pieces of scotch lens cloth, try using a couple pieces of scotch tape. Place the tape over the LCD and lightly tape. Place the tape over the LCD and lightly press it completely on the LCD. When you pull press it completely on the LCD. When you pull it off, the fingerprints will come off with the it off, the fingerprints will come off with the tape.tape.

Top Ten TipsTop Ten Tips
►Get Down On Their LevelGet Down On Their Level► Use a Plain BackgroundUse a Plain Background► Use Flash OutdoorsUse Flash Outdoors►Move In CloseMove In Close► Take Some Vertical PicturesTake Some Vertical Pictures► Lock The FocusLock The Focus►Move It From the MiddleMove It From the Middle► Know Your Flash’s RangeKnow Your Flash’s Range►Watch the LightWatch the Light► Be A Picture DirectorBe A Picture Director

FlashFlash
►Your flash button will often look like a Your flash button will often look like a lightning boltlightning bolt
►When do you use a flash?When do you use a flash? ExperimentExperiment Only effective up to 10-12 feetOnly effective up to 10-12 feet Try using flash on a bright sunny day to Try using flash on a bright sunny day to
even out shadows (fill flash)even out shadows (fill flash) In low light, be careful – flash can wash In low light, be careful – flash can wash
out colors, reflect a bright light, etc.out colors, reflect a bright light, etc.

Macro featureMacro feature
►Often designated by a flower with the Often designated by a flower with the appearance of a tulip.appearance of a tulip.
► It will allow the camera to focus on an It will allow the camera to focus on an object that is VERY close to the lens – as object that is VERY close to the lens – as close as .5 inches.close as .5 inches.
►Useful for capturing detail on small Useful for capturing detail on small objectsobjects
► If using macro feature, be sure zoom is If using macro feature, be sure zoom is set all the way to wide angle.set all the way to wide angle.

Shooting Modes/Scene Shooting Modes/Scene ModesModes
►Digital cameras offer a variety of useful Digital cameras offer a variety of useful modes, which are optimized for specific modes, which are optimized for specific scenes and photographic conditions. scenes and photographic conditions.
►Scene modes are preprogrammed by Scene modes are preprogrammed by the manufacturer to automatically give the manufacturer to automatically give the best exposure and settings for each the best exposure and settings for each scene. scene.
►When selected, a scene mode can often When selected, a scene mode can often give better results than shooting in fully give better results than shooting in fully automatic mode. automatic mode.

Common Shooting/Scene Common Shooting/Scene ModesModes
► Auto/SimpleAuto/Simple► BacklightBacklight► BeachBeach► Behind GlassBehind Glass► BurstBurst► CandleCandle► CuisineCuisine► DocumentsDocuments► FireworksFireworks► IndoorIndoor
► LandscapeLandscape► MacroMacro► Night PortraitNight Portrait► Night SceneNight Scene► PartyParty► PortraitPortrait► Self-PortraitSelf-Portrait► SmileSmile► SportsSports► Sunset/SunriseSunset/Sunrise

Rule of ThirdsRule of Thirds► Imagine there are lines dividing the image Imagine there are lines dividing the image
into thirds (both horizontally and into thirds (both horizontally and vertically)vertically)
► Frame your subject at one of the Frame your subject at one of the intersection points instead of in the center intersection points instead of in the center of the viewfinder.of the viewfinder.
►On a computer, you can crop your On a computer, you can crop your centered image to help achieve the rule of centered image to help achieve the rule of thirds.thirds.


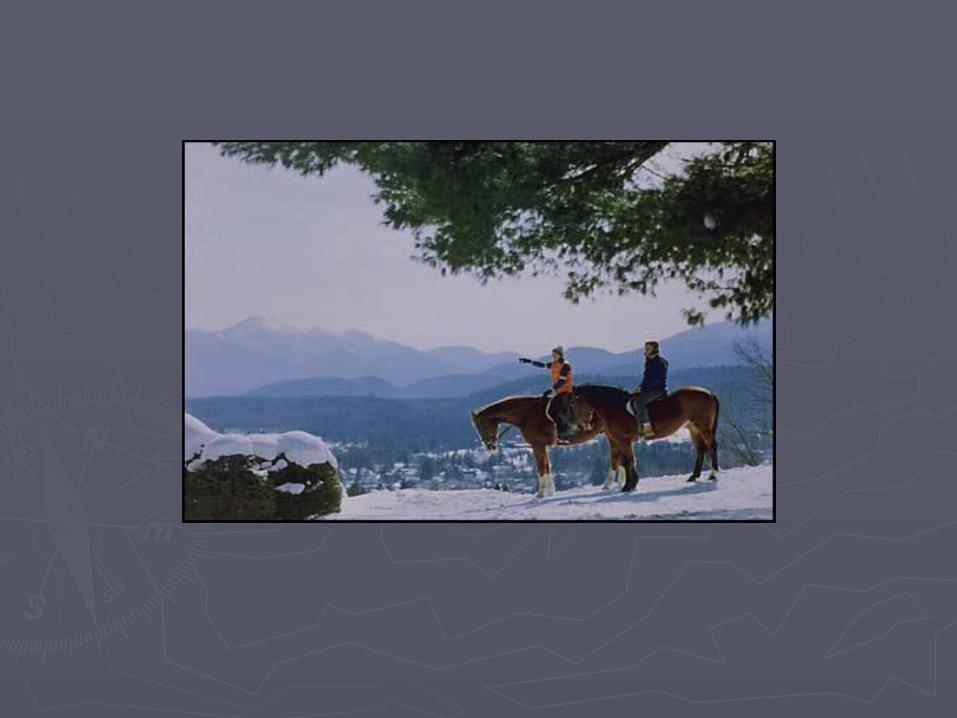
FramingFraming
►Use foreground elements such as a Use foreground elements such as a tree branch, windows, doorways, etc. tree branch, windows, doorways, etc. to frame your subject.to frame your subject.


Visual CroppingVisual Cropping
►Crop your photos visually before you Crop your photos visually before you take them. take them.
►Look into the corners of the viewfinder. Look into the corners of the viewfinder. Do you see things that shouldn’t be Do you see things that shouldn’t be there?there?
►You can remove, or crop, these You can remove, or crop, these elements simply by moving closer or elements simply by moving closer or zooming in. zooming in.
►Try different angles.Try different angles.


►Come in tightCome in tight►Fill the frameFill the frame

Turn the camera sidewaysTurn the camera sideways
► Lots of images fit better in a vertical format rather than a Lots of images fit better in a vertical format rather than a horizontal orientation. Get in the habit of turning your horizontal orientation. Get in the habit of turning your camera sideways to create a different composition.camera sideways to create a different composition.

Consider your angle of viewConsider your angle of view
►Some of the most interesting Some of the most interesting photographs are those taken from a photographs are those taken from a unique vantage point.unique vantage point.
►Get down to the level of the flowers Get down to the level of the flowers before taking the picture; climb a tree before taking the picture; climb a tree to take a picture of a meadow.to take a picture of a meadow.
►Experiment and try different Experiment and try different perspectivesperspectives


LinesLines
►Draw the viewer’s eyes through the Draw the viewer’s eyes through the photophoto
►A path, a row of telephone poles, a line A path, a row of telephone poles, a line of chairs, a fence line, etc. can serve of chairs, a fence line, etc. can serve as elements in a good photo.as elements in a good photo.


LightingLighting► Natural light provides some of the best light to shoot in.► Cloudy days reduce dramatic shadows and provide a
more even lighting environment► Try to avoid shooting in the middle of the day – it can
cause shadows and squinting► Ideally, put the sun on the side of the subject► Use flash fill to fill in the dark areas of your photo, i.e. if
subject is in front of a window or the sun is behind the subject
► Indoor lighting can vary, so adjust your white balance settings or use your Indoor scene mode
► Try to diffuse or reflect your light source► Move your subject away from walls to eliminate “halo”
shadows

ZoomZoom
►Optical zoom vs. digital zoomOptical zoom vs. digital zoom There is no loss of quality in image when There is no loss of quality in image when
you use an optical zoom. Similar to you use an optical zoom. Similar to binoculars, an optical zoom uses lenses to binoculars, an optical zoom uses lenses to make the image appear closermake the image appear closer
A digital zoom can result in loss of picture A digital zoom can result in loss of picture quality. It magnifies the pixels that make quality. It magnifies the pixels that make up the imageup the image
►Avoid using digital zoom where possibleAvoid using digital zoom where possible

ResolutionResolution
► The higher the number of pixels, the better the The higher the number of pixels, the better the resolution.resolution.
► The higher the resolution, the larger and higher The higher the resolution, the larger and higher quality prints you can make.quality prints you can make.
► Higher quality pictures take up more space on your Higher quality pictures take up more space on your media card, but they will give you the best prints.media card, but they will give you the best prints.
► For best quality, you want to have 300 pixels per For best quality, you want to have 300 pixels per inchinch
► So, for example, to print a 4 x 6 print at best So, for example, to print a 4 x 6 print at best quality, you would want to set your camera to a quality, you would want to set your camera to a resolution of at least 1200 x 1800 or 2 MPresolution of at least 1200 x 1800 or 2 MP

ResolutionResolution MegapixelsMegapixels1 MP = 1024 1 MP = 1024 pixelspixels
300 ppi300 ppi
(Best)(Best)
150 ppi150 ppi
(Good)(Good)
3264 x 24483264 x 2448 8 MP8 MP 8 x 108 x 10 16 x 2016 x 20
2560 x 19202560 x 1920 5 MP5 MP 6 x 86 x 8 13 x 1713 x 17
2048 x 15362048 x 1536 3 MP3 MP 5 x 75 x 7 11 x 1411 x 14
1600 x 12001600 x 1200 2 MP2 MP 4 x 54 x 5 8 x 108 x 10
1280 x 9601280 x 960 1 MP1 MP 3 x 43 x 4 6 x 86 x 8
640 x 480640 x 480 .5 MP.5 MP 2 x 32 x 3 4 x 64 x 6

Storage Card CapacityStorage Card Capacity
64 MB64 MB 128 MB128 MB 256 MB256 MB 512 MB512 MB 1 GB1 GB 2 GB2 GB
1 MP1 MP 180180 363363 730730 14601460 29232923 60006000
2 MP2 MP 7070 140140 283283 567567 11351135 23002300
3 MP3 MP 5151 105105 212212 424424 852852 17001700
4 MP4 MP 3232 6464 128128 256256 512512 10241024
5 MP5 MP 2525 5050 101101 203203 407407 815815
6 MP6 MP 2020 4040 8080 160160 320320 640640
7 MP7 MP 1818 3838 7575 150150 300300 600600
8 MP8 MP 1616 3232 6464 128128 256256 512512

TransferTransfer
How to upload pictures to a How to upload pictures to a computer of an online sitecomputer of an online site

Connect camera to computerConnect camera to computer
►Make sure your camera is offMake sure your camera is off►Connect the connector on the camera Connect the connector on the camera
to the USB port on the computer using to the USB port on the computer using the USB cable provided by your the USB cable provided by your camera manufacturercamera manufacturer
► If the camera does not turn on If the camera does not turn on automatically, turn the camera on.automatically, turn the camera on.
►The computer should recognize the The computer should recognize the camera as a “Removable Disk”camera as a “Removable Disk”
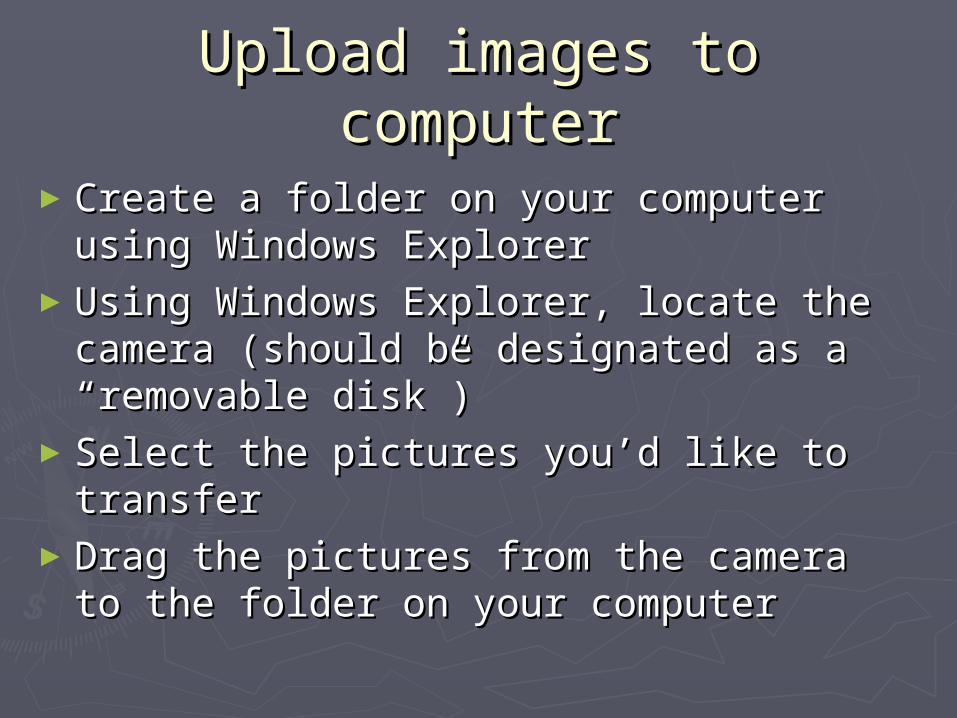
Upload images to computerUpload images to computer
►Create a folder on your computer using Create a folder on your computer using Windows ExplorerWindows Explorer
►Using Windows Explorer, locate the Using Windows Explorer, locate the camera (should be designated as a camera (should be designated as a “removable disk”)“removable disk”)
►Select the pictures you’d like to transferSelect the pictures you’d like to transfer►Drag the pictures from the camera to Drag the pictures from the camera to
the folder on your computerthe folder on your computer
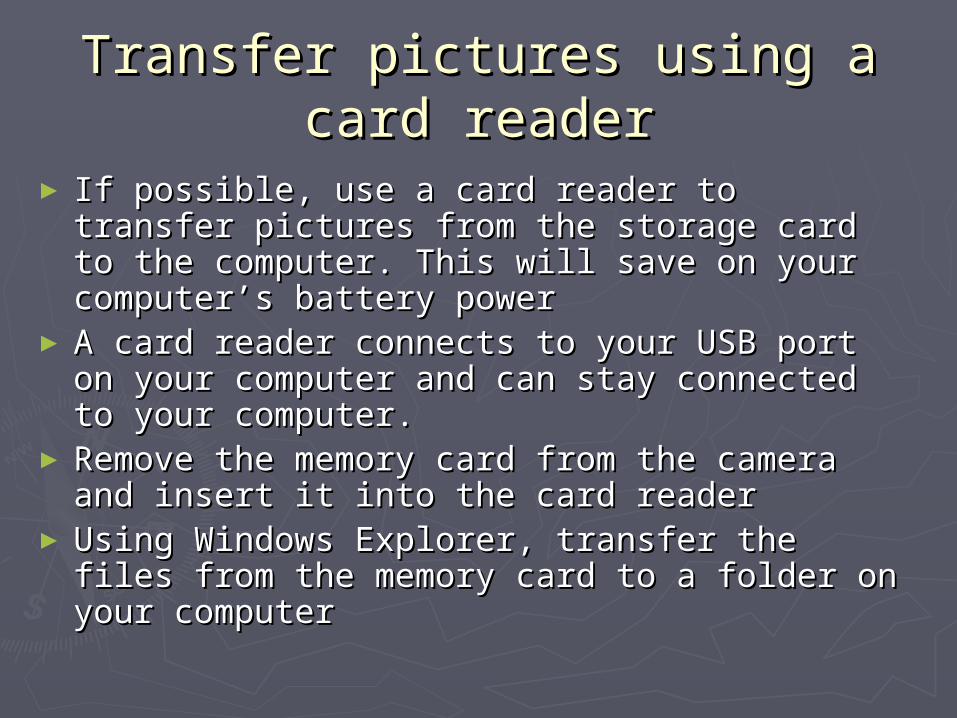
Transfer pictures using a card Transfer pictures using a card readerreader
► If possible, use a card reader to transfer If possible, use a card reader to transfer pictures from the storage card to the pictures from the storage card to the computer. This will save on your computer’s computer. This will save on your computer’s battery powerbattery power
► A card reader connects to your USB port on A card reader connects to your USB port on your computer and can stay connected to your your computer and can stay connected to your computer. computer.
► Remove the memory card from the camera Remove the memory card from the camera and insert it into the card readerand insert it into the card reader
► Using Windows Explorer, transfer the files from Using Windows Explorer, transfer the files from the memory card to a folder on your computerthe memory card to a folder on your computer

Other Storage OptionsOther Storage Options
►CDsCDs►DVDsDVDs►Flash DrivesFlash Drives►External Hard DrivesExternal Hard Drives►Online Storage ServicesOnline Storage Services

Naming FilesNaming Files
► The camera will automatically name the file The camera will automatically name the file something with no meaning – usually a something with no meaning – usually a combination of letters and numberscombination of letters and numbers
► Rename the photos in Windows ExplorerRename the photos in Windows Explorer► Select the picture you’d like to renameSelect the picture you’d like to rename► Right click on the picture and select renameRight click on the picture and select rename► If you have several pictures with the same If you have several pictures with the same
subject matter (i.e. a trip to the zoo, a family subject matter (i.e. a trip to the zoo, a family reunion, etc.) you can quickly rename all of reunion, etc.) you can quickly rename all of them at once. Windows will give them the them at once. Windows will give them the same name followed by sequential same name followed by sequential numberingnumbering
Editing PhotosEditing Photos
►Microsoft Picture Manager - freeMicrosoft Picture Manager - free► Image Blender – Tech4LearningImage Blender – Tech4Learning►Adobe Express – freeAdobe Express – free►Adobe Photoshop ElementsAdobe Photoshop Elements
Educational pricing - $26.66Educational pricing - $26.66

Basic EditingBasic Editing
►CropCrop►ResizeResize►Brightness/ContrastBrightness/Contrast►FiltersFilters►EffectsEffects►Red-EyeRed-Eye

Advanced Editing ToolsAdvanced Editing Tools
►LayersLayers►Magic WandMagic Wand►Clone ToolClone Tool

Sharing Your PhotosSharing Your Photos

PrintingPrinting
► Use Windows Photo Printing WizardUse Windows Photo Printing Wizard► Print on photo paperPrint on photo paper
Today's photo paper comes in many styles, Today's photo paper comes in many styles, weights, and photo finishes. You have a weights, and photo finishes. You have a number of choices in finishes, including number of choices in finishes, including matte, glossy, and varying degrees of matte, glossy, and varying degrees of gloss, often referred to as semi-gloss or gloss, often referred to as semi-gloss or satin-gloss. Color prints tend to look best satin-gloss. Color prints tend to look best on a glossy finish paper, while black-and-on a glossy finish paper, while black-and-white and sepia-tone photos look better on white and sepia-tone photos look better on a matte finish because of its low contrast.a matte finish because of its low contrast.

Online Photo Printing Online Photo Printing ServicesServices
►ShutterflyShutterfly►SnapfishSnapfish►Cost-co, Walgreens, WalMart, etc.Cost-co, Walgreens, WalMart, etc.► Image Station (Sony)Image Station (Sony)►Kodak Easy Share GalleryKodak Easy Share Gallery


PowerPoint AlbumPowerPoint Album
► In PowerPoint, you can quickly create a photo In PowerPoint, you can quickly create a photo albumalbum
►On the Insert menu, point to Picture, and click On the Insert menu, point to Picture, and click New Photo AlbumNew Photo Album
► In the Photo Album dialog box, build your photo In the Photo Album dialog box, build your photo album presentation. album presentation.
► You can use the controls to insert pictures, a text You can use the controls to insert pictures, a text box, preview, modify, or rearrange the pictures, box, preview, modify, or rearrange the pictures, adjust the layout of the pictures, and add adjust the layout of the pictures, and add captionscaptions
► Click the Create button to create the photo Click the Create button to create the photo album.album.

Photo StoryPhoto Story
► Create slideshows using your digital photos. Create slideshows using your digital photos. ► Import pictures Import pictures ► Touch-up, crop, or rotate pictures. Touch-up, crop, or rotate pictures. ► Add special effects, motion, and transitionsAdd special effects, motion, and transitions► Add music and your own voice narration. Add music and your own voice narration. ► Personalize with titles and captions. Personalize with titles and captions. ► Small file sizes make it easy to send your Small file sizes make it easy to send your
photo stories in an e-mail. Watch them on photo stories in an e-mail. Watch them on your TV, a computer, or a Windows Mobile–your TV, a computer, or a Windows Mobile–based portable device.based portable device.

PicasaPicasa
► picasa.google.compicasa.google.com► Free photo management software from Google Free photo management software from Google
that helps you find, edit, and share your pictures.that helps you find, edit, and share your pictures.►Once you start Picasa, it scans your hard drive to Once you start Picasa, it scans your hard drive to
find and automatically organize all your pictures.find and automatically organize all your pictures.► Basic Fixes: crop, straighten, red-eye, contrast, Basic Fixes: crop, straighten, red-eye, contrast,
color, fill-lightcolor, fill-light► Effects – Sharpen, Sepia, B & W, TintEffects – Sharpen, Sepia, B & W, Tint► CaptionsCaptions►Web AlbumWeb Album

FlickrFlickr
►Online photo management and sharingOnline photo management and sharing►Upload photosUpload photos►Organize photosOrganize photos►Share photosShare photos

Hook up to a TVHook up to a TV
►Use AV cables if provided to display Use AV cables if provided to display pictures directly from the camera to pictures directly from the camera to the TVthe TV

Classroom ApplicationsClassroom Applications► ABC Books – all subjectsABC Books – all subjects► Shapes All Around UsShapes All Around Us► Season BooksSeason Books► AutobiographiesAutobiographies► Eye Spy BooksEye Spy Books► Parts of SpeechParts of Speech► Step-by-Step Step-by-Step ► Growth Pictures – first day and last dayGrowth Pictures – first day and last day► Math PictionaryMath Pictionary► Virtual ToursVirtual Tours► Time Lapse – rotting food, plant growth, etc.Time Lapse – rotting food, plant growth, etc.► NewslettersNewsletters► Cause and Effect BooksCause and Effect Books► Scavenger HuntsScavenger Hunts► Create a handbook with staff photos for new studentsCreate a handbook with staff photos for new students► Create a photographic handbook of classroom proceduresCreate a photographic handbook of classroom procedures► Year In ReviewYear In Review► Record Special Events – field trips, open house, guest speakers, etc.Record Special Events – field trips, open house, guest speakers, etc.