Embed Size (px)
Citation preview


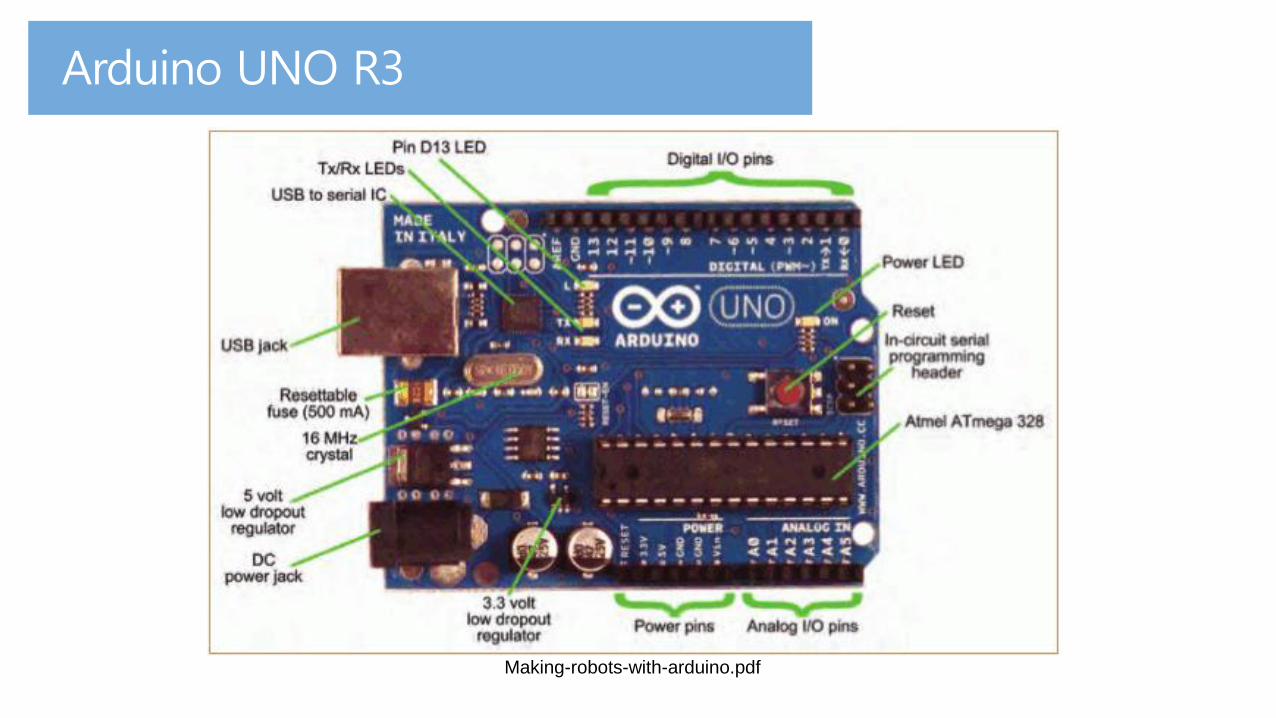
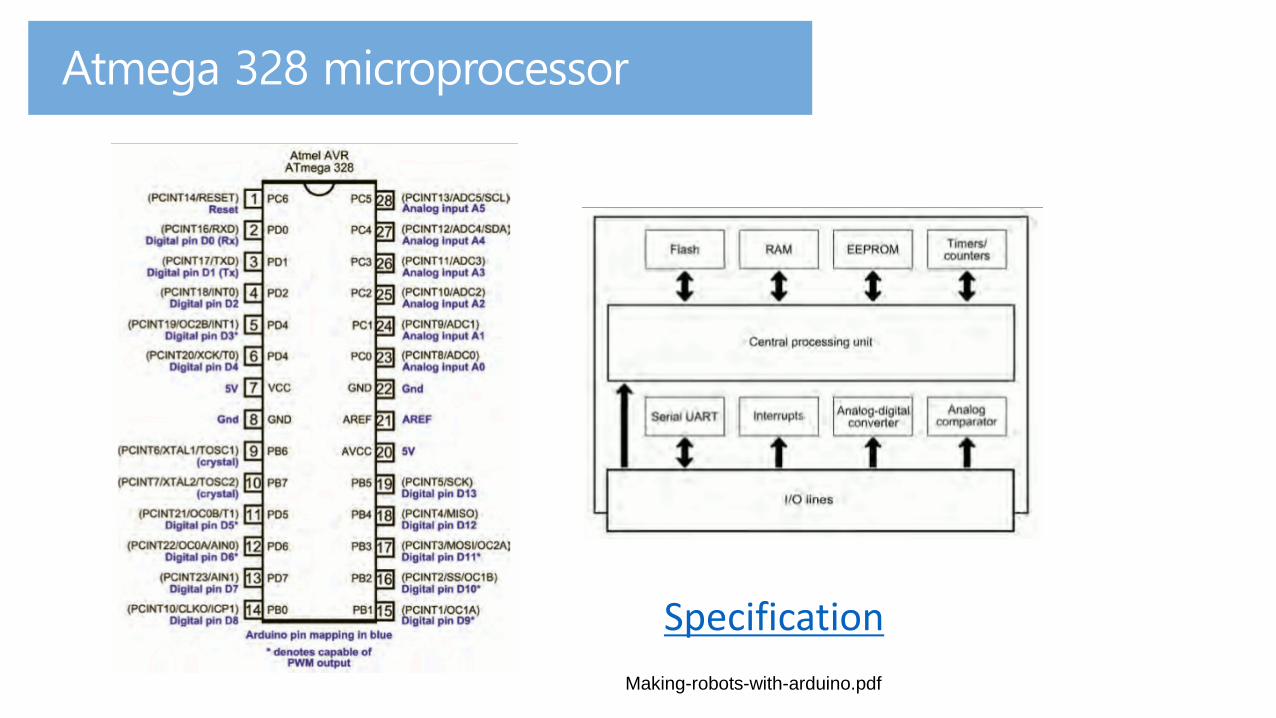
Making-robots-with-arduino.pdf
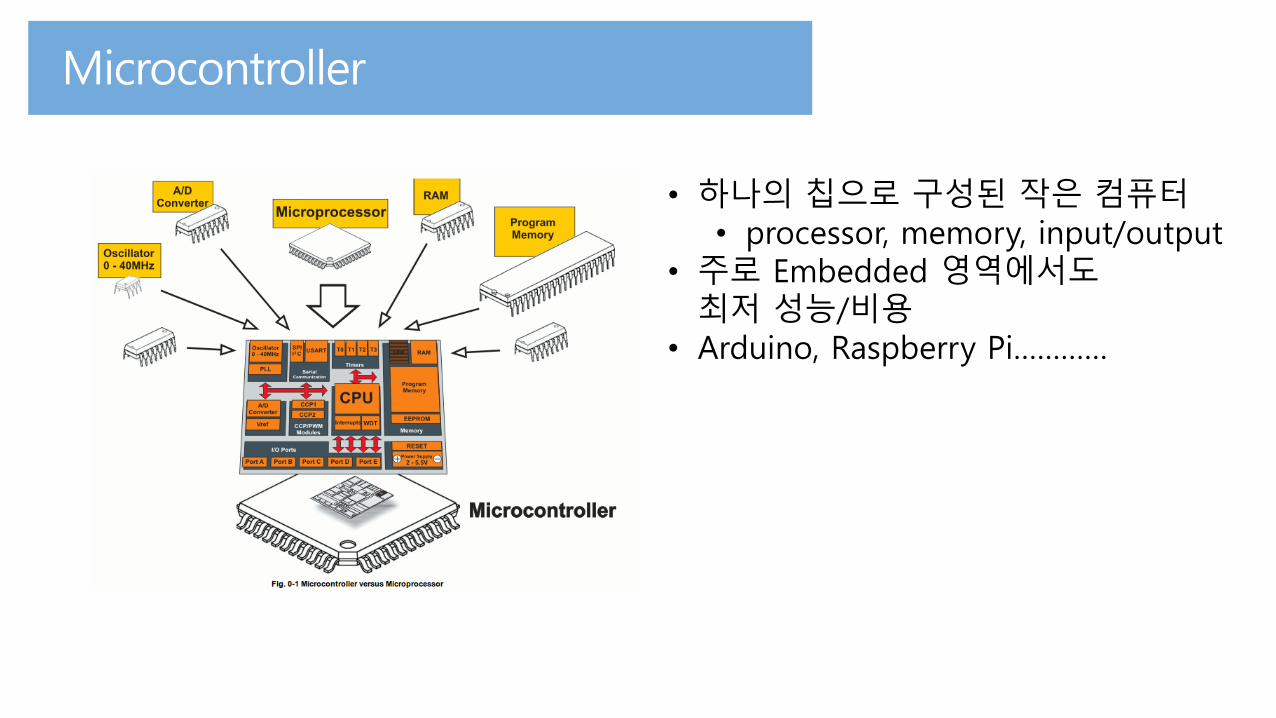
• 하나의 칩으로 구성된 작은 컴퓨터• processor, memory, input/output
• 주로 Embedded 영역에서도최저 성능/비용
• Arduino, Raspberry Pi…………
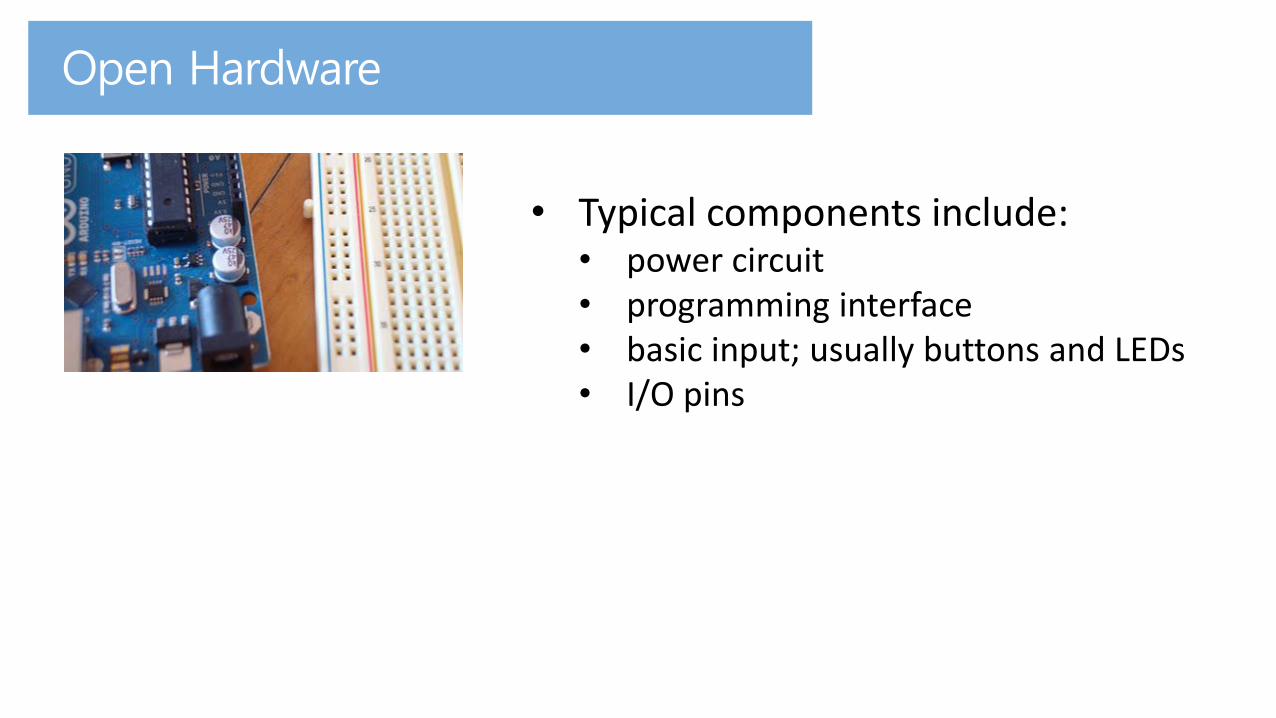
• Typical components include:• power circuit • programming interface• basic input; usually buttons and LEDs• I/O pins
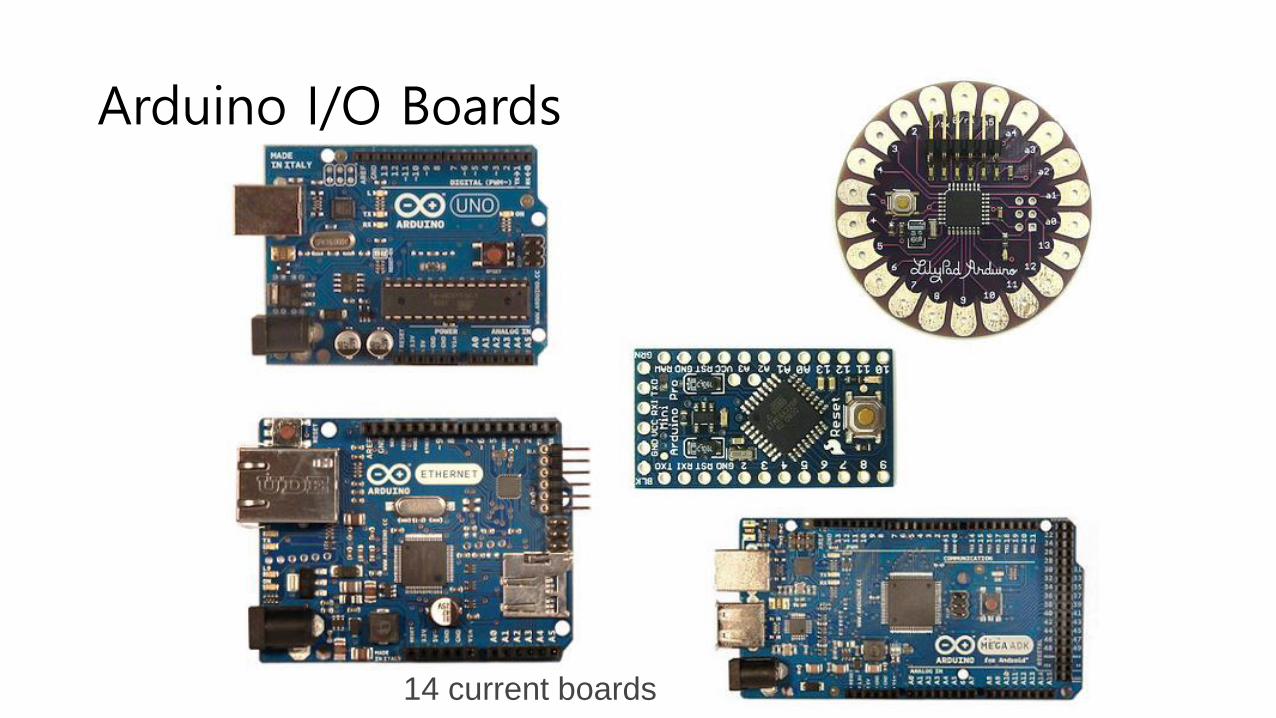
14 current boards
Arduino I/O Boards
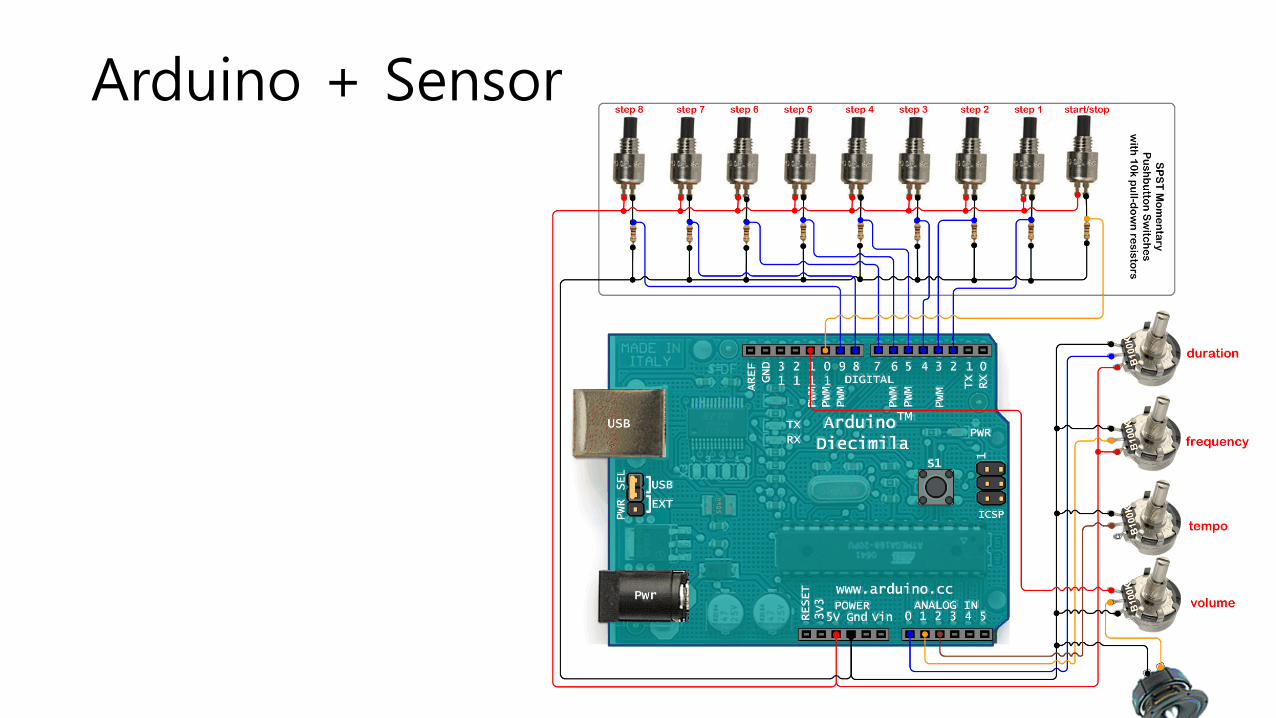
Arduino + Sensor
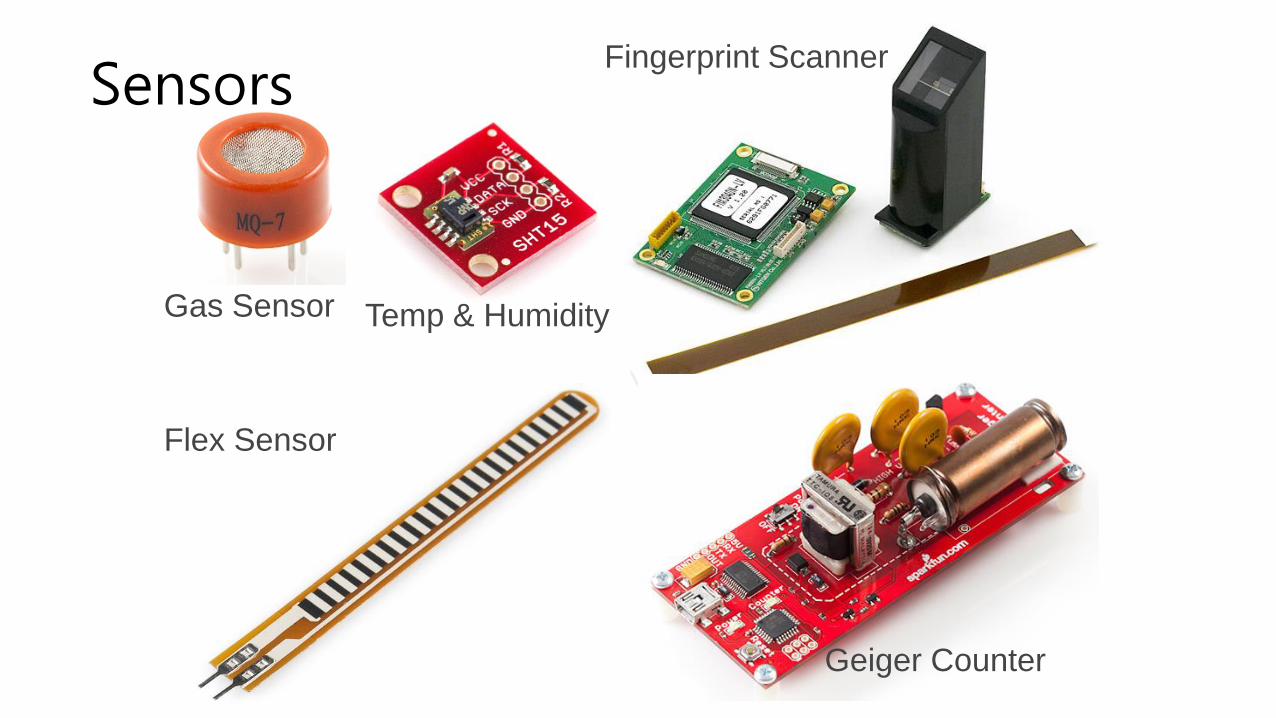
Gas Sensor Temp & Humidity
Flex Sensor
Fingerprint Scanner
Geiger Counter
Sensors
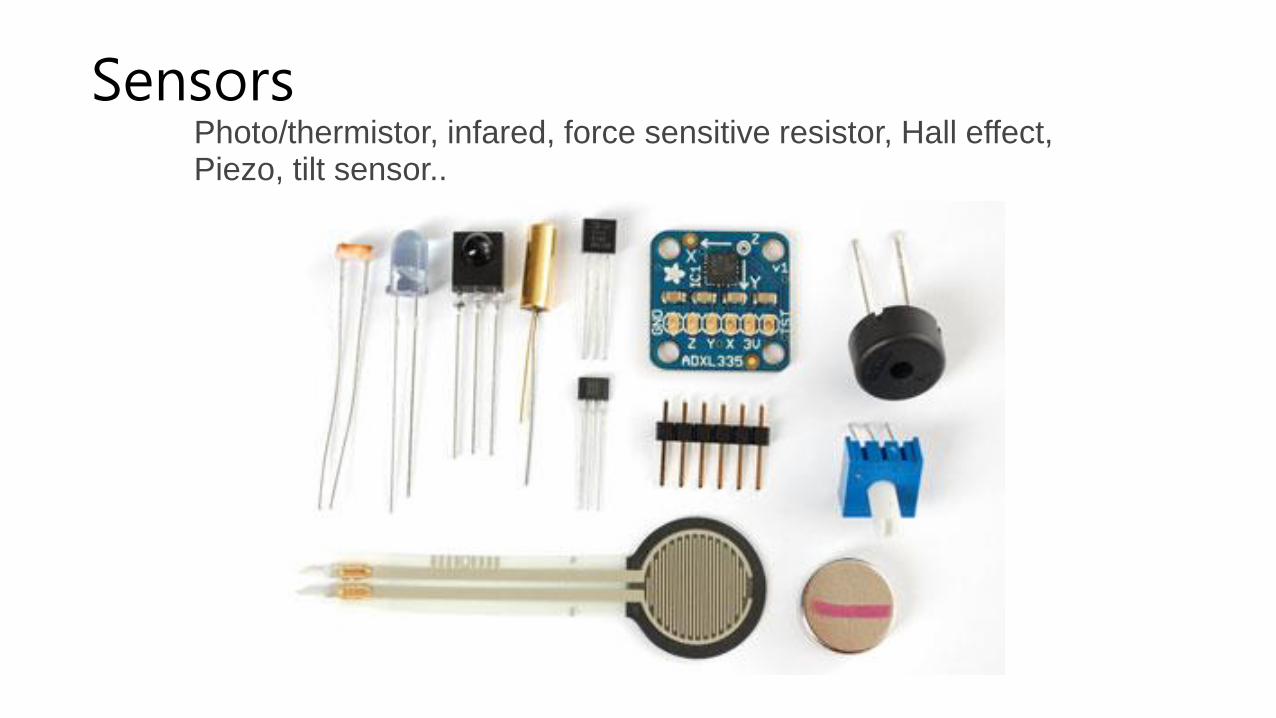
Photo/thermistor, infared, force sensitive resistor, Hall effect, Piezo, tilt sensor..
Sensors

1. 성능2. 네트워킹
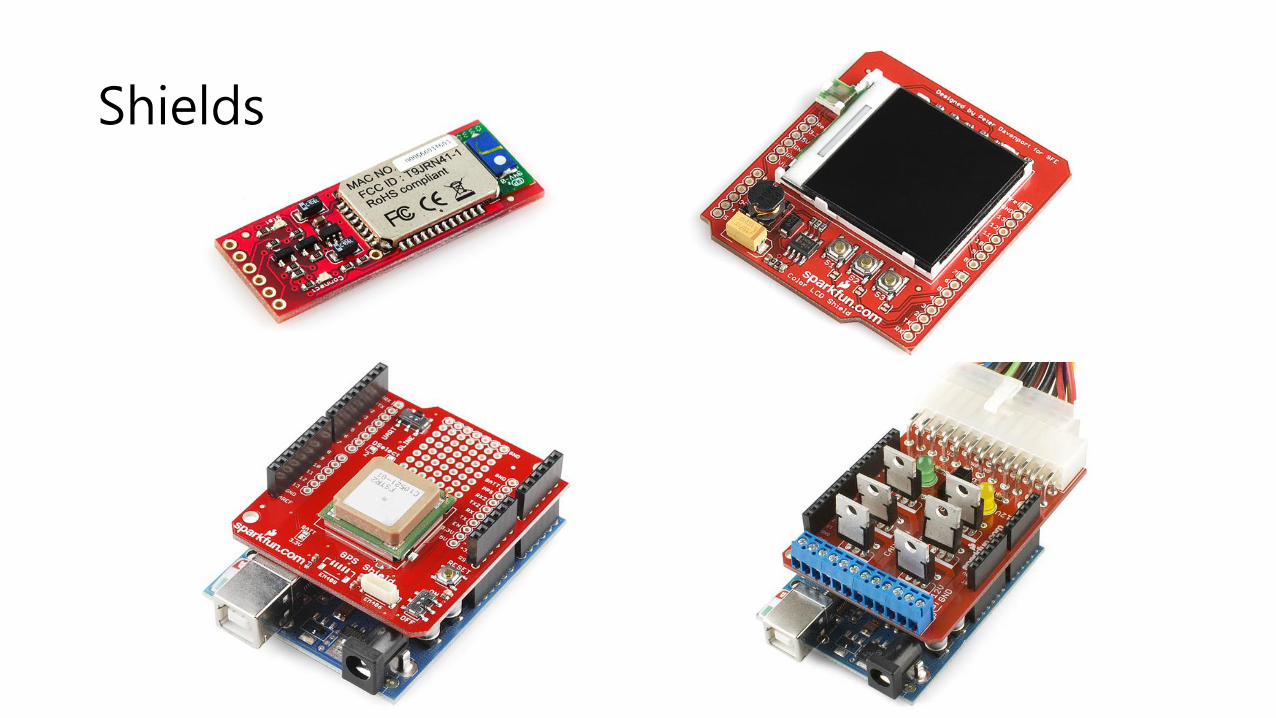
Shields
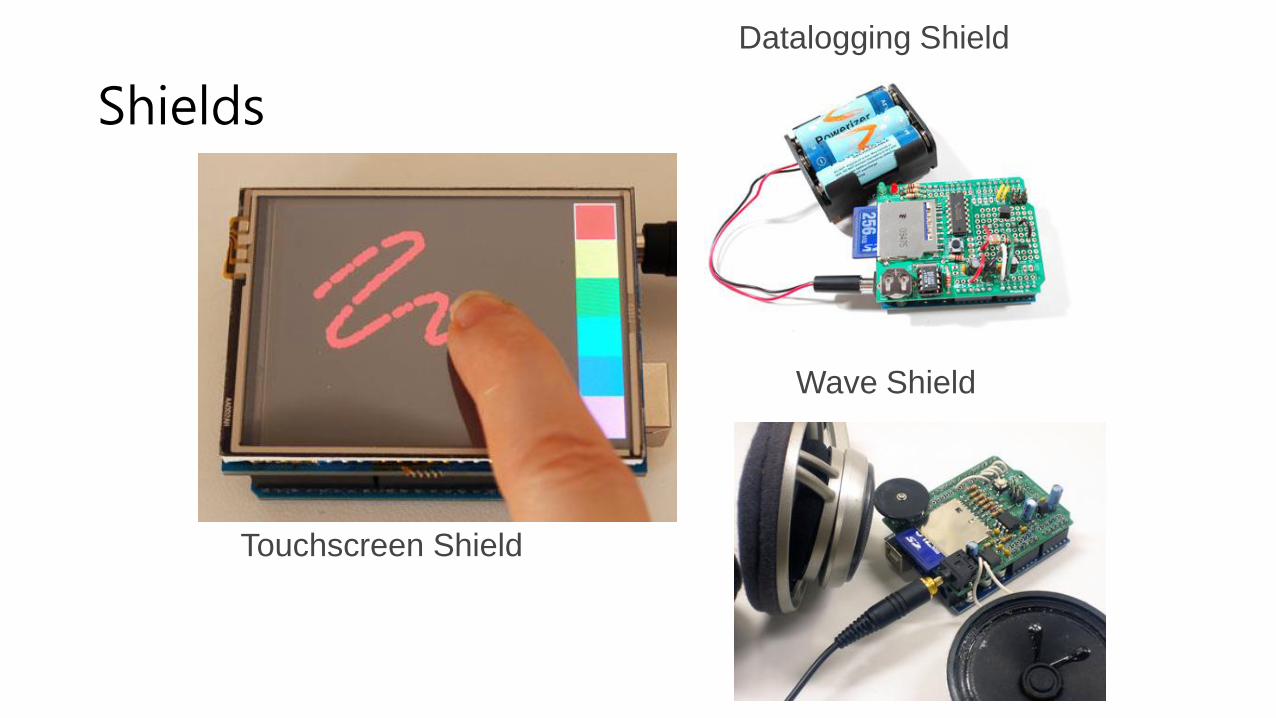
Touchscreen Shield
Wave Shield
Datalogging Shield
Shields
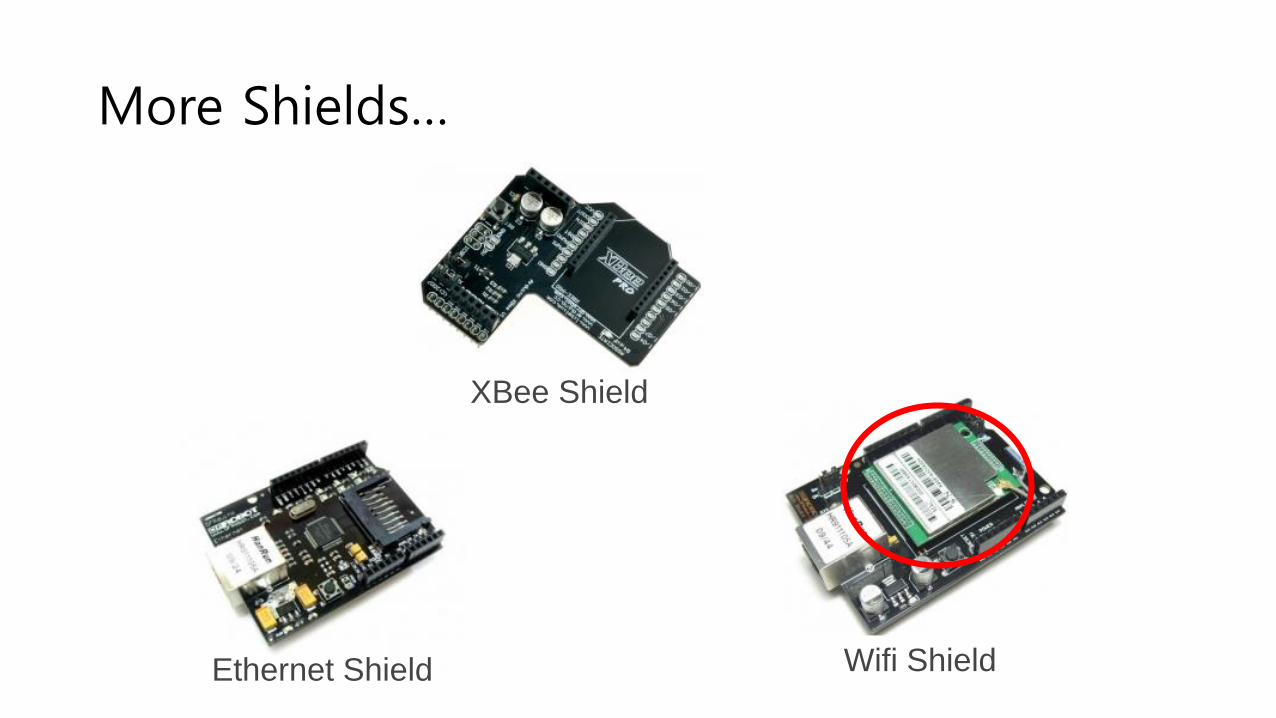
Ethernet Shield
XBee Shield
Wifi Shield
More Shields…

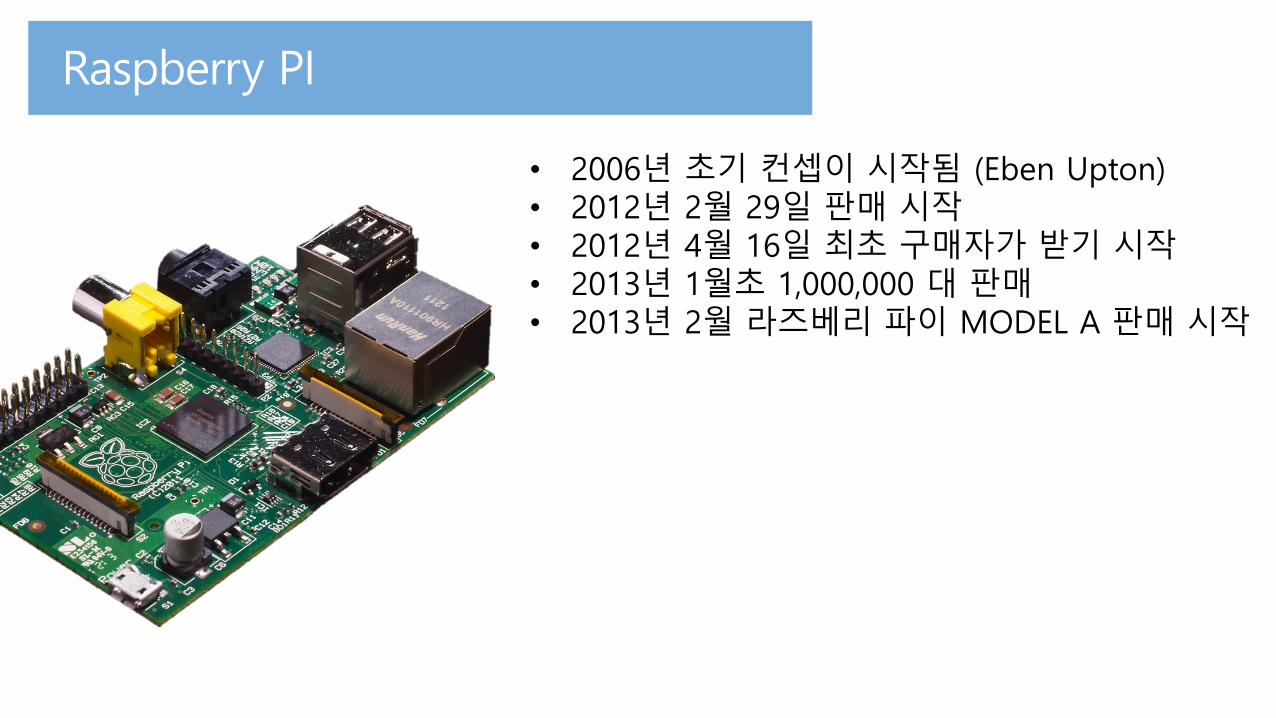
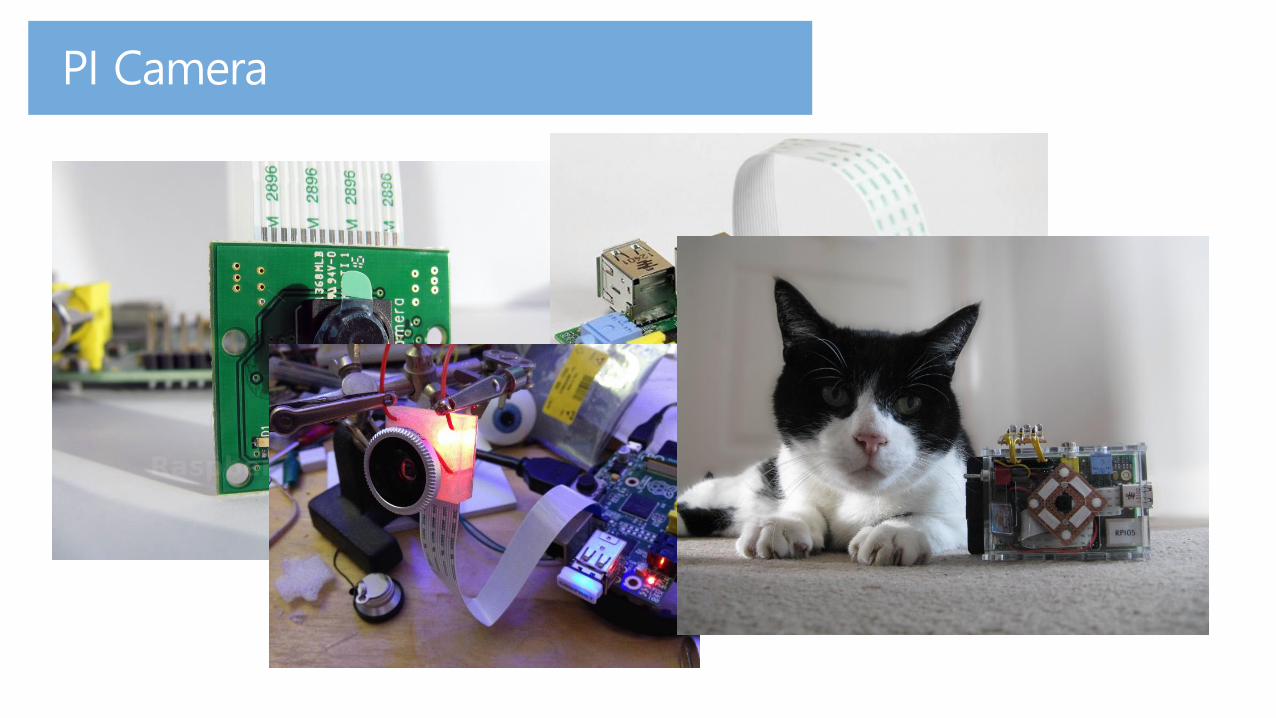
• 2006년 초기 컨셉이 시작됨 (Eben Upton)• 2012년 2월 29일 판매 시작• 2012년 4월 16일 최초 구매자가 받기 시작• 2013년 1월초 1,000,000 대 판매• 2013년 2월 라즈베리 파이 MODEL A 판매 시작
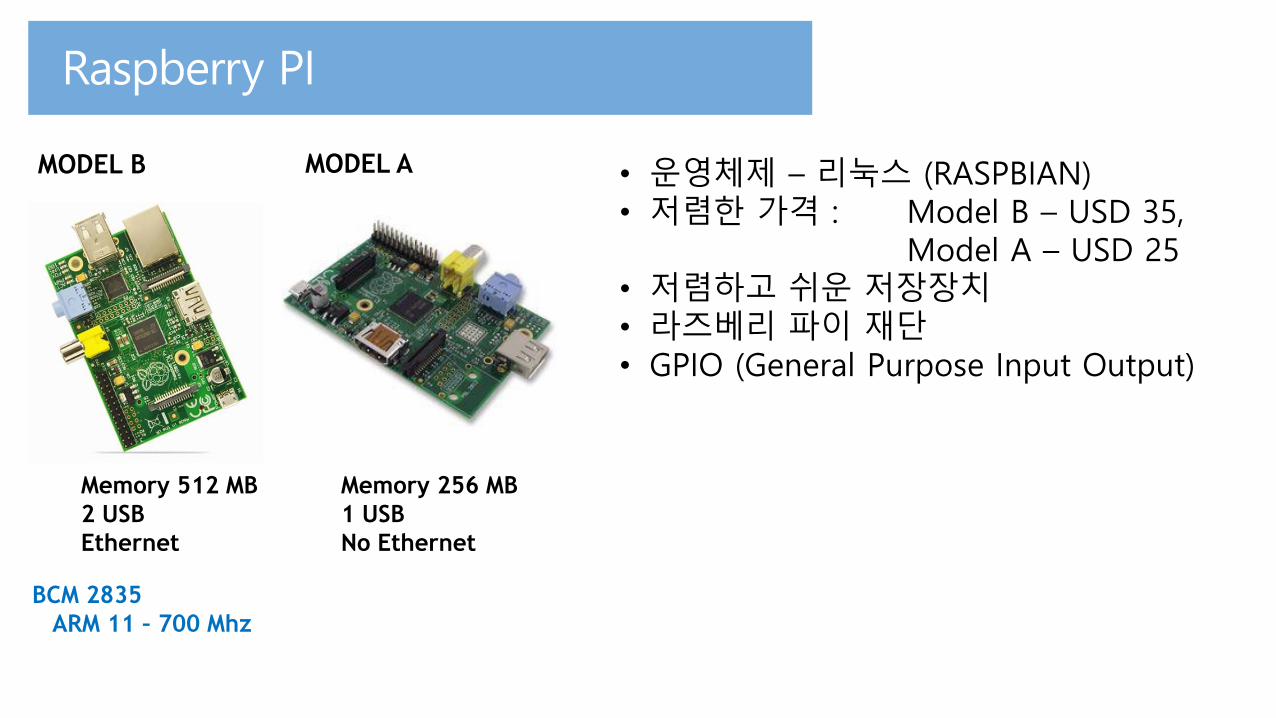
Memory 512 MB
2 USB
Ethernet
Memory 256 MB
1 USB
No Ethernet
BCM 2835
ARM 11 – 700 Mhz
MODEL AMODEL B • 운영체제 – 리눅스 (RASPBIAN)• 저렴한 가격 : Model B – USD 35,
Model A – USD 25• 저렴하고 쉬운 저장장치• 라즈베리 파이 재단• GPIO (General Purpose Input Output)

1. 개발환경2. 리눅스 학습

1. Linux 2. Python

1. Linux 2. Python
1. Linux 2. Python
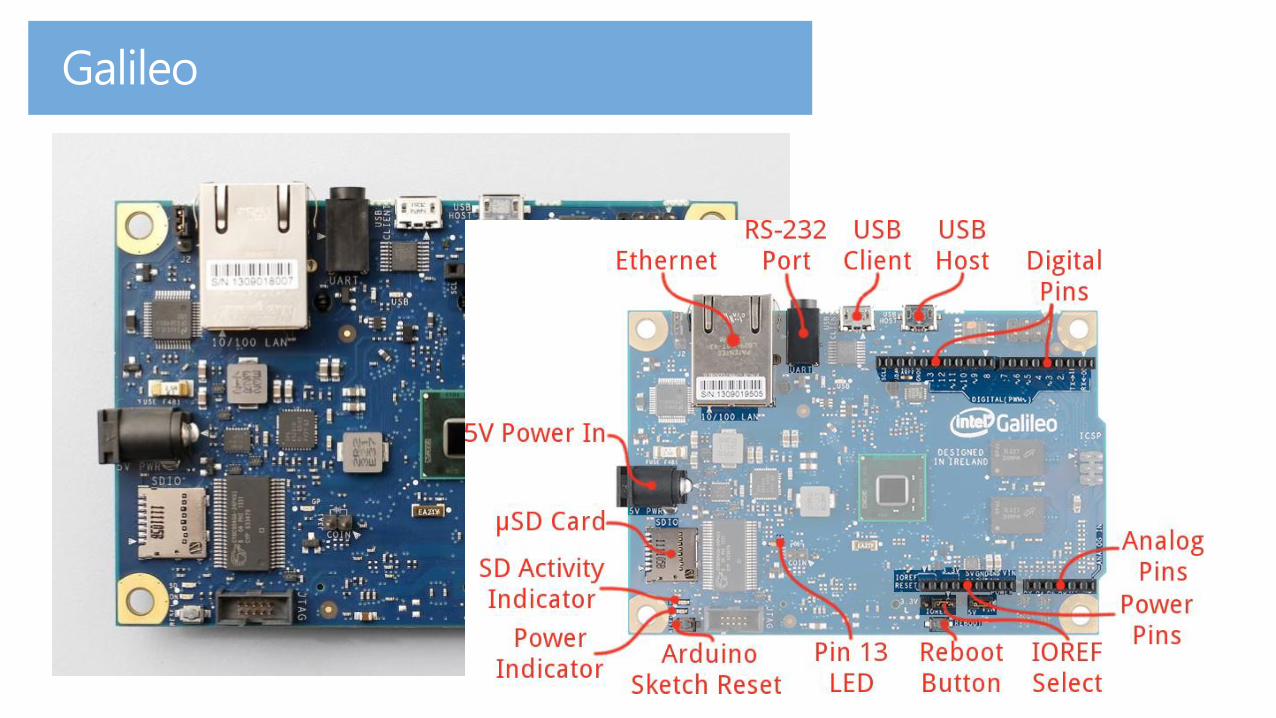
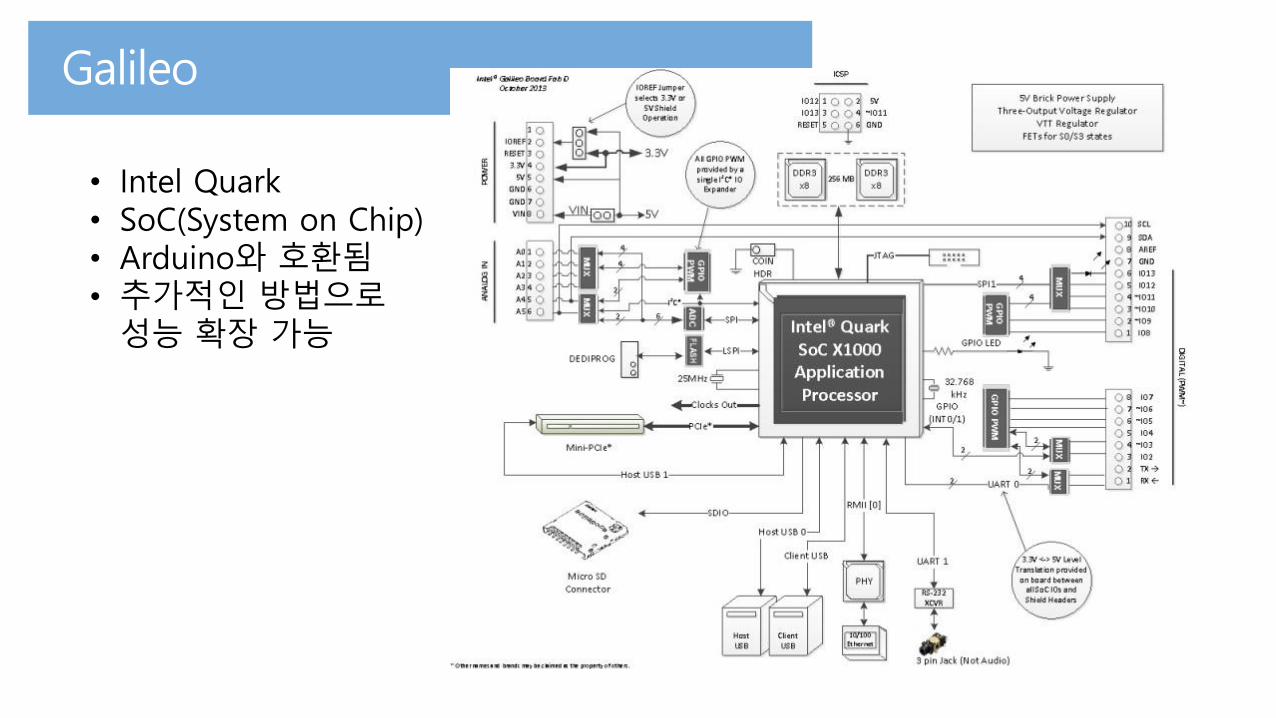
• Intel Quark• SoC(System on Chip)• Arduino와 호환됨• 추가적인 방법으로
성능 확장 가능

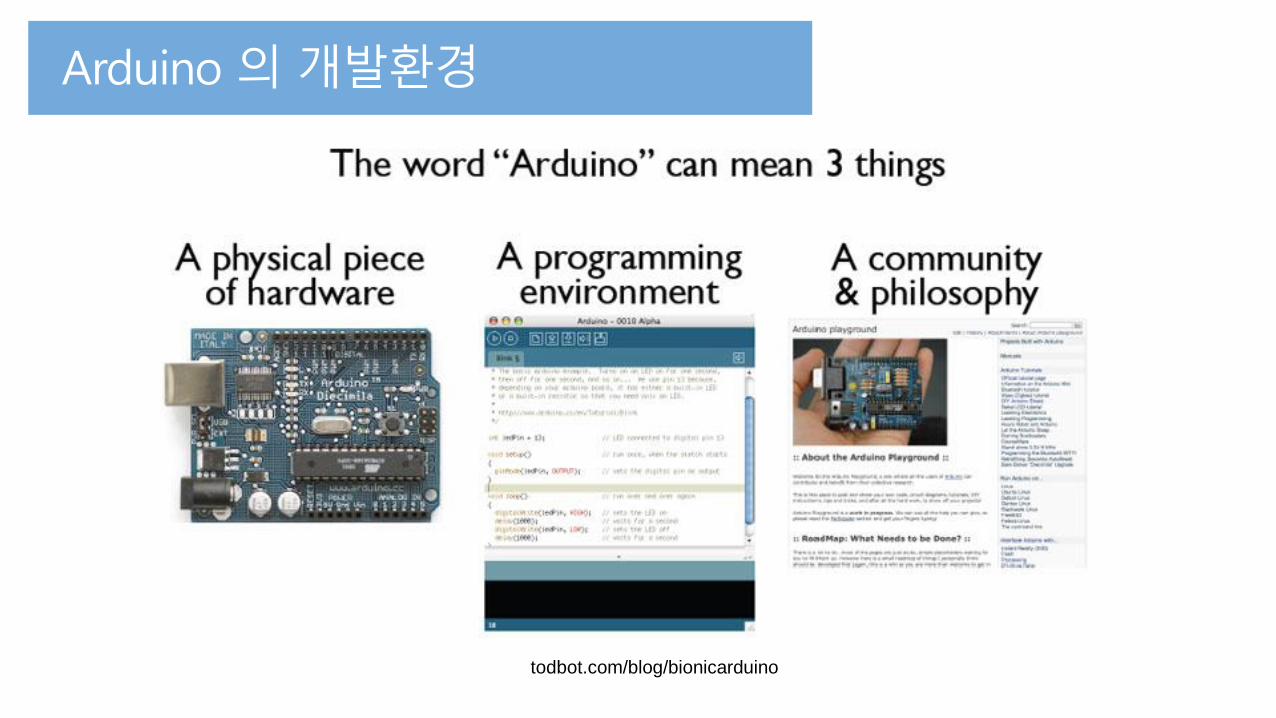
todbot.com/blog/bionicarduino
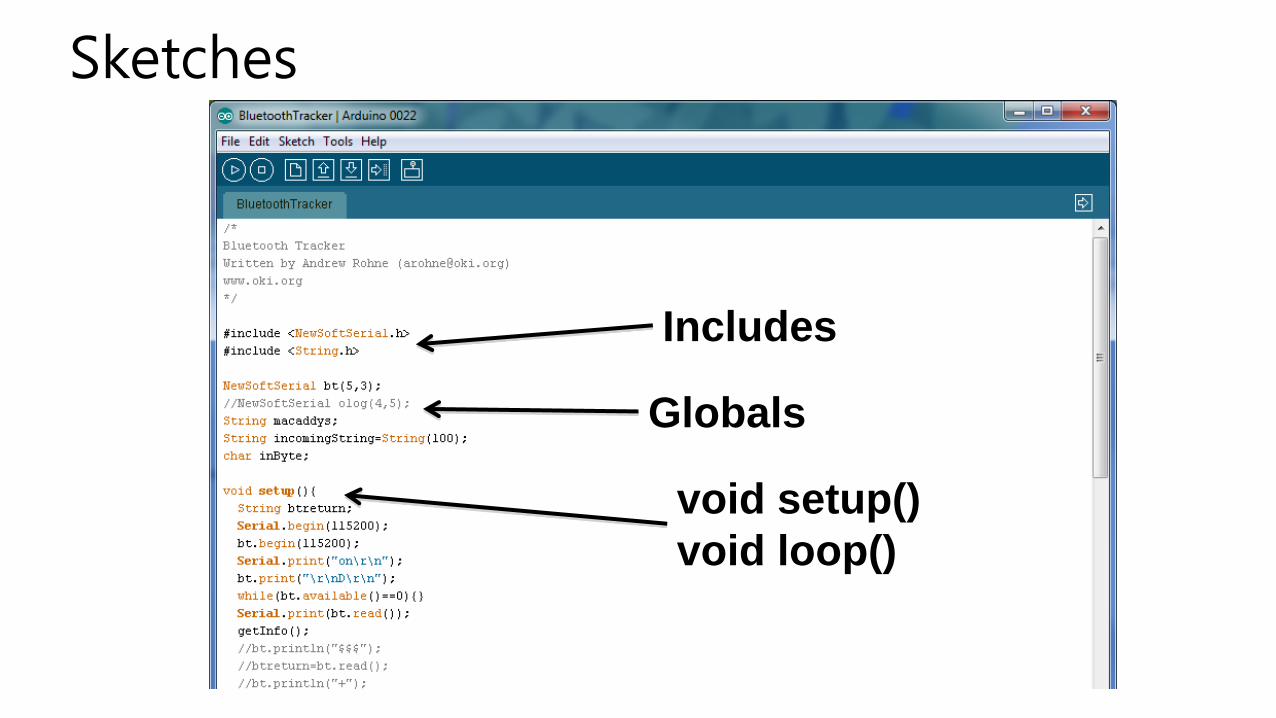
Sketches
Includes
Globals
void setup()
void loop()


1. Intel Website에서 IDE를 다운로드 한다.
(http://www.arduino.cc/ )
2. COM 포트를 설정한다.3. IDE를 실행한다.
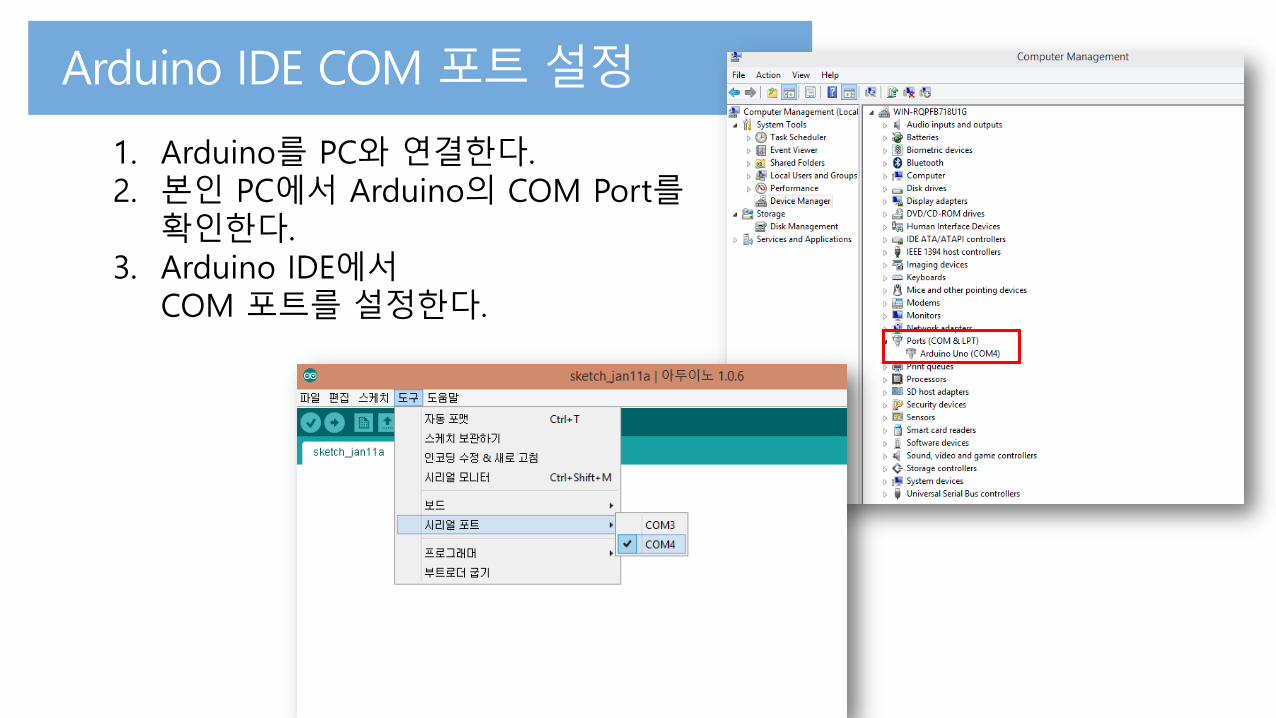
1. Arduino를 PC와 연결한다.2. 본인 PC에서 Arduino의 COM Port를
확인한다.3. Arduino IDE에서
COM 포트를 설정한다.
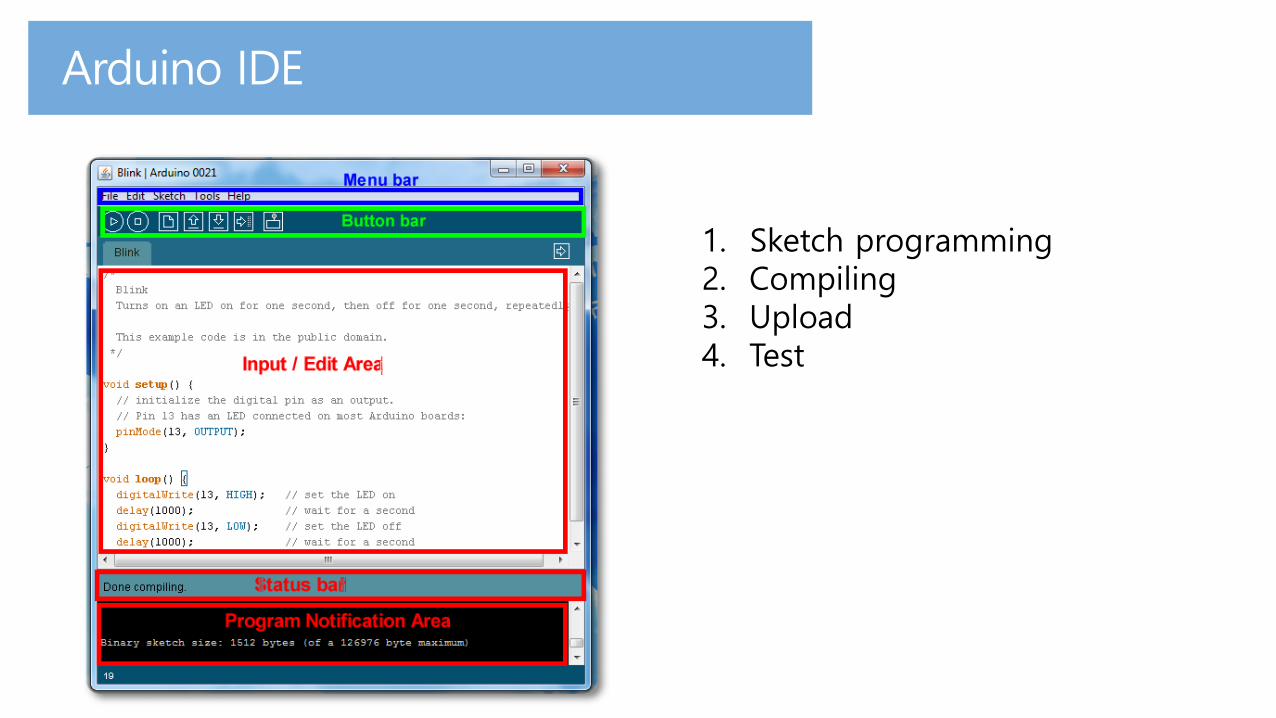
1. Sketch programming2. Compiling3. Upload4. Test
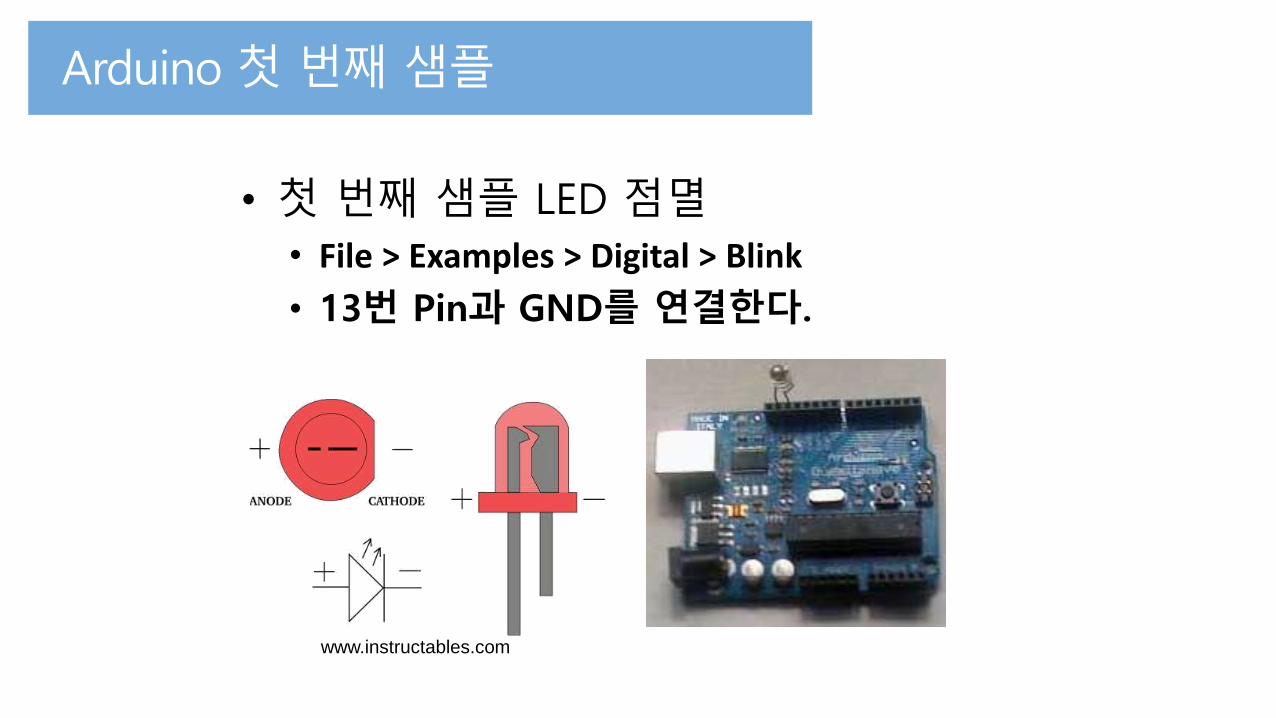
• 첫 번째 샘플 LED 점멸
• File > Examples > Digital > Blink
• 13번 Pin과 GND를 연결한다.
www.instructables.com

Break time