LPI Linux LPIC1
Module 3

Module Contents
• 1 Evans Ikua Lead Editor Kenya [email protected] • 2 Chris Brown Content Author UK [email protected] • 3 Mark Clarke Content Author RSA [email protected] • 4 Brian Ssennoga Content Author Uganda [email protected] • 5 Trust Zifa Material co-editor Zimbabwe [email protected] • 6 John Matogo Material co-editor Kenya john [email protected] • 7 Ken Mutua Material co-editor Kenya [email protected] • 8 Bernard Owuor Material co-editor Kenya [email protected] • 9 Sisay Adugna Material co-editor Ethiopia [email protected] • 10 Balthas Seibold Senior Project • Manager - GIZ • Germany [email protected] • 11 Petra Hagemann Project Manager - GIZ Germany [email protected] • 12 George Nyambuya Africa Coordinator - • ict@innovation • RSA [email protected] • 13 David Paulus Intern - GIZ Germany [email protected]

Module Contents
• Command line
Shell
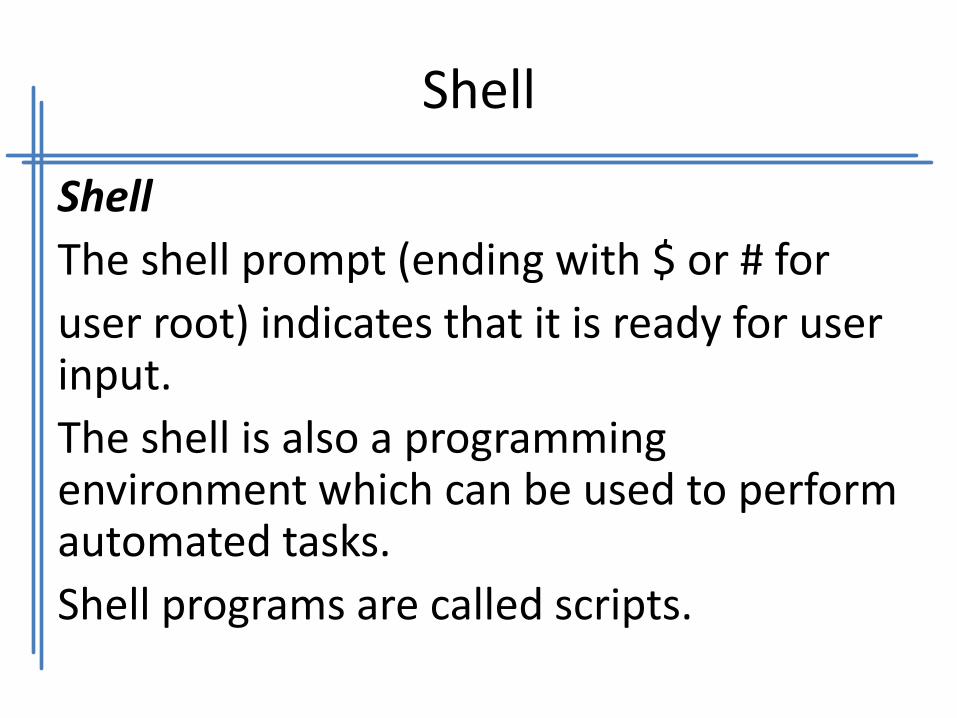
Shell
The shell prompt (ending with $ or # for
user root) indicates that it is ready for user input.
The shell is also a programming environment which can be used to perform automated tasks.
Shell programs are called scripts.
Shell
Shell
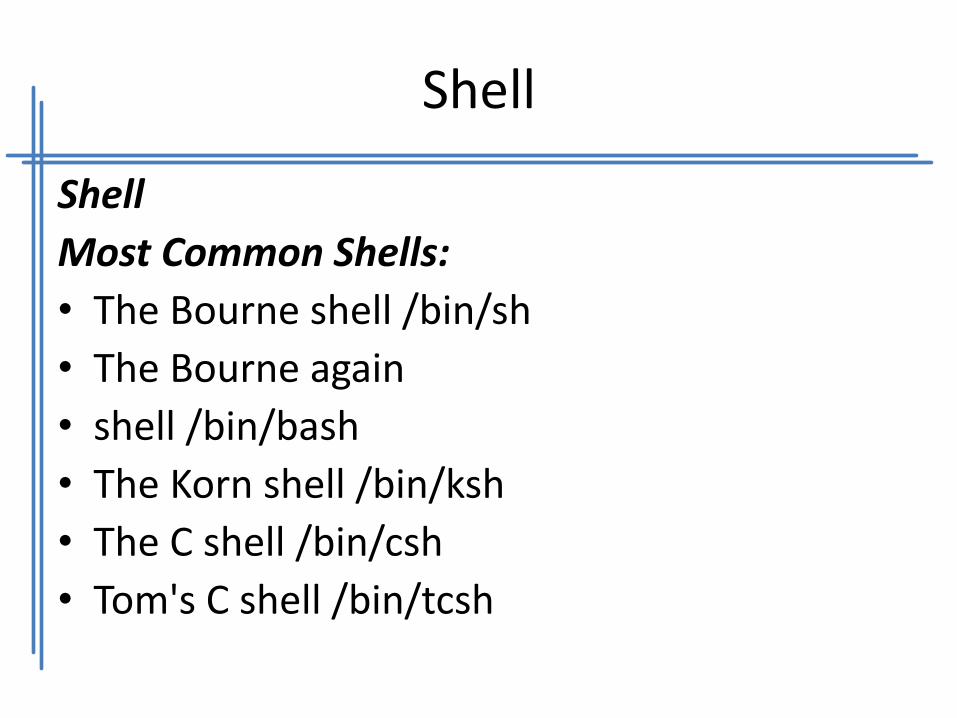
Most Common Shells:
• The Bourne shell /bin/sh
• The Bourne again
• shell /bin/bash
• The Korn shell /bin/ksh
• The C shell /bin/csh
• Tom's C shell /bin/tcsh

Shell
Shell - Full/Relative path
The shell interprets the first ‥word‥ of any string given on the command line as a command. If the string is a full or relative path to an executable then the executable is started. If the first word has no ‥/‥ characters, then the shell will scan directories defined in the PATH variable and attempt to run the first command matching the string.

Shell
Shell - Full/Relative path For example if the PATH variable only contains the directories /bin and /usr/bin then the command cmd won't be found since it is stored in /cmd so the full path needs to be used:
$ /cmd
An alternative to typing the full path to an executable is to use a relative path. For example, if the user is in the directory where the xeyes program is stored then one can type:
$./cmd

Shell
Shell Variables Shell variables are similar to variables used in any computing language. Variable names are limited to alphanumeric characters. For example CREDIT=300 simply assigns the value 300 to the variable named CREDIT. • 1. initialise a variable: Vari-Name=value (no spaces!) • 2. reference a variable: $Variable-Name CREDIT=300
echo $CREDIT

Shell
Shell Variables
Each value of a variable can be removed with the unset command. There are two types of variables: local and exported. Local variables will be accessible only to the current shell. On the other hand, exported variables are accessible by both the shell and any child process started from that shell. The commands set and env are used to list defined variables.

Shell
Shell Variables The set and env commands: • set Lists all variables • env Lists all exported variables A global variable is global in the sense that any child process can reference it. The example below exports the variable credit and then checks to see if it has been exported as expected. export CREDIT
env | grep CREDIT

Shell
Shell Variables List of selected common predefined variables: • DISPLAY Used by X to identify where to run a client
application • HISTFILE Path to the user's .bash_history file • HOME The path to the user's home • LOGNAME The name used by the user to log in • PATH List of directories searched by the shell for programs
to be executed when a command is entered without a path. • PWD The current working directory • SHELL The shell used (bash in most Linux distributions) • TERM The current terminal emulation
Shell
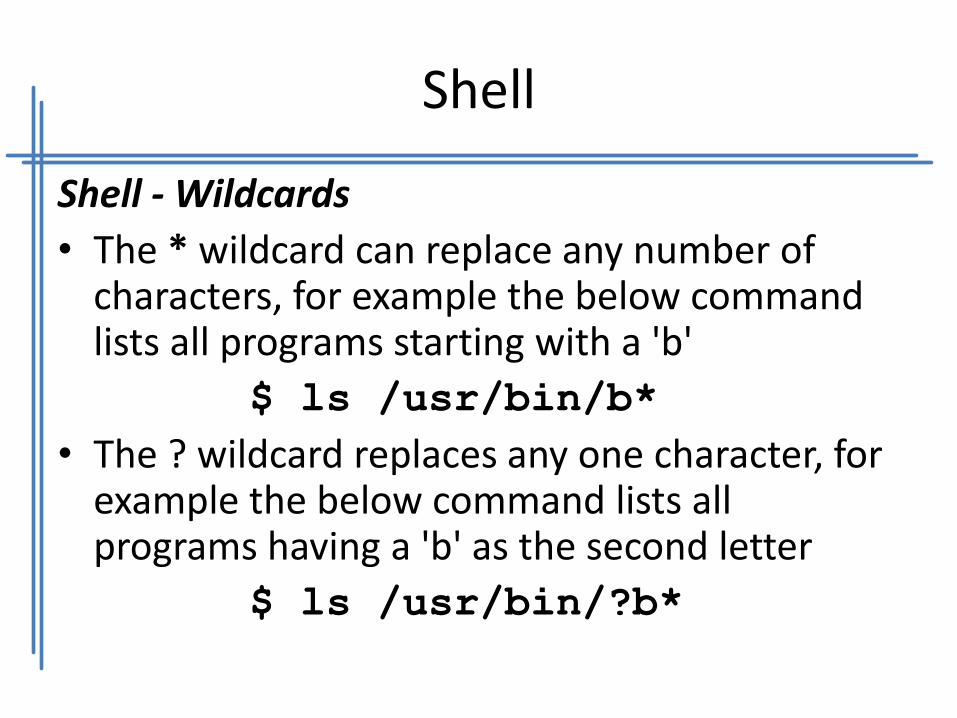
Shell - Wildcards
• The * wildcard can replace any number of characters, for example the below command lists all programs starting with a 'b'
$ ls /usr/bin/b*
• The ? wildcard replaces any one character, for example the below command lists all programs having a 'b' as the second letter
$ ls /usr/bin/?b*

Shell
Shell - Wildcards • [ ] is used to define a range of values. $ ls a[0-9]
$ ls [!Aa]*
First line lists all files starting with an 'a' and have a digit in second position. The second line lists all files that don't start with and 'a' or an 'A‚. • The ? wildcard replaces any one character, for example the
below command lists all programs having a 'b' as the second letter
$ ls /usr/bin/?b*

Shell
Shell - Wildcards
• {string1,string2}; although not a file naming wildcard, it can be used to generate a list of names that have a common stem
$ mkdir {mon, tues, wednes} day

Shell
Shell - Quotes and escape codes
The special meaning of metacharacters can be cancelled by escape characters, which are also metacharacters. The backslash (\) is called the escape character and cancels the meaning of the following character, forcing the shell to interpret it literally. The single quotes (' ') cancel the meaning of all metacharacters except the backslash. The double quotes (" ") are the weakest quotes but cancel most of the special meaning of theenclosed characters except the pipe (|), the backslash (\) and a variable ($var).

Shell
Shell - The Back Tick Back quotes `` will execute a command enclosed and substitute the output back on the command line. The next example defines the variable TIME using the date command.
$ TIME="Today's date is `date +%a:%d:%b`”
echo $TIME
Today's date is Sun:15:Jul
Another way of executing commands (similar to the back ticks) is to use $(). This will execute the enclosed command and treat it as a variable.
$ TIME=$(date)

Shell
Shell - The Command History To view the list of previously typed commands you can use the bash built-in command history.
$ history
1 ls
2 grep 500 /etc/passwd
• This has listed all the cached commands as well as the commands saved in ~/.bash_history. When a user exits the shell cached commands are saved to ~/.bash_history. You can recall commands by using the Up-arrow and Down-arrow on your keyboard. There are also emacs key bindings that enable you to execute and even edit these lines, for example Ctrl+P (previous line), Ctrl+e (go to the END of the line).
Shell
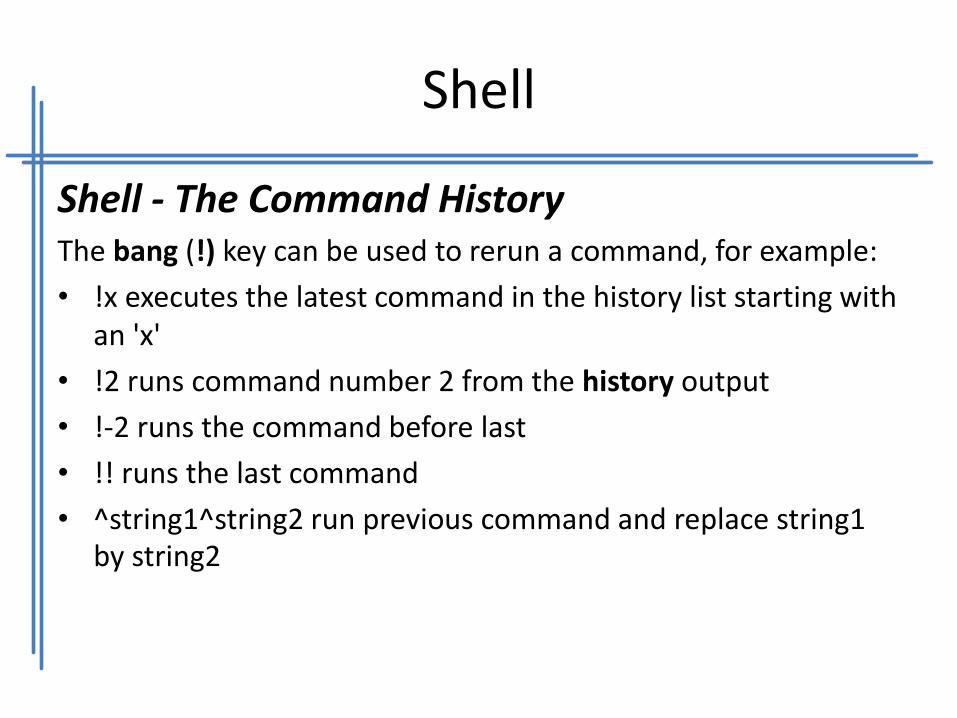
Shell - The Command History The bang (!) key can be used to rerun a command, for example:
• !x executes the latest command in the history list starting with an 'x'
• !2 runs command number 2 from the history output
• !-2 runs the command before last
• !! runs the last command
• ^string1^string2 run previous command and replace string1 by string2

Shell
Shell – Aliases & Compound Commands One can create aliases for commands needing many arguments. The format to create an alias is: $ alias myprog='command [options]{arguments}‚
By typing alias alone at the command line you will get a list of currently defined aliases. $ command1; command2; command3
The three commands are run in sequence regardless of the success of the previous command $ command1 && command2 && command3
Each command will execute only if the previous exit code is 0 (success) $ command1 || comand2 || command3
The next command will execute only if the previous exit code is not 0 (failure).

Shell
Shell – Manpages and the whatis database The manpages are organised in specific topics:
• NAME the name of the item followed by a short one line description.
• SYNOPSYS the syntax for the command
• DESCRIPTION a longer description
• OPTIONS a review of all possible options and their function
• FILES files that are related to the current item (configuration files etc)
• SEE ALSO other manpages related to the current topic
Shell
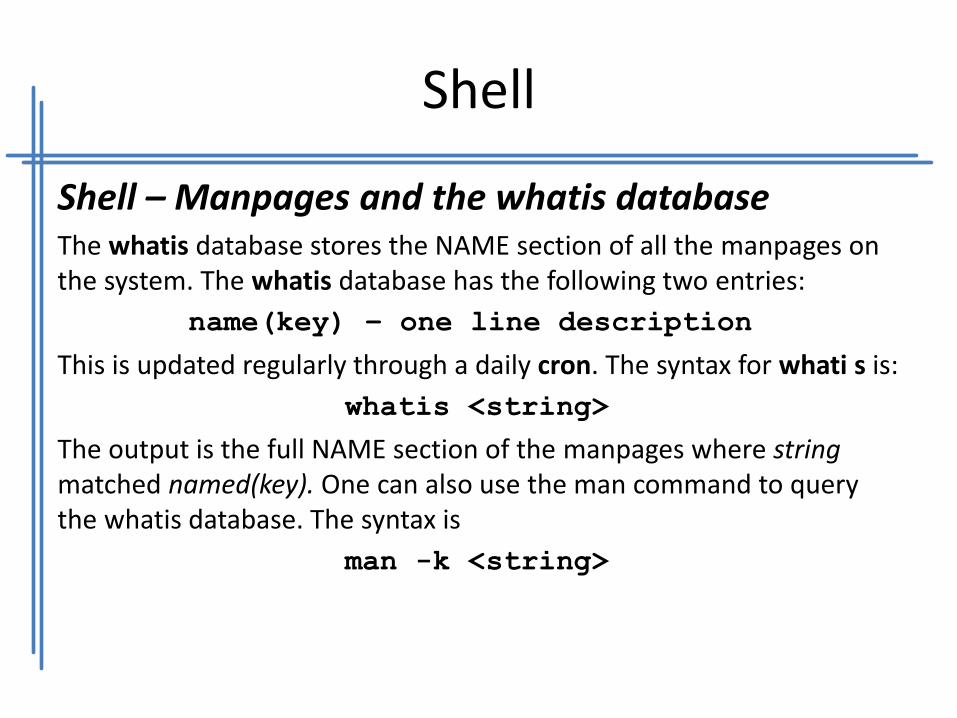
Shell – Manpages and the whatis database The whatis database stores the NAME section of all the manpages on the system. The whatis database has the following two entries:
name(key) – one line description
This is updated regularly through a daily cron. The syntax for whati s is:
whatis <string>
The output is the full NAME section of the manpages where string matched named(key). One can also use the man command to query the whatis database. The syntax is
man -k <string>

Shell
Shell – Manpages and the whatis database
Linux filesystems, recommends manpages to be kept in /usr/share/man. However additional locations can be searched using the MANPATH environment variable set in /etc/man.config. Each directory is further divided into subdirectories corresponding to manpage sections.
Shell
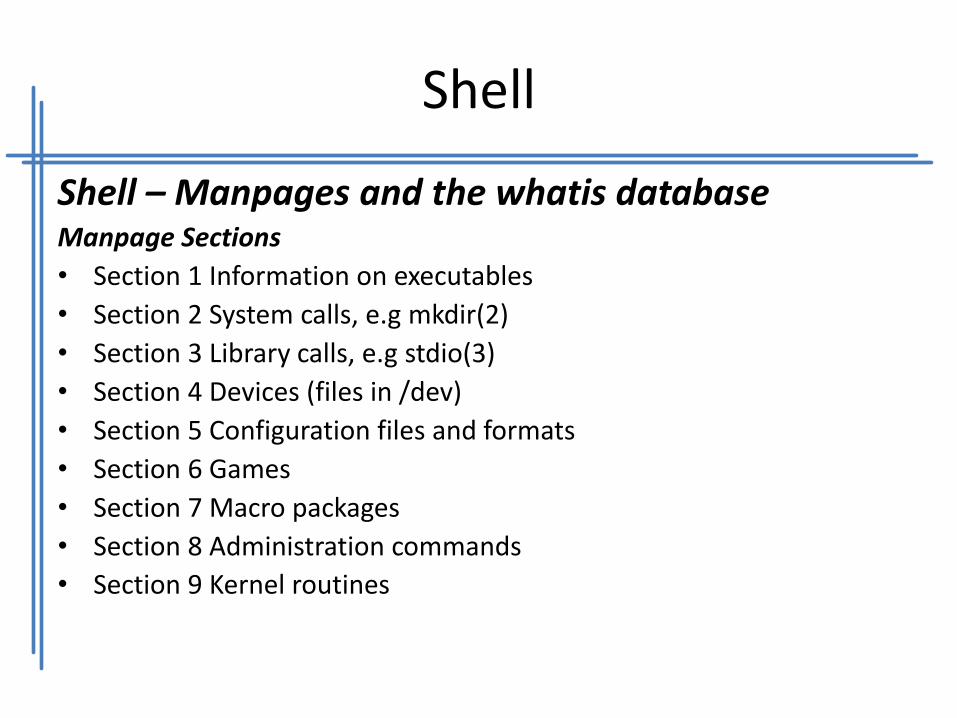
Shell – Manpages and the whatis database Manpage Sections
• Section 1 Information on executables
• Section 2 System calls, e.g mkdir(2)
• Section 3 Library calls, e.g stdio(3)
• Section 4 Devices (files in /dev)
• Section 5 Configuration files and formats
• Section 6 Games
• Section 7 Macro packages
• Section 8 Administration commands
• Section 9 Kernel routines

Shell
Shell – Manpages and the whatis database To access a specific section N one has to enter:
man N command
for example:
$ man mkdir
$ man 2 mkdir
$ man crontab
$ man 5 crontab
Shell
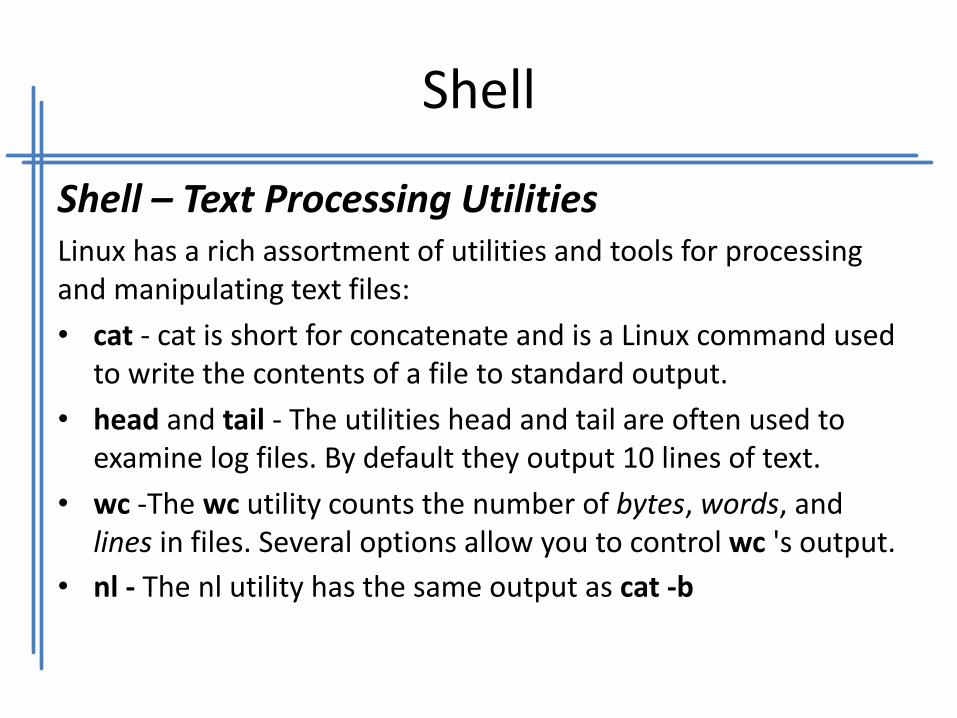
Shell – Text Processing Utilities Linux has a rich assortment of utilities and tools for processing and manipulating text files:
• cat - cat is short for concatenate and is a Linux command used to write the contents of a file to standard output.
• head and tail - The utilities head and tail are often used to examine log files. By default they output 10 lines of text.
• wc -The wc utility counts the number of bytes, words, and lines in files. Several options allow you to control wc 's output.
• nl - The nl utility has the same output as cat -b

Shell
Shell – Text Processing Utilities Linux has a rich assortment of utilities and tools for processing and manipulating text files:
• expand/unexpand - The expand command is used to replace TABs with spaces. One can also use unexpand for the reverse operations.
• od There are a number of tools available for this. The most common ones are od (octal dump) and hexdump.
• split - splitting files - The split tool can split a file into smaller files using criteria such as size or number of lines.
Shell
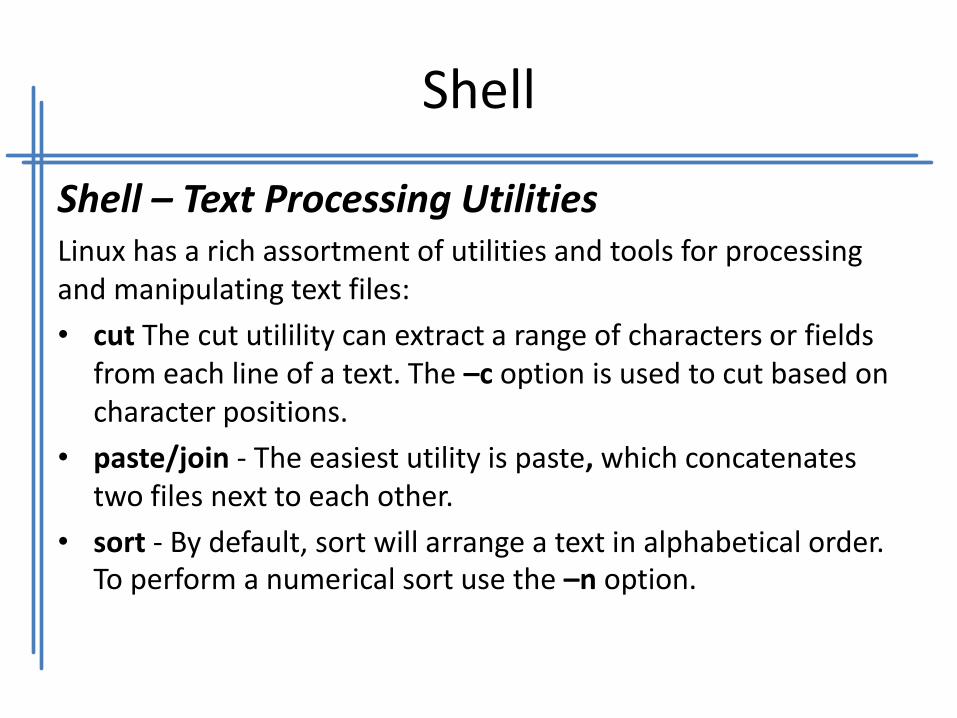
Shell – Text Processing Utilities Linux has a rich assortment of utilities and tools for processing and manipulating text files:
• cut The cut utilility can extract a range of characters or fields from each line of a text. The –c option is used to cut based on character positions.
• paste/join - The easiest utility is paste, which concatenates two files next to each other.
• sort - By default, sort will arrange a text in alphabetical order. To perform a numerical sort use the –n option.

Shell
Shell – Text Processing Utilities Linux has a rich assortment of utilities and tools for processing and manipulating text files:
• cut The cut utility can extract a range of characters or fields from each line of a text. The –c option is used to cut based on character positions.
• paste/join - The easiest utility is paste, which concatenates two files next to each other.
• sort - By default, sort will arrange a text in alphabetical order. To perform a numerical sort use the –n option.
Shell
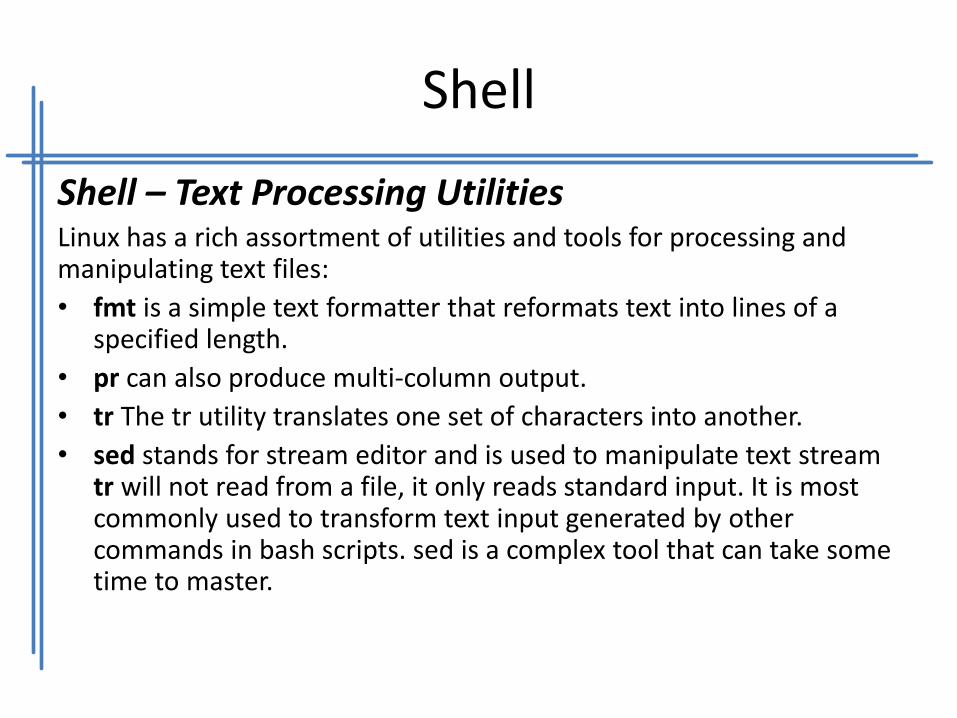
Shell – Text Processing Utilities Linux has a rich assortment of utilities and tools for processing and manipulating text files:
• fmt is a simple text formatter that reformats text into lines of a specified length.
• pr can also produce multi-column output.
• tr The tr utility translates one set of characters into another.
• sed stands for stream editor and is used to manipulate text stream tr will not read from a file, it only reads standard input. It is most commonly used to transform text input generated by other commands in bash scripts. sed is a complex tool that can take some time to master.
Shell
Shell – Text Processing Utilities Linux has a rich assortment of utilities and tools for processing and manipulating text files:
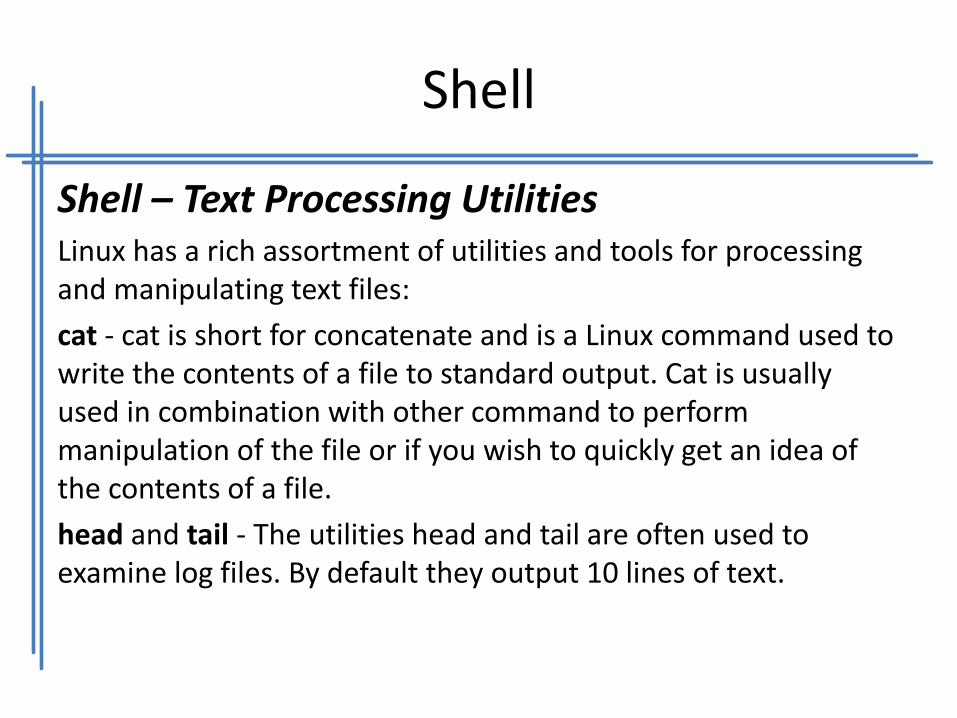
cat - cat is short for concatenate and is a Linux command used to write the contents of a file to standard output. Cat is usually used in combination with other command to perform manipulation of the file or if you wish to quickly get an idea of the contents of a file.
head and tail - The utilities head and tail are often used to examine log files. By default they output 10 lines of text.
Shell
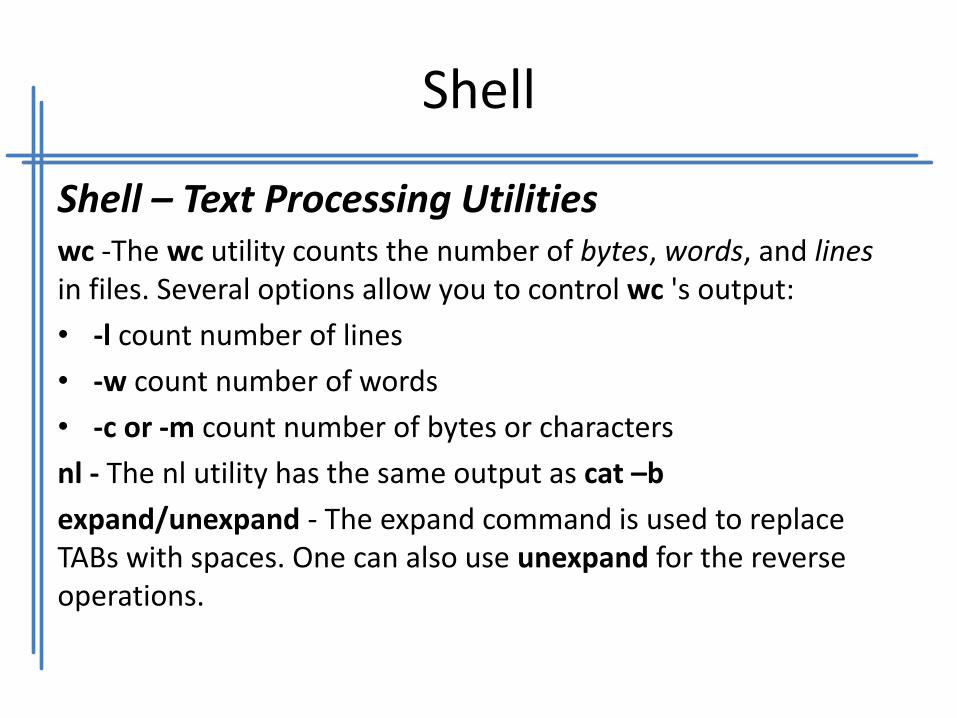
Shell – Text Processing Utilities wc -The wc utility counts the number of bytes, words, and lines in files. Several options allow you to control wc 's output:
• -l count number of lines
• -w count number of words
• -c or -m count number of bytes or characters
nl - The nl utility has the same output as cat –b
expand/unexpand - The expand command is used to replace TABs with spaces. One can also use unexpand for the reverse operations.

Shell
Shell – Text Processing Utilities od There are a number of tools available for this. The most common ones are od (octal dump) and hexdump.
split - splitting files - The split tool can split a file into smaller files using criteria such as size or number of lines.
cut The cut utilility can extract a range of characters or fields from each line of a text.
paste/join - The easiest utility is paste, which concatenates two files next to each other.
sort - By default, sort will arrange a text in alphabetical order. To perform a numerical sort use the –n option.

Shell
Shell – Formatting output with fmt and pr • fmt is a simple text formatter that reformats text into lines of a
specified length. By default fmt will concatenate • lines and output 75 character lines. Options: • -w number of characters per line • -s split long lines but do not refill • -u place one space between each word and two spaces at the end
of a sentence • pr Long files can be paginated to fit a given size of paper with the pr
utility. Text is broken into pages of a specified length and page headers are added. One can control the page length (default is 66 lines) and page width (default 72 characters) as well as the number of columns.

Shell
Shell – Formatting output with fmt and pr • tr The tr utility translates one set of characters into another.
$ tr 'A-B' 'a-b' < file.txt
will change uppercase letters into lowercase.
• sed sed stands for stream editor and is used to manipulate text stream tr will not read from a file, it only reads standard input. It is most commonly used to transform text input generated by other commands in bash scripts. sed is a complex tool that can take some time to master. It's most common use case is to find and replace text in an input stream. Sed's output is written to standard out, with the original file left untouched, and needs to be redirected to a file to make the changes permanent.
Shell
Shell – Formatting output with fmt and pr
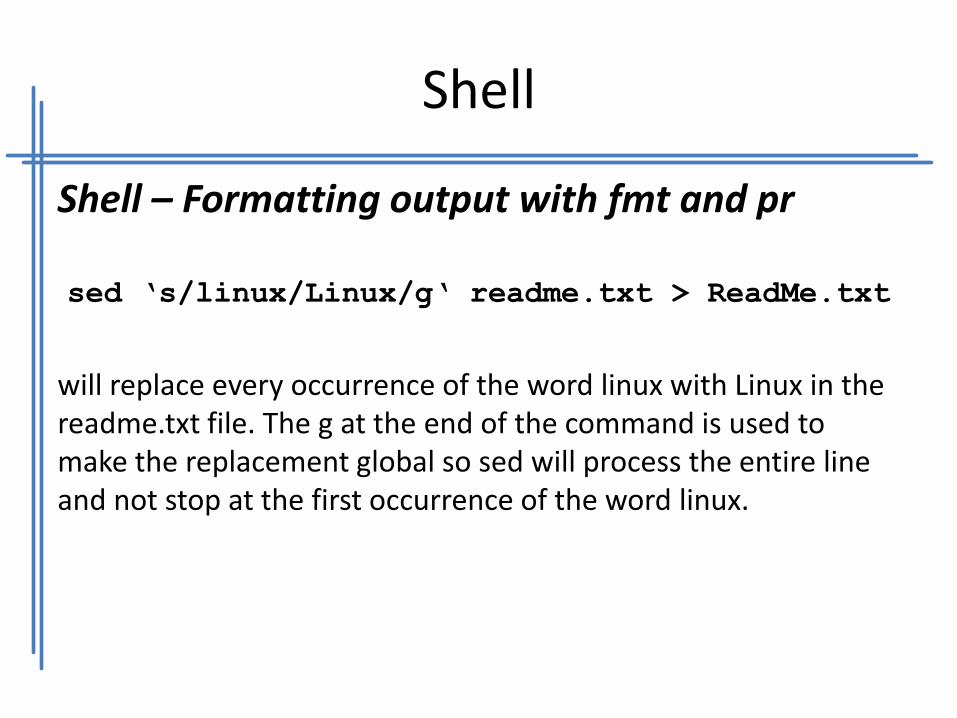
sed ‘s/linux/Linux/g‘ readme.txt > ReadMe.txt
will replace every occurrence of the word linux with Linux in the readme.txt file. The g at the end of the command is used to make the replacement global so sed will process the entire line and not stop at the first occurrence of the word linux.

Shell
Perform basic file management A directory or a file can be accessed by giving its full pathname, starting at the root (/) or its relative path, starting from the current directory.
Absolute path: independent of the user's current directory, starts with /
Relative path: depends on where the user is, doesn't start with / As in any structured filesystem there are a number of utilities that can help you navigate through
the system.

Shell
Perform basic file management pwd: Gives your actual position as an absolute path.
cd: The 'change directory' command
l s: List the contents of a directory. Options:
• -l – use the long listing format,
• -a – list all files and directories including hidden files and directories,
• -h – show file sizes in human readable format, ie. Formatted for easy reading
• -d – list directories only and does not list their contents.

Shell
Perform basic file management • find
Syntax: find <DIRECTORY> <CRITERIA> [-exec <COMMAND> {} \;]
The DIRECTORY argument tells find where to start searching and CRITERIA can be a combination of serial selection criteria, including the name of a file or directory we are looking for.
Shell
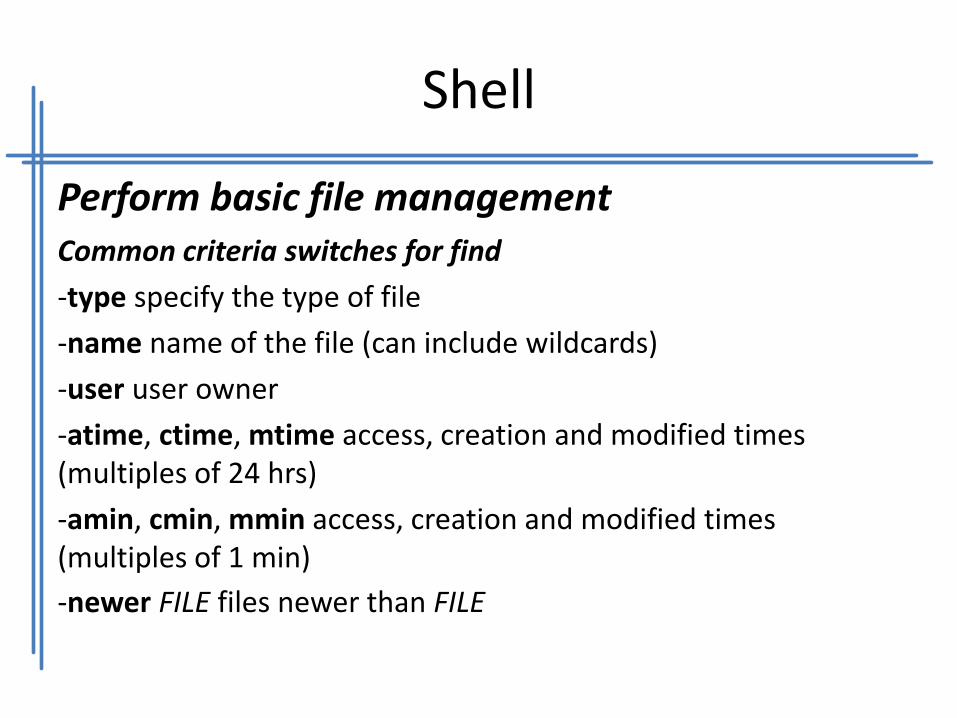
Perform basic file management Common criteria switches for find
-type specify the type of file
-name name of the file (can include wildcards)
-user user owner
-atime, ctime, mtime access, creation and modified times (multiples of 24 hrs)
-amin, cmin, mmin access, creation and modified times (multiples of 1 min)
-newer FILE files newer than FILE

Shell
Perform basic file management Common criteria switches for find
-mkdir / rmdir – created / delete (an empty) directory
cp
Syntax:
cp [options] file1 file2
cp [options] files directory

Shell
Perform basic file management Most common options for cp • -d do not follow symbolic link (when used with -R) • -f force • -i interactive, prompt before overwrite • -p preserve file attributes • -r recursively copy directories mv - The mv command can both move and rename files and directories. If oldname is a file and newname is a directory then the file oldname is moved to that directory. If the source and destination are on the same filesystem, then the file isn't copied but the the link is simply moved to the new location. Syntax:
mv [options] oldname newname
mv [options] source destination
mv [options] source directory

Shell
Perform basic file management touch • Another way of creating or modifying a file is to use touch. • Syntax: touch {options} file(s) • If file doesn't exist it is created. You can also update the access
time of a file to the current time using • the -a option, -m changes the modification time and -r is used
to apply the time attributes of another • file. dd - This command copies a file with a changeable I/O block size. It can also be used to perform conversions (similar to tr). Main options are if= (input file) of= (output file) conv= (conversion)

Shell
Files archiving and compression
• Linux has several utilities for compressing and archiving files. Some of these tools have their origins in tape archiving and backup solutions and the parameters and names reflect this.
tar - The tar (tape archive) command is used to archive directories and optionally compress the archive. Originally the tar command was used to archive to tape but can now also archive to disk, which is its most common use.

Shell
Files archiving and compression
The options provided to tar are:
• c – create the archive,
• v – show verbose output during archive creation,
• j – compress the archive with bzip compression,alternatively you could stipulate z which would use gzip compression
• f – the name of the file to created, in this case backup.tar,bz

Shell
Files archiving and compression
gzip/gunzip - gzip is used to compress files using Lempel-Ziv coding.
bzip/bzip2 - bzip compresses files using the Burrows-Wheeler block sorting text compression algorithm, and
Huffman coding, which is considered more efficient than the Lempel-Ziv file.

Shell
Pipes and streams A command Each command has a standard input and a standard output For example: ls –l
the standard input for the command is the directory given (in the example this is the current directory) and the standard output is the screen (as we can see the results on the screen)
command in out
Shell
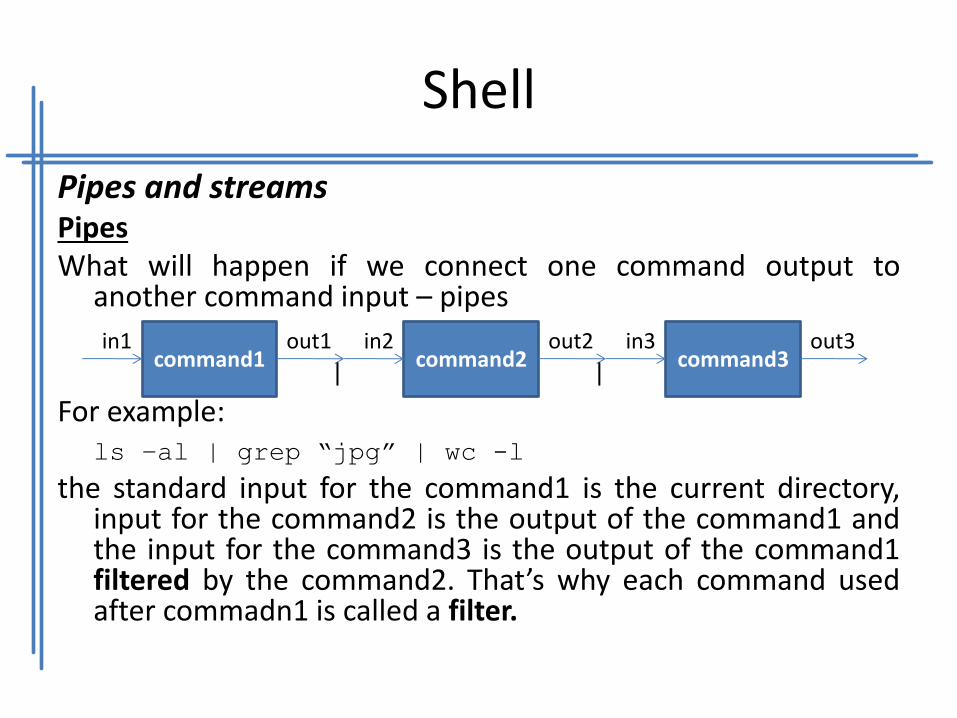
Pipes and streams Pipes What will happen if we connect one command output to
another command input – pipes For example: ls –al | grep “jpg” | wc -l
the standard input for the command1 is the current directory, input for the command2 is the output of the command1 and the input for the command3 is the output of the command1 filtered by the command2. That’s why each command used after commadn1 is called a filter.
command1 in1 out1
command2 in2 out2
command3 in3 out3
| |

Shell
Pipes and streams Streams Redirecting of streams takes place when we use “>”, “<“ or “>>” at the end of the command. There are 3 streams in Linux: • Files • Screen • Keyboard Redirection of the standard output stream (0) of the command ls: ls –l > file_name
The above command redirects the standard output stream (1) of the ls command to be not the screen, but the filename given. In the result what usually is displayed on the screen – will be put into the file.
Shell
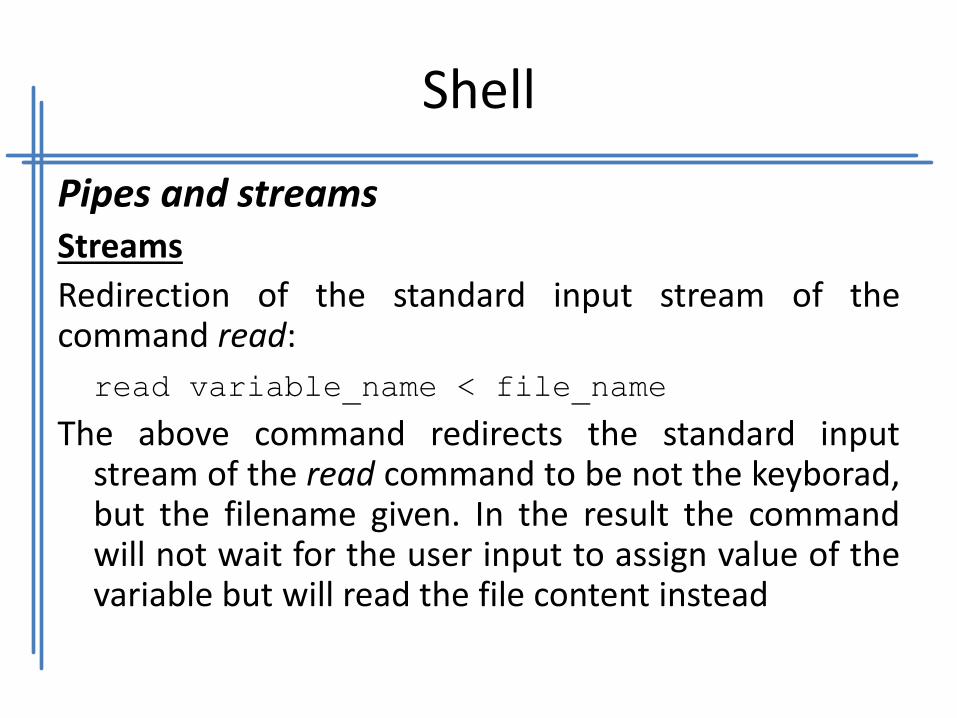
Pipes and streams Streams
Redirection of the standard input stream of the command read:
read variable_name < file_name
The above command redirects the standard input stream of the read command to be not the keyborad, but the filename given. In the result the command will not wait for the user input to assign value of the variable but will read the file content instead
Shell
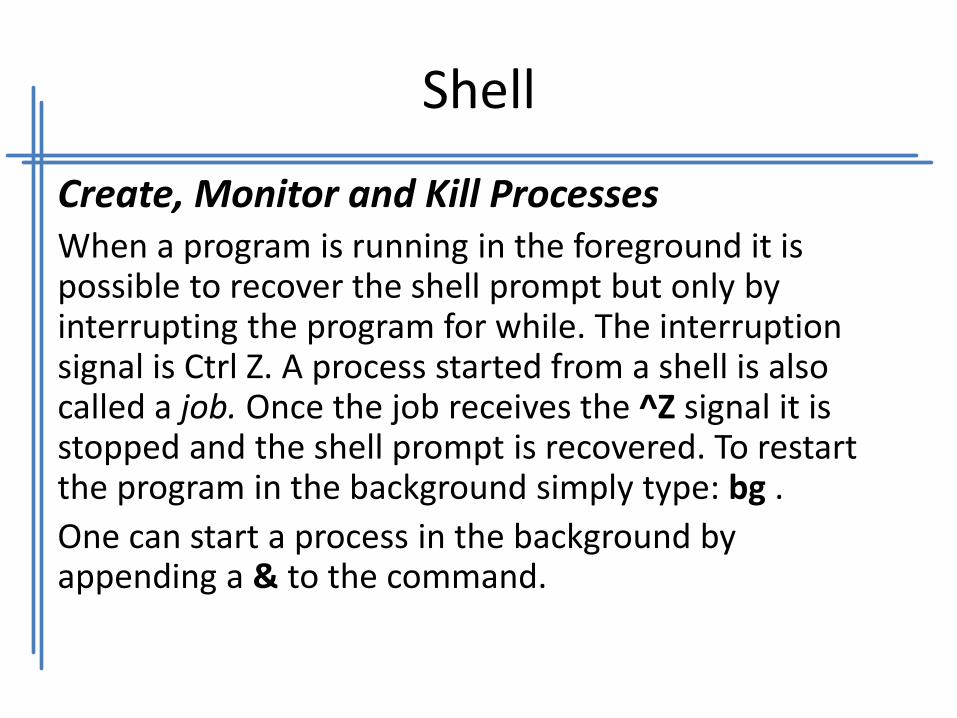
Create, Monitor and Kill Processes When a program is running in the foreground it is possible to recover the shell prompt but only by interrupting the program for while. The interruption signal is Ctrl Z. A process started from a shell is also called a job. Once the job receives the ^Z signal it is stopped and the shell prompt is recovered. To restart the program in the background simply type: bg .
One can start a process in the background by appending a & to the command.

Shell
Create, Monitor and Kill Processes
The jobs utility lists all running processes started from the current shell. The job number, the job's state (running/stopped), as well as the two last modified processes, will be listed.

Shell
Viewing Running Processes
Processes have a unique Process ID the PID. This number can be used to modify a process' priority or to stop it. A process is any running executable. If process_2 has been spawned by process_1, it is called a child process. The spawning process_1 is called the parent process. The pstree command gives a good illustration of parent and child process hierarchy.
A more direct way to determine which processes are running is to use ps. Most users learn a favourite combination of options which work for most situations.

Shell
Viewing Running Processes Summary of options • -a show all processes for the current user linked to a tty
(except the session leader) • -e or -A show all processes • -f gives the PPID (Parent Process ID) and the STIME
(Start Time) • -l is similar to -f and displays a long list • a show all processes linked to a tty, including other
users • x show all processes without a controlling tty as well

Shell
Sending Signals To Processes
The kill command can be used to send signals to processes. There are 63 signals available. The default signal terminates a process and is called SIGTERM with value 15.
• kill
Syntax kill SIGNAL process_PID

Shell
Sending Signals To Processes
• killall
Syntax
killall SIGNAL process_NAME
Shell
Modify Process Execution Priorities When a process is started by a user it has a default priority, or nice number of 0.Nice numbers (NI) alter the CPU priority and are used to balance the CPU load in a multiuser environment. nice numbers range from 19 [lowest] to -20 [highest]. Only root can decrease the nice number of a process. Since all processes start with a default nice number of zero as a consequence negative nice numbers can only be set by root! • Syntax
nice –<NI> <process>
Notice that renice works with PIDs and handles lists of processes at a time. A useful option to renice is the -u option which affects all processes run by a user.
Shell
Using Regular Expressions A regular expression is a sequence of characters (or atoms) used to match a pattern. Characters are either constants (treated literally) or metacharacters. • \<KEY - Words beginning with ‘KEY’ • WORD\> - Words ending with ‘WORD’ • ^ - Beginning of a line • $ - End of a line • [ Range ] - Range of ASCII characters enclosed • [^c ] - Not the character ‘c’ • \[ - Interpret character ‘[‘ literally • “ca*t” -Strings containing ‘c’ followed by no 'a' or any number of
the letter 'a‚ followed by a 't' • “.” - Match any single character
Shell
Using Regular Expressions Extended regular expressions:
• The main eregex’s are: +,?,() and |
Characters Search Match
• "A1|A2|A3" - Strings containing ‘A1’ or ‘A2’ or ‘A3’
• "ca+t" - Strings containing a 'ca' followed by any number of the letter 'a‚ followed by a 't'
• "ca?t" - Strings containing ‘c’ followed by no 'a' or exactly one 'a' followed by a 't'

Shell
Using Regular Expressions • grep Syntax for grep:
grep PATTERN FILE
grep Main Options • -c count the number of lines matching PATTERN • -f obtain PATTERN from a file • -i ignore case sensitivity • -n Include the line number of matching lines • -v output all lines except those containing PATTERN • -w Select lines only if the pattern matches a whole word.

Shell
Using Regular Expressions egrep - The egrep tool supports extended regular expressions
fgrep - Stands for fast grep and fgrep interprets strings literally. The fgrep utility does not recognise the special meaning of the regular expressions.

Shell
Using vi In order to perform complex operations such as copy/paste, vi can operate in different modes. Command mode • This is the editing and navigation mode. Commands are often just a letter.
For example use j to jump to the next line. Last Line (or column) Mode • You enter this mode from the command mode by typing a colon. The
column will appear at the bottom left corner of the screen. In this mode you can perform a simple search operation, save, quit or run a shell command.
Insert Mode • The easiest way to enter this mode while in command mode is to use i or a
. This mode is the most intuitive and is mainly used to interactively enter text into a document.

Shell
Using vi The Esc key will exit the insert mode and return to command mode.
Inserting Text
When in command mode typing i will allow you to enter text in the document interactively. As with all other features in vi there are many other ways of doing this. The table below lists the commands used to enter insert mode.

Shell
Using vi Insert commands • a Append text with cursor on the last letter of the line
• A Append text with cursor after last letter at the end of the line
• i Insert text at the current position
• o Insert text on a new line below
• O Insert text on a new line above
• s Delete the current letter and insert
• S Delete current line and insert

Shell
Using vi Cut and Paste If you want to delete a single character while in command mode you would use x. Use dd to delete the current line. One can then paste the deleted item with the command p. Copying and Pasting The copy action in vi is the command y (for yank, the letter c was already taken for change), and the paste action is still p. If an entire line is yanked the pasted text will be inserted on the next line below the cursor.

Shell
Using vi Search and Replace Since searching involves pattern matching we find ourselves once again dealing with regular expressions (regex). Like many UNIX text manipulation tools such as grep or sed, vi recognises regular expressions too. To perform a search one must be in COMMAND mode. The / (forward slash) command searches forward and the ? command searches backwards. Examples: /\<comp Downward search for words beginning with ‘comp’ in all the text ?^z Upward search for lines starting with the letter z :% s/VAR/var Search in the whole text for the keyword ‘VAR’ and replace it by ‘var’
Shell
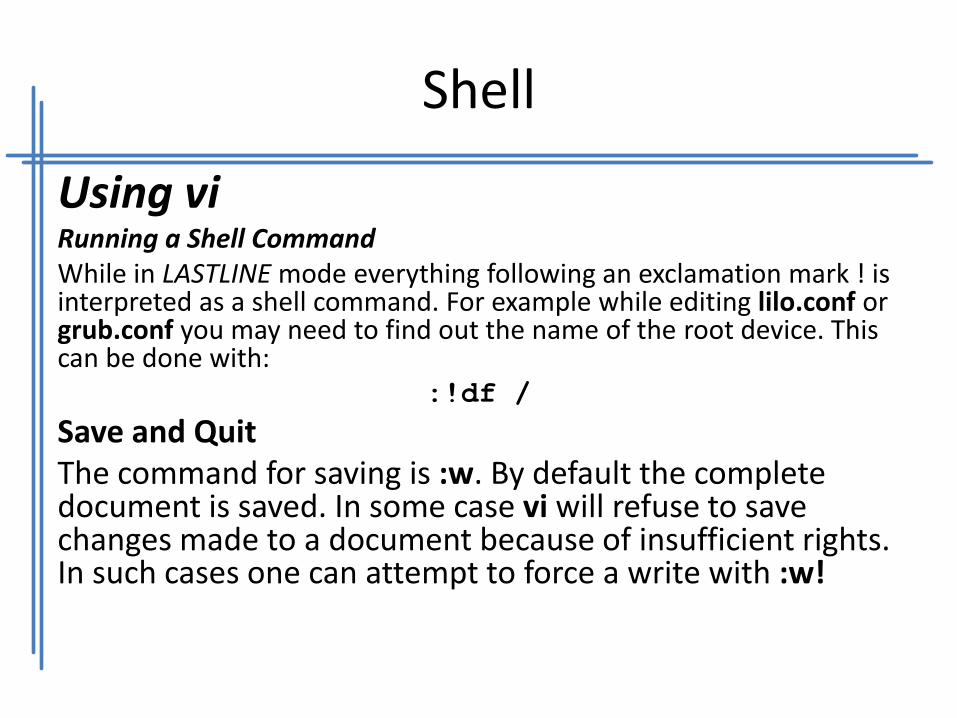
Using vi Running a Shell Command While in LASTLINE mode everything following an exclamation mark ! is interpreted as a shell command. For example while editing lilo.conf or grub.conf you may need to find out the name of the root device. This can be done with:
:!df /
Save and Quit The command for saving is :w. By default the complete document is saved. In some case vi will refuse to save changes made to a document because of insufficient rights. In such cases one can attempt to force a write with :w!

Exercise
EXERCISE 3.1 – your working environment
1. Inspect the /etc/shells file in order to check which shells are available in you system(s).
2. Check which is your default shell (display SHELL variable or check /etc/passwd file which shell is assigned to your account).
3. Check all global variables and exported variables list (use env and set commands). Try to add one new exported variable called MYFULLNAME and assign your full name to this variable.
4. How can you make the MYFULLNAME variable declaration persistent (so that it would preserve after logout / login)?

Exercise
EXERCISE 3.2 – wildcards
1. Enter /etc directory and display all filemes beginning with ”a”.
2. In the same directory display all filenames that have ”o” as second character of the name.
3. In the same directory display all filenames that DO NOT begin with ”h”.
Exercise
EXERCISE 3.3 – command history and aliases
1. Check your command history.
2. Execute first command in the history from the command line.
3. Execute third to last command in the history.
4. Display all aliases defined in your workin environment.
5. Create test directory in your home directory with any 3 files (can be empty, you may use touch command).
6. Try do delete the files? Did the shell ask you to confirm every deletion? If yes, then after re-creating the files undefine the alias that forces you to confirm every deletion, define appropriate alias otherwise.

Exercise
EXERCISE 3.4 – manuals and text processing
1. Using man, info and whatis commands find ALL possible information about grep and find commands.
2. For a given file (e.g. /etc/grub.conf) try do display the whole file, then last and first 10 lines of the file (cat, tail, head).
3. Copy the /etc/grub.conf file into your home directory and then split it by half and then split it again, but this time make 6 first lines go to one file and the rest of the file to another file.
4. Create a file with ”Welcome to the course string” and then use cut command to display 3rd word.
Exercise
EXERCISE 3.5 – more text processing
1. Use tr command to create a file with the same contents as /etc/groub.conf file yet with all ”l” characters replaced with ”1”.
2. Read carefully about sed command from the following website and absorb as much as possible: http://www.grymoire.com/unix/sed.html Try to do some of the examples shown on the website.

Exercise
EXERCISE 3.6 – basic file management
1. Using find command find all files in the whole filesystem that belong to you.
2. Using the same command display all files that were modified within last 20 minutes and were NOT accessed within last 2 days.
3. Archive all files in your home directory (tar) into home.tar archive. Zip the archive using gzip or bzip2 programs. Create a compressed archive home.tar.gz using solely tar command with appropriate options.

Exercise
EXERCISE 3.7 – pipelines
Build the following pipeline: grep YOUR_NAME myfile | wc -l grep [alnum] myfile | wc -l ls –a | grep [^.] | wc –l Try to investigate and guess what these pipelines do?
Exercise
EXERCISE 3.8 – output stream redirection
Execute the following two command one by one: ls -l
ls -l > filename
The second command redirects standard output stream (monitor) into file stream (it will create the filename file). Due to that reason you will not see anything on the screen when the second command is executed, the data will be saved into the filename file.

Exercise
EXERCISE 3.9 – input stream redirection
Using vi editor create a file (say datafile) containing your surname only. Then execute the below sequence of commands: read –p "Enter your first name: " FIRSTNAME
read SURNAME < ./datafile
echo "Your full name is $FIRSTNAME $SURNAME"
In the second line, in the contrary to the first line, the Shell will not be waiting for you to enter data from the default input stream (keaybord / console). It will read instead data from redirected input stream, in this case this is file stream.

Exercise
EXERCISE 3.10 – Managing Processes – ps command 1. Using ps command list all running processes. 2. Investigate which option should be used to show
additionally usernames the processes are running as. 3. Can you identify which processes are sleeping and which
are running?
Exercise
EXERCISE 3.11 – Managing Processes – top command 1. Using top command list all running processes. 2. How much of RAM is used. 3. What are processes priorities? 4. What is difference / relation between a process priority
and nice value. 5. How can you change a process nice value? How this
affects its priority?
Exercise
EXERCISE 3.12 – Managing Processes – background processes 1. Execute vi editor as:
vi &
What happend? 2. Now type in the command line:
fg %1
What happened now? 3. Press Ctrl+z and then check ID of the vi process (not
PID), which can be done using jobs command. 4. Kill the process using the id:
kill %ID.

Exercise
EXERCISE 3.13 – Managing Processes – background processes - continued 1. Execute vi editor as:
vi & 2. Press Ctrl+z to move the process into background. 3. Check the actual list of running processes using ps
command and identify the PID for the vi process. 4. Once you know the process ID, send -9 signal to the
process using kill command” kill -9 vi_PID_here
5. Check whether the vi process is still running.
Exercise
EXERCISE 3.14 – vi editor 1. Use the vi editor to create a file. 2. Practice copy-pasting of the text. 3. Add (read) the content of /etc/grub.conf file into the text
you have already entered into the editor using vi command line.
4. Find all occurrences of ”title” word in the entered text using vi command line.
5. Save the entered text into myfirstvifile file.
Recommended