Embed Size (px)
Citation preview

WIN1038 February 2007
How to Securely Delete Electronic Information in Windows Author: Deanna Pasternak
Introduction ................................................................................................................................................................ 1 Why Should I Securely Erase? ................................................................................................................................... 1 Who Should Securely Erase Hard Drives? ................................................................................................................. 2 Methods of Securely Erasing Files ............................................................................................................................. 2 Things to know before you securely erase.................................................................................................................. 2 Applications to erase files and folders ........................................................................................................................ 2 Shredding files and folders with Eraser ...................................................................................................................... 2 Other options in Eraser ............................................................................................................................................... 7 Securely erasing the entire hard drive using DBAN................................................................................................. 14 Error Messages and Problems................................................................................................................................... 15 More Information...................................................................................................................................................... 15 Getting Help ............................................................................................................................................................. 16
Introduction This document explains the importance of securely deleting electronic information, using the tools Eraser and DBAN. Eraser is an application that can be used to ensure the files that you “delete” are actually destroyed. DBAN is a one-time use tool to ensure your hard drive is wiped clean before you dispose of it. Although ITS recommends securely erasing/deleting sensitive information and has tested the software (Eraser version 5.8 on Windows XP and DBAN version 1.0.7), you are advised to use them with caution and at your own discretion as ITS will not be liable for any damage caused by the use of Erase or DBAN. You should backup your files before using this software, as well as be sure that the files being erased should be permanently removed. This is not software that is supported on-site by ITS, but this document was written as an aide for those that require secure deletion. Why Should I Securely Erase? When you delete a file or folder using the “Recycle Bin” or “Trash” on your computer, the file is not actually deleted from the hard drive. Using the “Recycle Bin” or “Trash” is just like using a trashcan at your house. Someone can pick up the piece of paper out of the trash and retrieve your confidential information. A program that securely erases a file is analogous to paper shredder so that the information is destroyed. Until you write over the area on the hard drive where the file is located, it can be easily retrieved with an undelete utility. There are many reasons people would use a program like Eraser, one of the most common would be the user of a laptop that travels often and has an increased chance of the laptop being stolen. You would use DBAN if you want to give your computer away, dispose of, or donate it. There are links to both of the software downloads in the sections below.
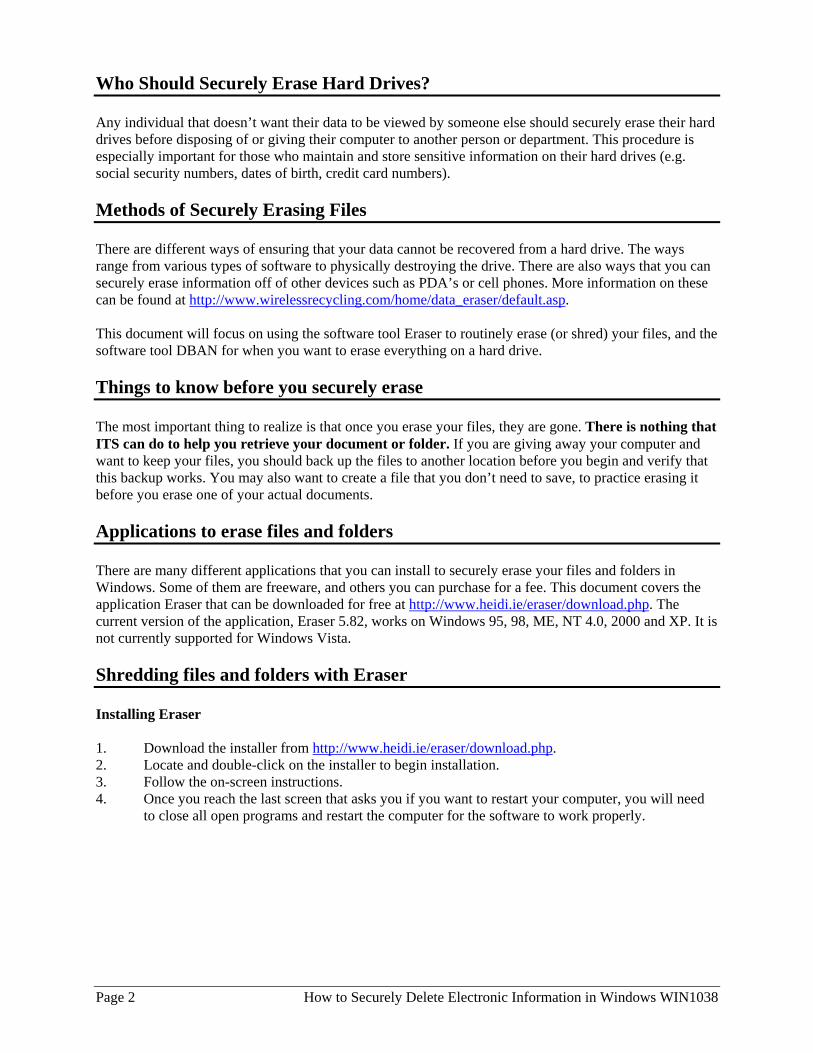
Who Should Securely Erase Hard Drives? Any individual that doesn’t want their data to be viewed by someone else should securely erase their hard drives before disposing of or giving their computer to another person or department. This procedure is especially important for those who maintain and store sensitive information on their hard drives (e.g. social security numbers, dates of birth, credit card numbers). Methods of Securely Erasing Files There are different ways of ensuring that your data cannot be recovered from a hard drive. The ways range from various types of software to physically destroying the drive. There are also ways that you can securely erase information off of other devices such as PDA’s or cell phones. More information on these can be found at http://www.wirelessrecycling.com/home/data_eraser/default.asp. This document will focus on using the software tool Eraser to routinely erase (or shred) your files, and the software tool DBAN for when you want to erase everything on a hard drive. Things to know before you securely erase The most important thing to realize is that once you erase your files, they are gone. There is nothing that ITS can do to help you retrieve your document or folder. If you are giving away your computer and want to keep your files, you should back up the files to another location before you begin and verify that this backup works. You may also want to create a file that you don’t need to save, to practice erasing it before you erase one of your actual documents. Applications to erase files and folders There are many different applications that you can install to securely erase your files and folders in Windows. Some of them are freeware, and others you can purchase for a fee. This document covers the application Eraser that can be downloaded for free at http://www.heidi.ie/eraser/download.php. The current version of the application, Eraser 5.82, works on Windows 95, 98, ME, NT 4.0, 2000 and XP. It is not currently supported for Windows Vista. Shredding files and folders with Eraser Installing Eraser 1. Download the installer from http://www.heidi.ie/eraser/download.php. 2. Locate and double-click on the installer to begin installation. 3. Follow the on-screen instructions. 4. Once you reach the last screen that asks you if you want to restart your computer, you will need
to close all open programs and restart the computer for the software to work properly.
Page 2 How to Securely Delete Electronic Information in Windows WIN1038

Using Eraser After your computer is rebooted, you will have a new menu option when you right-click on a file or folder. The image below shows that now you have options to Erase or Erase Secure Move your documents.
When you choose to Erase a file or folder using this menu, you will see a prompt similar to the one below asking you to confirm your decision. Clicking the Yes button will erase the file, making it unrecoverable.
How to Securely Delete Electronic Information in Windows WIN1038 Page 3

You will also notice an Options button on this screen. If you click this button it will open up the following screen.
When you securely erase a file or folder, Eraser overwrites your file with random data. The more overwrite passes, the more securely your data is deleted. However, the more times you write over an area, the longer it will take. Passing over an area three times, which is the US DoD 5220.22-M (8-306. /E) standard, should be sufficient for deleting confidential information. The default is the Gutmann erase, which uses 35 passes, making it take a considerable amount of time. Once you decide how many times you wish to overwrite the file or folder and select Yes to delete the file, the file or folder is now gone; it does not go to the “Recycle Bin.”
Page 4 How to Securely Delete Electronic Information in Windows WIN1038

Clicking on Erase Secure Move will move your file to a new location on your hard drive and securely erase the source location. When you click Erase Secure Move, you will see the following screen, which will allow you to browse for the location to move the file.
Once you choose the location and click OK, you will then get the following box to confirm the move.
Clicking Yes here will move the file to the chosen location, and the source location will be erased. This would be most useful when moving data to another hard disk or to external media.
How to Securely Delete Electronic Information in Windows WIN1038 Page 5

If you want to securely empty items that are already in your “Recycle Bin,” you can right click on it to reveal the Erase Recycle Bin option. Once it is done erasing you will see a status window similar to the one below, verifying the erase is complete.
Page 6 How to Securely Delete Electronic Information in Windows WIN1038

Other options in Eraser Erase has a number of other options. If you go to Start > Programs > Eraser and open the Eraser program you will see the following screen:
This screen gives you the ability to securely erase all the free space on your hard drive, and also to schedule the program to automatically erase the free space or certain areas on your hard drive.
How to Securely Delete Electronic Information in Windows WIN1038 Page 7

To erase the free space on your hard drive, click on File > New Task. You should now see this window.
You can either select the unused space on a specified drive, or specific files and folders (such as your temp directory). If you choose to erase the unused space on your drive, files will not actually be touched unless they have previously been deleted. You can also choose to have it do nothing, reboot your computer, or shut it down when it is complete. Make sure you have the correct drive selected, as you cannot retrieve anything that is erased from the specified space. Note: Eraser does not support erasing unused space on network drives. You will see it cycle through you files; do not be alarmed, your files are not being deleted. Eraser is just searching the areas around them for empty space.
Page 8 How to Securely Delete Electronic Information in Windows WIN1038

You can also securely erase the free space on your hard drive by right clicking on your C:\ drive in the “My Computer” window. The process is the same except that the first screen is the one below.
Once it is finished erasing your free space, you will see an erasing report. Any reported failures that you see could be a file that is in use or being locked by another program. It is best to close all programs or files when erasing the free space on your drive.
How to Securely Delete Electronic Information in Windows WIN1038 Page 9

The Schedule tab gives you the ability to schedule your task to happen at a later time.
If you schedule Eraser to run on your C:\ drive every Monday at 12:00PM, your scheduler window would look similar to the window below:
Page 10 How to Securely Delete Electronic Information in Windows WIN1038

The last feature that Eraser offers is the ability to Erase Verify. If you go to Start > Programs > Eraser > Eraser Verify you will see this screen.
You can select the file you want to erase and choose Erase. After each overwrite pass, you will see a log of how the file looks after that pass of the shredder. In the example below you can see how the file structure becomes more unreadable the more times it is written over. File Before Shred
How to Securely Delete Electronic Information in Windows WIN1038 Page 11

File after one pass of shredder
File after two passes of shredder
Page 12 How to Securely Delete Electronic Information in Windows WIN1038

File Shredder is Complete
How to Securely Delete Electronic Information in Windows WIN1038 Page 13
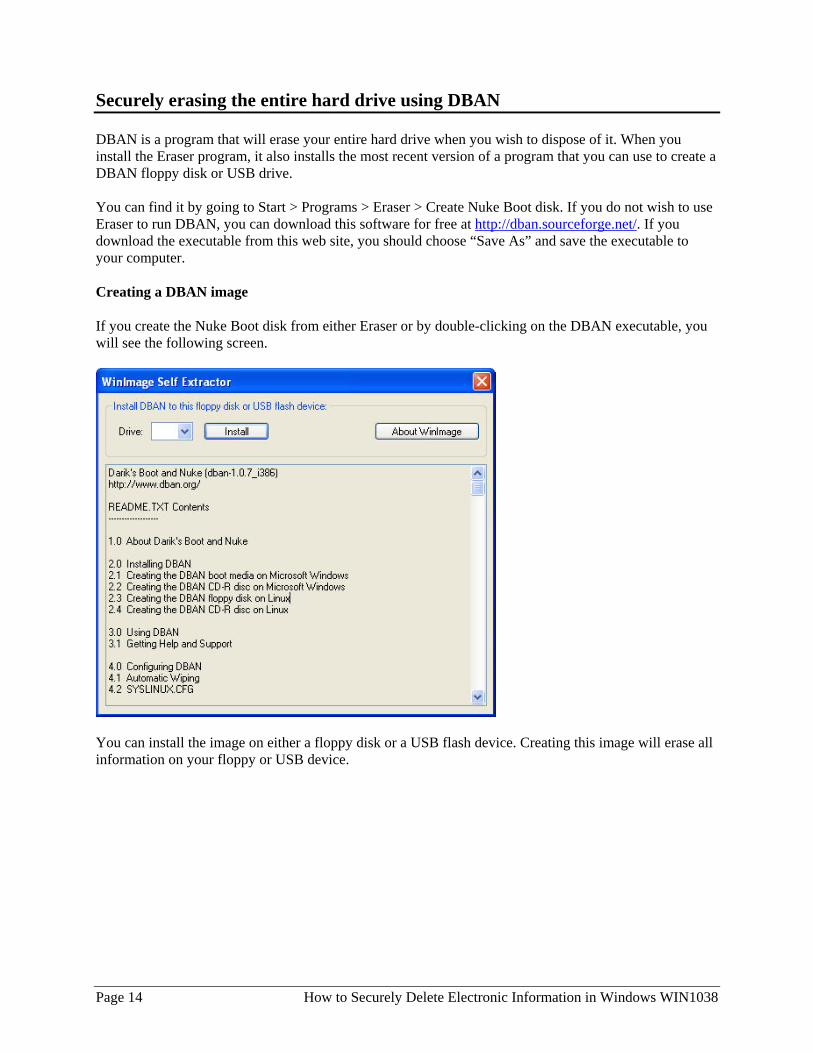
Securely erasing the entire hard drive using DBAN DBAN is a program that will erase your entire hard drive when you wish to dispose of it. When you install the Eraser program, it also installs the most recent version of a program that you can use to create a DBAN floppy disk or USB drive. You can find it by going to Start > Programs > Eraser > Create Nuke Boot disk. If you do not wish to use Eraser to run DBAN, you can download this software for free at http://dban.sourceforge.net/. If you download the executable from this web site, you should choose “Save As” and save the executable to your computer. Creating a DBAN image If you create the Nuke Boot disk from either Eraser or by double-clicking on the DBAN executable, you will see the following screen.
You can install the image on either a floppy disk or a USB flash device. Creating this image will erase all information on your floppy or USB device.
Page 14 How to Securely Delete Electronic Information in Windows WIN1038
Once you install the image on the floppy or USB device, you will need to reboot your computer. It would also be a good idea to remove any external storage drives to ensure those do not get erased accidentally. The computer will boot off of the device that contains the image and it will boot up to a blue screen at a boot: prompt. You will have the following options. Press the F2 key to learn more about DBAN. This will give you information on what kinds of media can and cannot be wiped with DBAN. Press the F3 key for a list of quick commands. This screen will give you the list of commands you can type in. You can also change the method of wipe that DBAN users. By default it will use the short DoD 5220.22-M method (recommended). Press the F4 key for troubleshooting hints. Press ENTER key to start DBAN in interactive mode. Type in autonuke at this prompt to start DBAN in automatic mode (recommended). WARNING: When you type in autonuke and hit enter, DBAN will begin to erase your drive, and anything on it will be unrecoverable. Even if you attempt to stop this process by rebooting, your data could be permanently destroyed. This process can take a considerable amount of time, depending on the size of your hard drive. Error Messages and Problems If you cannot get DBAN to install on either a floppy disk or a USB drive, you may contact the ITS Help Desk for “best effort” assistance. If you install the DBAN image on a USB drive, and the computer boots straight into Windows, you should make sure that your computer BIOS is set to enable your computer to boot from a USB device. Most computer manufacturers have different settings and ways of entering the BIOS. You may need to contact your computer’s manufacturer for instructions on how to access the BIOS, or to find the proper settings. More Information For more information on securely erasing your hard drive:
ITS kb article on Securely Deleting Electronic Information
http://www.hawaii.edu/askus/706
Eraser Quick Start Guide https://www.heidi.ie/eraser/quickstart.phpYou may need to copy and paste this link in your browser
DBAN Readme File http://DBAN.sourceforge.net/download/readme.txt
How to Securely Delete Electronic Information in Windows WIN1038 Page 15
Getting Help Click on the Help link (usually in the upper right hand corner of the window) for on-line help. There is extensive on-line help available. Please refer to this on-line help first for any questions not answered by this document.
For additional assistance, please phone the ITS Help Desk at (808) 956-8883,
send e-mail to [email protected], or fax (808) 956-2108. The Help Desk’s toll-free phone number is (800) 558-2669.
Or visit the ITS Help Desk home page at http://www.hawaii.edu/help
The ITS Help Desk functions are located in Keller 105, Keller 213, ITS Hamilton Lab (2nd Floor
Addition) and CLIC Lab (Sinclair Lib, 1st Floor) on the UH Manoa Campus.
The University of Hawai‘i is an equal opportunity/affirmative action institution.
Page 16 How to Securely Delete Electronic Information in Windows WIN1038