Embed Size (px)
Citation preview
What’s Insidetools
blankwood
outlinebottom
railscoatart
top
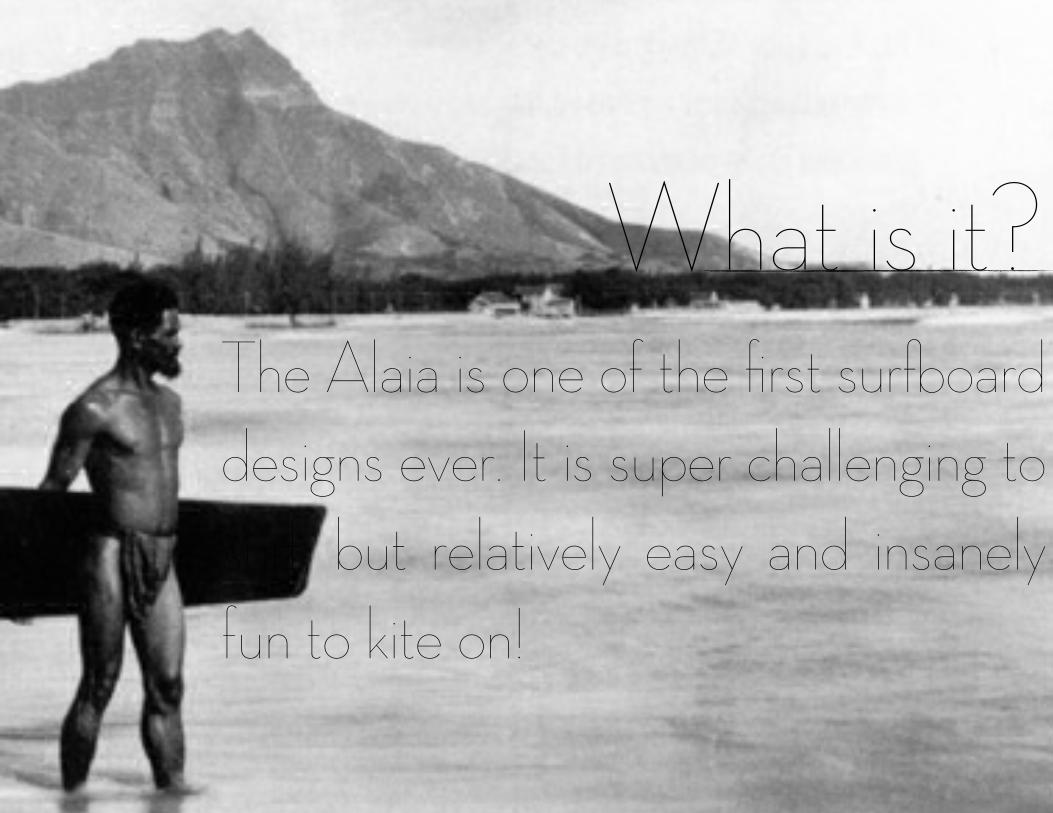
What is it?The Alaia is one of the first sur!oard designs ever. It is super challenging to surf, but relatively easy and insanely fun to kite on!
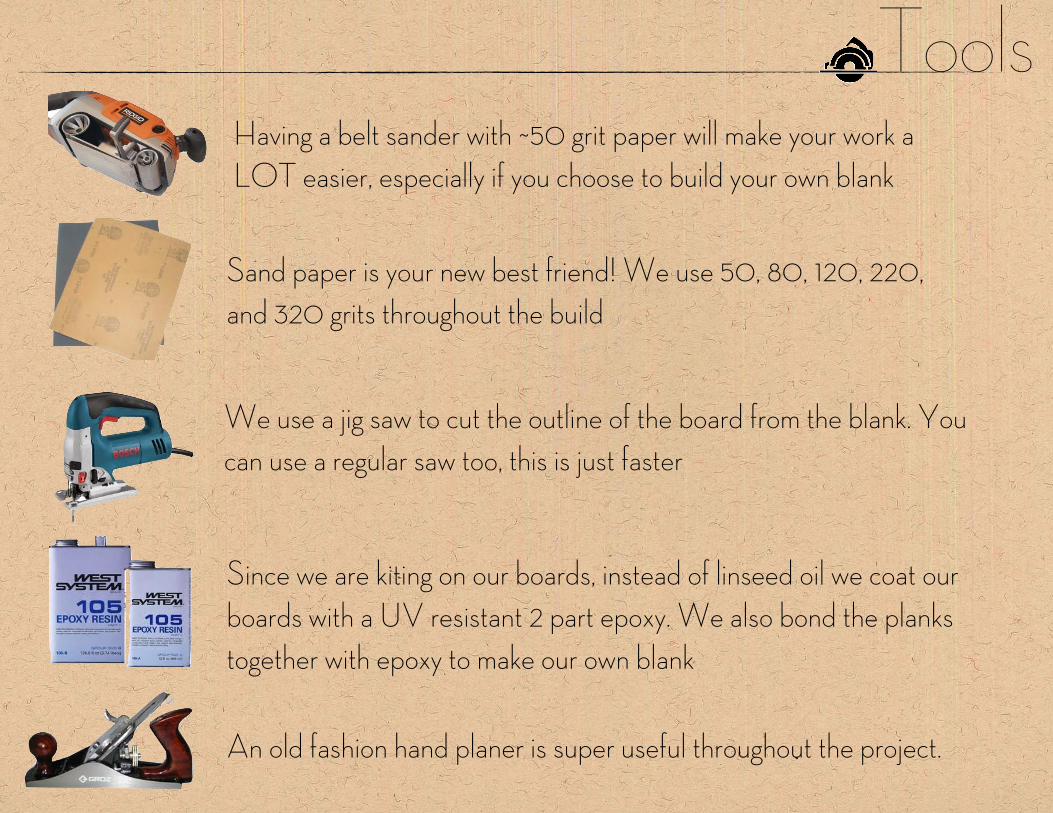
ToolsHaving a belt sander with ~50 grit paper will make your work a LOT easier, especially if you choose to build your own blank
Sand paper is your new best friend! We use 50, 80, 120, 220, and 320 grits throughout the build
We use a jig saw to cut the outline of the board from the blank. You can use a regular saw too, this is just faster
Since we are kiting on our boards, instead of linseed oil we coat our boards with a UV resistant 2 part epoxy. We also bond the planks together with epoxy to make our own blank
An old fashion hand planer is super useful throughout the project.
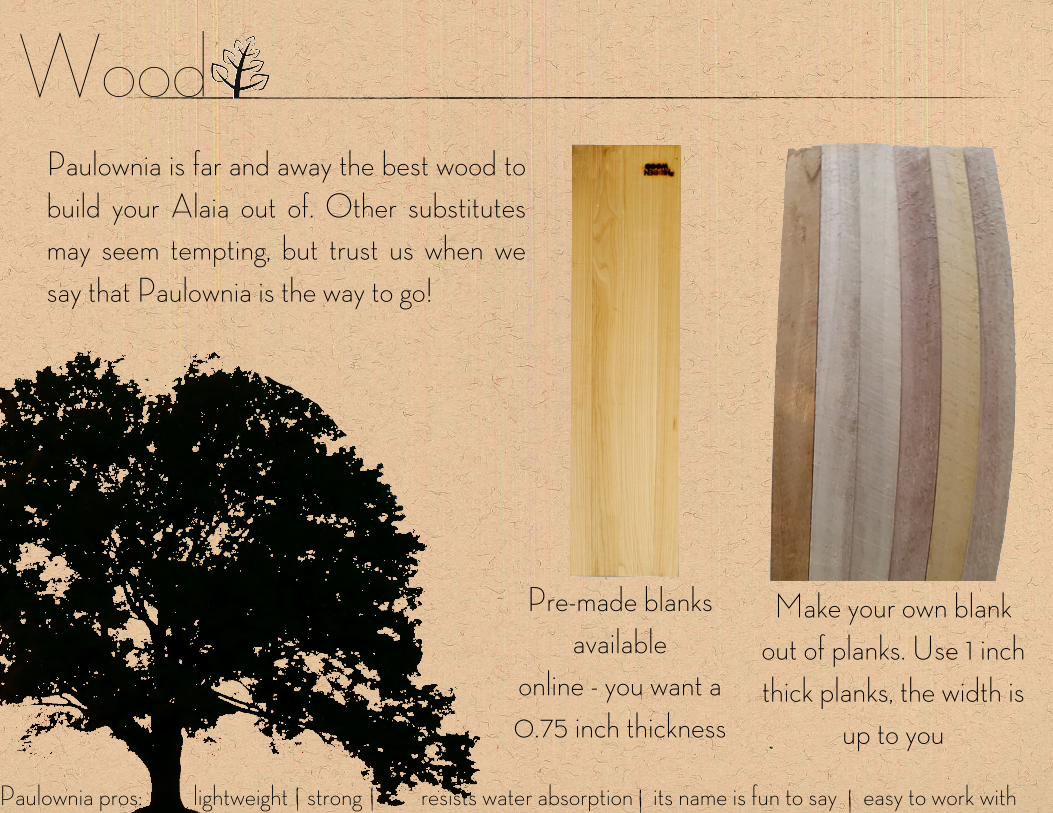
WoodPaulownia is far and away the best wood to build your Alaia out of. Other substitutes may seem tempting, but trust us when we say that Paulownia is the way to go!
Paulownia pros: lightweight strong resists water absorption its name is fun to say easy to work with
Pre-made blanks available
online - you want a 0.75 inch thickness
Make your own blank out of planks. Use 1 inch thick planks, the width is
up to you
The Blank
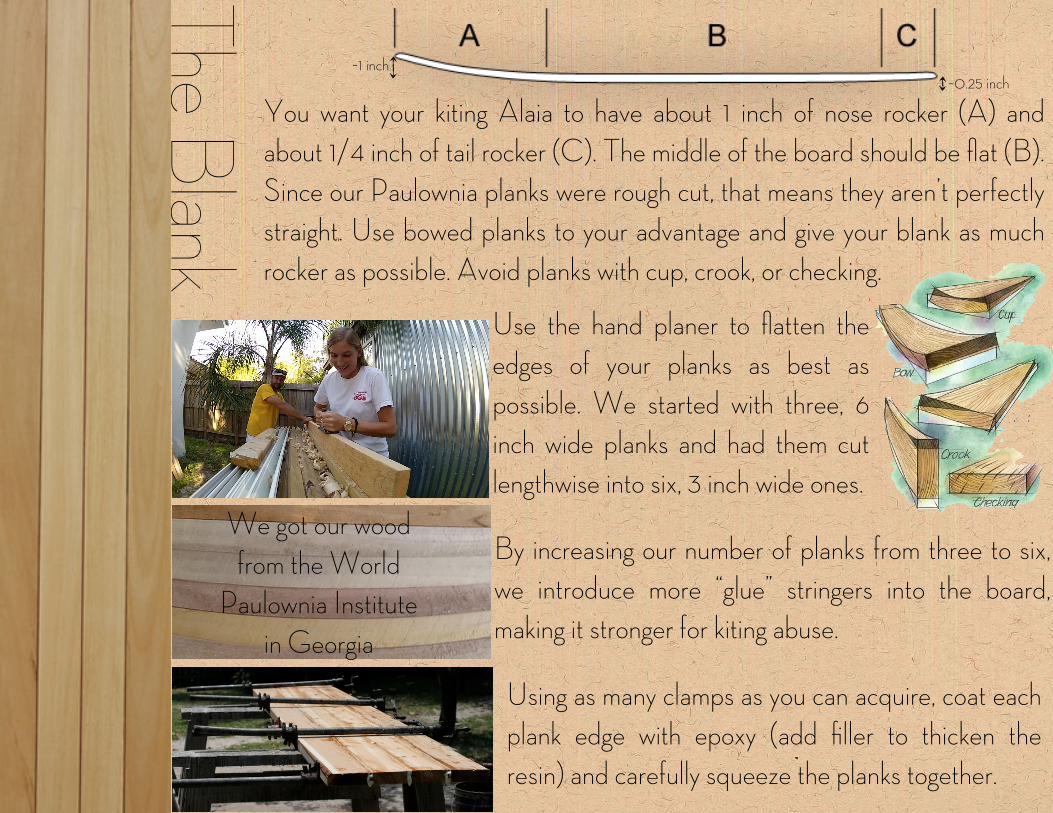
You want your kiting Alaia to have about 1 inch of nose rocker (A) and about 1/4 inch of tail rocker (C). The middle of the board should be flat (B). Since our Paulownia planks were rough cut, that means they aren’t perfectly straight. Use bowed planks to your advantage and give your blank as much rocker as possible. Avoid planks with cup, crook, or checking.
Use the hand planer to flatten the edges of your planks as best as possible. We started with three, 6 inch wide planks and had them cut lengthwise into six, 3 inch wide ones.
By increasing our number of planks from three to six, we introduce more “glue” stringers into the board, making it stronger for kiting abuse.
Using as many clamps as you can acquire, coat each plank edge with epoxy (add filler to thicken the resin) and carefully squeeze the planks together.
~1 inch~0.25 inch
We got our wood from the World
Paulownia Institute in Georgia

Outline
Use a jigsaw to cut the outline out, cut slightly outside the line you’ve drawn. Remember you can take more material off but you can’t put it back on!
32
We call our Alaia design the Graham Cracker. It is the result of a bunch of testing and we think you’ll love it! You can download the BoardCad file and the PDF outline on Waterlust.org for FREE!
1 Trace out the outline you have decided upon onto your blank.
C h o o s e y o u r outline and make a template.
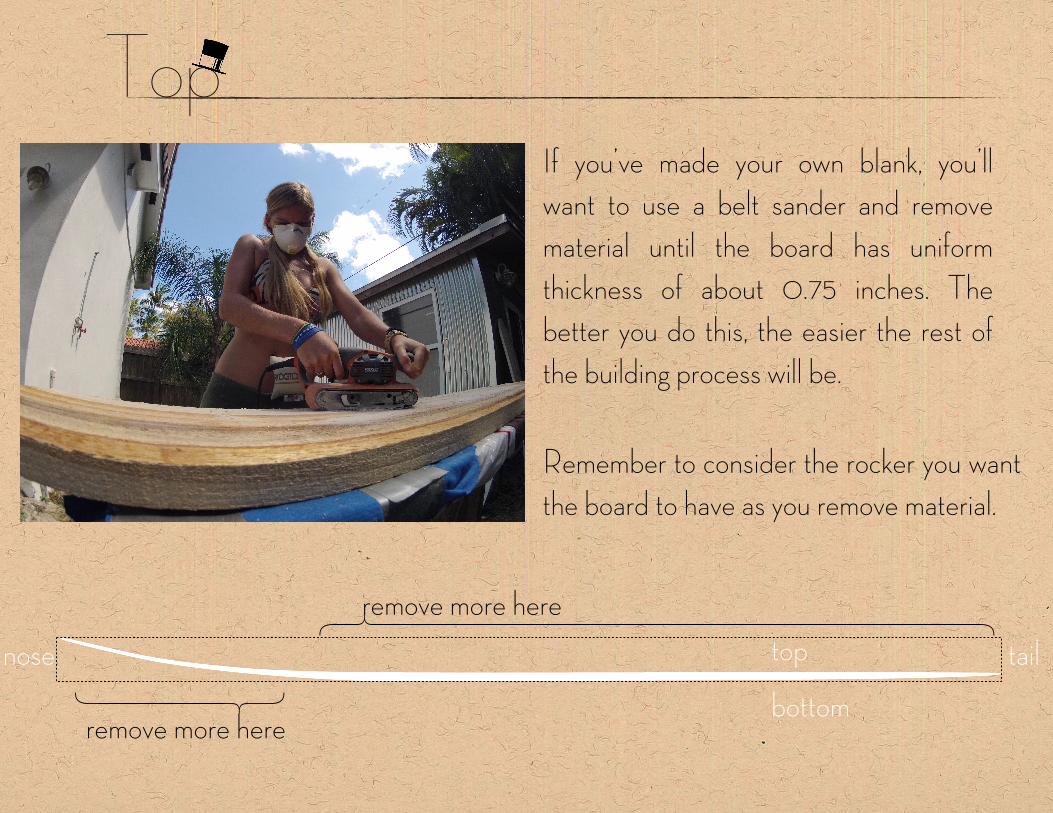
TopIf you’ve made your own blank, you’ll want to use a belt sander and remove material until the board has uniform thickness of about 0.75 inches. The better you do this, the easier the rest of the building process will be.
top
bottom
tailnose
remove more here
remove more here
}} } }
Remember to consider the rocker you want the board to have as you remove material.
Bottom
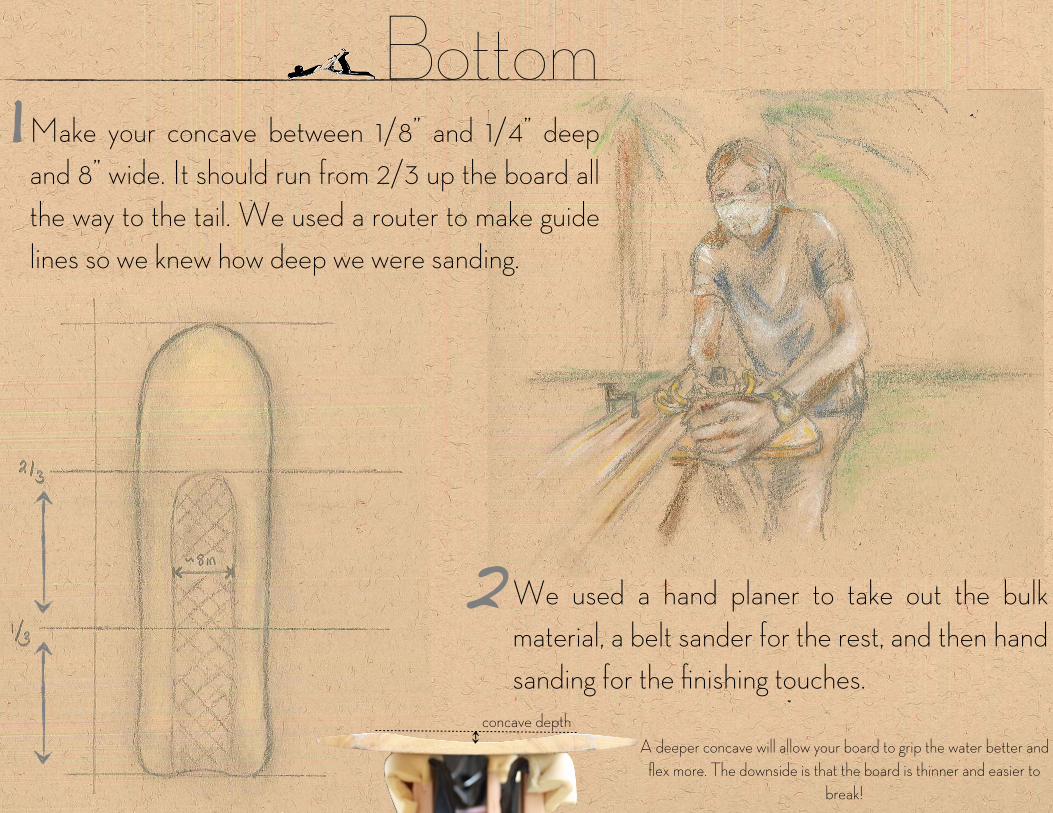
We used a hand planer to take out the bulk material, a belt sander for the rest, and then hand sanding for the finishing touches.
Make your concave between 1/8” and 1/4” deep and 8” wide. It should run from 2/3 up the board all the way to the tail. We used a router to make guide lines so we knew how deep we were sanding.
1
2A deeper concave will allow your board to grip the water better and
flex more. The downside is that the board is thinner and easier to break!
concave depth

RailsWe started by drawing in the rails on the bottom of the board two inches in from the edges and 1/4 inch up from the bottom.
When you’ve marked the rails and you’re ready to put them in, use a belt sander, but be careful not to take too much material off!
Hand sand to finish off the rails nicely.
1
2
3
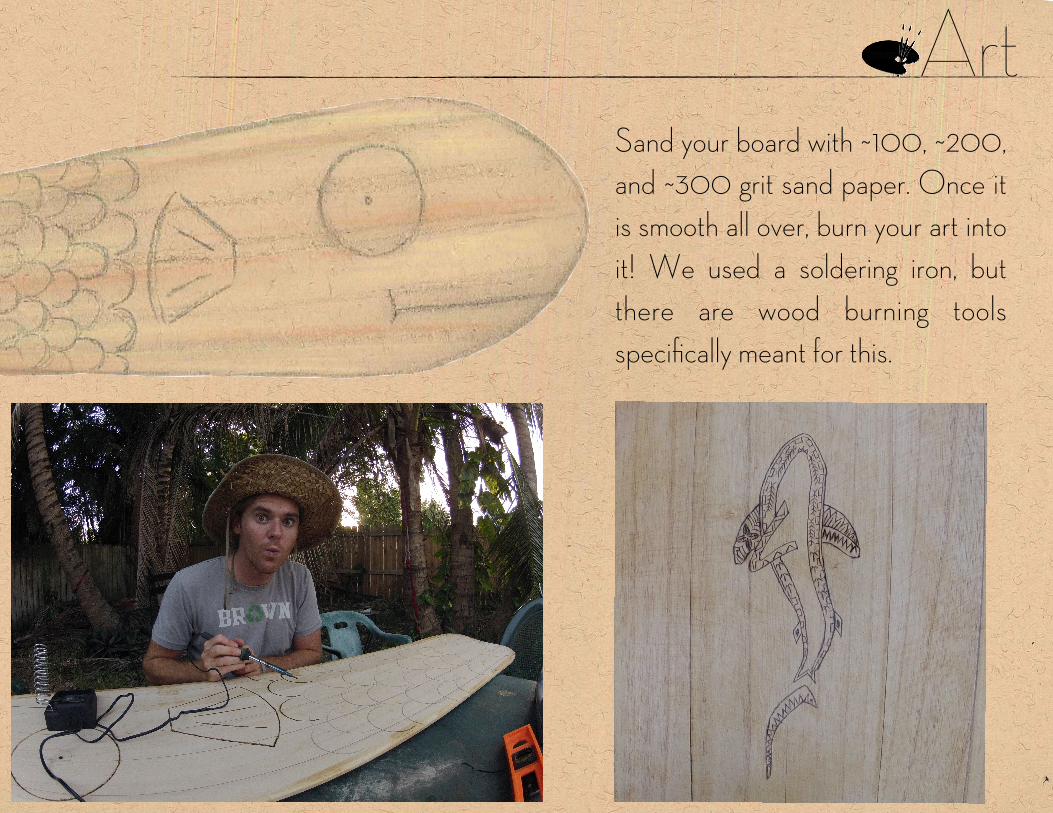
ArtSand your board with ~100, ~200, and ~300 grit sand paper. Once it is smooth all over, burn your art into it! We used a soldering iron, but there are wood burning tools specifically meant for this.

Coat
The last step is to coat your board either with traditional linseed oil or some type of resin. We strongly advise using a resin. This will strengthen your board substantially, which us kiters need! We’ve a lso begun experimenting glassing our boards, but that is a tale for another day....
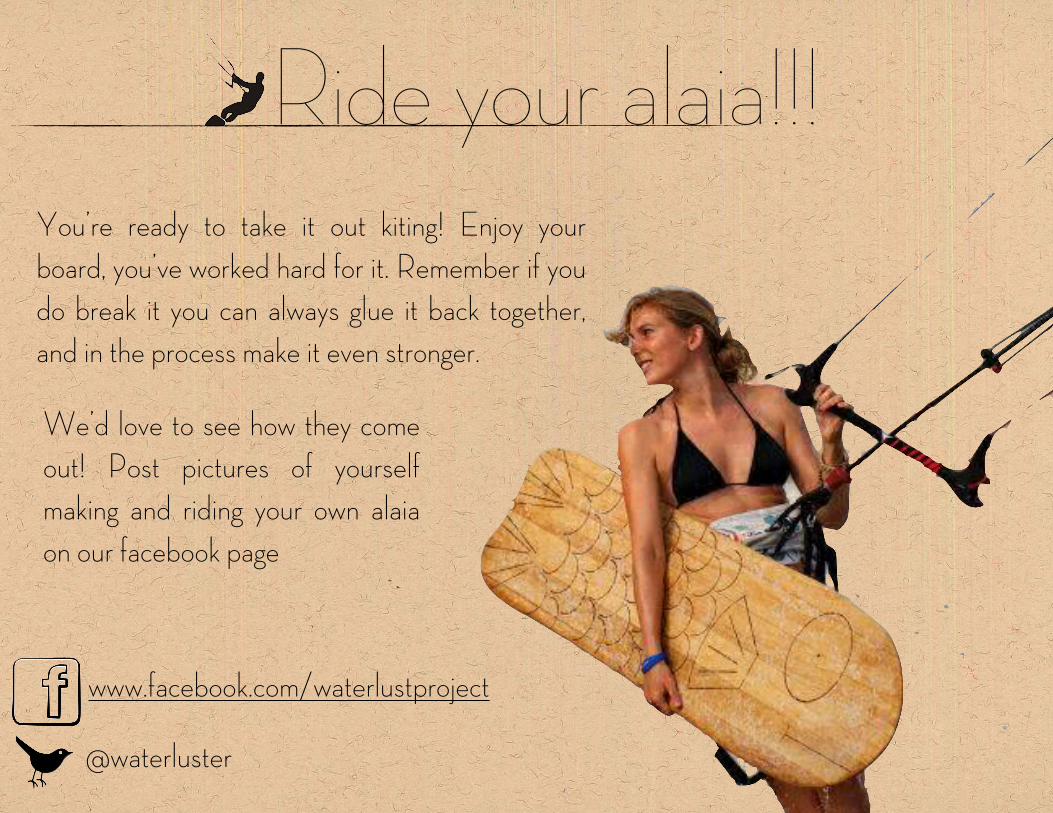
Ride your alaia!!!You’re ready to take it out kiting! Enjoy your board, you’ve worked hard for it. Remember if you do break it you can always glue it back together, and in the process make it even stronger.
We’d love to see how they come out! Post pictures of yourself making and riding your own alaia on our facebook page
www.facebook.com/waterlustproject
@waterluster