Embed Size (px)
Citation preview
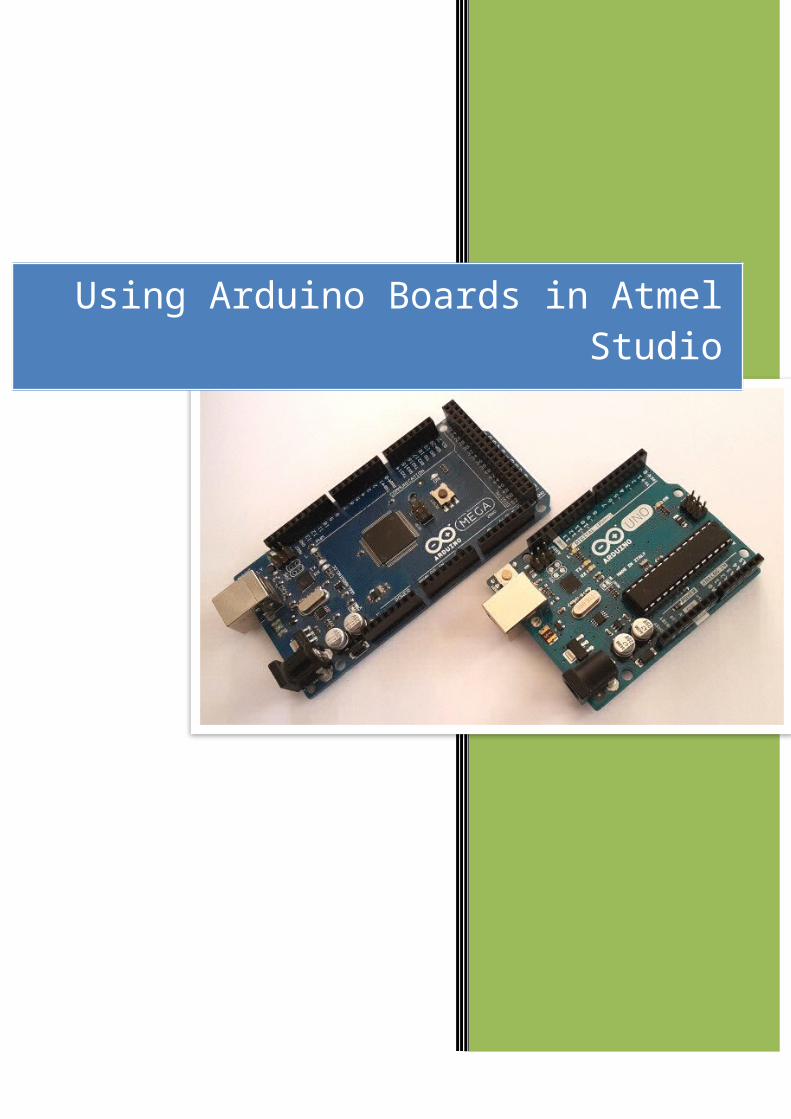
Using Arduino Boards in Atmel Studio

ContentsIntroduction...........................................................................................................................................3
Installing Atmel Studio and Making the First Project.............................................................................3
Downloading Avrdude...........................................................................................................................3
Checking COM Port................................................................................................................................4
Opening the Atmel Studio and using avrdude.......................................................................................5
Making a Project....................................................................................................................................7
Programming the Arduino Board...........................................................................................................9
The IC pins...........................................................................................................................................10
References...........................................................................................................................................10

Introduction There are varieties of hardware tools to program Atmel microcontrollers. But if the chips have bootloaders, they can be programmed using serial ports without needing to use any hardware tools. Bootloader is small software which gets the program through the serial port and programs the IC chip.
The microcontrollers of Arduino boards have boot loaders. As a result you can connect them to the PC and use them as an AVR trainer board. The document teaches you to use Arduino Trainer boards in Atmel Studio.
You can also burn the boot loader on a new chip and make your own trainer board. But to program the boot loader onto the new chip you need a programmer.
Installing Atmel Studio and Making the First ProjectTo install Atmel Studio and make the first project, read one of the following documents:
Assembly Programming in Atmel Studio 6.2 (Step by step tutorial)
C Programming in Atmel Studio 6.2 (Step by step tutorial)
Downloading Avrdude1. To program Arduino boards you need Avrdude. Download Avrdude from the following
website:
http://mirror.rackdc.com/savannah//avrdude/avrdude-5.11-Patch7610-win32.zip
2. Unzip the downloaded file, rename the directory to avrdude, and copy it into your C drive.
NoteIf you already have the Arduino IDE on your PC, the avrdude.exe file is located in
C:\Program Files (x86)\Arduino\hardware\tools\avr\bin\avrdude.exeand avrdude.conf is in
C:\Program Files (x86)\Arduino\hardware\tools\avr\etc\avrdude.conf

Checking COM Port1. Right click on the Computer icon and choose Manage.
2. Click on Device Manager and then Ports (COM & LPT). Check the COM port.

Opening the Atmel Studio and using avrdude3. Open the Atmel Studio IDE.4. Go to the Tools menu and choose External Tools… .
5. In the External Tools dialog:a. Press the Add buttonb. Name it Arduino Programmer.c. Type the following address next to the Command:
C:\avrdude\avrdude.exe
d. Avrdude needs the following arguments: avrdude.conf file, the COM port, the serial baud rate, the hex file to be programmed and the microcontroller part number. The following table gives the arguments for different Arduino board. They should be typed in the Arguments textbox:
Board IC Chip ArgumentsArduino Uno Atmega328p -C "C:\avrdude\avrdude.conf" -p atmega328p -c arduino -P COM9 -b 115200 -U
flash:w:"$(ProjectDir)Debug\$(ItemFileName).hex":iArduino Pro
MiniAtmega328p -C " C:\avrdude\avrdude.conf" -p atmega328p -c arduino -P COM9 -b 57600 -U
flash:w:"$(ProjectDir)Debug\$(ItemFileName).hex":i
Arduino Mega2560
Atmega2560 -C " C:\avrdude\avrdude.conf" -p atmega2560 -c wiring -P COM9 -b 115200 -U flash:w:"$(ProjectDir)Debug\$(ItemFileName).hex":i
Note: Change the COM port and the location of avrdude.conf, according to your computer.
e. Tick "Use Output window".f. Press OK.

6. Go to the Tools menu again. Arduino Programmer should be added to the Tools menu.

Making a Project7. Go to the File menu. Click on New and then Project.
8. Choose GCC C Executable Project and name the project as toggleProject. Then press OK.

9. Choose ATmega328 from the list and press OK.
10. Type the following program.
/* * toggleProgram.c * * This program toggles ports B, C, and D. *

* Created: 4/3/2015 4:43:51 PM * Author: Naimi*/
#include <avr/io.h>
#define F_CPU 16000000UL#include "util/delay.h"
int main(void){
DDRB = 0xFF; DDRC = 0xFF;
while(1) //loop forever{
PORTB ^= 0xFF; //toggle port BPORTC ^= 0xFF; //toggle port C
_delay_ms(1000); //wait 1 second}
}
Programming the Arduino Board11. Connect your Arduino board to the PC.12. Go to the Tools menu, and click on Arduino Programmer. The following texts appear in the
Output window and the L LED starts blinking on the board.


The IC pins The following picture shows the Arduino UNO board together with the Atmega328 pins.
Label PortA0 PC0(ADC0)A1 PC1(ADC1)A2 PC2(ADC2)A3 PC3(ADC3)A4 PC4(ADC4)A5 PC5(ADC5)
Label PortSCL PC5(ADC5/SCL)SDA PC4(ADC4/SDA)AREF AREFGND GND13 PB5(SCK)12 PB4(MISO)11 PB3(MOSI)10 PB2(OC1B)9 PB1(OC1A)8 PB07 PD76 PD65 PD54 PD43 PD3(INT1)2 PD2(INT0)1 PD1(TXD)0 PD0(RXD)
Referenceshttp://www.atmel.com/
http://www.nongnu.org/avrdude/
http://www.jayconsystems.com/tutorial/atmerpt1/