Embed Size (px)
Citation preview

Teach Yourself
Windows 95
Module 5: Customizing and Maintaining Your Computer

Objectives of this Module
• Adding Fonts in Windows 95
• Adding Windows Components
• Installing New Programs
• Setting Up New Hardware
• Formatting Diskettes
• Repairing Disk Errors
• Defragmenting Disks

Objectives of this Module, (cont’d)
• Copying Floppy Disks
• Compressing Disks
• Using Microsoft Backup
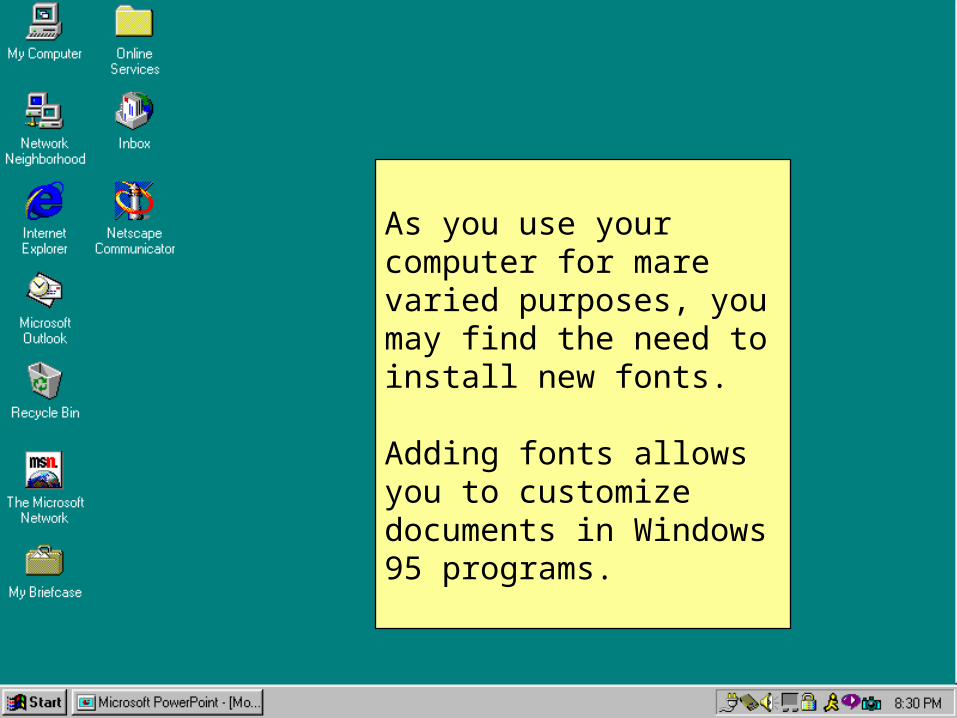
As you use your computer for mare varied purposes, you may find the need to install new fonts.
Adding fonts allows you to customize documents in Windows 95 programs.

Fonts can be added or removed in the Windows 95 Control Panel.
To open the Control Panel, Click the Start button on the Taskbar, then move the mouse pointer to Settings, and then click Control Panel.

To view the fonts installed on your computer, double-click the Fonts icon in the control panel.

The installed fonts are then displayed in this window.

To install new fonts, click File, and then click Install New Font on the Menu bar.

The Add Fonts dialog box is then displayed.

Here, you can choose the drive and folder containing the new fonts, and then install the fonts by clicking the Okay button.

To add Windows components that may not have been originally installed, double click the Add/Remove Programs icon in the Control Panel.

When the Add/Remove Programs Properties window opens, click the Windows Setup tab to view the installed Windows components.

The list of Windows components are grouped by similar functions.
Grayed-out check marks signify partially installed component categories.
Categories without check marks are not installed.

To install components, click a category to highlight it, and then click the Details button to display the components for that category.

When installing Windows 95 components, insert the Windows 95 CD into the CD-ROM drive, or if Windows 95 was installed from diskettes, have the diskettes handy.
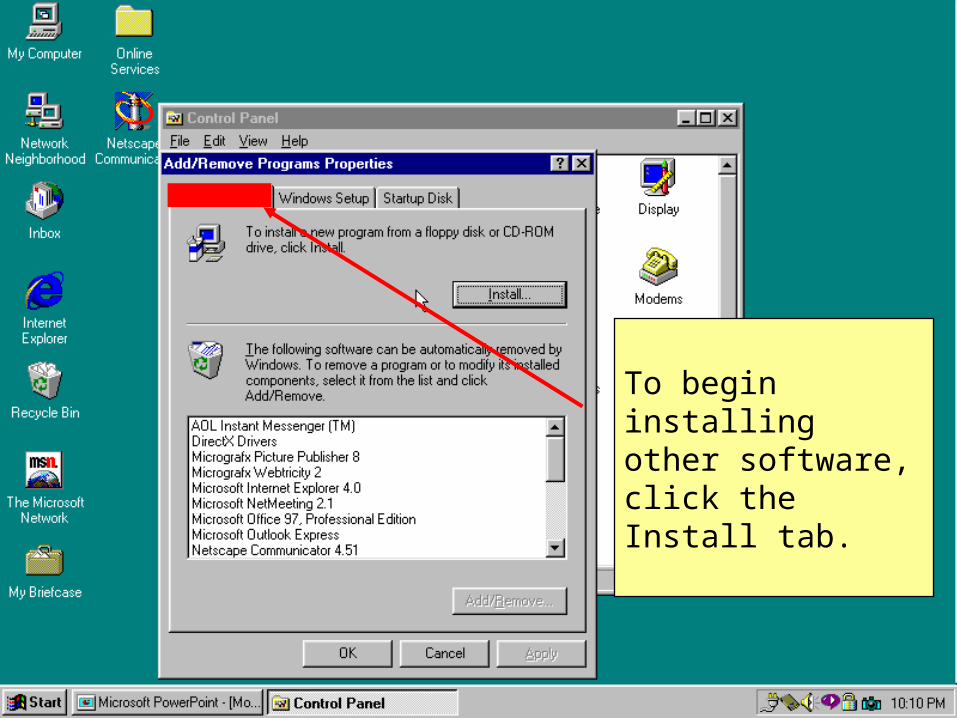
To begin installing other software, click the Install tab.

Then, click the Install button to open the Install Program From Floppy Disk or CD-ROM dialog box.

Click the Next button to begin searching for an installer program.

If an installer is found, it will be displayed in the Command line for installation program field.
Click the Finish button to begin installing the software.

You can set up new hardware by double-clicking the Add New Hardware icon in the Control Panel.

The Add New Hardware Wizard will then open.
Click the Next button to continue.

To let Windows 95 automatically detect and install new hardware, click Yes, and then click the Next button.
Windows will then begin trying to detect the hardware.
You may be prompted for either the Windows 95 installation CD or diskettes, or an installation CD or diskette.

To manually set up hardware, click No, and then click the Next button.
Windows will then prompt you for more information about the hardware, an allow you to specify the location of the installation files.

You should normally allow Windows 95 to search for any Plug and Play hardware.
Plug and Play hardware is designed with installation ease and convenience in mind.

To format a floppy disk, first highlight the disk’s icon in the My Computer window..

Then, click File, and then click Format on the Menu bar..

To check your computer for drive errors, click the ScanDisk shortcut found in the System Tools folder.

The ScanDisk window will open. After choosing to perform a standard or thorough check, click the Start button to begin checking the drive for errors.

You can improve performance and speed of your computer by defragmenting the hard drive.
Disk Defragmenter is found in the System Tools folder also.
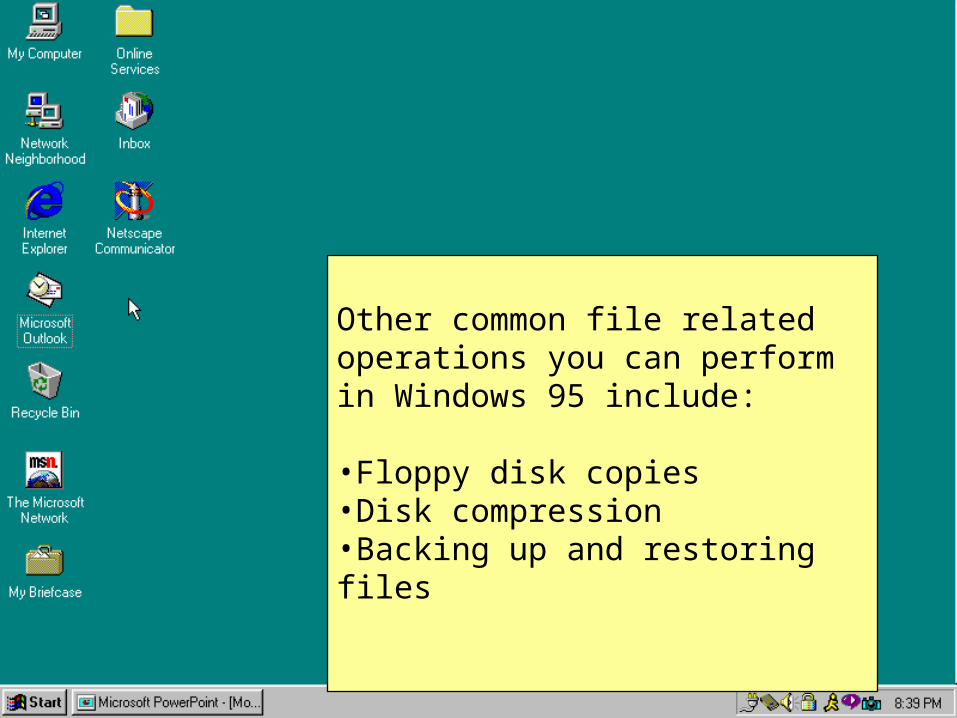
Other common file related operations you can perform in Windows 95 include:
•Floppy disk copies•Disk compression•Backing up and restoring files

Teach Yourself
Windows 95
This concludes Module 5