Embed Size (px)
Citation preview

iMac Intel 24" EMC 2134 and 2211 DiagnosticLED's
Provides detail on how to locate and interpret the diagnostic LED"S on the iMac motherboard
Rédigé par: Richdave
iMac Intel 24" EMC 2134 and 2211 Diagnostic LED's
© iFixit — CC BY-NC-SA fr.iFixit.com Page 1 de 9

INTRODUCTION
The 24-inch 2007 and 2008 iMac's have four diagnostic LEDs on the logic board that can helptroubleshoot the computer. A little disassembly is required to locate and observe the LED's. Thisguide is based on information sourced from the applicable Apple service manual.
**LED interpretation is also applicable to the iMac Intel 20" EMC 2133 and 2210**
OUTILS:Heavy-Duty Suction Cups (Pair) (1)
Phillips #1 Screwdriver (1)
T8 Torx Screwdriver (1)
iMac Intel 24" EMC 2134 and 2211 Diagnostic LED's
© iFixit — CC BY-NC-SA fr.iFixit.com Page 2 de 9

Étape 1 — Access Door
Loosen the single Phillips screw inthe center of the access door.
This screw is captive in the accessdoor.
Remove the access door from youriMac.
iMac Intel 24" EMC 2134 and 2211 Diagnostic LED's
© iFixit — CC BY-NC-SA fr.iFixit.com Page 3 de 9

Étape 2 — Glass Panel
The glass panel is fixed onto the front bezel with fourteen magnets around its perimeter.
Stick two suction cups to opposing corners of the glass panel.
To attach the suction cups we sell, first position the suction cup with the movable handle parallel tothe face of the glass panel. While lightly holding the suction cup against the glass, raise themovable handle until it is parallel with the other handle.
If your suction cups refuse to stick, try cleaning both the glass panel and the suction cup with amild solvent such as Windex.
iMac Intel 24" EMC 2134 and 2211 Diagnostic LED's
© iFixit — CC BY-NC-SA fr.iFixit.com Page 4 de 9

Étape 3
Gently pull the glass panel straightup off the iMac.
The glass panel has severalpositioning pins around itsperimeter. To avoid shearing thesepins off the glass panel, be sure toonly pull straight up during removal.
Be meticulous about cleaning theLCD and the inside face of the glasspanel before reinstallation, as anyfingerprints or dust trapped insidewill be annoyingly visible when thedisplay is on.
Étape 4 — Front Bezel
Remove the following 12 screwssecuring the front bezel to the rearcase:
Eight 13 mm T8 Torx screws
Alternatively, you might havesix 13 mm and two 25 mm T8Torx screws
Four 25 mm T8 Torx screws
Alternatively, you might havetwo 25 mm (outer) and two 35mm (inner) T8 Torx screws
iMac Intel 24" EMC 2134 and 2211 Diagnostic LED's
© iFixit — CC BY-NC-SA fr.iFixit.com Page 5 de 9

Étape 5
The front bezel is still attached to the iMac by the microphone cable.
Gently lift the front bezel from its top edge off the rear case. It helps to use your thumbs to pushdown very gently on the corners of the display.
Once the top edge of the front bezel has cleared the rear case, rotate the front bezel toward thestand and lift it off the rear case.
When reinstalling the front bezel, start at the lower edge and make sure it is flush with the rearcase before lowering the top edge onto the iMac.
iMac Intel 24" EMC 2134 and 2211 Diagnostic LED's
© iFixit — CC BY-NC-SA fr.iFixit.com Page 6 de 9

Étape 6
Disconnect the microphone cableconnector, removing tape asnecessary.
For the front bezel to sit properly, besure to tuck the microphone cableand connector into the void next tothe camera board.
Étape 7 — iMac Intel 24" EMC 2134 and 2211 Diagnostic LED's
To observe the LED's you need toapply power to the iMac with thefront bezel off. Please ensure you
iMac Intel 24" EMC 2134 and 2211 Diagnostic LED's
© iFixit — CC BY-NC-SA fr.iFixit.com Page 7 de 9
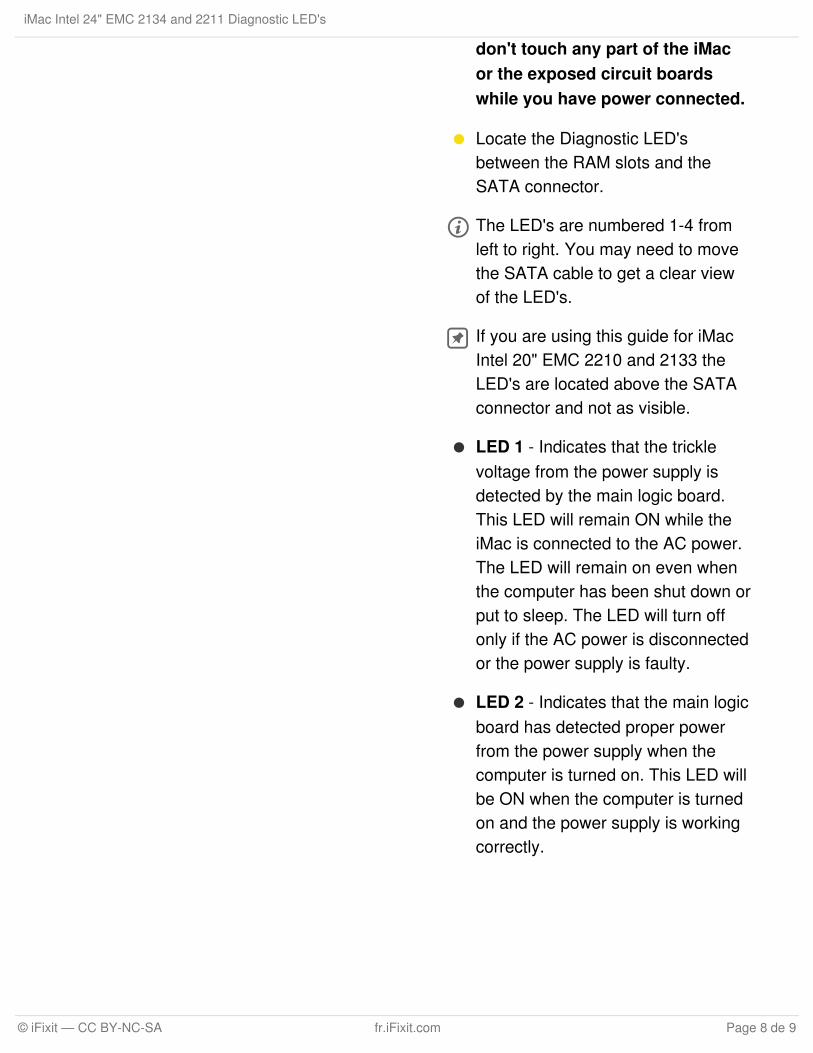
don't touch any part of the iMacor the exposed circuit boardswhile you have power connected.
Locate the Diagnostic LED'sbetween the RAM slots and theSATA connector.
The LED's are numbered 1-4 fromleft to right. You may need to movethe SATA cable to get a clear viewof the LED's.
If you are using this guide for iMacIntel 20" EMC 2210 and 2133 theLED's are located above the SATAconnector and not as visible.
LED 1 - Indicates that the tricklevoltage from the power supply isdetected by the main logic board.This LED will remain ON while theiMac is connected to the AC power.The LED will remain on even whenthe computer has been shut down orput to sleep. The LED will turn offonly if the AC power is disconnectedor the power supply is faulty.
LED 2 - Indicates that the main logicboard has detected proper powerfrom the power supply when thecomputer is turned on. This LED willbe ON when the computer is turnedon and the power supply is workingcorrectly.
iMac Intel 24" EMC 2134 and 2211 Diagnostic LED's
© iFixit — CC BY-NC-SA fr.iFixit.com Page 8 de 9

To reassemble your device, follow these instructions in reverse order.
Ce document a été généré pour la dernière fois le 2017-12-23 06:50:24 PM.
LED 3 - Indicates that the computerand the video card arecommunicating. This LED will be ONwhen the computer iscommunicating properly with thevideo card. If LEDs 1 and 2 are ONand you heard the startup sound,but LED 3 is OFF, then the videocard might be installed incorrectly orneed replacement.
LED 4 - Indicates that the computerand the LCD display panel arecommunicating. This LED will be ONwhen the computer is turned on andvideo signal is being generated. Ifthe LED is ON and there is noimage on the LCD display panel, theLCD display panel or inverter mightbe installed incorrectly or needreplacement.
iMac Intel 24" EMC 2134 and 2211 Diagnostic LED's
© iFixit — CC BY-NC-SA fr.iFixit.com Page 9 de 9