Embed Size (px)
Citation preview

Presentation SkillsComputer Science
Professional Skills Module
Sophie Miller Careers and Employability Centre
Session objective:
After this session you should be moreconfident and prepared to research, prepareand deliver a presentation appropriate to thecontext of the Professional Skills module.
What makes a good presentation?
Think about a particularly good or particularlypoor presentation you have attended in thepast. Why was it good/bad?
Discuss in pairsFeedback in 2 minutes
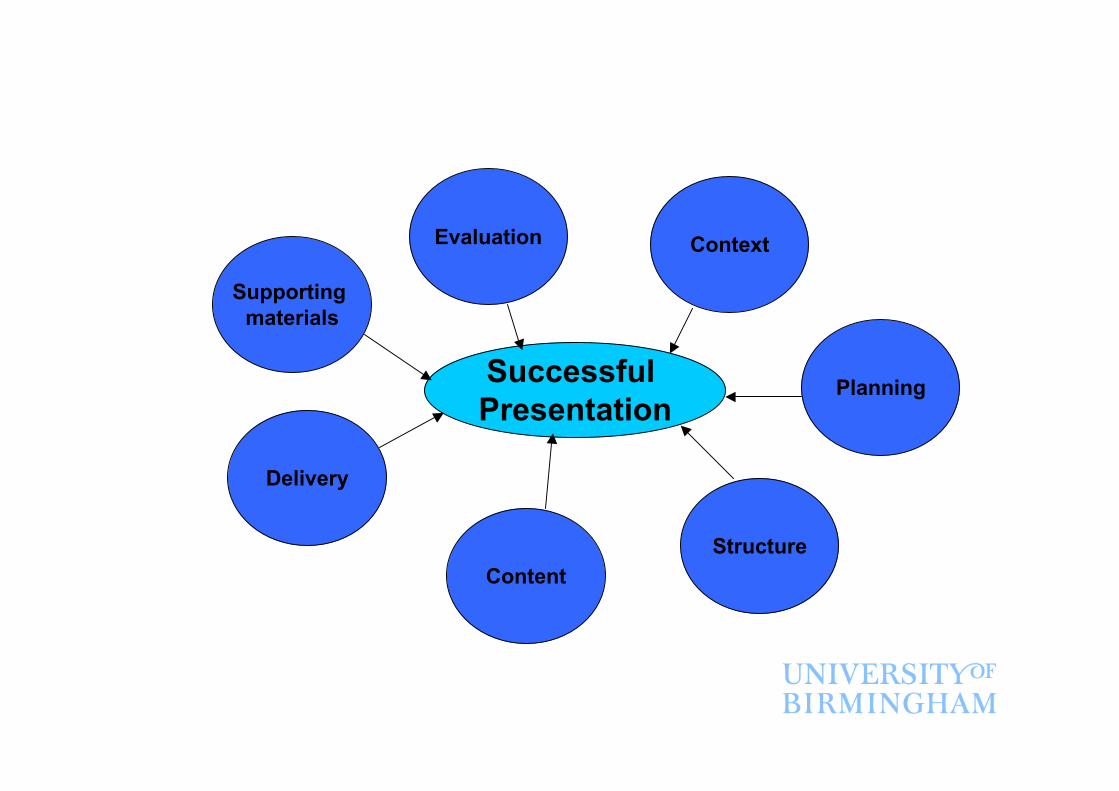
Successful Presentation
Supporting materials
Delivery
ContentStructure
Planning
ContextEvaluation
1. Context: purpose of presentation
– To convey information– To demonstrate facts/ issues/ a skill– To persuade the audience– To raise and widen understanding– To enlist sympathy for a cause

Context: know your audience
– Who are they?– How many?– What do they (probably) know already about
my topic?– What do they want/need to know more?– What questions are they likely to ask?
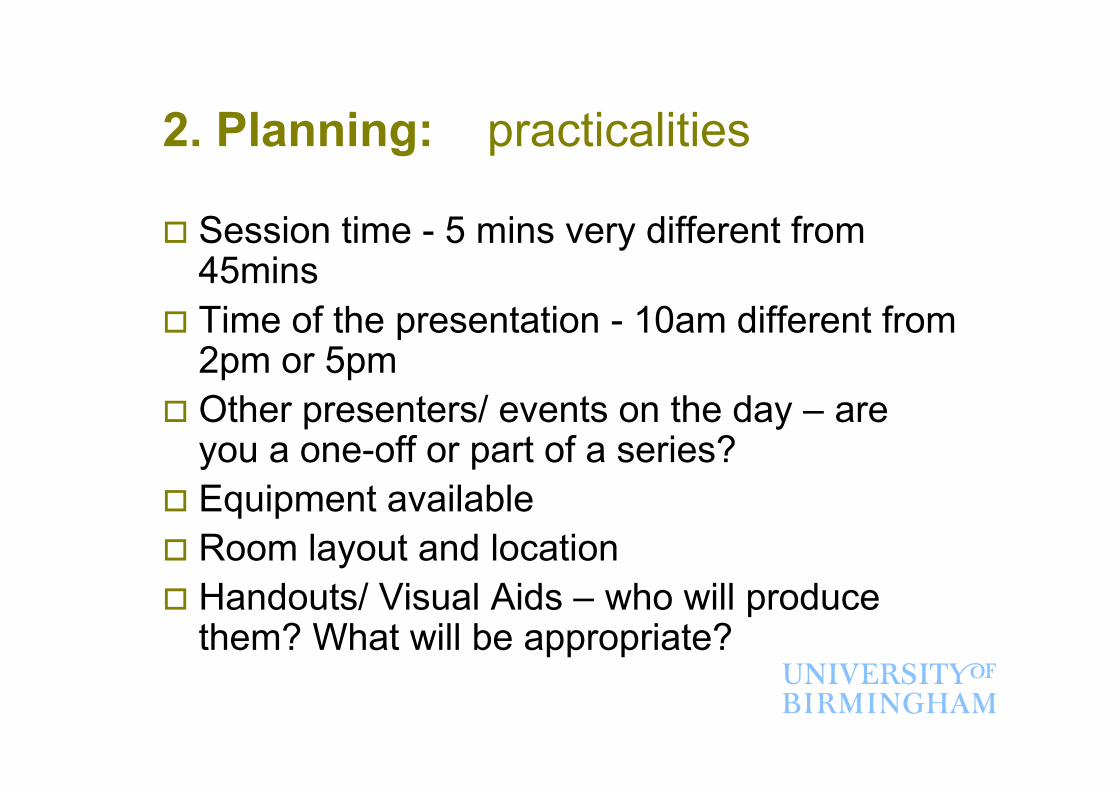
2. Planning: practicalities
Session time - 5 mins very different from45mins
Time of the presentation - 10am different from2pm or 5pm
Other presenters/ events on the day – areyou a one-off or part of a series?
Equipment available Room layout and location Handouts/ Visual Aids – who will produce
them? What will be appropriate?

2. Planning: for the delivery
Take into consideration a range of factors:– Amount of information to cover– Location & layout of the room– Audience seating arrangements– Visibility, position and voice projection– Equipment available
Check and practice beforehand
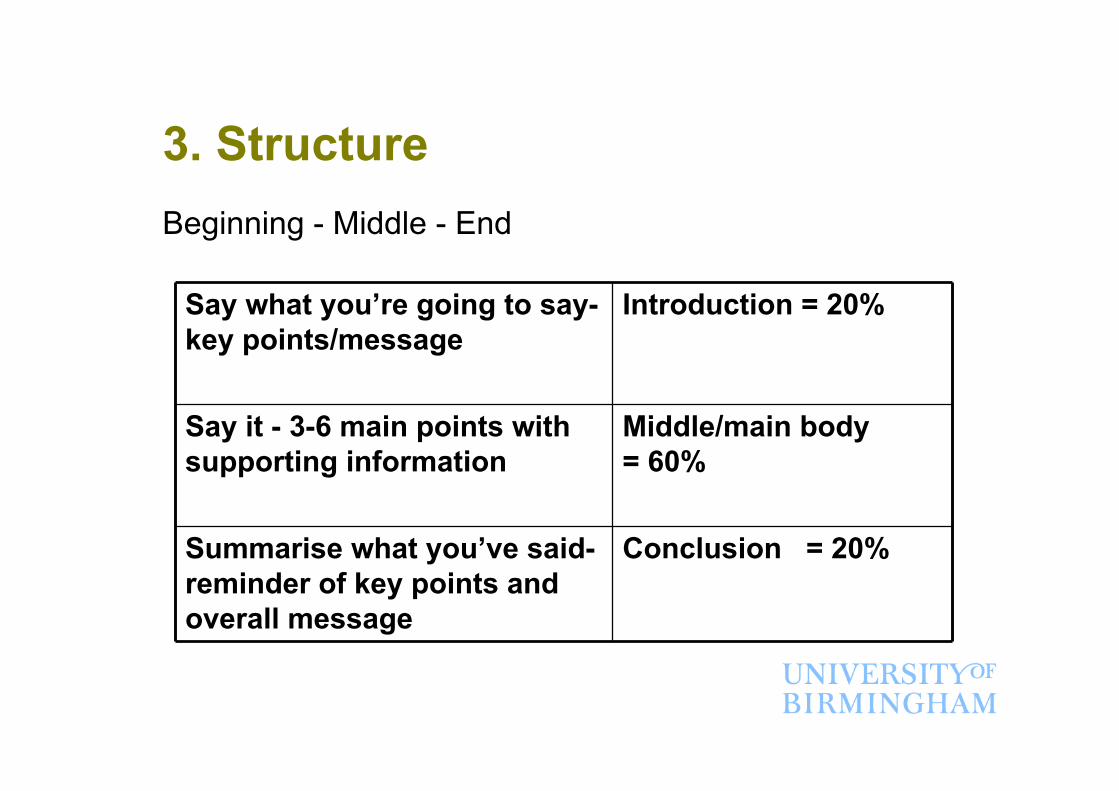
3. StructureBeginning - Middle - End
Say what you’re going to say-key points/message
Introduction = 20%
Say it - 3-6 main points withsupporting information
Middle/main body= 60%
Summarise what you’ve said-reminder of key points andoverall message
Conclusion = 20%
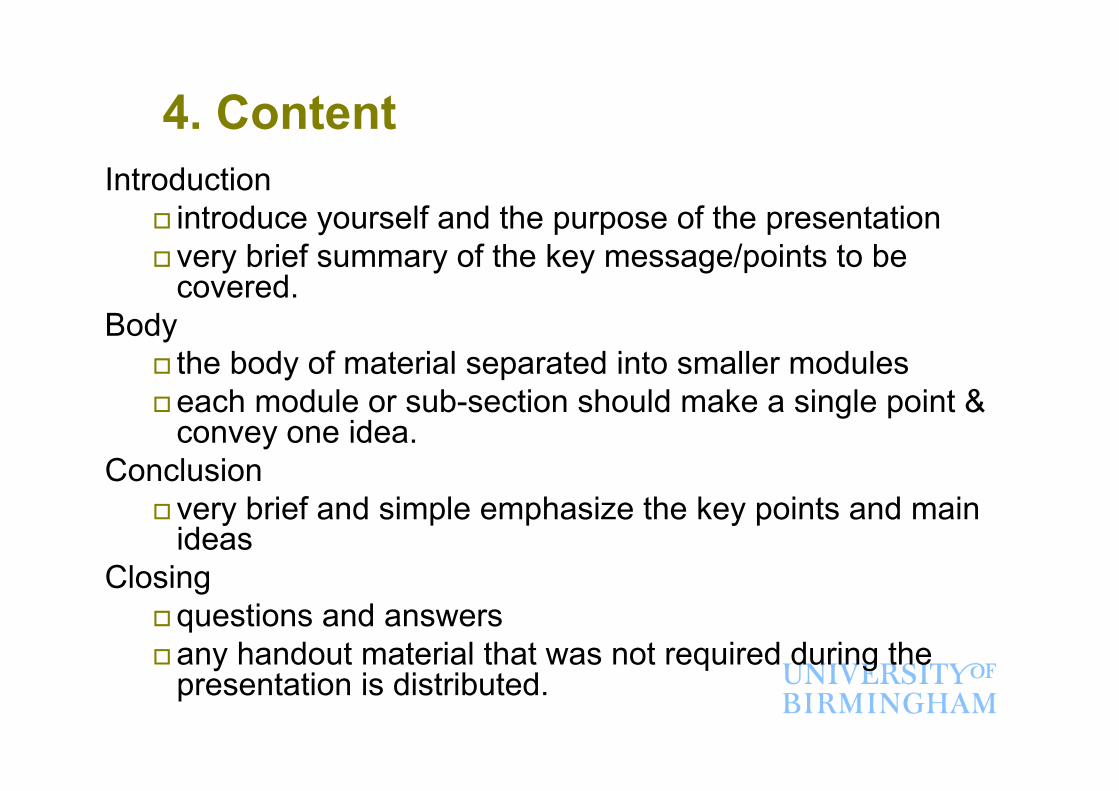
4. ContentIntroduction
introduce yourself and the purpose of the presentation very brief summary of the key message/points to be
covered.Body
the body of material separated into smaller moduleseach module or sub-section should make a single point &
convey one idea.Conclusion
very brief and simple emphasize the key points and mainideas
Closingquestions and answersany handout material that was not required during the
presentation is distributed.
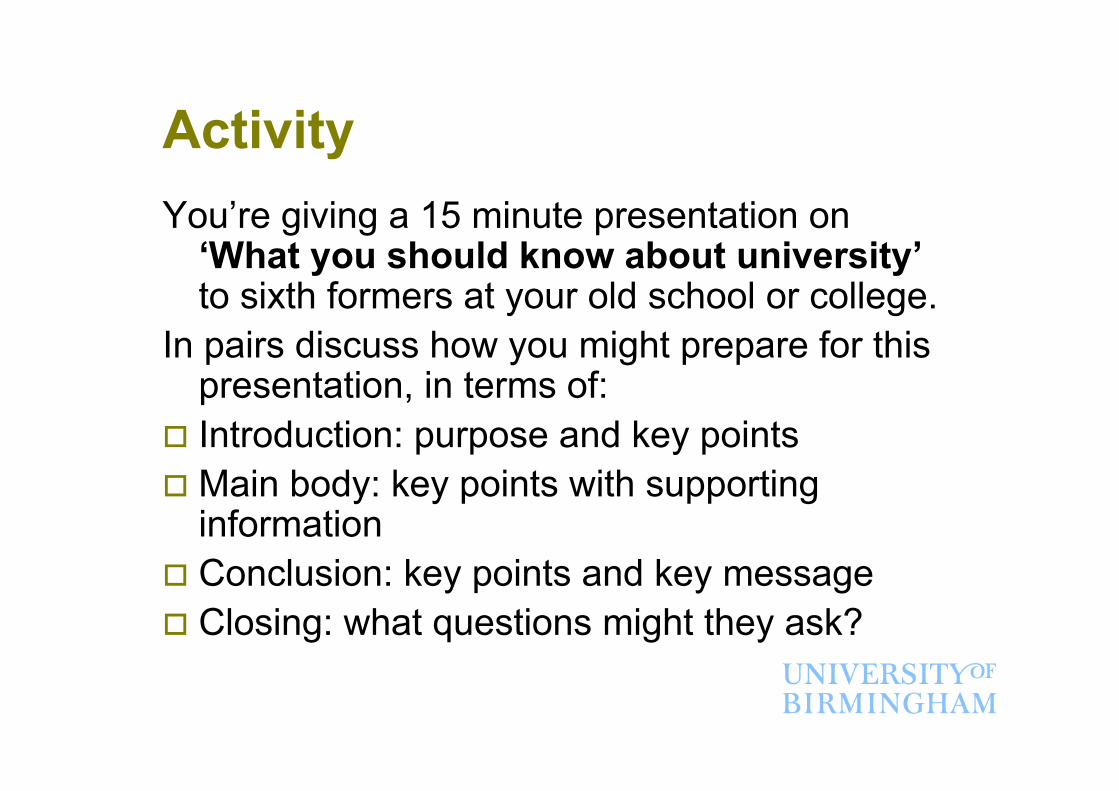
ActivityYou’re giving a 15 minute presentation on
‘What you should know about university’to sixth formers at your old school or college.
In pairs discuss how you might prepare for thispresentation, in terms of:
Introduction: purpose and key points Main body: key points with supporting
information Conclusion: key points and key message Closing: what questions might they ask?
Activity: what did you learn?
Context: what issues arise? Planning: practicalities Structure and content: Introduction
Main bodyConclusionClosing-Q & A
5. Delivery Style– Eye contact: focus on back in large room– Voice – volume, pace, tone, language– Expression – smile, relaxed, animated– Appearance – appropriate for context, smart is
safe– Posture – be visible, don’t obscure audience’s
vision, avoid pacing and fidgeting– Visual Aids and Notes - clear uncluttered slides,
use notes as a prompt only (handout is helpful)
Tips to improve delivery style
Be enthusiastic & interested about topic and thepresentation
Use stories and examples to illustrate a point But don’t get sidetracked Use silences and pauses Adopt methods for dealing with nerves: well-
prepared, sure of topic, breathing, water Stick to time
Activity – Delivery StyleMini presentation Present to your partner(s) for 2 minutes on one of
the following topics:– What I did last weekend– An interesting member of my family– My favourite sport or hobby– A television programme I watched this
week The other person(s) should comment on your
delivery style afterwards. You have five minutesto prepare.
Feedback/ see handout on delivery styles
6. Supporting Materials
Visual aids should: Focus attention Focus on content – make it more informative
and interesting Shouldn’t:
– Distract– Show off technical or creative skills– Substitute for the presenter from knowing
their material
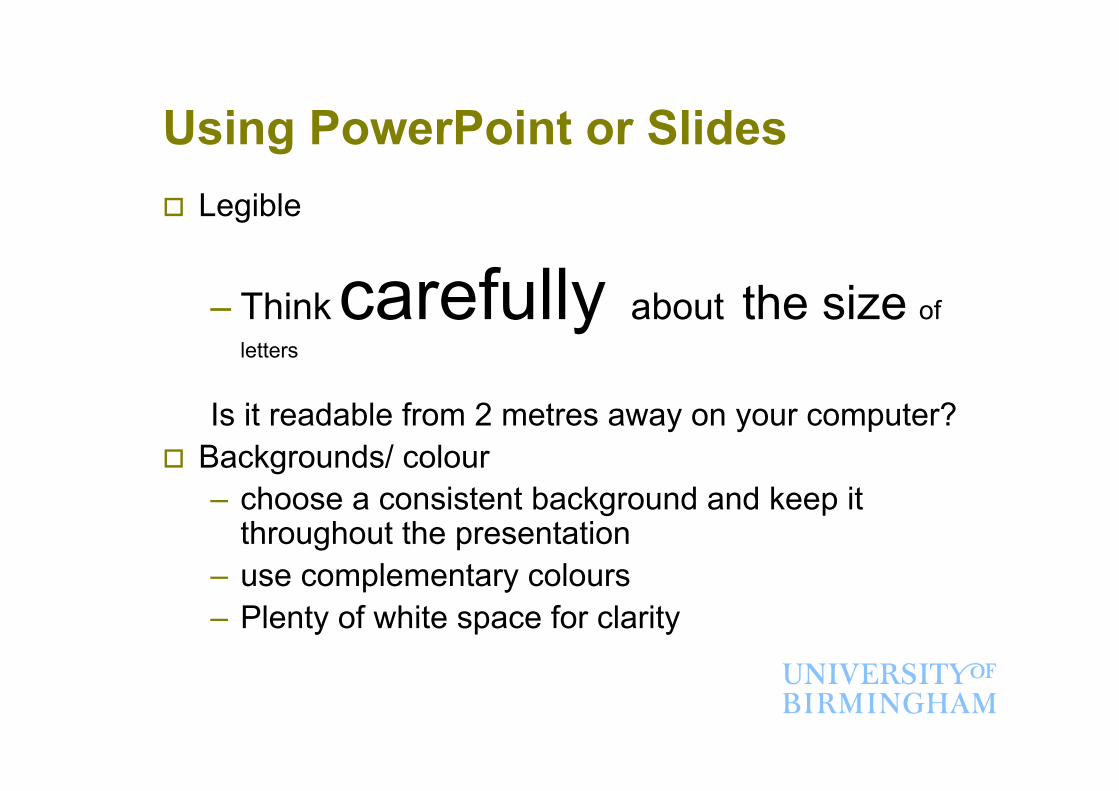
Using PowerPoint or Slides Legible
– Think carefully about the size ofletters
Is it readable from 2 metres away on your computer? Backgrounds/ colour
– choose a consistent background and keep itthroughout the presentation
– use complementary colours– Plenty of white space for clarity

Poor example – bad use of graphics!
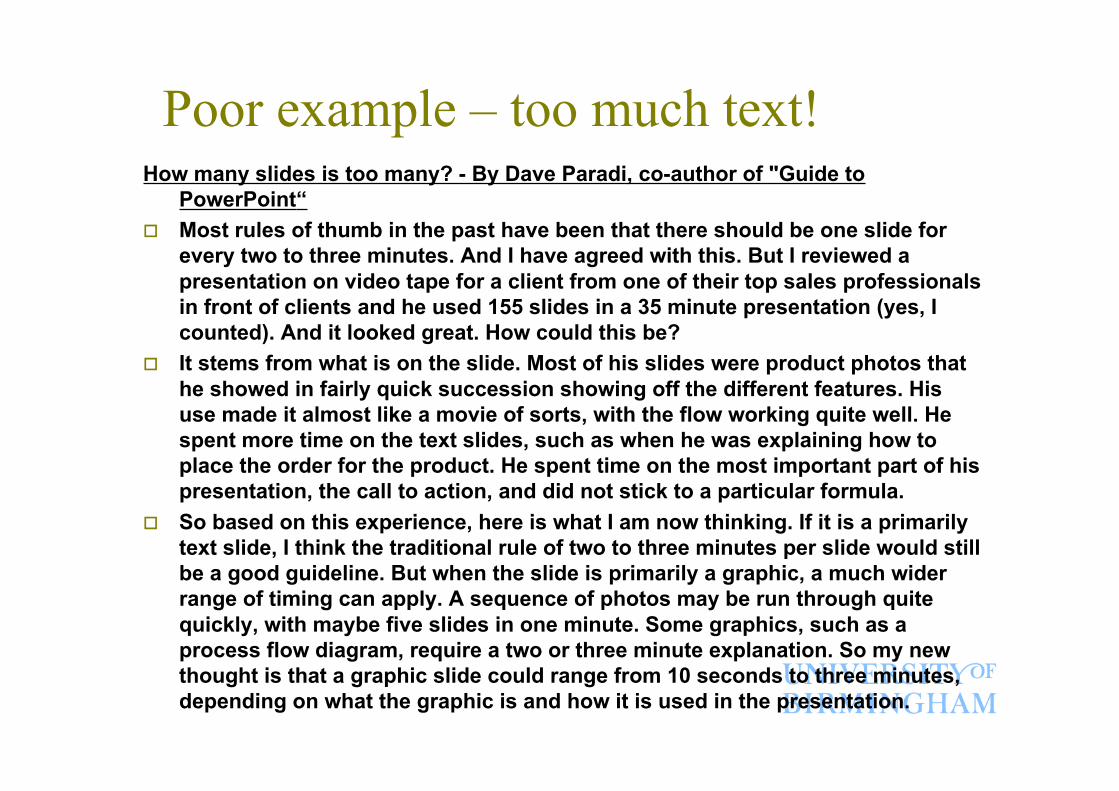
Poor example – too much text!How many slides is too many? - By Dave Paradi, co-author of "Guide to
PowerPoint“ Most rules of thumb in the past have been that there should be one slide for
every two to three minutes. And I have agreed with this. But I reviewed apresentation on video tape for a client from one of their top sales professionalsin front of clients and he used 155 slides in a 35 minute presentation (yes, Icounted). And it looked great. How could this be?
It stems from what is on the slide. Most of his slides were product photos thathe showed in fairly quick succession showing off the different features. Hisuse made it almost like a movie of sorts, with the flow working quite well. Hespent more time on the text slides, such as when he was explaining how toplace the order for the product. He spent time on the most important part of hispresentation, the call to action, and did not stick to a particular formula.
So based on this experience, here is what I am now thinking. If it is a primarilytext slide, I think the traditional rule of two to three minutes per slide would stillbe a good guideline. But when the slide is primarily a graphic, a much widerrange of timing can apply. A sequence of photos may be run through quitequickly, with maybe five slides in one minute. Some graphics, such as aprocess flow diagram, require a two or three minute explanation. So my newthought is that a graphic slide could range from 10 seconds to three minutes,depending on what the graphic is and how it is used in the presentation.
Content of visual aids
– Use headings– Be concise - use short sentences or words
(max 25)– Think in bullet points (3-6 max)– Points made in logical sequential order– Carefully check grammar and spelling– Put complicated information on a handout
Bad practice using visual aids
Ignoring/ not referring to the slides Blocking the audience’s view Leaving the slide in place too long Leaving the screen blank Looking over your shoulder to read the slide
Evaluation
Methods could include your own feedbackform, host feedback form
Informal comments from audience Q&A will give sense of audience reaction If assessed, ask about assessment methods
and criteria

Successful Presentation
Supporting materials
Delivery
ContentStructure
Planning
ContextEvaluation

Resources for further help: Library books on effective presentations:
– Third floor main library building– Section 3B Reference numbers: PN4121; P90
More information:– http://www.presentationmagazine.com– http://lorien.ncl.ac.uk/ming/dept/Tips/present/present
.htm Self enrolling webct course:
– Go to www.weblearn.bham.ac.uk – self enrolment –choose IT Skills training
– Then login to webct 2010-11 and choose IT skillstraining power point 2007 intermediate