Embed Size (px)
Citation preview
PD10052249 Updated July 8, 2014 © 2014 by Intellectual Reserve, Inc. All rights reserved. 1
Oral Histories Seminar
This lesson and its associated learning resources can be used to prepare a three- to four-hour
seminar about preparing, recording, processing, and submitting oral histories. You may follow
this lesson plan or create your own. The lesson plan uses all of the resources listed below. If you
choose to create your own lesson plan, you may choose which resources to use.
Objective
By the end of this seminar, participants should be able to demonstrate understanding of the four
steps in the oral history process: 1) prepare, 2) record, 3) process, and 4) submit.
Resources for Oral Histories
All of the resources below are available at lds.org/callings/church-history-adviser. On the home
page, click Training and then Oral Histories Guide.
Church History Guides: Oral Histories
Oral Histories Seminar with Lesson Plan
Oral Histories Seminar PowerPoint
Oral Histories Seminar Activity Workbook (includes additional information and activities)
Oral History Cataloging Worksheet and Index
Cataloging Style Guide
Practice Choosing Oral History Interview Candidates (for teacher and for student)
Donation Agreement form
Teaching Suggestions Consider the background knowledge of seminar participants. Briefly discuss what they
already know so you can adapt the lesson to fit their needs.
Consider how much information they can receive in the time you have available and
according to their level of understanding.
Provide multiple opportunities for class members to interact. Participation helps them
remember the content of the lesson. Several activities are included in the lesson plan. You
may use them, adapt them, or create your own.
Stop frequently to check for understanding. Give participants enough time to think, and
then to answer. If appropriate, encourage participation by calling on individuals.
2
Oral Histories: Lesson Plan
This lesson plan uses the materials found in the “Oral Histories” section of the Church History
Adviser website: lds.org/callings/church-history-adviser. Some of the practice activities have
both an online version and a print version. The print version was designed for classroom use.
However, you may use whichever version you like when teaching.
You may choose to follow this lesson plan or adapt it to fit the needs of the group you will
teach. The column on the right shows the PowerPoint slide that corresponds to that section of
the lesson. Most activities correspond to the Oral Histories Seminar Activity Workbook. Additional
instructions for the teacher are shown in red. This lesson should take between three and four
hours to complete, including breaks and answering questions.
Materials Needed
For a copy of all materials, click Download All Oral Histories Training Materials for Offline
Viewing at https://www.lds.org/callings/church-history-adviser/training/oral-histories-
guide?lang=eng.
Laptop computer with VGA cable, projector, screen, and speakers to plug into the laptop
computer.
Copies of Church History Guides: Oral Histories for each participant.
Copies of Oral Histories Seminar Activity Workbook for each participant.
Copies of the Cataloging Style Guide for each participant.
Copies of the Donation Agreement form and the example for each participant.
Printed copy of the Oral History Cataloging Worksheet and Index.
Printed copy of For Students: Practice Choosing Oral History Interview Candidates.
Participants should bring the audio recorder they plan on using for recording oral history
interviews and a pair of headphones so they can listen to a practice recording.
Overview of Oral Histories (15 minutes)
If possible, invite participants to read the oral histories guide a few days
before the seminar.
3
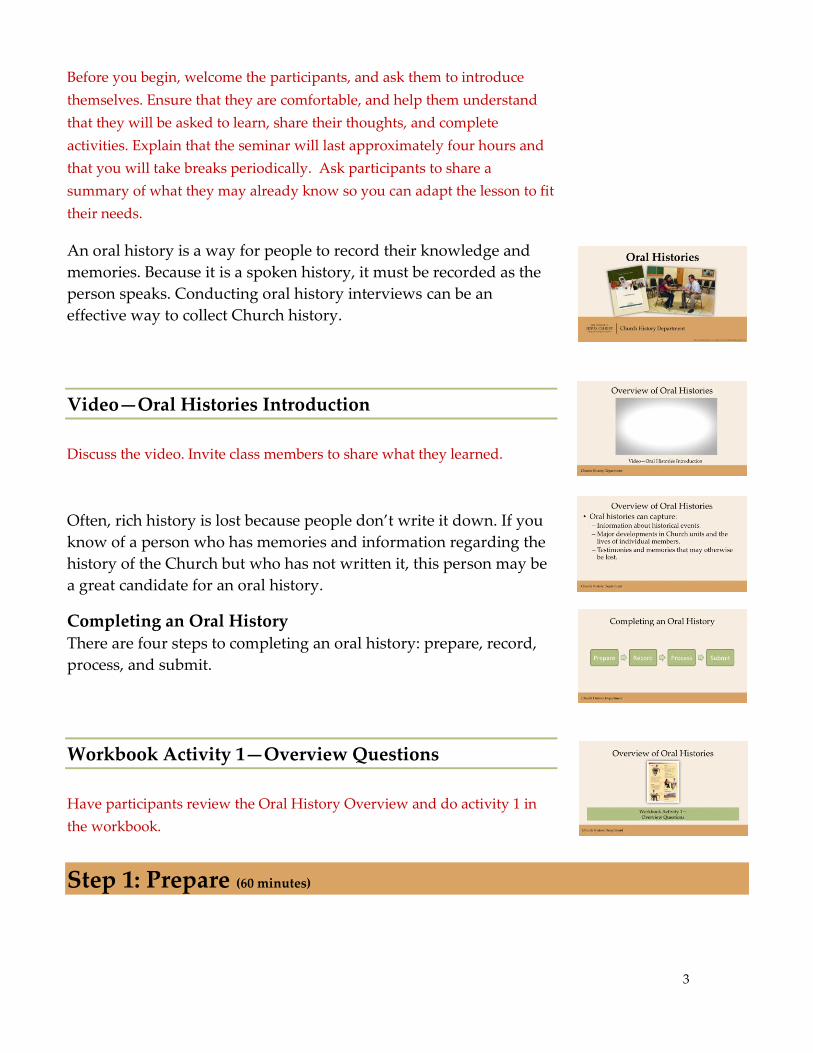
Before you begin, welcome the participants, and ask them to introduce
themselves. Ensure that they are comfortable, and help them understand
that they will be asked to learn, share their thoughts, and complete
activities. Explain that the seminar will last approximately four hours and
that you will take breaks periodically. Ask participants to share a
summary of what they may already know so you can adapt the lesson to fit
their needs.
An oral history is a way for people to record their knowledge and
memories. Because it is a spoken history, it must be recorded as the
person speaks. Conducting oral history interviews can be an
effective way to collect Church history.
Video—Oral Histories Introduction
Discuss the video. Invite class members to share what they learned.
Often, rich history is lost because people don’t write it down. If you
know of a person who has memories and information regarding the
history of the Church but who has not written it, this person may be
a great candidate for an oral history.
Completing an Oral History There are four steps to completing an oral history: prepare, record,
process, and submit.
Workbook Activity 1—Overview Questions
Have participants review the Oral History Overview and do activity 1 in
the workbook.
Step 1: Prepare (60 minutes)

4
Oral History Projects You may desire to record oral histories with many people, but time
and resources will only allow you to record oral histories for some.
To help you decide which oral histories to record, focus on a project.
An oral history project should focus on a topic. Sample topics
include:
Families who have been pioneers in a given locality.
Area Seventies and released mission presidents, along with their
wives.
Current and former bishops, Relief Society presidents, and other
leaders.
People who have been involved with significant events, such as a
temple dedication or a humanitarian project.
Choose People to Interview
Once you have selected a topic, you will be able to prioritize a list of
people you want to record. Start with the top four or five people.
Complete your first oral history, and submit it as soon as possible.
The Church History Department will send you feedback and
suggestions. Incorporate this learning into your next interview.
Workbook Activity 2—Prioritize
Have participants do activity 2 in the workbook.
Workbook Activity 3—Choosing People to Interview
Have participants do activity 3 in the workbook. Use the cards you printed
from For Students: Practice Choosing Oral History Interview Candidates
(Print version). See For Teachers: Practice Choosing Oral History Interview
Candidates (Print version) for instructions and answers for this activity.
Purpose and Background As you prepare for an interview, decide on its purpose, and do a
little research on the topic.
Practice Activity—Research before an Oral History
Interview

5
Do practice activity Research before an Oral History Interview (Online
version, titled “John Performs Research to Prepare for Six Oral History
Interviews.”)
Pre-Interview Using the Pre-Interview Questionnaire (found at the back of the oral
histories guide), gather some background information from the
interviewee. This pre-interview can be done days or weeks ahead of
the actual interview recording. This information gathering can be
done over the phone, in person, or by email. The information you
obtain will help you write a good interview outline. Follow these
practices as you conduct the pre-interview.
Workbook Activity 4—Pre-Interview
Have participants view the Pre-Interview Questionnaire in the oral
histories guide and do activity 4 in the workbook.
Interview Outline
Write an outline of questions you would like to ask in the interview.
This outline will help you ask good questions and cover all the topics
you desire. Grouping your questions around larger topics will help
you keep the interview focused and will make processing the
recording later much easier.
Let’s look at how John composes questions for his interview outline.
Workbook Activity 5 and Practice Activity—Asking
Open-Ended Questions
Have participants do activity 5 in the workbook as you go through the
practice activity Asking Open-Ended Questions (Online version).
Workbook Activity 6—Write an Interview Outline
Review some of the sample interview outlines in the guide. Then do
activity 6 in the workbook.
6
Recorder It is important to learn how to use the audio recorder. Practice with
someone. Often, the recorder will make the interviewee nervous. If
you know how to use it well, you can minimize its presence in the
actual interview. Be sure that:
The quality level is at the highest setting available on the recorder
(usually a stereo setting).
The recorder has sufficient power to last the entire interview;
bring backup batteries.
The recorder has sufficient storage capacity.
You have identified the optimal distance from which your
equipment is capable of recording.
You are familiar with how to turn on, pause, and stop the
recorder.
Video—Using an Audio Recorder
Discuss the video. Invite class members to share what they learned. Point
out the instructions in the oral histories guide for the Tascam DR-052
recorder. If participants do not have the Tascam DR-052 recorder, skip the
video.
Workbook Activity 7—Practice Using Your Recorder
Have participants do activity 7 in the workbook and practice with the
recorder they brought.
Invitation Once you have decided whom you would like to interview, it is time
to extend an invitation. When extending an invitation, explain why,
when, and where you would like to meet. Inform the interviewee
how long the interview may last. Invite the person to bring relevant
photographs, documents, or small artifacts that may trigger
memories that will enrich the interview.
Have participants view the sample invitation letter included at the back of
the oral histories guide.
7
Location Find a location that is free from distractions, including noise and
visual distractions. Make sure that it will be comfortable for an
interview and that there will be a place to set the recorder a proper
distance from you and the interviewee.
Timing It is best to record an interview when memories are fresh, because
the interviewees will generally share more detail. Be sensitive to a
person’s schedule and to the time of day. When possible, be sure the
person you are interviewing is feeling good and is alert.
Practice Activity—Selecting a Location
Do the practice activity Selecting a Location (the online version is titled
“Selecting a Location for John’s Oral History Project”).
Step 2: Record (60 minutes)
Pre-Interview Instructions There are several steps to perform in an oral history interview. With
a little practice, you will find these steps easy to remember. Begin by
setting the interviewee at ease by explaining some of the things you
will do during the interview.
Oral History Donation Agreement Before the interview or right after you are finished, ask the
interviewee to sign a donation agreement. This agreement gives the
Church legal rights to preserve and use the recording.
Hand out copies of the donation agreement and the example, and point out
the instructions in the guide for filling out this form. They will use this
form in workbook activity 9.
Opening Statement As recording begins, the interviewer gives an opening statement that
includes:
Who is at the interview.
The date and location of the interview.
The purpose of the interview.
8
For example: “My name is Felix Nash, and I am the Samoa Church
history adviser. Today is May 27, 2010. I am interviewing Tasi
Sosene in his home in Apia, Samoa. Tasi is the manager of the
Service Center in Samoa, and today we will be discussing his
experiences with the tsunami that hit Samoa in 2009.”
Ask Open-Ended Questions Referring to the interview outline, ask open-ended questions that can
be responded to at length. Ask follow-up questions to get more
clarification and details where needed.
Word List Write a list of important names and locations that may have unique
spellings. When the interview is finished, review this word list with
the interviewee for accuracy.
Length In general, an interview should not last more than two hours. An
interview may be less than two hours, depending on the
circumstances and purpose of the interview. If you have reached two
hours and there is still more that should be recorded, consider
scheduling another appointment to continue. Multiple sessions are
covered under the original donation agreement.
Collecting Other Records
Sometimes a photograph or an object is referred to during the
interview. When this happens, ask if you may scan or photograph
the item to include it with the oral history. For larger record
collections, such as correspondence, journals, or photographs, ask
the interviewee if he or she would be willing to donate the records to
the Church or allow digital copying. If the person agrees, follow the
instructions contained in Church History Guides: Collecting Records.
Let’s watch an example of conducting an oral history interview.
Workbook Activity 8 and Video—Steps to an Oral
History Interview
Have the participants do activity 8 in the workbook as they watch the
video. Discuss the video. Invite class members to share what they learned
and answer any questions.
9
Workbook Activity 9—Practice Oral History Recording
Have the participants do activity 9 in the workbook. When finished, ask
them to reflect on their interview recording experience. How did it go?
What did they learn? What was easy? What was challenging? Did they
have any problems filling out the donation agreement form?
Now that class members have recorded their interview, they are ready to
process it.
Step 3: Process (60 minutes)
Video—Processing an Oral History Interview
Discuss the video. Invite class members to share what they learned.
Interview Folders Be sure to keep all physical documents organized. In an actual
physical folder, place the following:
1. The original signed donation agreement (without this signed
agreement, the oral history cannot be used and is of little value to
the Church).
2. A printout of the completed cataloging worksheet and index.
3. The word list.
4. Any other documents associated with the interview, such as the
interview outline, research notes, and pre-interview
questionnaire.
Once processing is over, save the physical folder in a safe location.
These folders will be passed on to the area Church history adviser.
Using a computer, create an electronic folder, and place these three
necessary components in it:
1. The digital audio recording.
2. A scanned copy of the signed donation agreement.
3. An electronic version of the cataloging worksheet and index.
You may include in this electronic folder other relevant documents,
such as a digital photograph or the word list.
10
Name the electronic folder and files according to the Standards for
Naming Electronic Folders and Files in the guide.
Cataloging Worksheet and Index Complete a cataloging worksheet, available electronically at
lds.org/callings/church-history-adviser. Included in the cataloging
worksheet is an indexing template. An index of the interview helps
make the information more accessible. To create the index, break the
interview into sections, with each section covering a particular topic.
Using the interview outline is a good way to divide the interview
into sections. Each section should cover a topic. If that topic is
discussed for longer than 15 to 20 minutes, divide it into smaller
sections.
It is best for the interviewer to complete the cataloging worksheet
soon after the interview, when memories are fresh. Generally, the
time to complete the cataloging worksheet and index should not take
more than the time for the actual interview.
Style Guide
Any time you fill out a worksheet or an online form that will be
submitted to the Church History Department, you should follow the
principles outlined in the Cataloging Style Guide. This style guide
can be downloaded at lds.org/callings/church-history-adviser.
Distribute copies of the Cataloging Style Guide. Have the participants
review the example of the cataloging worksheet in the guide.
Workbook Activity 10—Process Your Practice Recording
Have the participants do activity 10 in the workbook. They can use the
copy of the Oral History Cataloging Worksheet found in the workbook.
Have them refer to the instructions in the guide and the Cataloging Style
Guide as they fill out the worksheet.
Step 4: Submit (5 minutes)
FileSend is an application sponsored by the Church. If this option
does not work for you, please contact your representative at the
Church History Department, Global Support and Acquisitions
Division for further assistance.
11
Give a demonstration of FileSend so the participants understand how to
use it, or review the instructions in the guide.
Oral History Evaluation After sending in your oral history files, a member of the Global
Support and Acquisitions team will review them. He or she will:
Listen to segments of the interview to access the sound
quality and types of questions asked.
Review the cataloging worksheet to make sure it contains
sufficient detail and follows the style guide.
He or she will fill out an Oral History Evaluation form and send it
back to you with any suggestions for improvements in future
projects.
Have class members review the feedback criteria and oral history
evaluation example in the oral histories guide.
Conclusion
Take time to review the major portions of this lesson, and invite the class to
ask questions if necessary. Invite class members to visit the website when
they get home and review the materials found in the “Oral Histories”
section of the website. This page on the website contains the learning
resources that individuals can review and use to practice the content of this
lesson.