Embed Size (px)
Citation preview
4)How did you use media technologies in the
construction and research, planning and evaluation
stages ?
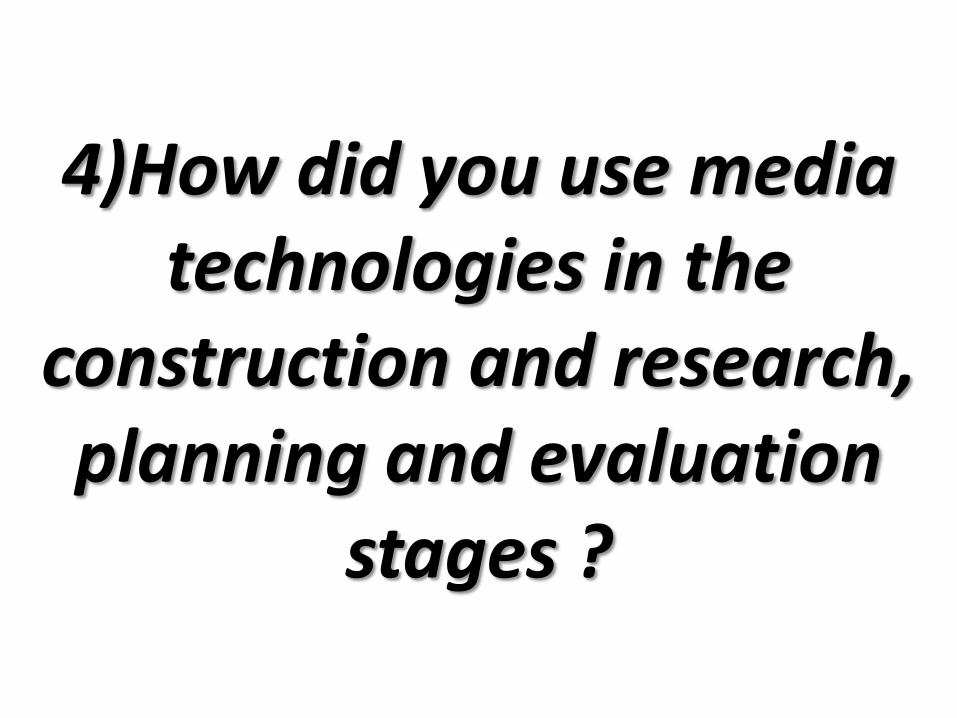
SURVEY MONKEY
This is a website which lets you create surveys in order to print off. We used survey monkey as it was quick and easy to use. We used it when creating our first feedback questionnaire to gain help in making our short film to the best of its ability.
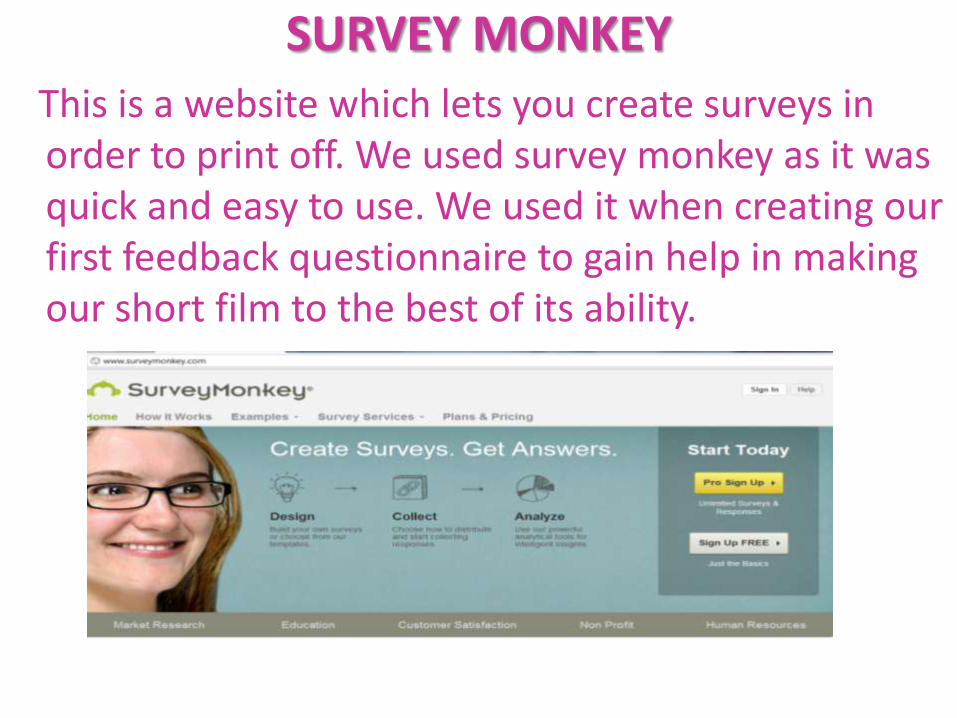
BLOGGERBlogger is a website that allows people around the world to create a free blog were they can upload images and write about what ever they desire.
I used Blogger to upload all my planning, research, development and evaluation of my A2 coursework. It has allowed me to log on and uploads jpeg images and also videos relating to my production of creating my short film.
It allows me log in and adapt my blog post and add as many posts necessary. My blog is personalised and is in black and purple as I believe this is a good theme colours for my A2 media coursework.
Using a blog is also good to use as everyone in the world can see it and make comments on it. It is also easier for my teachers to go on to at their homes or at school to see my blog adapt throughout the course.
MICROSOFTI have used many of the Microsoft programmes in order to prolong in developing
my coursework.
For instance this presentation was created on Microsoft PowerPoint.
I have also used Microsoft Publisher in order to make my poster as I felt the program was best suited to help me design the best possible poster.
Also I can move things around with ease. I can also crop images and print screen and then finally add as an jpeg to my Blogger.
I used Microsoft Word also with Nicholas to make the review.
We used word as this ancillary product have a lot of writing throughout, therefore it would of been easier to use than Microsoft Publisher.
PHOTOSHOPI find Photoshop hard to use at times so therefore I rarely used it when creating my poster.
On Blogger I spoke about how I made the poster have half my face and half the saw mask face. After looking though the different effects I came across “opacity”.
This effect can make something look transparent so therefore you can see behind the image. I used the photo of me in the saw mask and used the magic wand tool and carefully went round the mask then I cut it from the photo.
I then placed the mask over a similar image of me and changed the opacity of the mask so therefore you could see my face though the mask.

SLIDE SHARESlide share is a website which allows you to upload Microsoft PowerPoint presentations on to make into a sliding presentation on your Blogger.
It is a fun way to upload writing and images which can be kinder to the eye than a full block of writing.
As it uploads on to your blog (slide show) it allows people to go through the slides at their own pace and time.
ADOBE PREMIER ELEMENTS 9
This is the film editing programme Nicholas and I used in order to make our short
film. The programme allowed to add all our film shots in fluency with each other.
The programme let us cut some scenes out and also add transitions to them.
It allowed us to add blackouts to the scenes. It also allowed us to add sound effects to the film and add music to the end. The programme let us add credits at the end and also add a certificate and ident at the start of the short film.
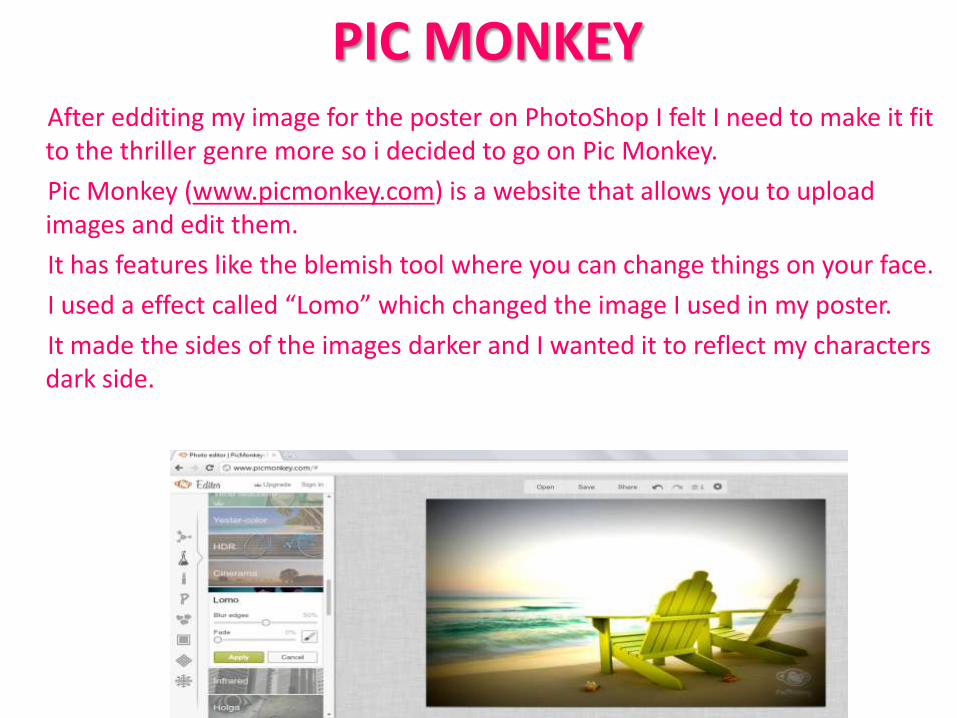
PIC MONKEYAfter edditing my image for the poster on PhotoShop I felt I need to make it fit to the thriller genre more so i decided to go on Pic Monkey.
Pic Monkey (www.picmonkey.com) is a website that allows you to upload images and edit them.
It has features like the blemish tool where you can change things on your face.
I used a effect called “Lomo” which changed the image I used in my poster.
It made the sides of the images darker and I wanted it to reflect my characters dark side.
YOUTUBE
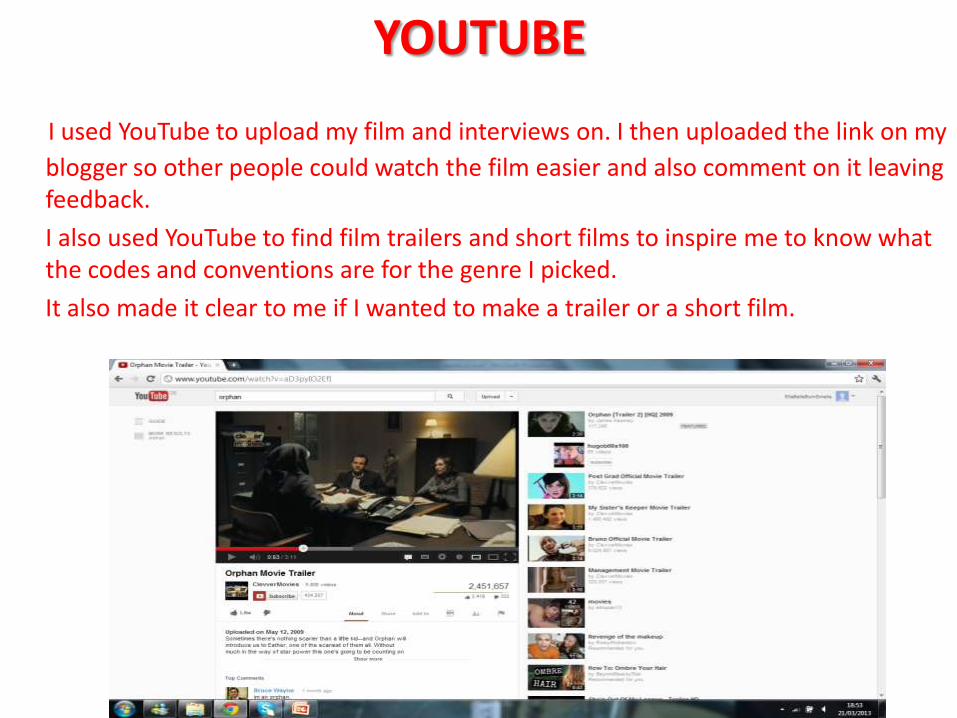
I used YouTube to upload my film and interviews on. I then uploaded the link on my
blogger so other people could watch the film easier and also comment on it leaving feedback.
I also used YouTube to find film trailers and short films to inspire me to know what the codes and conventions are for the genre I picked.
It also made it clear to me if I wanted to make a trailer or a short film.
NIKON
I used my camera in order to take images of props, costumes, locations and characters.
I took these images to upload to our blogs to make it easy to explain my development throughout my coursework.
I used this camera also to take my poster image as the quality of the camera is high.
FONT SPACE
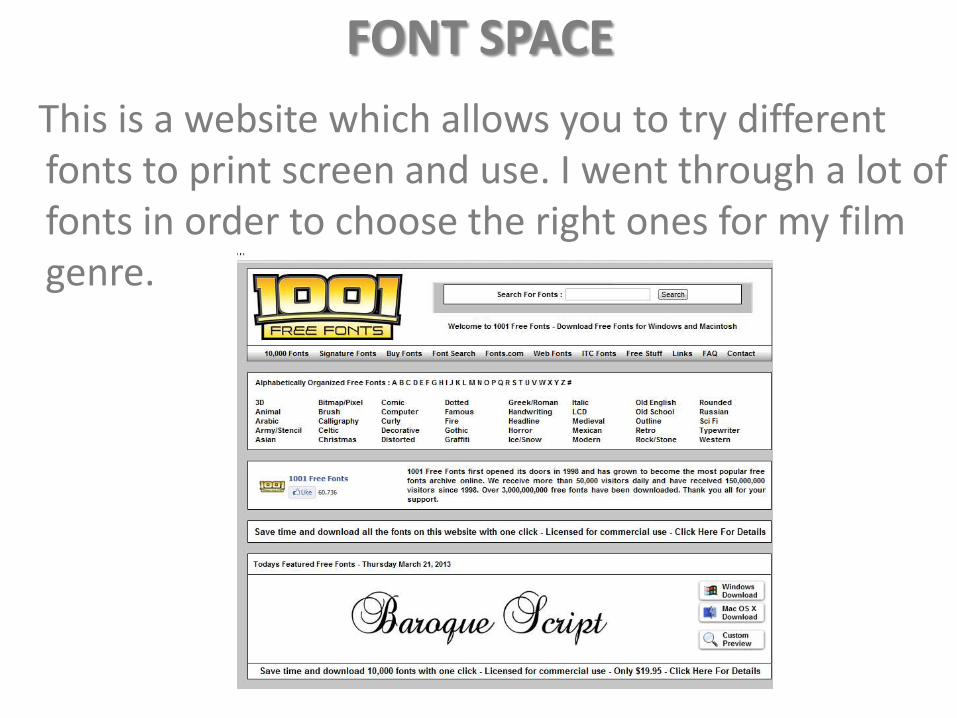
This is a website which allows you to try different fonts to print screen and use. I went through a lot of fonts in order to choose the right ones for my film genre.
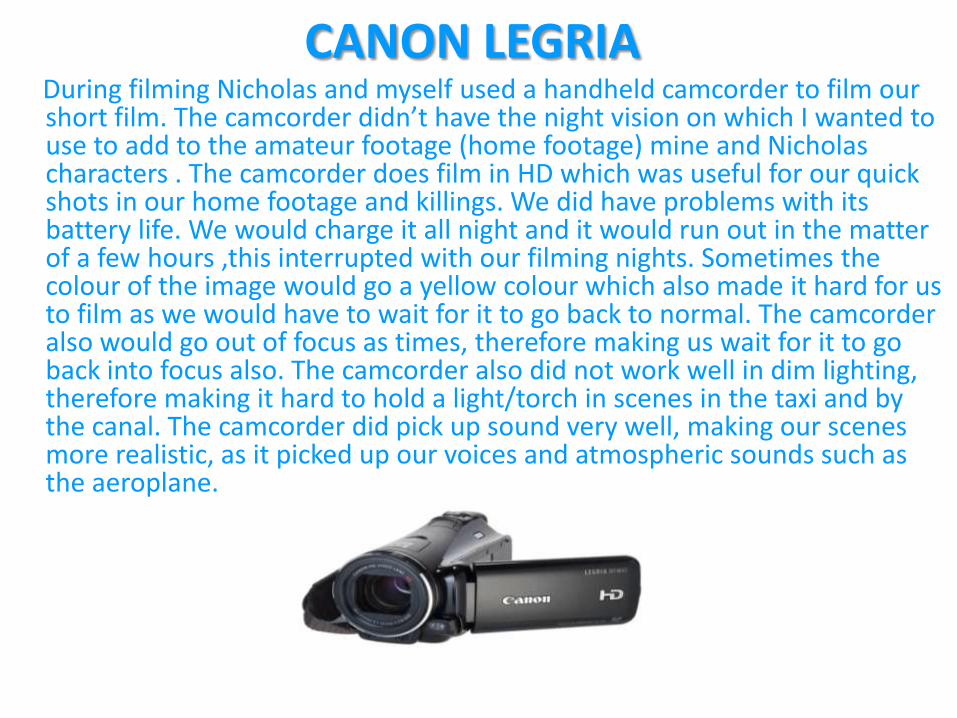
CANON LEGRIADuring filming Nicholas and myself used a handheld camcorder to film our short film. The camcorder didn’t have the night vision on which I wanted to use to add to the amateur footage (home footage) mine and Nicholas characters . The camcorder does film in HD which was useful for our quick shots in our home footage and killings. We did have problems with its battery life. We would charge it all night and it would run out in the matter of a few hours ,this interrupted with our filming nights. Sometimes the colour of the image would go a yellow colour which also made it hard for us to film as we would have to wait for it to go back to normal. The camcorder also would go out of focus as times, therefore making us wait for it to go back into focus also. The camcorder also did not work well in dim lighting, therefore making it hard to hold a light/torch in scenes in the taxi and by the canal. The camcorder did pick up sound very well, making our scenes more realistic, as it picked up our voices and atmospheric sounds such as the aeroplane.
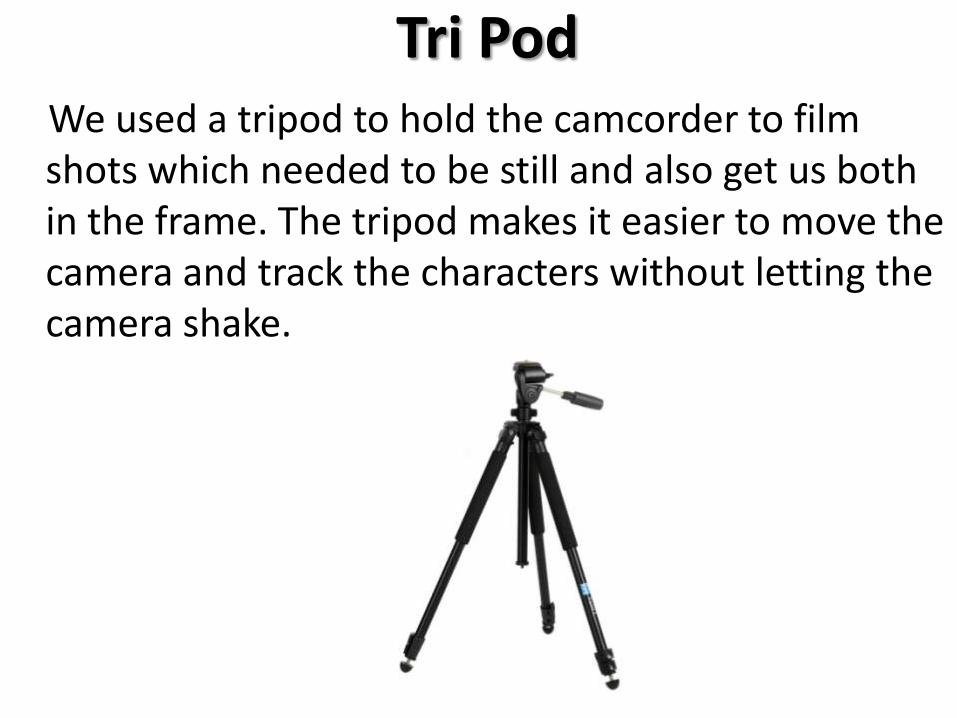
Tri PodWe used a tripod to hold the camcorder to film shots which needed to be still and also get us both in the frame. The tripod makes it easier to move the camera and track the characters without letting the camera shake.