Embed Size (px)
Citation preview

1

Program What really is Macro Photography
Macro versus Close Up Photography
Equipment Choices
Technical Considerations
Some Subject Ideas
Demonstrations
2

Why Macro Photography? Macro photography allows us to explore a world that
would be quite difficult to explore with the naked eye
Macro photography will have you marveling at the world around you
There is a wealth of subjects in your house and in your yard – all year long!
3
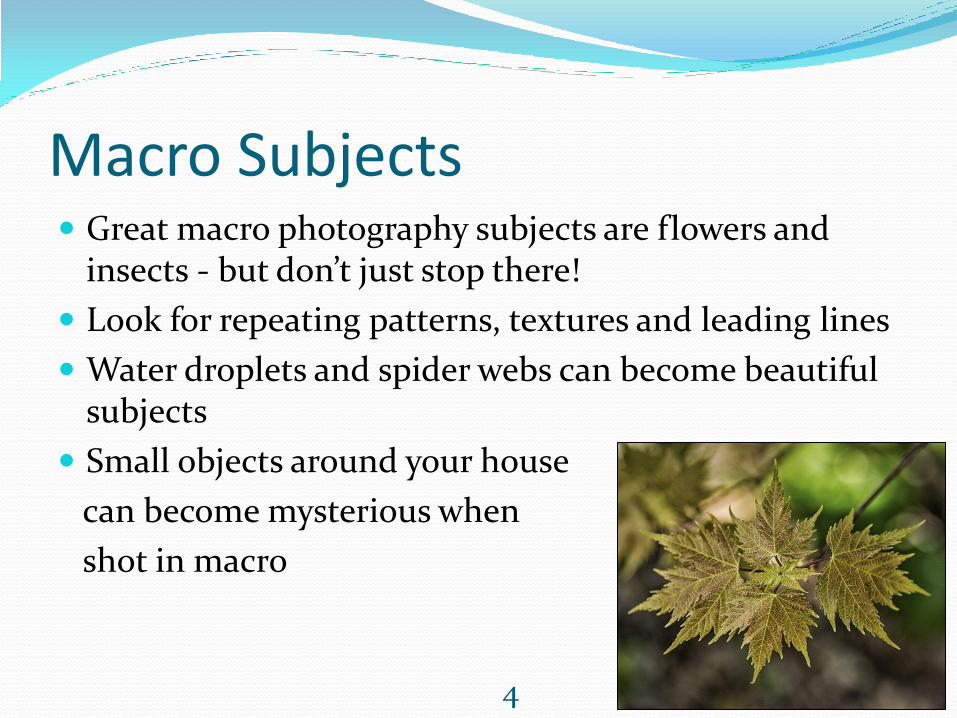
Macro Subjects Great macro photography subjects are flowers and
insects - but don’t just stop there!
Look for repeating patterns, textures and leading lines
Water droplets and spider webs can become beautiful subjects
Small objects around your house
can become mysterious when
shot in macro
4

What Is Macro Photography? In a strict sense macro photography (or Photomacrography) defines how large a subject is captured in the camera
The image on the camera’s sensor is the same physical size or larger as the subject in real life
Macro is expressed as a ratio of 1:1 or larger
A simple definition is capturing tiny objects and making them appear larger than the
physical object actually is
5

Ratios - Life Size : Camera Image Size 1:1 = image size on camera processor is same size as
subject is in real life (true macro)
1:2 = image size on camera processor is 1/2 the size as subject is in real life (not true macro)
1:4 = image size on camera processor is 1/4 the size as subject is in real life (not true macro)
4:1 magnification ratio, meaning that the image projected on the camera's sensor was 4x larger than the subject itself (called extreme macro)
6

What Is Close Up Photography?
Close-focus describes any lens where the maximum size of the captured image is smaller than the real life subject
Usually 1:2 or larger
Many “macro” images are really only close up images
7

Macro versus Close Up Does it really matter?
What macro (and close up) photographers often care about more is simply knowing the size of the smallest object that can fill the frame
Full Frame Sensors 24 mm x 36 mm
Typical APS-C Sensors ~15 mm x 23 mm
8

Equipment Choices Telephoto Lens (Fixed or Zoom)
Telephoto lens with “macro” setting
Close Up Filters
Extension Tubes
Reversing Rings
Macro Lens
9

Zoom Lens With “Macro” Setting Just because a lens says “macro”
doesn’t mean it’s true 1:1 macro
Most are just “Close Focus” lens
Typically ratios of 1:2 or less
Normal – Macro Switch
10

Close Up Filters Basically a magnifying glass for your lens
Inexpensive and light to carry
Typically sharper in the middle than on the edges
A little harder to focus
+1, +2, +4 and +10 strengths
Greater magnification by stacking multiple filters
11
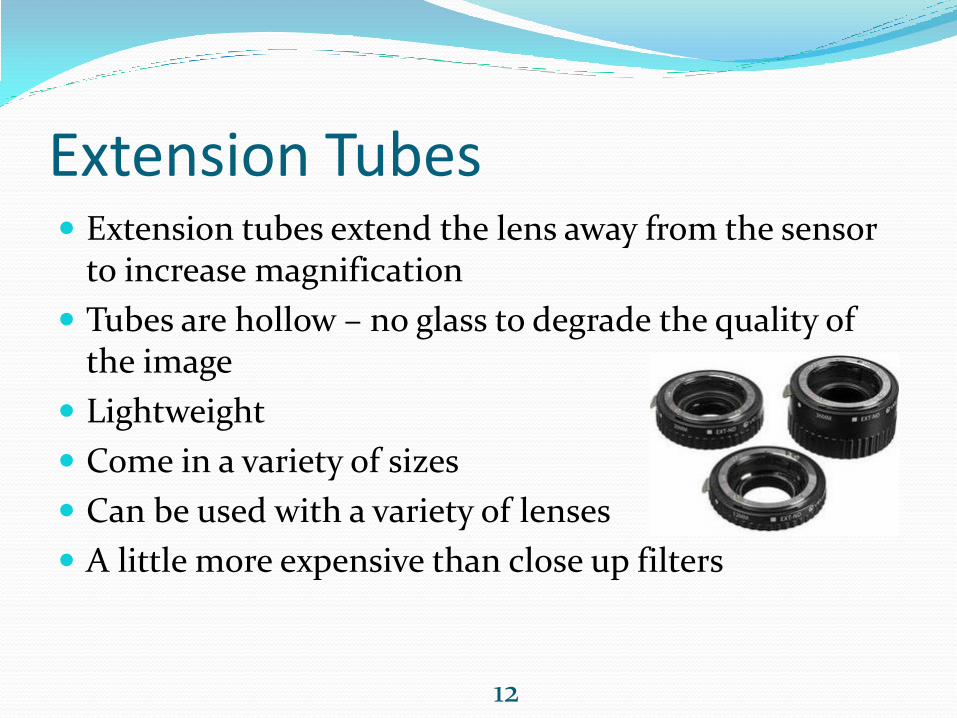
Extension Tubes Extension tubes extend the lens away from the sensor
to increase magnification
Tubes are hollow – no glass to degrade the quality of the image
Lightweight
Come in a variety of sizes
Can be used with a variety of lenses
A little more expensive than close up filters
12

Reversing Ring Reverse mounts a lens to the camera body
Some newer lenses can be very difficult to use in reverse
13

How Reversing A Lens Works
Normal Lens Mounting
Large Image
Small Image
Converted To
Reverse Lens Mounting
Small Image
Large Image
Converted To
14
Macro Lenses Best choice if you are taking a lot of macro shots
Macro lenses are the easiest to use
Best quality but most expensive
Provides a flat field with edge to edge sharpness
15

105 Macro Lens @11”
50mm Lens & +3D @7”
300mm In Macro Mode @31”
50mm Lens & 12mm Ext @7” 16

105 Macro Lens @11”
50mm Lens & +3D @7” 50mm Lens & 12mm Ext @7”
300mm Macro @31”
17

Cost Comparison
Item Ease of Use Effectiveness New Cost
Reversing Ring Medium - Difficult Good $15-$35
Close Up Filter Easy Fair - Good $15-$40
Extension Tubes Easy Good $30-$85
Bellows Difficult Good $50-$600
Macro Lens Easy Best $250-$2000
18

Finished Image
Shot with 180mm macro lens at f22, 1/90, ISO 800
• Background was crinkled tin foil
• Working distance was 23” providing a 1:2.5 ratio
19

Set Up For Shot
Portable shooting box with 2 lights cost $30 Would have worked just as well using something to prop up the tin foil and using either an on or off camera flash or 1 or 2 flashlights or work lights Lens could have been a fixed or telephoto with a close up filter or an extension tube
20

Technical Considerations Focus
Depth of Field
Working Distance
Angle of View
21

Focus Focusing can be the most difficult component of
macro or close up photography
Auto focus may or may not provide focus for the particular area of your subject that you want to be in focus
Manual focus is most often used
22
Focus Suggestion First, set your lens on manual focus
Next, turn the focus ring to just before the minimum focus length
Now simply move your camera closer to your subject until the part of the image that you want to be sharp is in focus
Final adjust your focus for the sharpest possible image
Take the shot
23

Depth of Field Depth of field is how much appears to be in focus
Extremely small when focusing on close objects
Three things control the depth of field
The technical characteristics of the lens
Distance to the subject
Aperture (f stop)
24

Smaller Aperture = Wider DoF
F4 (Large Aperture) F22 (Small Aperture)
DoF DoF
25

Depth of Field - Some Simple Rules The further the distance to the subject (less
magnification), the more will be in focus at a given aperture (f stop)
The smaller the aperture (larger f number) the more will be in focus
The shorter the focal length of the lens the more will be in focus (less magnification)
26

Terms Explained
Closest Focusing Distance (Manufacturer’s Specs)
Working Distance
Angle of View Sensor
27

Working Distance Working distance is the closest focusing distance from the lens to the subject
Choosing the right lens or setup depends on the subject you’re shooting versus what you have available
Subject Working Distance
Macro Lens or Equivalent Setup
Product Photography, Jewelry, Artwork, Stamps
Less than 1” to 6” 45-65 mm
Flowers, Some Insects, Butterflies, Bees, Small Objects
8” to 12” 90-105 mm
Dragon Flies, Spiders, Flighty Insects, Snakes, Small Animals
18” or more 150-200 mm or more
28

Angle of View With a 50mm macro lens, you have to be very close to
your subject to fill the frame
A 50mm macro lens has a wider angle of view, so you’ll be picking up things in the background that you may not want
A 200mm macro give a much narrower field of view and including less background
29

Angle of View
50 mm Lens
200 mm Lens
Subject
Subject & Background Area Coverage
30

Macro Kit Suggestions Camera with macro setup
Tripod
Remote shutter release (or use camera timer)
Flash unit or flash light
Lens cleaning cloth
Knee pads or small plastic sheet to kneel on
Small spray bottle with water (or glycerin, corn syrup)
3-4 Feet of string
2-3 Clothes pins or similar
31

Some Final Suggestions Don’t always place your subject in the middle
Try shooting vertical and horizontal
Watch your corners and edges for things that may pop up in the image
Backgrounds and foregrounds should enhance your subject
Think outside the box and create your own background
Don’t be afraid to experiment with different focusing points
Try using diffusors or reflectors to control the light
Use a flash or flashlights or even a goose neck lamp to play with lighting
32

As with any type of photography, always experiment!
33
Questions?
34

Dandelion
35

Water Drop
36

Cat
37

Gecko’s eye
38

Jumping Spider on a CD
39

Close Up Of a Wet Leaf
40

Dew Drops
41

Gerbera Daisy
42

Common House Fly
43

Daisy Reflected In Dew Drops
44

Snail Having Lunch
45

Oh No!
46

Dew On A Spider Web
47

Day Lilly – A Different Perspective
48

Tiny Mushrooms
49

Amaryllis
50

Ash Leaves
51

Flower Reflected In A Dew Drop
52