Embed Size (px)
Citation preview
Welcome to the basic training for the new zipForm® Plus.
As a zipForm® user, you will notice the new opportunity to switch to the Beta (testing) version of zipForm® Plus from your zipForm® 6 Professional account. This will give you a new way to manage your transactions. The zipForm® Plus Beta program offers many additional features, faster file management, and professional personalization tools for all agents.
This training will introduce you to some of the new features you will be able to access through zipForm® Plus, and provide you with the basic steps for opening zipForm® Plus from zipForm® 6 Professional and creating a transaction file.
1
Introducing zipForm® Plus
www.zipLogix.com
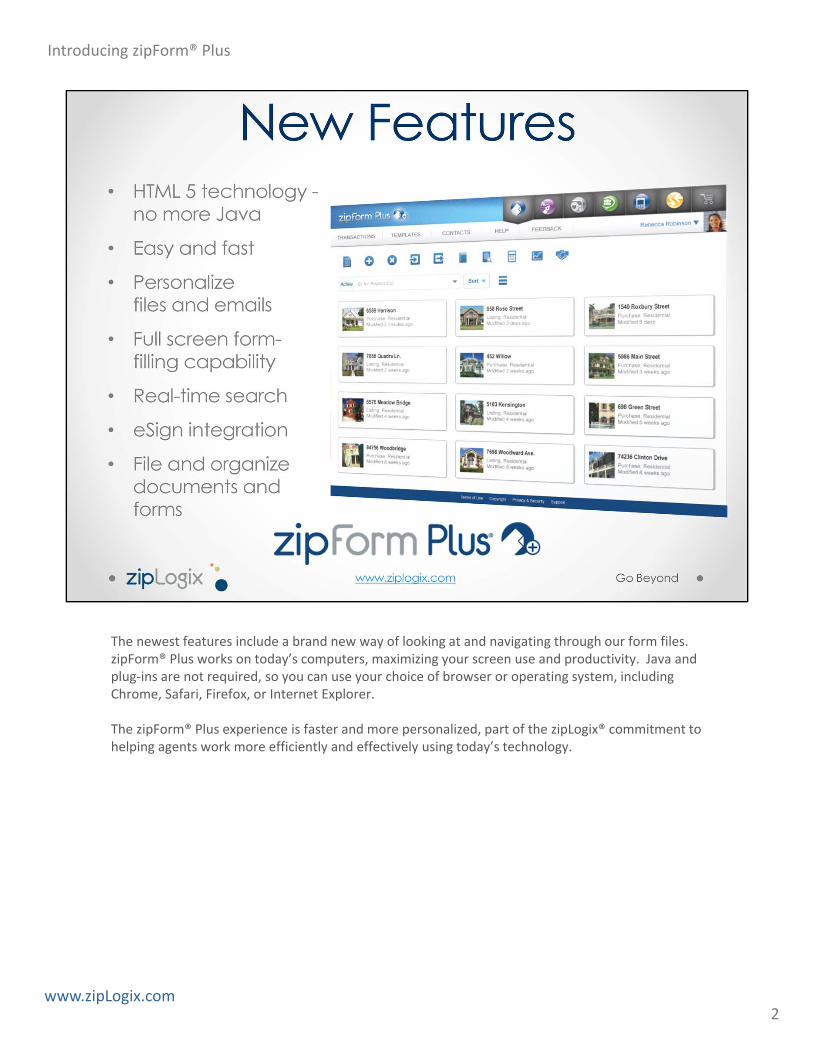
The newest features include a brand new way of looking at and navigating through our form files. zipForm® Plus works on today’s computers, maximizing your screen use and productivity. Java and plug‐ins are not required, so you can use your choice of browser or operating system, including Chrome, Safari, Firefox, or Internet Explorer.
The zipForm® Plus experience is faster and more personalized, part of the zipLogix® commitment to helping agents work more efficiently and effectively using today’s technology.
2
Introducing zipForm® Plus
www.zipLogix.com

This training will provide you with some of the basics for getting started with zipForm® Plus, and get you familiar with the tools that will help you succeed.
3
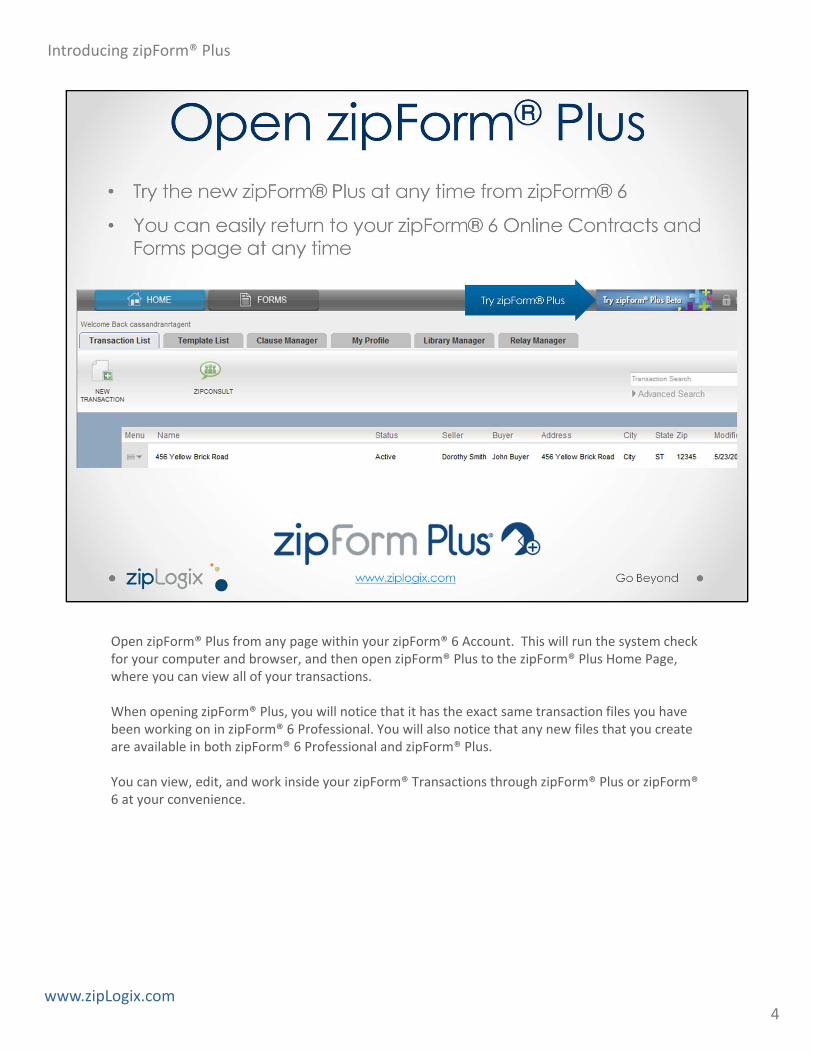
Open zipForm® Plus from any page within your zipForm® 6 Account. This will run the system check for your computer and browser, and then open zipForm® Plus to the zipForm® Plus Home Page, where you can view all of your transactions.
When opening zipForm® Plus, you will notice that it has the exact same transaction files you have been working on in zipForm® 6 Professional. You will also notice that any new files that you create are available in both zipForm® 6 Professional and zipForm® Plus.
You can view, edit, and work inside your zipForm® Transactions through zipForm® Plus or zipForm® 6 at your convenience.
4
Introducing zipForm® Plus
www.zipLogix.com
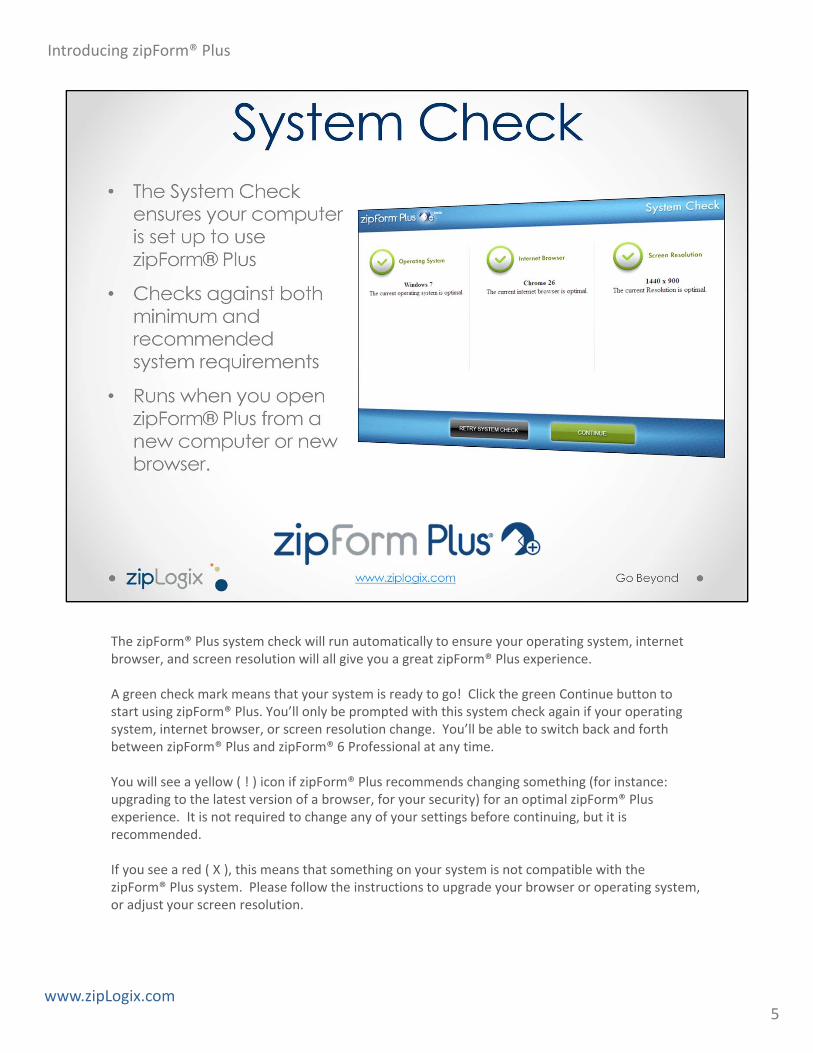
The zipForm® Plus system check will run automatically to ensure your operating system, internet browser, and screen resolution will all give you a great zipForm® Plus experience.
A green check mark means that your system is ready to go! Click the green Continue button to start using zipForm® Plus. You’ll only be prompted with this system check again if your operating system, internet browser, or screen resolution change. You’ll be able to switch back and forth between zipForm® Plus and zipForm® 6 Professional at any time.
You will see a yellow ( ! ) icon if zipForm® Plus recommends changing something (for instance: upgrading to the latest version of a browser, for your security) for an optimal zipForm® Plus experience. It is not required to change any of your settings before continuing, but it is recommended.
If you see a red ( X ), this means that something on your system is not compatible with the zipForm® Plus system. Please follow the instructions to upgrade your browser or operating system, or adjust your screen resolution.
5
Introducing zipForm® Plus
www.zipLogix.com
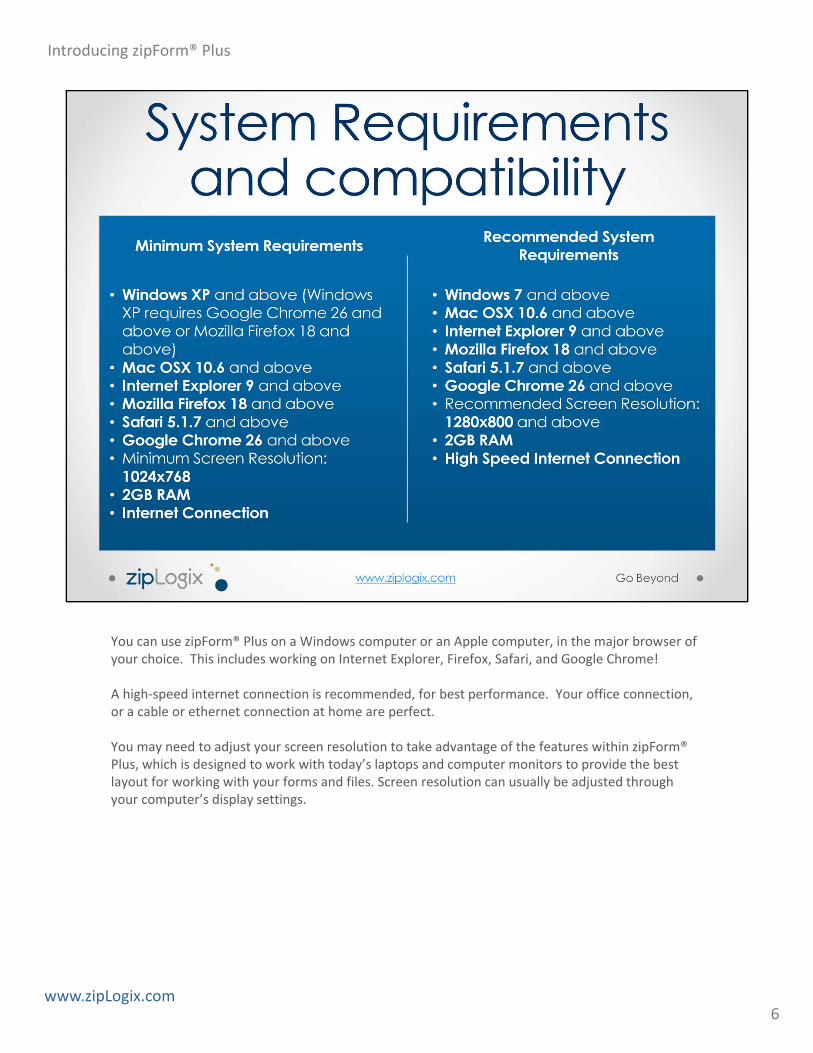
You can use zipForm® Plus on a Windows computer or an Apple computer, in the major browser of your choice. This includes working on Internet Explorer, Firefox, Safari, and Google Chrome!
A high‐speed internet connection is recommended, for best performance. Your office connection, or a cable or ethernet connection at home are perfect.
You may need to adjust your screen resolution to take advantage of the features within zipForm® Plus, which is designed to work with today’s laptops and computer monitors to provide the best layout for working with your forms and files. Screen resolution can usually be adjusted through your computer’s display settings.
6
Introducing zipForm® Plus
www.zipLogix.com
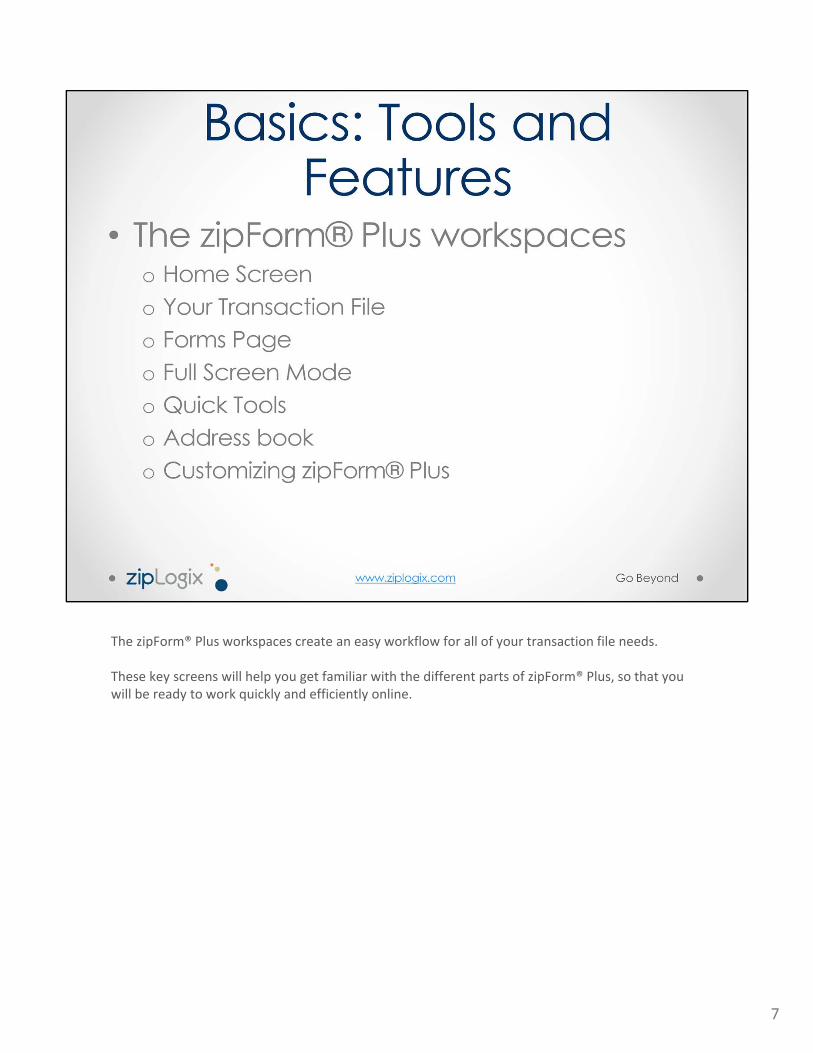
The zipForm® Plus workspaces create an easy workflow for all of your transaction file needs.
These key screens will help you get familiar with the different parts of zipForm® Plus, so that you will be ready to work quickly and efficiently online.
7
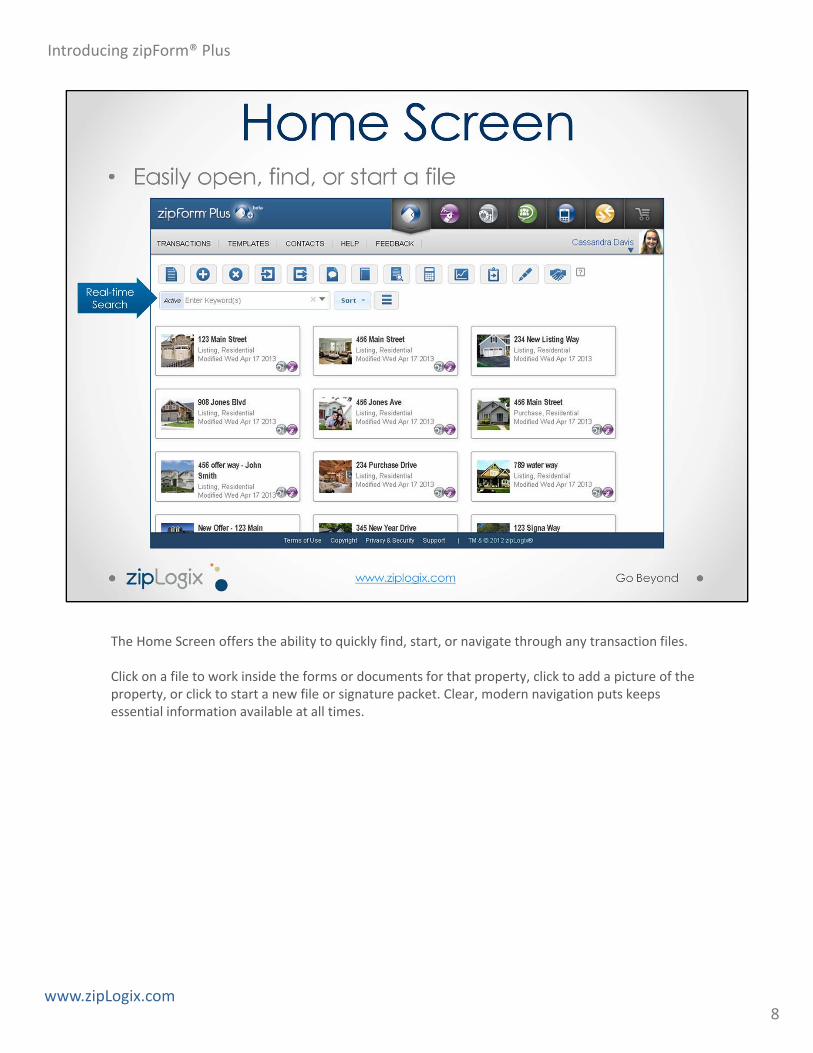
The Home Screen offers the ability to quickly find, start, or navigate through any transaction files.
Click on a file to work inside the forms or documents for that property, click to add a picture of the property, or click to start a new file or signature packet. Clear, modern navigation puts keeps essential information available at all times.
8
Introducing zipForm® Plus
www.zipLogix.com
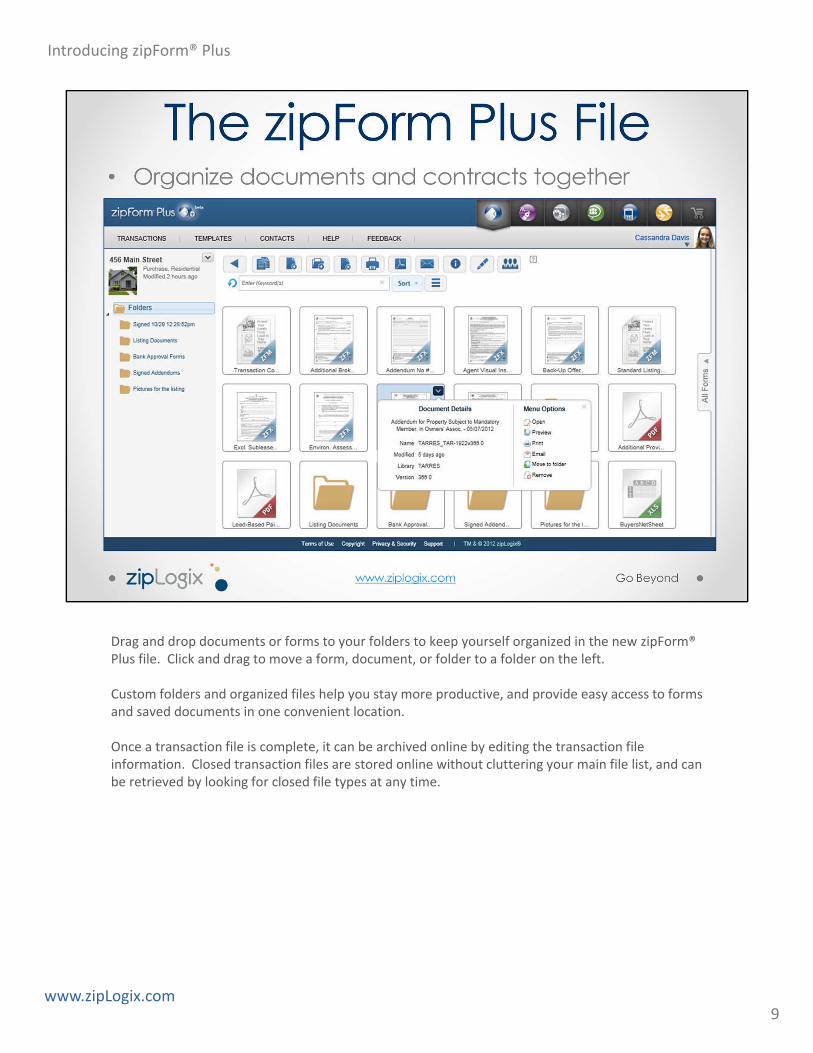
Drag and drop documents or forms to your folders to keep yourself organized in the new zipForm® Plus file. Click and drag to move a form, document, or folder to a folder on the left.
Custom folders and organized files help you stay more productive, and provide easy access to forms and saved documents in one convenient location.
Once a transaction file is complete, it can be archived online by editing the transaction file information. Closed transaction files are stored online without cluttering your main file list, and can be retrieved by looking for closed file types at any time.
9
Introducing zipForm® Plus
www.zipLogix.com
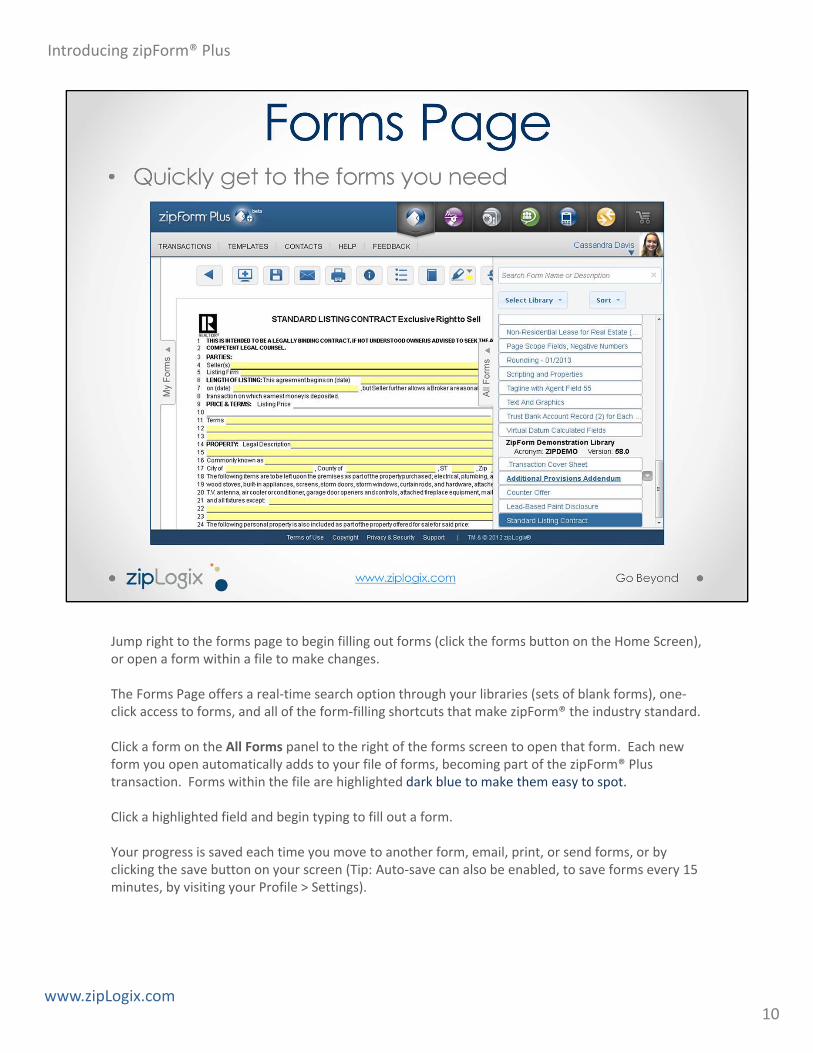
Jump right to the forms page to begin filling out forms (click the forms button on the Home Screen), or open a form within a file to make changes.
The Forms Page offers a real‐time search option through your libraries (sets of blank forms), one‐click access to forms, and all of the form‐filling shortcuts that make zipForm® the industry standard.
Click a form on the All Forms panel to the right of the forms screen to open that form. Each new form you open automatically adds to your file of forms, becoming part of the zipForm® Plus transaction. Forms within the file are highlighted dark blue to make them easy to spot.
Click a highlighted field and begin typing to fill out a form.
Your progress is saved each time you move to another form, email, print, or send forms, or by clicking the save button on your screen (Tip: Auto‐save can also be enabled, to save forms every 15 minutes, by visiting your Profile > Settings).
10
Introducing zipForm® Plus
www.zipLogix.com
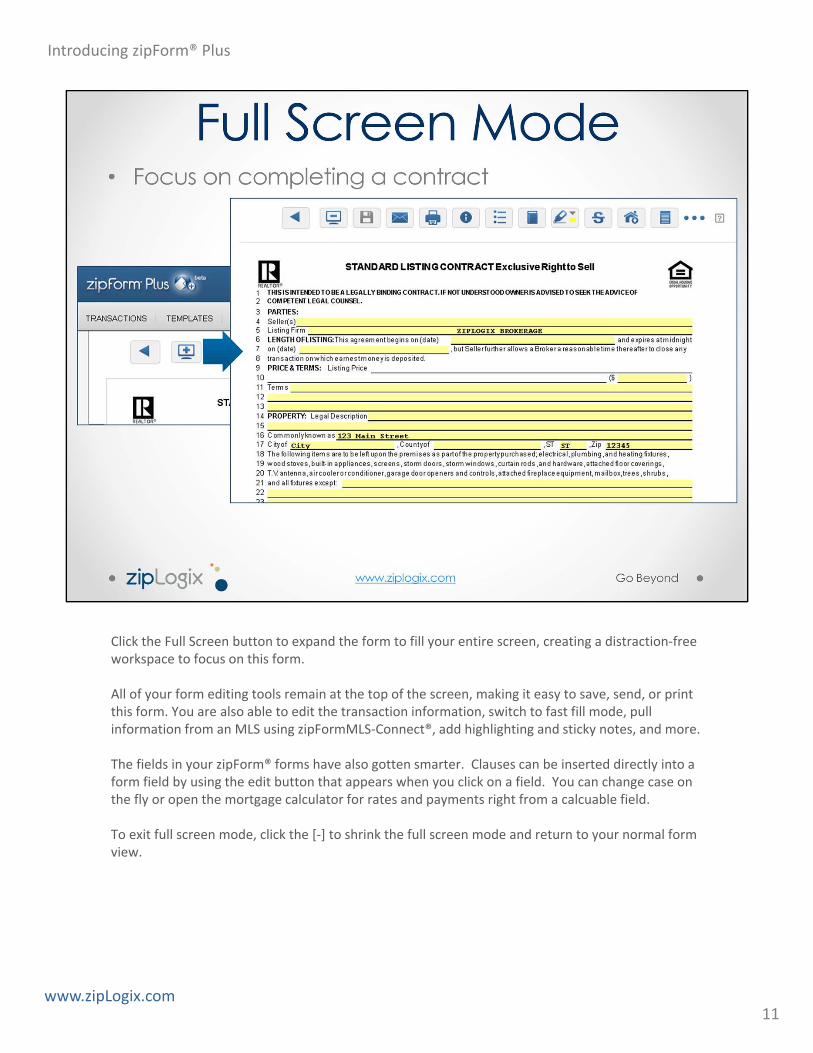
Click the Full Screen button to expand the form to fill your entire screen, creating a distraction‐free workspace to focus on this form.
All of your form editing tools remain at the top of the screen, making it easy to save, send, or print this form. You are also able to edit the transaction information, switch to fast fill mode, pull information from an MLS using zipFormMLS‐Connect®, add highlighting and sticky notes, and more.
The fields in your zipForm® forms have also gotten smarter. Clauses can be inserted directly into a form field by using the edit button that appears when you click on a field. You can change case on the fly or open the mortgage calculator for rates and payments right from a calcuable field.
To exit full screen mode, click the [‐] to shrink the full screen mode and return to your normal form view.
11
Introducing zipForm® Plus
www.zipLogix.com
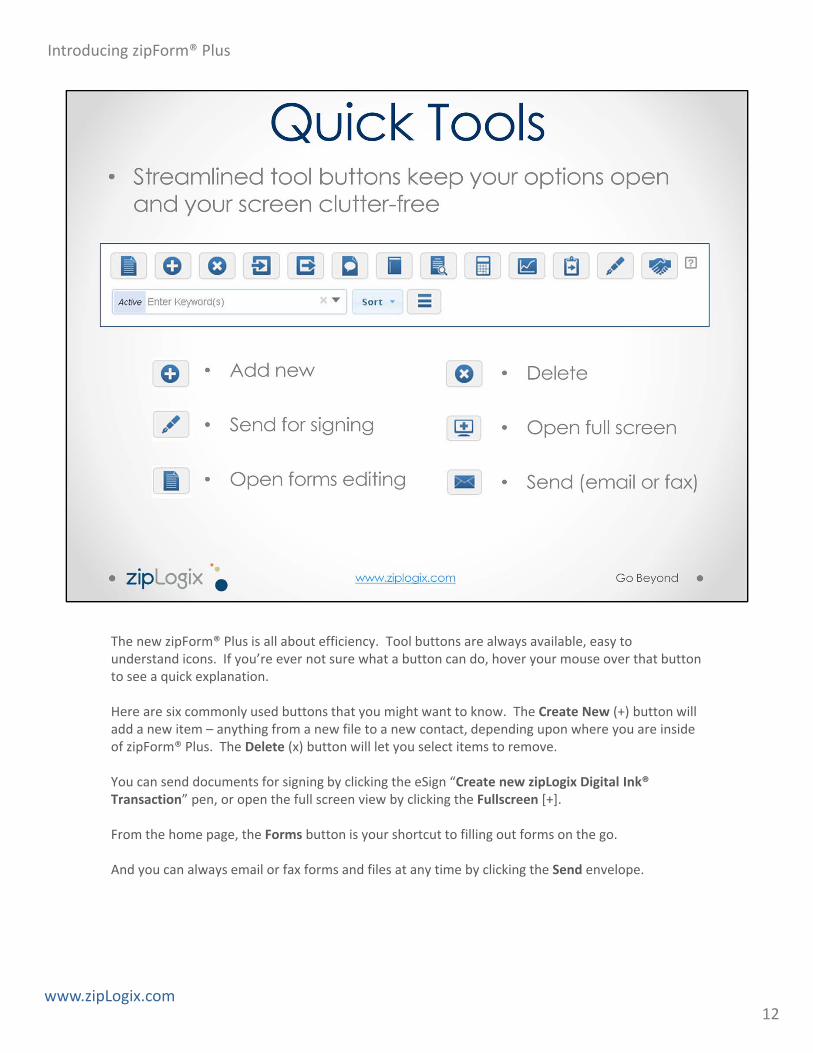
The new zipForm® Plus is all about efficiency. Tool buttons are always available, easy to understand icons. If you’re ever not sure what a button can do, hover your mouse over that button to see a quick explanation.
Here are six commonly used buttons that you might want to know. The Create New (+) button will add a new item – anything from a new file to a new contact, depending upon where you are inside of zipForm® Plus. The Delete (x) button will let you select items to remove.
You can send documents for signing by clicking the eSign “Create new zipLogix Digital Ink® Transaction” pen, or open the full screen view by clicking the Fullscreen [+].
From the home page, the Forms button is your shortcut to filling out forms on the go.
And you can always email or fax forms and files at any time by clicking the Send envelope.
12
Introducing zipForm® Plus
www.zipLogix.com
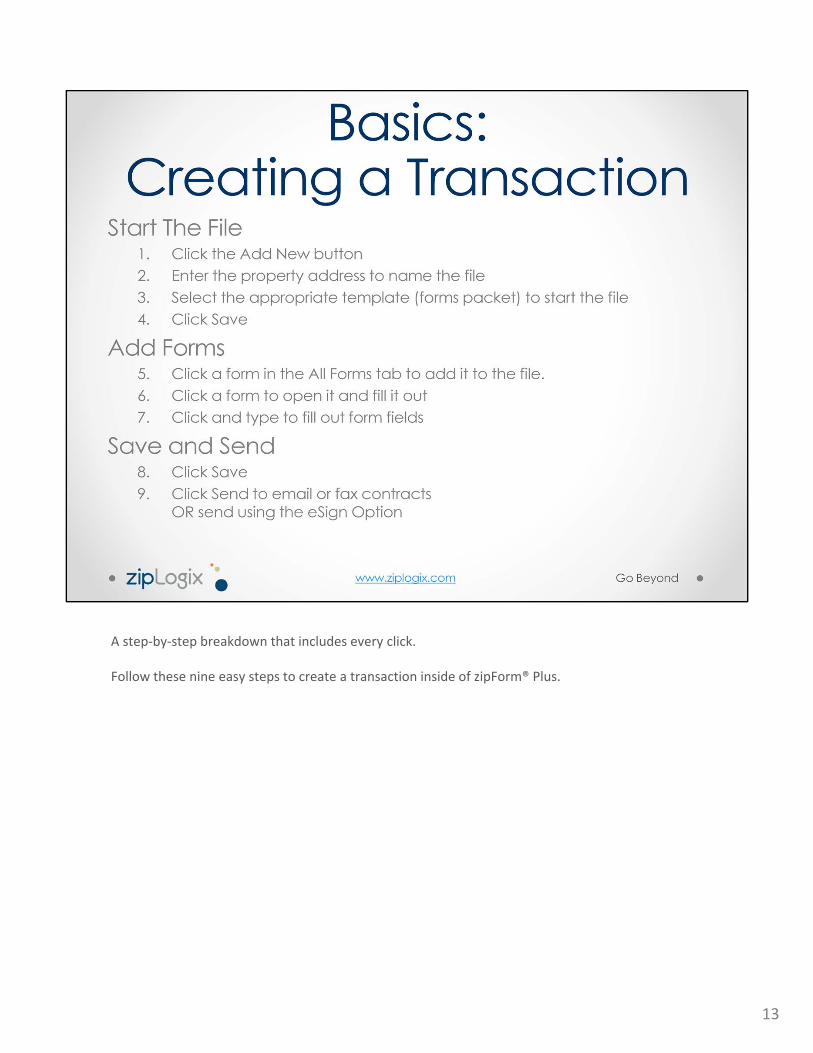
A step‐by‐step breakdown that includes every click.
Follow these nine easy steps to create a transaction inside of zipForm® Plus.
13
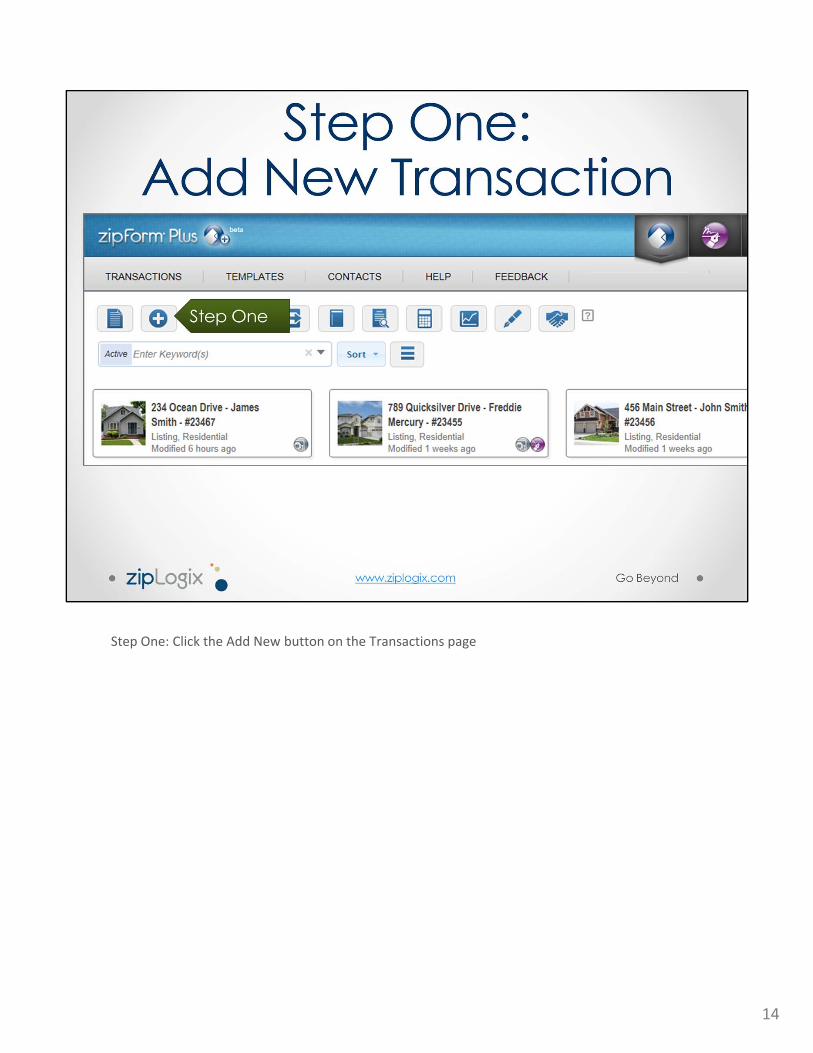
Step One: Click the Add New button on the Transactions page
14

Step Two: Enter the Name (property address or other label) to name the file
Tip: You can later search for files by name, address, client’s name, and more using the “Enter Keyword(s)” field on your Transactions page
15

Step Three: Select the appropriate template (forms packet) to start the file
Tip: A template will add key required forms to the file. Templates can be created by an agent, or, if you have the zipForm® Plus Broker Edition, your Broker or Office Manager can create a template for you.
16
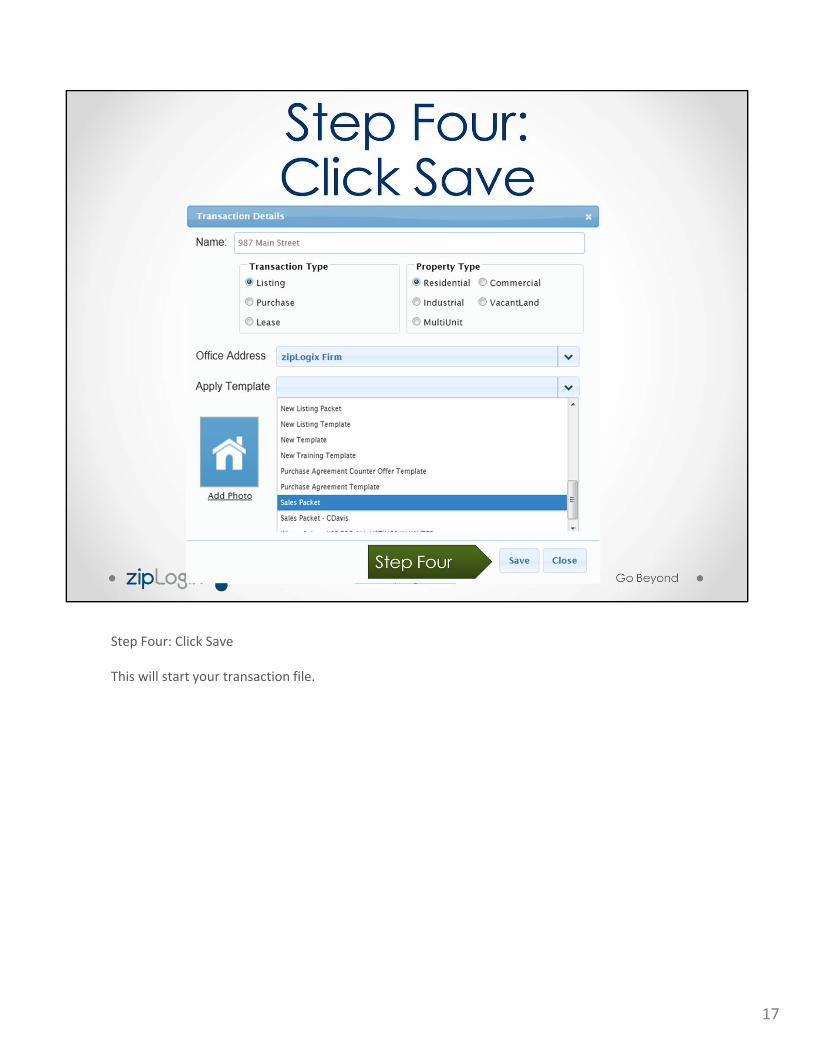
Step Four: Click Save
This will start your transaction file.
17
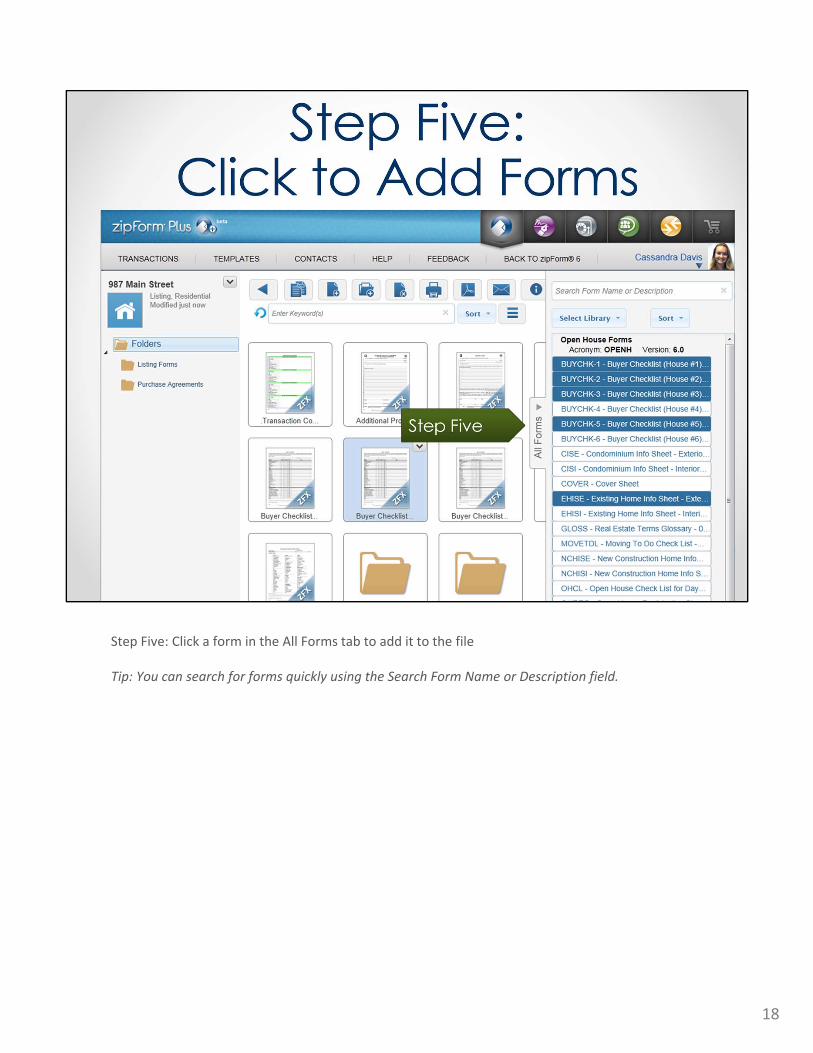
Step Five: Click a form in the All Forms tab to add it to the file
Tip: You can search for forms quickly using the Search Form Name or Description field.
18

Step Six: Click a form to open it and fill it out
19

Step Seven: Click and type to fill out form fields
20
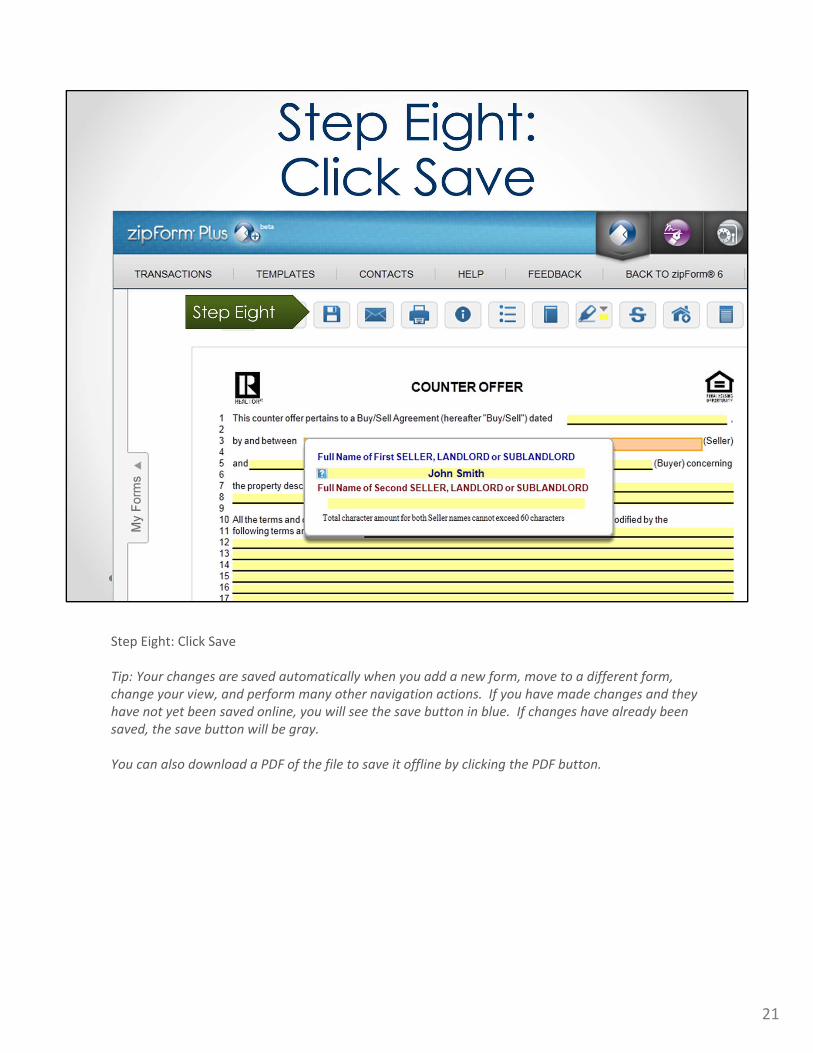
Step Eight: Click Save
Tip: Your changes are saved automatically when you add a new form, move to a different form, change your view, and perform many other navigation actions. If you have made changes and they have not yet been saved online, you will see the save button in blue. If changes have already been saved, the save button will be gray.
You can also download a PDF of the file to save it offline by clicking the PDF button.
21
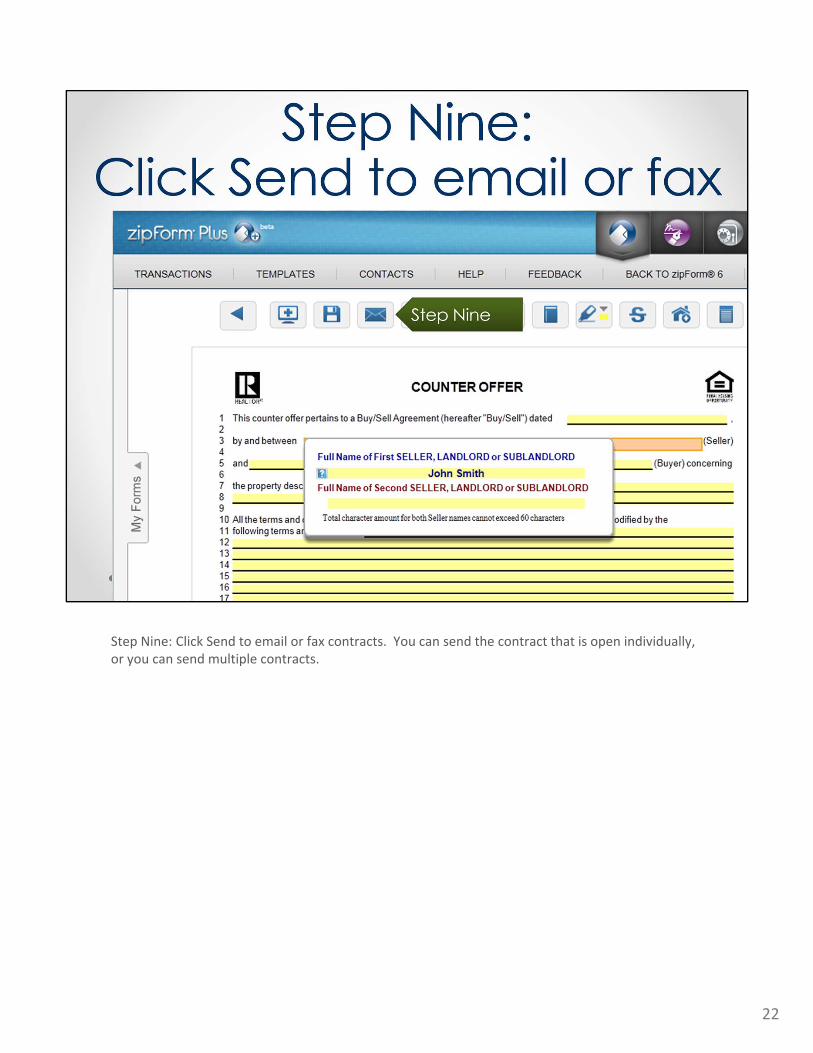
Step Nine: Click Send to email or fax contracts. You can send the contract that is open individually, or you can send multiple contracts.
22

Optional: Save paper and time through electronic signatures. Send documents to be signed electronically the using DocuSign® or zipLogix Digital Ink ® click‐to‐sign programs (select your signing product in your profile).
23

Customizing zipForm® Plus• The Integrated Address Book• Personalized Emails• Adding an Email Signature
(the zipForm® Plus Profile)• Beta Version Feedback
24
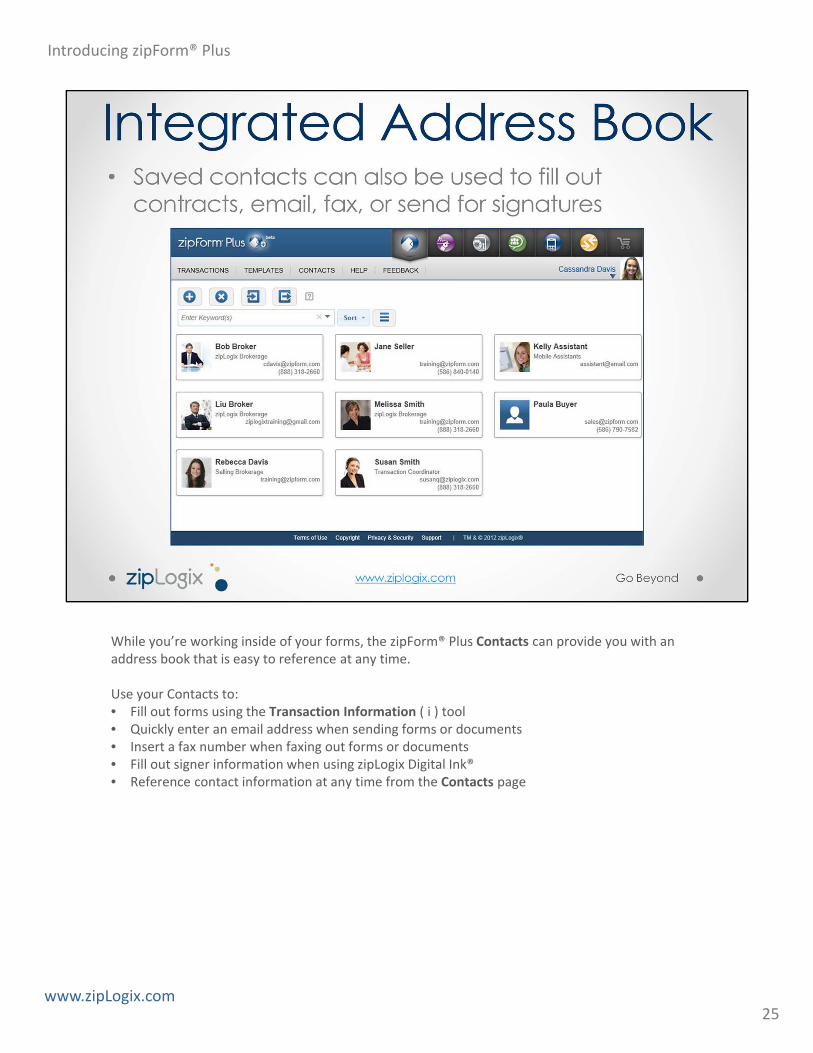
While you’re working inside of your forms, the zipForm® Plus Contacts can provide you with an address book that is easy to reference at any time.
Use your Contacts to:• Fill out forms using the Transaction Information ( i ) tool• Quickly enter an email address when sending forms or documents • Insert a fax number when faxing out forms or documents• Fill out signer information when using zipLogix Digital Ink®• Reference contact information at any time from the Contacts page
25
Introducing zipForm® Plus
www.zipLogix.com
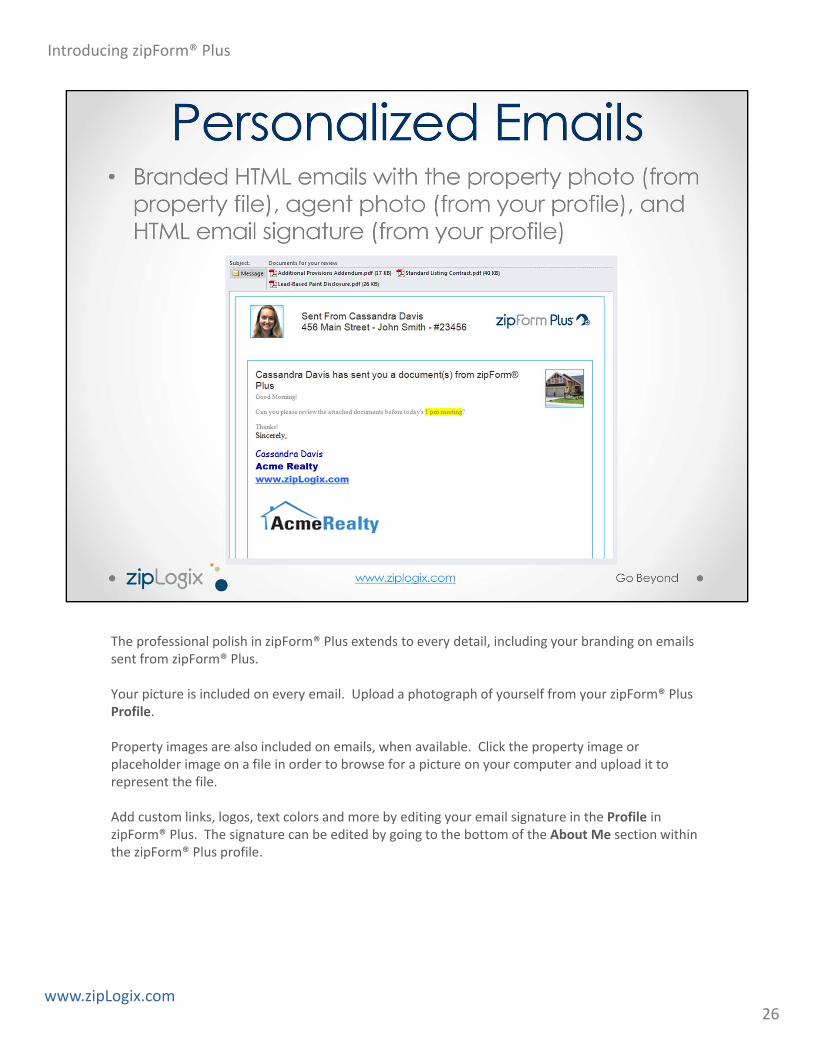
The professional polish in zipForm® Plus extends to every detail, including your branding on emails sent from zipForm® Plus.
Your picture is included on every email. Upload a photograph of yourself from your zipForm® Plus Profile.
Property images are also included on emails, when available. Click the property image or placeholder image on a file in order to browse for a picture on your computer and upload it to represent the file.
Add custom links, logos, text colors and more by editing your email signature in the Profile in zipForm® Plus. The signature can be edited by going to the bottom of the About Me section within the zipForm® Plus profile.
26
Introducing zipForm® Plus
www.zipLogix.com

Click your name in the upper corner of any zipForm® Plus screen to edit your profile.
The new zipForm® Profile also allows you to customize the order of forms libraries in your library list, edit your contact information, add your picture, and customize your email signature. The email signature can be included on all outbound emails from zipForm® Plus.
Customize the font style, size, color, and highlighting for fonts. You are also able to add links to websites, or attach an image (such as a logo) to be added to your email signature.
Remember to click the Save button at the top of the About Me section to save your changes.
27
Introducing zipForm® Plus
www.zipLogix.com
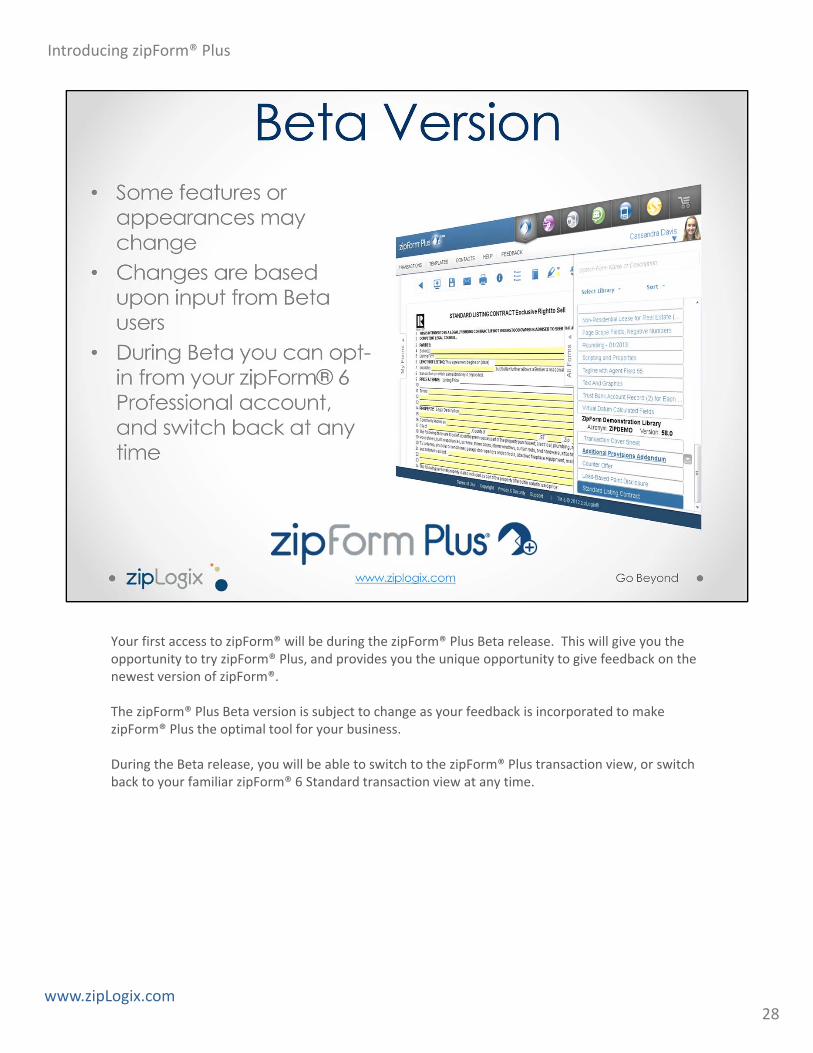
Your first access to zipForm® will be during the zipForm® Plus Beta release. This will give you the opportunity to try zipForm® Plus, and provides you the unique opportunity to give feedback on the newest version of zipForm®.
The zipForm® Plus Beta version is subject to change as your feedback is incorporated to make zipForm® Plus the optimal tool for your business.
During the Beta release, you will be able to switch to the zipForm® Plus transaction view, or switch back to your familiar zipForm® 6 Standard transaction view at any time.
28
Introducing zipForm® Plus
www.zipLogix.com
Visit www.ziplogix.com for more details about zipForm® Plus and other zipLogix® products.
www.zipLogix.com© 2013 zipLogix
29
Introducing zipForm® Plus
www.zipLogix.com