Embed Size (px)
Citation preview
Cisco CDA Visual Q
C H A P T E R 2
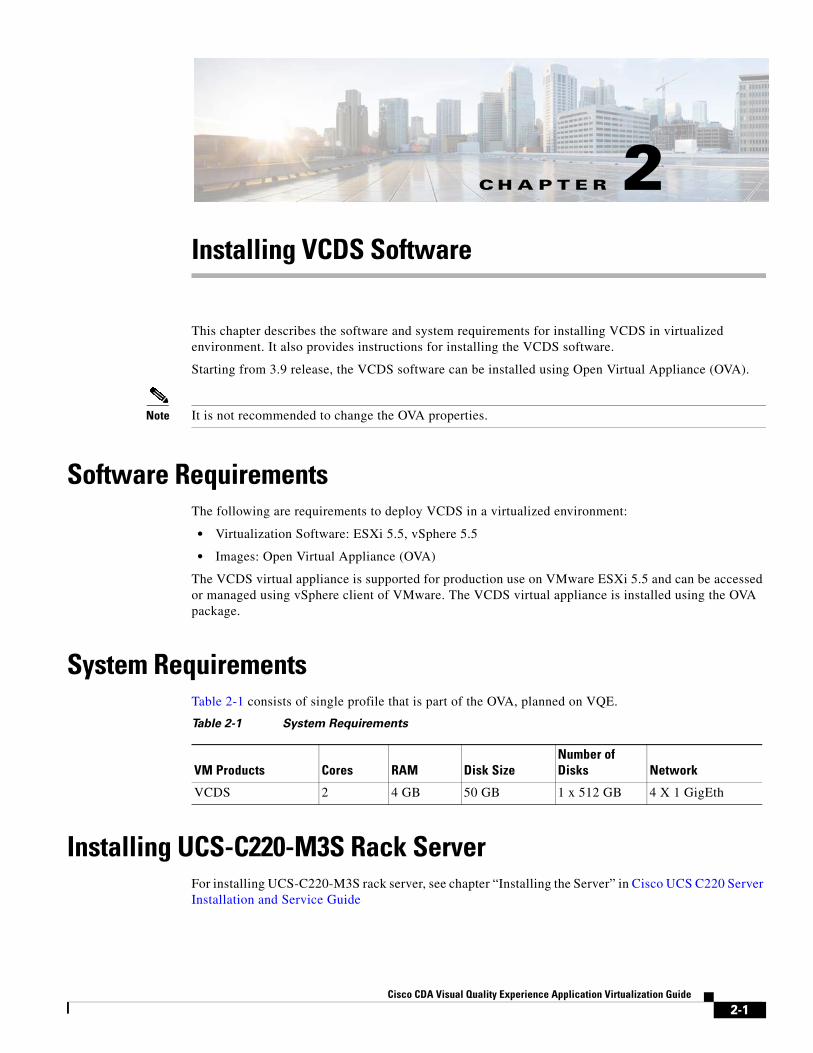
Installing VCDS SoftwareThis chapter describes the software and system requirements for installing VCDS in virtualized environment. It also provides instructions for installing the VCDS software.
Starting from 3.9 release, the VCDS software can be installed using Open Virtual Appliance (OVA).
Note It is not recommended to change the OVA properties.
Software RequirementsThe following are requirements to deploy VCDS in a virtualized environment:
• Virtualization Software: ESXi 5.5, vSphere 5.5
• Images: Open Virtual Appliance (OVA)
The VCDS virtual appliance is supported for production use on VMware ESXi 5.5 and can be accessed or managed using vSphere client of VMware. The VCDS virtual appliance is installed using the OVA package.
System RequirementsTable 2-1 consists of single profile that is part of the OVA, planned on VQE.
Installing UCS-C220-M3S Rack ServerFor installing UCS-C220-M3S rack server, see chapter “Installing the Server” in Cisco UCS C220 Server Installation and Service Guide
Table 2-1 System Requirements
VM Products Cores RAM Disk Size Number of Disks Network
VCDS 2 4 GB 50 GB 1 x 512 GB 4 X 1 GigEth
2-1uality Experience Application Virtualization Guide
Chapter 2 Installing VCDS SoftwareInstalling VMware vSphere ESXi
Installing VMware vSphere ESXiFor installing VMware vSphere ESXi, see chapter “VMware vSphere ESXi Installation” in Cisco UCS C-Series Server VMware Installation Guide
Installing VCDS Virtual ApplianceThis section explains the procedures to deploy VCDS using vSphere.
Deploying the VCDS Virtual Appliance
Note Before deploying the virtual appliance, verify that your VMware server is running on VMware supported hardware. If you are not sure whether your environment can support a 64-bit guest operating system, you can verify by downloading and running the VMware “CPU Identification Utility” which indicates 64-bit VMware support. This utility can be found on the VMware site at: http://www.vmware.com/download/shared_utilities.html
Note It is assumed that you are familiar with VMware VSphere software
To install the VCDS virtual appliance, you must first download the correct installation file namely VCDS.ova.
Before you install a Cisco VCDS local virtual appliance you must identify the IP address of the regional cluster to which it will connect to receive the license information.
Using vSphere, connect directly to the ESXi installation and select the ESXi installation where the OVA is to be deployed.
To deploy VCDS Virtual Appliance, do the following:
Step 1 From vSphere menu, choose File > Deploy OVA Template.
The Deploy OVA Template Source window appears.
2-2Cisco CDA Visual Quality Experience Application Virtualization Guide
Chapter 2 Installing VCDS SoftwareInstalling VCDS Virtual Appliance
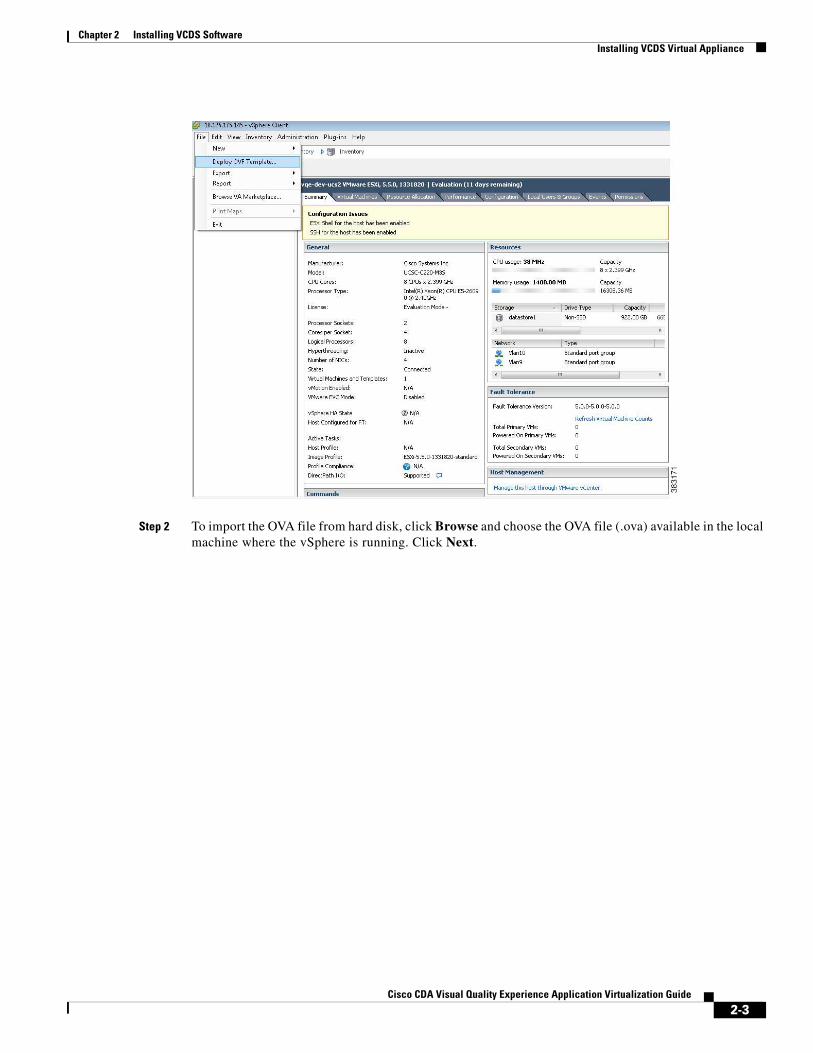
Step 2 To import the OVA file from hard disk, click Browse and choose the OVA file (.ova) available in the local machine where the vSphere is running. Click Next.
2-3Cisco CDA Visual Quality Experience Application Virtualization Guide
Chapter 2 Installing VCDS SoftwareInstalling VCDS Virtual Appliance
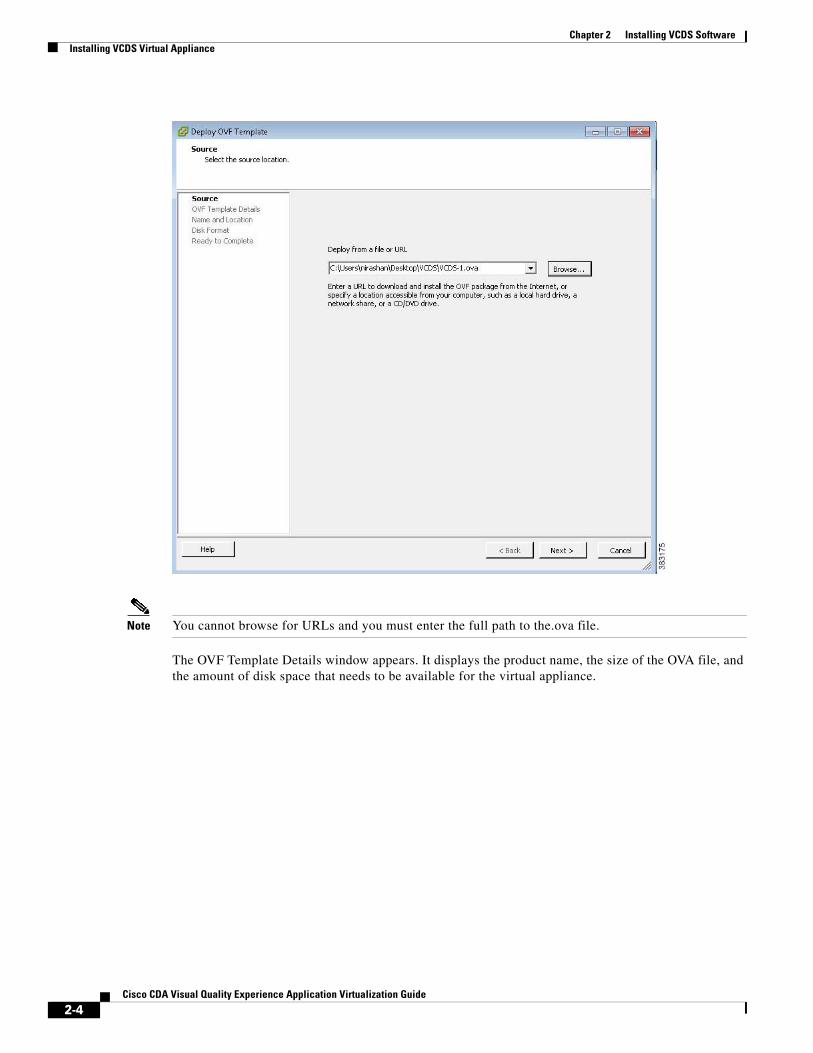
Note You cannot browse for URLs and you must enter the full path to the.ova file.
The OVF Template Details window appears. It displays the product name, the size of the OVA file, and the amount of disk space that needs to be available for the virtual appliance.
2-4Cisco CDA Visual Quality Experience Application Virtualization Guide
Chapter 2 Installing VCDS SoftwareInstalling VCDS Virtual Appliance
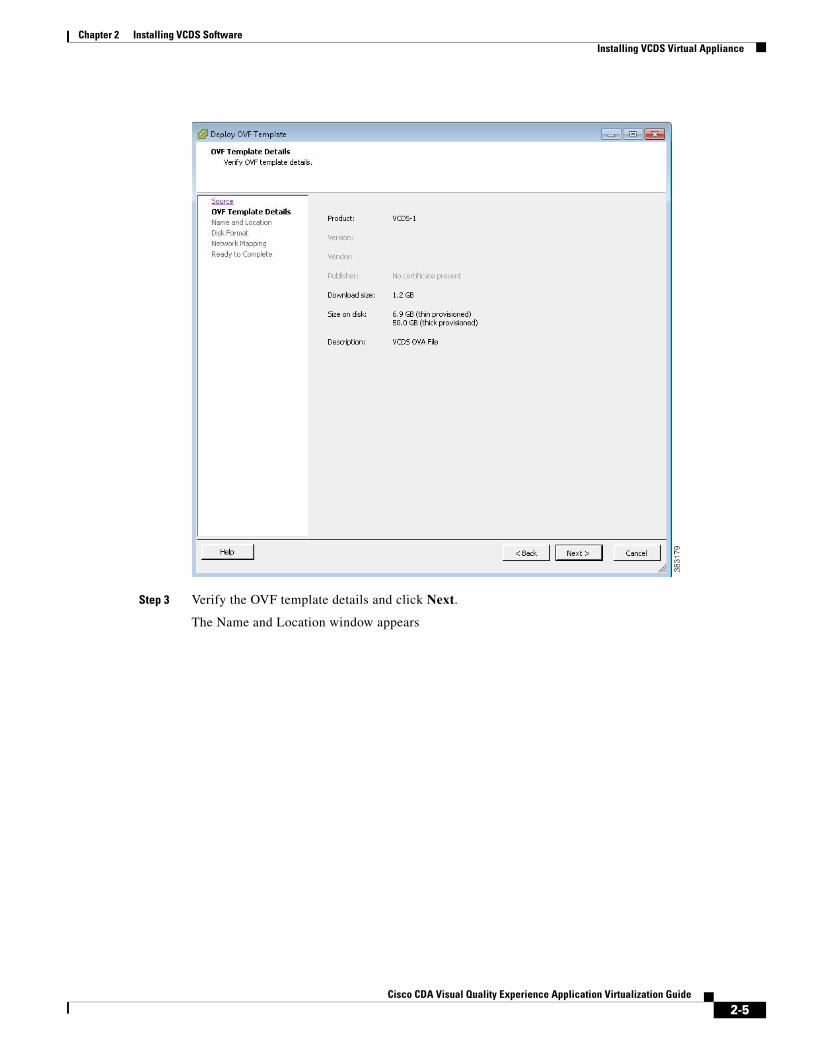
Step 3 Verify the OVF template details and click Next.
The Name and Location window appears
2-5Cisco CDA Visual Quality Experience Application Virtualization Guide
Chapter 2 Installing VCDS SoftwareInstalling VCDS Virtual Appliance
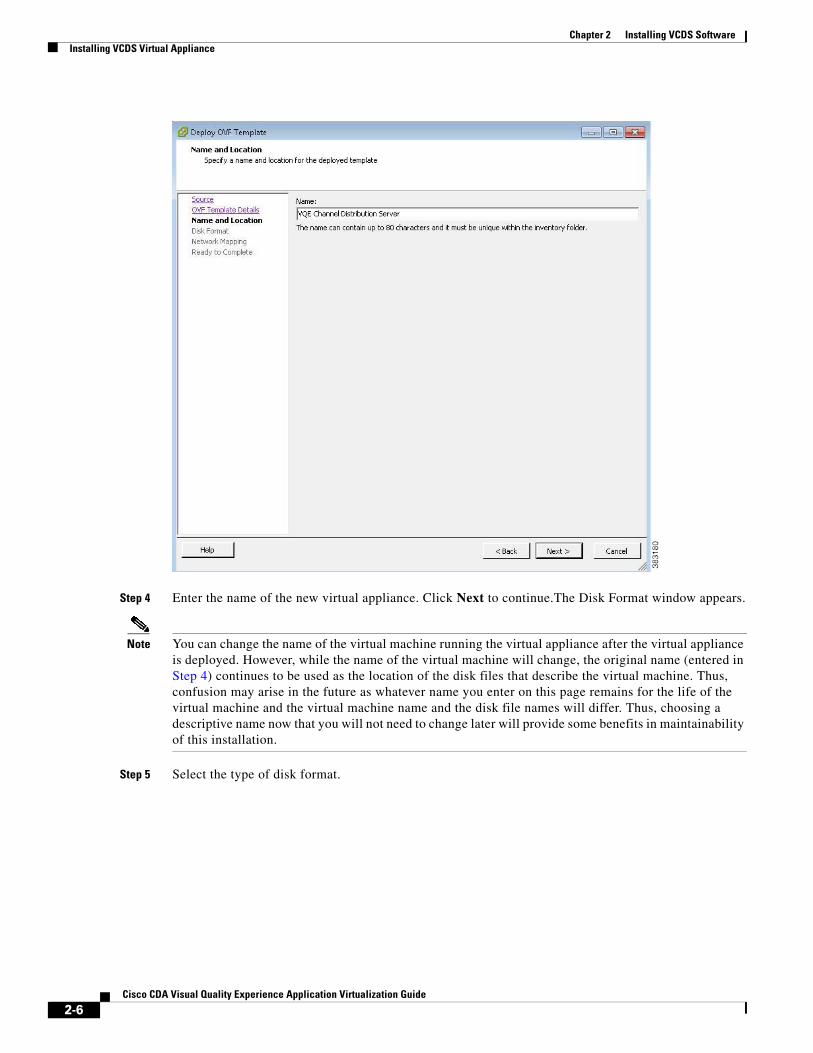
Step 4 Enter the name of the new virtual appliance. Click Next to continue.The Disk Format window appears.
Note You can change the name of the virtual machine running the virtual appliance after the virtual appliance is deployed. However, while the name of the virtual machine will change, the original name (entered in Step 4) continues to be used as the location of the disk files that describe the virtual machine. Thus, confusion may arise in the future as whatever name you enter on this page remains for the life of the virtual machine and the virtual machine name and the disk file names will differ. Thus, choosing a descriptive name now that you will not need to change later will provide some benefits in maintainability of this installation.
Step 5 Select the type of disk format.
2-6Cisco CDA Visual Quality Experience Application Virtualization Guide
Chapter 2 Installing VCDS SoftwareInstalling VCDS Virtual Appliance
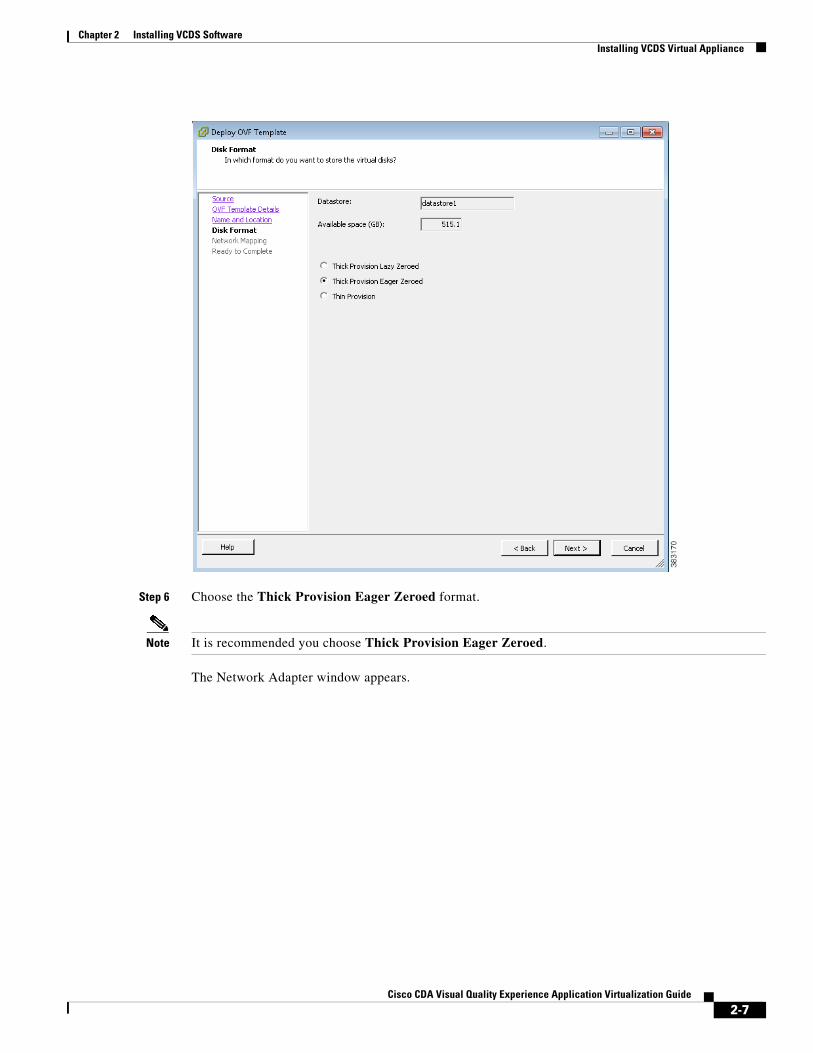
Step 6 Choose the Thick Provision Eager Zeroed format.
Note It is recommended you choose Thick Provision Eager Zeroed.
The Network Adapter window appears.
2-7Cisco CDA Visual Quality Experience Application Virtualization Guide
Chapter 2 Installing VCDS SoftwareInstalling VCDS Virtual Appliance
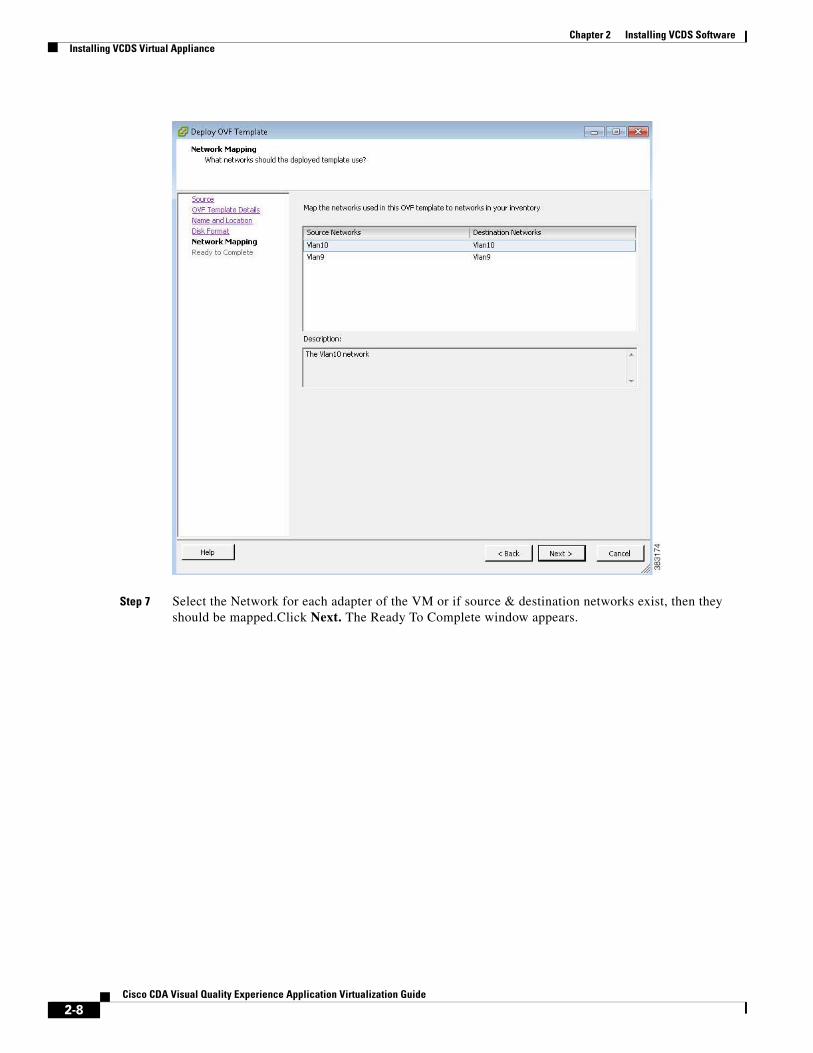
Step 7 Select the Network for each adapter of the VM or if source & destination networks exist, then they should be mapped.Click Next. The Ready To Complete window appears.
2-8Cisco CDA Visual Quality Experience Application Virtualization Guide
Chapter 2 Installing VCDS SoftwareInstalling VCDS Virtual Appliance
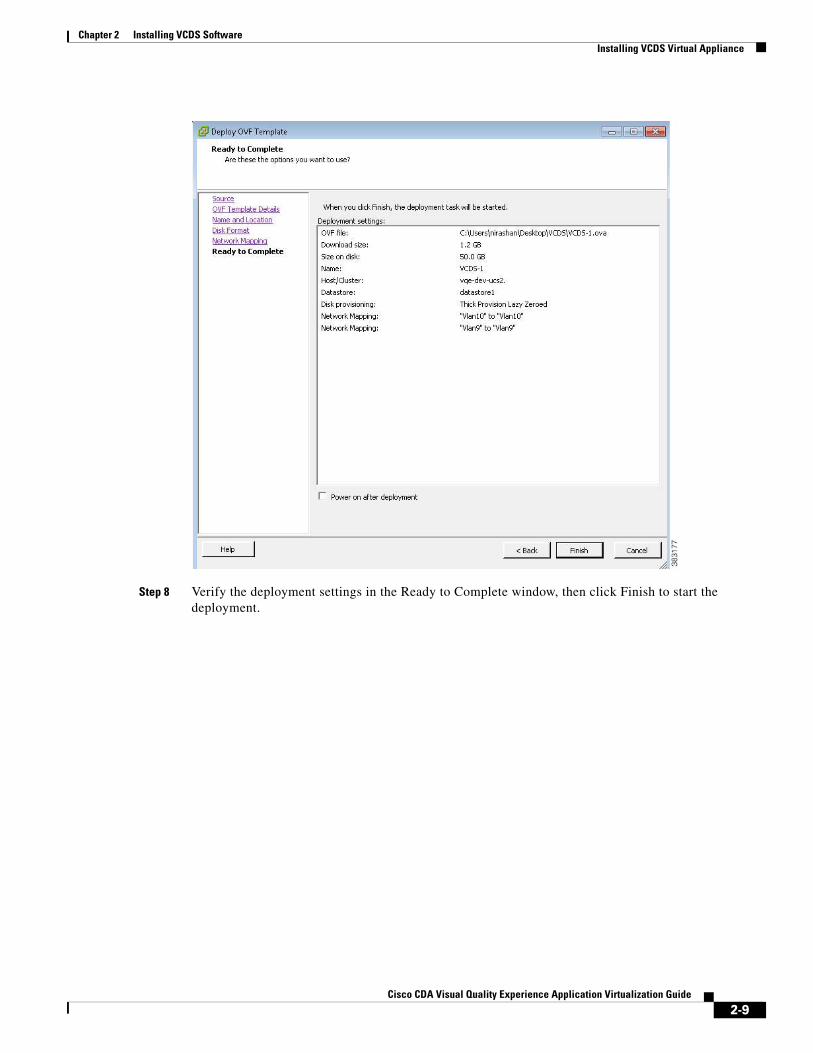
Step 8 Verify the deployment settings in the Ready to Complete window, then click Finish to start the deployment.
2-9Cisco CDA Visual Quality Experience Application Virtualization Guide

Chapter 2 Installing VCDS SoftwareInstalling VCDS Virtual Appliance
Step 9 Finish and deploy the OVA. This will create the VM.
2-10Cisco CDA Visual Quality Experience Application Virtualization Guide
Chapter 2 Installing VCDS SoftwareInstalling VCDS Virtual Appliance
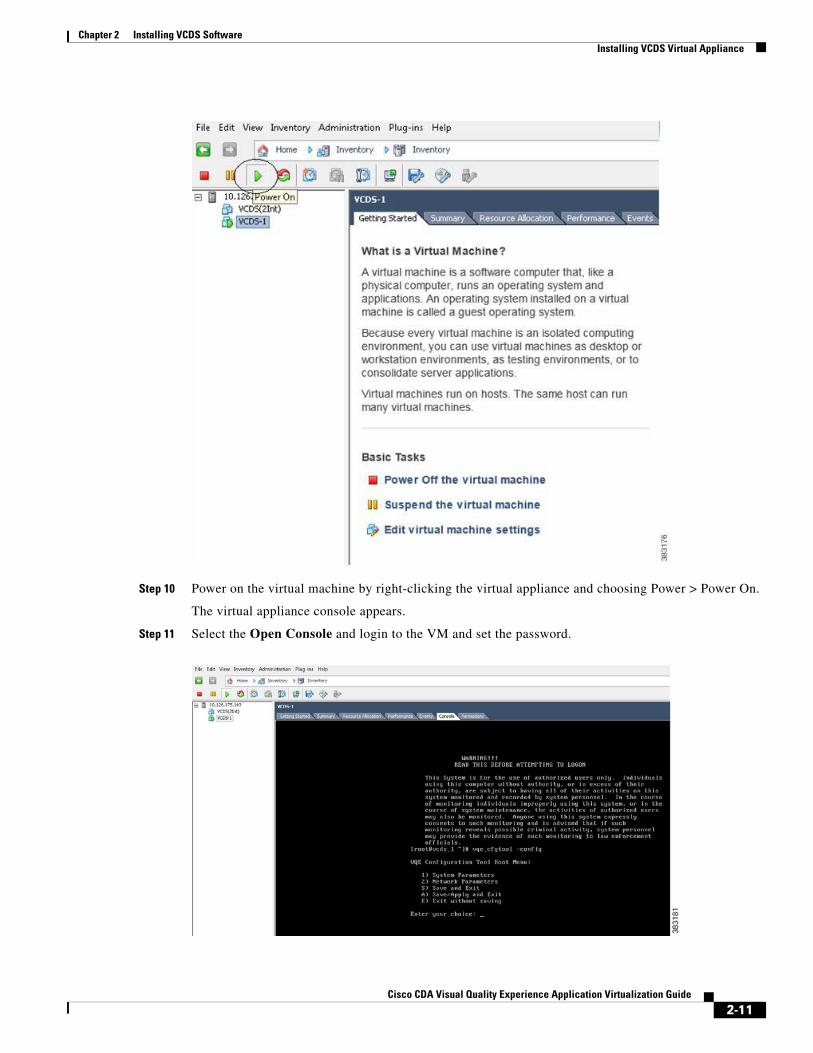
Step 10 Power on the virtual machine by right-clicking the virtual appliance and choosing Power > Power On.
The virtual appliance console appears.
Step 11 Select the Open Console and login to the VM and set the password.
2-11Cisco CDA Visual Quality Experience Application Virtualization Guide
Chapter 2 Installing VCDS SoftwareUpgrade Procedure
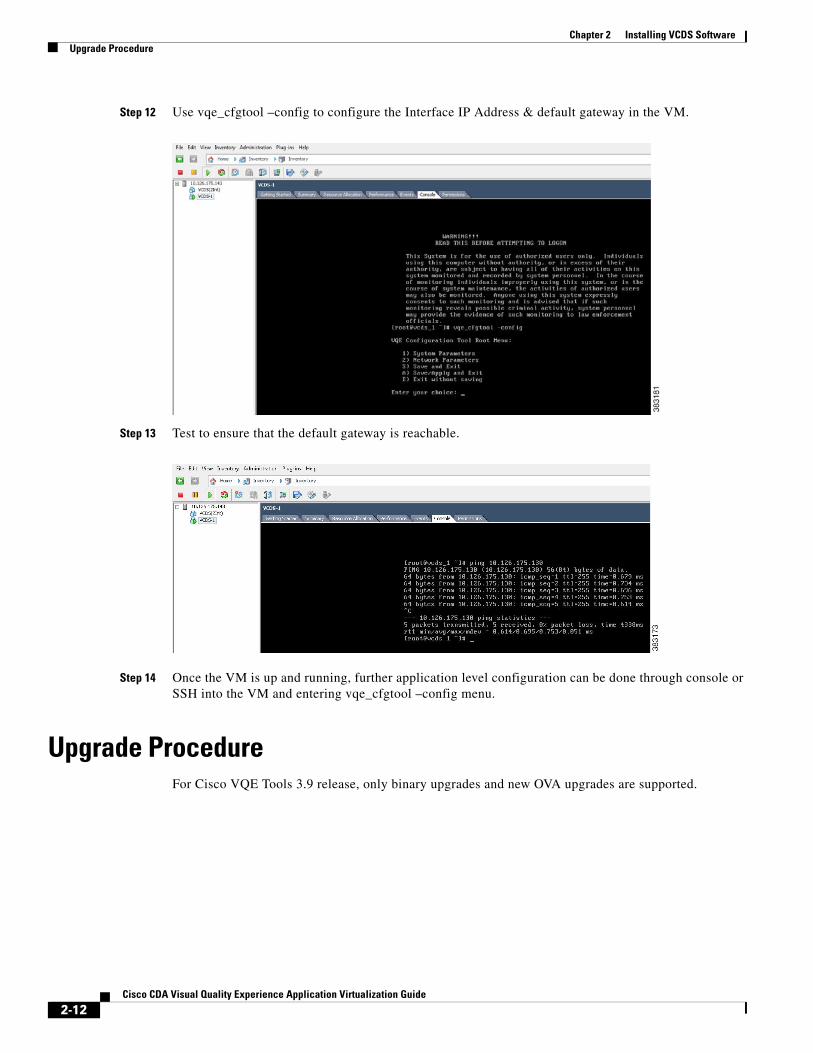
Step 12 Use vqe_cfgtool –config to configure the Interface IP Address & default gateway in the VM.
Step 13 Test to ensure that the default gateway is reachable.
Step 14 Once the VM is up and running, further application level configuration can be done through console or SSH into the VM and entering vqe_cfgtool –config menu.
Upgrade ProcedureFor Cisco VQE Tools 3.9 release, only binary upgrades and new OVA upgrades are supported.
2-12Cisco CDA Visual Quality Experience Application Virtualization Guide