Embed Size (px)
Citation preview

Grade 3
Social Studies
Unit: 01
Lesson: 01
Suggested Duration: 7 days
Grade 03 Social Studies Unit 01 Exemplar Lesson 01: Investigating MapsGrade 03 Social Studies Unit 01 Exemplar Lesson 01: Investigating Maps
This lesson is one approach to teaching the State Standards associated with this unit. Districts are encouraged to
customize this lesson by supplementing with district-approved resources, materials, and activities to best meet the needs
of learners. The duration for this lesson is only a recommendation, and districts may modify the time frame to meet
students’ needs. To better understand how your district may be implementing CSCOPE lessons, please contact yourchild’s teacher. (For your convenience, please find linked the TEA Commissioner’s List of State Board of Education
Approved Instructional Resources and Midcycle State Adopted Instructional Materials.)
Lesson Synopsis
Students build geography and map skills and apply them while learning about Juan de Oñate.
TEKS
The Texas Essential Knowledge and Skills (TEKS) listed below are the standards adopted by the State Board of
Education, which are required by Texas law. Any standard that has a strike-through (e.g. sample phrase) indicates that
portion of the standard is taught in a previous or subsequent unit. The TEKS are available on the Texas Education
Agency website at http://www.tea.state.tx.us/index2.aspx?id=6148.
3.1 History. The student understands how individuals, events, and ideas have influenced the
history of various communities. The student is expected to:
3.1C Describe how individuals, including Daniel Boone, Christopher Columbus, the Founding Fathers, and Juan de
Oñate, have contributed to the expansion of existing communities or to the creation of new communities.
3.3 History. The student understands the concepts of time and chronology. The student is
expected to:
3.3A Use vocabulary related to chronology, including past, present, and future times.
3.3B Create and interpret timelines.
3.3C Apply the terms year, decade, and century to describe historical times.
3.4 Geography. The student understands how humans adapt to variations in the physical
environment. The student is expected to:
3.4B Identify and compare how people in different communities adapt to or modify the physical environment in which
they live such as deserts, mountains, wetlands, and plains.
3.4C Describe the effects of physical processes such as volcanoes, hurricanes, and
earthquakes in shaping the landscape.
3.5 Geography. The student understands the concepts of location, distance, and direction on
maps and globes. The student is expected to:
3.5A Use cardinal and intermediate directions to locate places on maps and globes such as
the Rocky Mountains, the Mississippi River, and Austin, Texas, in relation to the local
community.
3.5B Use a scale to determine the distance between places on maps and globes.
3.5C Identify and use the compass rose, grid system, and symbols to locate places on maps
and globes.
3.5D Create and interpret maps of places and regions that contain map elements, including a
Last Updated 05/15/13
Print Date 06/20/2013 Printed By Karen Johnson, MIDLAND ISDpage 1 of 22

title, compass rose, legend, scale, and grid system.
Social Studies Skills TEKS
3.17 Social studies skills. The student applies critical-thinking skills to organize and use
information acquired from a variety of valid sources, including electronic technology. The
student is expected to:
3.17E Interpret and create visuals, including graphs, charts, tables, timelines, illustrations, and maps.
3.18 Social studies skills. The student communicates in written, oral, and visual forms. The
student is expected to:
3.18A Express ideas orally based on knowledge and experiences.
GETTING READY FOR INSTRUCTION
Performance Indicators
Grade 03 Social Studies Unit 01 PI 01
Sketch a map of Texas with a title, compass rose, legend, and grid system. Notate Austin as the state capital, the location of the local
community, and at least two other communities. Use cardinal and intermediate directions to describe in writing the location of the
communities from each other and the location of physical features from each other and the communities.
Standard(s): 3.5A , 3.5C , 3.5D , 3.17E
ELPS ELPS.c.1C , ELPS.c.2E
Key Understandings
People use maps and their elements including scale, grid system, compass rose, legend, and cardinal and
intermediate directions to determine location.
— How do people use maps?
— Why do people use maps?
— How do map elements help people read maps?
Vocabulary of Instruction
location
geographic tools
distance
direction
Materials
blank paper (1 per student)
Border map that shows the neighboring states
clipboards (optional, 1 per student or pair of students)
compasses (1 per student)
direction labels for the room (for each of the cardinal and intermediate directions)
drawing paper
map, classroom map of Texas
maps of Oñate’s expeditionMaps of Texas (1 per student or pair)
Maps of the local community (1 per student or pair)
Maps of the United States (1 per student or pair)
maps, a variety of maps such as Texas, cities and towns, United States, the school, the neighborhood,
amusement parks, malls, etc.
paper for drawing a map of playground (1 per student)
Grade 3
Social Studies
Unit: 01
Lesson: 01
Suggested Duration: 7 days
Last Updated 05/15/13
Print Date 06/20/2013 Printed By Karen Johnson, MIDLAND ISDpage 2 of 22
pencils
Picture of a bison
pictures of central Mexico
pictures of the Chihuahuan Desert
Attachments
All attachments associated with this lesson are referenced in the body of the lesson. Due to considerations for
grading or student assessment, attachments that are connected with Performance Indicators or serve as answer
keys are available in the district site and are not accessible on the public website.
Handout: Observing a Map (1 per student, there are 2 on the sheet)
Teacher Resource: Observing a Map KEY
Teacher Resource: Oñate – Modern Map
Teacher Resource: PowerPoint: Oñate
Teacher Resource: Expedition of Juan de Oñate
Handout: Thanksgiving Timeline (cut apart, 1 set per student)
Handout: Oñate Map (1 per student or pair)
Teacher Resource: Explorer’s Description of the North American Bison
Teacher Resource: El Morro National Monument Information
Resources
None identified
Advance Preparation
1. Become familiar with content and procedures for the lesson, including geographic tools and their use, as well as
Juan de Oñate.2. Refer to the Instructional Focus Document for specific content to include in the lesson.
3. Select appropriate sections of the textbook and other classroom materials that support the learning for this
lesson.
4. Preview available resources and websites according to district guidelines.
5. Conduct an internet search for pictures of central Mexico and the Chihuahuan Desert (landscapes, not human
characteristics) or use pictures from the textbook and other classroom materials.
6. Prepare materials and handouts as needed.
Background Information
Juan de Oñate was an explorer from New Spain and went on expeditions in what is today Texas and New Mexico.
GETTING READY FOR INSTRUCTION
Teachers are encouraged to supplement and substitute resources, materials, and activities to meet the needs of
learners. These lessons are one approach to teaching the TEKS/Specificity as well as addressing the Performance
Indicators associated with each unit. District personnel may create original lessons using the Content Creator in the
Tools Tab. All originally authored lessons can be saved in the “My CSCOPE” Tab within the “My Content” area.
INSTRUCTIONAL PROCEDURES
Grade 3
Social Studies
Unit: 01
Lesson: 01
Suggested Duration: 7 days
Last Updated 05/15/13
Print Date 06/20/2013 Printed By Karen Johnson, MIDLAND ISDpage 3 of 22
Instructional Procedures
ENGAGE – Investigate Maps
Notes for Teacher
NOTE: 1 Day = 50 minutes
Suggested Day 1 – 10 minutes
1. With students in pairs or small groups (fewer than 4), distribute a
variety of maps for students to investigate.
2. Student groups explore the maps for several minutes and then
share what they find on the map.
3. Ask probing questions to ensure students mention specific
geographical features and map elements. If students describe a
feature of the map but do not use the appropriate academic
language, model the use of the correct terms.
4. Create an anchor chart of geography terms listing “things” that canbe found on a map (use academic language). Keep the chart up
and add to it throughout the lesson (and year).
5. Students switch maps with another group, look for examples of the
terms/features listed on the anchor chart, and practice using the
academic language to describe features of the map.
Materials:
maps: a variety of maps such as Texas,
cities and towns, United States, the
school, the neighborhood, amusement
parks, malls, etc.
Instructional Note:
As you travel, make an effort to gather many free
maps of all kinds to keep in the classroom (e.g.,
maps of shopping malls, amusement parks, cities,
states, parks).
EXPLORE – Review map elements and map skills Suggested Day 1 (cont’d) – 30 minutes
1. Distribute small compasses to students (in pairs or small groups if
not enough compasses for each student).
2. Students experiment with the compass to find true north in the
classroom and then face the direction of true north.
3. Post a label in the classroom to indicate where true north is.
4. By asking questions, lead students to identify the other cardinal
and intermediate directions in the classroom. Encourage students
to say where to post the other directional signs and to explain their
reasons. Use prepared notecards or signs to label north, south,
east, west and northwest, northeast, southwest and southeast on
the walls.
5. After the room is correctly labeled, play "Simon Says" for a few
minutes to practice using the academic language of directions.
(Simon says face true north. Simon says face southeast, and
so forth.)
6. Grid Systems: Students create a visual grid for finding directions.
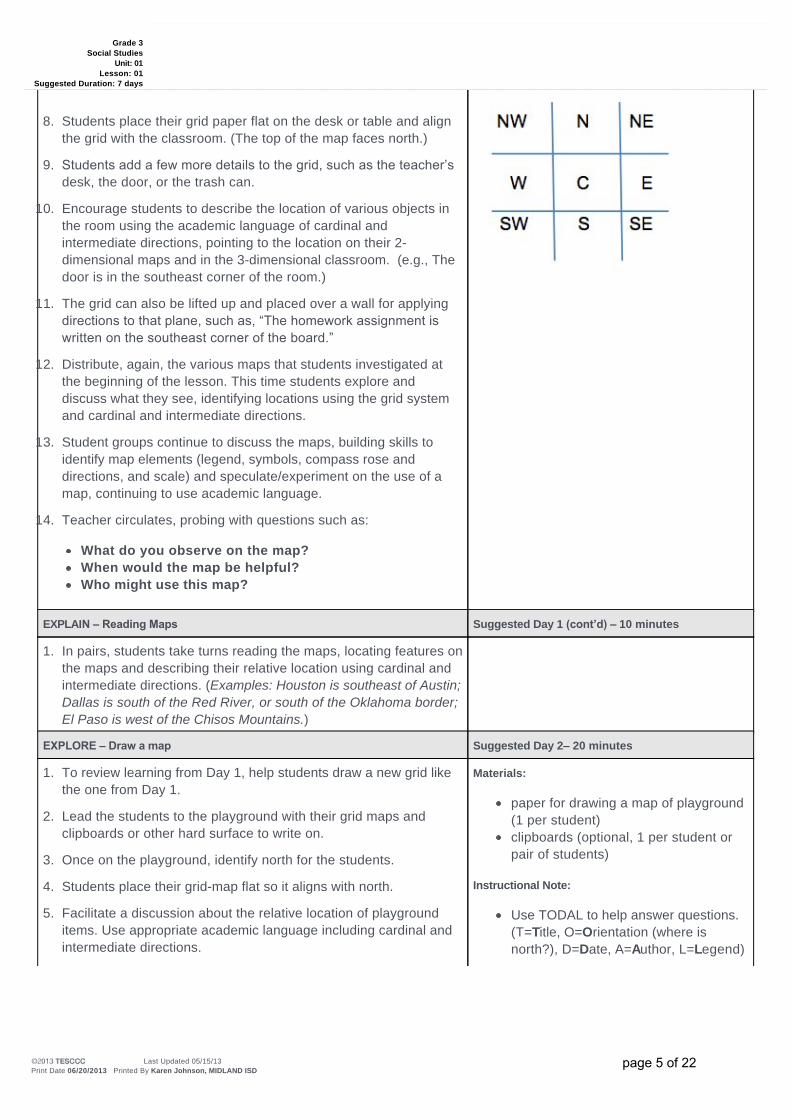
7. Students draw a Tic-Tac-Toe grid on a blank sheet of paper and
label it as instructed below:
Across the top three boxes, use the letter N for north.
Across the bottom three boxes, use the letter S for south
Label the boxes on the left side W for west.
Label the boxes on the right side E for east.
Finally, label the box in the middle with a C for central.
Materials:
compasses (1 per student)
blank paper (1 per student)
pencils
direction labels for the room (for each
of the cardinal and intermediate
directions)
maps, a variety of maps such as Texas,
cities and towns, United States, the
school, the neighborhood, amusement
parks, malls, etc. (from the ENGAGE,
above)
Instructional Note:
Create direction labels for walls of the
classroom: north, south, east, and west
(cardinal directions), northeast,
northwest, southeast and southwest
(intermediate directions).
Leave the signage up in the room all
year and refer to it whenever possible,
such as “The trash can is located in thenortheast corner of the room.” Or, “Thefire station is south of the school.”
The grid will look like this:
Grade 3
Social Studies
Unit: 01
Lesson: 01
Suggested Duration: 7 days
Last Updated 05/15/13
Print Date 06/20/2013 Printed By Karen Johnson, MIDLAND ISDpage 4 of 22
8. Students place their grid paper flat on the desk or table and align
the grid with the classroom. (The top of the map faces north.)
9. Students add a few more details to the grid, such as the teacher’sdesk, the door, or the trash can.
10. Encourage students to describe the location of various objects in
the room using the academic language of cardinal and
intermediate directions, pointing to the location on their 2-
dimensional maps and in the 3-dimensional classroom. (e.g., The
door is in the southeast corner of the room.)
11. The grid can also be lifted up and placed over a wall for applying
directions to that plane, such as, “The homework assignment iswritten on the southeast corner of the board.”
12. Distribute, again, the various maps that students investigated at
the beginning of the lesson. This time students explore and
discuss what they see, identifying locations using the grid system
and cardinal and intermediate directions.
13. Student groups continue to discuss the maps, building skills to
identify map elements (legend, symbols, compass rose and
directions, and scale) and speculate/experiment on the use of a
map, continuing to use academic language.
14. Teacher circulates, probing with questions such as:
What do you observe on the map?
When would the map be helpful?
Who might use this map?
EXPLAIN – Reading Maps Suggested Day 1 (cont’d) – 10 minutes
1. In pairs, students take turns reading the maps, locating features on
the maps and describing their relative location using cardinal and
intermediate directions. (Examples: Houston is southeast of Austin;
Dallas is south of the Red River, or south of the Oklahoma border;
El Paso is west of the Chisos Mountains.)
EXPLORE – Draw a map Suggested Day 2– 20 minutes
1. To review learning from Day 1, help students draw a new grid like
the one from Day 1.
2. Lead the students to the playground with their grid maps and
clipboards or other hard surface to write on.
3. Once on the playground, identify north for the students.
4. Students place their grid-map flat so it aligns with north.
5. Facilitate a discussion about the relative location of playground
items. Use appropriate academic language including cardinal and
intermediate directions.
Materials:
paper for drawing a map of playground
(1 per student)
clipboards (optional, 1 per student or
pair of students)
Instructional Note:
Use TODAL to help answer questions.
(T=Title, O=Orientation (where is
north?), D=Date, A=Author, L=Legend)
Grade 3
Social Studies
Unit: 01
Lesson: 01
Suggested Duration: 7 days
Last Updated 05/15/13
Print Date 06/20/2013 Printed By Karen Johnson, MIDLAND ISDpage 5 of 22
6. Students add playground equipment, trees, fences, large rocks,
etc., to their maps as appropriate, and label them.
7. On the way back to class, ask questions to lead students to think
about:
Is there a map of our playground and school?
Has the school always been located on this land?
Was there ever anything here on the land before the
school?
Was there ever a time when the land had nothing man-
made on it? Do you think it had a map then? Who do you
think drew the first map of this land?
8. Once back in the classroom, help students complete their maps by
introducing the TODAL strategy.
9. Students add to their maps:
Title (such as XYZ Playground)
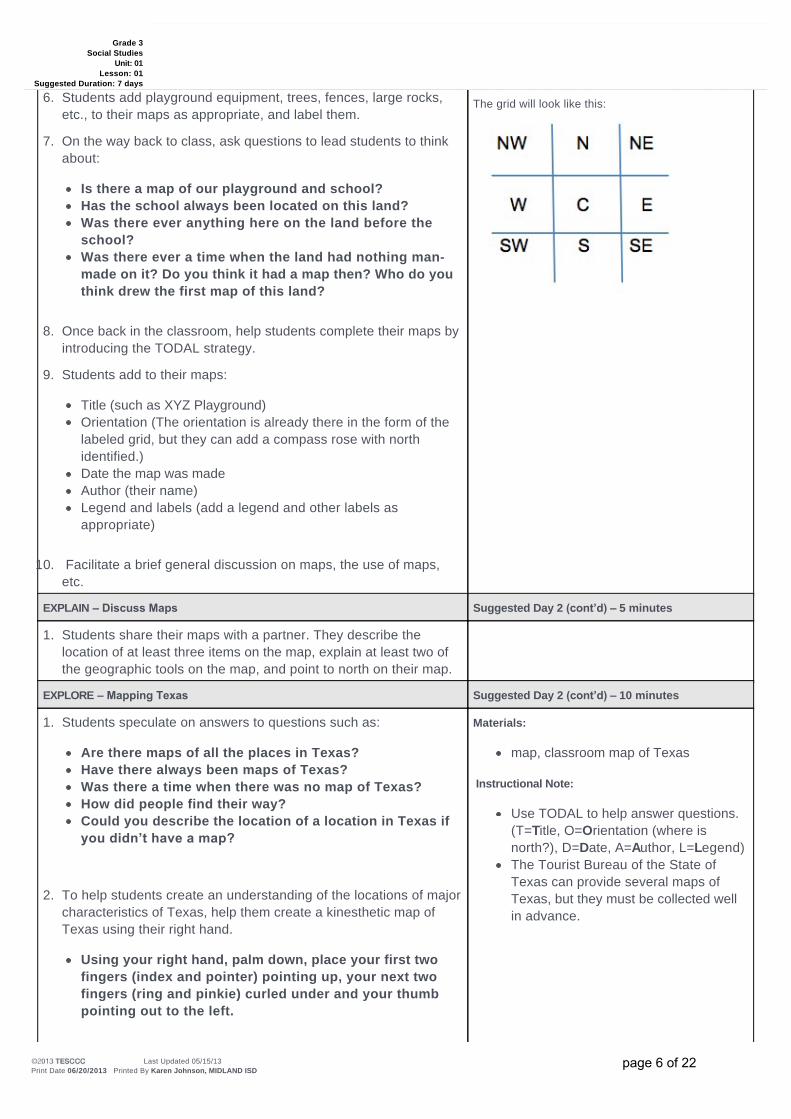
Orientation (The orientation is already there in the form of the
labeled grid, but they can add a compass rose with north
identified.)
Date the map was made
Author (their name)
Legend and labels (add a legend and other labels as
appropriate)
10. Facilitate a brief general discussion on maps, the use of maps,
etc.
The grid will look like this:
EXPLAIN – Discuss Maps Suggested Day 2 (cont’d) – 5 minutes
1. Students share their maps with a partner. They describe the
location of at least three items on the map, explain at least two of
the geographic tools on the map, and point to north on their map.
EXPLORE – Mapping Texas Suggested Day 2 (cont’d) – 10 minutes
1. Students speculate on answers to questions such as:
Are there maps of all the places in Texas?
Have there always been maps of Texas?
Was there a time when there was no map of Texas?
How did people find their way?
Could you describe the location of a location in Texas if
you didn’t have a map?
2. To help students create an understanding of the locations of major
characteristics of Texas, help them create a kinesthetic map of
Texas using their right hand.
Using your right hand, palm down, place your first two
fingers (index and pointer) pointing up, your next two
fingers (ring and pinkie) curled under and your thumb
pointing out to the left.
Materials:
map, classroom map of Texas
Instructional Note:
Use TODAL to help answer questions.
(T=Title, O=Orientation (where is
north?), D=Date, A=Author, L=Legend)
The Tourist Bureau of the State of
Texas can provide several maps of
Texas, but they must be collected well
in advance.
Grade 3
Social Studies
Unit: 01
Lesson: 01
Suggested Duration: 7 days
Last Updated 05/15/13
Print Date 06/20/2013 Printed By Karen Johnson, MIDLAND ISDpage 6 of 22
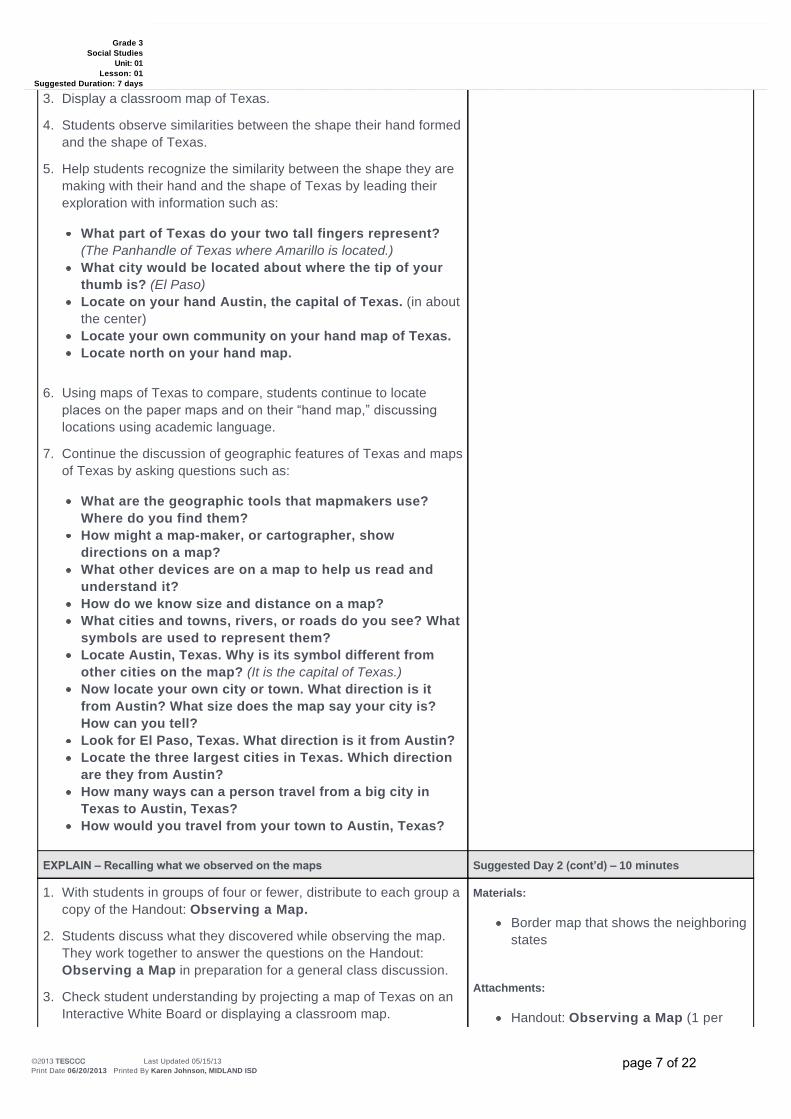
3. Display a classroom map of Texas.
4. Students observe similarities between the shape their hand formed
and the shape of Texas.
5. Help students recognize the similarity between the shape they are
making with their hand and the shape of Texas by leading their
exploration with information such as:
What part of Texas do your two tall fingers represent?
(The Panhandle of Texas where Amarillo is located.)
What city would be located about where the tip of your
thumb is? (El Paso)
Locate on your hand Austin, the capital of Texas. (in about
the center)
Locate your own community on your hand map of Texas.
Locate north on your hand map.
6. Using maps of Texas to compare, students continue to locate
places on the paper maps and on their “hand map,” discussinglocations using academic language.
7. Continue the discussion of geographic features of Texas and maps
of Texas by asking questions such as:
What are the geographic tools that mapmakers use?
Where do you find them?
How might a map-maker, or cartographer, show
directions on a map?
What other devices are on a map to help us read and
understand it?
How do we know size and distance on a map?
What cities and towns, rivers, or roads do you see? What
symbols are used to represent them?
Locate Austin, Texas. Why is its symbol different from
other cities on the map? (It is the capital of Texas.)
Now locate your own city or town. What direction is it
from Austin? What size does the map say your city is?
How can you tell?
Look for El Paso, Texas. What direction is it from Austin?
Locate the three largest cities in Texas. Which direction
are they from Austin?
How many ways can a person travel from a big city in
Texas to Austin, Texas?
How would you travel from your town to Austin, Texas?
EXPLAIN – Recalling what we observed on the maps Suggested Day 2 (cont’d) – 10 minutes
1. With students in groups of four or fewer, distribute to each group a
copy of the Handout: Observing a Map.
2. Students discuss what they discovered while observing the map.
They work together to answer the questions on the Handout:
Observing a Map in preparation for a general class discussion.
3. Check student understanding by projecting a map of Texas on an
Interactive White Board or displaying a classroom map.
Materials:
Border map that shows the neighboring
states
Attachments:
Handout: Observing a Map (1 per
Grade 3
Social Studies
Unit: 01
Lesson: 01
Suggested Duration: 7 days
Last Updated 05/15/13
Print Date 06/20/2013 Printed By Karen Johnson, MIDLAND ISDpage 7 of 22
4. Student volunteers (or teacher with student direction) circle the
elements of the map as students name them (legend, grid, scale,
compass rose).
5. Encourage students to be able to answer questions such as:
What is the purpose of a map?
Why would we ever use one?
6. Students reflect on questions such as:
Using cardinal and intermediate directions, think about
why it is important to know what direction cities and
towns are from each other.
student)
Teacher Resource: Observing a Map
KEY
Instructional Note:
Significant vocabulary includes legend,
grid, scale, compass rose
Add new terms to the class anchor
chart.
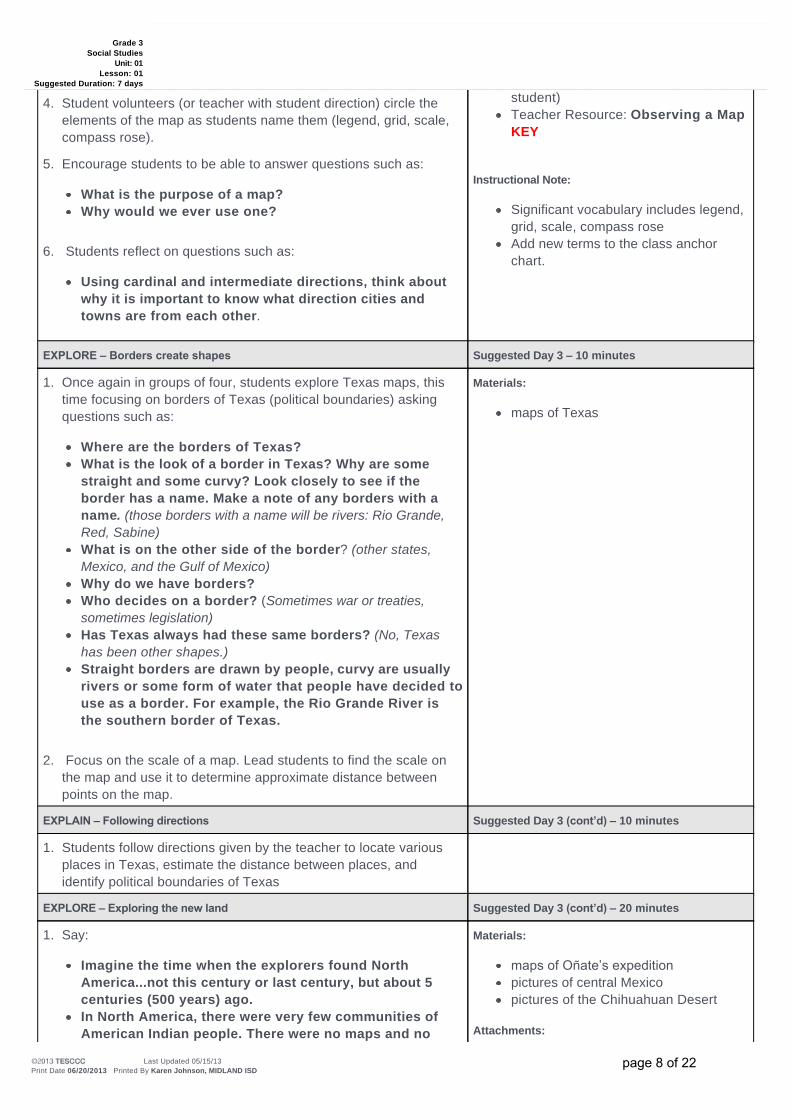
EXPLORE – Borders create shapes Suggested Day 3 – 10 minutes
1. Once again in groups of four, students explore Texas maps, this
time focusing on borders of Texas (political boundaries) asking
questions such as:
Where are the borders of Texas?
What is the look of a border in Texas? Why are some
straight and some curvy? Look closely to see if the
border has a name. Make a note of any borders with a
name. (those borders with a name will be rivers: Rio Grande,
Red, Sabine)
What is on the other side of the border? (other states,
Mexico, and the Gulf of Mexico)
Why do we have borders?
Who decides on a border? (Sometimes war or treaties,
sometimes legislation)
Has Texas always had these same borders? (No, Texas
has been other shapes.)
Straight borders are drawn by people, curvy are usually
rivers or some form of water that people have decided to
use as a border. For example, the Rio Grande River is
the southern border of Texas.
2. Focus on the scale of a map. Lead students to find the scale on
the map and use it to determine approximate distance between
points on the map.
Materials:
maps of Texas
EXPLAIN – Following directions Suggested Day 3 (cont’d) – 10 minutes
1. Students follow directions given by the teacher to locate various
places in Texas, estimate the distance between places, and
identify political boundaries of Texas
EXPLORE – Exploring the new land Suggested Day 3 (cont’d) – 20 minutes
1. Say:
Imagine the time when the explorers found North
America...not this century or last century, but about 5
centuries (500 years) ago.
In North America, there were very few communities of
American Indian people. There were no maps and no
Materials:
maps of Oñate’s expeditionpictures of central Mexico
pictures of the Chihuahuan Desert
Attachments:
Grade 3
Social Studies
Unit: 01
Lesson: 01
Suggested Duration: 7 days
Last Updated 05/15/13
Print Date 06/20/2013 Printed By Karen Johnson, MIDLAND ISDpage 8 of 22
roads in the continent of North America for the explorers
to use as a guide.
One brave explorer named Juan de Oñate made a
journey that still makes a difference to us today. Listen to
part of his story.
2. Show a map of Oñate’s journey from central Mexico to New Mexico.(If desired, use Slide 2 and 3 of the Teacher Resource:
PowerPoint: Oñate or the Teacher Resource: Oñate – ModernMap)
3. Trace the route while telling the story. The Teacher Resource:
Expedition of Juan de Oñate can be used. Write the dates on
the map as the story is told.
We have maps today, like this one, but Oñate did not
have a map. He had been sent by King Philip II of Spain to
colonize the northern area of New Spain (now Mexico)
and to start missions.
4. Show pictures of central Mexico. (Several are included on Slide 4
of the Teacher Resource: PowerPoint: Oñate)
Oñate and his expedition began traveling north from
central Mexico. The country he traveled through looked
like this.
Onate and his travelers came to and began to travel
through the hot Chihuahuan Desert in northern Mexico.
5. Show the pictures on slide 5 of the Teacher Resource: PowerPoint:
Oñate and lead students in a visual analysis of the picture,
identifying characteristics of the place.
On March 3, 1598, Oñate's expedition was ready to crossthe treacherous Chihuahuan Desert. They traveled
through the desert for weeks (50 days).
From March 21, until April 1, they traveled through the
desert without water or grass.
On April 7, the expedition encountered a large
freshwater marsh.
On April 20, as they were approaching the Rio Grande,
they ran out of food.
On April 30, 1589, Oñate and his expedition held a
ceremony of thanksgiving after they crossed the great
river.
One of the members of the expedition wrote, “We built agreat bonfire and roasted meat and fish, and then sat
down to a repast the like of which we had never enjoyed
before."
Oñate claimed all the land drained by the Rio Grande (he
called it El Rio Bravo) in the name of King Philip II of
Spain, saying, “In the name of the most Christian king,Don Philip.... I take and seize tenancy and possession,
real and actual, civil and natural, one two, three times...
and all the times that by right I can and should....without
Teacher Resource: Oñate – ModernMap
Teacher Resource: PowerPoint: Oñate
Teacher Resource: Expedition of
Juan de Oñate
Grade 3
Social Studies
Unit: 01
Lesson: 01
Suggested Duration: 7 days
Last Updated 05/15/13
Print Date 06/20/2013 Printed By Karen Johnson, MIDLAND ISDpage 9 of 22
limitations.”Oñate named El Paso (the pass through the mountains)
and claimed all of New Mexico north of the river. Oñate
continued this journey farther north, through what is now
northern New Mexico, where he founded the province of
Santa Fe de Nuevo Mexico and became its first
governor.
EXPLAIN – Exploring the new land Suggested Day 3 (cont’d) – 10 minutes
1. Students, with a partner, discuss what Juan de Oñate did forcommunities when he blazed a new trail north and then,
individually, write two sentences about how Juan de Oñate helpedcommunities grow. (Blazed the trail for others to follow, called the
Camino del Norte, and set the trade route that is still used today.)
EXPLORE/EXPLAIN – Thanksgiving Timeline Suggested Day 4 – 15 minutes
1. Say:
Some say Juan de Oñate celebrated the first
Thanksgiving in America here in Texas. What do you
think?
2. Distribute the four cards from the Handout: Thanksgiving
Timeline.
3. Students read the information, illustrate the event, and place the
cards in a row (from earliest on the left to latest on the right) to
form a timeline.
4. Encourage students to discuss Thanksgiving (giving thanks),
celebrated on the 4th Thursday in November in recognition of the
Pilgrims’ celebration of the successful harvest in Plymouth,Massachusetts, in 1621. Oñate crossed the Rio Grande on April30, 1598. He and his party celebrated, with thanksgiving, their
survival of crossing of the Chihuahuan Desert.)
Oñate and his expedition did give thanks. They prayed
and ate a great meal with the native people in
celebration and thanksgiving for their successful
journey through the desert. They celebrated on April 30,
1598, 23 years before the Pilgrims celebrated in
Massachusetts.
5. Look again at the map with the dates from Oñate’s journey. Makesure students recognize as timelines both the Thanksgiving
Timeline cards in a row and the dates on the map showing Oñate’sjourney.
Attachments:
Handout: Thanksgiving Timeline (cut
apart, 1 per student)
ENGAGE – Primary Documents Suggested Day 5 – 15 minutes
1. Distribute the Handout: Oñate Map.
2. Allow students time to explore the map. Do they find the map hard
to read? Why? What would make the map easier to read? Do they
find evidence of TODAL on the map? (Title, Orientation, Date,
Author, Legend and Labels) Note that this map is configured
Materials:
Teacher Resource: PowerPoint: Oñate
(slide 6 of the PowerPoint used above)
Attachments:
Grade 3
Social Studies
Unit: 01
Lesson: 01
Suggested Duration: 7 days
Last Updated 05/15/13
Print Date 06/20/2013 Printed By Karen Johnson, MIDLAND ISDpage 10 of 22
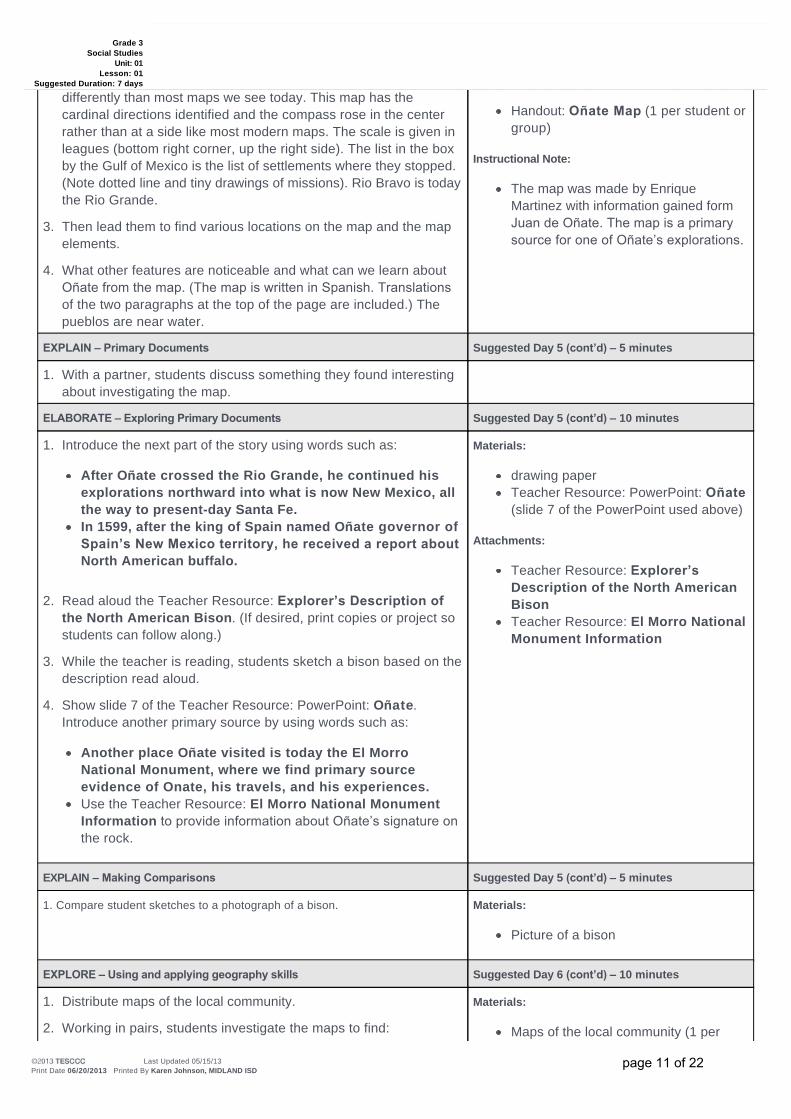
differently than most maps we see today. This map has the
cardinal directions identified and the compass rose in the center
rather than at a side like most modern maps. The scale is given in
leagues (bottom right corner, up the right side). The list in the box
by the Gulf of Mexico is the list of settlements where they stopped.
(Note dotted line and tiny drawings of missions). Rio Bravo is today
the Rio Grande.
3. Then lead them to find various locations on the map and the map
elements.
4. What other features are noticeable and what can we learn about
Oñate from the map. (The map is written in Spanish. Translationsof the two paragraphs at the top of the page are included.) The
pueblos are near water.
Handout: Oñate Map (1 per student or
group)
Instructional Note:
The map was made by Enrique
Martinez with information gained form
Juan de Oñate. The map is a primarysource for one of Oñate’s explorations.
EXPLAIN – Primary Documents Suggested Day 5 (cont’d) – 5 minutes
1. With a partner, students discuss something they found interesting
about investigating the map.
ELABORATE – Exploring Primary Documents Suggested Day 5 (cont’d) – 10 minutes
1. Introduce the next part of the story using words such as:
After Oñate crossed the Rio Grande, he continued his
explorations northward into what is now New Mexico, all
the way to present-day Santa Fe.
In 1599, after the king of Spain named Oñate governor of
Spain’s New Mexico territory, he received a report aboutNorth American buffalo.
2. Read aloud the Teacher Resource: Explorer’s Description ofthe North American Bison. (If desired, print copies or project so
students can follow along.)
3. While the teacher is reading, students sketch a bison based on the
description read aloud.
4. Show slide 7 of the Teacher Resource: PowerPoint: Oñate.
Introduce another primary source by using words such as:
Another place Oñate visited is today the El Morro
National Monument, where we find primary source
evidence of Onate, his travels, and his experiences.
Use the Teacher Resource: El Morro National Monument
Information to provide information about Oñate’s signature onthe rock.
Materials:
drawing paper
Teacher Resource: PowerPoint: Oñate(slide 7 of the PowerPoint used above)
Attachments:
Teacher Resource: Explorer’sDescription of the North American
Bison
Teacher Resource: El Morro National
Monument Information
EXPLAIN – Making Comparisons Suggested Day 5 (cont’d) – 5 minutes
1. Compare student sketches to a photograph of a bison. Materials:
Picture of a bison
EXPLORE – Using and applying geography skills Suggested Day 6 (cont’d) – 10 minutes
1. Distribute maps of the local community.
2. Working in pairs, students investigate the maps to find:
Materials:
Maps of the local community (1 per
Grade 3
Social Studies
Unit: 01
Lesson: 01
Suggested Duration: 7 days
Last Updated 05/15/13
Print Date 06/20/2013 Printed By Karen Johnson, MIDLAND ISDpage 11 of 22
Directions
Compass rose
Title
Author
Date
Legend
Grid
Relative location of places from each other
student or pair)
Instructional Note:
The county or chamber of commerce can be a place
to gather local maps. The internet is also a likely
source.
EXPLAIN – Directional Grid Practice Suggested Day 6 (cont’d) – 10 minutes
1. Students work in pairs to practice using the grid to locate familiar
places on the map. Practice using academic language of directions
to tell your partner what direction important places are from
another location. For example: the library is southeast of the
school; the school is northwest of the river bridge.
Materials:
Maps of the local community
EXPLORE – Using Geographic Tools Suggested Day 6 (cont’d) – 10 minutes
1. Distribute maps of Texas and the United States.
2. Students study the maps to locate Texas and locate their own
community on the map.
3. Once again have students locate and identify:
Directions
Compass rose
Title
Author
Date
Legend
Grid
Borders
Mississippi River
Rocky Mountains
Texas
The local community in Texas
Austin, the capital of Texas
4. Ask:
What direction is the Mississippi River from our
community?
What direction are the Rocky Mountains from our
community?
Materials:
Maps of the United States (1 per
student or pair)
Maps of Texas (1 per student or pair)
EXPLAIN – Writing about Maps Suggested Day 6 (cont’d) – 10 minutes
1. Students write a sentence explaining what all maps have in
common to make them usable.
2. Students write a second sentence to explain the importance of
knowing what direction one community, or important place, is from
another.
ELABORATE – Bringing it all together Suggested Day 6 (cont’d) – 10 minutes
Grade 3
Social Studies
Unit: 01
Lesson: 01
Suggested Duration: 7 days
Last Updated 05/15/13
Print Date 06/20/2013 Printed By Karen Johnson, MIDLAND ISDpage 12 of 22
1. Facilitate a discussion where students use academic language to
answer the guiding questions and support the Key Understanding
using information learned during this lesson.
People use maps and their elements including scale, grid
system, compass rose, legend, and cardinal and
intermediate directions to determine location.
— How do people use maps?
— Why do people use maps?
— How do map elements help people read maps?
EVALUATE Suggested Day 7 – 50 minutes
Grade 03 Social Studies Unit 01 PI 01
Sketch a map of Texas with a title, compass rose, legend, and grid system.
Notate Austin as the state capital, the location of the local community, and at
least two other communities. Use cardinal and intermediate directions to
describe in writing the location of the communities from each other and the
location of physical features from each other and the communities.
Standard(s): 3.5A , 3.5C , 3.5D , 3.17E
ELPS ELPS.c.1C , ELPS.c.2E
Instructional Note
This should be a student-drawn map. A
map of Texas can be visible for
students to refer to, but not copy or
tract.
Students should make sure to include
the components of TODAL on their
map.
Grade 3
Social Studies
Unit: 01
Lesson: 01
Suggested Duration: 7 days
Last Updated 05/15/13
Print Date 06/20/2013 Printed By Karen Johnson, MIDLAND ISDpage 13 of 22
Grade 3 Social Studies
Unit: 01 Lesson: 01
2012, TESCCC 04/23/13 page 1 of 1
Observing a Map
With your group or partner, answer the following questions:
What are geographic tools?
How do we know size and distance on a map?
How does a map-maker, or cartographer show directions on a map?
What other devices are on a map to help us read it?
What map elements were you able to observe? Include such things
as: cities and towns, rivers, roads.
Grade 3 Social Studies
Unit: 01 Lesson: 01
2012, TESCCC 03/08/12 page 1 of 1
Observing a Map – KEY
With your group or partner, answer the following questions:
What are geographic tools? (Title, Orientation, Date, Author, Legend)
How do we know size and distance on a map? (Scale)
How does a map-maker, or cartographer show directions on a map? (Compass Rose)
What other devices are on a map to help us read it? (Legend)
What map elements were you able to observe? Include such things as: cities and towns, rivers, roads.

Grade 03 Social Studies
Unit: 01 Lesson: 01
©2012, TESCCC 05/20/12 page 1 of 1
Oñate – Modern Map
Oñate’s Trip
© 2013, TESCCC
Grade 3 Social Studies
Unit: 01 Lesson: 01
©2012, TESCCC 04/04/13 page 1 of 1
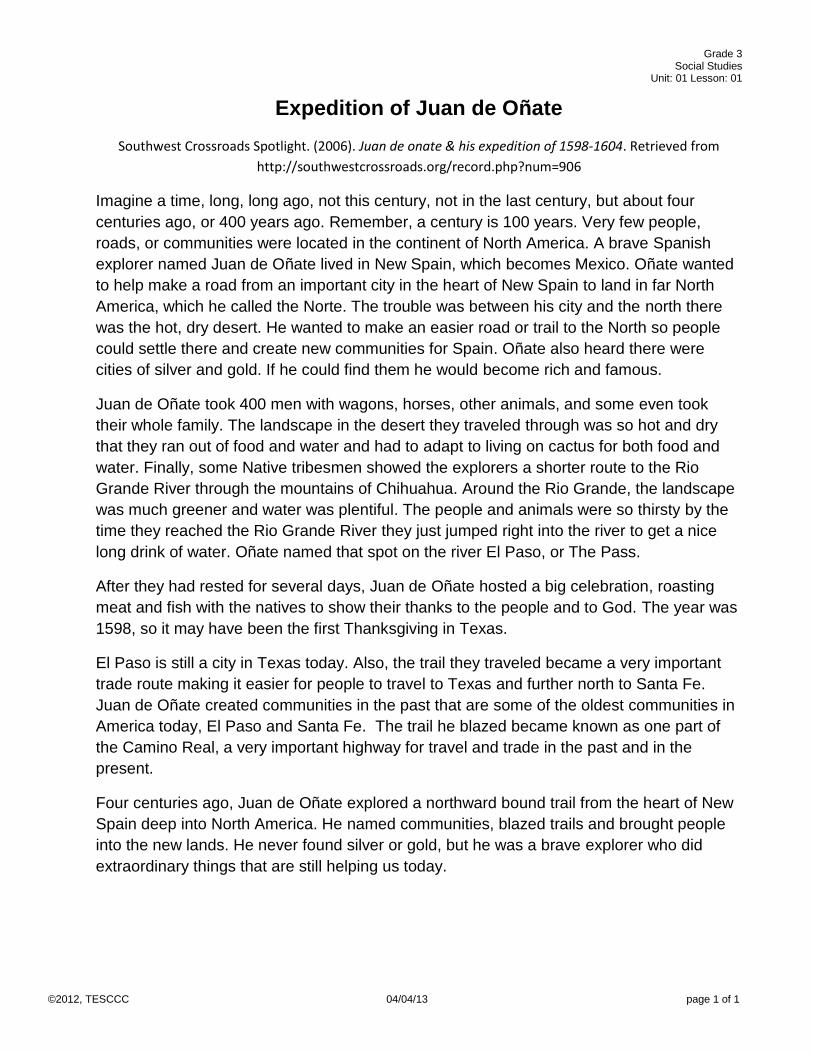
Expedition of Juan de Oñate
Southwest Crossroads Spotlight. (2006). Juan de onate & his expedition of 1598-1604. Retrieved from
http://southwestcrossroads.org/record.php?num=906
Imagine a time, long, long ago, not this century, not in the last century, but about four
centuries ago, or 400 years ago. Remember, a century is 100 years. Very few people,
roads, or communities were located in the continent of North America. A brave Spanish
explorer named Juan de Oñate lived in New Spain, which becomes Mexico. Oñate wanted
to help make a road from an important city in the heart of New Spain to land in far North
America, which he called the Norte. The trouble was between his city and the north there
was the hot, dry desert. He wanted to make an easier road or trail to the North so people
could settle there and create new communities for Spain. Oñate also heard there were
cities of silver and gold. If he could find them he would become rich and famous.
Juan de Oñate took 400 men with wagons, horses, other animals, and some even took
their whole family. The landscape in the desert they traveled through was so hot and dry
that they ran out of food and water and had to adapt to living on cactus for both food and
water. Finally, some Native tribesmen showed the explorers a shorter route to the Rio
Grande River through the mountains of Chihuahua. Around the Rio Grande, the landscape
was much greener and water was plentiful. The people and animals were so thirsty by the
time they reached the Rio Grande River they just jumped right into the river to get a nice
long drink of water. Oñate named that spot on the river El Paso, or The Pass.
After they had rested for several days, Juan de Oñate hosted a big celebration, roasting
meat and fish with the natives to show their thanks to the people and to God. The year was
1598, so it may have been the first Thanksgiving in Texas.
El Paso is still a city in Texas today. Also, the trail they traveled became a very important
trade route making it easier for people to travel to Texas and further north to Santa Fe.
Juan de Oñate created communities in the past that are some of the oldest communities in
America today, El Paso and Santa Fe. The trail he blazed became known as one part of
the Camino Real, a very important highway for travel and trade in the past and in the
present.
Four centuries ago, Juan de Oñate explored a northward bound trail from the heart of New
Spain deep into North America. He named communities, blazed trails and brought people
into the new lands. He never found silver or gold, but he was a brave explorer who did
extraordinary things that are still helping us today.
Grade 03 Social Studies
Unit: 01 Lesson: 01
©2012, TESCCC 04/16/13 page 1 of 1
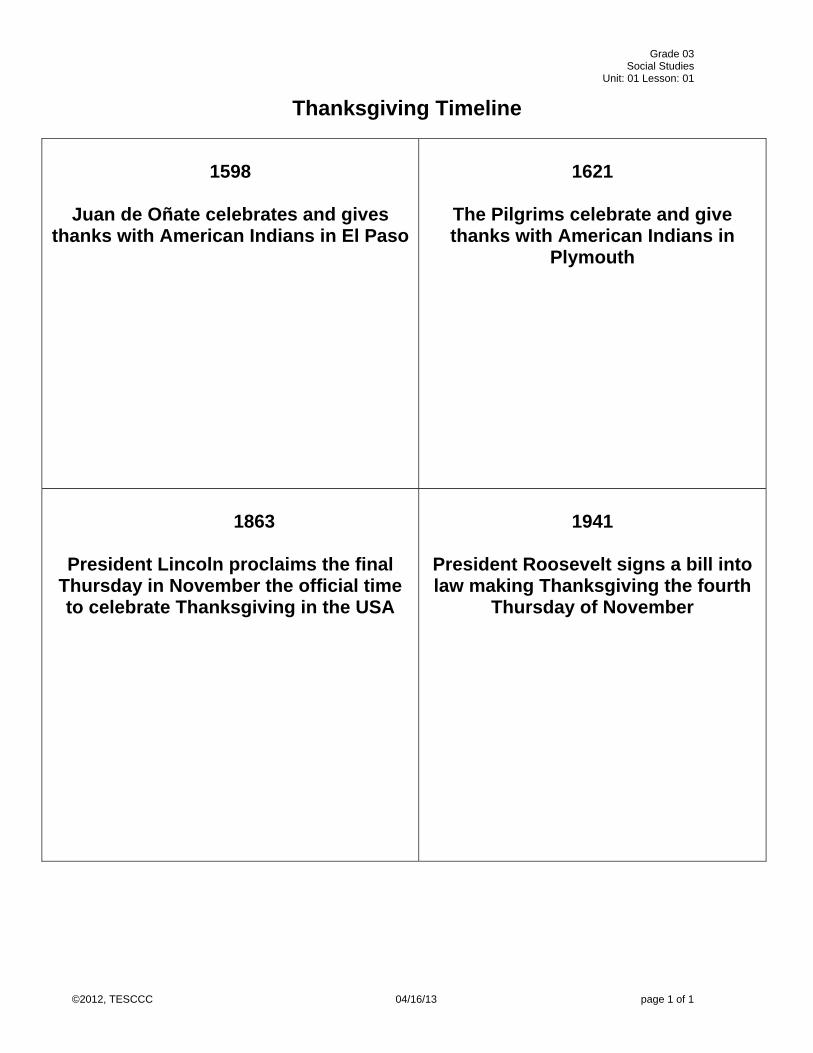
Thanksgiving Timeline
1598
Juan de Oñate celebrates and gives
thanks with American Indians in El Paso
1621
The Pilgrims celebrate and give thanks with American Indians in
Plymouth
1863
President Lincoln proclaims the final
Thursday in November the official time to celebrate Thanksgiving in the USA
1941
President Roosevelt signs a bill into law making Thanksgiving the fourth
Thursday of November
Grade 3 Social Studies
Unit: 01 Lesson: 01
©2012, TESCCC 03/08/12 page 1 of 1
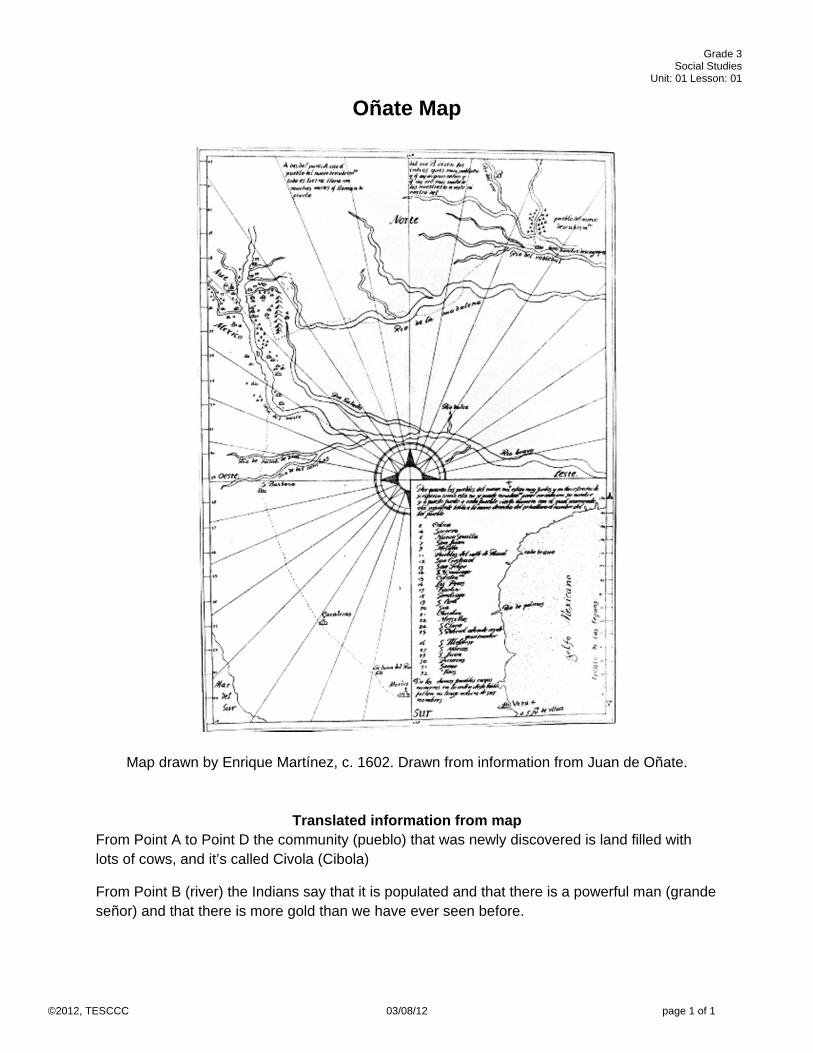
Oñate Map
Map drawn by Enrique Martínez, c. 1602. Drawn from information from Juan de Oñate.
Translated information from map From Point A to Point D the community (pueblo) that was newly discovered is land filled with lots of cows, and it’s called Civola (Cibola)
From Point B (river) the Indians say that it is populated and that there is a powerful man (grande señor) and that there is more gold than we have ever seen before.
Grade 03 Social Studies
Unit: 01 Lesson: 01
©2012, TESCCC 04/23/13 page 1 of 2
Explorer’s Description of the North American Bison
deZaldivar Mendoza, V., & Hammond, G. P. (n.d.).Expedition to the buffalo plains, 1598. Retrieved from
http://southwestcrossroads.org/record.php?num=975&hl=expedition::buffalo::plains
“…As they rushed them, the buffalo began to move toward the corral, but in a
little while they stampeded with great fury in the direction of the men and broke
through them, even though they held close together; and they were unable to
stop the cattle; because they are stubborn animals, brave beyond praise, and so
cunning that if one runs after them, they run, and if one stops or moves slowly,
they stop and roll, just like mules, and after this rest they renew their flight. For a
few days the men tried in a thousand ways to drive them inside the corral or
round them up, but all methods proved equally fruitless. This is no small wonder,
because they are unusually wild and fierce…They have very sharp horns, about
one span and a half long, bent upward toward each other. They attack from the
side, lowering the head way down…The meat of the bulls is better than our beef,
and that of the cows equals our most tender veal or mutton.”
“…Their shape and appearance are so amazing and amusing, or frightening, that
one never tires of looking at them. There is no one so melancholy who if he were
to see them a hundred times would not laugh heartily just as often or marvel at
the sight of such fierce beasts. Their horns are black, of the size already stated, a
third of a yard long, and similar to those of the water búfalo. They have small
eyes, and their face, snout, feet, and hoofs are the same shape as our cattle,
except that both the bull and the cow are long-bearded, resembling billy goats.
They have so much hair that it covers their eyes and face, and the forelock
conceals their horns almost completely. This long wool, very pliant and soft,
extends almost to the middle of the body. From there, the hair is shorter. On the
ribs they have so much hair, and the backbone rises so much that they appear
humpbacked, when as a matter of fact they are only slightly so, for when the
hides are stretched out the hump disappears readily.”
Grade 03 Social Studies
Unit: 01 Lesson: 01
©2012, TESCCC 04/23/13 page 2 of 2
“…As a rule these cattle are larger than ours. They have short tails like pigs, with
a few short bristles at the end, and they twist it upward when they run. At the
knees they have natural bands of very long hair. Their haunches, which resemble
those of mules, are bent and crooked, so they run by leaps, as has been stated,
particularly when running downhill. They are all of one color, dark, somewhat
tawny, the hair being black in places. This is their appearance, which to the eye
is more ferocious than the pen can describe…These cattle roam over some
extremely level mesas that extend for many leagues.”
“…At the pueblo of San Juan Bautista, on February 23, 1599, in the presence of
Don Juan de Oñate, governor, ...Vicente de Zaldivar Mendoza, sargento mayor,
captain and chief of the forces in the said kingdoms and of his majesty’s army,
presented this report of the expedition that he made to the buffalo by order of his
lordship.”
Grade 3 Social Studies
Unit: 01 Lesson: 01
©2012, TESCCC 04/04/13 page 1 of 1
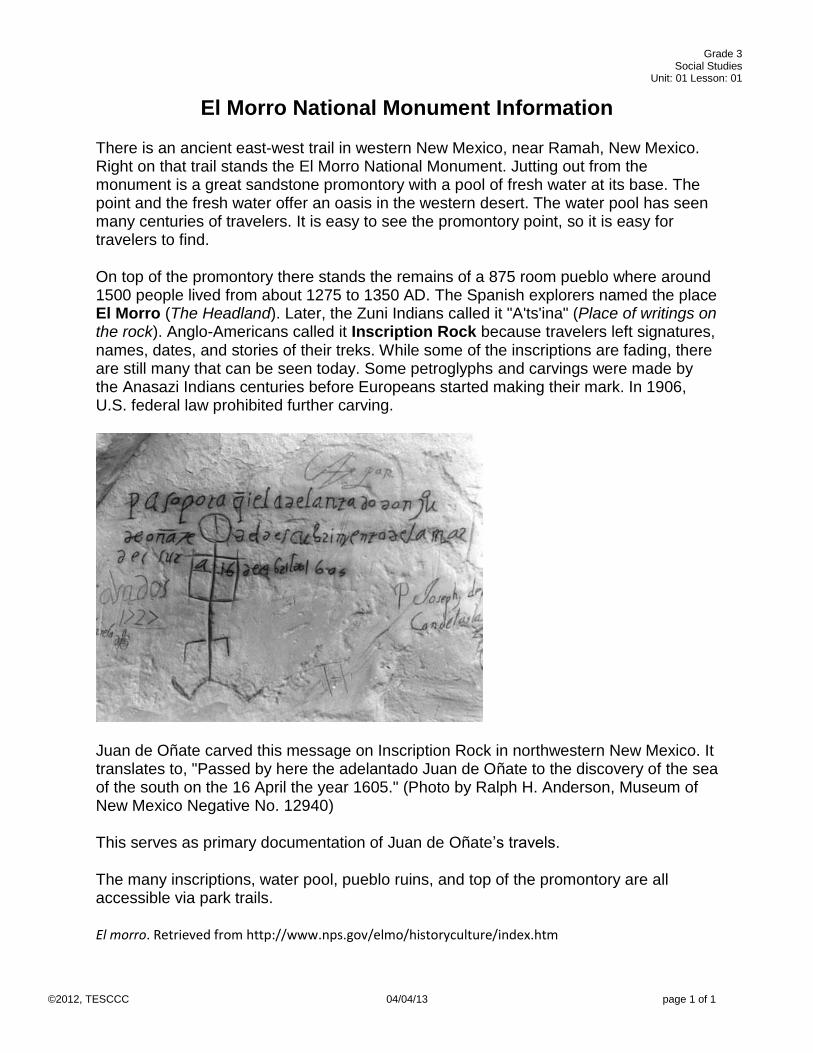
El Morro National Monument Information
There is an ancient east-west trail in western New Mexico, near Ramah, New Mexico. Right on that trail stands the El Morro National Monument. Jutting out from the monument is a great sandstone promontory with a pool of fresh water at its base. The point and the fresh water offer an oasis in the western desert. The water pool has seen many centuries of travelers. It is easy to see the promontory point, so it is easy for travelers to find.
On top of the promontory there stands the remains of a 875 room pueblo where around 1500 people lived from about 1275 to 1350 AD. The Spanish explorers named the place El Morro (The Headland). Later, the Zuni Indians called it "A'ts'ina" (Place of writings on the rock). Anglo-Americans called it Inscription Rock because travelers left signatures, names, dates, and stories of their treks. While some of the inscriptions are fading, there are still many that can be seen today. Some petroglyphs and carvings were made by the Anasazi Indians centuries before Europeans started making their mark. In 1906, U.S. federal law prohibited further carving.
Juan de Oñate carved this message on Inscription Rock in northwestern New Mexico. It translates to, "Passed by here the adelantado Juan de Oñate to the discovery of the sea of the south on the 16 April the year 1605." (Photo by Ralph H. Anderson, Museum of New Mexico Negative No. 12940)
This serves as primary documentation of Juan de Oñate’s travels.
The many inscriptions, water pool, pueblo ruins, and top of the promontory are all accessible via park trails.
El morro. Retrieved from http://www.nps.gov/elmo/historyculture/index.htm