Embed Size (px)
DESCRIPTION
geotag
Citation preview

Transfer of Geo-tagged Data, Management and Labeling,
Conversion and Uploading & Working with GE

Folder Creation and Organization
1. Create a new folder on your desktop/laptop where all geo-tagging files will be hosted
Use the name of your municipality as folder name

2. Create the following sub-folders inside your main folder:- Single Shots- Panoramas- Tracks- Tracks for GIS- KMZ

3. Create sub-folders for EACH Sub-project inside the Single Shot folder.** Rename each SP sub-folder with “ Brgy Name+ Complete SP Name”Ex: Brgy. Borongborongan Construction of One (1) Unit BHS Building with Embankment, Ramps and Railings

Transferring of Files (Single Shot)
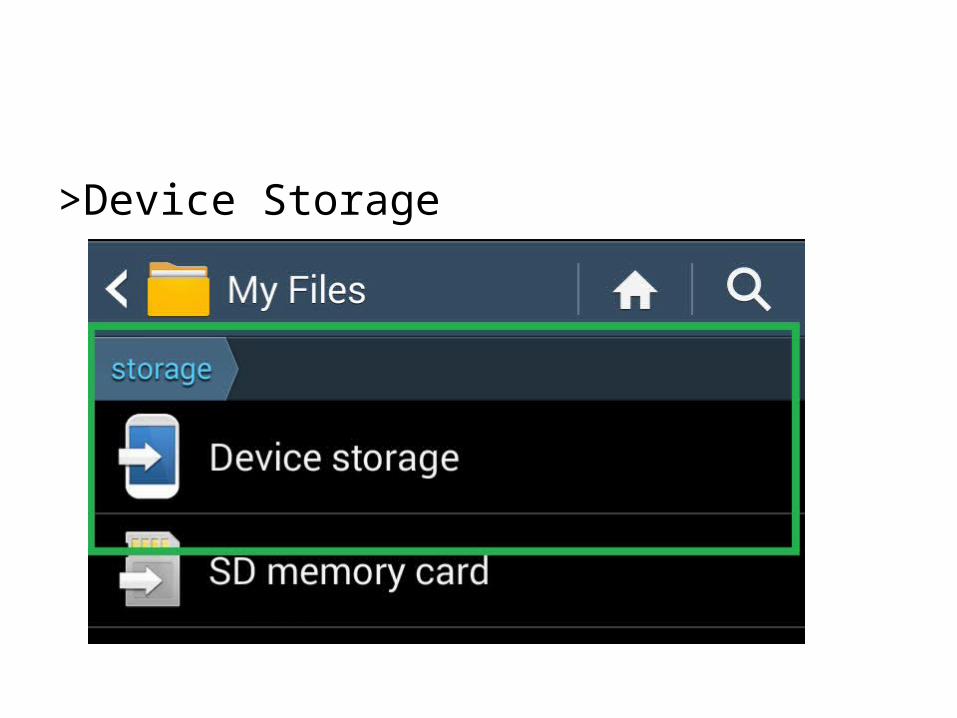
a) On your phone/tableta.1 Go to My Files> All

>Device Storage

DCIM

>CAMERA
Copy the files from Camera to the Single Shot Folder of the tagged brgy.

Rename each image with the Complete SP Name and Orientation of the Photo.
Ex. Construction of Day Care Center (Front View)

Transfer of geo-tagged data (Panorama Images)
a) Connect the cable from your cellphone/geo-device to your laptop or desktop.
a.1 Go to My Files

>All
>Device Storage

>Panoramas
Copy the files from Panorama to Panoram Folder

Rename each image with the Complete SP Name and Orientation of the Photo.
Ex. Construction of Day Care Center (Outside View)

Transfer of geo-tagged data (My Tracks Offline)
a) Save tracks to SD card first by going to
• My Tracks > click Option button > Save all to SD card > Save as KML


Transfer of geo-tagged data (Tracks)
a) Connect the cable from your cellphone/geo-device to your laptop or desktop.
a.1 Go to My Files

>All

>Device Storage


Copy the file from KML Folder to Tracks

Rename the file with Location Complete SP Name (Description) or Source Name to Destination Name Ex. Brgy. Poblacion to Brgy. San Roque or Brgy. San Vicente Construction of FMR

UPLOADING OF FILES
OFFLINE WAY
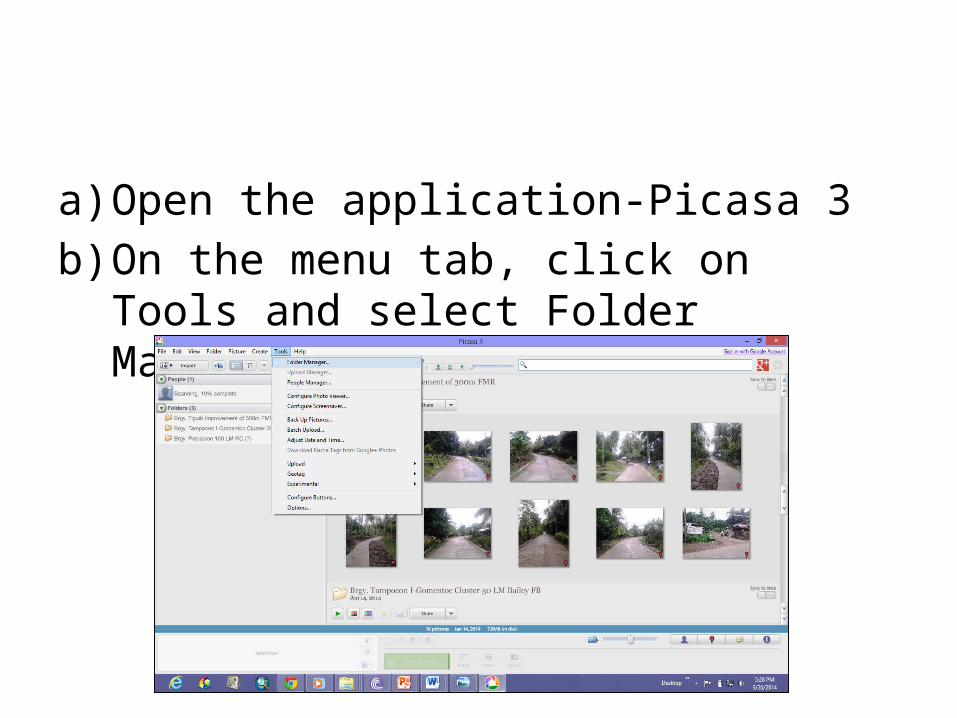
a) Open the application-Picasa 3b) On the menu tab, click on Tools and select
Folder Manager

c) Inside the Folder Manager window, search and click for the folder containing the photos that you want to upload.
d) Tick Scan Always on the right side of the window and then click OK.
UploadingSingle Shot Images (Offline)

e) Select all photos that you want to exportf) Go to Tools> Geotag> Export to Google Earth file
UploadingSingle Shot Images (Offline)

1. Save the file to your Single Shot Folder. Rename the file with “Brgy Name + Complete SP Name”

WORKING WITH GE
OFFLINE WAY

Google Earth Interface
Toolbar Buttons
Navigation
3D Viewer
Zoom Slider
Status Bar
Layers Panel
Places Panel
Search Panel

Google Earth Interface
a) Search Panel – for finding and getting directions
b) Places Panel – for saving and organizing KML/KMZ files
c) Layers Panel – for displaying different layers
d) Toolbar Buttons – for adding new features to the map, measuring features, etc.

Google Earth Interface
e) Navigation – rotates and tilts the view, pans the map
f) 3D Viewer – for viewing the globe and map features
g) Zoom Slider – zooms in and out on the map
h) Status Bar – shows coordinates, elevation, imagery date and streaming status of the map

Google Earth Tools

Google Earth Tools
Conceal and display the side bar
Display sunlight
Add a placemark
View the sky, moon and planet
Add a polygon
Measure a distance and area
Add a line
Email a view or image
Overlay an image
Print the current view of the earth
Record a tour
Show the current view in Google Maps
Display historical image
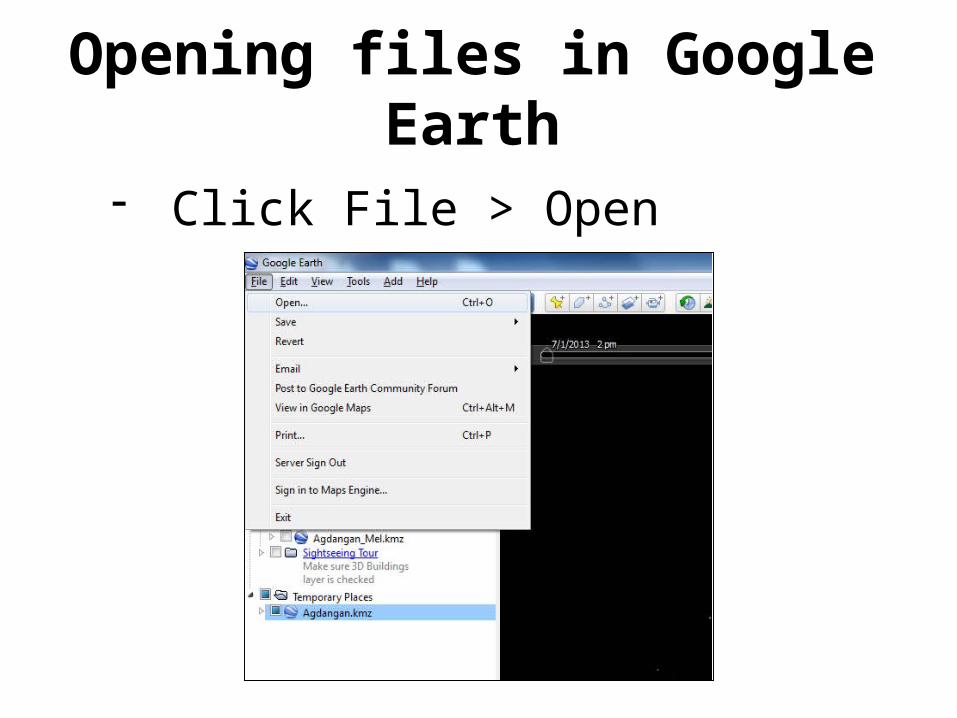
Opening files in Google Earth
- Click File > Open

Opening files in Google Earth
- Select KML/KMZ file from your location folder then click “Open”

Folder Creation
- Right click “My Places” - Choose “Add”- Click “Folder”- In the New Folder window, type in
the Name and check the ‘Allow this folder to be expanded’
- Click “Ok”- Drag the folder to its proper place

Folder Creation

Folder Creation
- Create the following folders:- Municipal Hall- All SP- Tracks- Boundary

- This folder contains all the KML files of Municipal Hall such as single shot images (front view, side view and back view) and panorama images (inside and outside the building).
Folder CreationMunicipal Hall

- Contains all the SP KML files in the municipality comprising of all single shot and panorama images of that SP.
Folder CreationAll SPs

- Contains all the KML files from My Tracks, include tracks of all SP and waypoints.
Folder CreationTracks

Symbols or Icons in Google Earth

Ways to Modify Icons & Labels
1) For single placemarks and labels• Used in changing individual item or placemark
2) For folders of placemarks and labels• Used in changing ALL the items inside a folder.• Output is a folder having the same lines, label and
icon appearance

I. For Single Placemarks & Labels
a) Right click the itemb) Choose “Properties”c) An "Edit Placemark" window will appeard) Click the icon button to the right of the
“Name” field and choose a new icon from the palette

I. For Single Placemarks & Labels

I. For Single Placemarks & Labels
e) To change the label, go back to "Edit Placemark" window and click "Style, Color" tab
f) From that window, a user can change the color, scale/size and opacity of the label

I. For Single Placemarks & Labels

II. For Folders of Placemarks & Labels
a) Right click the folderb) Choose “Properties”c) An “Edit Placemark” window will appeard) Click the “Style, Color” tabe) Click "Share Style" – this defines a single style
for a folder and have the same style elements apply to all items inside a folder

Conventions
1) Symbol for Municipal Hall
2) Symbol & color-coding for All SPs

Conventions
a) In good condition

Conventions
b) Needs improvement

Conventions
c) Not operational/functional

Current Condition
ColorValues in “Select Color” Window
Red Green Blue
In good Condition
Green 0 255 0
Needs Improvement
Orange 255 85 0
Not Operational or Functional
Red 170 0 0
Conventions
Conventions
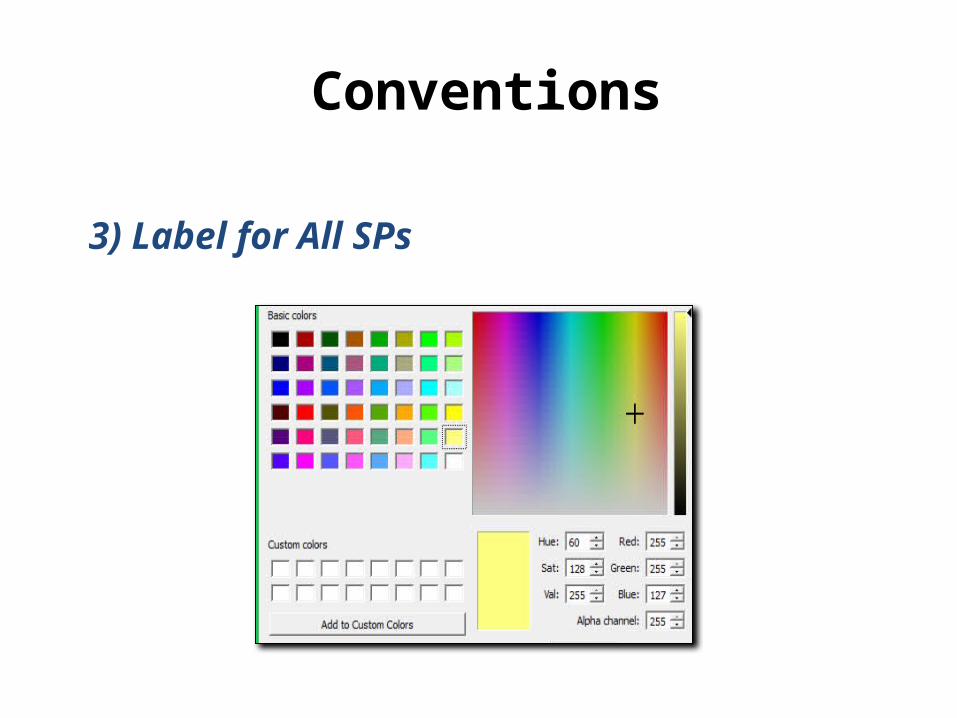
3) Label for All SPs

Conventions

4) Symbol and color-coding for tracks
Conventions

Lines
Conventions

Lines
Conventions

Label
Conventions

Label
Conventions

Symbology