Embed Size (px)
Citation preview
Forensic Anthropology Laboratory
Six Foot UnderExercise Lab
Introduction
1. In this lab exercise, students will learn that digging in the dirt is fun, especially when one is digging up bones and other evidence of a crime.
2. This lab will help students use the tools and problem solving skills to collect and analyze pieces of evidence the same way forensic anthropologists do.
Objectives
1. Become familiar with retrieval of specimens buried in dirt
2. Learn how to identify skeletal remains 3. Become familiar with working with grids in an
orderly fashion 4. Discover why it is important to choose a
starting point from which to begin collecting evidence

Equipment/Supplies Needed1. Large Tarp (will be cut into four equal pieces)
2. Dirt (four 25 lb. bags, one for each station)
3. Small shovels/trowels
4. Small paint brushes (one 1", one 2")
5. String
6. Evidence markers (Dowels and post-it notes can be substituted for evidence markers)
7. Camera
Assignment
1. Cut the tarp into four equal pieces. Choose an area, which will not be watered during the experiment.
2. At each station, empty a 25 lb. bag of dirt into the middle of the tarp. (Do this for each tarp piece.)
3. Ensure the tarp remains stationery by placing small rocks or bricks at each corner of the tarp. This will prevent breezes from disturbing your dig.
Assignment Continued
4. Gather bones (any species) to use at each of the stations. Also, place other items in the dirt, such as items you may have lost while you were at the beach (keys, coins, parking tickets, thumb drives, sunglasses). Place at least six items in the dirt at each station.
5. Take the string and lay out over the mound of dirt in a grid pattern.
(see photographs included in this lab)
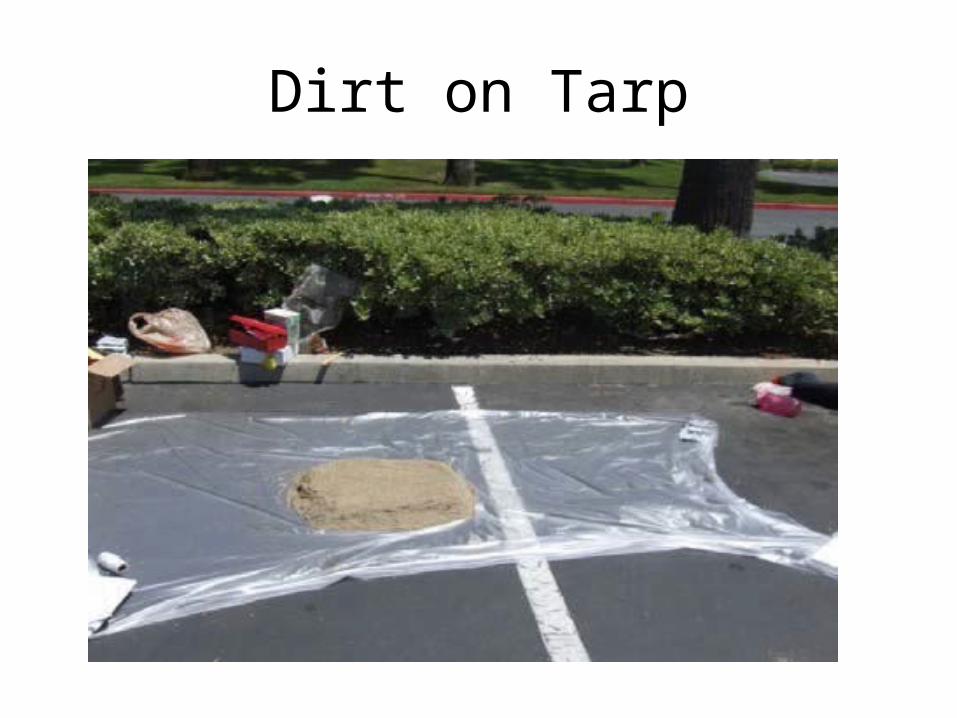
Dirt on Tarp
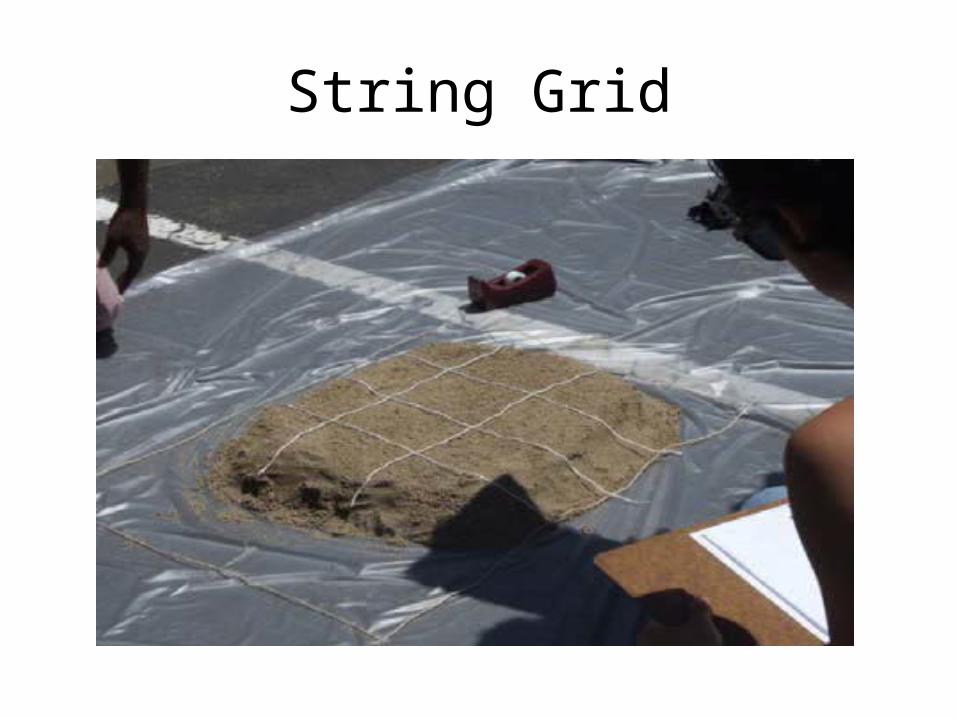
String Grid
Assignment Continued
6. The students should choose the northwest corner as the reference point for all measurements. They should then begin their dig there and work their way toward the center. Once an item has been discovered, place a marker in that location. Take a photograph before removing the item. Remove the item, brush the dirt off it and place it on a clean area of the tarp. Take another photograph with the item on the clean area of the tarp. Proceed with the remaining squares of the grid.
Assignment Continued
7. Describe each item recovered, including the location of the discovery, a picture of the location, time and date the item was placed in the clean area, a photograph of the item after placement on the clean area of tarp, etc.
8. The evidence collection form should now be
completed.
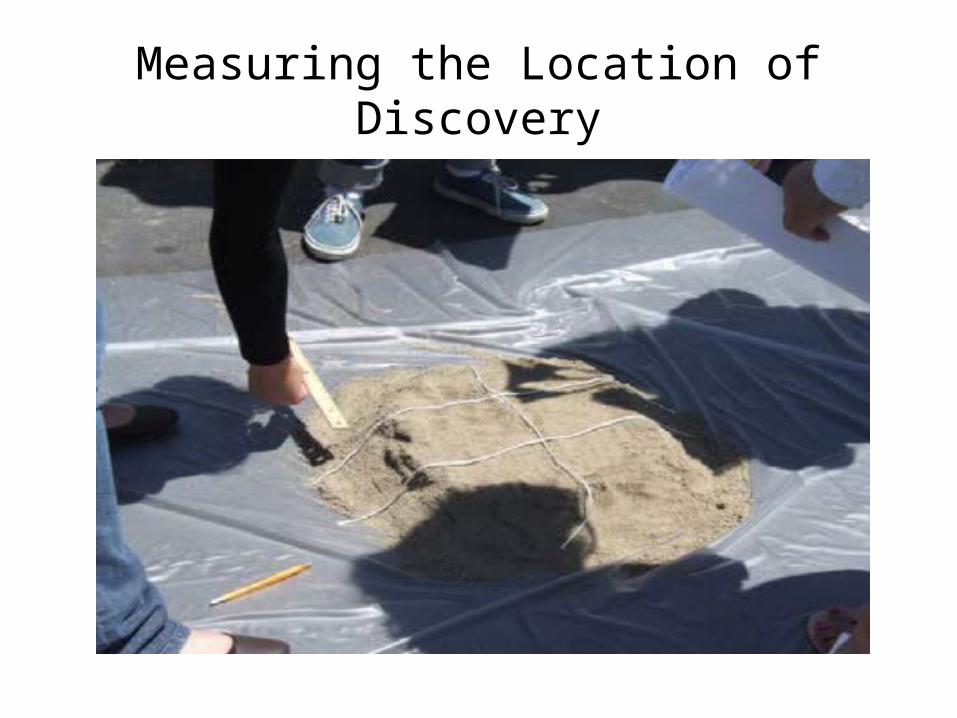
Measuring the Location of Discovery
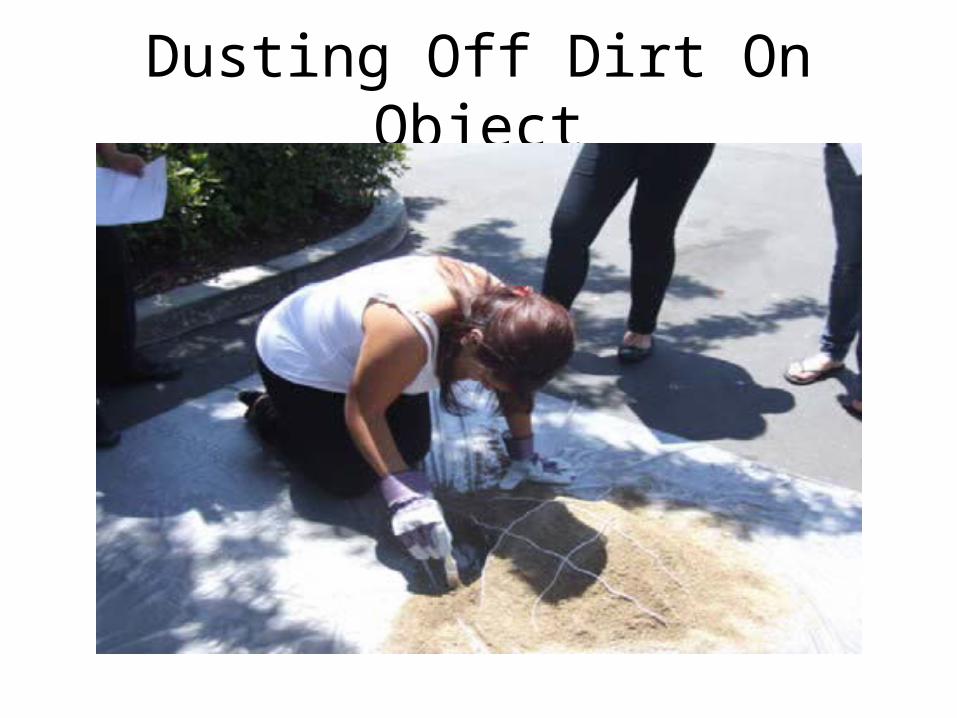
Dusting Off Dirt On Object

Visual Examination of Evidence
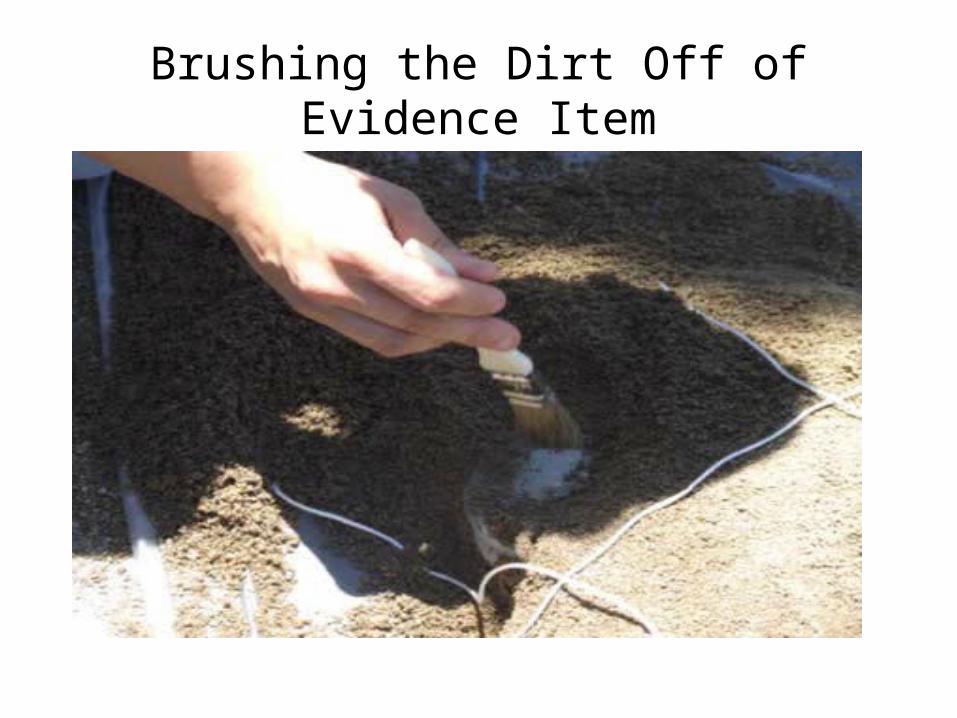
Brushing the Dirt Off of Evidence Item
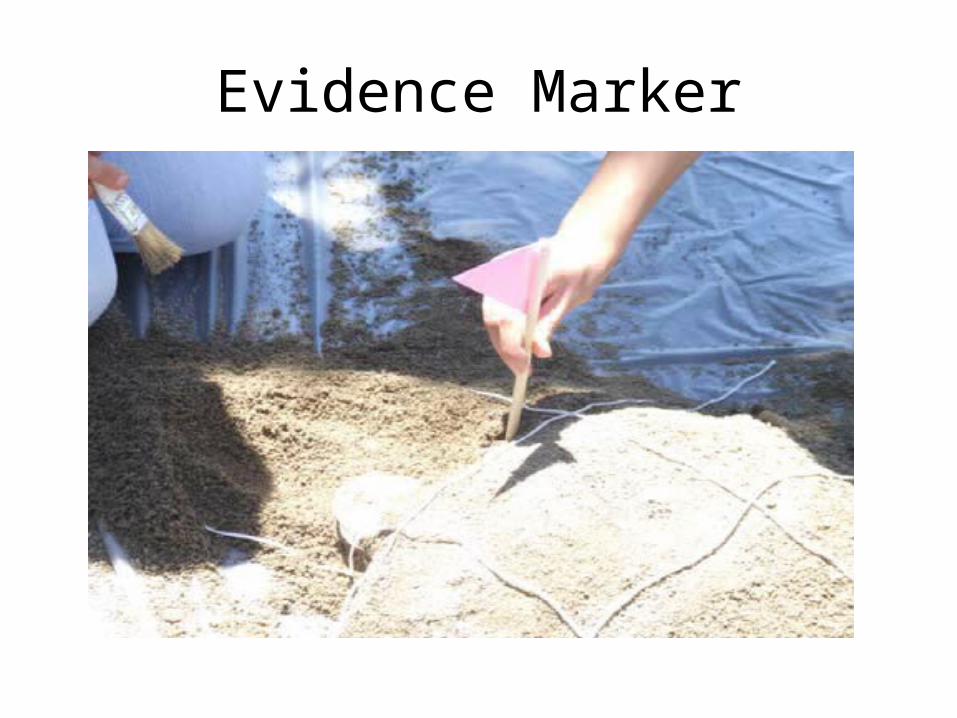
Evidence Marker
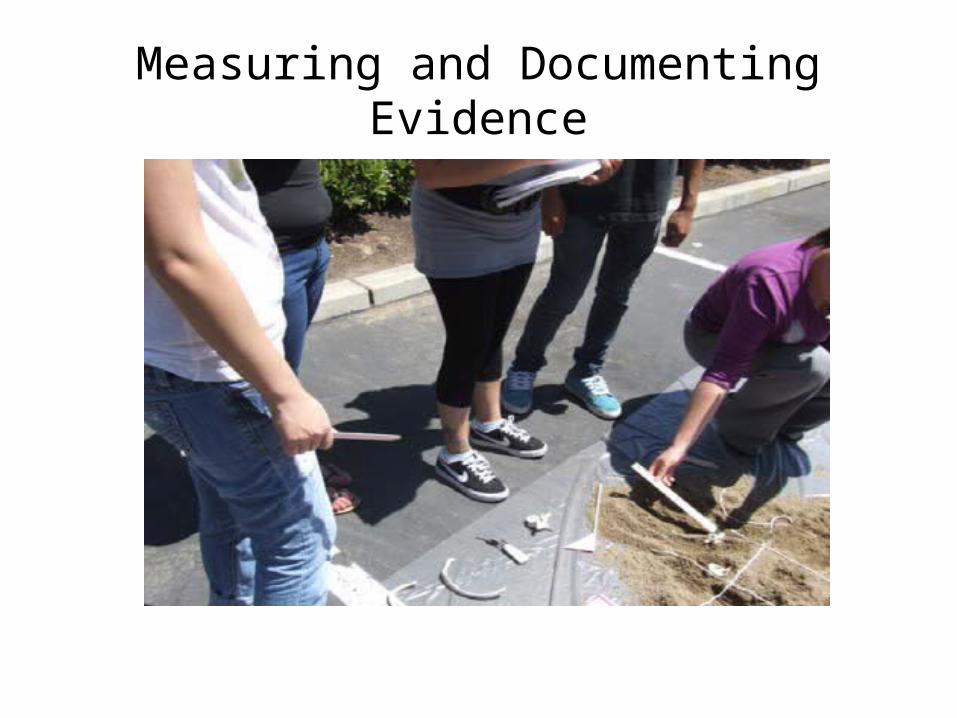
Measuring and Documenting Evidence
Review Questions
1. Name the four objectives of the lab.
2. Name each piece of equipment used and its purpose.
3. Why is it important to determine a specific starting point for this lab?
4. Should you take photographs before beginning a dig?
5. Should you take photographs as evidence is found?