Embed Size (px)
Citation preview

Excel Electronic Membership
Directions, Examples and Operational Hints.
Created by: Jim Armbruster

What Do I Need to Start Win Zip
• Before you can open the membership excel template you must have WinZip installed on your computer. Click on the icon below to access a Powerpoint presentation on downloading WinZip
• It is recommended that you contact your local network administrator and IT staff to secure assistance if needed.
Microsoft PowerPoint
Presentation
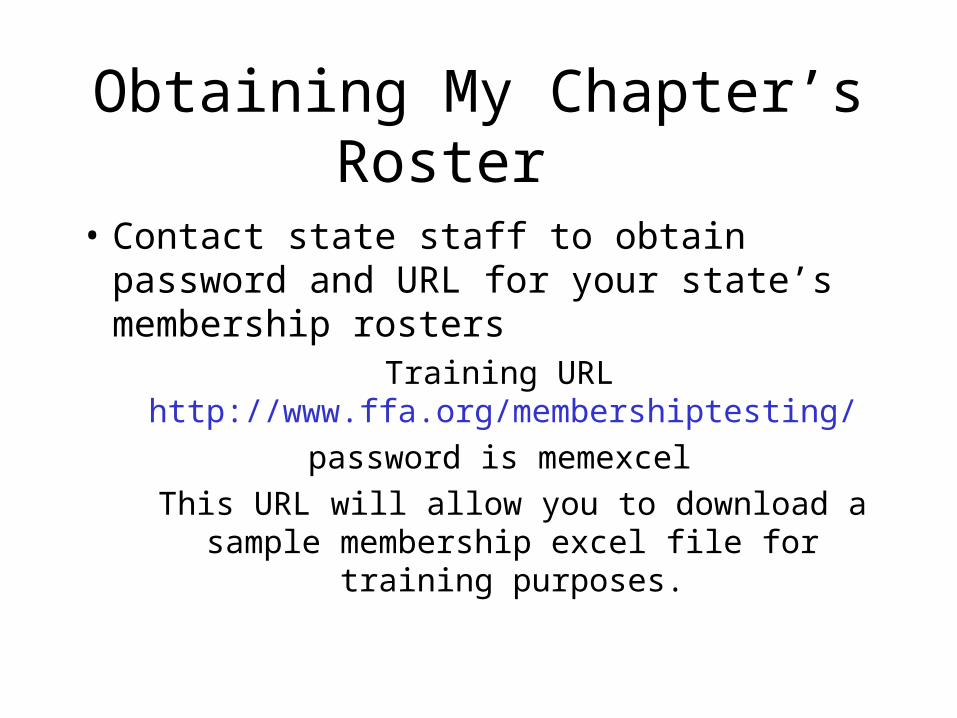
Obtaining My Chapter’s Roster
• Contact state staff to obtain password and URL for your state’s membership rosters
Training URL http://www.ffa.org/membershiptesting/
password is memexcel
This URL will allow you to download a sample membership excel file for training purposes.
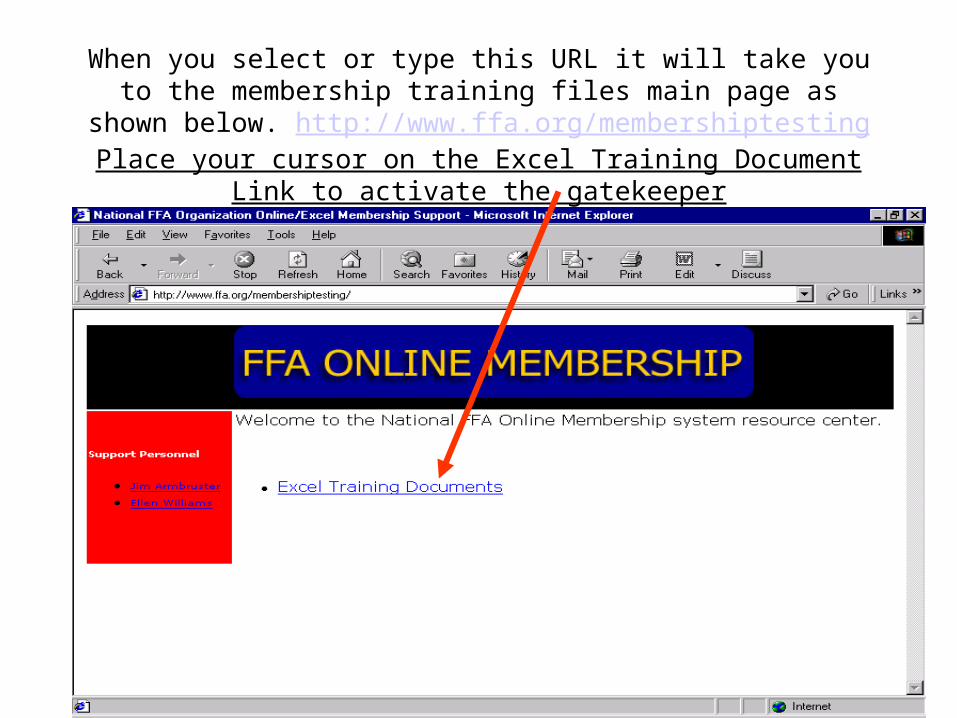
When you select or type this URL it will take you to the membership training files main page as shown below.
http://www.ffa.org/membershiptestingPlace your cursor on the Excel Training Document Link to activate the
gatekeeper
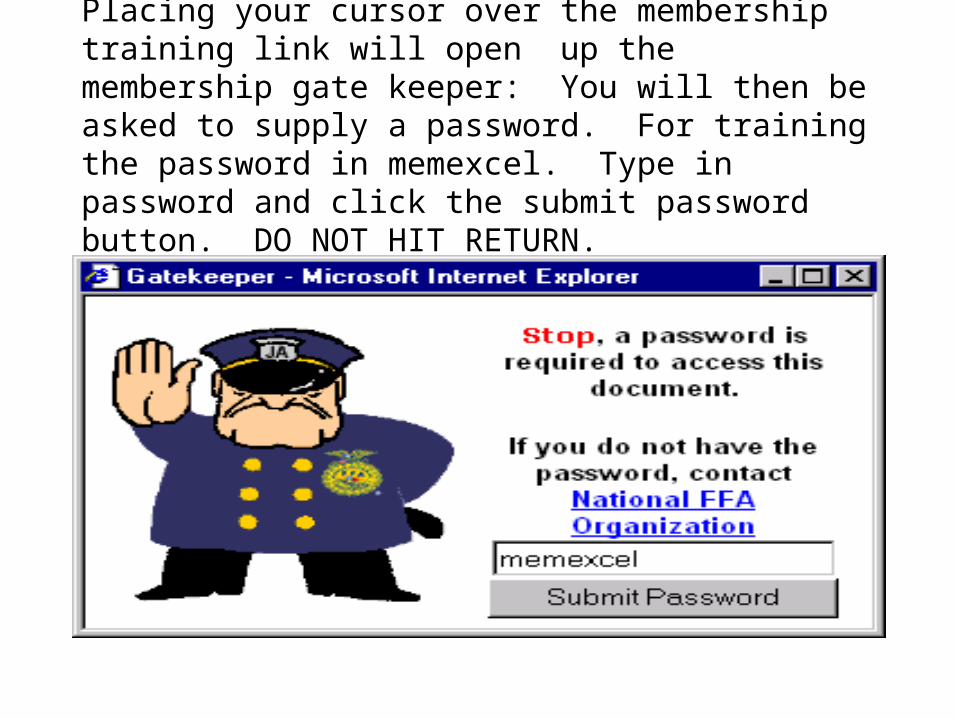
Placing your cursor over the membership training link will open up the membership gate keeper: You will then be asked to supply a password. For training the password in memexcel. Type in password and click the submit password button. DO NOT HIT RETURN.
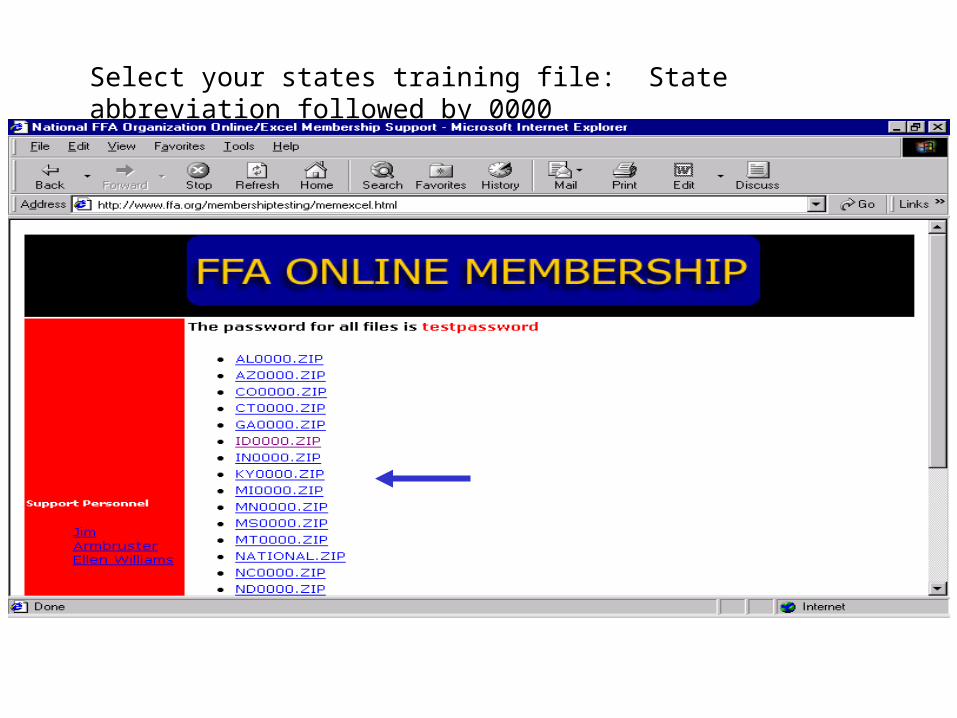
Select your states training file: State abbreviation followed by 0000
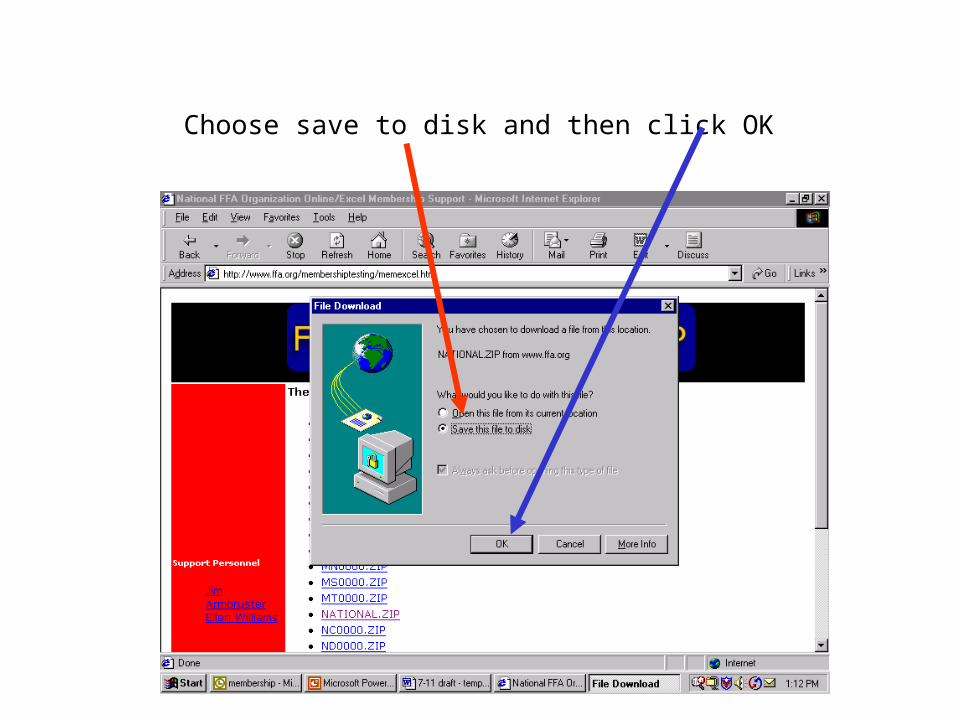
Choose save to disk and then click OK
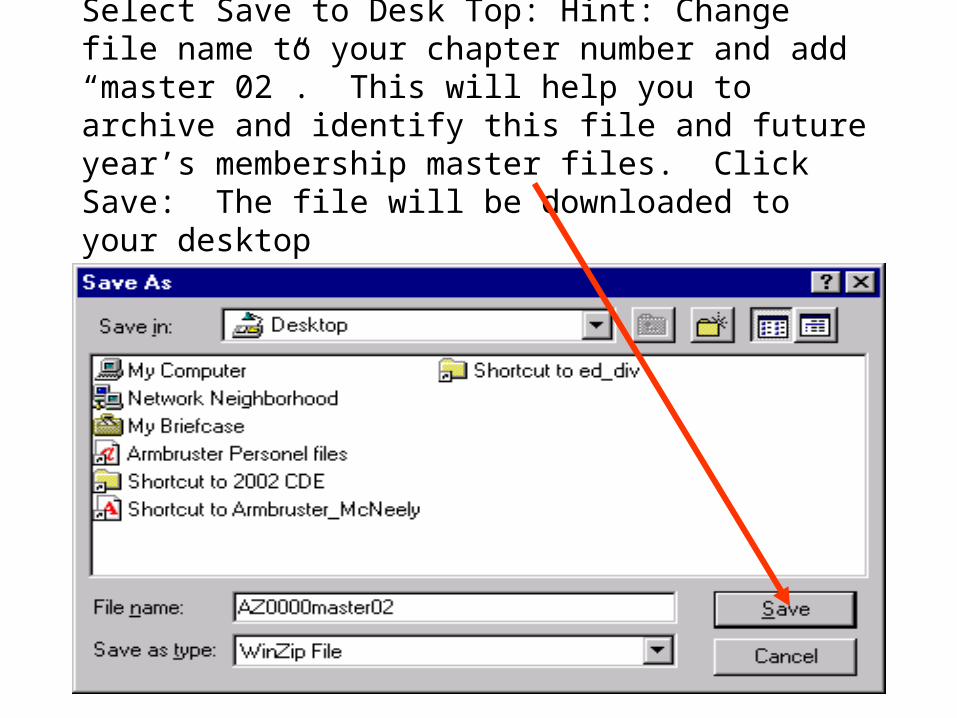
Select Save to Desk Top: Hint: Change file name to your chapter number and add “master 02”. This will help you to archive and identify this file and future year’s membership master files. Click Save: The file will be downloaded to your desktop
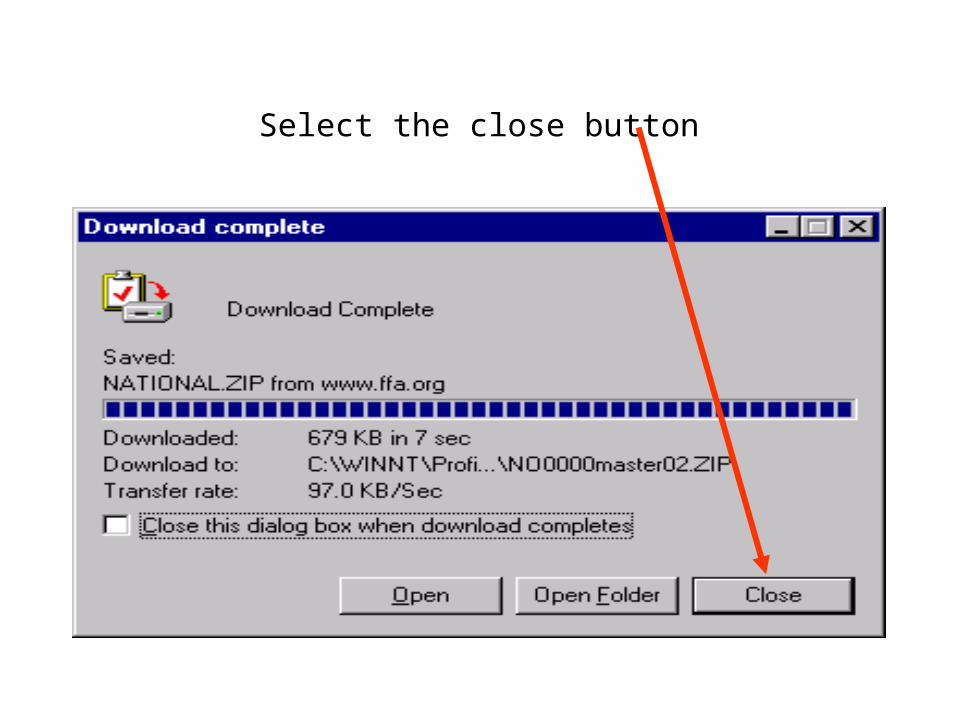
Select the close button
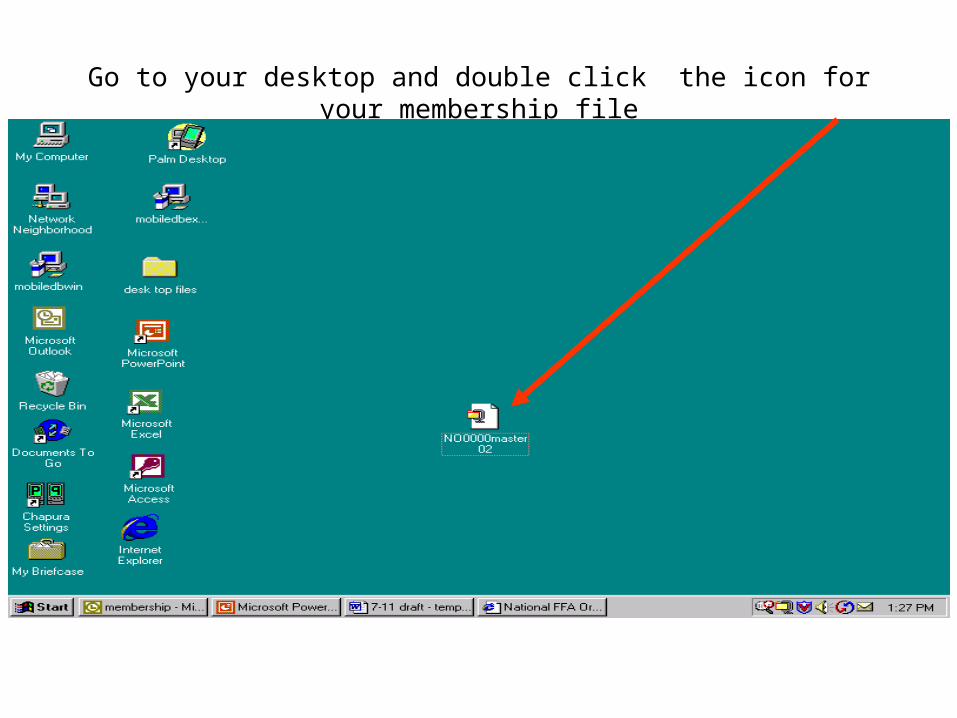
Go to your desktop and double click the icon for your membership file
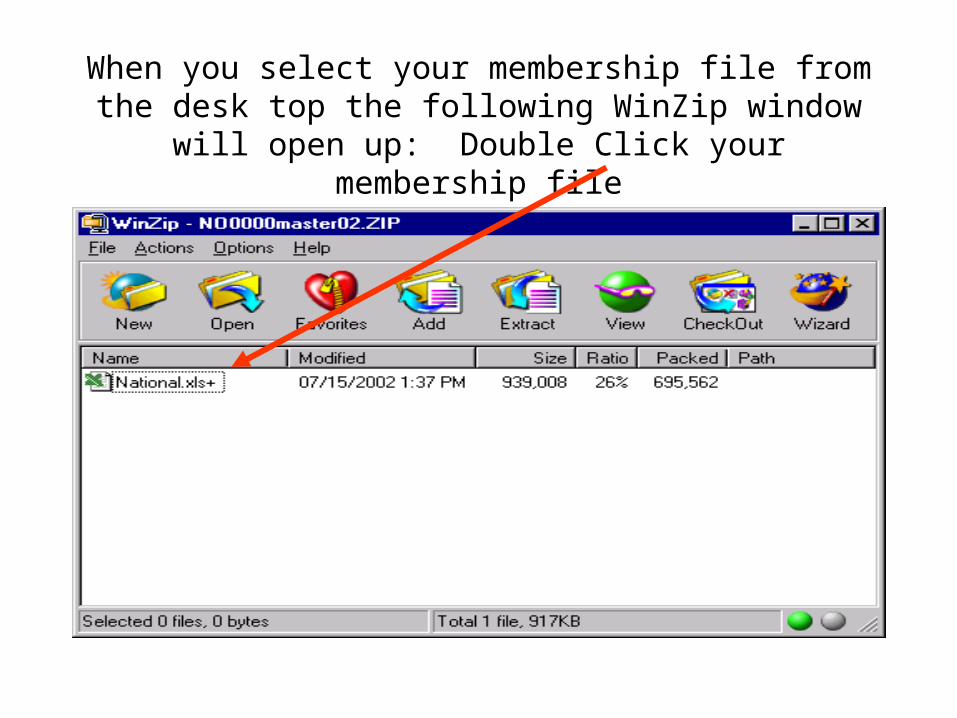
When you select your membership file from the desk top the following WinZip window will open up: Double Click your
membership file
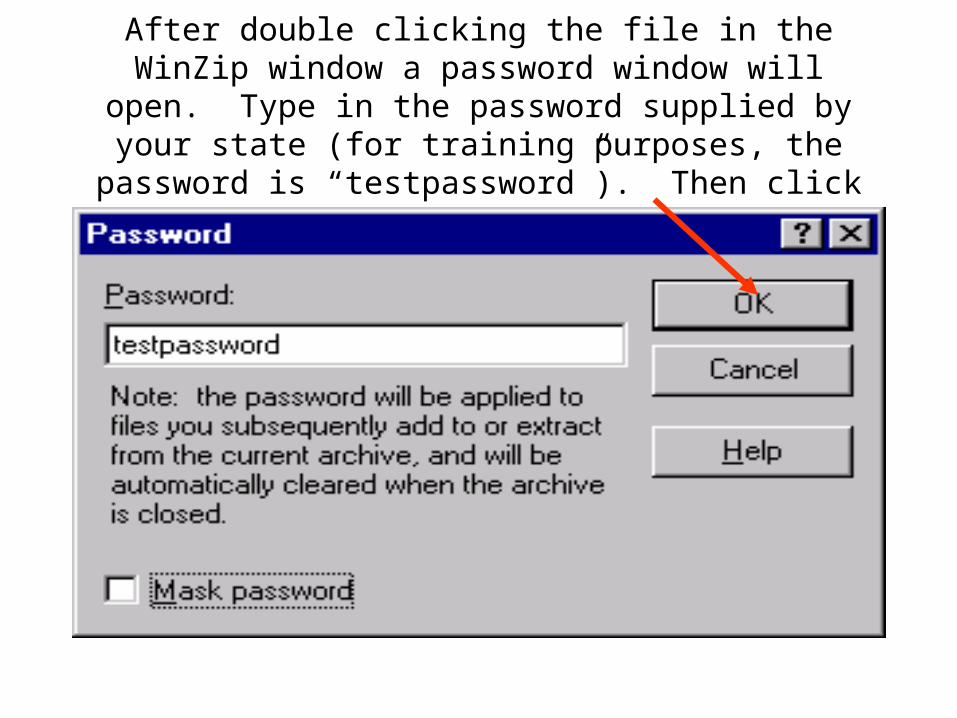
After double clicking the file in the WinZip window a password window will open. Type in the password supplied
by your state (for training purposes, the password is “testpassword”). Then click OK
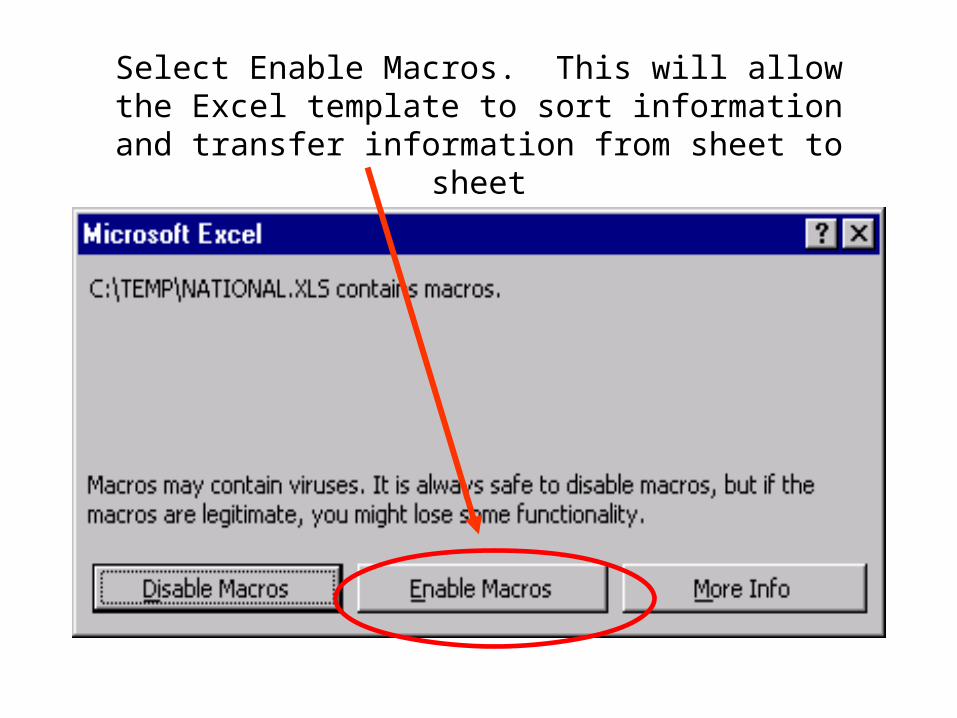
Select Enable Macros. This will allow the Excel template to sort information and transfer information from sheet to sheet
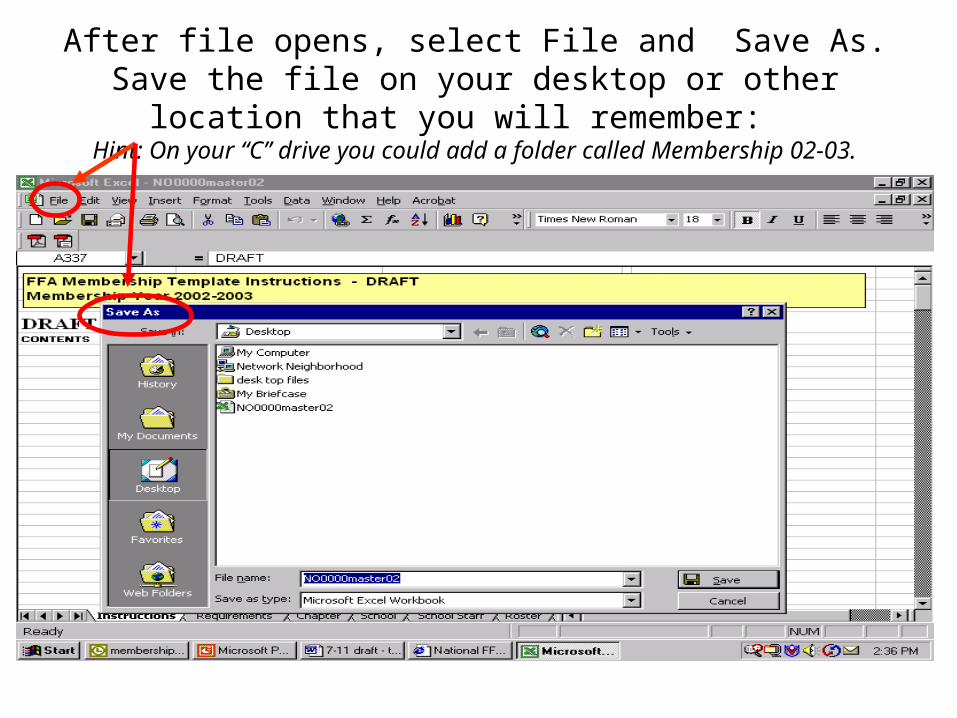
After file opens, select File and Save As. Save the file on your desktop or other location that you will remember:
Hint: On your “C” drive you could add a folder called Membership 02-03.
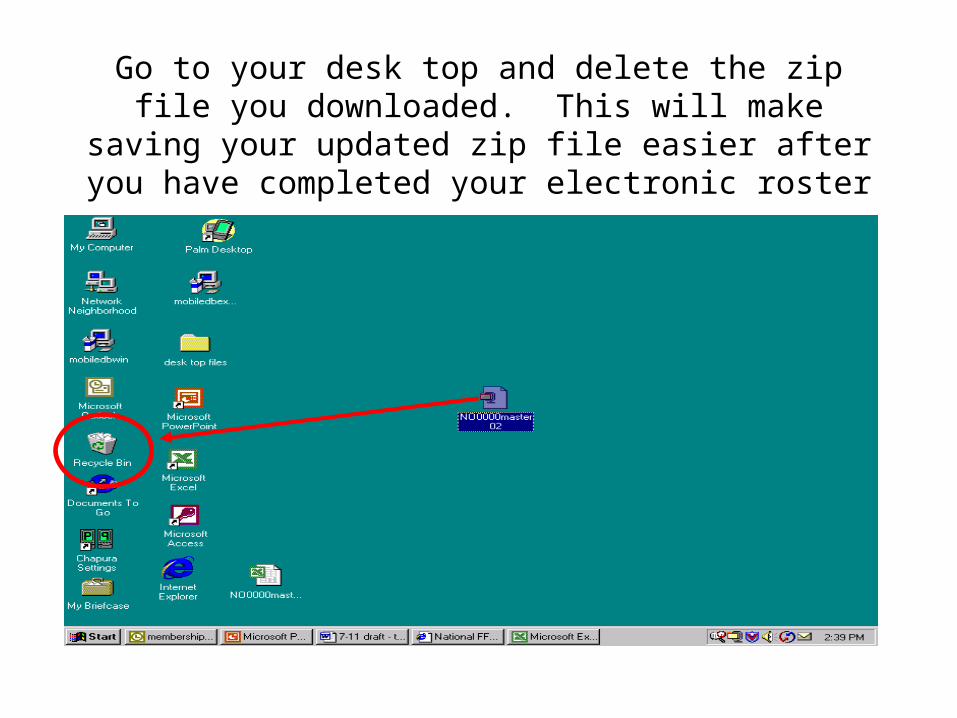
Go to your desk top and delete the zip file you downloaded. This will make saving your updated zip file easier after you
have completed your electronic roster
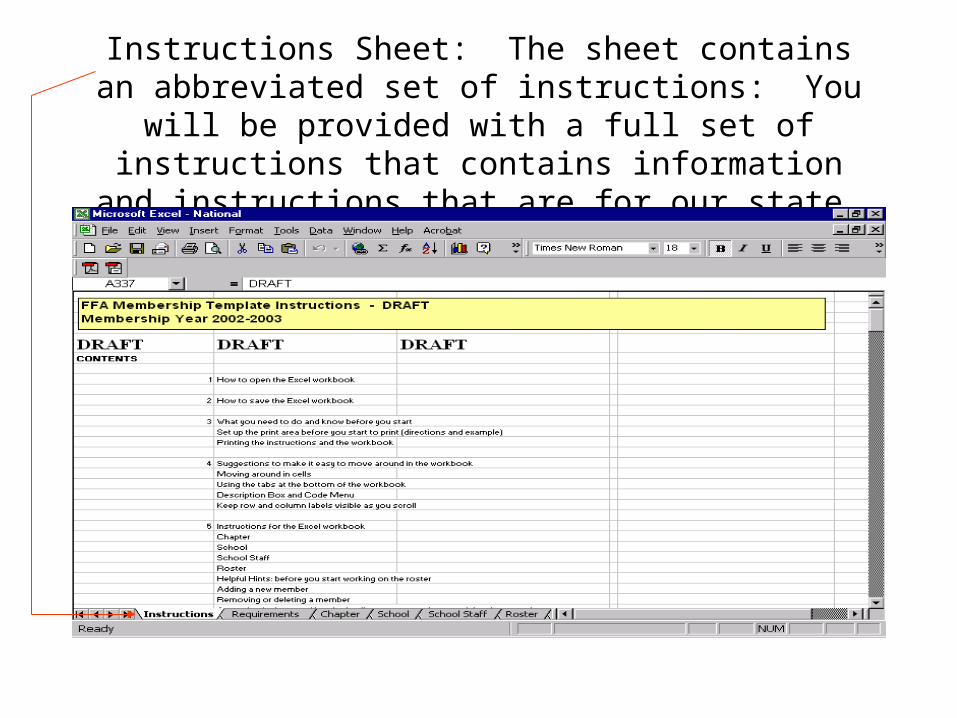
Instructions Sheet: The sheet contains an abbreviated set of instructions: You will be provided with a full set of
instructions that contains information and instructions that are for our state.

Requirements page list complete minimum and preferred equipment, operational systems and internet connections for
Mac and P.C systems
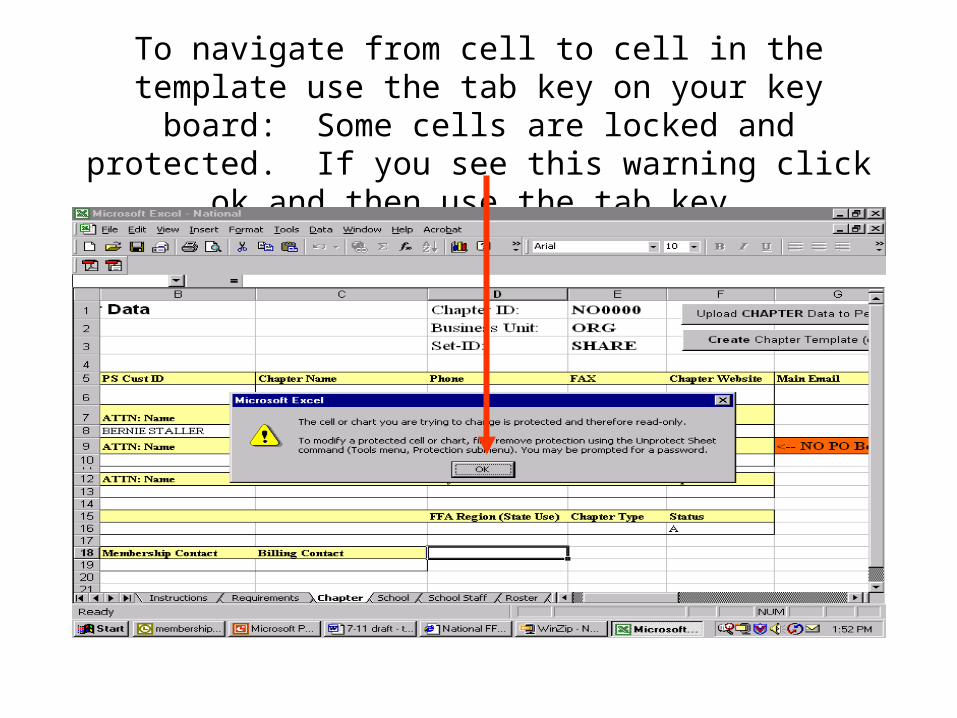
To navigate from cell to cell in the template use the tab key on your key board: Some cells are locked and protected. If
you see this warning click ok and then use the tab key.

Chapter Tab: Complete necessary information for your chapter: Primary, Shipping and Billing fields help us to
contact the correct people. Note: All three fields can contain the same name:
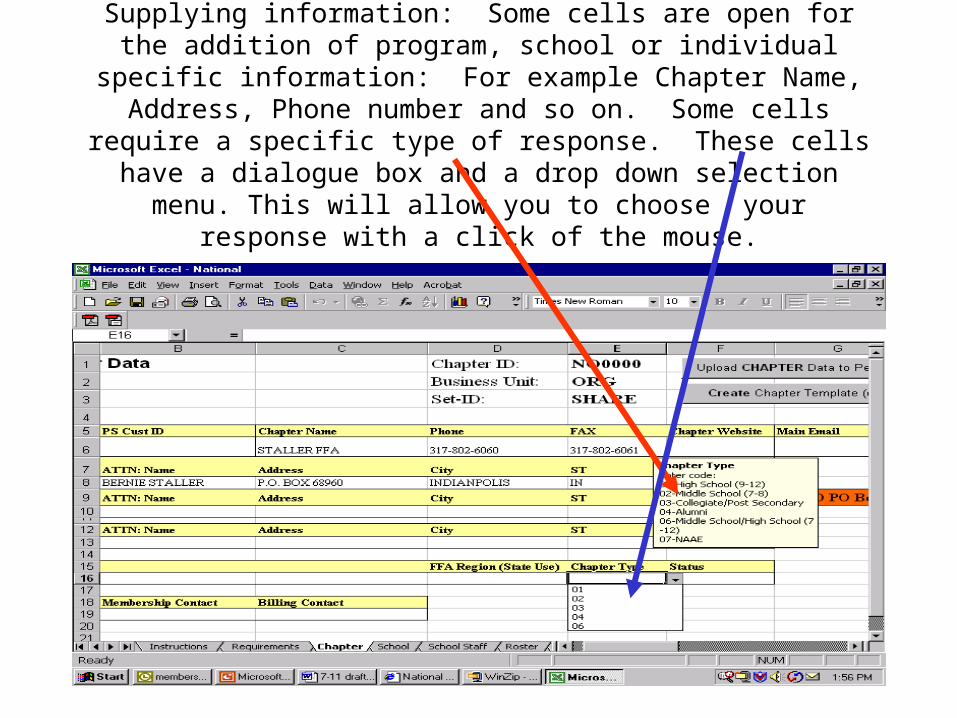
Supplying information: Some cells are open for the addition of program, school or individual specific information: For example Chapter Name,
Address, Phone number and so on. Some cells require a specific type of response. These cells have a dialogue box and a drop down selection menu. This will allow you to choose your response with a click of the
mouse.
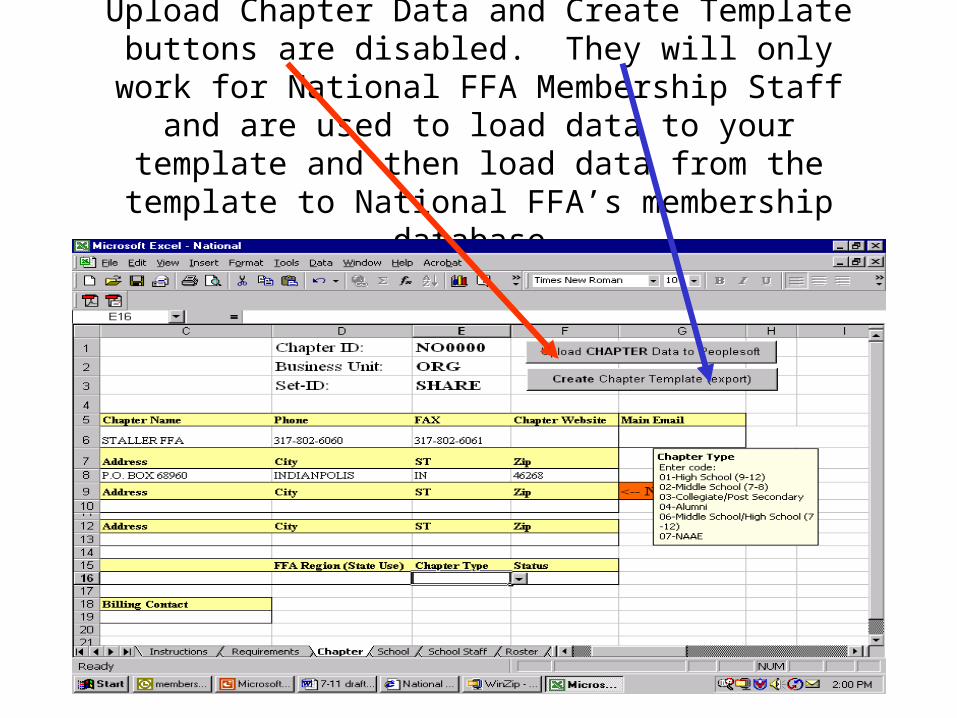
Upload Chapter Data and Create Template buttons are disabled. They will only work for National FFA Membership Staff and are used to load data to your template and then load
data from the template to National FFA’s membership database.
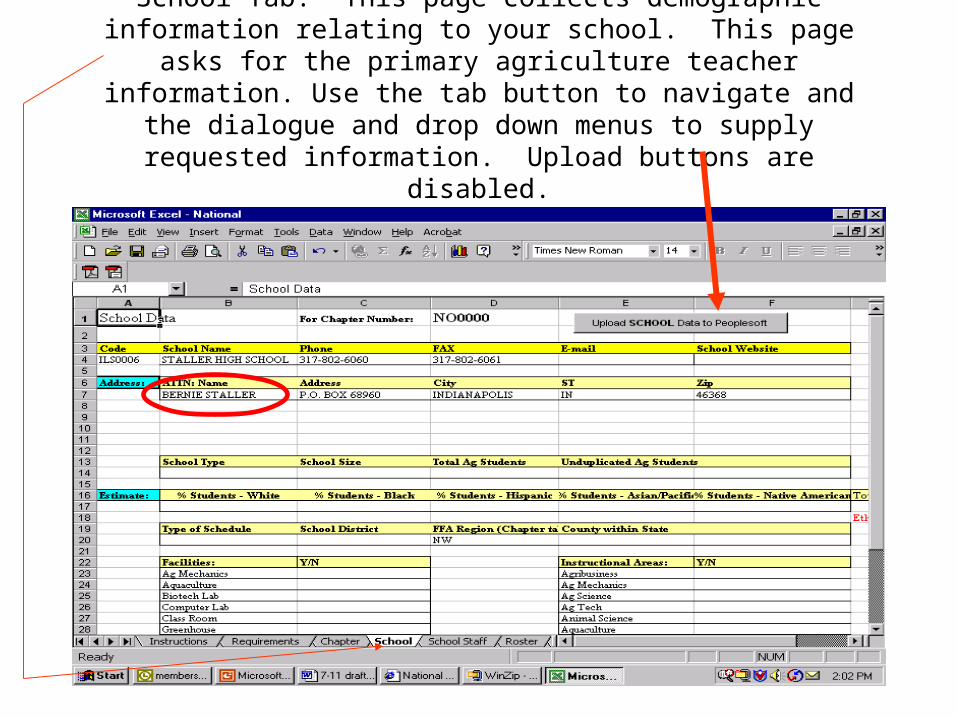
School Tab: This page collects demographic information relating to your school. This page asks for the primary agriculture teacher information. Use the tab button to navigate and the dialogue and drop down menus to
supply requested information. Upload buttons are disabled.
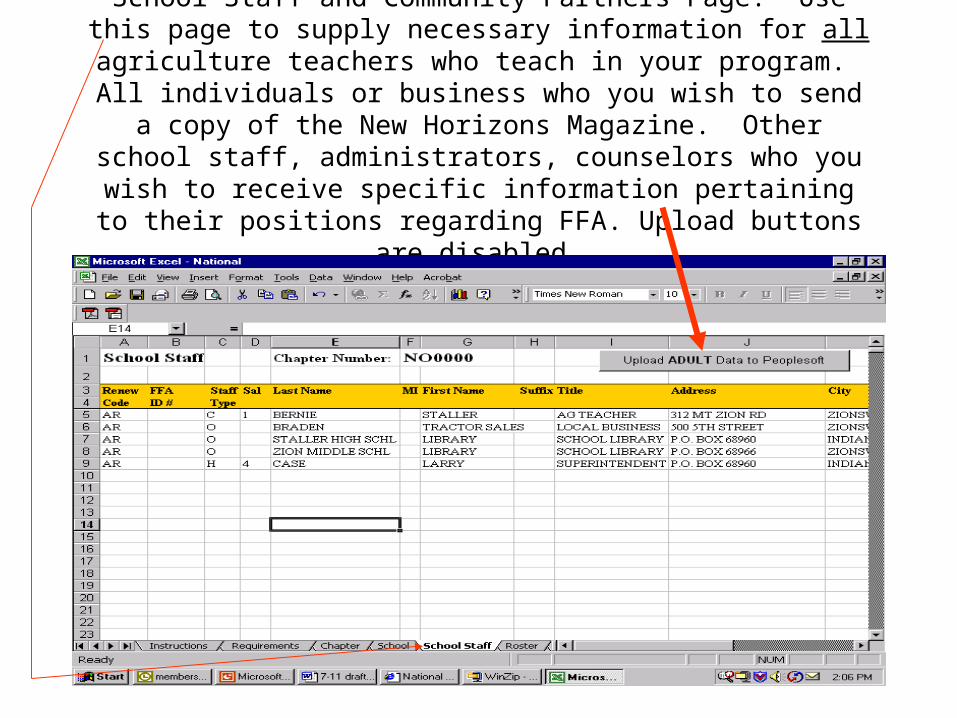
School Staff and Community Partners Page: Use this page to supply necessary information for all agriculture teachers who teach in your
program. All individuals or business who you wish to send a copy of the New Horizons Magazine. Other school staff, administrators, counselors who you wish to receive specific information pertaining to their positions
regarding FFA. Upload buttons are disabled.
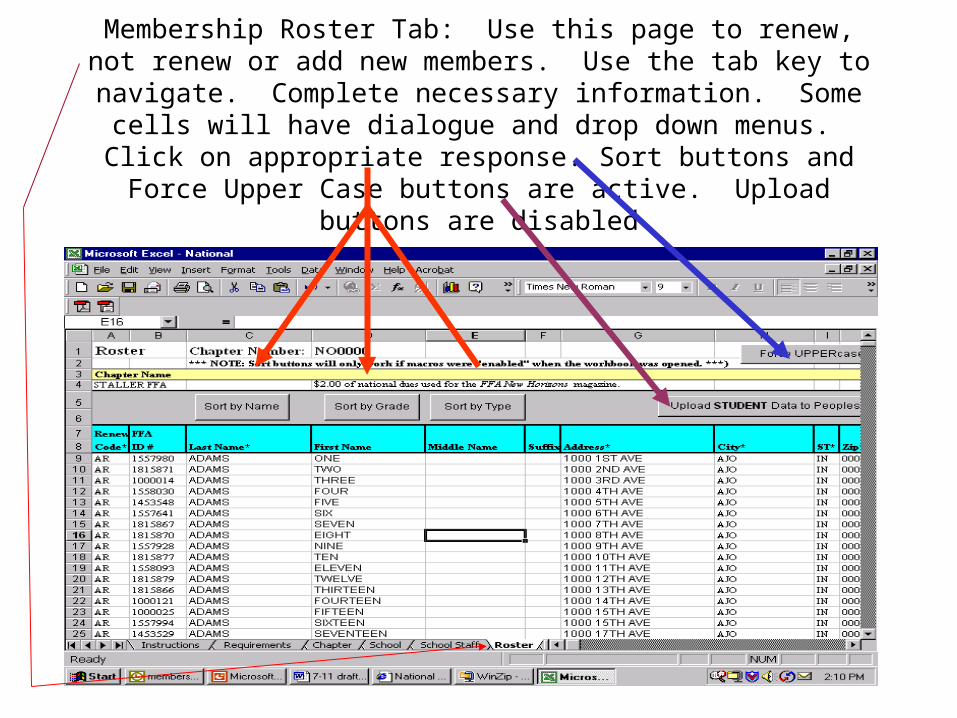
Membership Roster Tab: Use this page to renew, not renew or add new members. Use the tab key to navigate. Complete necessary information.
Some cells will have dialogue and drop down menus. Click on appropriate response. Sort buttons and Force Upper Case buttons are
active. Upload buttons are disabled

Totals Tab: This page automatically computes the amount of State and National Dues: You will need to add any chapter fees to the appropriate cells. Print and use to secure dues
payment

Helpful Hints• Save Often!• Keep only one master file per membership year.• Complete as much information as you can. Less work next
year as information you supply will be on next year’s roster.
• Keep a back-up file of the master file in a safe location. As you make changes to the master file update your back-up file.
• Print a hard copy of your master file before you add, revise or change information.
• Print a copy of the file after you have made all necessary pages and before you send it to your state staff.
What to do next
• You will be receiving your membership file, this presentation and a word file with any further instructions on the AZFFA Resource CD in August.
• Please call with any questions.
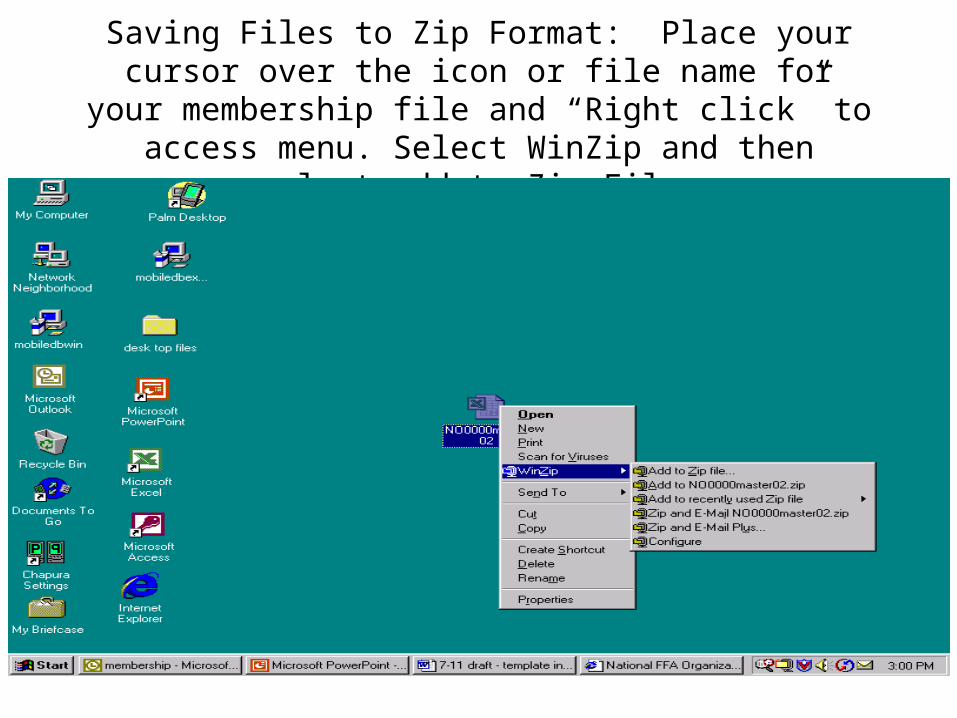
Saving Files to Zip Format: Place your cursor over the icon or file name for your membership file and “Right click” to
access menu. Select WinZip and then select add to Zip File.
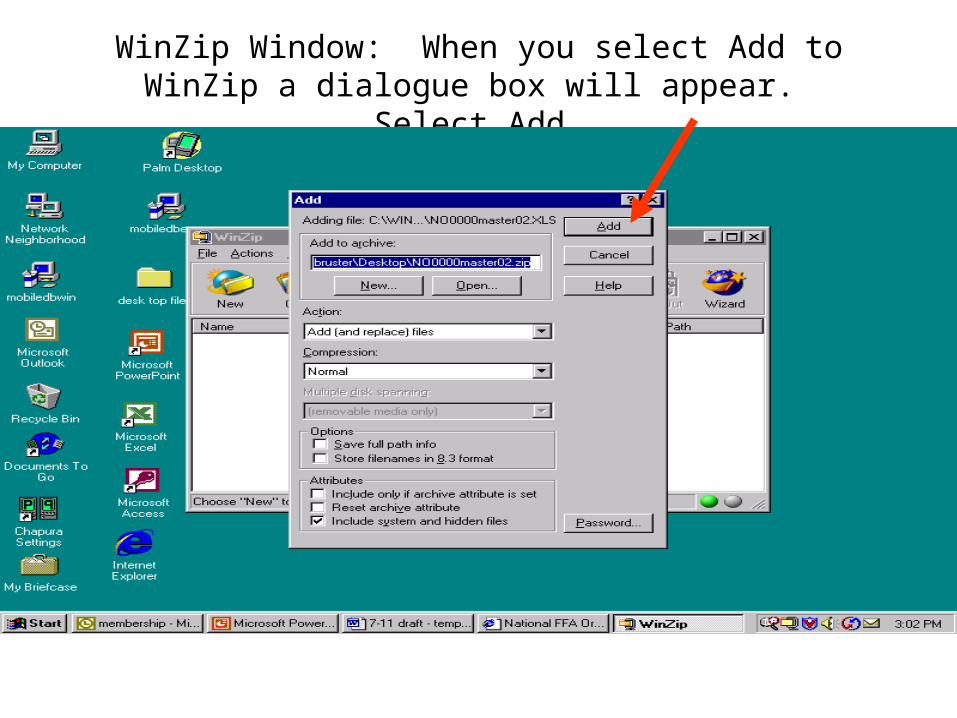
WinZip Window: When you select Add to WinZip a dialogue box will appear. Select Add.
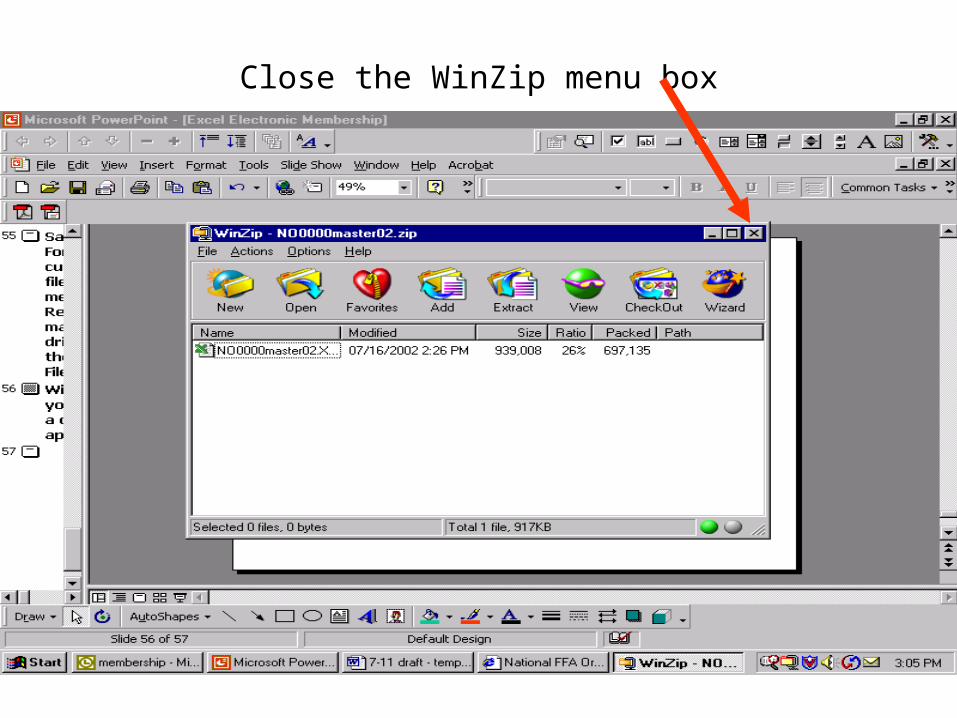
Close the WinZip menu box

Finding the Zipped File: Go to the location that the original excel file was saved. In this same location you will find a
copy of the file in zipped format.
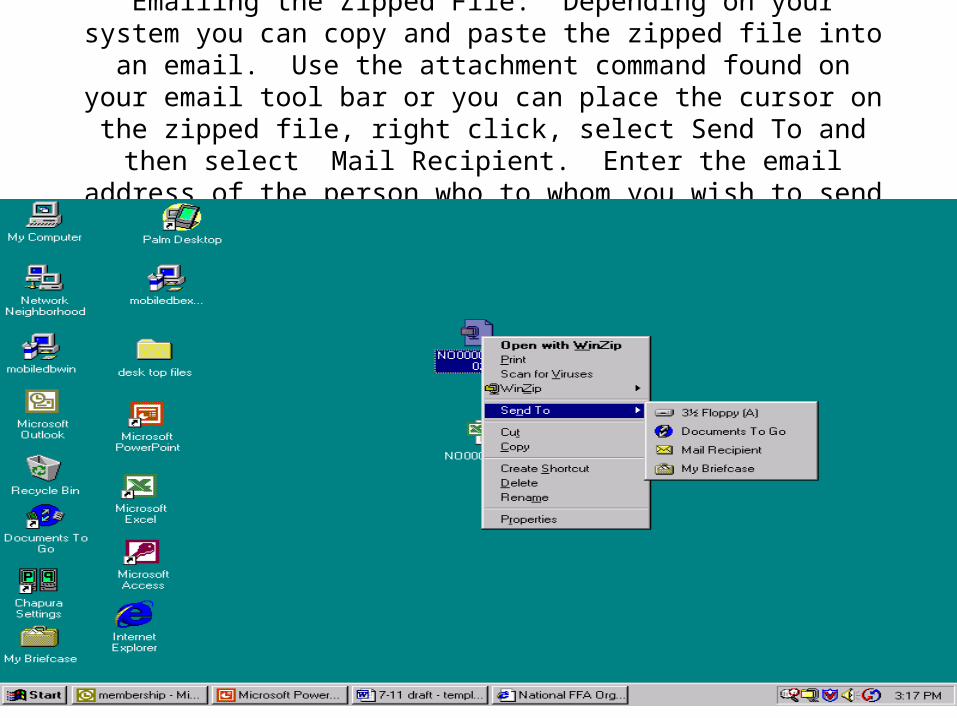
Emailing the Zipped File: Depending on your system you can copy and paste the zipped file into an email. Use the attachment command found on
your email tool bar or you can place the cursor on the zipped file, right click, select Send To and then select Mail Recipient. Enter the email address of the person who to whom you wish to send the zipped file.