Embed Size (px)
Citation preview

Submitted to:
MISS MARIJA CONCEPCION GARCIASubmitted by:
ALLANNA GRAESE UNIAS
PROJECT IN TLE

Lesson 52
MAKING CALADO EMBROIDERY
There are calado designs which have already been transferred to the fabrics
available in the market. What you just have to do then is to choose the color of the
scheme or the color combination to use. This would determine the color of
embroidery thread that you will use. You have to consider the color of the fabric in
selecting your color scheme.

MATERIALS TO BE USED
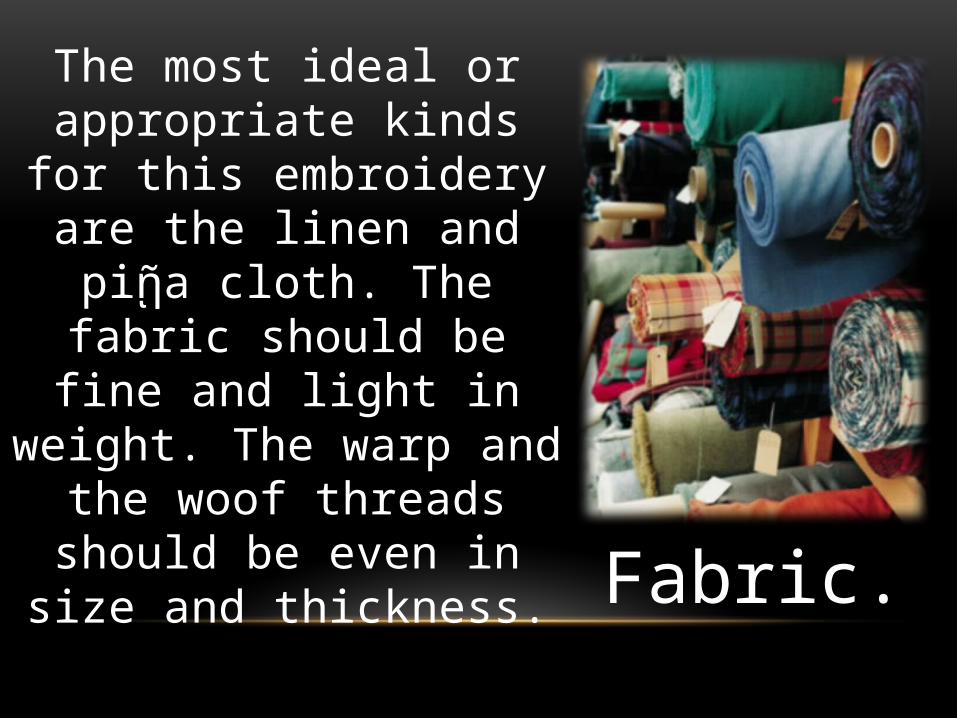
The most ideal or appropriate kinds for this embroidery are the linen
and piῇa cloth. The fabric should be fine and light in weight. The warp
and the woof threads should be even in size
and thickness.Fabric.
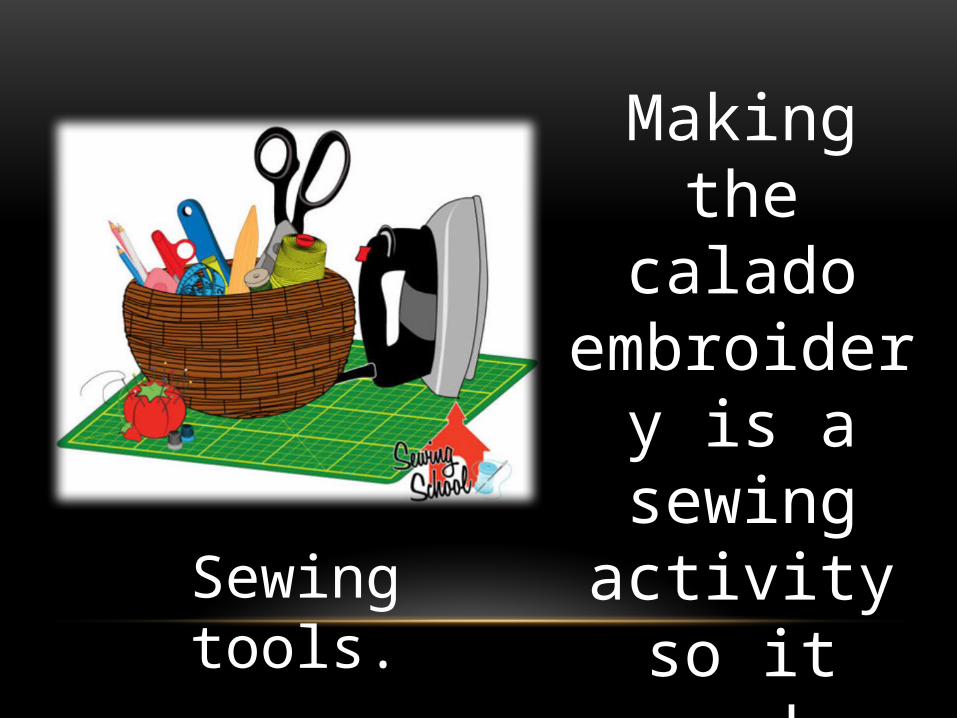
Making the calado
embroidery is a sewing activity
so it needs several sewing
tools.Sewing tools.
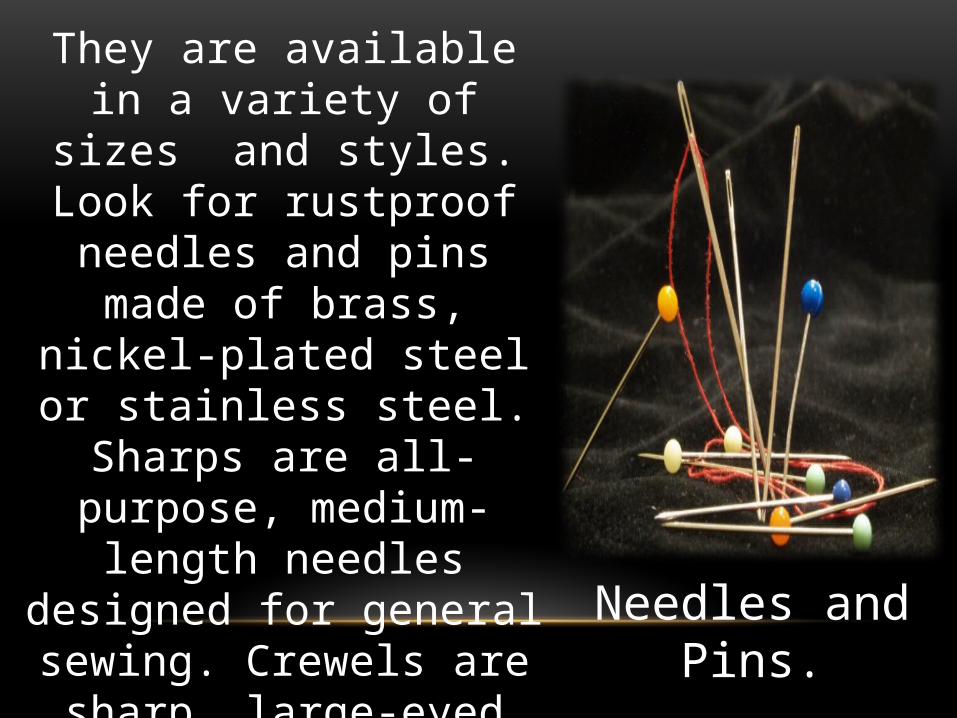
They are available in a variety of sizes and styles. Look for
rustproof needles and pins made of brass, nickel-plated steel or stainless steel. Sharps are all-
purpose, medium-length needles designed for general sewing.
Crewels are sharp, large-eyed medium-length needles designed for embroidery. Pins with colored ball heads are easier to see and
are less likely to be lost than those with flat heads.
Needles and Pins.
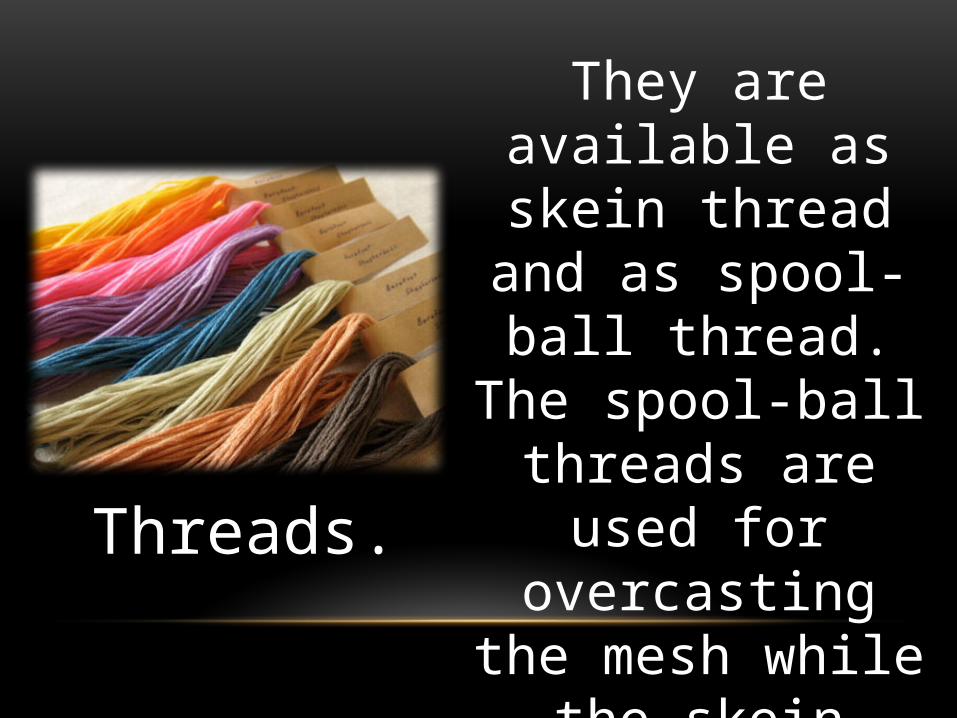
They are available as skein thread and as
spool-ball thread. The spool-ball threads are
used for overcasting the mesh while the skein
thread is used for embroidering the other
parts of the design.Threads.

It provides a safe and handy place to store
pins. One style is worn on the
wrist for convenience. Pin Cushion

It protects your finger
while sewing.
Thimble
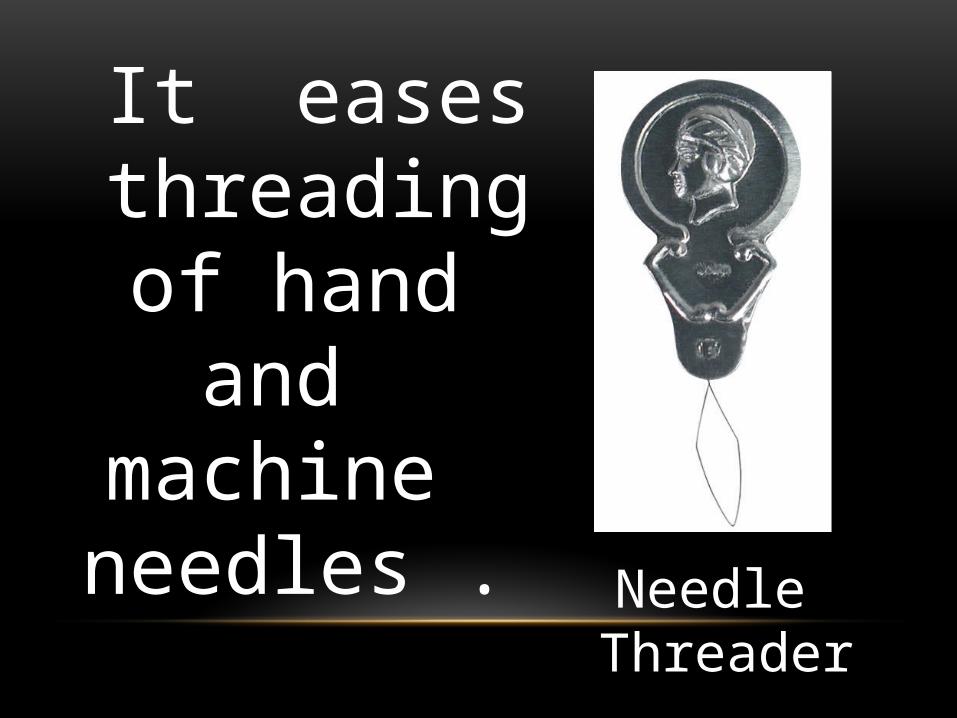
It eases threading of hand and machine needles . Needle Threader
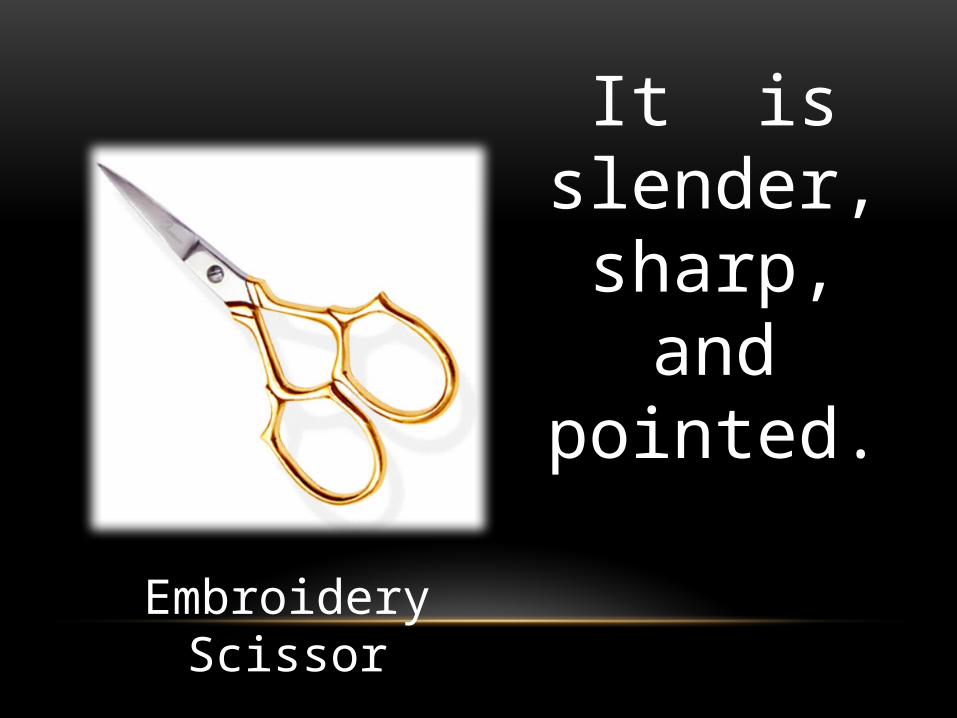
It is slender, sharp,
and pointed.
Embroidery Scissor
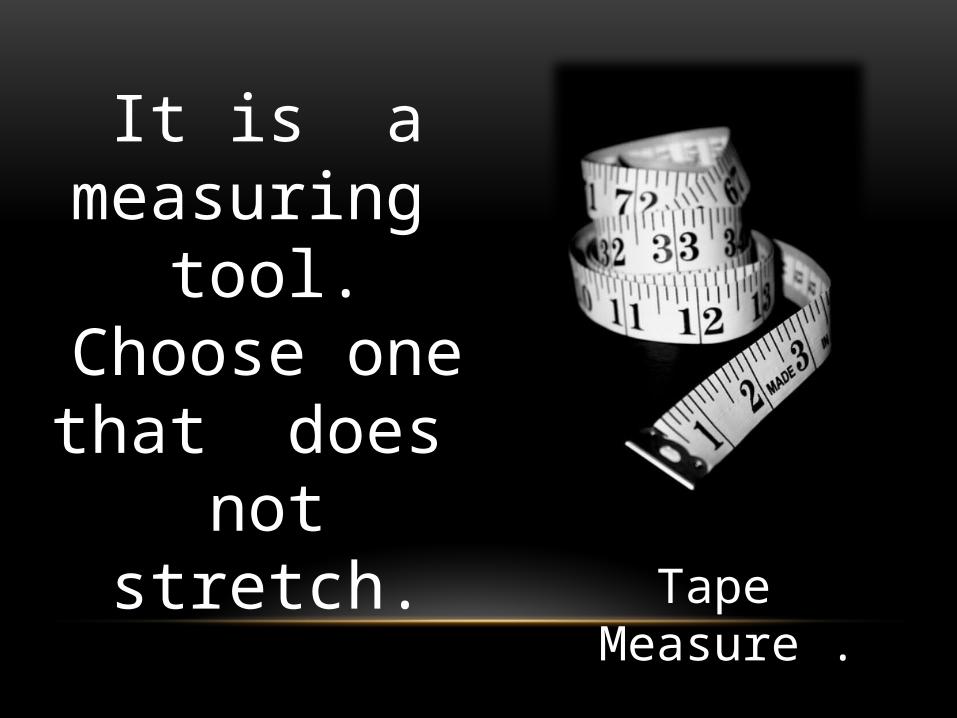
It is a measuring
tool. Choose one that does
not stretch. Tape Measure .

It is a container where the
sewing tools are kept.
Sewing Box

Other materials needed:
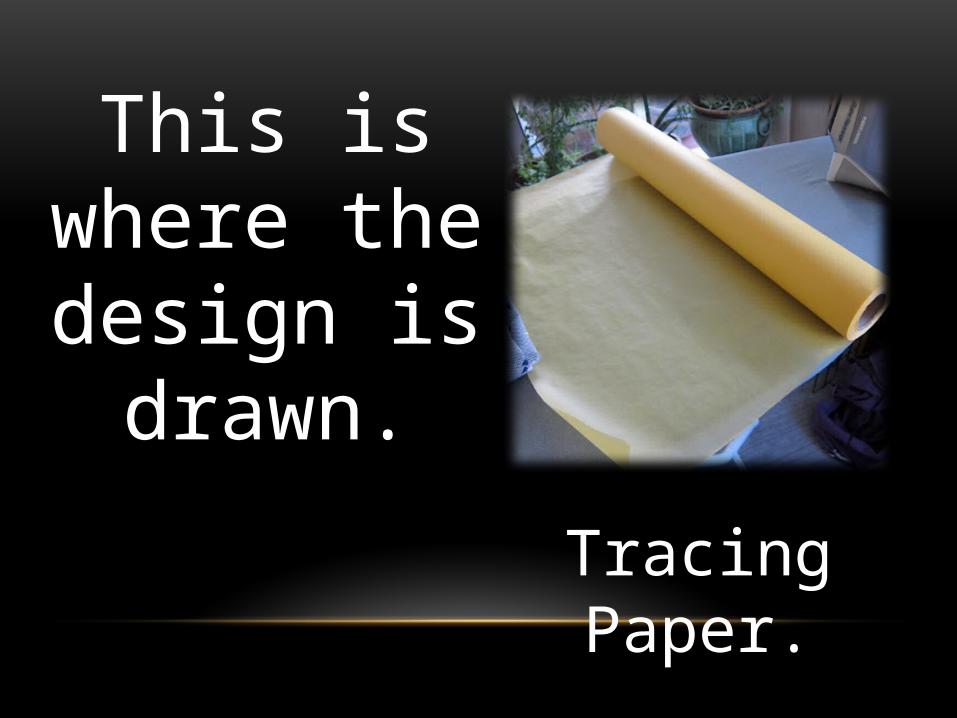
This is where the design is drawn. Tracing Paper.
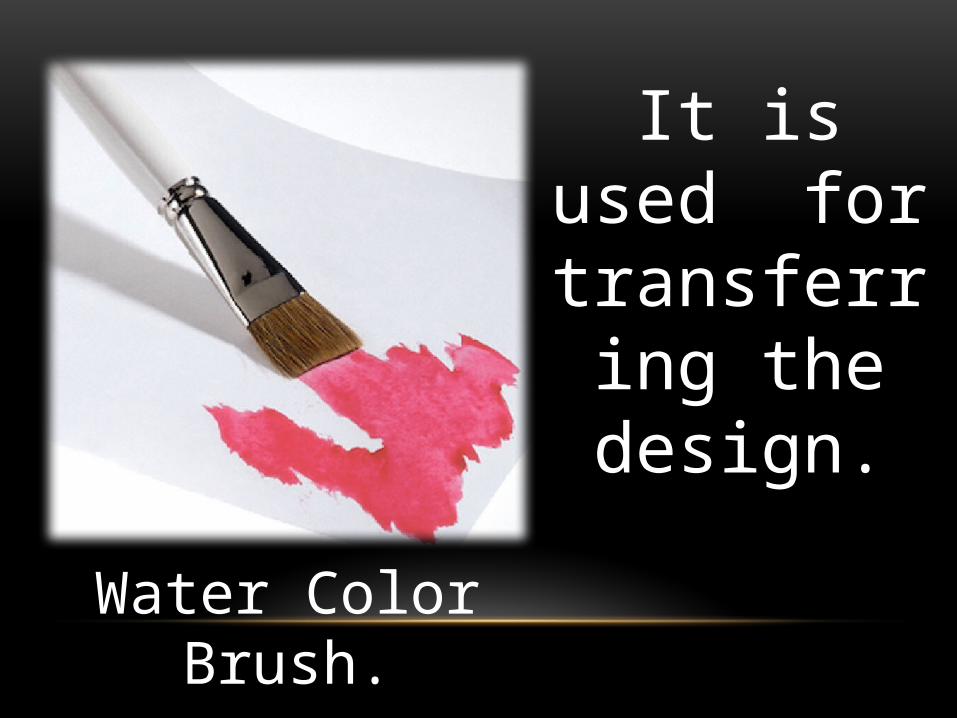
It is used for
transferring the design.
Water Color Brush.
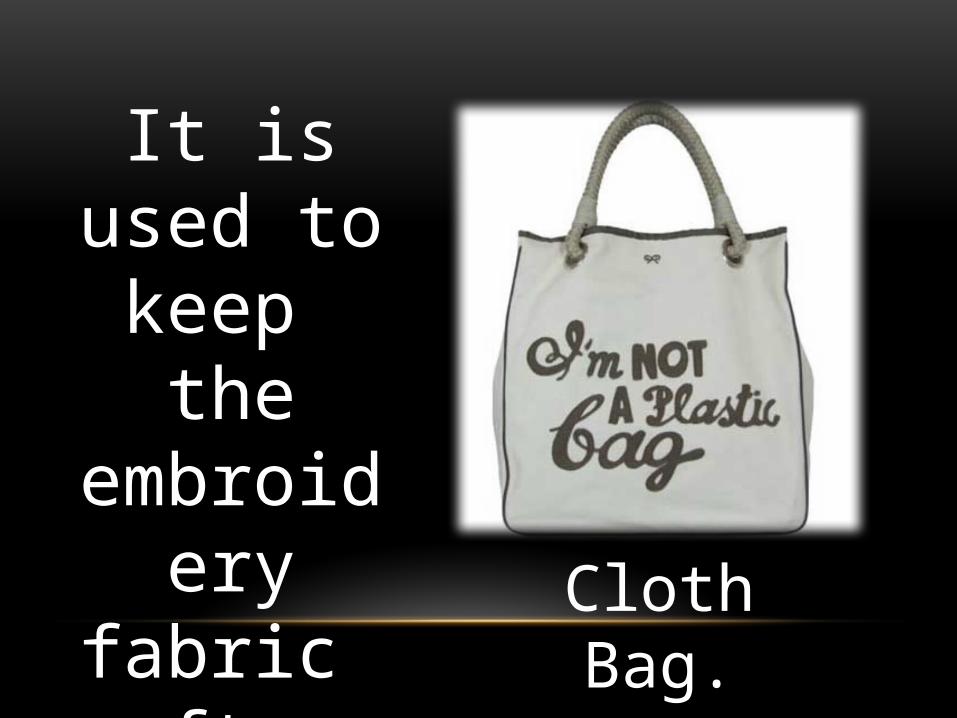
It is used to keep the
embroidery fabric after working on
it. Cloth Bag.

DIFFERENT COLOR SCHEMES
The same principles apply to embroidery. To create your color
scheme, make use of combination of colors called harmonies.
Combination of colors based on the position in the color wheel
determines the kind of harmony or scheme used.
Stitches for
Calado Embroidery
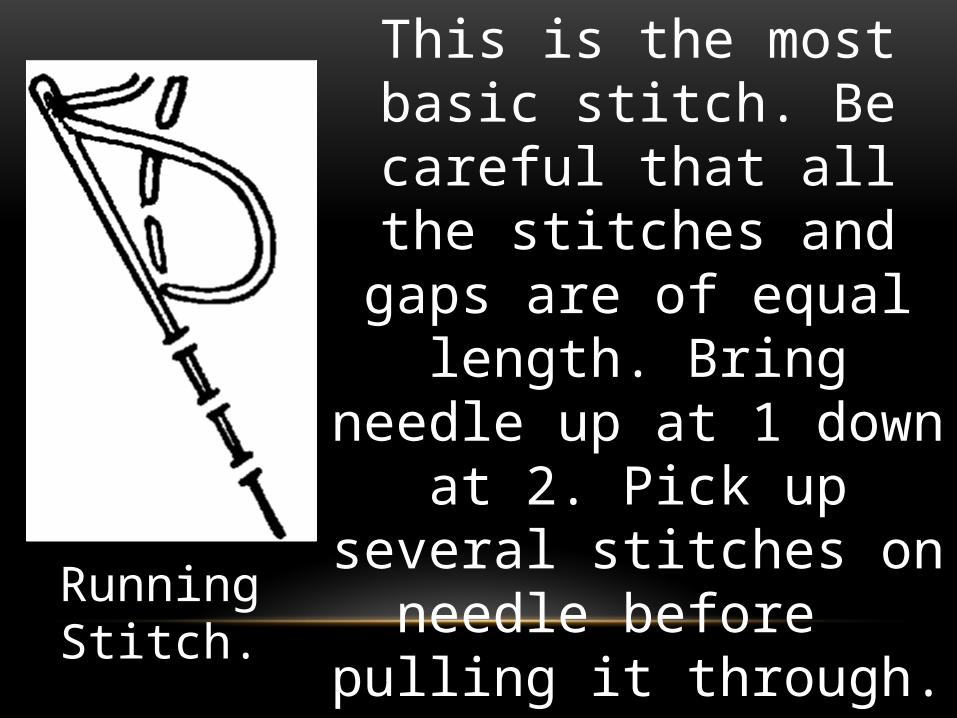
This is the most basic stitch. Be careful that all the stitches and gaps are of equal length.
Bring needle up at 1 down at 2. Pick up several stitches on
needle before pulling it through. A variation of this
stitch is to work a thread of a different color in between the stitches. Be careful not to pull
the thread to tight.
Running Stitch.

Bring the needle up at 1 and down through 2, completing the first stitch. Then bring the needle through at 3 and carry it back down again at 1
to complete the second stitch. Distance between 3-1 and 1-2
should be equal. Repeat sequence for next stitch , needle entering at 2 should go into hole made by thread emerging from point 1 of previous stitch. Be careful that all stitches
should be even.
Back Stitch.

It can be threaded in a similar way to running stitch. To
work single-threaded line, use a blunt needle to
lace the yarn under each stitch.
Back Stitch.

Bring the needle out at 1, insert at 2 and exit a
half stitch back at 3. Distance 1-3 and 3-2 should be equal. Note that point 3 of previous stitch is now 1 and the needle emerging at 3 is coming from hole made
by thread entering at point 2 of previous stitch.
Stem Stitch
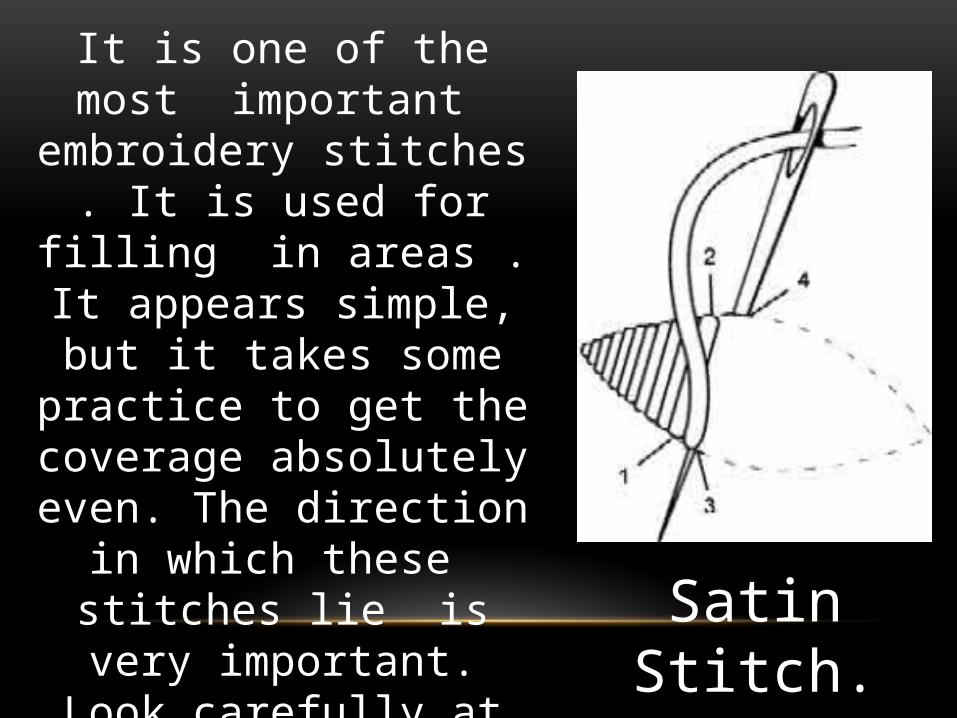
It is one of the most important embroidery stitches . It is used for filling in areas . It appears
simple, but it takes some practice to get the coverage
absolutely even. The direction in which these stitches lie is
very important. Look carefully at the design before you begin stitching as the direction you choose will influence the way
the light reflects off the area and the look of the filled space.
Satin Stitch.
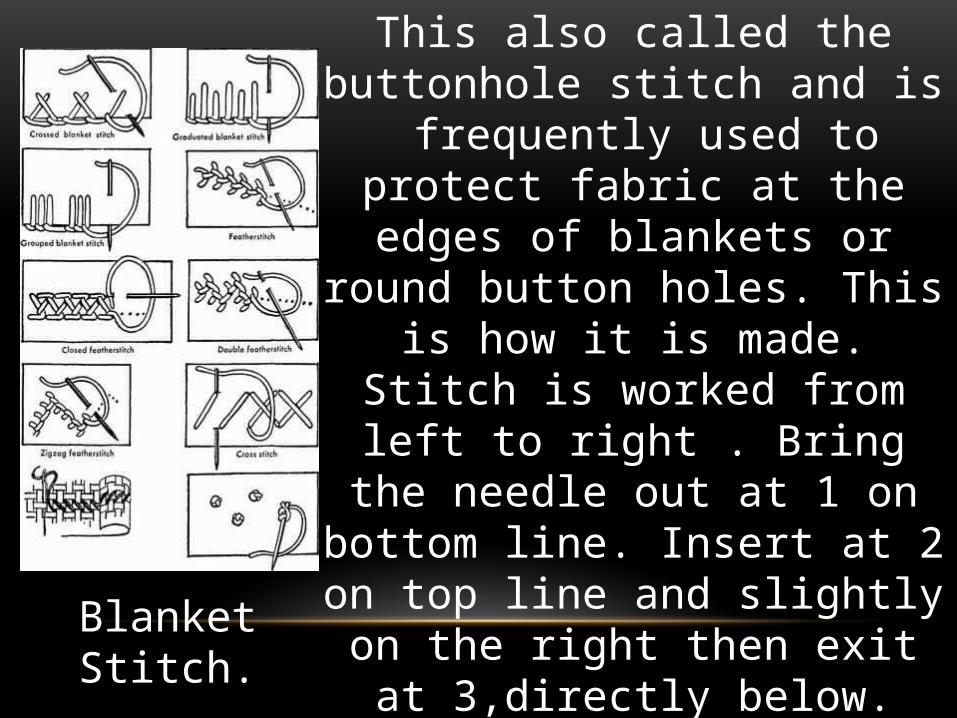
This also called the buttonhole stitch and is frequently used to protect fabric
at the edges of blankets or round button holes. This is how it is made.
Stitch is worked from left to right . Bring the needle out at 1 on bottom line.
Insert at 2 on top line and slightly on the right then exit at 3,directly below. Before pulling needle through, carry
yarn under point of needle. Proceed to the next stitch. Point 3 of previous
stitch is now point 1. Work entire row in the same way, keeping height of
stitches even throughout.
Blanket Stitch.
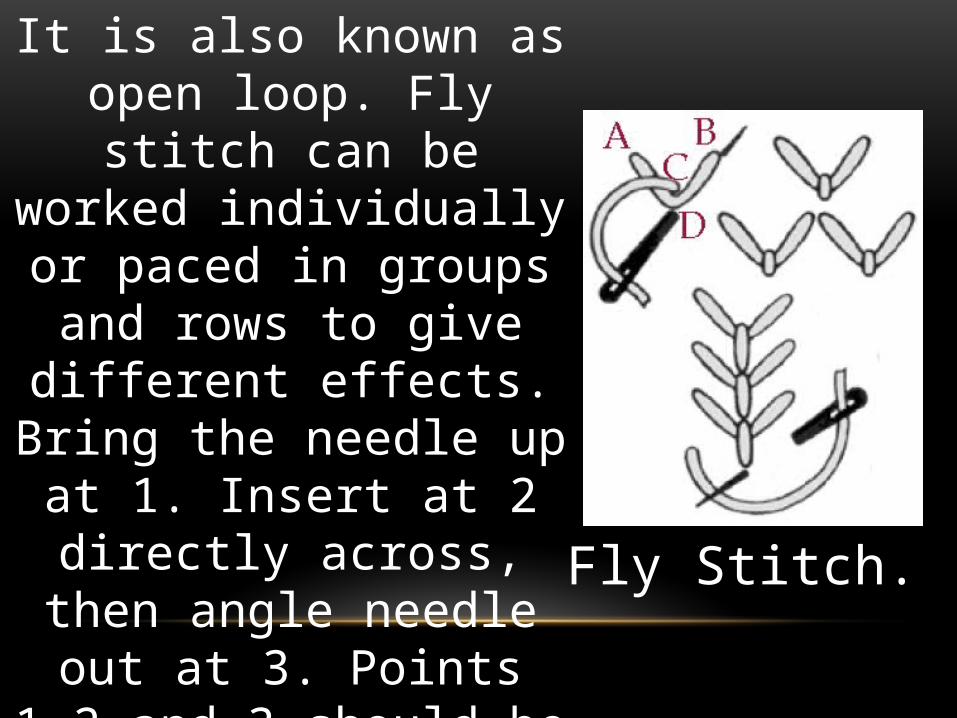
It is also known as open loop. Fly stitch can be worked
individually or paced in groups and rows to give different
effects. Bring the needle up at 1. Insert at 2 directly across, then angle needle out at 3. Points 1,2 and 3 should be equidistant. Carry the yarn
under the needle point and pull through. Complete stitch by inserting at 4 over loop.
Fly Stitch.
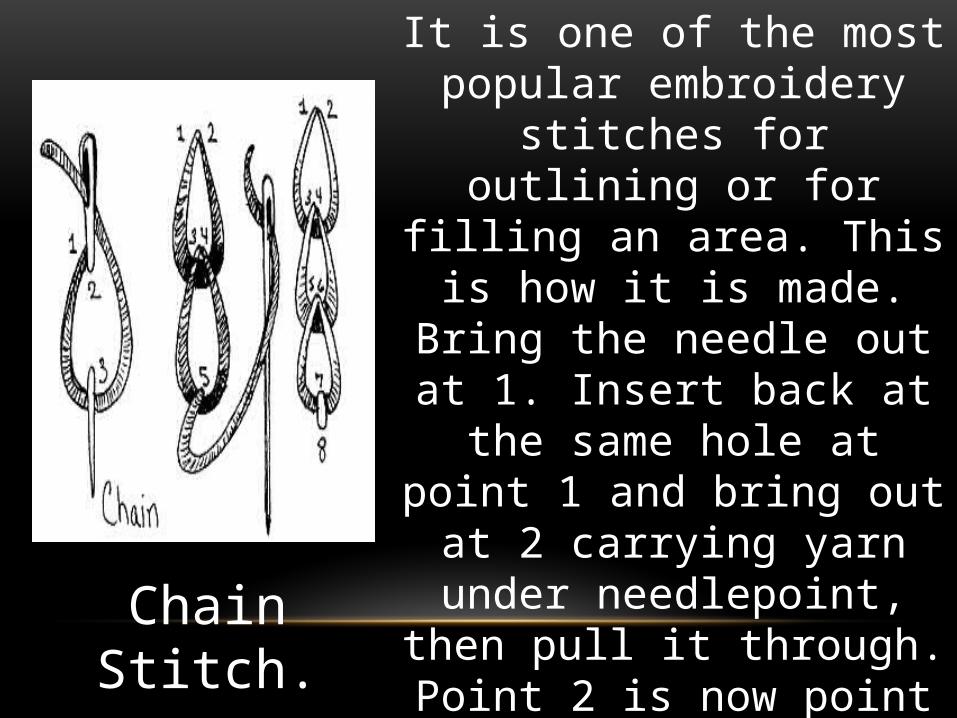
It is one of the most popular embroidery stitches for outlining
or for filling an area. This is how it is made. Bring the needle out at
1. Insert back at the same hole at point 1 and bring out at 2 carrying yarn under needlepoint, then pull it through. Point 2 is now point 1
of next stitch. Work all stitches the same way, always inserting
needle into the hole made by emerging thread. To end row take a small stitch over last chain loop
to hold it down.
Chain Stitch.
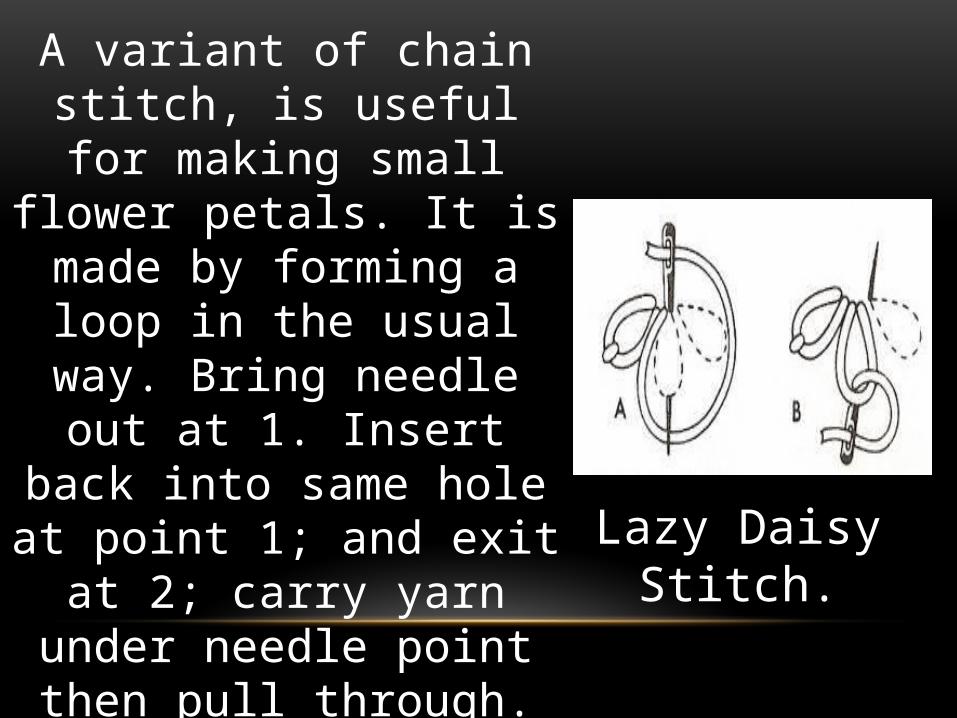
A variant of chain stitch, is useful for making small flower petals. It is made by forming a loop in the usual way. Bring needle out at 1.
Insert back into same hole at point 1; and exit at 2; carry yarn
under needle point then pull through. Inset needle at 3 over
chain loop, and then bring needle out at point 1 for the next
chain stitch. Continue the way until all petals are complete.
Lazy Daisy Stitch.
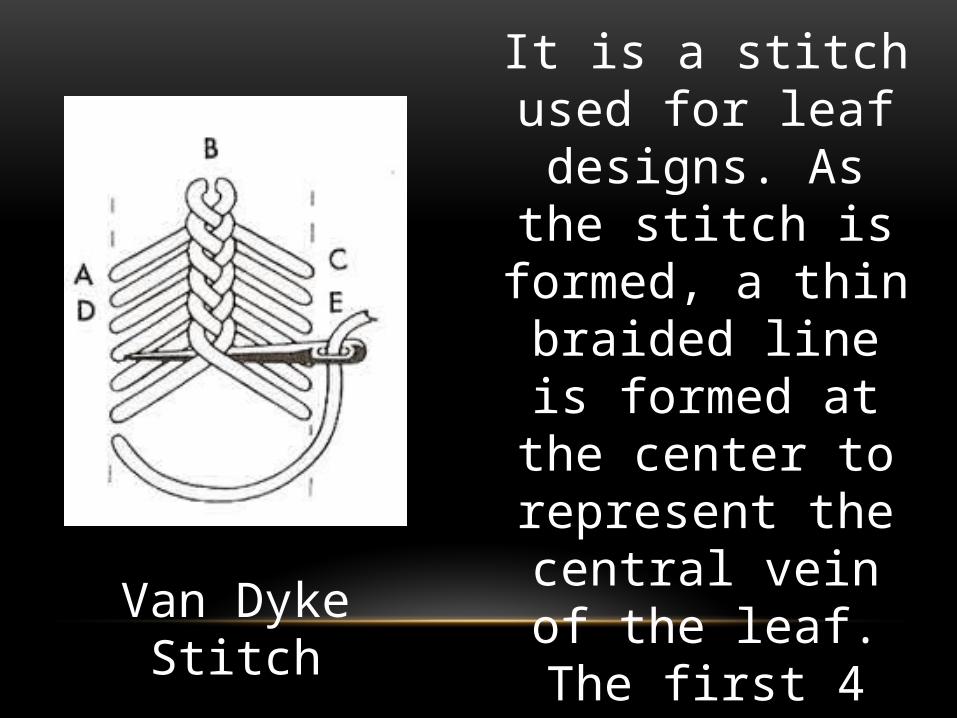
It is a stitch used for leaf designs. As the stitch is formed, a thin braided line is formed at the
center to represent the central vein of the leaf. The first 4 steps in the following series start
the design. The fifth and sixth steps are
repeated in sequence thereafter.
Van Dyke Stitch

These small knots appear like beads. They can be used as filling for the center of a flower. This is how it is
done. Bring needle to the right side of the material at the point where the
knot is to be made.(A) Hold the thread firmly between the left thumb
and first (index) finger quite closed to the fabric. Twist the thread around the needle pulling it taut. Turn the
needle in the opposite direction and insert it closed to the point where the
thread emerged. Pull the needle through the coils of thread on the
wrong side of the work.
French Knot

PROJECT PLAN FOR CALADO EMBROIDERY
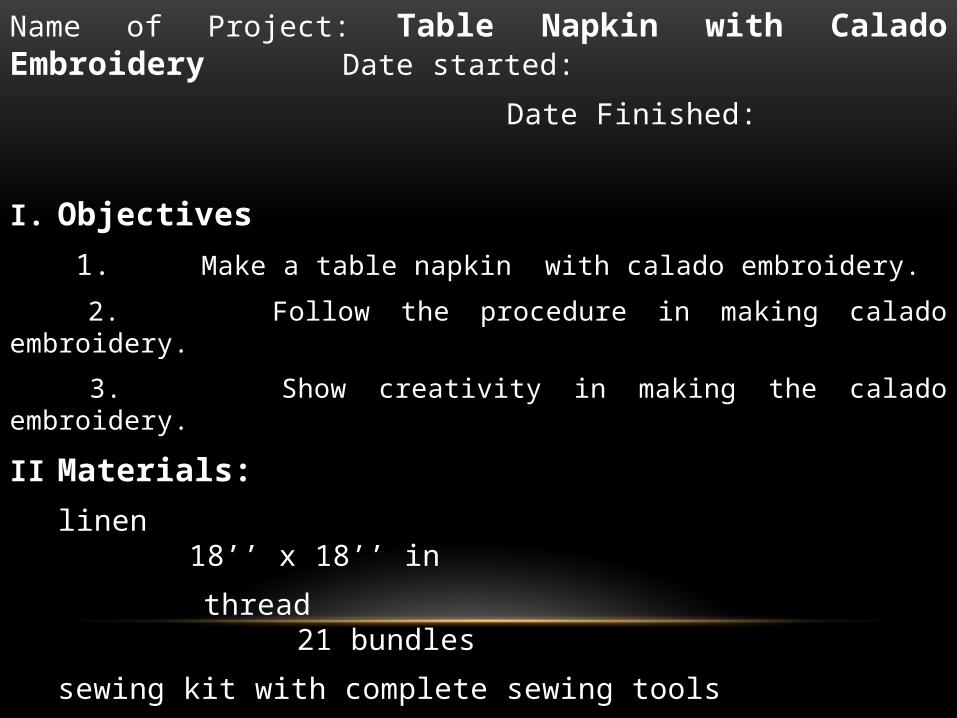
Name of Project: Table Napkin with Calado Embroidery Date started:
Date Finished:
I. Objectives
1. Make a table napkin with calado embroidery.
2. Follow the procedure in making calado embroidery.
3. Show creativity in making the calado embroidery.
II Materials:
linen 18’’ x 18’’ in
thread 21 bundles
sewing kit with complete sewing tools
tracing paper 1 piece bond paper size
water color brush 1 piece
pounce powder

III. Procedure
1. Prepare the material to be embroided.
2. Transfer the design.
3. With running stitch outline the part of the design to be applied with the calado embroidery.
4. Finish first the edge around the open calado motif using french stem stitch.
5. Cut and pull out the yarns on the wrong side. A good way is to lift the yarn in the middle with a pin. Cut and pull out the yarns toward the edge of the design.
6. Apply overcasting stitch on the mesh by working diagonally, to make the mesh slightly rounded.
7. Embroider the other parts of the design with the other kinds of embroidery stitches .
8. To finish the napkin , trim square 13/4 inches past the design .and hem.
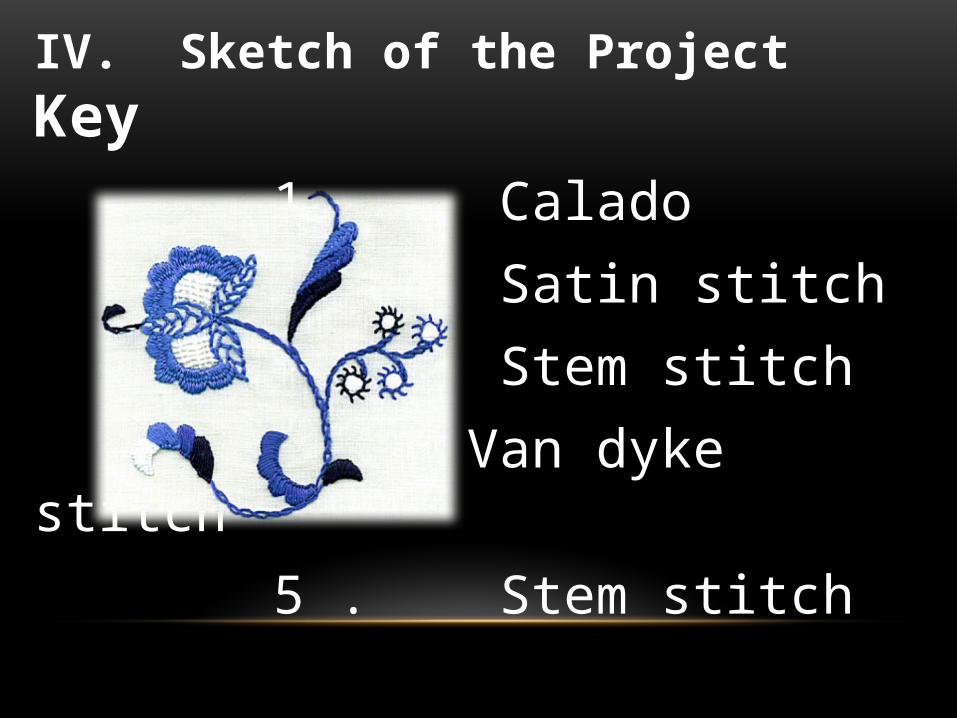
IV. Sketch of the Project Key
1. Calado
2. Satin stitch
3 . Stem stitch
4. Van dyke stitch
5 . Stem stitch
6. French knot

Rubrics for Calado Embroidery
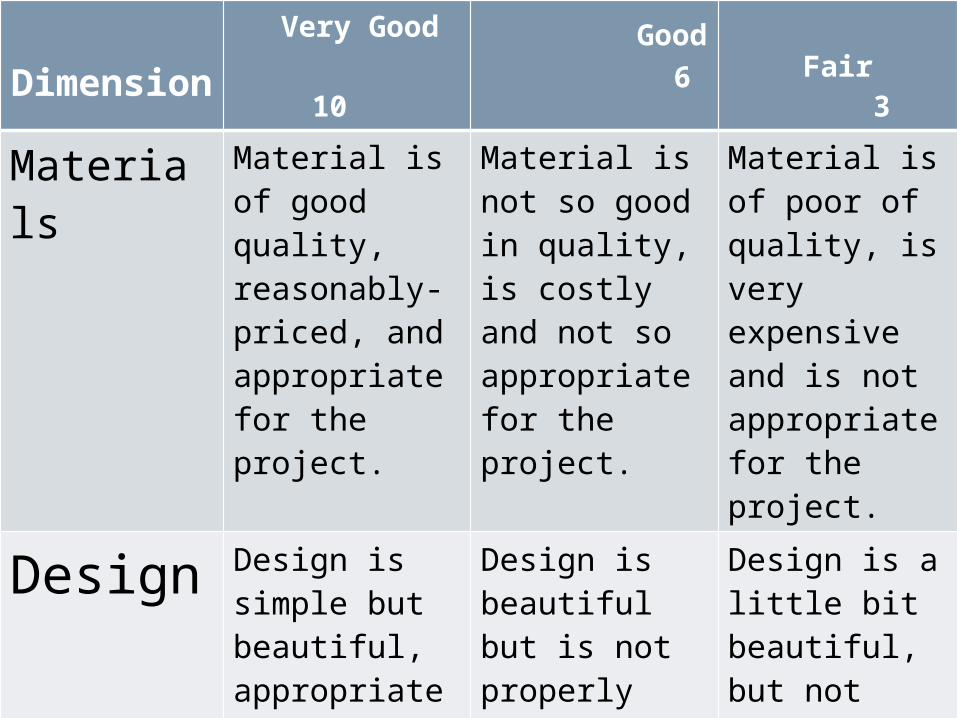
Dimension Very Good 10
Good 6
Fair 3
Materials Material is of good quality, reasonably-priced, and appropriate for the project.
Material is not so good in quality, is costly and not so appropriate for the project.
Material is of poor of quality, is very expensive and is not appropriate for the project.
Design Design is simple but beautiful, appropriate for the project and properly placed.
Design is beautiful but is not properly placed.
Design is a little bit beautiful, but not properly placed.
Workman-ship
Yarns cut and drawn correctly, calado overcasting stitches close together, diagonal and uniform in
Some yarns are not drawn correctly, not all overcasting stitches are close together, not diagonal and not
Yarns not cut and drawn correctly, overcasting stitches are not closed together ,not diagonal and
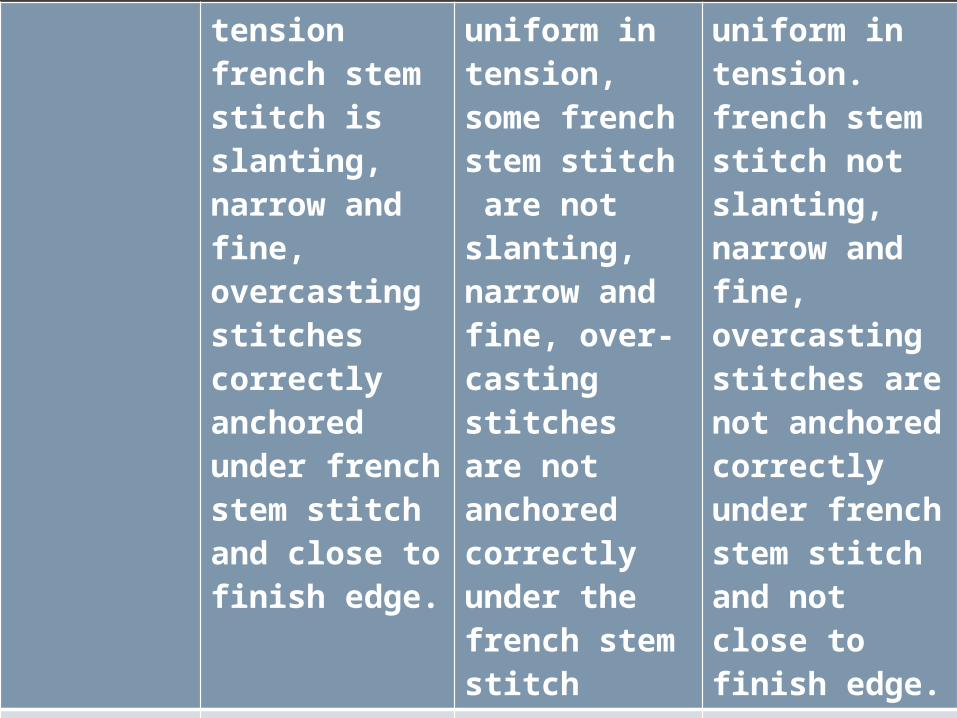
tension french stem stitch is slanting, narrow and fine, overcasting stitches correctly anchored under french stem stitch and close to finish edge.
uniform in tension, some french stem stitch are not slanting, narrow and fine, over-casting stitches are not anchored correctly under the french stem stitch
uniform in tension. french stem stitch not slanting, narrow and fine, overcasting stitches are not anchored correctly under french stem stitch and not close to finish edge.
Neatness No stain, ravels or hanging thread
With some ravels hanging thread.
With stain, ravels and hanging thread.
General Appearance
Artistic and beautiful, color combination is pleasing to the eyes
Not so artistic and color combination is not so pleasing to the eyes
Not artistic nor beautiful, did not follow any color scheme

THANK YOU!