Embed Size (px)
Citation preview

1
Down firing, a firing protocol / Mel Jacobson 2015
Author of
“21st Century Kilns”
Forward About 10 years ago, Hank Murrow mentioned to me that he was trying to acquire crystal growth on his Shino glazes to get the appearance of pots fired many hundreds of years back in Japanese kilns. The kilns that he was talking about were wood fired, very big and took weeks to cool. His theory was that the long period of cooling at about 1900F caused the glaze to grow crystals. So he turned his kiln back on at 1900F and let it hold for a number of hours. It worked. Hank asked me to try it and see how it worked for me, especially with the Joe Koons iron red glaze that had a high percentage of Bone Ash. Yes, it worked. That glaze fired to a deep red, covered in gold crystals. I fire my kiln to cone 11+, so he was curious if this system would work under those conditions. It did.
2
Hare’s fur glaze/fired to cone 12/mel
Nils Lou advocated that for a perfect firing of copper red glaze, it is critical to go through the period of about 1750F very slowly. The glaze turns red at this point, and if the kiln cools fast, the color red will not appear. So, he recommended to me to `up` fire with one burner back to 1900F and let the cooling cycle happen twice. I did this, and reds work just fine. (Assuming the pots are reduced properly.)
3
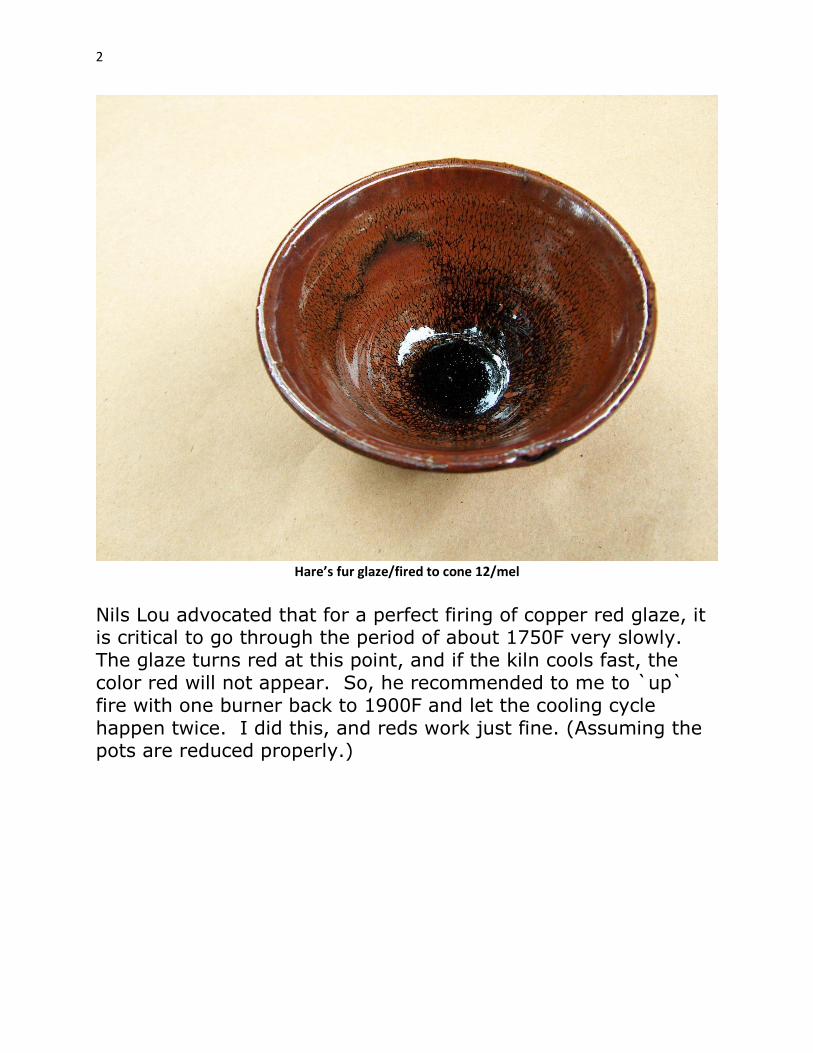
Pete’s Cranberry red/Urn/cone 11/mel

4
Pete Pinnell has advocated the same system, including the possibility of re/firing in an electric kiln to 1800 and letting the pots cool twice. Carol Marians, with PhDs. in physics and chemistry from MIT and a leading expert in the properties of silica, became very interested in experiments with iron glazes, electric fired to cone 6 with long intervals of down firing…or, turning the kiln back on for a time at several critical temperatures. Her work is amazing and she is responsible for much of my research in the same area.
Down Fire, or as it is: Slow Cooling for long periods of time. John Hesselbreth in his book on cone 6 glazes has indicated that slow cooling will alter the look and color of many glazes. (his work, along with Ron Roy is exceptional) Down firing has changed my life as a potter. My glazes have a much deeper appearance. The color is brighter and many of my glazes totally change during the down firing process. It never hurts the firing, it only enhances it. This is my experience, with
my glazes, others may not get the same results, but with experimentation and by trying other glazes and timing, you may change your glazes too. As author of this paper, I take no credit for starting this firing protocol, only becoming excited and hoping that others will catch the fever and see how amazing this type of firing can be. Brick and Heat There are a great deal of odd and very `nature unfriendly` methods of firing pottery. No matter the temperature you fire your kiln, there are some better techniques available to you. First, and in my opinion, pre firing, or warming your kiln for hours will not aid you in any way. It is a total waste of fuel. As you pre warm your kiln, the heat soaks out and super heats the brick.
5
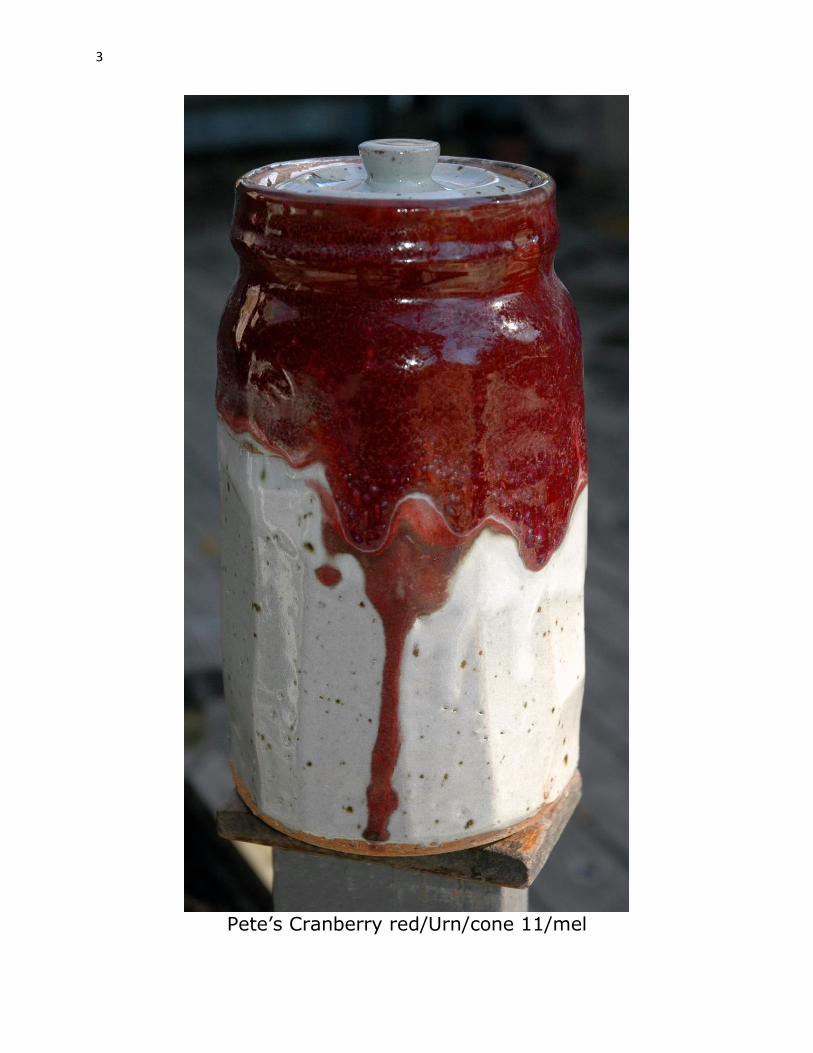
Warming the brick before you turn the kiln to high causes the kiln
to lose its ability to hold heat in (insulate). Insulating firebricks (from the morgan website) Morgan Thermal Ceramics produces six grades of insulating firebricks with limiting temperatures of use ranging from 1260°C to 1790°C. Each grade is formulated to meet specific thermal and physical requirements When you purchase brick, or buy a readymade kiln, in most cases you will be using a K-23 soft brick (ifb). Some manufacturers may
use a bit harder brick K25). The K identification is the insulating factor/the 23 means 2300F. So, it will take X amount of time at 2300F to properly insulate the kiln. A K-2600 brick would be much tougher, and would be used in high abuse areas and it will work with temperatures up to 2600F. These brick would be often found insulating a crucible kiln for glass production. Historically glass furnaces where made of hard brick. Pre-firing just destroys the K factor. In most cases kilns should
be fired as fast as you can fire. There is no reason to dally and fire slowly. The longer you fire the more the heat soaks through the brick and makes the ifb useless. Pre-firing is one of the most fuel wasting, ecological destructive protocols that could be used for firing ceramic ware. A very low pre-warmup, up to 3-400F will more than warm the kiln shelves
(like Advancers) and melt wax and get the pots ready for firing. It is assumed that you have fully bisque fired pots in the kiln with a coat of glaze
that has been allowed to dry. There should be no trouble with cracking or flaws if things are totally dry.
A great many books and manuals on firing kilns are very old, very old. The slow, slow theory was based on ideas that you had to fire slowly or your pots would crack, glazes would not form properly and many other nasty things would happen. No consideration was given to properly fired bisque ware, and dry
6
pots after glazing. If your pots are fired to cone 08 to cone 06
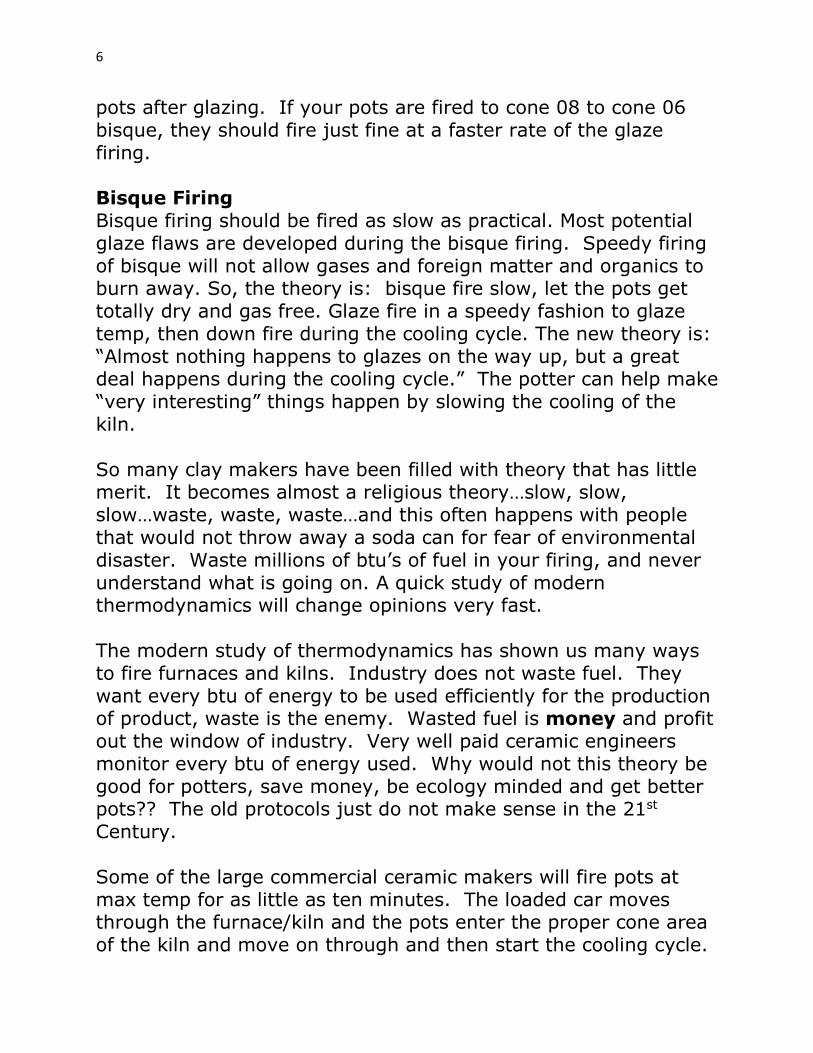
bisque, they should fire just fine at a faster rate of the glaze firing. Bisque Firing Bisque firing should be fired as slow as practical. Most potential glaze flaws are developed during the bisque firing. Speedy firing of bisque will not allow gases and foreign matter and organics to burn away. So, the theory is: bisque fire slow, let the pots get totally dry and gas free. Glaze fire in a speedy fashion to glaze temp, then down fire during the cooling cycle. The new theory is:
“Almost nothing happens to glazes on the way up, but a great deal happens during the cooling cycle.” The potter can help make “very interesting” things happen by slowing the cooling of the kiln. So many clay makers have been filled with theory that has little merit. It becomes almost a religious theory…slow, slow, slow…waste, waste, waste…and this often happens with people that would not throw away a soda can for fear of environmental disaster. Waste millions of btu’s of fuel in your firing, and never
understand what is going on. A quick study of modern thermodynamics will change opinions very fast. The modern study of thermodynamics has shown us many ways to fire furnaces and kilns. Industry does not waste fuel. They want every btu of energy to be used efficiently for the production of product, waste is the enemy. Wasted fuel is money and profit out the window of industry. Very well paid ceramic engineers monitor every btu of energy used. Why would not this theory be good for potters, save money, be ecology minded and get better pots?? The old protocols just do not make sense in the 21st Century. Some of the large commercial ceramic makers will fire pots at max temp for as little as ten minutes. The loaded car moves through the furnace/kiln and the pots enter the proper cone area of the kiln and move on through and then start the cooling cycle.
7
Yes, as little as ten minutes. The temperature of the kiln is
constantly being raised as the clay product moves through it, and then cooled the same way. The total time in the kiln may be just a few hours. It is not uncommon for industry to use giant microwave ovens to totally dry ceramic product. The product enters the kiln at zero moisture content. And, that is the key to rapid firing…no water. In your own studio it is wise to have numerous fans and natural heat to dry pots totally. I even use the top of my firing electric
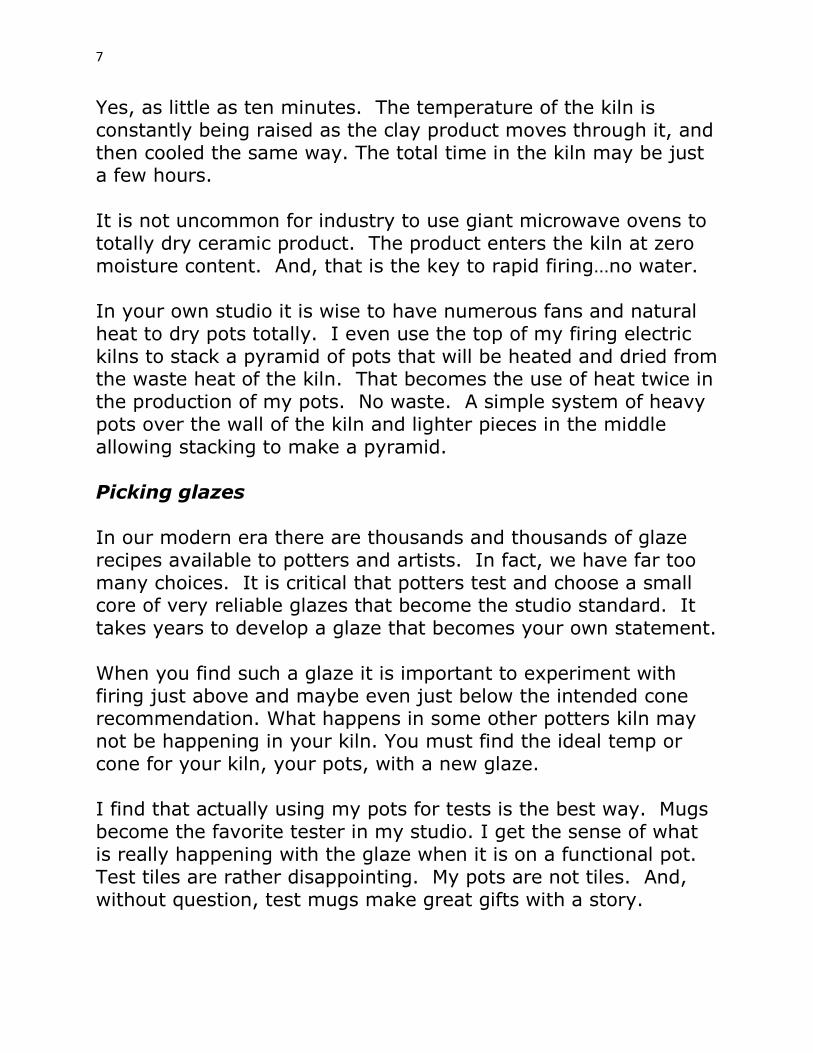
kilns to stack a pyramid of pots that will be heated and dried from the waste heat of the kiln. That becomes the use of heat twice in the production of my pots. No waste. A simple system of heavy pots over the wall of the kiln and lighter pieces in the middle allowing stacking to make a pyramid. Picking glazes In our modern era there are thousands and thousands of glaze recipes available to potters and artists. In fact, we have far too
many choices. It is critical that potters test and choose a small core of very reliable glazes that become the studio standard. It takes years to develop a glaze that becomes your own statement. When you find such a glaze it is important to experiment with firing just above and maybe even just below the intended cone recommendation. What happens in some other potters kiln may not be happening in your kiln. You must find the ideal temp or cone for your kiln, your pots, with a new glaze. I find that actually using my pots for tests is the best way. Mugs become the favorite tester in my studio. I get the sense of what is really happening with the glaze when it is on a functional pot. Test tiles are rather disappointing. My pots are not tiles. And, without question, test mugs make great gifts with a story.
8
You have to be aware of the fact that there are various groups of
glazes. Each group will usually have a very specific firing protocol to achieve a perfect pot. For example, high gloss temmoku type glazes and celedons fire very differently than do copper red glazes. I never load a variety of glaze groups in one kiln firing…I try and keep like glazes, with other like glazes. It just makes sense. To fire for perfect shino you have to reduce early, and down fire for a longer period of time than for pure white porcelain. Why fire them at the same time? That is why so many people are disappointed at firings at colleges and art centers. There is never a protocol for firing. It is just a catch all of various
glazes fired to a variety of reduction and final cone settings by a different person for each firing. And, think of how often a tech or volunteer will turn
off the kiln early because of time constraints? (“Hey, I think cone 10 is soft”) What cone 10 is to one person firing the kiln is cone 12 to another.
When I do group firings I ask folks to draw a picture of what the cones should look like when the kiln is done. I show these drawings to the group
and they usually laugh. Ten different drawings. So, we compromise and do one drawing of the cones, then fire the kiln to that specification. According to Orton, cone 10 is done when its tip touches the kiln shelf.
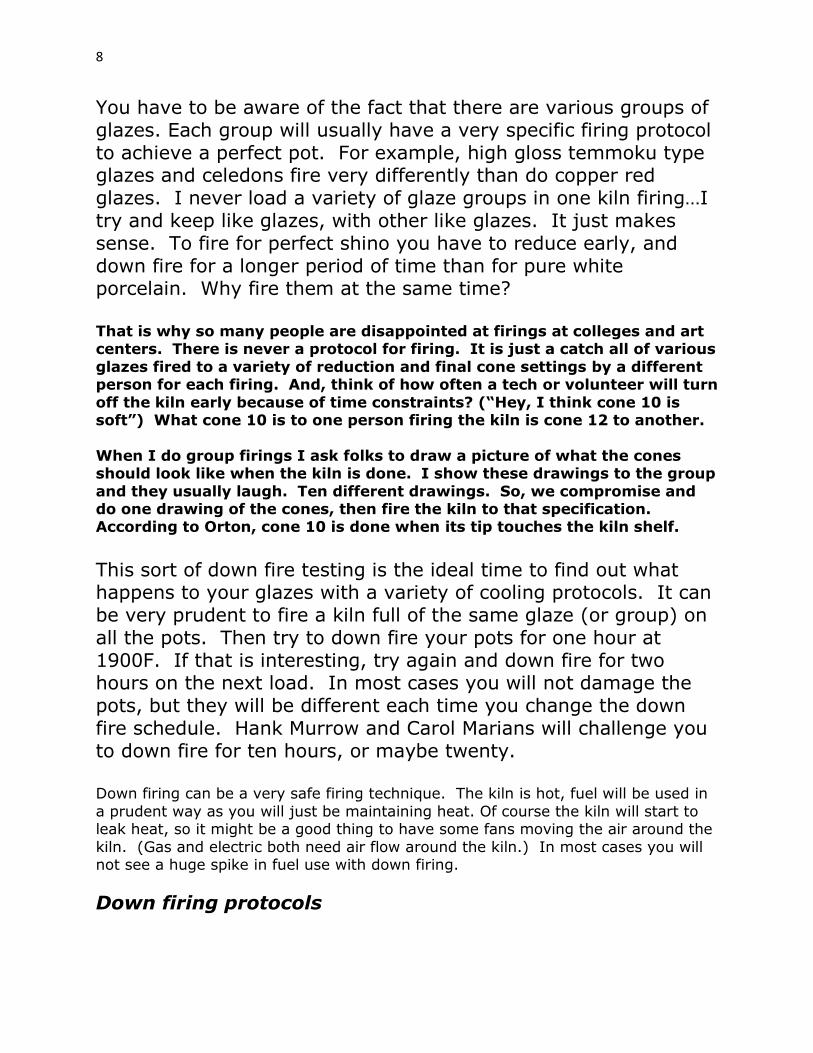
This sort of down fire testing is the ideal time to find out what happens to your glazes with a variety of cooling protocols. It can be very prudent to fire a kiln full of the same glaze (or group) on all the pots. Then try to down fire your pots for one hour at 1900F. If that is interesting, try again and down fire for two hours on the next load. In most cases you will not damage the pots, but they will be different each time you change the down fire schedule. Hank Murrow and Carol Marians will challenge you to down fire for ten hours, or maybe twenty. Down firing can be a very safe firing technique. The kiln is hot, fuel will be used in
a prudent way as you will just be maintaining heat. Of course the kiln will start to leak heat, so it might be a good thing to have some fans moving the air around the
kiln. (Gas and electric both need air flow around the kiln.) In most cases you will not see a huge spike in fuel use with down firing.
Down firing protocols

9
There will never be a `one size fits all` method for down firing.
Each kiln, depending on size, number of coils, number of burners or fuel used will determine how you can hold the temperature of your kiln for any length of time. In the case of my own down firing, I use one burner on half power with the damper slid in and out to find a place that allows the pyrometer to hold steady at near 1900F. It is never exactly 1900F, just close up or down. It is a range of 1900F or, sort of close. I make sure the burner is clear blue flame, no reduction. Just clean flame going into the kiln. Same for red, clear flame no
reduction. This is an ideal time to mention that in most cases when firing a fuel kiln you should keep the flame as blue as possible. There is no reason to use the flame for reduction. A dirty flame just means that you are wasting fuel. I reduce with my damper and gas pressure to maintain a 2-4 inch flame coming out of my middle peep hole. It is also important to mention that heavy reduction will do little to help your pots, glaze or body color. It is very invasive. Light to moderate reduction gives color, vibrancy
and good body color to most glazes and clay. Heavy reduction is often the source of kilns stalling. I advocate a light reduction for the entire firing. In most cases reduction can start at about 1750F. We often get argument here. Many think that reduction in heavy amounts and at various times during the firing is important. I do not agree. It is
basically old myth. If you fire with a regular schedule, trying to maintain a sensible rise in temperature as fast as the kiln will tolerate, this should give
you results that can be achieved over and over.
If you have total control of your reduction schedule, color can be the same, firing after firing. Any potter should try for 100%, perfect firings every time.
It is the best ecology out there, no rejected pots. Each firing is done with precision and craftsmanship. Remember, craft knowledge is not just the
production of clay pieces, it is the entire cycle, clay, water, production and fire. Knowledge of fire and thermodynamics is essential to being a first class
potter/artist.

10
Again, the dirty flame (orange) is part of very old theories to fire a reduction kiln. For the best ecology and saving of fuel, maintain a blue, clean flame, as it makes for the hottest and most efficient method of firing a kiln. Several potter friends maintain that when firing down an electric kiln it may be possible to set all the coils on medium to keep the kiln steady at 1900F. Remember, you are not heating the kiln, only maintaining temperature. It does not take much energy to keep the kiln steady.
A pyrometer is a rather essential piece of equipment for a down fire system. As you know, pyrometers are essentially guides as to how the firing is progressing. Cones and or digital firing become the end game for firing. An inexpensive standard pyrometer is more than good enough for general guidance. Once the pyrometer holds its place, the kiln is doing the same. When down firing any kiln, an alarm clock is a good safety reminder. Keep it with you and never, never trust yourself to
remember to check the kiln. The new high tech smart phones and notebooks all have fine alarm systems in place. Use it. Notes from Dannon Rhudy My own work with copper reds (and indeed iron reds) is mostly experiential. I’ve read some – Tichane and others- but mostly I’ve tested and tried. There are a zillion copper red recipes, and nearly as many for iron reds. Such recipes are useful, but they are not simple answers. Technique seems to me to matter at least as much. Happens I like Pete Pinnell’s copper red recipes (in the main, they do not run). They are extremely reliable, used correctly. I have a couple of recipes for iron red – a cone 6 from Val Cushing and an old David Shaner cone 10 which has no doubt been altered coming through the years. I’ve seen quite a few “David Shaner’s Iron Red”. They differ here and there. In my experience, iron red glazes work best fired in oxidation, and slow cooled. When I fire them in that way, I get very rich reds, with a lot of golden crystals
11
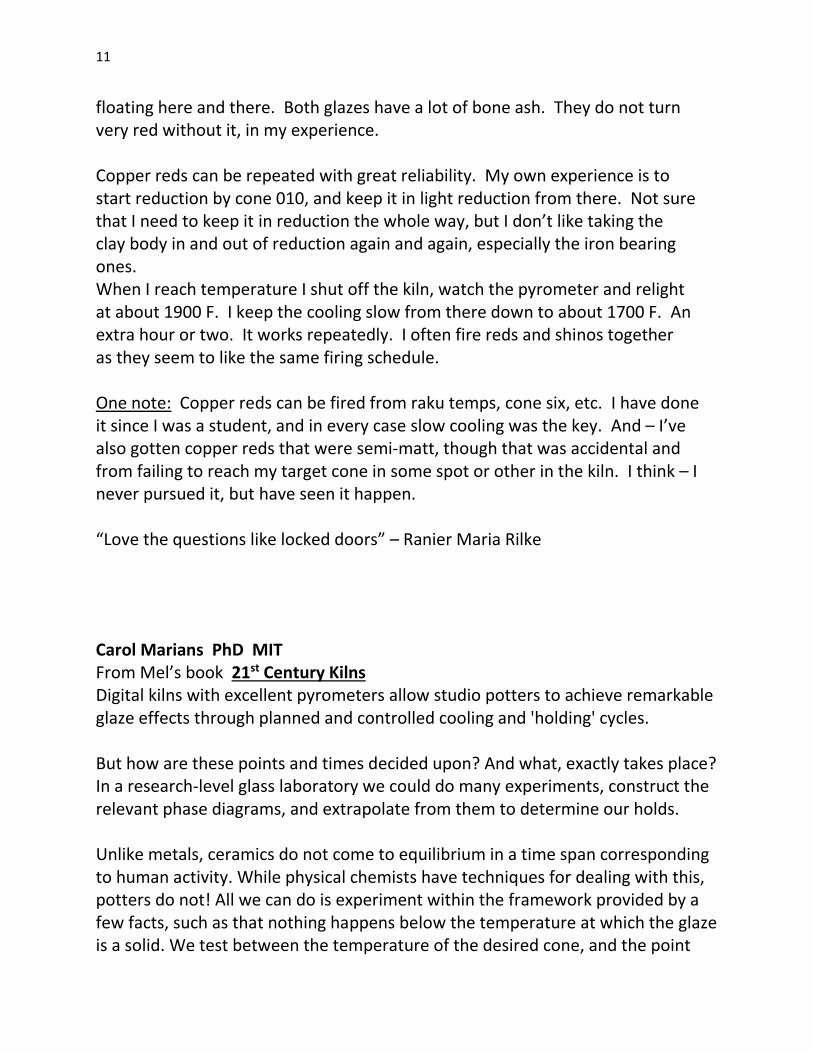
floating here and there. Both glazes have a lot of bone ash. They do not turn very red without it, in my experience. Copper reds can be repeated with great reliability. My own experience is to start reduction by cone 010, and keep it in light reduction from there. Not sure that I need to keep it in reduction the whole way, but I don’t like taking the clay body in and out of reduction again and again, especially the iron bearing ones. When I reach temperature I shut off the kiln, watch the pyrometer and relight at about 1900 F. I keep the cooling slow from there down to about 1700 F. An extra hour or two. It works repeatedly. I often fire reds and shinos together as they seem to like the same firing schedule. One note: Copper reds can be fired from raku temps, cone six, etc. I have done it since I was a student, and in every case slow cooling was the key. And – I’ve also gotten copper reds that were semi-matt, though that was accidental and from failing to reach my target cone in some spot or other in the kiln. I think – I never pursued it, but have seen it happen. “Love the questions like locked doors” – Ranier Maria Rilke
Carol Marians PhD MIT From Mel’s book 21st Century Kilns Digital kilns with excellent pyrometers allow studio potters to achieve remarkable glaze effects through planned and controlled cooling and 'holding' cycles. But how are these points and times decided upon? And what, exactly takes place? In a research-level glass laboratory we could do many experiments, construct the relevant phase diagrams, and extrapolate from them to determine our holds. Unlike metals, ceramics do not come to equilibrium in a time span corresponding to human activity. While physical chemists have techniques for dealing with this, potters do not! All we can do is experiment within the framework provided by a few facts, such as that nothing happens below the temperature at which the glaze is a solid. We test between the temperature of the desired cone, and the point
12
where the glaze is a solid. A look at those few facts. Potters make their glazes from ground-up rocks. Most of us get these rocks pre-sorted, cleaned, segregated, and ground into powder. It wasn't always so, as books about the making of glazes from primitive materials show. Even today glazes can be, and are, made by pulverizing rock, mixing it with some material so it can be spread on the pot, and firing it! A viable glaze results! Of course, not ALL rocks lend themselves to this treatment, but plenty do. Does the final glaze look like the rock it came from? No. If you pick up a rock and examine it under strong light, possibly with a magnifying glass, you will see speckles, streaks, bands, maybe variegated bits of different colors. Ground up, melted, re-solidified rock is not at all like its 'parent'. The difference between the rock and the glaze made from it is time: the interval during which the original rock cooled, and the interval during which the glaze cooled from cone whatever to room temperature! Geophysicists know that enormous cooling time, largely under equilibrium conditions, leads to a rocky outcropping containing quartz. (This is not the only way Nature achieves natural quartz) What matters to potters is that conditions and rate of cooling---slowly over millennia --can turn the same magma into a variety of rocks. (The well-known exception is lava: magma spurted out from volcanoes, splashing to earth, cooling very quickly. There is no chance at crystallization, and the solidified lava forms a host of glassy rocks ranging from obsidian to pumice.) At high temperatures molecules move fast and easily, tend not to stick to each other, and can form the kind of bonds that, cooled very slowly, achieve ordered form--namely crystals. With rapid cooling the molecules get 'rattled', form the wrong kind of bonds--ending up as glass. Cooled slowly enough most rocks will end as a conglomerate of many crystalline

13
minerals. Molten glazes never had the uniformity of a geologic magma, and cool infinitely faster, forming little crystal and much glass. Cool slowly--crystals. Cool fast--glass. Looking now just at glazes. What happens as a glaze melts? What happens as it cools? The paths are different but the process quite similar. Never a uniform melt, glaze is more like a slurry of mud. But no water, as that would have evaporated early in the firing! This slurry forms a glassy matrix in which float many liquids and solids. There are globules and bubbles of a variety of glasses, like a concoction of house paint, petroleum jelly, honey, vinegar, crankcase grease, mixing together. The heat does the mixing. As glaze melts lots of different viscous liquids form. They don't move far nor fast, but slowly merge. When the various solids have been incorporated into liquids, and the mixture has spread itself evenly over the pot, and cooled, we speak of a matured glaze.
There is always a “BUT” in firing, Mel Jacobson, email story to Clayart there is always a BUT, In firing. an X factor. no one way, no perfect answer. here are a couple of scenarios: i have a big plate order...sets of dishes. want them all to match...so i have to stack that kiln full...yes...every kiln shelf, every post i own. they all get crammed into the kiln. 26 kiln shelves...all in one firing. how long will it take to fire? who knows? you have to heat everything in the kiln to cone 11.
14
that is a great deal of mass. a great deal of weight. nils points this out very well in his book. weight, mass, heat, time. and, as feriz delkic points out. the insides and foot rings of every pot has to reach a perfect cone...all the same. (the air inside of a bottle must be heated to cone 11 too.) in other words, you don't just fire the clay pots...you fire the kiln.. the walls, the floor, the kiln shelves, the posts. when it reaches your X cone....it is done. down firing helps this X temp become perfect. if you rush the firing, do you really heat it all the same? perhaps not. does a slow, careful pre/heat help the pots gain energy for the big push of the firing...not likely. (i am of a mind that the slow pre/heat lets the heat penetrate the kiln, the shelves and posts... but, why take the temp above 400F? that is all that is needed. another firing. lots of tall bottles and pitchers, vases...bigger items. i have only six kiln shelves in the firing. how long will it take to reach cone 11? i don't know. we will see. weather: today it is -4F. strong winds from the northwest. my kiln room is cold. the shelves are frozen. the posts are frozen. the kiln has been sitting in below zero temps for three weeks. would i just load it and turn it to high gas. fire in four hours...i think not. may 1st. two days of clouds and rain, the kiln room is damp. humidity on everything. has been that way for a month. 60 degrees and humid, clouds. how will i fire? august 30, 99F, clear skies, soft wind. how will the kiln fire? if you think one size fits all, you have a great deal to learn. every day is a different day when you fire a fuel kiln. but, once the kiln has the moisture and cold gone, and the kiln chamber is warm, now every day is the same…`let er rip`.

15
THE KILN BLOW’D UP!!!

16
This is Nils Lou’s small kiln that exploded because of a damp Advancer shelf. A
student mistakenly washed an Advancer kiln shelf in water, and let it soak to clean
it. Here are the results. Everything in the kiln must be dry, totally dry.
Japanese style teabowl, grey shino/cone 12 with down fire protocol.
Mel/2014

17