Embed Size (px)
Citation preview
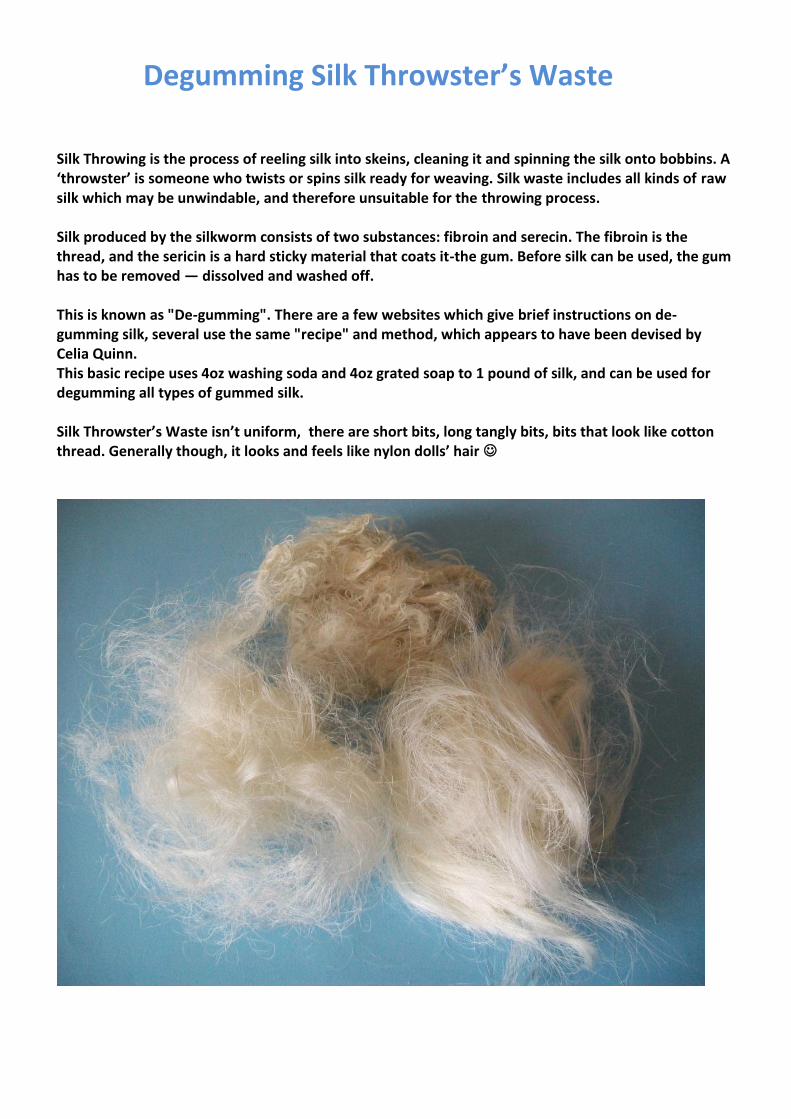
Degumming Silk Throwster’s Waste
Silk Throwing is the process of reeling silk into skeins, cleaning it and spinning the silk onto bobbins. A ‘throwster’ is someone who twists or spins silk ready for weaving. Silk waste includes all kinds of raw silk which may be unwindable, and therefore unsuitable for the throwing process. Silk produced by the silkworm consists of two substances: fibroin and serecin. The fibroin is the thread, and the sericin is a hard sticky material that coats it-the gum. Before silk can be used, the gum has to be removed — dissolved and washed off. This is known as "De-gumming". There are a few websites which give brief instructions on de-gumming silk, several use the same "recipe" and method, which appears to have been devised by Celia Quinn. This basic recipe uses 4oz washing soda and 4oz grated soap to 1 pound of silk, and can be used for degumming all types of gummed silk. Silk Throwster’s Waste isn’t uniform, there are short bits, long tangly bits, bits that look like cotton thread. Generally though, it looks and feels like nylon dolls’ hair
Step by step instructions for de-gumming silk
Equipment
You Will Need: Silk Bar of soap Washing Soda Cheese grater Kitchen Scales Small tub A medium to large pan Hot water Plastic Spoon Old tongs Oven gloves/pot holders It’s best to have a set of utensils and equipment that are used only for fibre preparation. Don’t use utensils or pots and pans that you use for food preparation.
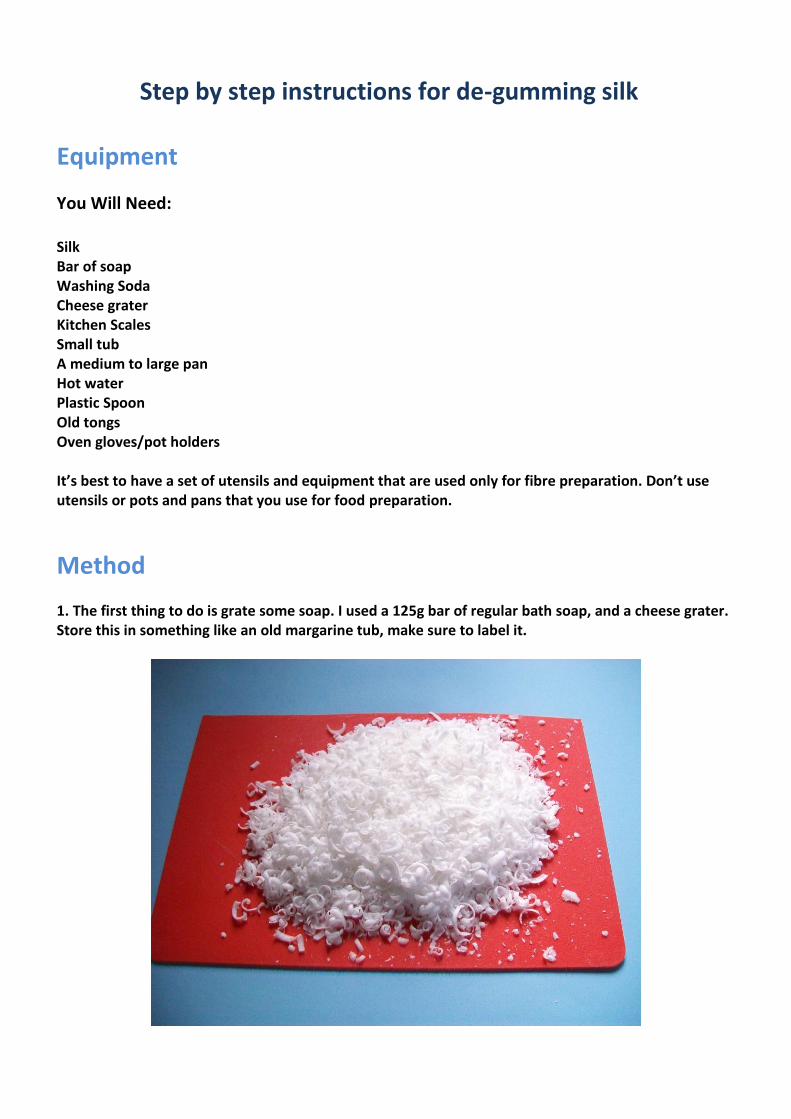
Method 1. The first thing to do is grate some soap. I used a 125g bar of regular bath soap, and a cheese grater. Store this in something like an old margarine tub, make sure to label it.
2. Work out how much silk will fit into the pan you are using. The pan I use is the bottom of the steamer I use for dyeing. It’s about 4 inches high, 8 inches across and will take a couple of litres or 4 pints of water. A handful of silk waste, which weighed about 1 oz fits comfortably in the empty pan, but double that fits in easily when wet. For a rough guide, here is a table of how much soap and soda to use for different amounts of raw silk. I used ½ oz each of soap and soda to 2oz of silk throwster’s waste.
SILK SOAP WASHING SODA
1 lb or 16 oz 4 oz 4 oz
8 oz 2 oz 2 oz
4 oz 1 oz 1 oz
2 oz ½ oz ½ oz
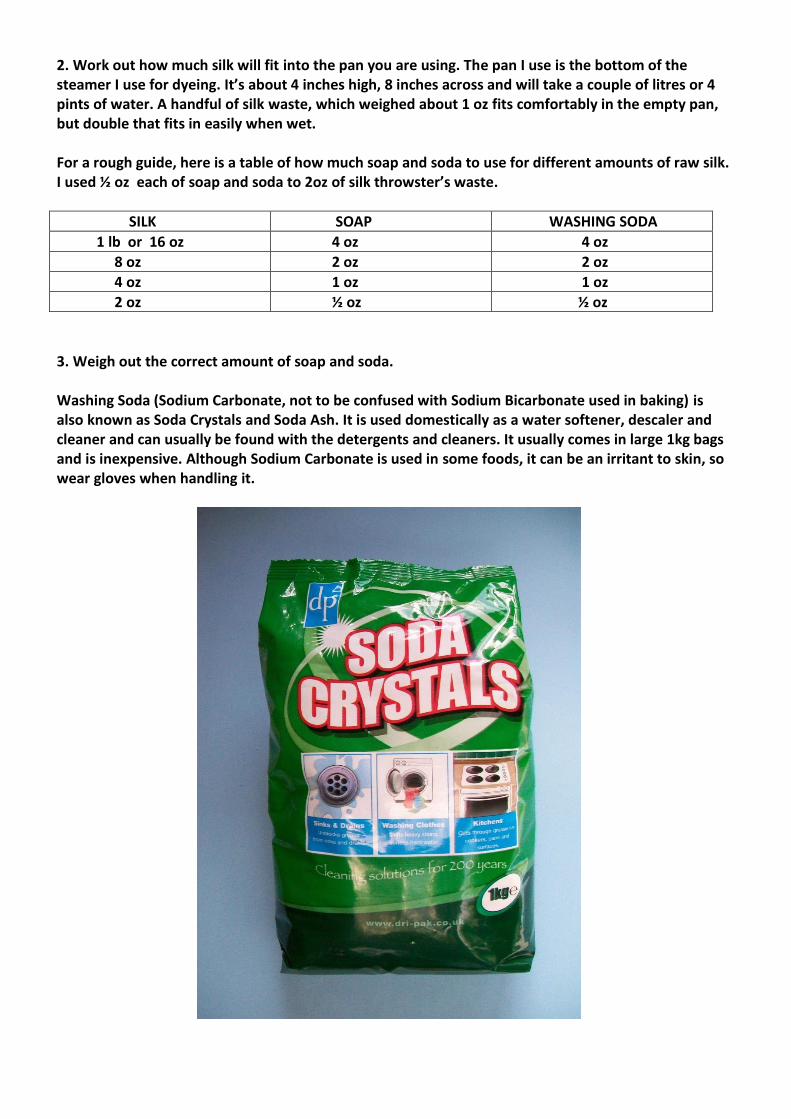
3. Weigh out the correct amount of soap and soda. Washing Soda (Sodium Carbonate, not to be confused with Sodium Bicarbonate used in baking) is also known as Soda Crystals and Soda Ash. It is used domestically as a water softener, descaler and cleaner and can usually be found with the detergents and cleaners. It usually comes in large 1kg bags and is inexpensive. Although Sodium Carbonate is used in some foods, it can be an irritant to skin, so wear gloves when handling it.
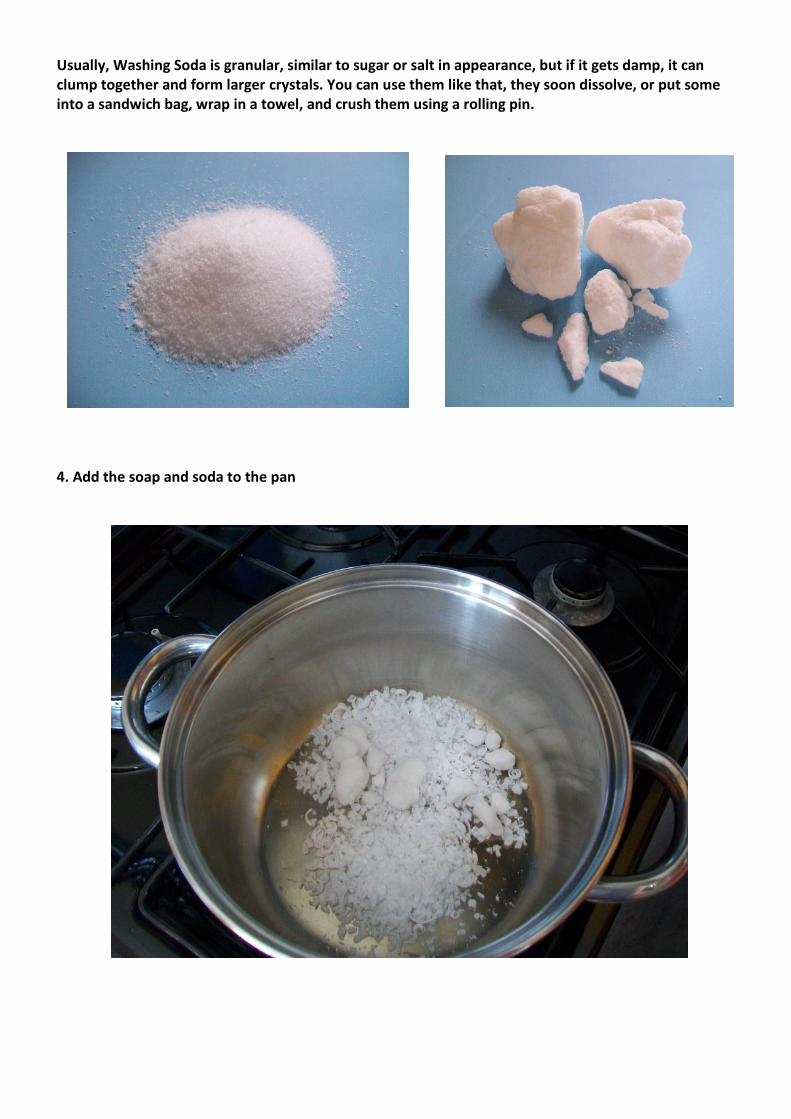
Usually, Washing Soda is granular, similar to sugar or salt in appearance, but if it gets damp, it can clump together and form larger crystals. You can use them like that, they soon dissolve, or put some into a sandwich bag, wrap in a towel, and crush them using a rolling pin.
4. Add the soap and soda to the pan
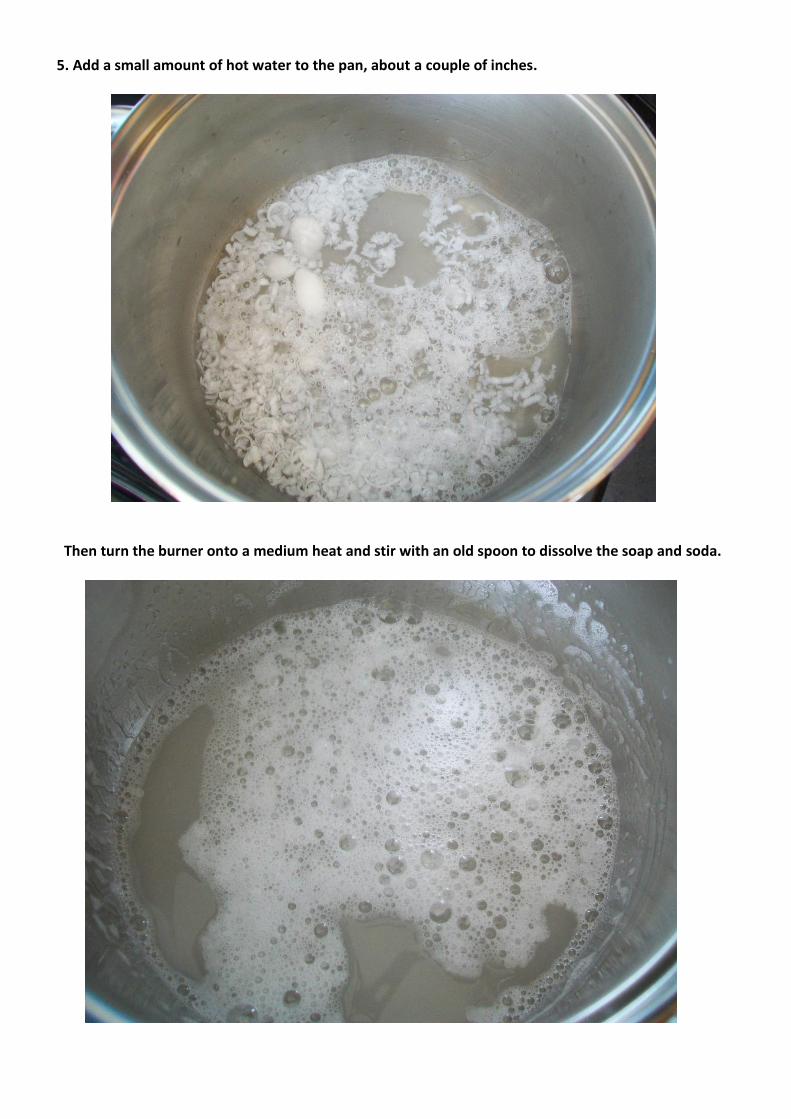
5. Add a small amount of hot water to the pan, about a couple of inches.
Then turn the burner onto a medium heat and stir with an old spoon to dissolve the soap and soda.

6. Once the soap and soda have dissolved, add some tepid water to the pan, to about half-way. Add
the silk then add more water if needed. The silk should be able to move freely, and shouldn’t be
packed into the pan.
Simmer the silk on a low heat for about 1 hour. Don’t put a lid on the pan. Keep an eye on it, and top
up with more water if needed. Try not to agitate the silk too much.
After 1 hour, using a pair of old tongs or something similar, take out a small amount of silk and rinse
it to see if it looks and feels softer. If it does, then the heat can be turned off. If not, leave for 5 or 10
minutes more, then check again.
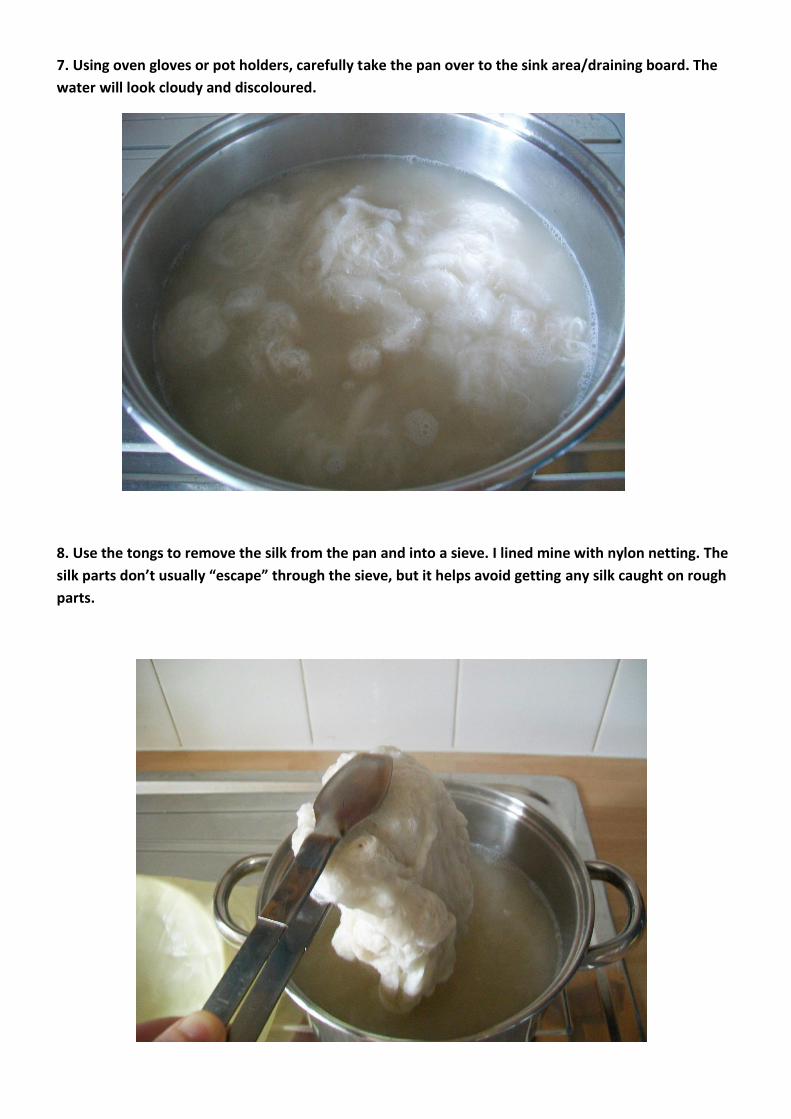
7. Using oven gloves or pot holders, carefully take the pan over to the sink area/draining board. The
water will look cloudy and discoloured.
8. Use the tongs to remove the silk from the pan and into a sieve. I lined mine with nylon netting. The
silk parts don’t usually “escape” through the sieve, but it helps avoid getting any silk caught on rough
parts.
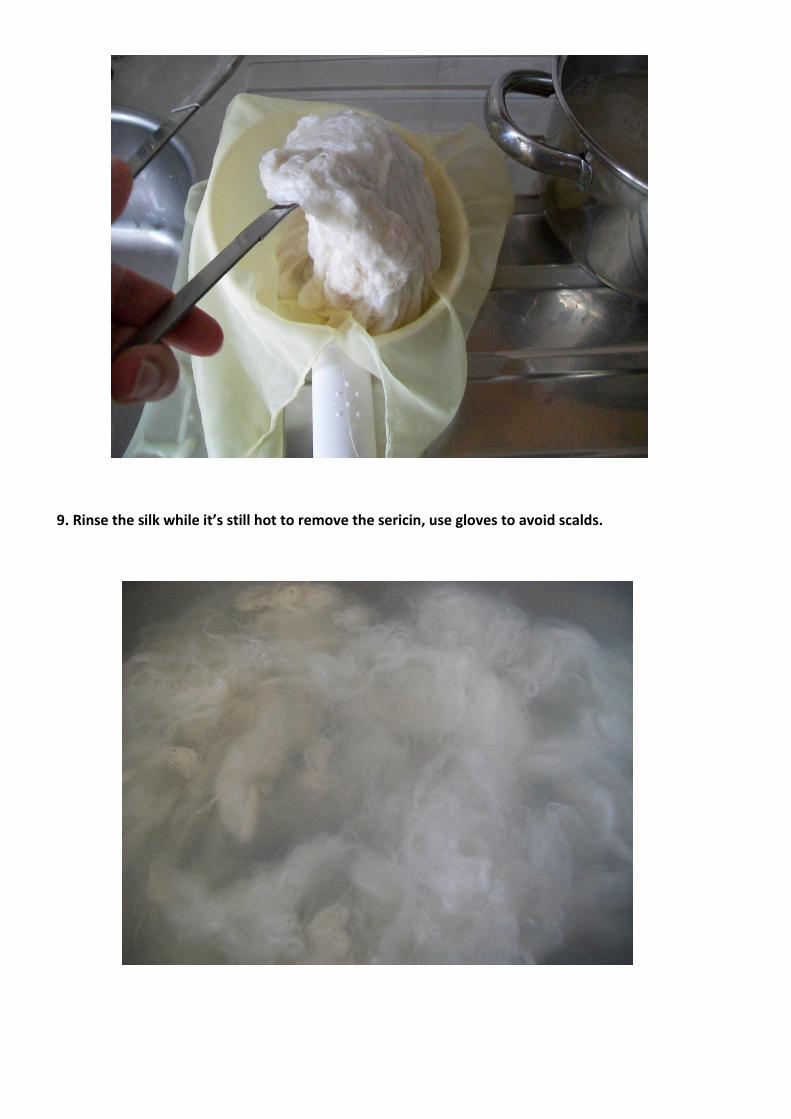
9. Rinse the silk while it’s still hot to remove the sericin, use gloves to avoid scalds.
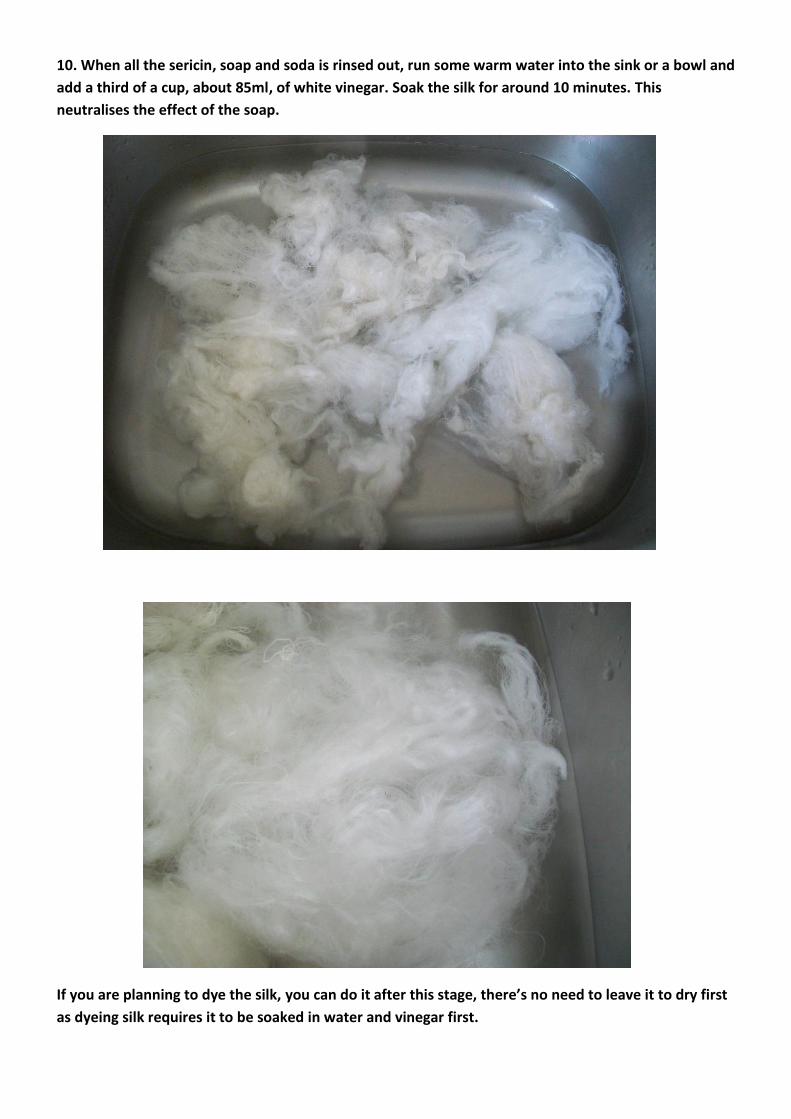
10. When all the sericin, soap and soda is rinsed out, run some warm water into the sink or a bowl and
add a third of a cup, about 85ml, of white vinegar. Soak the silk for around 10 minutes. This
neutralises the effect of the soap.
If you are planning to dye the silk, you can do it after this stage, there’s no need to leave it to dry first
as dyeing silk requires it to be soaked in water and vinegar first.

11. Rinse the silk in clean, warm water, then remove and squeeze the water out.
12. Tease the fibres apart gently.
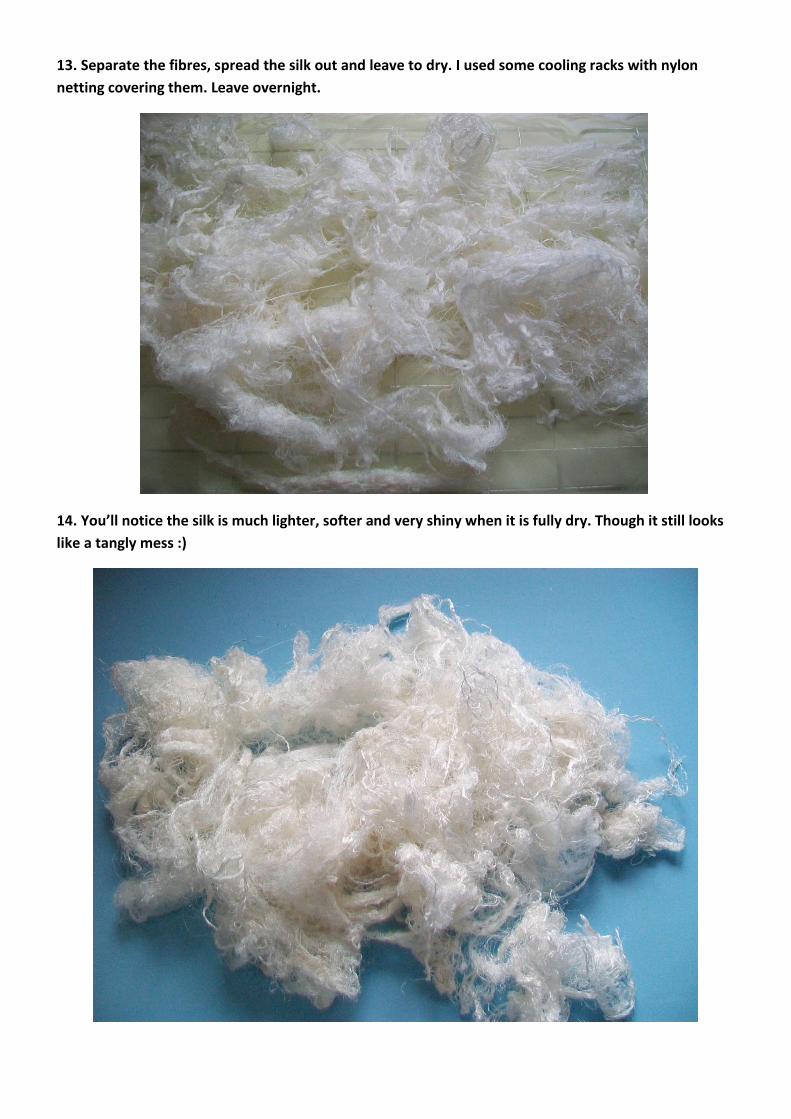
13. Separate the fibres, spread the silk out and leave to dry. I used some cooling racks with nylon
netting covering them. Leave overnight.
14. You’ll notice the silk is much lighter, softer and very shiny when it is fully dry. Though it still looks
like a tangly mess :)
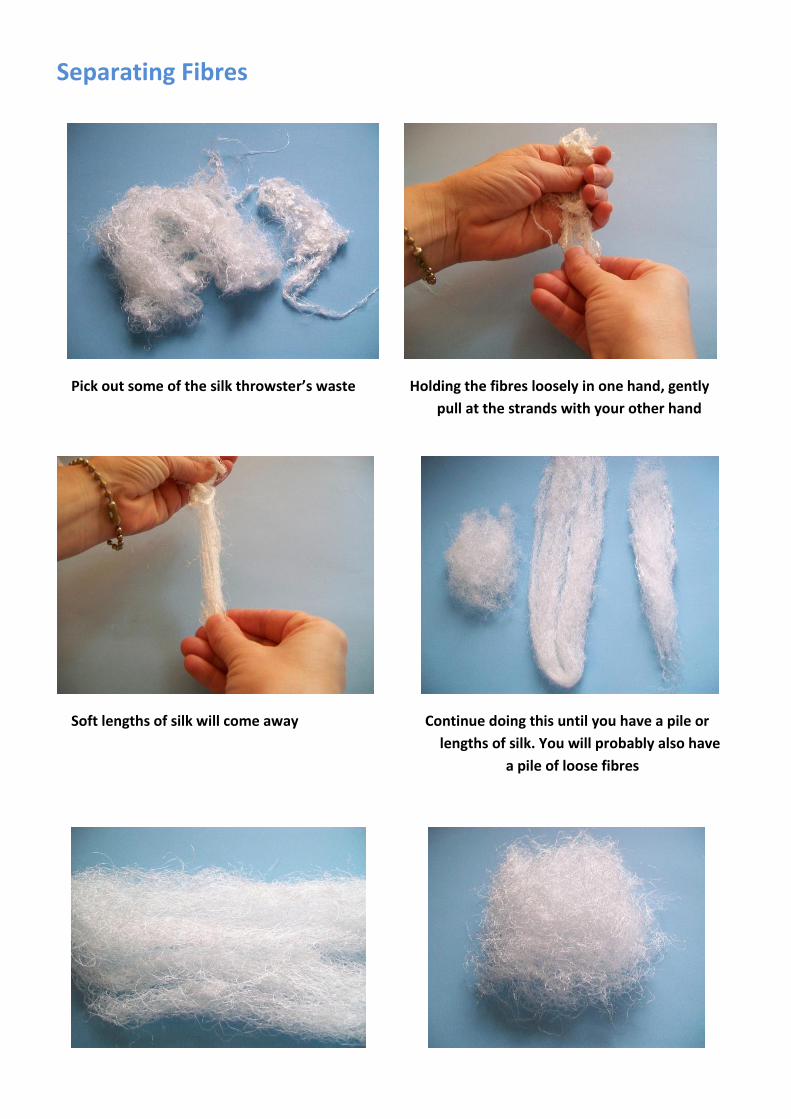
Separating Fibres
Pick out some of the silk throwster’s waste Holding the fibres loosely in one hand, gently
p pull at the strands with your other hand
Soft lengths of silk will come away Continue doing this until you have a pile or
lengths of silk. You will probably also have
a pile of loose fibres
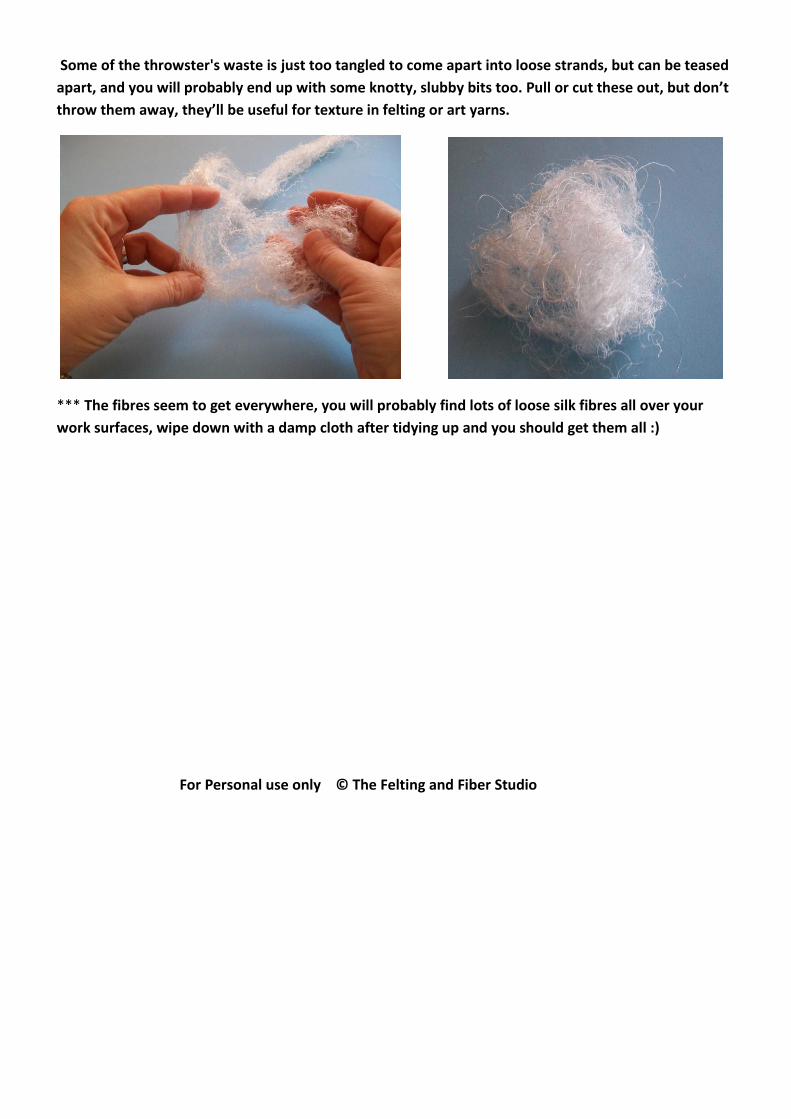
Some of the throwster's waste is just too tangled to come apart into loose strands, but can be teased
apart, and you will probably end up with some knotty, slubby bits too. Pull or cut these out, but don’t
throw them away, they’ll be useful for texture in felting or art yarns.
*** The fibres seem to get everywhere, you will probably find lots of loose silk fibres all over your
work surfaces, wipe down with a damp cloth after tidying up and you should get them all :)
For Personal use only © The Felting and Fiber Studio