Embed Size (px)
Citation preview
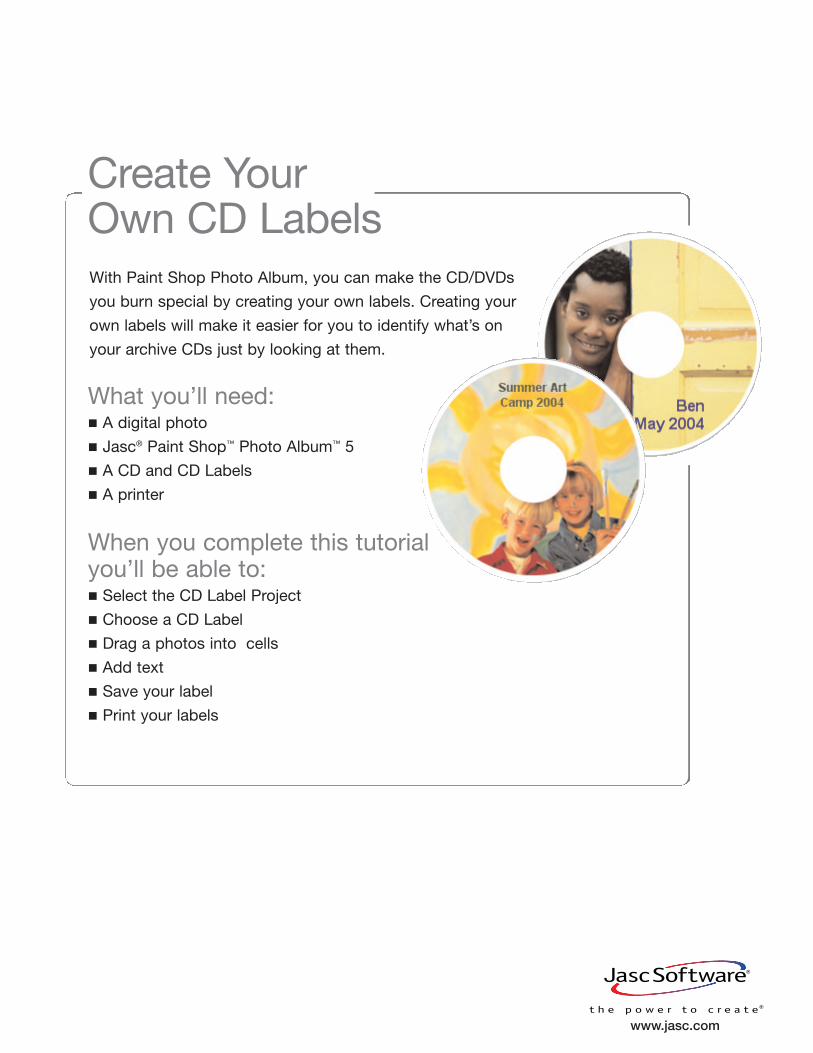
With Paint Shop Photo Album, you can make the CD/DVDs
you burn special by creating your own labels. Creating your
own labels will make it easier for you to identify what’s on
your archive CDs just by looking at them.
Create Your Own CD Labels
What you’ll need:� A digital photo
� Jasc® Paint Shop™ Photo Album™ 5
� A CD and CD Labels
� A printer
When you complete this tutorial you’ll be able to:� Select the CD Label Project
� Choose a CD Label
� Drag a photos into cells
� Add text
� Save your label
� Print your labels
www.jasc.com
Create Your Own CD Labels Page 1
Select Your Project
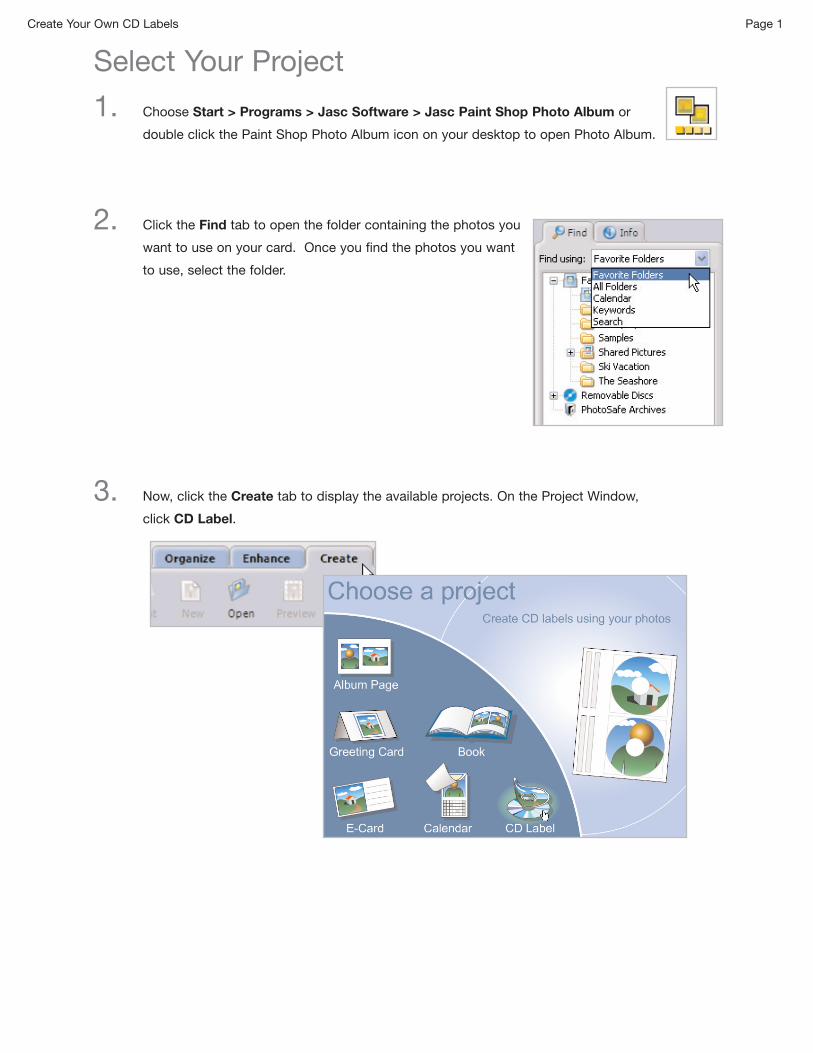
1. Choose Start > Programs > Jasc Software > Jasc Paint Shop Photo Album or
double click the Paint Shop Photo Album icon on your desktop to open Photo Album.
2. Click the Find tab to open the folder containing the photos you
want to use on your card. Once you find the photos you want
to use, select the folder.
3. Now, click the Create tab to display the available projects. On the Project Window,
click CD Label.
Create Your Own CD Labels Page 2
Choose Your Page Style
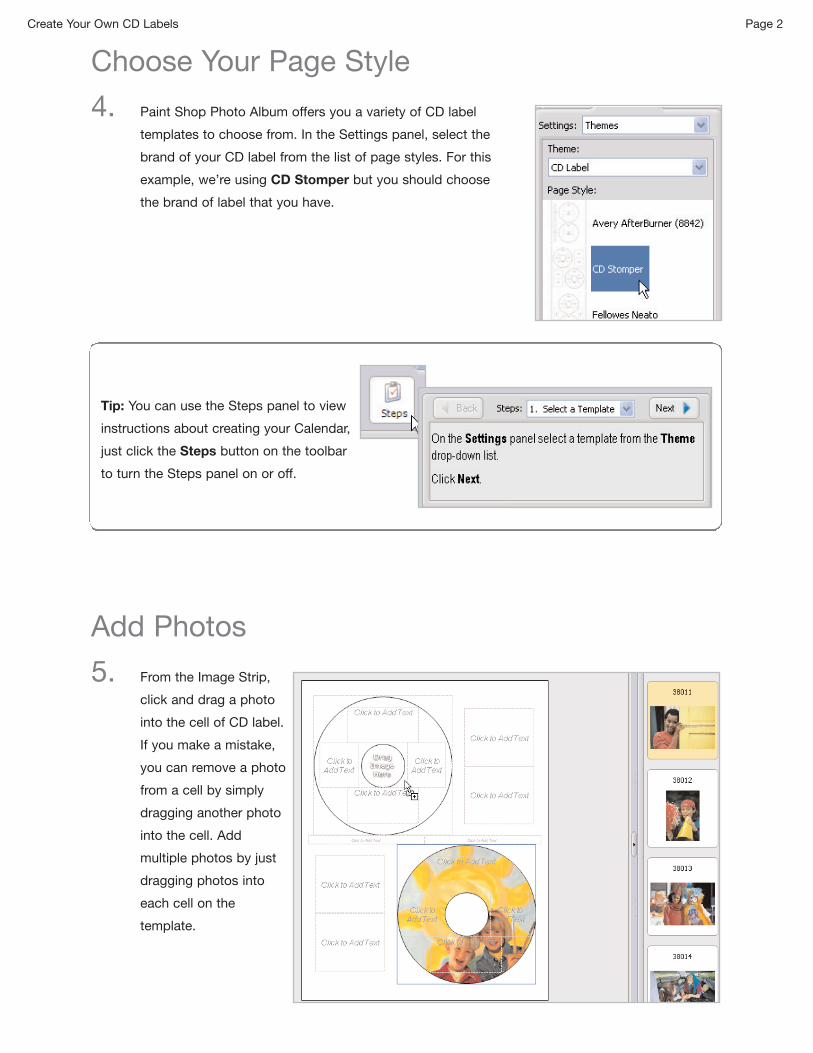
4. Paint Shop Photo Album offers you a variety of CD label
templates to choose from. In the Settings panel, select the
brand of your CD label from the list of page styles. For this
example, we’re using CD Stomper but you should choose
the brand of label that you have.
Tip: You can use the Steps panel to view
instructions about creating your Calendar,
just click the Steps button on the toolbar
to turn the Steps panel on or off.
Add Photos
5. From the Image Strip,
click and drag a photo
into the cell of CD label.
If you make a mistake,
you can remove a photo
from a cell by simply
dragging another photo
into the cell. Add
multiple photos by just
dragging photos into
each cell on the
template.
Create Your Own CD Labels Page 3
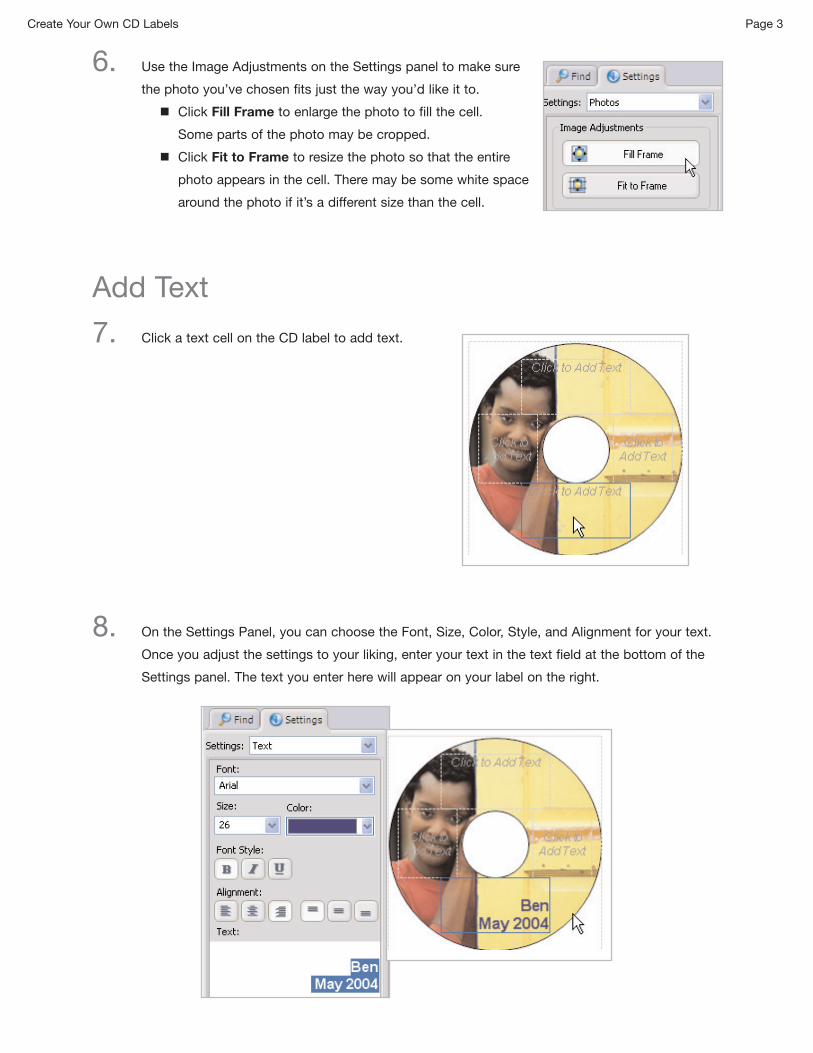
6. Use the Image Adjustments on the Settings panel to make sure
the photo you’ve chosen fits just the way you’d like it to.
� Click Fill Frame to enlarge the photo to fill the cell.
Some parts of the photo may be cropped.
� Click Fit to Frame to resize the photo so that the entire
photo appears in the cell. There may be some white space
around the photo if it’s a different size than the cell.
Add Text
7. Click a text cell on the CD label to add text.
8. On the Settings Panel, you can choose the Font, Size, Color, Style, and Alignment for your text.
Once you adjust the settings to your liking, enter your text in the text field at the bottom of the
Settings panel. The text you enter here will appear on your label on the right.
Create Your Own CD Labels Page 4
Save Your Work
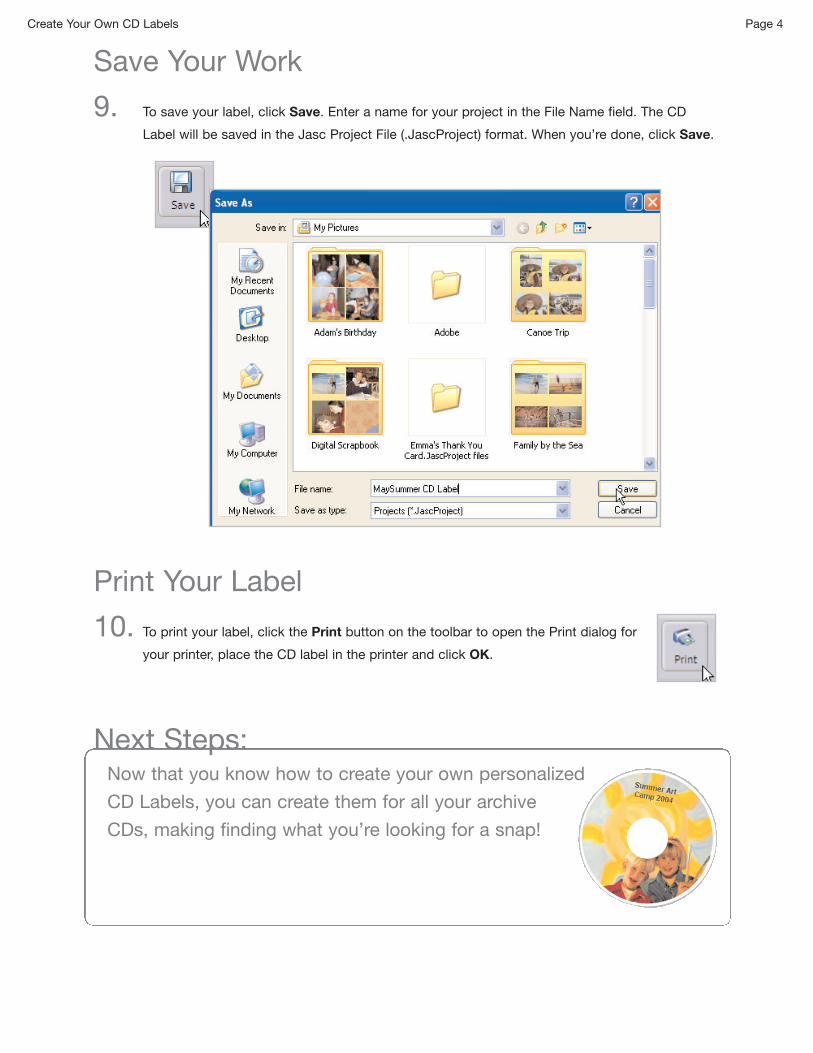
9. To save your label, click Save. Enter a name for your project in the File Name field. The CD
Label will be saved in the Jasc Project File (.JascProject) format. When you’re done, click Save.
Print Your Label
10. To print your label, click the Print button on the toolbar to open the Print dialog for
your printer, place the CD label in the printer and click OK.
Next Steps:Now that you know how to create your own personalized
CD Labels, you can create them for all your archive
CDs, making finding what you’re looking for a snap!