Embed Size (px)
Citation preview
Clean Room E-beam Evaporator Standard Operating Procedure
Evan Smith Superuser—cell: 407-808-6783
Stand-by Mode: Cryopump is running
Helium pressure in the compressor is between 50-100 psi The chamber is under rough vacuum (150-300 mTorr) Valves are closed (Roughing, Foreline, Vent, Hi-Vac all closed)
Please ensure that the system is in stand-by mode before you begin and when you leave.
Initial Start-up
1. Turn ON the electrical knife switch on the wall (upper right).
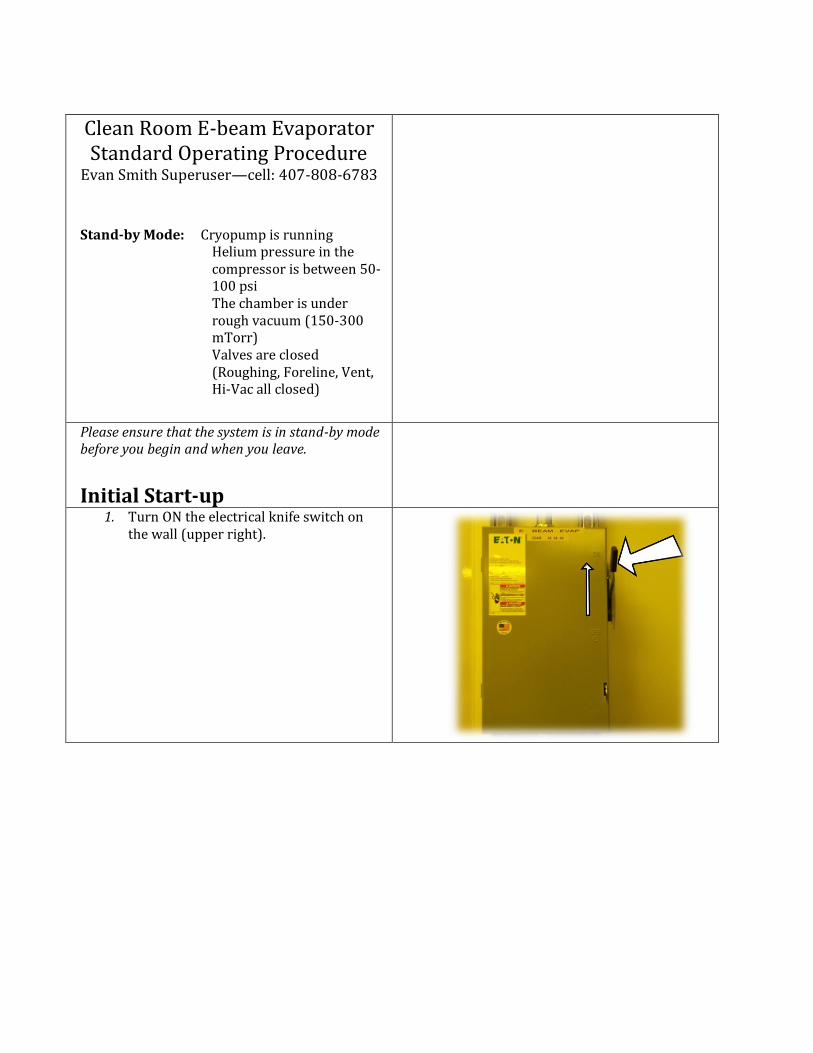
2. Turn ON the main and 120 V bus breakers located on the unit.
3. Switch on the power to the Varian
pressure gauge.
Venting the Chamber
4. Open the vent valve using the switch located on the instrument panel.
5. Wait 2-3 minutes until you hear the pop
of the chamber coming to atmospheric pressure.
6. Turn OFF vent valve before opening the chamber.
7. Lift the chamber hood using the handle
in front.
Loading Samples
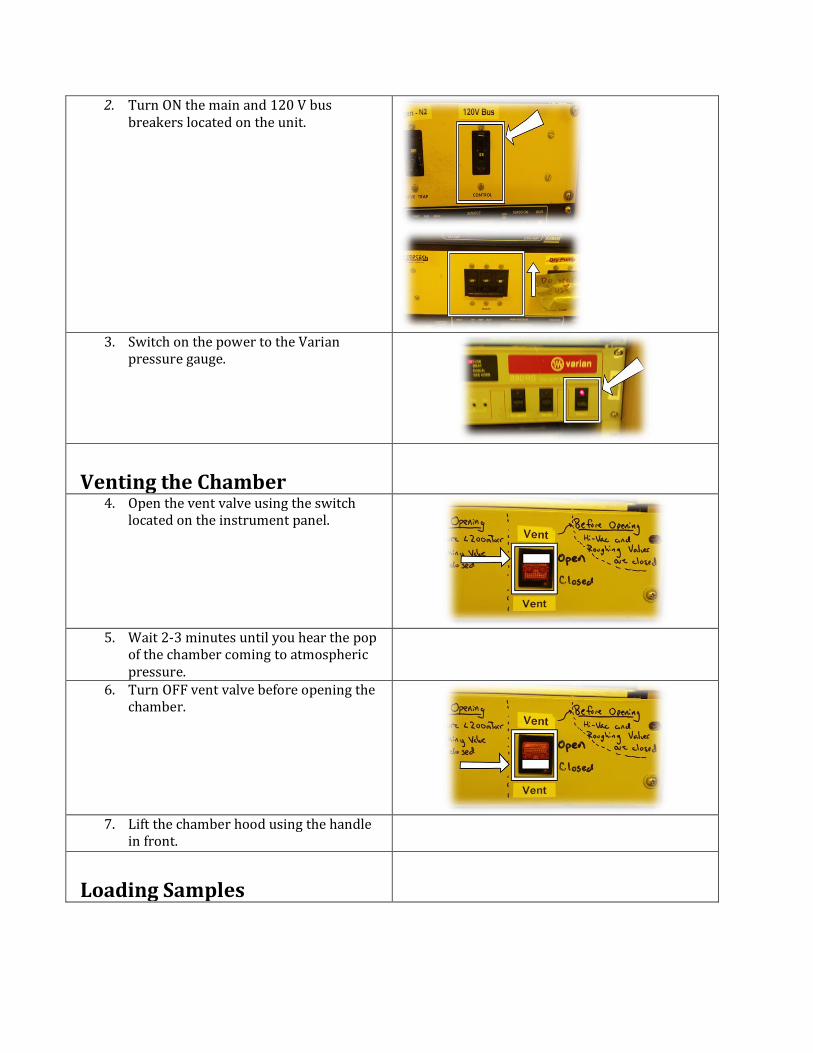
8. Place sample(s) on mount and source material(s) in pocket(s). Fill the pocket or crucible at least half-full of evaporation material.
a. The material pocket indexer is
the knob located at the bottom of the chamber. Only turn this clockwise (CW).
b. To switch between materials,
turn 1 full rotation. Alignment marks indicate when the pocket is lined up.
9. Check crystal monitor life before you begin.
a. Turn on the Inficon crystal monitor display
b. Push “1”, which acts as the XTAL
life button.
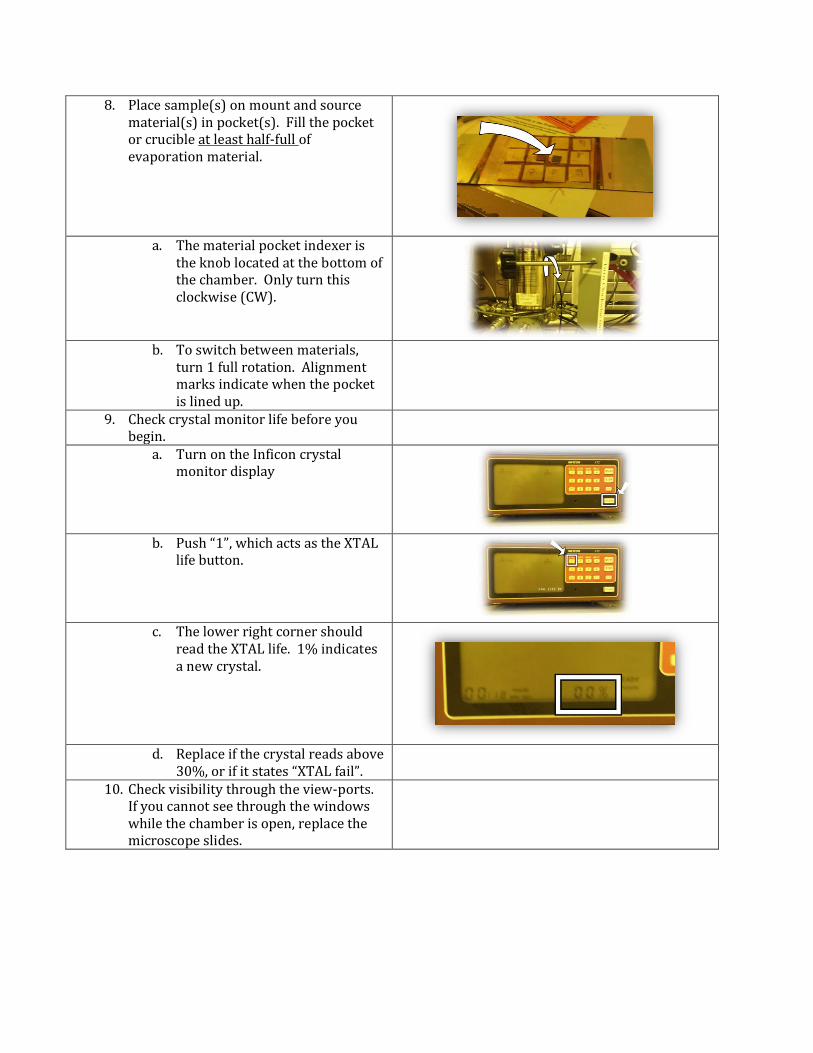
c. The lower right corner should
read the XTAL life. 1% indicates a new crystal.
d. Replace if the crystal reads above
30%, or if it states “XTAL fail”.
10. Check visibility through the view-ports. If you cannot see through the windows while the chamber is open, replace the microscope slides.
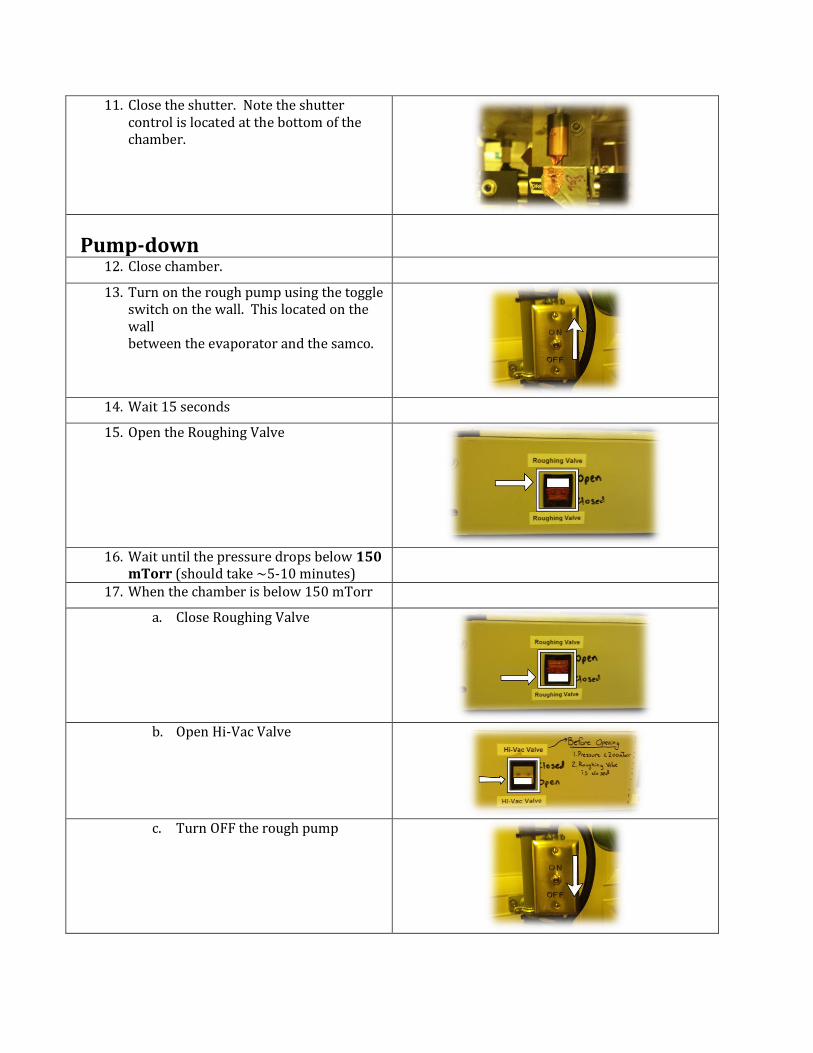
11. Close the shutter. Note the shutter control is located at the bottom of the chamber.
Pump-down
12. Close chamber. 13. Turn on the rough pump using the toggle
switch on the wall. This located on the wall between the evaporator and the samco.
14. Wait 15 seconds 15. Open the Roughing Valve
16. Wait until the pressure drops below 150
mTorr (should take ~5-10 minutes)
17. When the chamber is below 150 mTorr a. Close Roughing Valve
b. Open Hi-Vac Valve
c. Turn OFF the rough pump
18. Wait approximately 2 hours for the chamber to pump to < 1x10⁻⁵ Torr.
Deposition
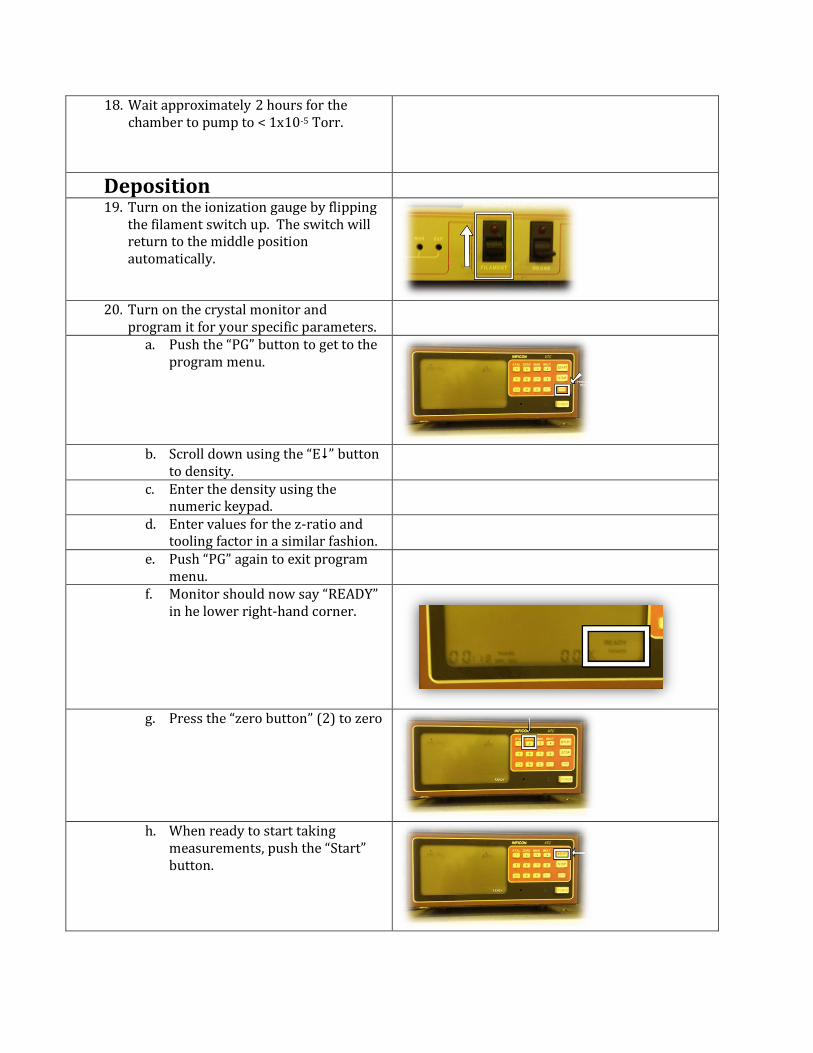
19. Turn on the ionization gauge by flipping the filament switch up. The switch will return to the middle position automatically.
20. Turn on the crystal monitor and
program it for your specific parameters.
a. Push the “PG” button to get to the program menu.
b. Scroll down using the “E” button
to density.
c. Enter the density using the numeric keypad.
d. Enter values for the z-ratio and tooling factor in a similar fashion.
e. Push “PG” again to exit program menu.
f. Monitor should now say “READY” in he lower right-hand corner.
g. Press the “zero button” (2) to zero
h. When ready to start taking
measurements, push the “Start” button.
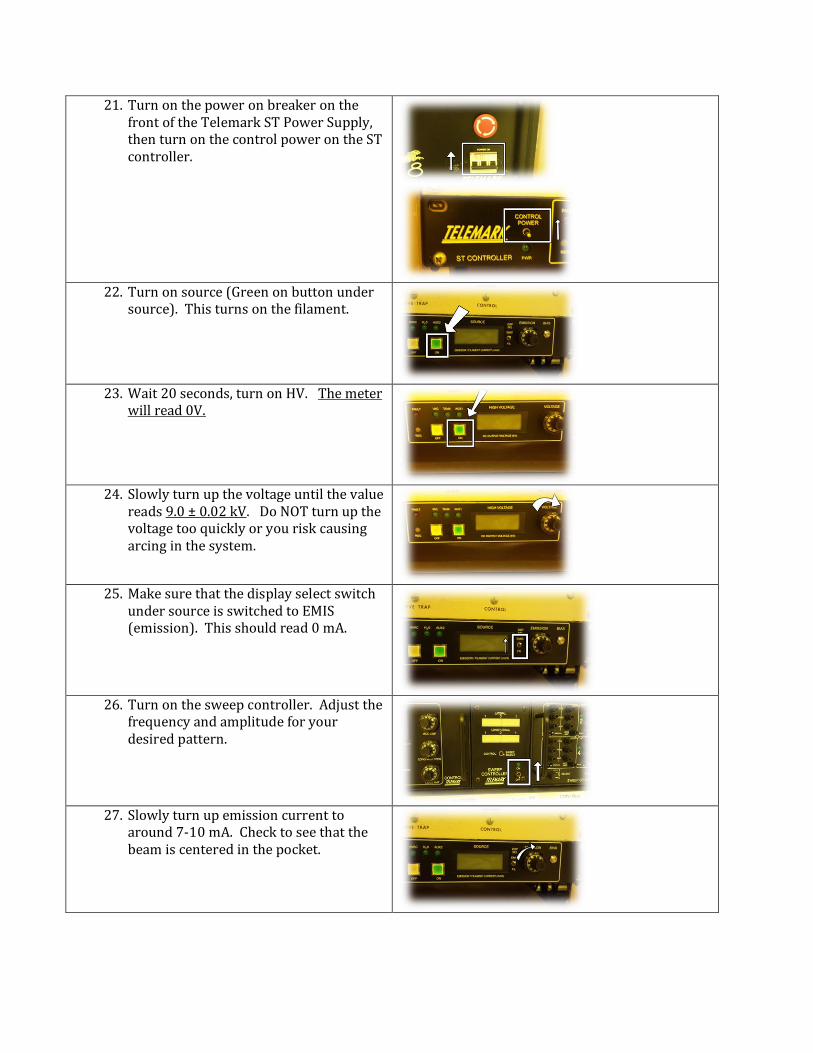
21. Turn on the power on breaker on the front of the Telemark ST Power Supply, then turn on the control power on the ST controller.
22. Turn on source (Green on button under
source). This turns on the filament.
23. Wait 20 seconds, turn on HV. The meter
will read 0V.
24. Slowly turn up the voltage until the value
reads 9.0 ± 0.02 kV. Do NOT turn up the voltage too quickly or you risk causing arcing in the system.
25. Make sure that the display select switch
under source is switched to EMIS (emission). This should read 0 mA.
26. Turn on the sweep controller. Adjust the
frequency and amplitude for your desired pattern.
27. Slowly turn up emission current to
around 7-10 mA. Check to see that the beam is centered in the pocket.
28. Make sure that the beam is hitting the center of the pocket. It is often easier to adjust the position by switching the sweep control mode to “manual” (right position) and then moving the beam position, then switching back to “triangle” (center position, unlabeled) or “spiral” (left position).
29. Increase the current until the source starts evaporating. This will vary based upon the material.
30. After 1-2 nm has been evaporated as shown on the crystal monitor, open the shutter by turning the shutter knob underneath the chamber clockwise.
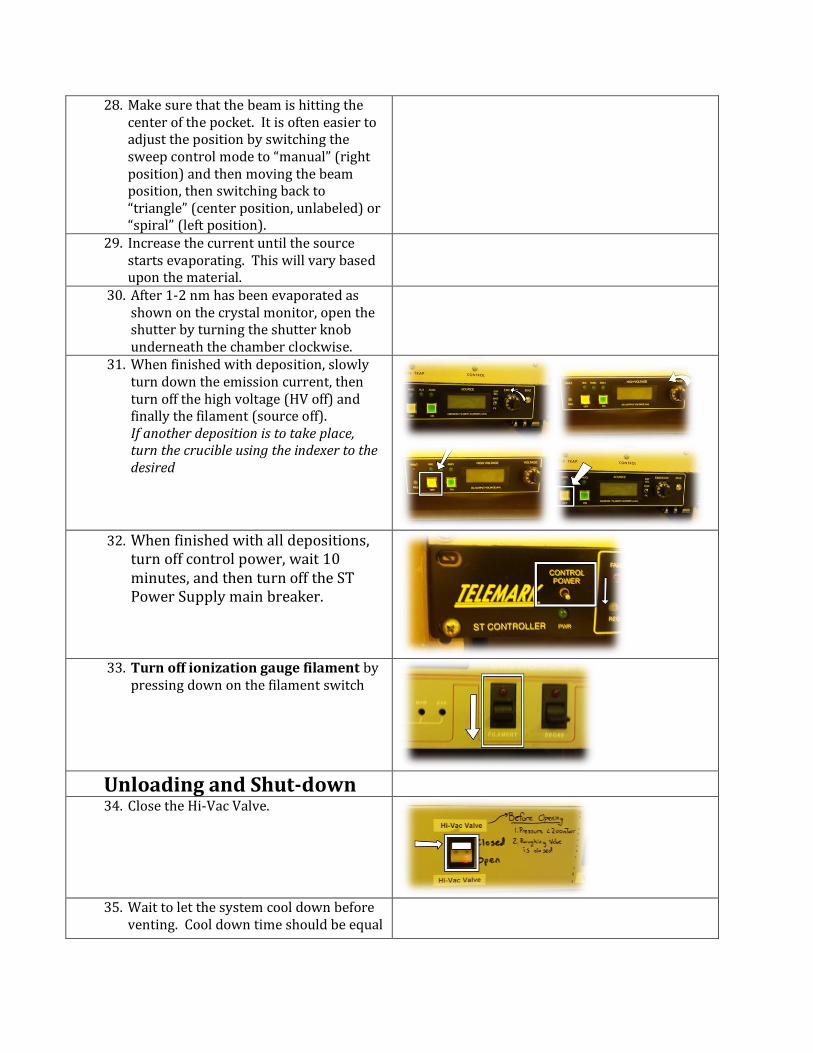
31. When finished with deposition, slowly turn down the emission current, then turn off the high voltage (HV off) and finally the filament (source off). If another deposition is to take place, turn the crucible using the indexer to the desired
32. When finished with all depositions,
turn off control power, wait 10 minutes, and then turn off the ST Power Supply main breaker.
33. Turn off ionization gauge filament by
pressing down on the filament switch
Unloading and Shut-down
34. Close the Hi-Vac Valve.
35. Wait to let the system cool down before
venting. Cool down time should be equal
to the time that the filament was turned on.
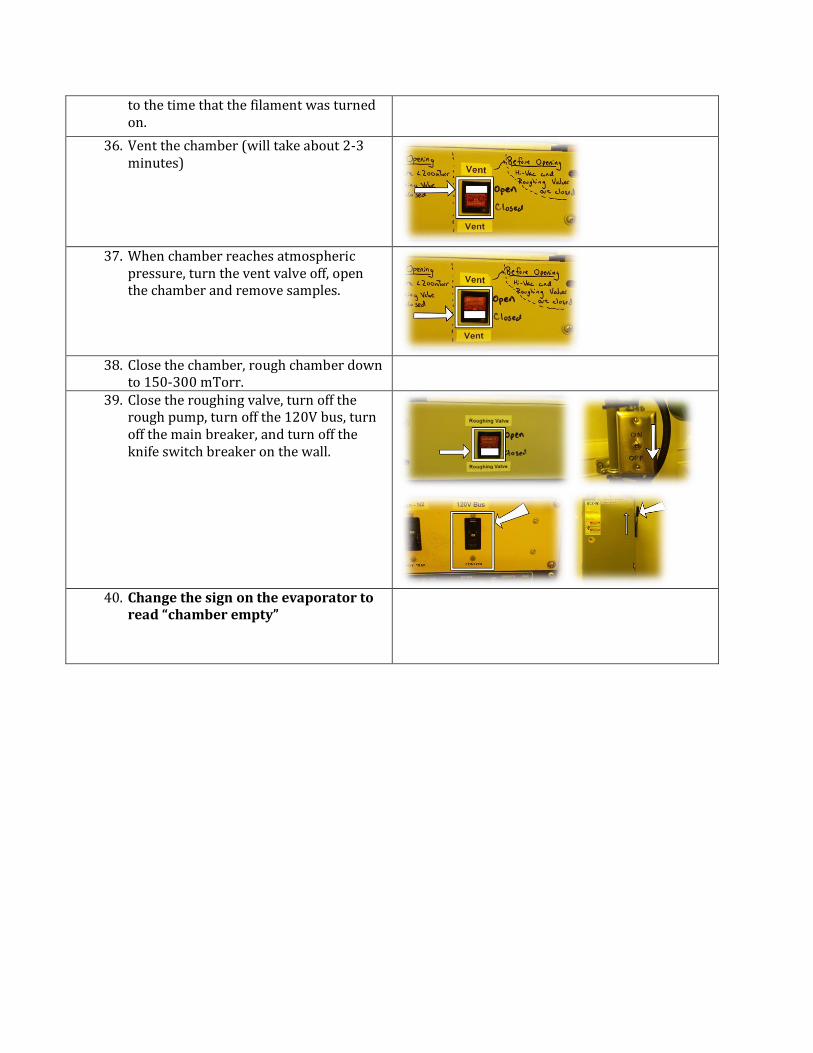
36. Vent the chamber (will take about 2-3 minutes)
37. When chamber reaches atmospheric
pressure, turn the vent valve off, open the chamber and remove samples.
38. Close the chamber, rough chamber down
to 150-300 mTorr.
39. Close the roughing valve, turn off the rough pump, turn off the 120V bus, turn off the main breaker, and turn off the knife switch breaker on the wall.
40. Change the sign on the evaporator to
read “chamber empty”