Embed Size (px)
Citation preview
BEILSTEIN TEST: a simple test for Halogens (Chlorides)
PowerPoint Presentation by:
Melba J. Myers, Virginia Department of Historic Resources
From: Spot Testing for Materials Characterization by Nancy Odegaard and Scott Carroll
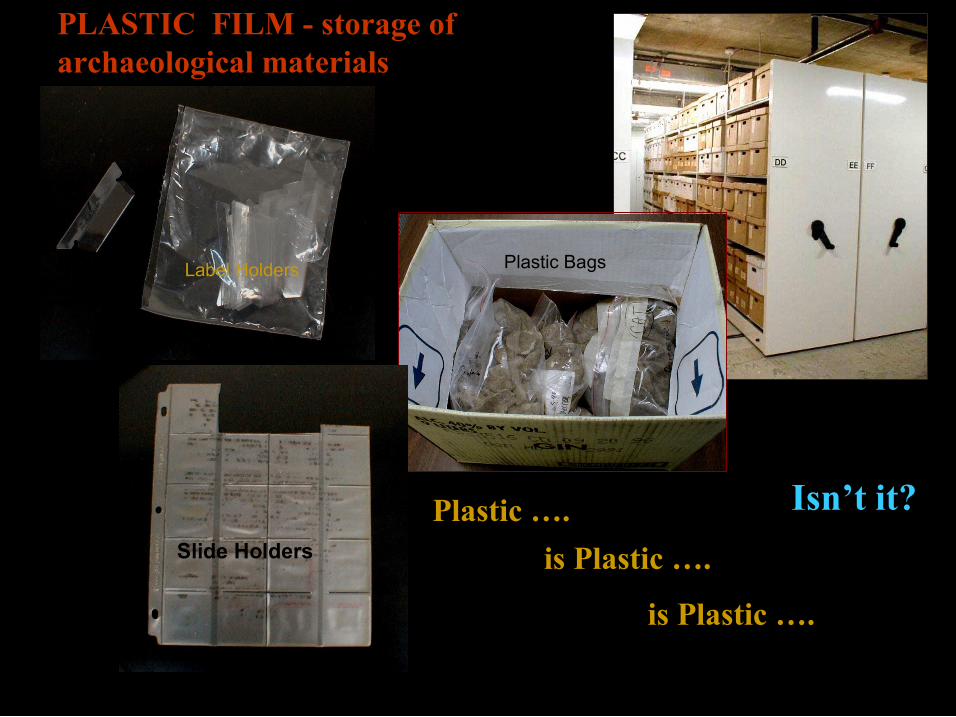
PLASTIC FILM storage of archaeological materials
Slide Holders
Plastic Bags Label Holders
Plastic ….
is Plastic ….
is Plastic ….
Isn’t it? Slide Holders
You have heard of testing your packaging materials for pH (ACIDITY)
So, here’s another lurking danger …… and it lurks in PLASTIC.
Some remember the days when we went to the grocery store for plastic bags. And now, many years later, perhaps those bags are not doing so well.
But maybe they are OK . . . . . they may LOOK OK.
How can we find out if a plastic contains Halogens (Chlorine or CHLORIDES)
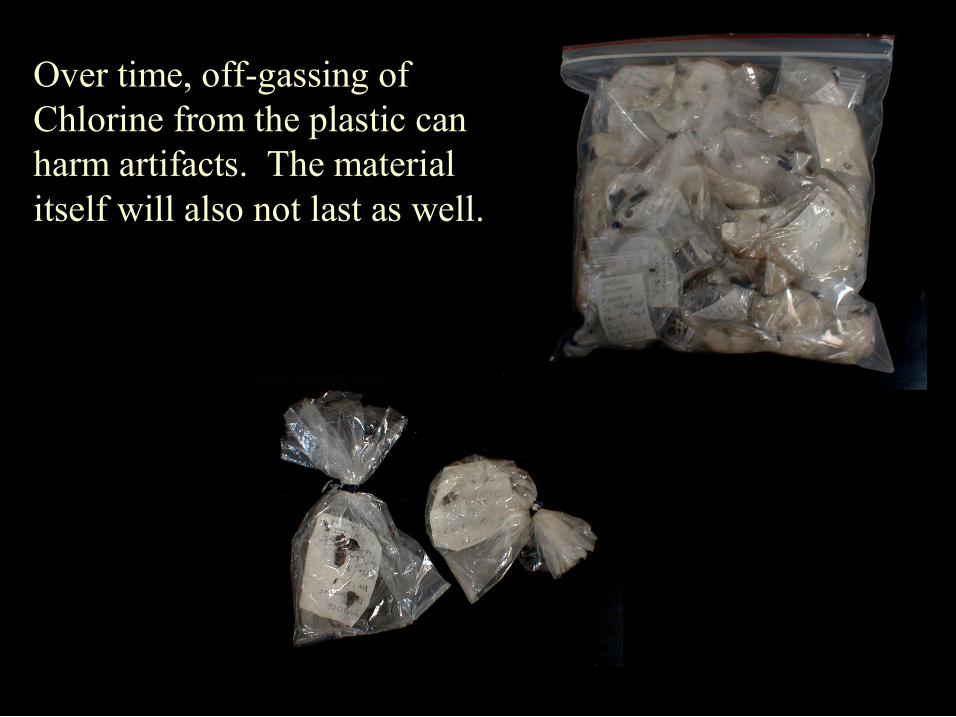
Over time, offgassing of Chlorine from the plastic can harm artifacts. The material itself will also not last as well.

Purpose of the Test: Determine the presence of chlorine/chlorides, especially for materials being considered for long term storage of artifacts.
Test for Halogens Using Pyrolysis (BEILSTEIN TEST)
Principle Involved: A material containing bound or ionic halogens (chlorine, bromine, iodine) such as salt or polyvinyl chloride (PVC), will react with a copper wire when heated in a flame and produce a brilliant, long lasting green flame.
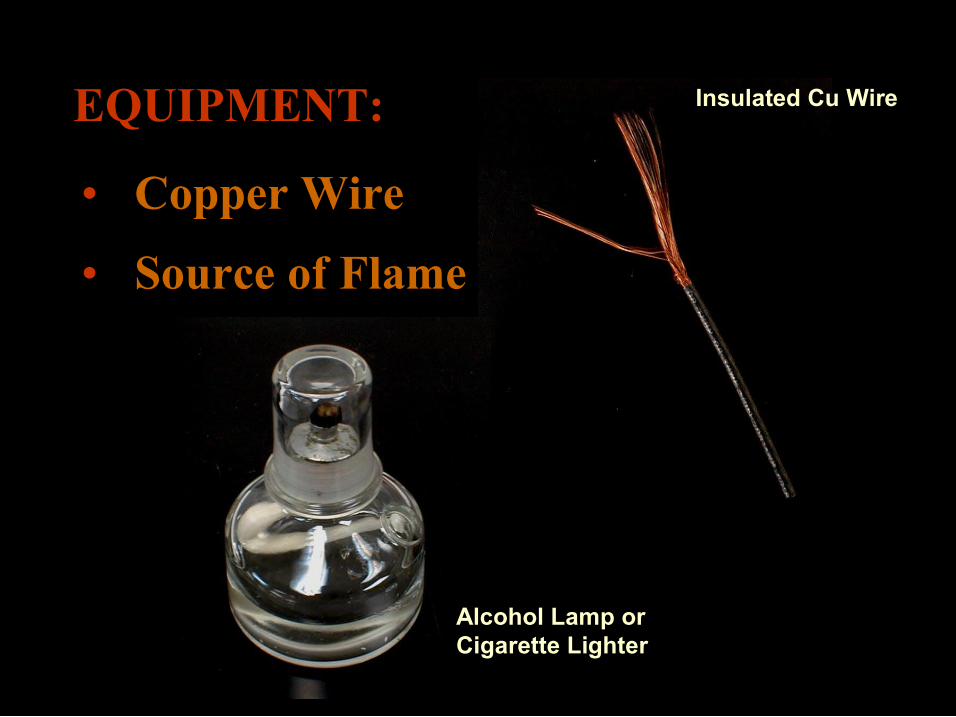
EQUIPMENT: Insulated Cu Wire
• Copper Wire
Alcohol Lamp or Cigarette Lighter
• Source of Flame
PROCEDURE:
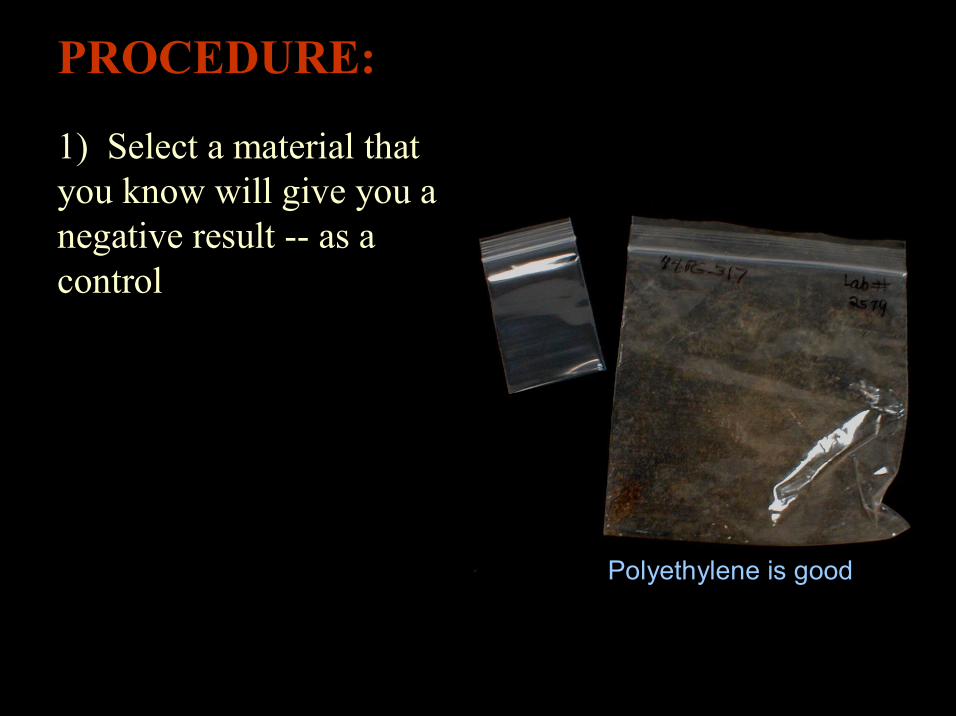
Polyethylene is good
1) Select a material that you know will give you a negative result as a control
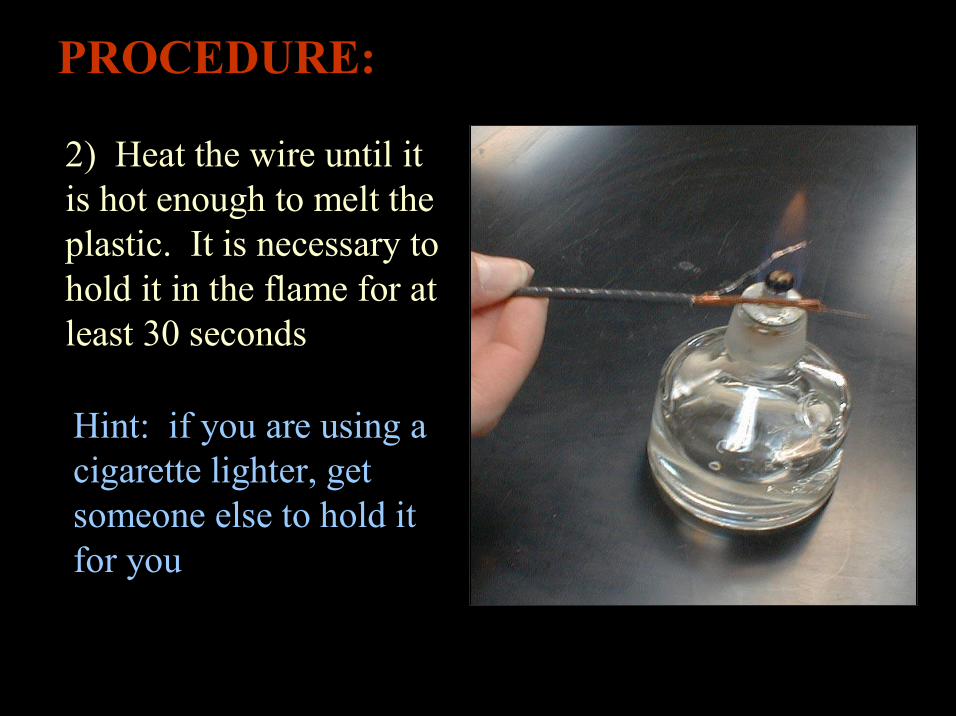
2) Heat the wire until it is hot enough to melt the plastic. It is necessary to hold it in the flame for at least 30 seconds
PROCEDURE:
Hint: if you are using a cigarette lighter, get someone else to hold it for you
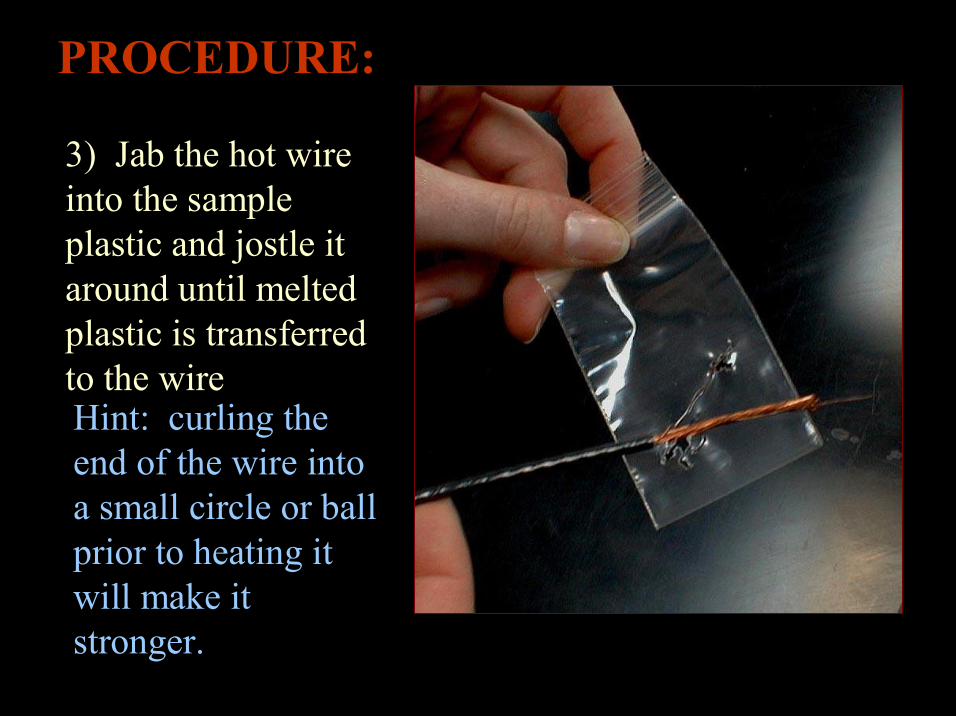
3) Jab the hot wire into the sample plastic and jostle it around until melted plastic is transferred to the wire
PROCEDURE:
Hint: curling the end of the wire into a small circle or ball prior to heating it will make it stronger.
Mold Contamination Room
Drying Paintings
PROCEDURE:
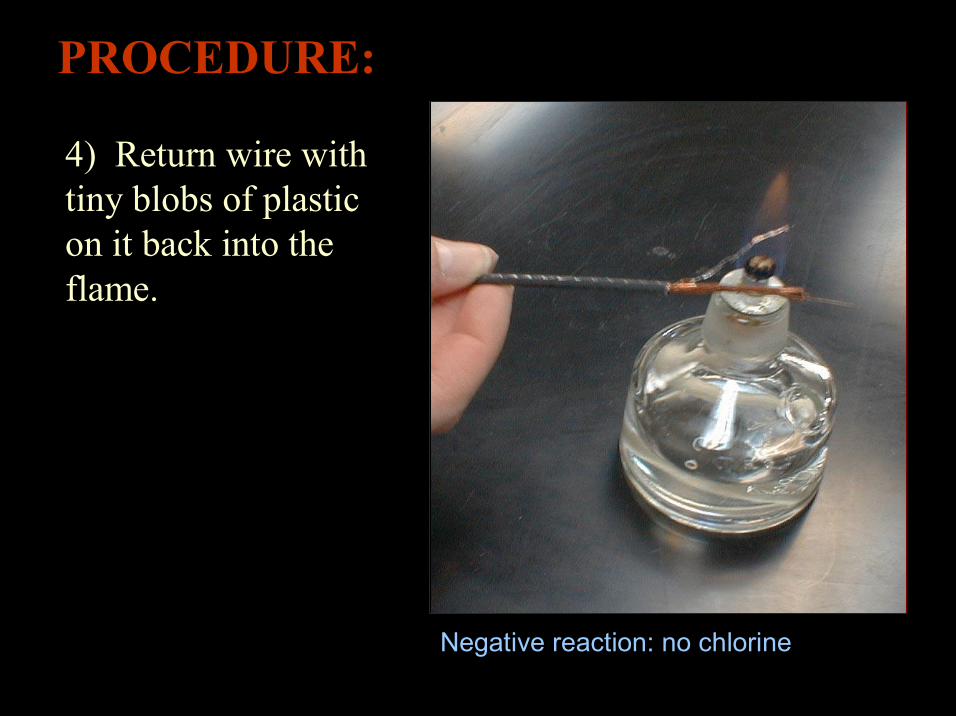
4) Return wire with tiny blobs of plastic on it back into the flame.
Negative reaction: no chlorine
Mold Contamination Room
Drying Paintings
PROCEDURE:
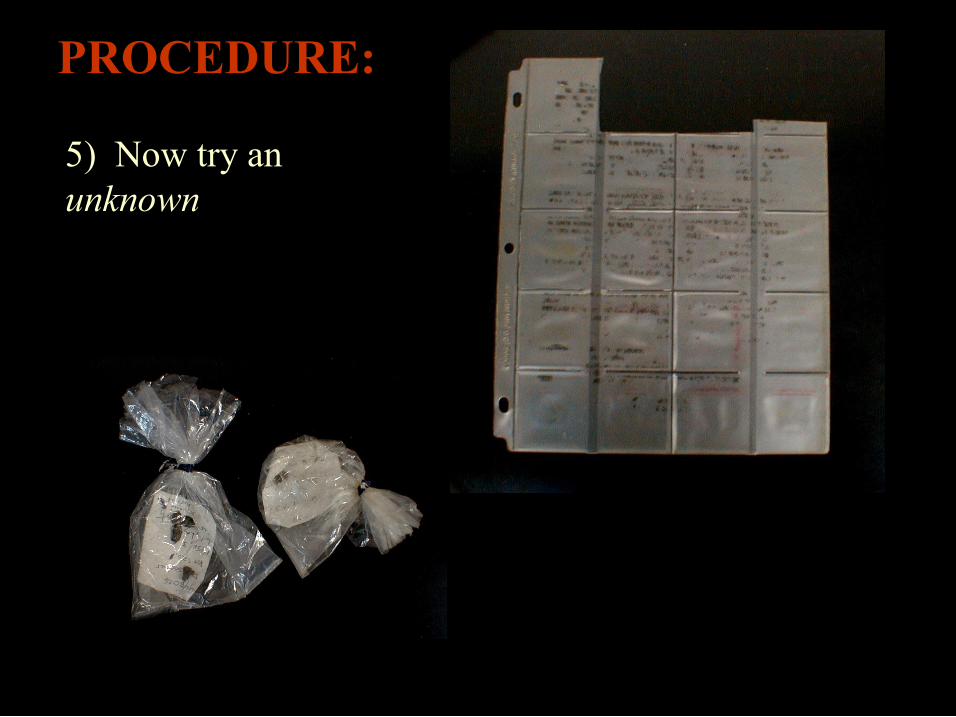
5) Now try an unknown

Mold Contamination Room
Drying Paintings
PROCEDURE:
6) Heat the wire again – either pull out a clean wire, or burn off the plastic from the previous one
7) Test the unknown – make sure you get the wire hot enough
PROCEDURE:
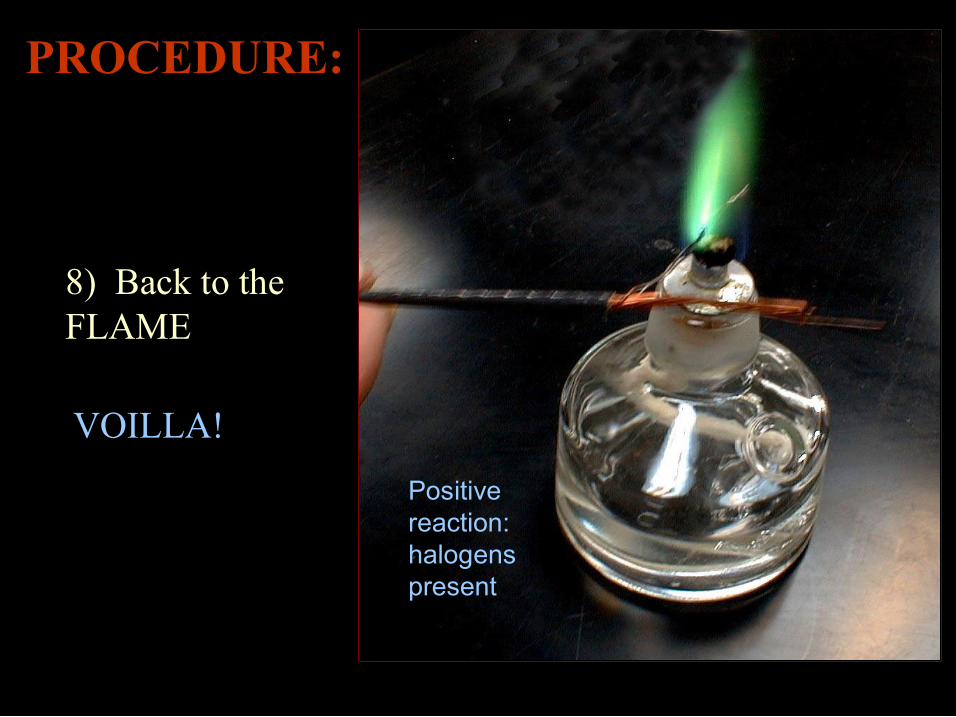
8) Back to the FLAME
Positive reaction: halogens present
VOILLA!
RESULTS:
Positive: A strong green color in the flame indicates the presence of halogens (chloride, bromide, iodide but not fluoride). The flame will burn green for a long period of time if PVCs are present.
Impurities, such as fingerprints, or surface treatments that contain chloride can give a weak green flame that disappears quickly.