Embed Size (px)
Citation preview
3 LEVEL
3.1 Working Smartly at the Bar 3.1.1 Introducing Working Smartly at the Bar
3.1.2 Introducing Working Smartly at the Bar
before Service
3.1.3 Working Smartly at the Bar during
Service
3.1.4 Working Smartly at the Bar after Service
2
3
4
5
3.5 Garnishes3.5.1 Introducing Garnishes
3.5.2 Garnishing with Ice
3.5.3 A Focus on Ice Nests
3.5.4 Garnishing with Lemons and Limes
3.5.5 Garnishing with Oranges and Grapefruit
3.5.6 Garnishing with Zests
3.5.7 Garnishing with Mint
3.5.8 Garnishing with Sugar and Salt
3.5.9 Garnishing with Apple
3.5.10 Garnishing with Pineapple
3.5.11 Garnishing with Spices
3.5.12 Floating Garnishes
3.5.13 Garnishing using Skewers
15
16
17
18
19
20
21
22
23
24
25
26
27
6
7
3.2 Taking Stock3.2.1 Introducing Taking Stock
3.2.2 How to Take Stock
8
9
10
11
12
3.3. Trays3.3.1 Introducing Trays
3.3.2 Preparing a Tray
3.3.3 Carrying Trays
3.3.4 Using a Tray
3.3.5 Serving Drinks from a Tray
13
14
3.4 The Docket3.4.1 Introducing the Docket
3.4.2 How the Docket Works
page no.
page no.
page no.
page no.
page no.
BAR PROFESSIONAL Training Manual & Workbook
© Copyright Lobster International S.A. 2015. All rights reserved.
Page 2
3
Activities✓Recap
Bar Professional Training Manual & Workbook© Copyright Lobster International S.A. 2015. All rights reserved.
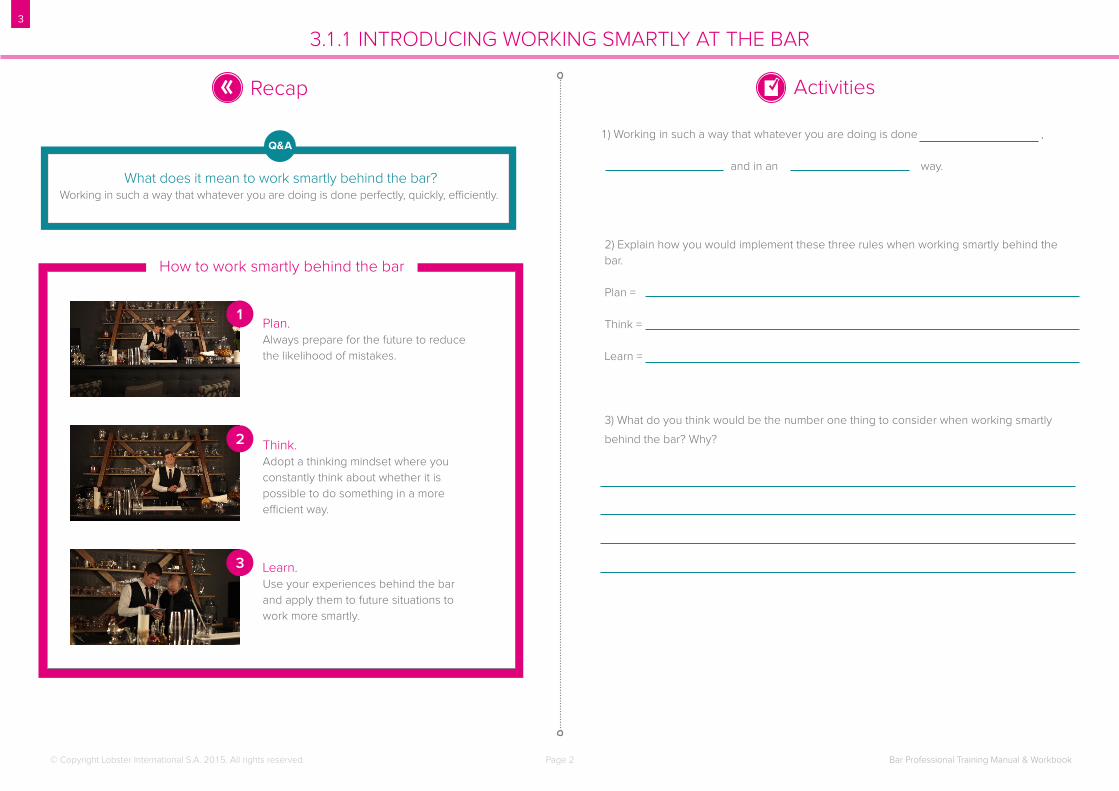
How to work smartly behind the bar
3.1.1 INTRODUCING WORKING SMARTLY AT THE BAR
1) Working in such a way that whatever you are doing is done ,
and in an way.
2) Explain how you would implement these three rules when working smartly behind the bar.
Plan =
Think =
Learn =
3) What do you think would be the number one thing to consider when working smartly
behind the bar? Why?
Plan.Always prepare for the future to reduce the likelihood of mistakes.
Think.Adopt a thinking mindset where you constantly think about whether it is possible to do something in a more efficient way.
Learn. Use your experiences behind the bar and apply them to future situations to work more smartly.
Q&A
What does it mean to work smartly behind the bar?Working in such a way that whatever you are doing is done perfectly, quickly, efficiently.
1
2
3
Page 3
3
Activities✓Recap
Bar Professional Training Manual & Workbook© Copyright Lobster International S.A. 2015. All rights reserved.
3.1.1 INTRODUCING WORKING SMARTLY AT THE BAR 3.1.2 INTRODUCING WORKING SMARTLY AT THE BAR BEFORE SERVICE
1) What benefits will you receive from working smartly before bar service?
2) What are the four key points to working smartly in this situation?
3) What would you need to organise first in your establishment, before your service starts?
Benefits: Working smartly before service will ensure that everything is ready for your Guests and will reduce the chances of mistakes.
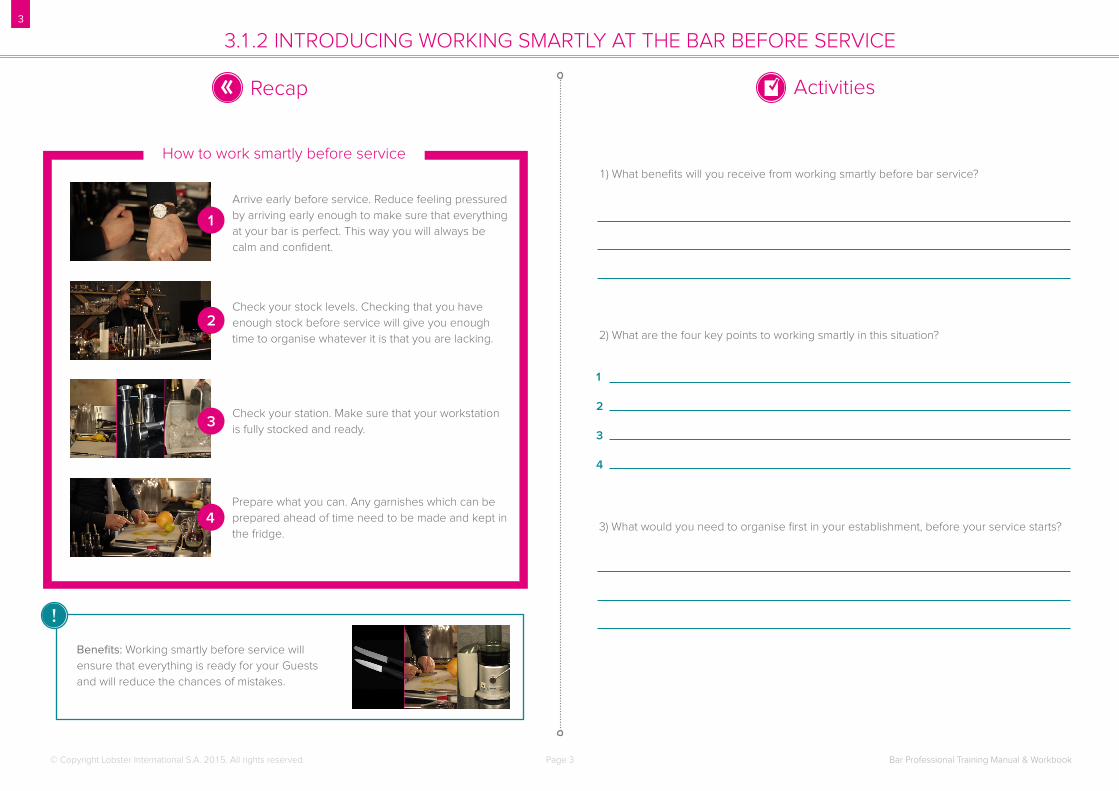
How to work smartly before service
Arrive early before service. Reduce feeling pressured by arriving early enough to make sure that everything at your bar is perfect. This way you will always be calm and confident.
Check your stock levels. Checking that you have enough stock before service will give you enough time to organise whatever it is that you are lacking.
Check your station. Make sure that your workstation is fully stocked and ready.
Prepare what you can. Any garnishes which can be prepared ahead of time need to be made and kept in the fridge.
1
2
3
4
1
3
4
2
Page 4
3
Activities✓Recap
Bar Professional Training Manual & Workbook© Copyright Lobster International S.A. 2015. All rights reserved.
1) Why is it important to learn Guests’ preferences?
2) What do you think the bartender is checking in this image and why?
3.1.3 WORKING SMARTLY AT THE BAR DURING SERVICE
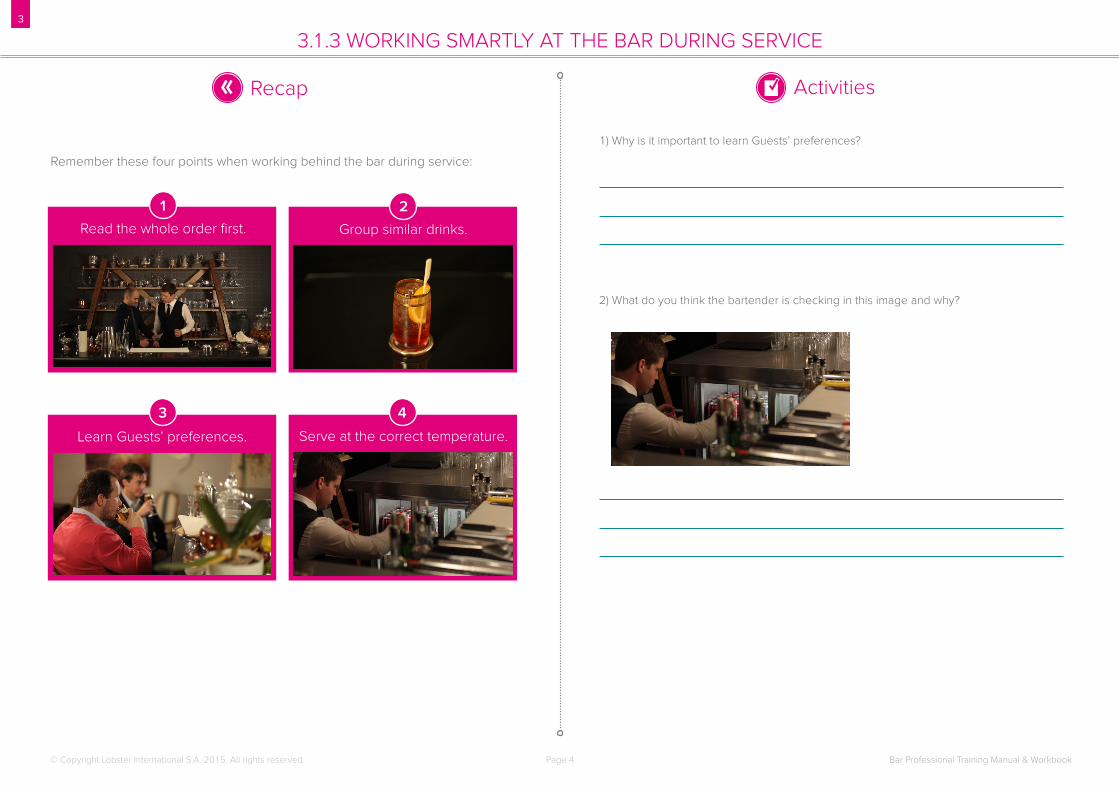
Read the whole order first. Group similar drinks.
Learn Guests’ preferences. Serve at the correct temperature.
Remember these four points when working behind the bar during service:
1 2
3 4
Page 5
3
Activities✓Recap
Bar Professional Training Manual & Workbook© Copyright Lobster International S.A. 2015. All rights reserved.
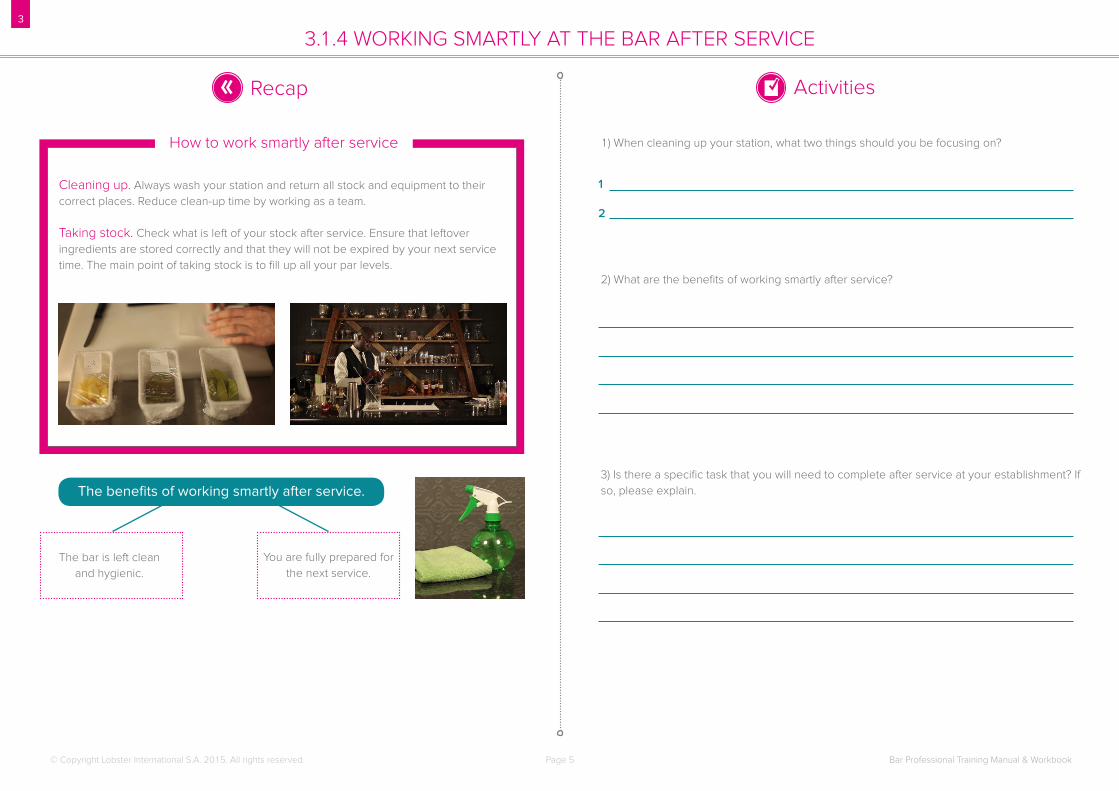
How to work smartly after service
3.1.3 WORKING SMARTLY AT THE BAR DURING SERVICE 3.1.4 WORKING SMARTLY AT THE BAR AFTER SERVICE
1) When cleaning up your station, what two things should you be focusing on?
2) What are the benefits of working smartly after service?
3) Is there a specific task that you will need to complete after service at your establishment? If so, please explain.
Cleaning up. Always wash your station and return all stock and equipment to their correct places. Reduce clean-up time by working as a team.
Taking stock. Check what is left of your stock after service. Ensure that leftover ingredients are stored correctly and that they will not be expired by your next service time. The main point of taking stock is to fill up all your par levels.
The bar is left clean and hygienic.
You are fully prepared for the next service.
The benefits of working smartly after service.
1
2
Page 6
3
Activities✓Recap
Bar Professional Training Manual & Workbook© Copyright Lobster International S.A. 2015. All rights reserved.
3.2.1 INTRODUCING TAKING STOCK
1) Draw an image of what you would do at the end of a shift if you are left with a few half bottles of the same spirit.
2) How will knowing the quantities of your stock help you prepare for service?
3) Always ensure the of all stock and make sure that it’s in a good
enough to use and serve to .
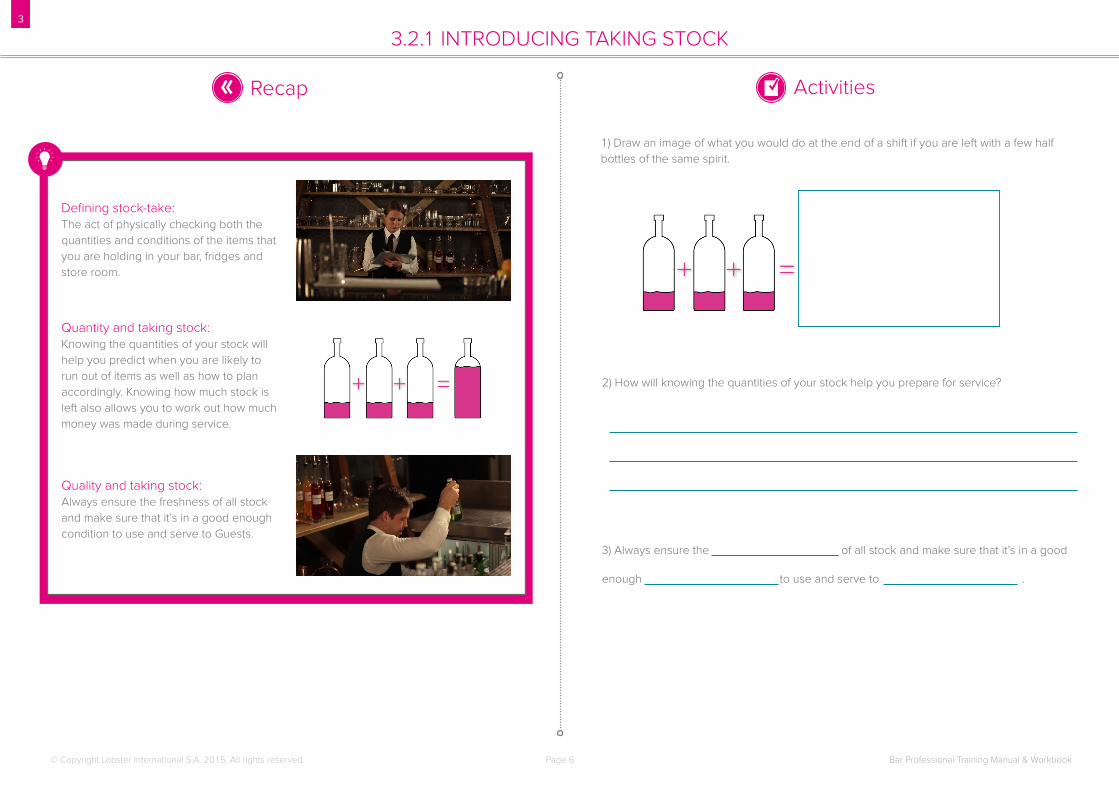
Defining stock-take:The act of physically checking both the quantities and conditions of the items that you are holding in your bar, fridges and store room.
Quantity and taking stock:Knowing the quantities of your stock will help you predict when you are likely to run out of items as well as how to plan accordingly. Knowing how much stock is left also allows you to work out how much money was made during service.
Quality and taking stock:Always ensure the freshness of all stock and make sure that it’s in a good enough condition to use and serve to Guests.
Page 7
3
Activities✓Recap
Bar Professional Training Manual & Workbook© Copyright Lobster International S.A. 2015. All rights reserved.
3.2.2 HOW TO TAKE STOCK
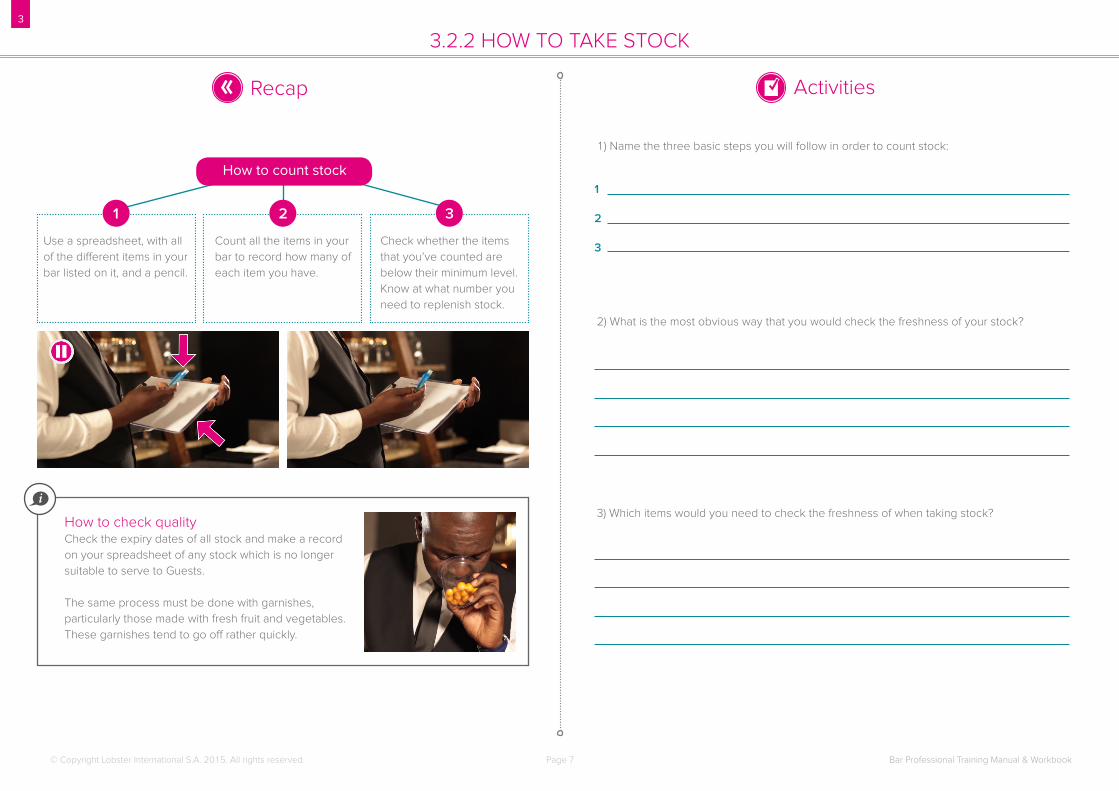
How to count stock
Use a spreadsheet, with all of the different items in your bar listed on it, and a pencil.
Count all the items in your bar to record how many of each item you have.
Check whether the items that you’ve counted are below their minimum level. Know at what number you need to replenish stock.
1) Name the three basic steps you will follow in order to count stock:
2) What is the most obvious way that you would check the freshness of your stock?
3) Which items would you need to check the freshness of when taking stock?
1 2 3
i
How to check qualityCheck the expiry dates of all stock and make a record on your spreadsheet of any stock which is no longer suitable to serve to Guests.
The same process must be done with garnishes, particularly those made with fresh fruit and vegetables. These garnishes tend to go off rather quickly.
1
2
3
Page 8
3
Activities✓Recap
Bar Professional Training Manual & Workbook© Copyright Lobster International S.A. 2015. All rights reserved.
3.3.1 INTRODUCING TRAYS
1) List two different uses for trays.
2) There are four different types of trays used in service. Can you name them?
3) When it comes to trays, what do the words ‘silver’, ‘brass’, ‘sheet iron’, ‘plastic’ and ‘wood’ mean to you?
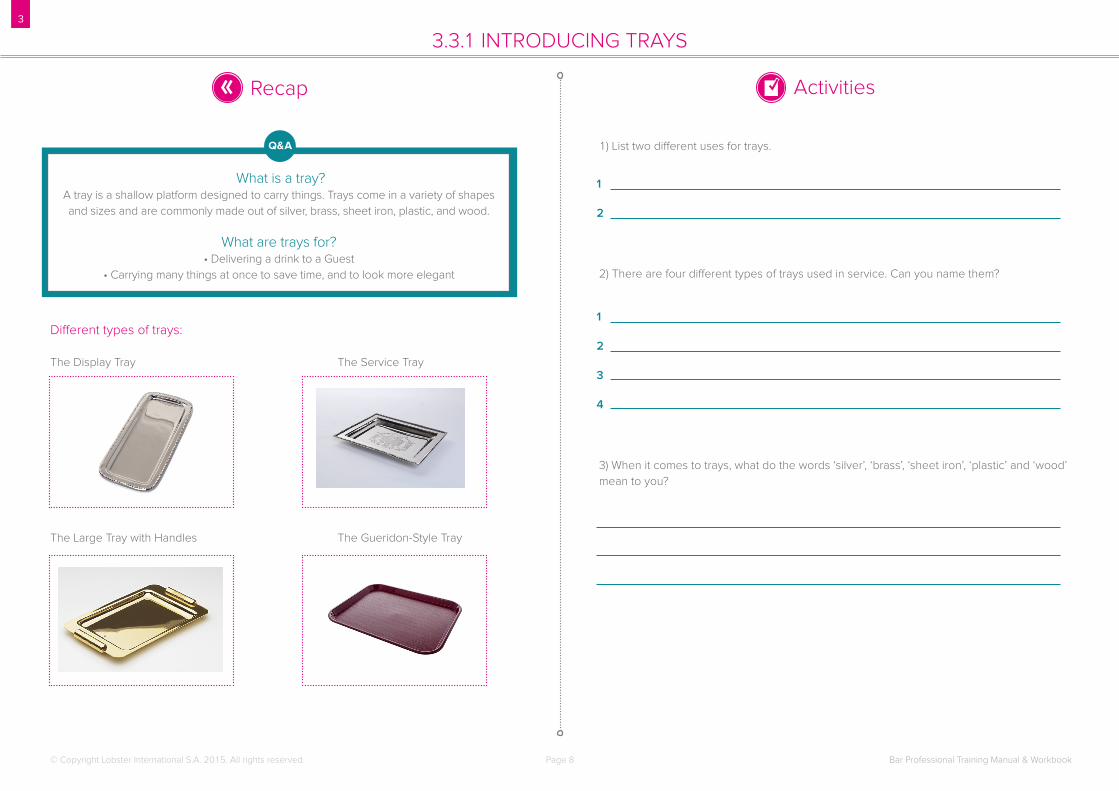
Different types of trays:
The Display Tray The Service Tray
The Large Tray with Handles The Gueridon-Style Tray
Q&A
What is a tray?A tray is a shallow platform designed to carry things. Trays come in a variety of shapes and sizes and are commonly made out of silver, brass, sheet iron, plastic, and wood.
What are trays for?• Delivering a drink to a Guest
• Carrying many things at once to save time, and to look more elegant
1
2
1
2
3
4
Page 9
3
Activities✓Recap
Bar Professional Training Manual & Workbook© Copyright Lobster International S.A. 2015. All rights reserved.
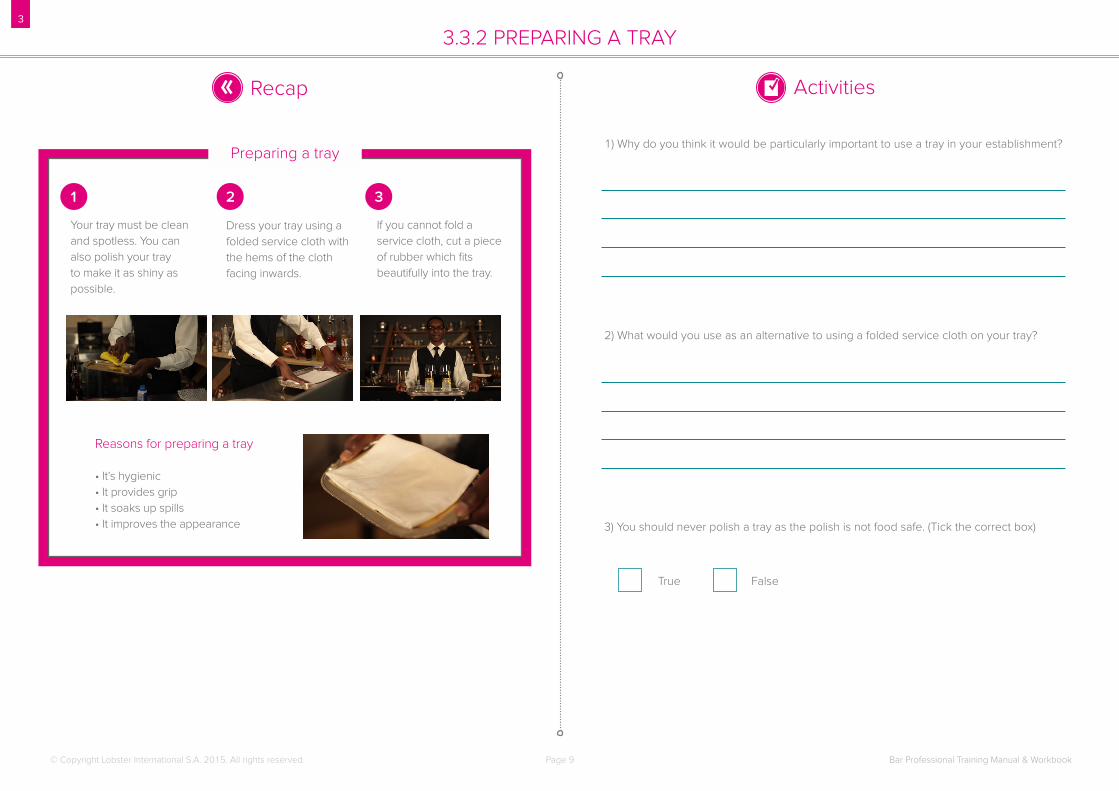
3.3.2 PREPARING A TRAY
1) Why do you think it would be particularly important to use a tray in your establishment?
2) What would you use as an alternative to using a folded service cloth on your tray?
3) You should never polish a tray as the polish is not food safe. (Tick the correct box)
Your tray must be clean and spotless. You can also polish your tray to make it as shiny as possible.
Reasons for preparing a tray
• It’s hygienic• It provides grip• It soaks up spills• It improves the appearance
If you cannot fold a service cloth, cut a piece of rubber which fits beautifully into the tray.
Dress your tray using a folded service cloth with the hems of the cloth facing inwards.
Preparing a tray
1 2 3
True False
Page 10
3
Activities✓Recap
Bar Professional Training Manual & Workbook© Copyright Lobster International S.A. 2015. All rights reserved.
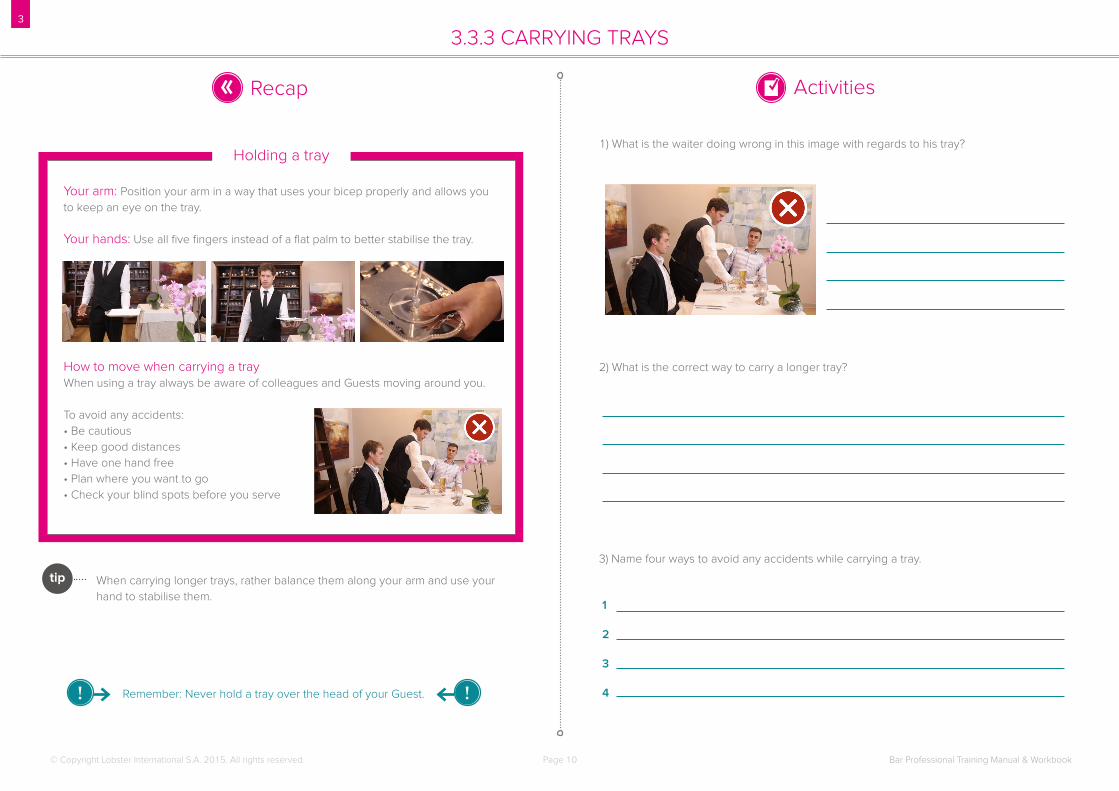
3.3.3 CARRYING TRAYS
1) What is the waiter doing wrong in this image with regards to his tray?
2) What is the correct way to carry a longer tray?
3) Name four ways to avoid any accidents while carrying a tray.
1
2
3
4
Holding a tray
Your arm: Position your arm in a way that uses your bicep properly and allows you to keep an eye on the tray.
Your hands: Use all five fingers instead of a flat palm to better stabilise the tray.
How to move when carrying a trayWhen using a tray always be aware of colleagues and Guests moving around you.
To avoid any accidents: • Be cautious• Keep good distances• Have one hand free• Plan where you want to go• Check your blind spots before you serve
When carrying longer trays, rather balance them along your arm and use your hand to stabilise them.
Remember: Never hold a tray over the head of your Guest.
tip
Page 11
3
Activities✓Recap
Bar Professional Training Manual & Workbook© Copyright Lobster International S.A. 2015. All rights reserved.
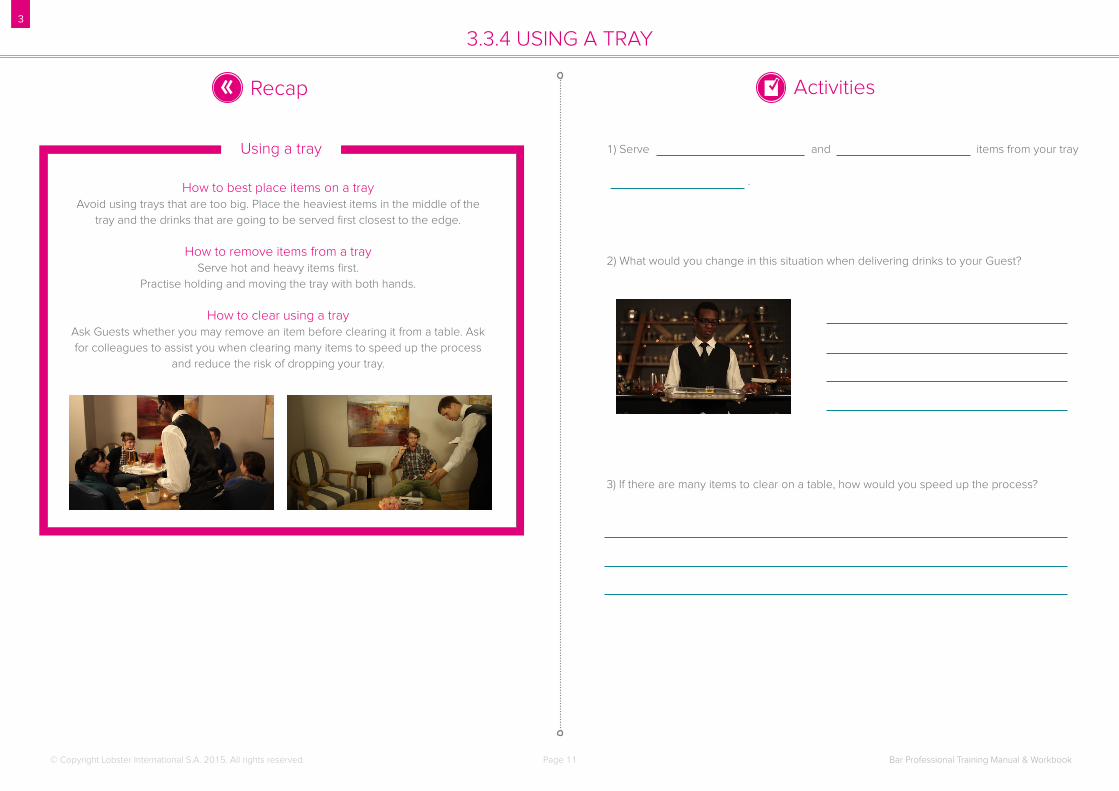
3.3.3 CARRYING TRAYS 3.3.4 USING A TRAY
1) Serve and items from your tray
.
2) What would you change in this situation when delivering drinks to your Guest?
3) If there are many items to clear on a table, how would you speed up the process?
Using a tray
How to best place items on a trayAvoid using trays that are too big. Place the heaviest items in the middle of the
tray and the drinks that are going to be served first closest to the edge.
How to remove items from a trayServe hot and heavy items first.
Practise holding and moving the tray with both hands.
How to clear using a trayAsk Guests whether you may remove an item before clearing it from a table. Ask for colleagues to assist you when clearing many items to speed up the process
and reduce the risk of dropping your tray.
Page 12
3
Activities✓Recap
Bar Professional Training Manual & Workbook© Copyright Lobster International S.A. 2015. All rights reserved.
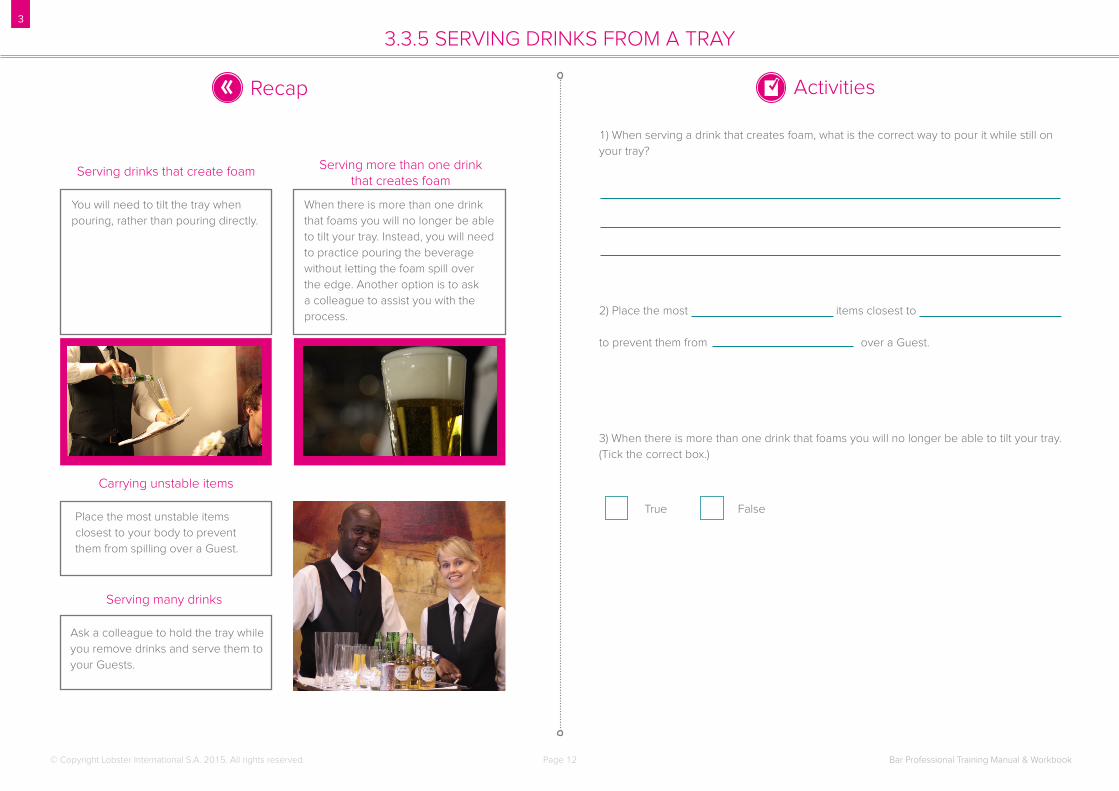
3.3.5 SERVING DRINKS FROM A TRAY
1) When serving a drink that creates foam, what is the correct way to pour it while still on your tray?
2) Place the most items closest to
to prevent them from over a Guest.
3) When there is more than one drink that foams you will no longer be able to tilt your tray. (Tick the correct box.)
You will need to tilt the tray when pouring, rather than pouring directly.
Place the most unstable items closest to your body to prevent them from spilling over a Guest.
Serving drinks that create foam
Carrying unstable items
Serving more than one drink that creates foam
Serving many drinks
When there is more than one drink that foams you will no longer be able to tilt your tray. Instead, you will need to practice pouring the beverage without letting the foam spill over the edge. Another option is to ask a colleague to assist you with the process.
Ask a colleague to hold the tray while you remove drinks and serve them to your Guests.
True False
Page 13
3
Activities✓Recap
Bar Professional Training Manual & Workbook© Copyright Lobster International S.A. 2015. All rights reserved.
3.3.5 SERVING DRINKS FROM A TRAY 3.4.1 INTRODUCING THE DOCKET
1) In five words or less, briefly explain what the docket is.
2) Give three benefits of using a docket in service.
3) Use the space below to draw a simple docket that you would use in service. Include the columns that you think are most helpful and important.
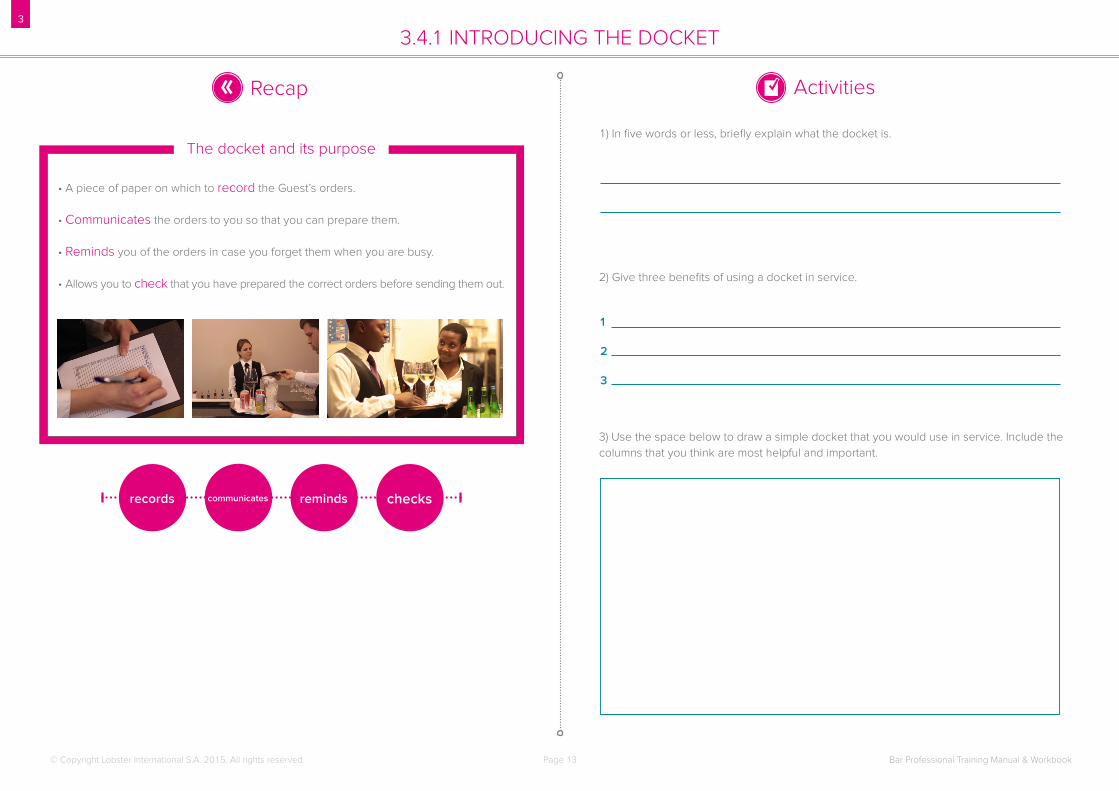
The docket and its purpose
• A piece of paper on which to record the Guest’s orders.
• Communicates the orders to you so that you can prepare them.
• Reminds you of the orders in case you forget them when you are busy.
• Allows you to check that you have prepared the correct orders before sending them out.
records communicates reminds checks
1
2
3
Page 14
3
Activities✓Recap
Bar Professional Training Manual & Workbook© Copyright Lobster International S.A. 2015. All rights reserved.
3.4.2 HOW THE DOCKET WORKS
1) The docket is given to the Guest to fill out, to make service easier and faster. (Tick the correct box.)
2) What information must the waiter use to prepare the docket?
3) What happens once the docket is complete? Explain why.
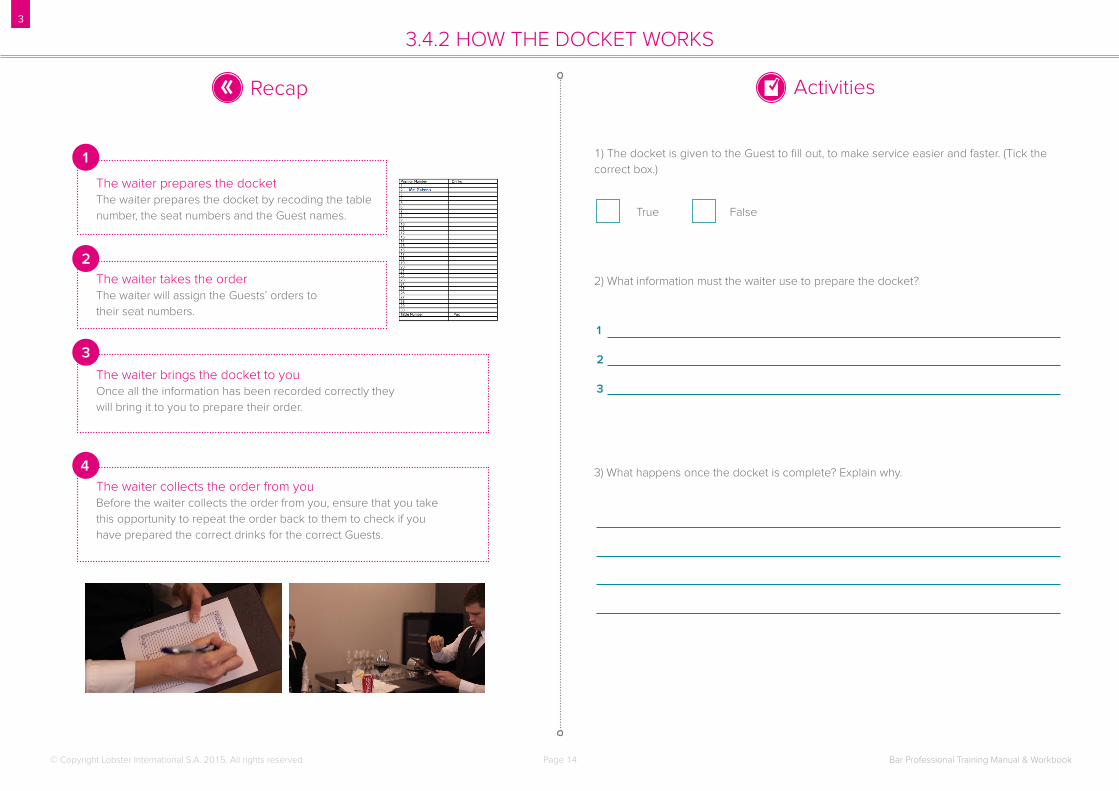
The waiter prepares the docketThe waiter prepares the docket by recoding the table number, the seat numbers and the Guest names.
The waiter takes the orderThe waiter will assign the Guests’ orders to their seat numbers.
The waiter brings the docket to youOnce all the information has been recorded correctly they will bring it to you to prepare their order.
The waiter collects the order from youBefore the waiter collects the order from you, ensure that you take this opportunity to repeat the order back to them to check if you have prepared the correct drinks for the correct Guests.
1
2
3
4
True False
1
2
3
Page 15
3
Activities✓Recap
Bar Professional Training Manual & Workbook© Copyright Lobster International S.A. 2015. All rights reserved.
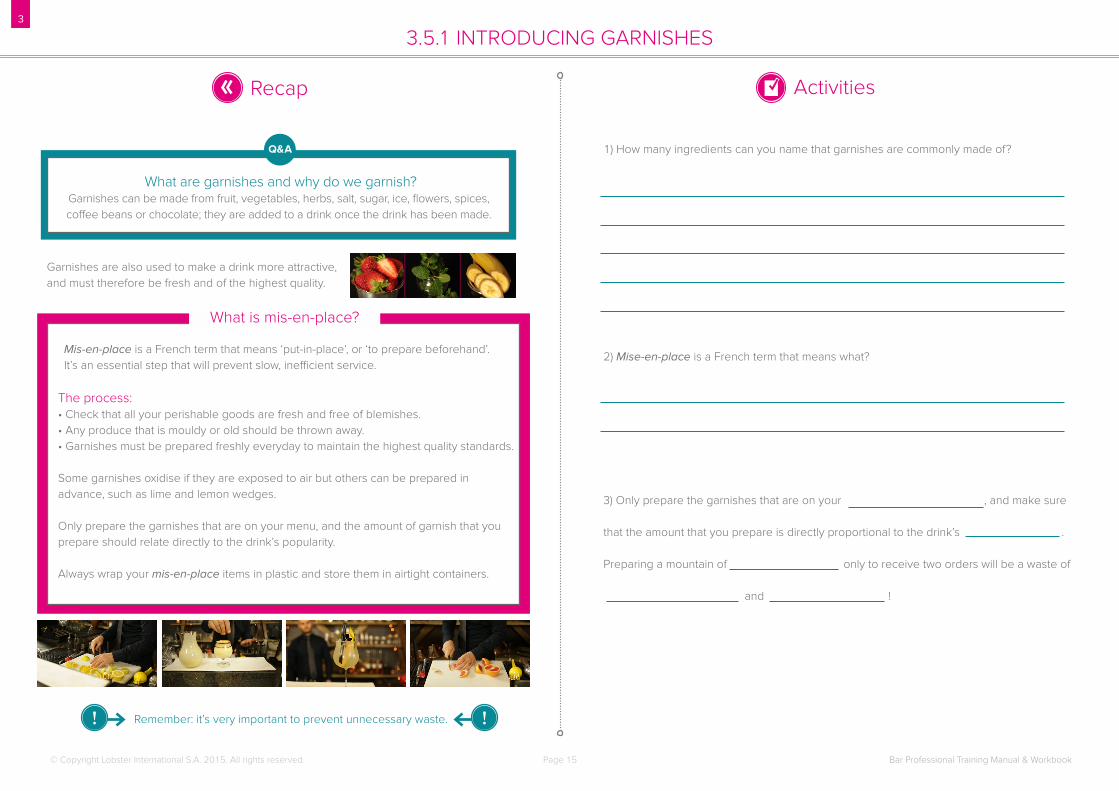
What is mis-en-place?
3.5.1 INTRODUCING GARNISHES
Mis-en-place is a French term that means ‘put-in-place’, or ‘to prepare beforehand’. It’s an essential step that will prevent slow, inefficient service.
The process:• Check that all your perishable goods are fresh and free of blemishes. • Any produce that is mouldy or old should be thrown away. • Garnishes must be prepared freshly everyday to maintain the highest quality standards.
Some garnishes oxidise if they are exposed to air but others can be prepared in advance, such as lime and lemon wedges.
Only prepare the garnishes that are on your menu, and the amount of garnish that you prepare should relate directly to the drink’s popularity.
Always wrap your mis-en-place items in plastic and store them in airtight containers.
Garnishes are also used to make a drink more attractive, and must therefore be fresh and of the highest quality.
1) How many ingredients can you name that garnishes are commonly made of?
2) Mise-en-place is a French term that means what?
3) Only prepare the garnishes that are on your , and make sure
that the amount that you prepare is directly proportional to the drink’s .
Preparing a mountain of only to receive two orders will be a waste of
and !
Q&A
What are garnishes and why do we garnish?Garnishes can be made from fruit, vegetables, herbs, salt, sugar, ice, flowers, spices, coffee beans or chocolate; they are added to a drink once the drink has been made.
Remember: it’s very important to prevent unnecessary waste.
Page 16
3
Activities✓Recap
Bar Professional Training Manual & Workbook© Copyright Lobster International S.A. 2015. All rights reserved.
3.5.2 GARNISHING WITH ICE
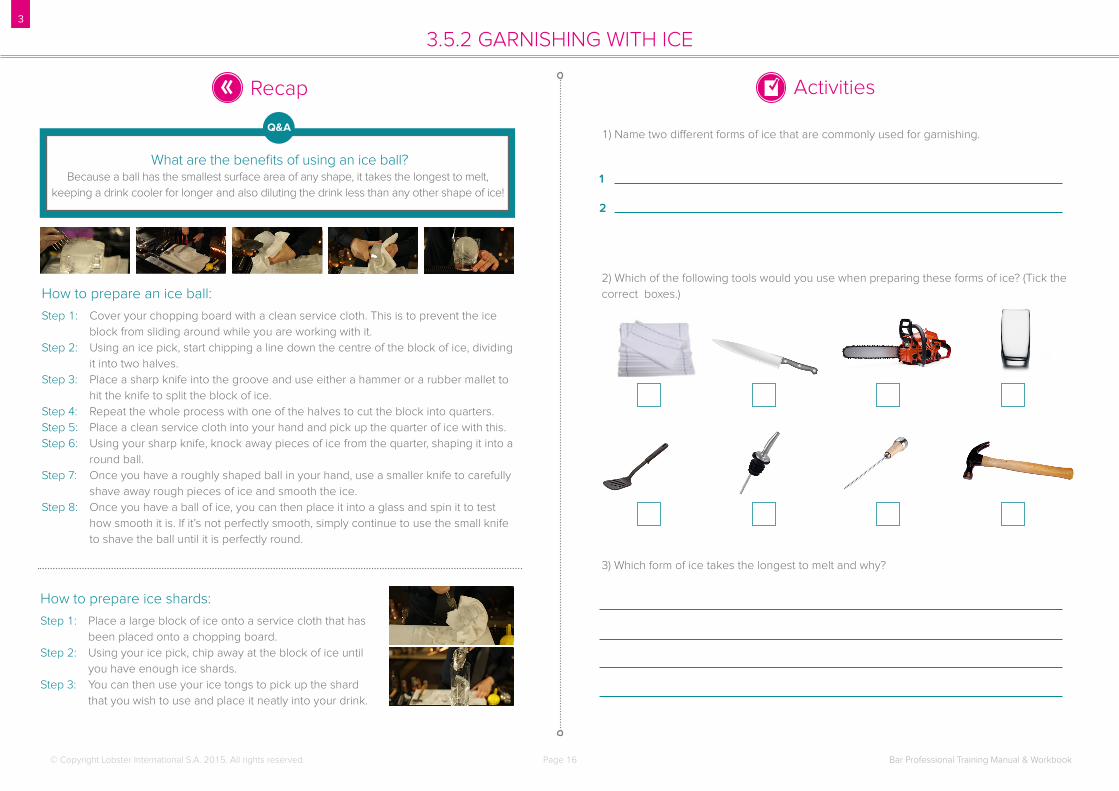
How to prepare an ice ball:
Step 1: Cover your chopping board with a clean service cloth. This is to prevent the ice block from sliding around while you are working with it.Step 2: Using an ice pick, start chipping a line down the centre of the block of ice, dividing it into two halves.Step 3: Place a sharp knife into the groove and use either a hammer or a rubber mallet to hit the knife to split the block of ice.Step 4: Repeat the whole process with one of the halves to cut the block into quarters.Step 5: Place a clean service cloth into your hand and pick up the quarter of ice with this.Step 6: Using your sharp knife, knock away pieces of ice from the quarter, shaping it into a round ball. Step 7: Once you have a roughly shaped ball in your hand, use a smaller knife to carefully shave away rough pieces of ice and smooth the ice.Step 8: Once you have a ball of ice, you can then place it into a glass and spin it to test how smooth it is. If it’s not perfectly smooth, simply continue to use the small knife to shave the ball until it is perfectly round.
How to prepare ice shards:
Step 1: Place a large block of ice onto a service cloth that has been placed onto a chopping board.Step 2: Using your ice pick, chip away at the block of ice until you have enough ice shards.Step 3: You can then use your ice tongs to pick up the shard that you wish to use and place it neatly into your drink.
1) Name two different forms of ice that are commonly used for garnishing.
2) Which of the following tools would you use when preparing these forms of ice? (Tick the correct boxes.)
3) Which form of ice takes the longest to melt and why?
1
2
Q&A
What are the benefits of using an ice ball?Because a ball has the smallest surface area of any shape, it takes the longest to melt,
keeping a drink cooler for longer and also diluting the drink less than any other shape of ice!
Page 17
3
Activities✓Recap
Bar Professional Training Manual & Workbook© Copyright Lobster International S.A. 2015. All rights reserved.
3.5.3 A FOCUS ON ICE NESTS
1) What is another name for the juicer that you use to make an ice nest?
2) Because of its nest-like shape, you can fill your ice nest with ingredients to make a drink look beautiful. Name four different things that you could put in here.
3) Which drinks do you think would benefit from being garnished with an ice nest?
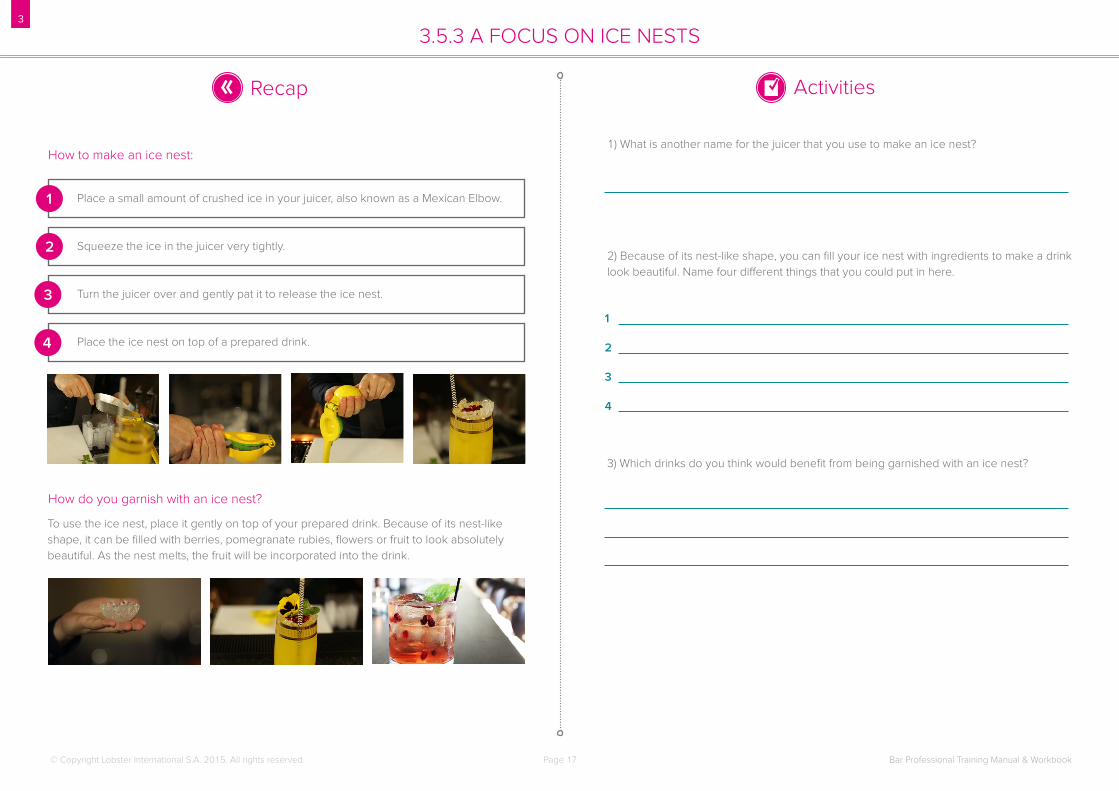
Place a small amount of crushed ice in your juicer, also known as a Mexican Elbow.
Squeeze the ice in the juicer very tightly.
Turn the juicer over and gently pat it to release the ice nest.
Place the ice nest on top of a prepared drink.
To use the ice nest, place it gently on top of your prepared drink. Because of its nest-like shape, it can be filled with berries, pomegranate rubies, flowers or fruit to look absolutely beautiful. As the nest melts, the fruit will be incorporated into the drink.
How to make an ice nest:
How do you garnish with an ice nest?
1
2
3
4
1
2
3
4
Page 18
3
Activities✓Recap
Bar Professional Training Manual & Workbook© Copyright Lobster International S.A. 2015. All rights reserved.
3.5.4 GARNISHING WITH LEMONS AND LIMES
1) Use the image below to show how you would garnish this glass with a lemon or lime wedge.
2) What would you do with any lemons and limes with blemishes on their skins?
3) Typically a wedge is cut into what size? (Tick the correct box.)
Whole
Halves
Thirds
Quarters
Sixths
Eighths
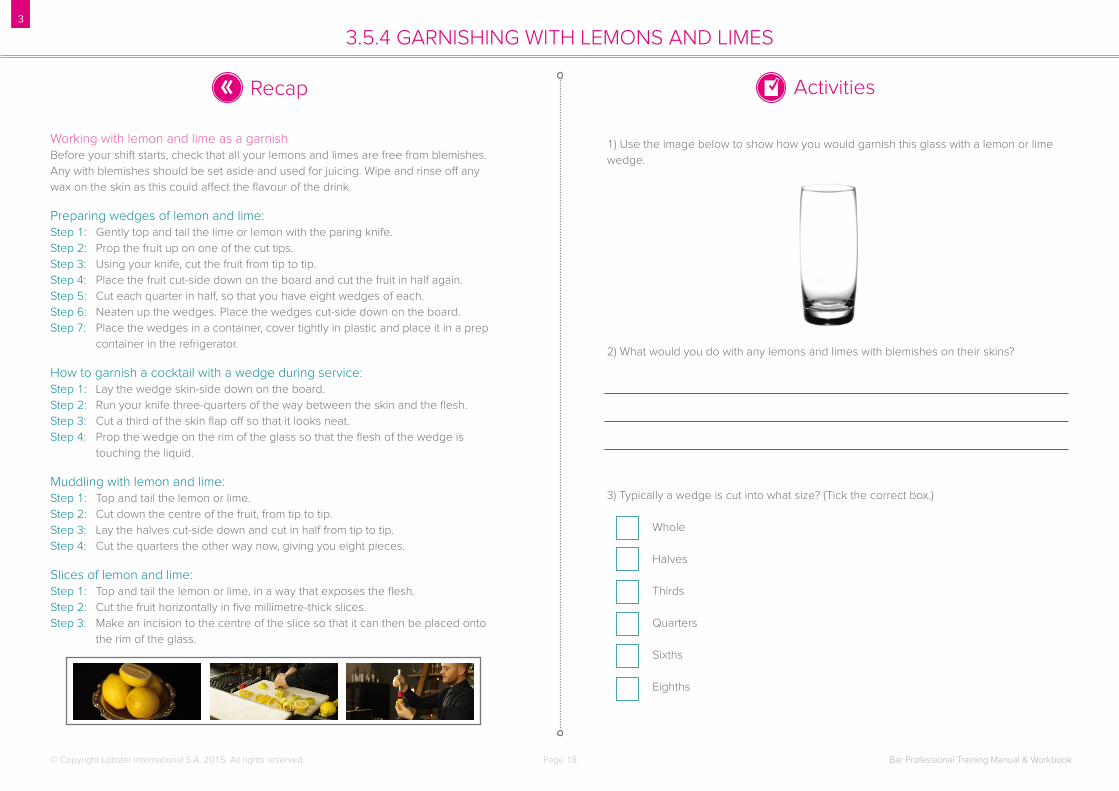
Working with lemon and lime as a garnishBefore your shift starts, check that all your lemons and limes are free from blemishes. Any with blemishes should be set aside and used for juicing. Wipe and rinse off any wax on the skin as this could affect the flavour of the drink.
Preparing wedges of lemon and lime:Step 1: Gently top and tail the lime or lemon with the paring knife.Step 2: Prop the fruit up on one of the cut tips.Step 3: Using your knife, cut the fruit from tip to tip.Step 4: Place the fruit cut-side down on the board and cut the fruit in half again.Step 5: Cut each quarter in half, so that you have eight wedges of each.Step 6: Neaten up the wedges. Place the wedges cut-side down on the board.Step 7: Place the wedges in a container, cover tightly in plastic and place it in a prep container in the refrigerator.
How to garnish a cocktail with a wedge during service:Step 1: Lay the wedge skin-side down on the board. Step 2: Run your knife three-quarters of the way between the skin and the flesh. Step 3: Cut a third of the skin flap off so that it looks neat.Step 4: Prop the wedge on the rim of the glass so that the flesh of the wedge is touching the liquid.
Muddling with lemon and lime:Step 1: Top and tail the lemon or lime.Step 2: Cut down the centre of the fruit, from tip to tip.Step 3: Lay the halves cut-side down and cut in half from tip to tip.Step 4: Cut the quarters the other way now, giving you eight pieces.
Slices of lemon and lime:Step 1: Top and tail the lemon or lime, in a way that exposes the flesh.Step 2: Cut the fruit horizontally in five millimetre-thick slices.Step 3: Make an incision to the centre of the slice so that it can then be placed onto the rim of the glass.
Page 19
3
Activities✓Recap
Bar Professional Training Manual & Workbook© Copyright Lobster International S.A. 2015. All rights reserved.
3.5.5 GARNISHING WITH ORANGES AND GRAPEFRUIT
1) Why should you wash or wipe the fruit before using them as garnish?
2) How thick should a slice of orange or grapefruit be? (Tick the correct box.)
2-5 mm
8 mm
1 cm
5 mm
8-10 mm
3) What is different about the cutting method used for wedges and that used for muddling fruit?
Working with oranges and grapefruit as a garnish• Check that the produce is fresh.• Remove any wax that may be present on the skin of the fruit.• Prepare all garnishes before service starts.
Preparing wedges of orange and grapefruit:Step 1: Halve the fruit, from tip to tip.Step 2: Top and tail the fruit.Step 3: Halve the fruit again to make quarters.Step 4: Halve again to make eighths.Step 5: Trim pith.Step 6: Wrap and pack away for service.
How to finish the wedge off during service:Step 1: Place the wedge skin-side down. Step 2: Run a knife three quarters of the way between the skin and flesh. Step 3: Trim one third of the skin. Step 4: Arrange the wedge on the glass.
Muddling with oranges and grapefruit:Step 1: Top and tail.Step 2: Halve.Step 3: Halve into quarters.Step 4: Divide, turn and halve into eighths.Step 5: Halve again to make eighths. Step 6: Check that the pieces are small enough for muddling.
Preparing slices of orange and grapefruit:Step 1: Top and tail the fruit.Step 2: Cut the fruit horizontally into five millimetre-thick slices.Step 3: Cut the rounds to the centre.
Page 20
3
Activities✓Recap
Bar Professional Training Manual & Workbook© Copyright Lobster International S.A. 2015. All rights reserved.
3.5.6 GARNISHING WITH ZESTS
1) Zest is the skin of a fruit that is used to add and to drinks. The zest contains that
burst from the skin when it is or twisted.
2) Why should you remove the pith from any zest that you use for garnishing?
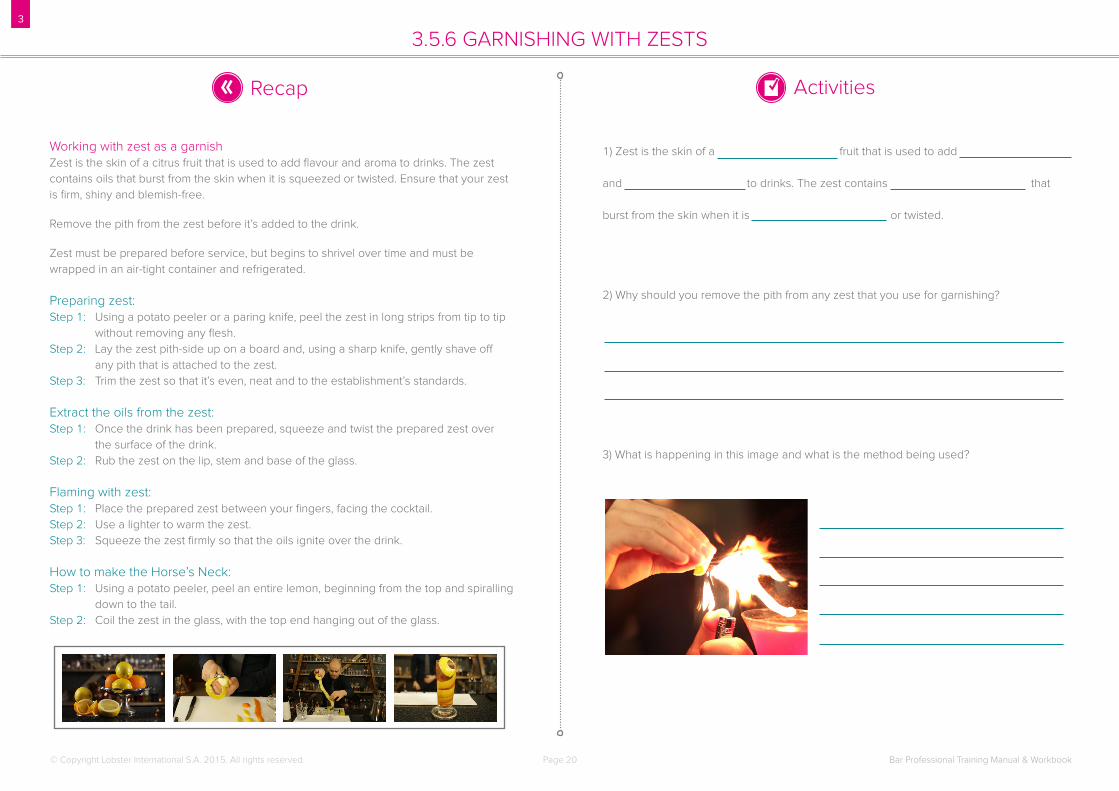
3) What is happening in this image and what is the method being used?
Working with zest as a garnishZest is the skin of a citrus fruit that is used to add flavour and aroma to drinks. The zest contains oils that burst from the skin when it is squeezed or twisted. Ensure that your zest is firm, shiny and blemish-free.
Remove the pith from the zest before it’s added to the drink.
Zest must be prepared before service, but begins to shrivel over time and must be wrapped in an air-tight container and refrigerated.
Preparing zest:Step 1: Using a potato peeler or a paring knife, peel the zest in long strips from tip to tip without removing any flesh.Step 2: Lay the zest pith-side up on a board and, using a sharp knife, gently shave off any pith that is attached to the zest.Step 3: Trim the zest so that it’s even, neat and to the establishment’s standards.
Extract the oils from the zest:Step 1: Once the drink has been prepared, squeeze and twist the prepared zest over the surface of the drink.Step 2: Rub the zest on the lip, stem and base of the glass.
Flaming with zest:Step 1: Place the prepared zest between your fingers, facing the cocktail.Step 2: Use a lighter to warm the zest.Step 3: Squeeze the zest firmly so that the oils ignite over the drink.
How to make the Horse’s Neck:Step 1: Using a potato peeler, peel an entire lemon, beginning from the top and spiralling down to the tail.Step 2: Coil the zest in the glass, with the top end hanging out of the glass.
Page 21
3
Activities✓Recap
Bar Professional Training Manual & Workbook© Copyright Lobster International S.A. 2015. All rights reserved.
3.5.7 GARNISHING WITH MINT
1) You should always be sparing with mint in drinks as the flavour can be overpowering. (Tick the correct box.)
2) What three things will you need in order to muddle with mint?
3) What is the general misconception about tapping mint to release its aromas?
1
2
3
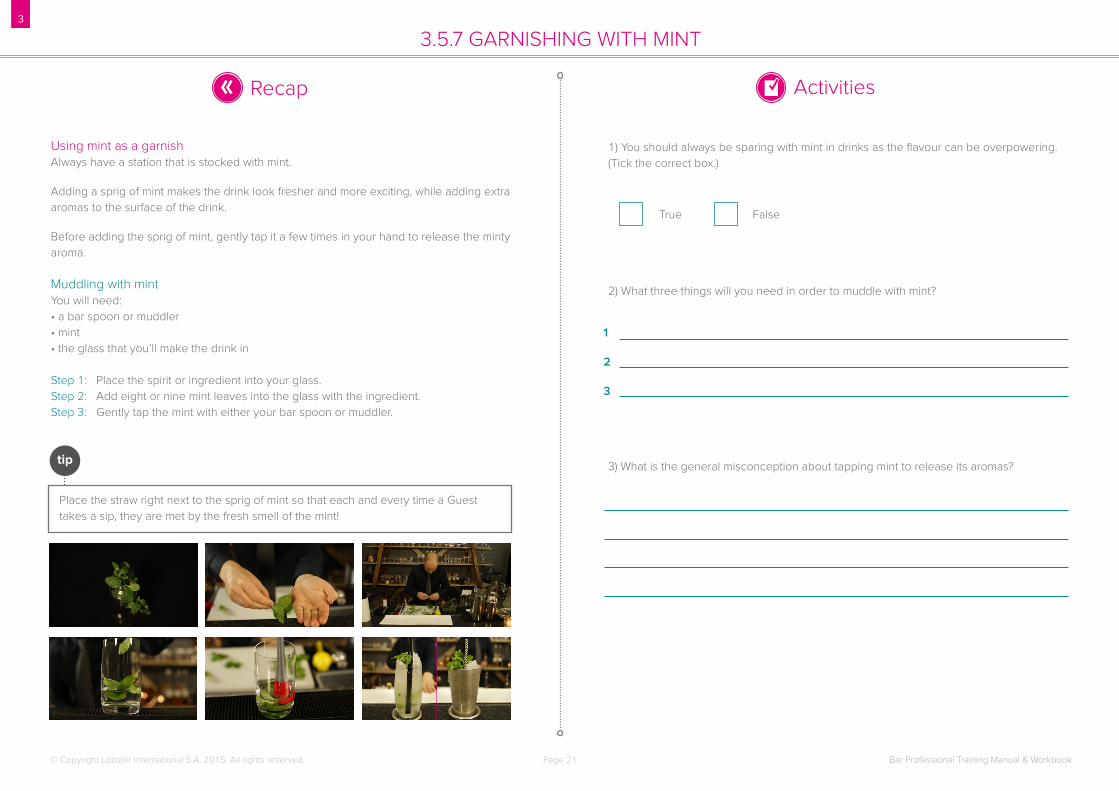
Using mint as a garnishAlways have a station that is stocked with mint.
Adding a sprig of mint makes the drink look fresher and more exciting, while adding extra aromas to the surface of the drink.
Before adding the sprig of mint, gently tap it a few times in your hand to release the minty aroma.
Muddling with mintYou will need:• a bar spoon or muddler• mint• the glass that you’ll make the drink in
Step 1: Place the spirit or ingredient into your glass.Step 2: Add eight or nine mint leaves into the glass with the ingredient.Step 3: Gently tap the mint with either your bar spoon or muddler.
Place the straw right next to the sprig of mint so that each and every time a Guest takes a sip, they are met by the fresh smell of the mint!
tip
True False
Page 22
3
Activities✓Recap
Bar Professional Training Manual & Workbook© Copyright Lobster International S.A. 2015. All rights reserved.
3.5.8 GARNISHING WITH SUGAR AND SALT
1) For which two reasons are salt and sugar used to garnish drinks?
2) Salt is usually a flavour that is coupled with based drinks
such as a or a .
3) Briefly explain the four steps of crusting a glass with salt and sugar.
1
2
3
4
1
2
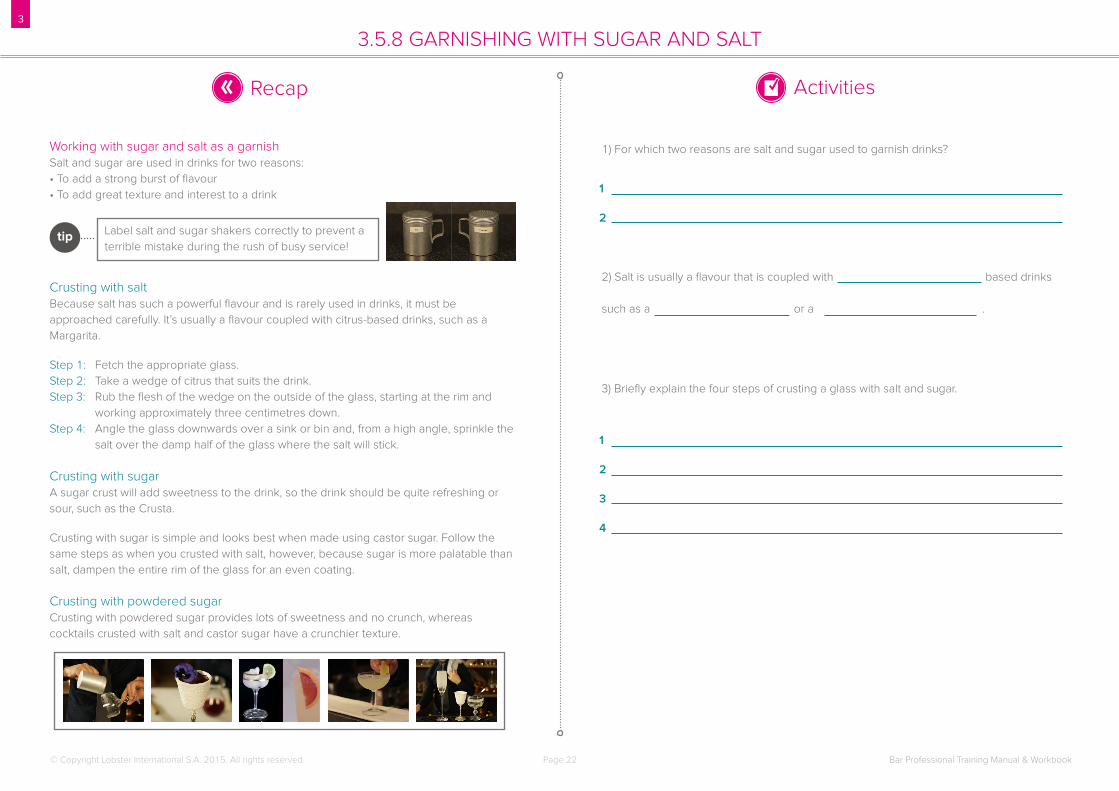
Working with sugar and salt as a garnishSalt and sugar are used in drinks for two reasons:• To add a strong burst of flavour• To add great texture and interest to a drink
Crusting with saltBecause salt has such a powerful flavour and is rarely used in drinks, it must be approached carefully. It’s usually a flavour coupled with citrus-based drinks, such as a Margarita.
Step 1: Fetch the appropriate glass. Step 2: Take a wedge of citrus that suits the drink.Step 3: Rub the flesh of the wedge on the outside of the glass, starting at the rim and working approximately three centimetres down.Step 4: Angle the glass downwards over a sink or bin and, from a high angle, sprinkle the salt over the damp half of the glass where the salt will stick.
Crusting with sugarA sugar crust will add sweetness to the drink, so the drink should be quite refreshing or sour, such as the Crusta.
Crusting with sugar is simple and looks best when made using castor sugar. Follow the same steps as when you crusted with salt, however, because sugar is more palatable than salt, dampen the entire rim of the glass for an even coating.
Crusting with powdered sugarCrusting with powdered sugar provides lots of sweetness and no crunch, whereas cocktails crusted with salt and castor sugar have a crunchier texture.
Label salt and sugar shakers correctly to prevent a terrible mistake during the rush of busy service!
tip
Page 23
3
Activities✓Recap
Bar Professional Training Manual & Workbook© Copyright Lobster International S.A. 2015. All rights reserved.
3.5.9 GARNISHING WITH APPLE
1) How would you prevent apple from oxidising?
2) What is the process for caramelising apples?
3) Which sort of cocktails will require an apple garnishing?
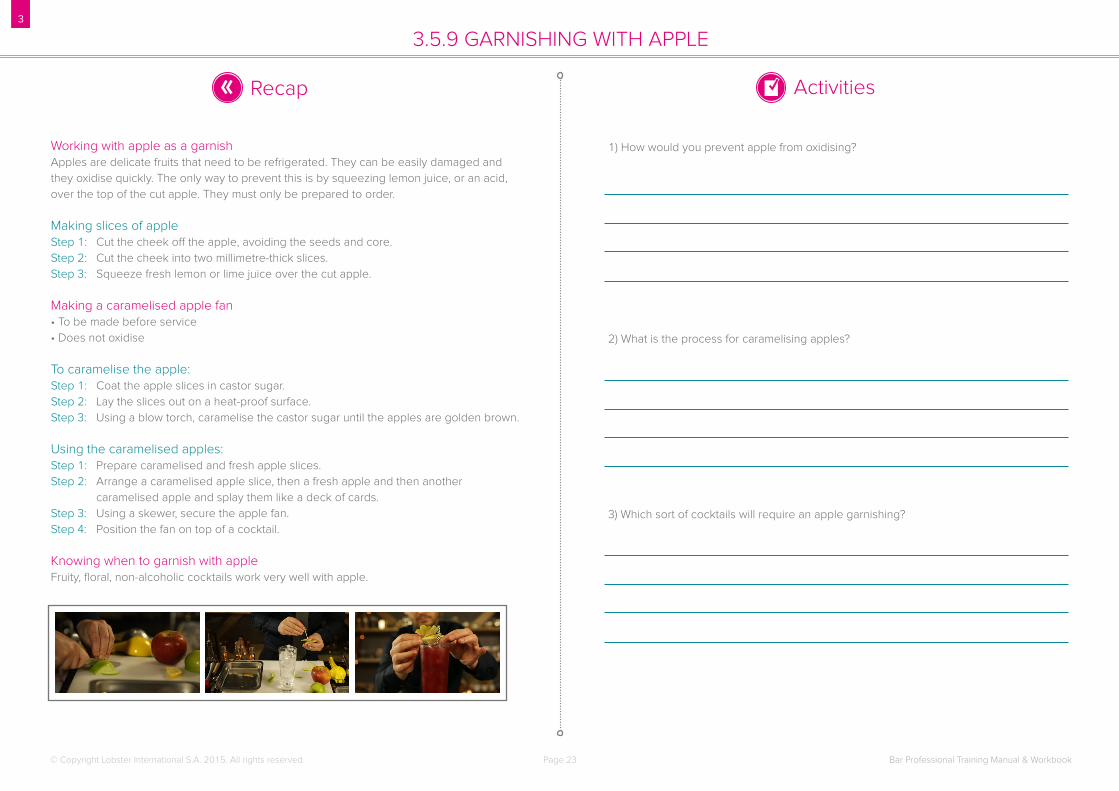
Working with apple as a garnishApples are delicate fruits that need to be refrigerated. They can be easily damaged and they oxidise quickly. The only way to prevent this is by squeezing lemon juice, or an acid, over the top of the cut apple. They must only be prepared to order.
Making slices of appleStep 1: Cut the cheek off the apple, avoiding the seeds and core.Step 2: Cut the cheek into two millimetre-thick slices.Step 3: Squeeze fresh lemon or lime juice over the cut apple.
Making a caramelised apple fan• To be made before service• Does not oxidise
To caramelise the apple:Step 1: Coat the apple slices in castor sugar.Step 2: Lay the slices out on a heat-proof surface.Step 3: Using a blow torch, caramelise the castor sugar until the apples are golden brown.
Using the caramelised apples:Step 1: Prepare caramelised and fresh apple slices.Step 2: Arrange a caramelised apple slice, then a fresh apple and then another caramelised apple and splay them like a deck of cards.Step 3: Using a skewer, secure the apple fan.Step 4: Position the fan on top of a cocktail.
Knowing when to garnish with appleFruity, floral, non-alcoholic cocktails work very well with apple.
Page 24
3
Activities✓Recap
Bar Professional Training Manual & Workbook© Copyright Lobster International S.A. 2015. All rights reserved.
3.5.10 GARNISHING WITH PINEAPPLE
1) Pineapple does not and can be prepared
service begins, though they must be carefully and .
2) Why is the pineapple skin left on the flesh in some instances?
3) Which drinks would you garnish with pineapple?
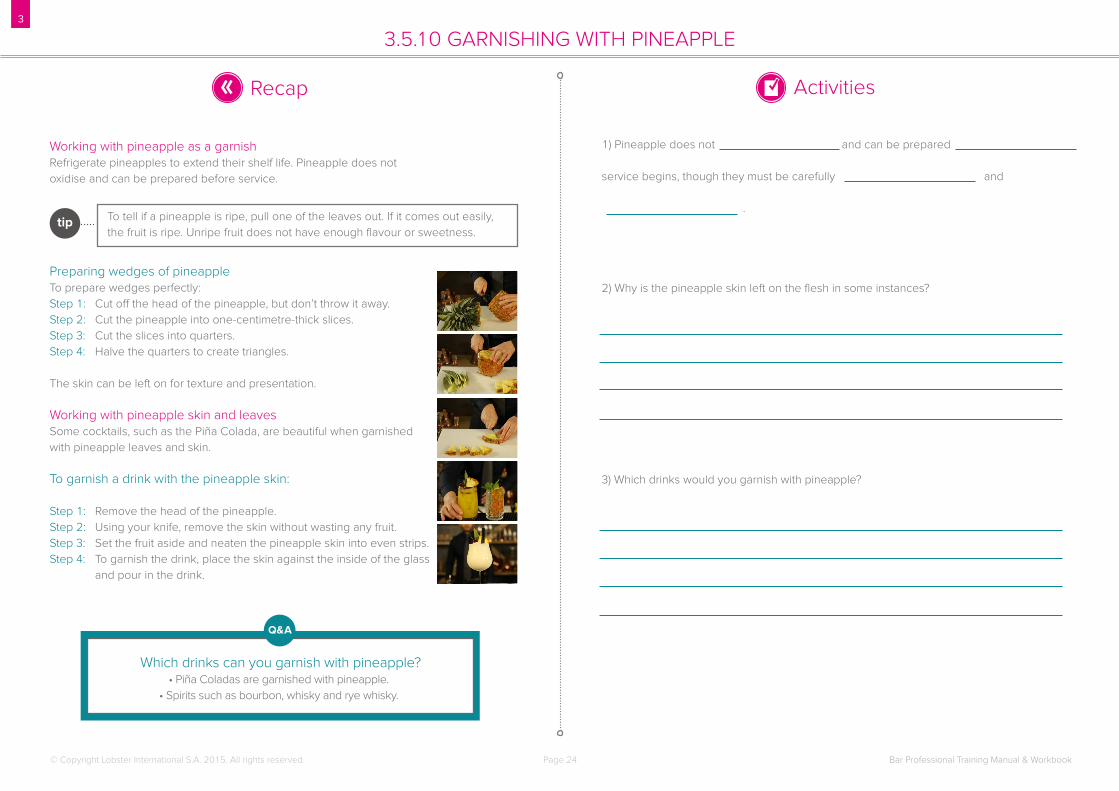
Working with pineapple as a garnishRefrigerate pineapples to extend their shelf life. Pineapple does not oxidise and can be prepared before service.
Preparing wedges of pineappleTo prepare wedges perfectly:Step 1: Cut off the head of the pineapple, but don’t throw it away.Step 2: Cut the pineapple into one-centimetre-thick slices.Step 3: Cut the slices into quarters.Step 4: Halve the quarters to create triangles.
The skin can be left on for texture and presentation.
Working with pineapple skin and leavesSome cocktails, such as the Piña Colada, are beautiful when garnished with pineapple leaves and skin.
To garnish a drink with the pineapple skin:
Step 1: Remove the head of the pineapple.Step 2: Using your knife, remove the skin without wasting any fruit.Step 3: Set the fruit aside and neaten the pineapple skin into even strips.Step 4: To garnish the drink, place the skin against the inside of the glass and pour in the drink.
To tell if a pineapple is ripe, pull one of the leaves out. If it comes out easily, the fruit is ripe. Unripe fruit does not have enough flavour or sweetness.
tip
Q&A
Which drinks can you garnish with pineapple?• Piña Coladas are garnished with pineapple.
• Spirits such as bourbon, whisky and rye whisky.
Page 25
3
Activities✓Recap
Bar Professional Training Manual & Workbook© Copyright Lobster International S.A. 2015. All rights reserved.
3.5.11 GARNISHING WITH SPICES
1) Name four ingredients that spices can be made from.
2) Nutmeg should preferably be grated before service to get a fine, even layer of spice. (Tick the correct box.)
3) What is particularly important to remember when garnishing with spices, and why?
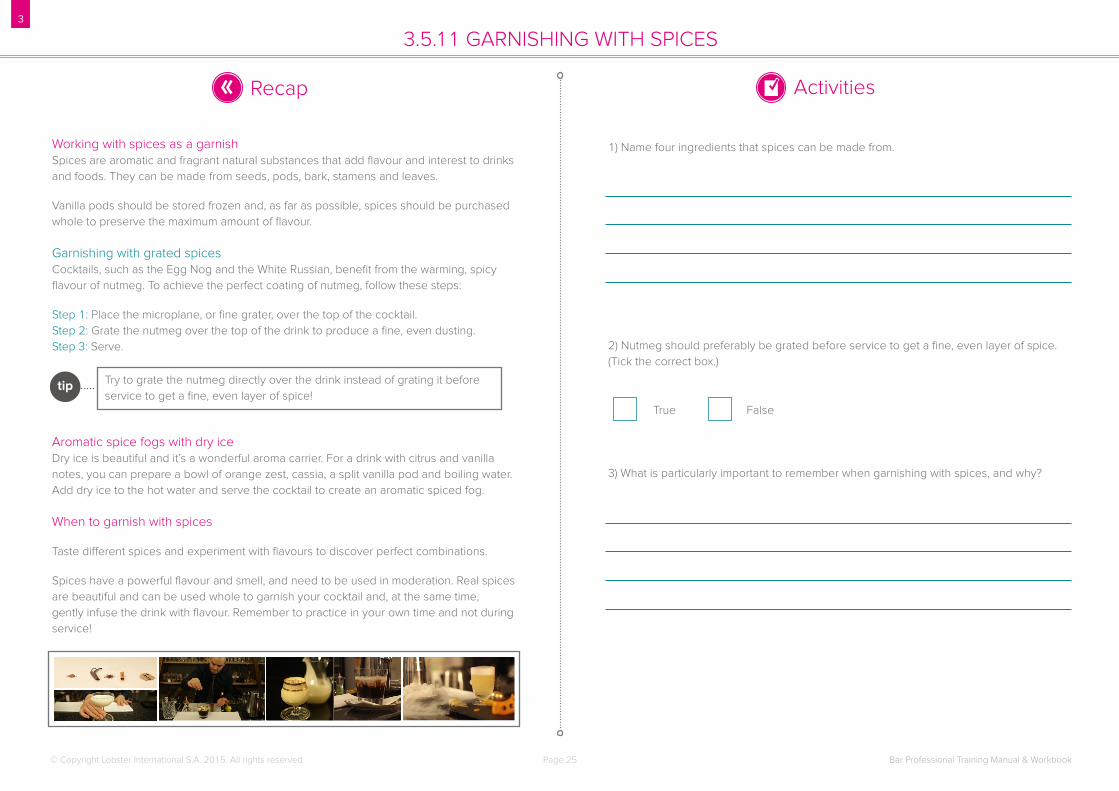
Working with spices as a garnishSpices are aromatic and fragrant natural substances that add flavour and interest to drinks and foods. They can be made from seeds, pods, bark, stamens and leaves.
Vanilla pods should be stored frozen and, as far as possible, spices should be purchased whole to preserve the maximum amount of flavour.
Garnishing with grated spicesCocktails, such as the Egg Nog and the White Russian, benefit from the warming, spicy flavour of nutmeg. To achieve the perfect coating of nutmeg, follow these steps:
Step 1: Place the microplane, or fine grater, over the top of the cocktail.Step 2: Grate the nutmeg over the top of the drink to produce a fine, even dusting.Step 3: Serve.
Aromatic spice fogs with dry iceDry ice is beautiful and it’s a wonderful aroma carrier. For a drink with citrus and vanilla notes, you can prepare a bowl of orange zest, cassia, a split vanilla pod and boiling water. Add dry ice to the hot water and serve the cocktail to create an aromatic spiced fog.
When to garnish with spices
Taste different spices and experiment with flavours to discover perfect combinations.
Spices have a powerful flavour and smell, and need to be used in moderation. Real spices are beautiful and can be used whole to garnish your cocktail and, at the same time, gently infuse the drink with flavour. Remember to practice in your own time and not during service!
Try to grate the nutmeg directly over the drink instead of grating it before service to get a fine, even layer of spice!
tip
True False
Page 26
3
Activities✓Recap
Bar Professional Training Manual & Workbook© Copyright Lobster International S.A. 2015. All rights reserved.
3.5.12 FLOATING GARNISHES
1) Give four examples of floating garnishes.
2) In order for a garnish to float, it has to have a lighter density than the liquid on which it sits. How would you achieve this?
3) Name three drinks you would use a floating garnish with, as well as what garnish you would use for each.
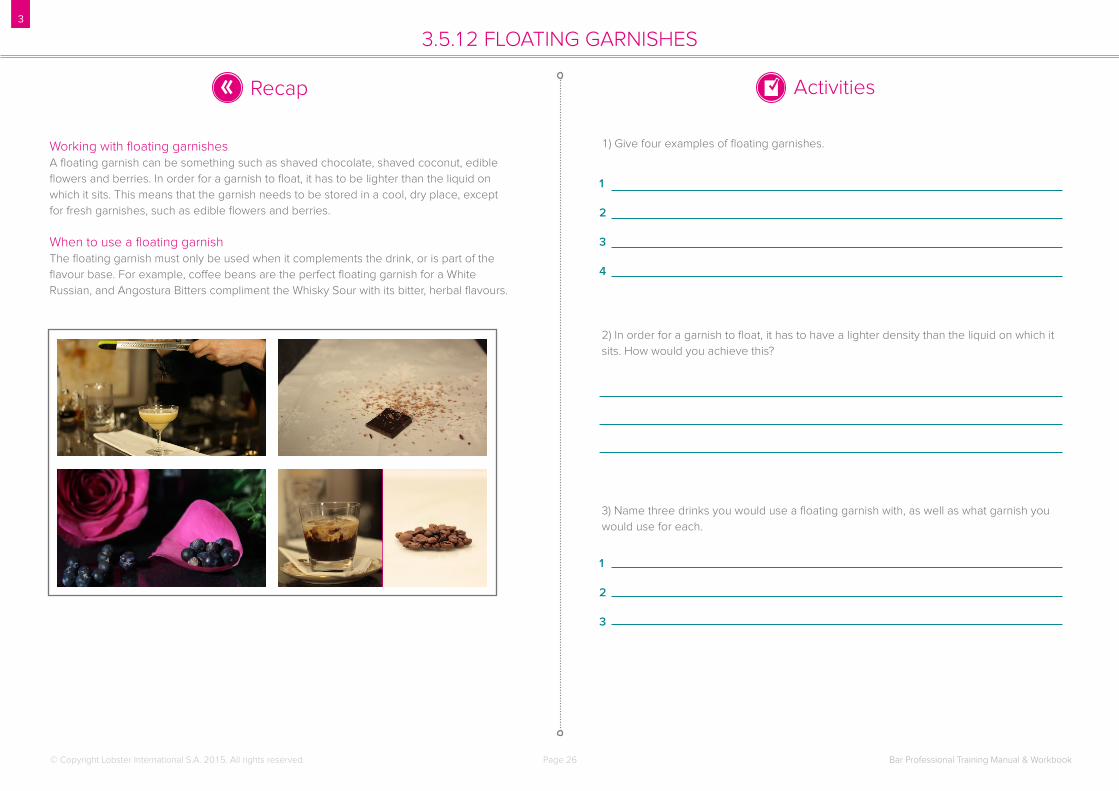
Working with floating garnishesA floating garnish can be something such as shaved chocolate, shaved coconut, edible flowers and berries. In order for a garnish to float, it has to be lighter than the liquid on which it sits. This means that the garnish needs to be stored in a cool, dry place, except for fresh garnishes, such as edible flowers and berries.
When to use a floating garnishThe floating garnish must only be used when it complements the drink, or is part of the flavour base. For example, coffee beans are the perfect floating garnish for a White Russian, and Angostura Bitters compliment the Whisky Sour with its bitter, herbal flavours.
1
2
3
4
1
2
3

Page 27
3
Activities✓Recap
Bar Professional Training Manual & Workbook© Copyright Lobster International S.A. 2015. All rights reserved.
3.5.13 GARNISHING USING SKEWERS
1) Which four materials are skewers usually made of?
2) Which of these ingredients would you most likely put on a skewer to accompany a drink? (Tick the correct boxes.)
3) Why is a skewer so useful when it comes to garnishing?
Working with skewers as a garnishSkewers are very useful items behind the bar. They can be made from wood, bamboo, plastic and metal. Wood, bamboo and plastic skewers should only be used once and then discarded, but metal skewers can be washed and sterilised for reuse.
What to put on a skewerSkewers are used to make the Guest’s experience comfortable and easy. They are best used with small berries, olives and cut fruit.
Why a skewer is a useful garnishUsing a skewer as a garnish gives you the control to display small berries, fruit and olives. These can be placed across the rim of the glass or rest against the side of the glass. The skewer also gives the Guest control, because it can be lifted to the Guest’s mouth without them dirtying their fingers.
Always keep skewers covered in a clean, dry place, and only touch the end that the Guest will touch, so as not to contaminate the garnish.
tip
Remember: Garnishes should always be presented in odd numbers, because odd numbers are more aesthetically
pleasing - the same with any form of decoration.
1
2
3
4