Embed Size (px)
Citation preview
1 A brief guide to
growing Dahlias for
Garden and Showing
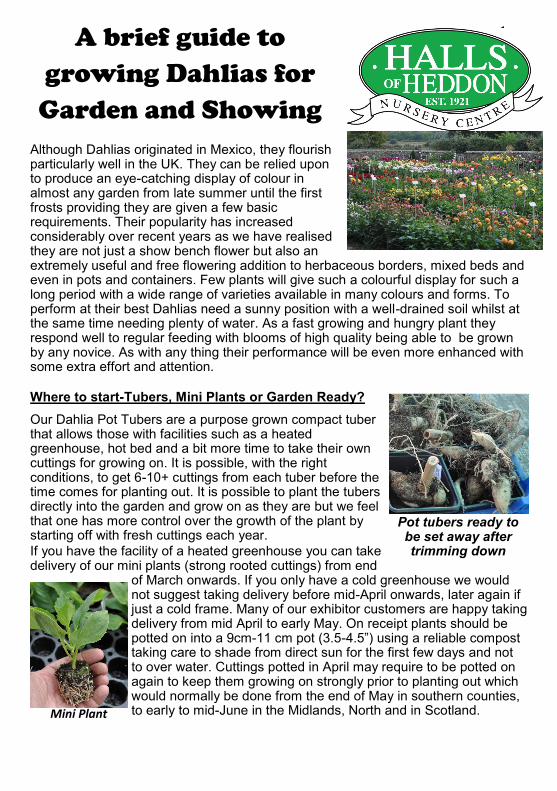
Although Dahlias originated in Mexico, they flourish particularly well in the UK. They can be relied upon to produce an eye-catching display of colour in almost any garden from late summer until the first frosts providing they are given a few basic requirements. Their popularity has increased considerably over recent years as we have realised they are not just a show bench flower but also an extremely useful and free flowering addition to herbaceous borders, mixed beds and even in pots and containers. Few plants will give such a colourful display for such a long period with a wide range of varieties available in many colours and forms. To perform at their best Dahlias need a sunny position with a well-drained soil whilst at the same time needing plenty of water. As a fast growing and hungry plant they respond well to regular feeding with blooms of high quality being able to be grown by any novice. As with any thing their performance will be even more enhanced with some extra effort and attention.
Where to start-Tubers, Mini Plants or Garden Ready?
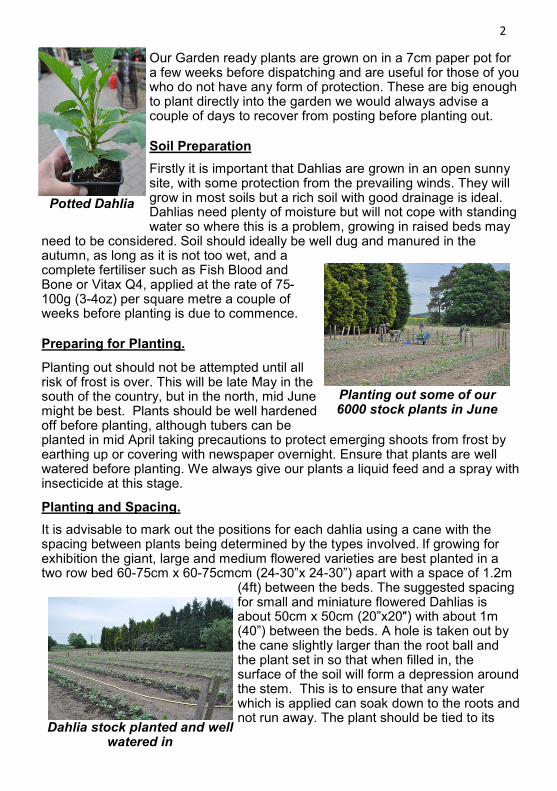
Our Dahlia Pot Tubers are a purpose grown compact tuber that allows those with facilities such as a heated greenhouse, hot bed and a bit more time to take their own cuttings for growing on. It is possible, with the right conditions, to get 6-10+ cuttings from each tuber before the time comes for planting out. It is possible to plant the tubers directly into the garden and grow on as they are but we feel that one has more control over the growth of the plant by starting off with fresh cuttings each year.
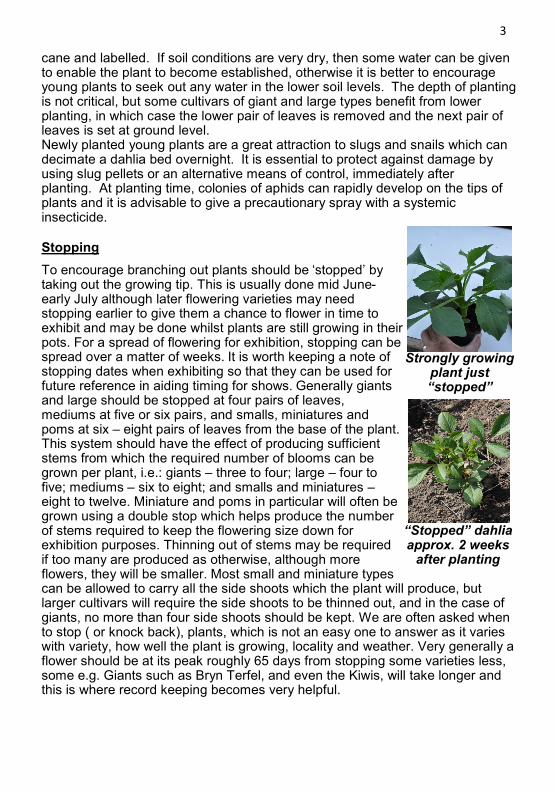
If you have the facility of a heated greenhouse you can take delivery of our mini plants (strong rooted cuttings) from end
of March onwards. If you only have a cold greenhouse we would not suggest taking delivery before mid-April onwards, later again if just a cold frame. Many of our exhibitor customers are happy taking delivery from mid April to early May. On receipt plants should be potted on into a 9cm-11 cm pot (3.5-4.5”) using a reliable compost taking care to shade from direct sun for the first few days and not to over water. Cuttings potted in April may require to be potted on again to keep them growing on strongly prior to planting out which would normally be done from the end of May in southern counties, to early to mid-June in the Midlands, North and in Scotland.
Pot tubers ready to be set away after trimming down
Mini Plant
2
Our Garden ready plants are grown on in a 7cm paper pot for a few weeks before dispatching and are useful for those of you who do not have any form of protection. These are big enough to plant directly into the garden we would always advise a couple of days to recover from posting before planting out.
Soil Preparation
Firstly it is important that Dahlias are grown in an open sunny site, with some protection from the prevailing winds. They will grow in most soils but a rich soil with good drainage is ideal. Dahlias need plenty of moisture but will not cope with standing water so where this is a problem, growing in raised beds may
need to be considered. Soil should ideally be well dug and manured in the autumn, as long as it is not too wet, and a complete fertiliser such as Fish Blood and Bone or Vitax Q4, applied at the rate of 75-100g (3-4oz) per square metre a couple of weeks before planting is due to commence.
Preparing for Planting.
Planting out should not be attempted until all risk of frost is over. This will be late May in the south of the country, but in the north, mid June might be best. Plants should be well hardened off before planting, although tubers can be planted in mid April taking precautions to protect emerging shoots from frost by earthing up or covering with newspaper overnight. Ensure that plants are well watered before planting. We always give our plants a liquid feed and a spray with insecticide at this stage.
Planting and Spacing.
It is advisable to mark out the positions for each dahlia using a cane with the spacing between plants being determined by the types involved. If growing for exhibition the giant, large and medium flowered varieties are best planted in a two row bed 60-75cm x 60-75cmcm (24-30”x 24-30”) apart with a space of 1.2m
(4ft) between the beds. The suggested spacing for small and miniature flowered Dahlias is about 50cm x 50cm (20”x20″) with about 1m (40”) between the beds. A hole is taken out by the cane slightly larger than the root ball and the plant set in so that when filled in, the surface of the soil will form a depression around the stem. This is to ensure that any water which is applied can soak down to the roots and not run away. The plant should be tied to its
Planting out some of our 6000 stock plants in June
Potted Dahlia
Dahlia stock planted and well watered in
3
cane and labelled. If soil conditions are very dry, then some water can be given to enable the plant to become established, otherwise it is better to encourage young plants to seek out any water in the lower soil levels. The depth of planting is not critical, but some cultivars of giant and large types benefit from lower planting, in which case the lower pair of leaves is removed and the next pair of leaves is set at ground level. Newly planted young plants are a great attraction to slugs and snails which can decimate a dahlia bed overnight. It is essential to protect against damage by using slug pellets or an alternative means of control, immediately after planting. At planting time, colonies of aphids can rapidly develop on the tips of plants and it is advisable to give a precautionary spray with a systemic insecticide.
Stopping
To encourage branching out plants should be ‘stopped’ by taking out the growing tip. This is usually done mid June-early July although later flowering varieties may need stopping earlier to give them a chance to flower in time to exhibit and may be done whilst plants are still growing in their pots. For a spread of flowering for exhibition, stopping can be spread over a matter of weeks. It is worth keeping a note of stopping dates when exhibiting so that they can be used for future reference in aiding timing for shows. Generally giants and large should be stopped at four pairs of leaves, mediums at five or six pairs, and smalls, miniatures and poms at six – eight pairs of leaves from the base of the plant. This system should have the effect of producing sufficient stems from which the required number of blooms can be grown per plant, i.e.: giants – three to four; large – four to five; mediums – six to eight; and smalls and miniatures – eight to twelve. Miniature and poms in particular will often be grown using a double stop which helps produce the number of stems required to keep the flowering size down for exhibition purposes. Thinning out of stems may be required if too many are produced as otherwise, although more flowers, they will be smaller. Most small and miniature types can be allowed to carry all the side shoots which the plant will produce, but larger cultivars will require the side shoots to be thinned out, and in the case of giants, no more than four side shoots should be kept. We are often asked when to stop ( or knock back), plants, which is not an easy one to answer as it varies with variety, how well the plant is growing, locality and weather. Very generally a flower should be at its peak roughly 65 days from stopping some varieties less, some e.g. Giants such as Bryn Terfel, and even the Kiwis, will take longer and this is where record keeping becomes very helpful.
Strongly growing plant just “stopped”
“Stopped” dahlia approx. 2 weeks
after planting
4
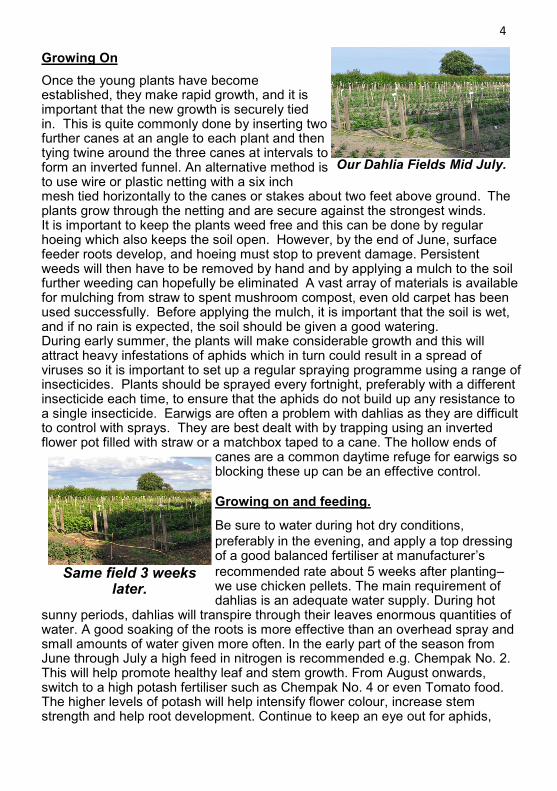
Growing On
Once the young plants have become established, they make rapid growth, and it is important that the new growth is securely tied in. This is quite commonly done by inserting two further canes at an angle to each plant and then tying twine around the three canes at intervals to form an inverted funnel. An alternative method is to use wire or plastic netting with a six inch mesh tied horizontally to the canes or stakes about two feet above ground. The plants grow through the netting and are secure against the strongest winds. It is important to keep the plants weed free and this can be done by regular hoeing which also keeps the soil open. However, by the end of June, surface feeder roots develop, and hoeing must stop to prevent damage. Persistent weeds will then have to be removed by hand and by applying a mulch to the soil further weeding can hopefully be eliminated A vast array of materials is available for mulching from straw to spent mushroom compost, even old carpet has been used successfully. Before applying the mulch, it is important that the soil is wet, and if no rain is expected, the soil should be given a good watering. During early summer, the plants will make considerable growth and this will attract heavy infestations of aphids which in turn could result in a spread of viruses so it is important to set up a regular spraying programme using a range of insecticides. Plants should be sprayed every fortnight, preferably with a different insecticide each time, to ensure that the aphids do not build up any resistance to a single insecticide. Earwigs are often a problem with dahlias as they are difficult to control with sprays. They are best dealt with by trapping using an inverted flower pot filled with straw or a matchbox taped to a cane. The hollow ends of
canes are a common daytime refuge for earwigs so blocking these up can be an effective control.
Growing on and feeding.
Be sure to water during hot dry conditions,
preferably in the evening, and apply a top dressing of a good balanced fertiliser at manufacturer’s
recommended rate about 5 weeks after planting– we use chicken pellets. The main requirement of dahlias is an adequate water supply. During hot
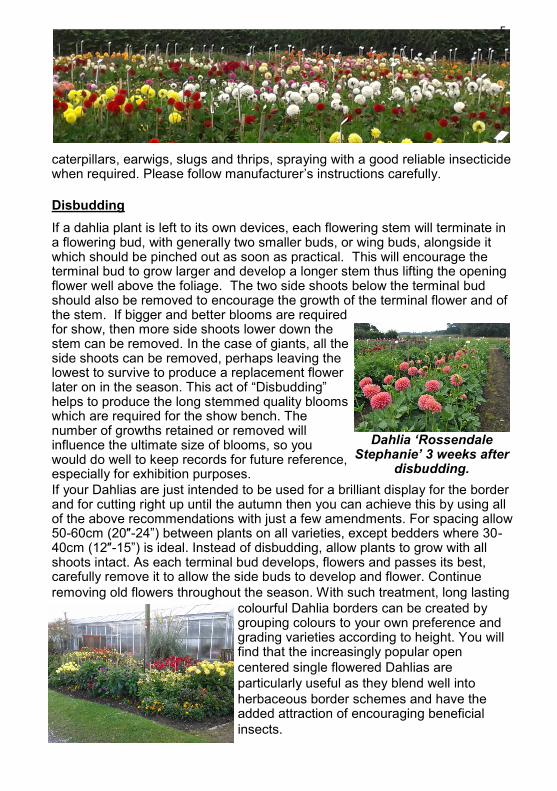
sunny periods, dahlias will transpire through their leaves enormous quantities of water. A good soaking of the roots is more effective than an overhead spray and small amounts of water given more often. In the early part of the season from June through July a high feed in nitrogen is recommended e.g. Chempak No. 2. This will help promote healthy leaf and stem growth. From August onwards, switch to a high potash fertiliser such as Chempak No. 4 or even Tomato food. The higher levels of potash will help intensify flower colour, increase stem strength and help root development. Continue to keep an eye out for aphids,
Same field 3 weeks later.
Our Dahlia Fields Mid July.
5
caterpillars, earwigs, slugs and thrips, spraying with a good reliable insecticide when required. Please follow manufacturer’s instructions carefully.
Disbudding
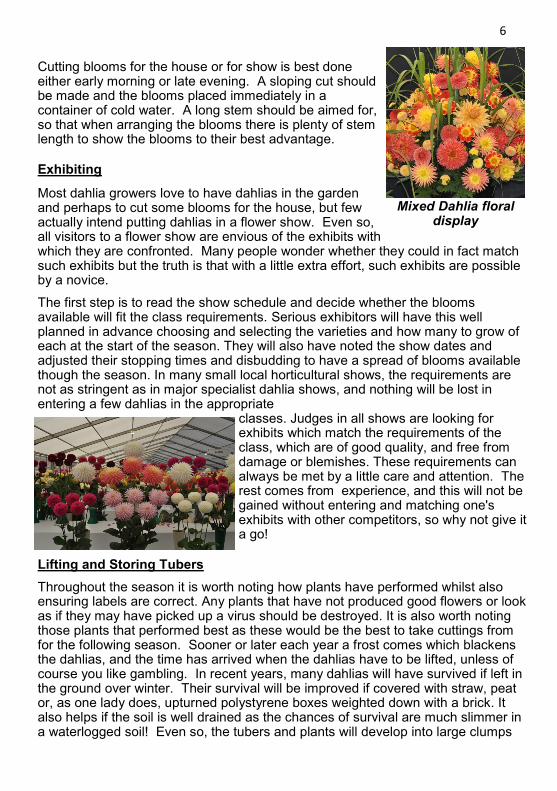
If a dahlia plant is left to its own devices, each flowering stem will terminate in a flowering bud, with generally two smaller buds, or wing buds, alongside it which should be pinched out as soon as practical. This will encourage the terminal bud to grow larger and develop a longer stem thus lifting the opening flower well above the foliage. The two side shoots below the terminal bud should also be removed to encourage the growth of the terminal flower and of the stem. If bigger and better blooms are required for show, then more side shoots lower down the stem can be removed. In the case of giants, all the side shoots can be removed, perhaps leaving the lowest to survive to produce a replacement flower later on in the season. This act of “Disbudding” helps to produce the long stemmed quality blooms which are required for the show bench. The number of growths retained or removed will influence the ultimate size of blooms, so you would do well to keep records for future reference, especially for exhibition purposes.
If your Dahlias are just intended to be used for a brilliant display for the border and for cutting right up until the autumn then you can achieve this by using all of the above recommendations with just a few amendments. For spacing allow 50-60cm (20″-24”) between plants on all varieties, except bedders where 30-40cm (12″-15”) is ideal. Instead of disbudding, allow plants to grow with all shoots intact. As each terminal bud develops, flowers and passes its best, carefully remove it to allow the side buds to develop and flower. Continue
removing old flowers throughout the season. With such treatment, long lasting
colourful Dahlia borders can be created by grouping colours to your own preference and grading varieties according to height. You will find that the increasingly popular open
centered single flowered Dahlias are
particularly useful as they blend well into
herbaceous border schemes and have the added attraction of encouraging beneficial
insects.
Dahlia ‘Rossendale Stephanie’ 3 weeks after
disbudding.
6
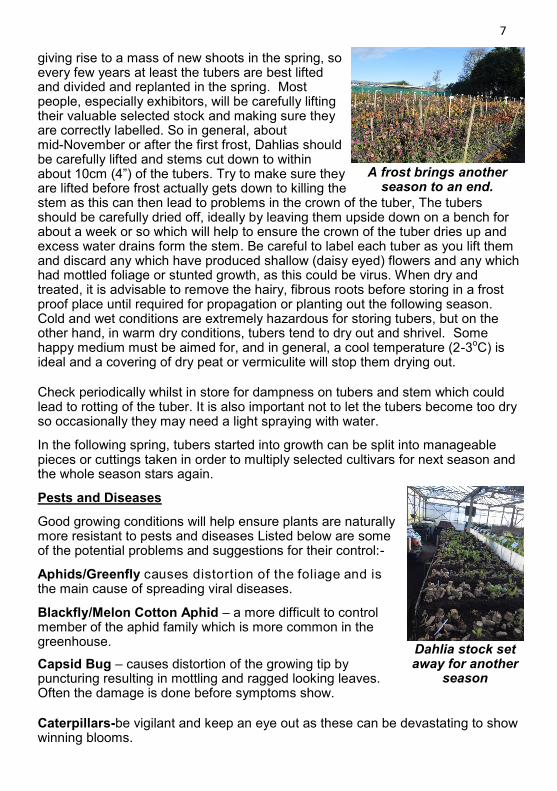
Cutting blooms for the house or for show is best done either early morning or late evening. A sloping cut should be made and the blooms placed immediately in a container of cold water. A long stem should be aimed for, so that when arranging the blooms there is plenty of stem length to show the blooms to their best advantage.
Exhibiting
Most dahlia growers love to have dahlias in the garden and perhaps to cut some blooms for the house, but few actually intend putting dahlias in a flower show. Even so, all visitors to a flower show are envious of the exhibits with which they are confronted. Many people wonder whether they could in fact match such exhibits but the truth is that with a little extra effort, such exhibits are possible by a novice.
The first step is to read the show schedule and decide whether the blooms available will fit the class requirements. Serious exhibitors will have this well planned in advance choosing and selecting the varieties and how many to grow of each at the start of the season. They will also have noted the show dates and adjusted their stopping times and disbudding to have a spread of blooms available though the season. In many small local horticultural shows, the requirements are not as stringent as in major specialist dahlia shows, and nothing will be lost in entering a few dahlias in the appropriate
classes. Judges in all shows are looking for exhibits which match the requirements of the class, which are of good quality, and free from damage or blemishes. These requirements can always be met by a little care and attention. The rest comes from experience, and this will not be gained without entering and matching one's exhibits with other competitors, so why not give it a go!
Lifting and Storing Tubers
Throughout the season it is worth noting how plants have performed whilst also ensuring labels are correct. Any plants that have not produced good flowers or look as if they may have picked up a virus should be destroyed. It is also worth noting those plants that performed best as these would be the best to take cuttings from for the following season. Sooner or later each year a frost comes which blackens the dahlias, and the time has arrived when the dahlias have to be lifted, unless of course you like gambling. In recent years, many dahlias will have survived if left in the ground over winter. Their survival will be improved if covered with straw, peat or, as one lady does, upturned polystyrene boxes weighted down with a brick. It also helps if the soil is well drained as the chances of survival are much slimmer in a waterlogged soil! Even so, the tubers and plants will develop into large clumps
Mixed Dahlia floral display
7
giving rise to a mass of new shoots in the spring, so every few years at least the tubers are best lifted and divided and replanted in the spring. Most people, especially exhibitors, will be carefully lifting their valuable selected stock and making sure they are correctly labelled. So in general, about mid-November or after the first frost, Dahlias should be carefully lifted and stems cut down to within about 10cm (4”) of the tubers. Try to make sure they are lifted before frost actually gets down to killing the stem as this can then lead to problems in the crown of the tuber, The tubers should be carefully dried off, ideally by leaving them upside down on a bench for about a week or so which will help to ensure the crown of the tuber dries up and excess water drains form the stem. Be careful to label each tuber as you lift them and discard any which have produced shallow (daisy eyed) flowers and any which had mottled foliage or stunted growth, as this could be virus. When dry and treated, it is advisable to remove the hairy, fibrous roots before storing in a frost proof place until required for propagation or planting out the following season. Cold and wet conditions are extremely hazardous for storing tubers, but on the other hand, in warm dry conditions, tubers tend to dry out and shrivel. Some happy medium must be aimed for, and in general, a cool temperature (2-3
oC) is
ideal and a covering of dry peat or vermiculite will stop them drying out.
Check periodically whilst in store for dampness on tubers and stem which could lead to rotting of the tuber. It is also important not to let the tubers become too dry so occasionally they may need a light spraying with water.
In the following spring, tubers started into growth can be split into manageable pieces or cuttings taken in order to multiply selected cultivars for next season and the whole season stars again.
Pests and Diseases
Good growing conditions will help ensure plants are naturally more resistant to pests and diseases Listed below are some of the potential problems and suggestions for their control:-
Aphids/Greenfly causes distortion of the foliage and is the main cause of spreading viral diseases.
Blackfly/Melon Cotton Aphid – a more difficult to control member of the aphid family which is more common in the greenhouse.
Capsid Bug – causes distortion of the growing tip by puncturing resulting in mottling and ragged looking leaves. Often the damage is done before symptoms show.
Caterpillars-be vigilant and keep an eye out as these can be devastating to show winning blooms.
A frost brings another season to an end.
Dahlia stock set away for another
season
8
Earwigs – often harbour in the tops of canes, wood panel fences and split wooden stakes! Being nocturnal the evidence is only obvious by the leaves and/or petals being eaten in an irregular pattern. Seal cane ends with cane caps, or putty. Vaseline on stems will prevent earwigs from getting into blooms. Dahlia Smut – pale yellow spotting of the lower leaves which slowly develop into brown spots, which dry up and fall out! More prevalent in wet seasons and it is advisable to rotate planting where there is a problem. Powdery Mildew – associated with dryer weather and appears as a white powdery coating on the surface of the leaf. Thrips – cause a puckering of the foliage and can badly mark the flowers, particularly pinks and whites. The yellow sticky traps available for use in greenhouses can help monitor a potential problem. Virus – plants, which show a severe mottling of the leaves with yellowing of the veins and an obvious stunting in the growth, may well be infected with virus. Such plants are best removed and destroyed. Slugs and snails can very quickly decimate young plants and there are various methods of controlling them. Over watering after potting up or planting out can often be the cause of root death resulting in plants getting away to a very slow start.
PLEASE NOTE No specific chemical names have been mentioned as
products available are constantly under review. Seek advice from you local garden centre or nursery and always use pesticides and fungicides safely being careful
not to exceed the recommended dosage rates.
These notes are intended as a guide only and you will often find people occasionally have different ways of doing things that work for them. It is
always worth keeping your own notes, particularly if exhibiting.
HALLS OF HEDDON, WEST HEDDON NURSERY, HEDDON ON THE WALL, NORTHUMBERLAND, NE15 0JS
Tel 01661 852445 www.hallsofheddon.co.uk